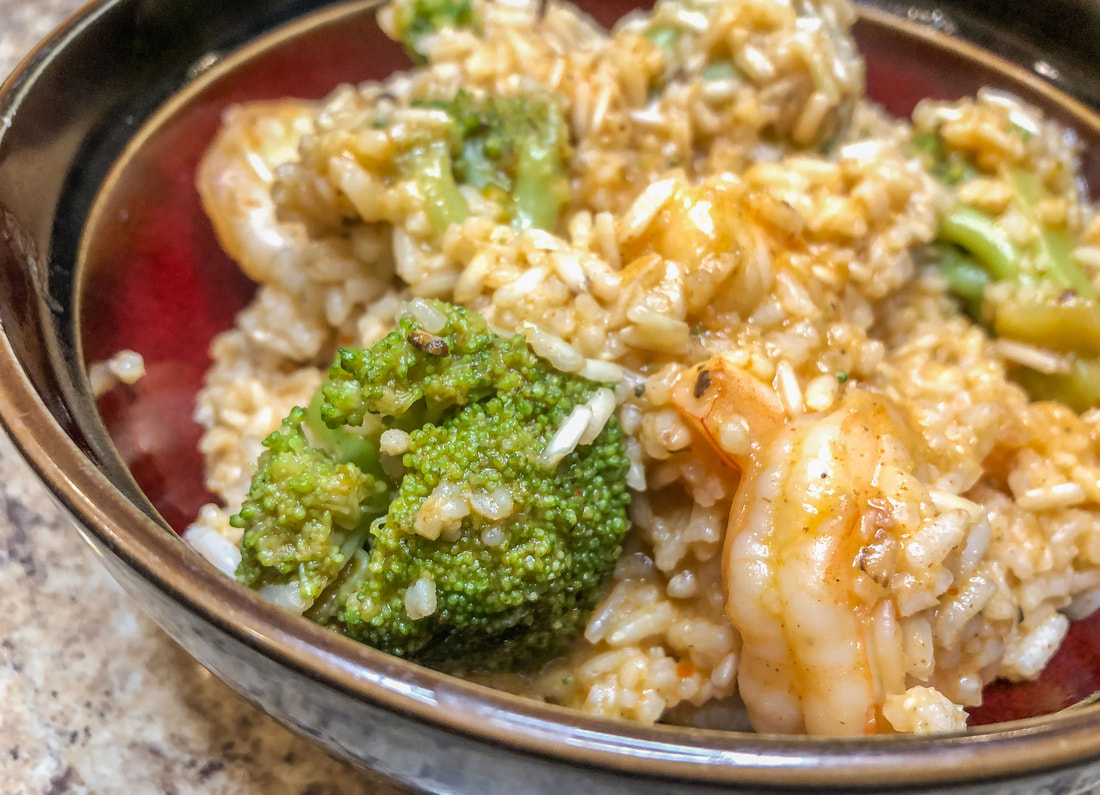
 Are you looking for a recipe for a spicy shrimp and rice dish? Well, I may have found just the recipe for you! Every time I see someone make a paella, I start to drool! I’ve always wanted to give it a try myself, but I don’t have a pan that big! So when I stumbled across this spicy cajun recipe, I thought it would make a delicious substitute. I’ve cooked this simple recipe a few times, and it tasted great every time! If you’re looking for an easy spicy dish that feeds a few people, this is your dish! As always, I doubled the original recipe (link at the end of this blog) to accommodate my family of five… Ingredients: 3 cups brown rice 32 oz chicken broth 2 lb cooked shrimp, peeled and deveined 1 stick butter, cut in half 2 tsp minced garlic Seasoning: 3 tsp paprika 2 tsp salt 1 tsp black pepper 1 tsp onion powder 1 tsp oregano 1 tsp cayenne 1/2 tsp red pepper flakes 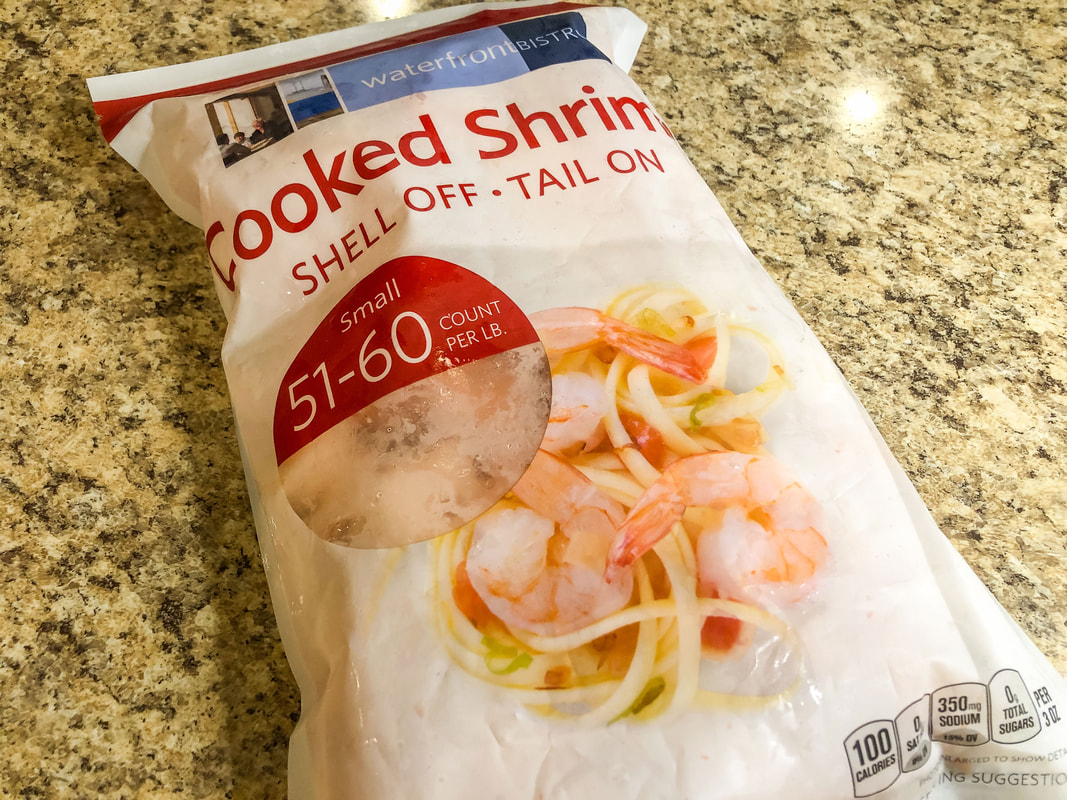 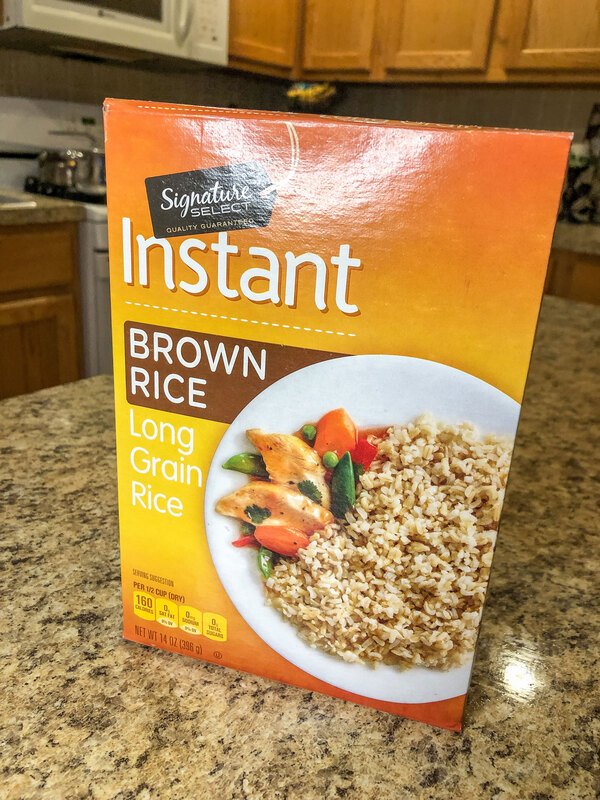 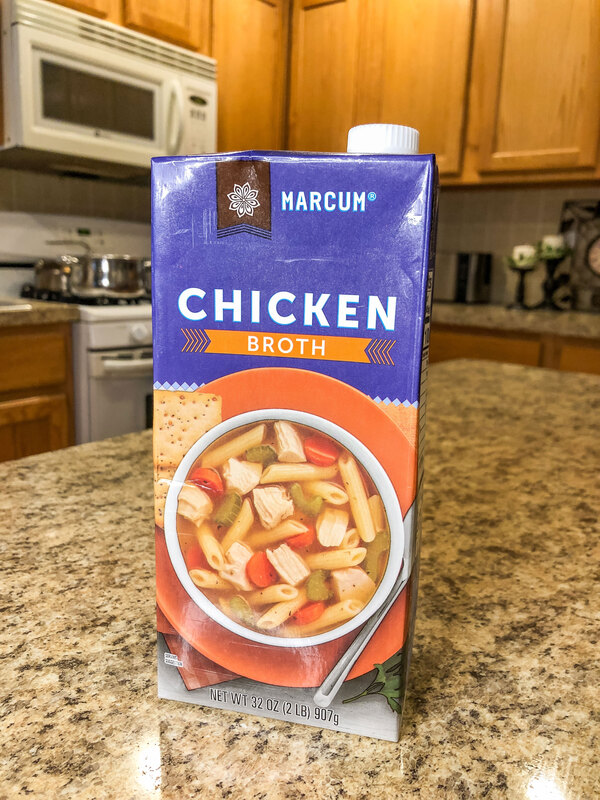 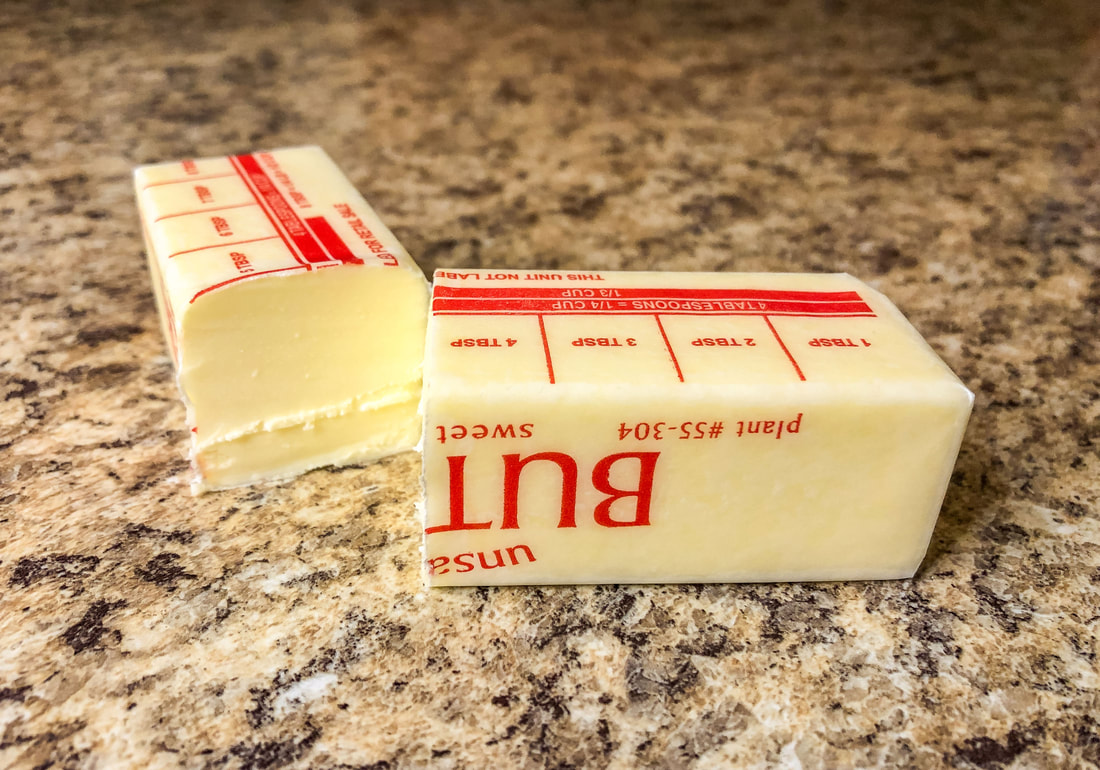 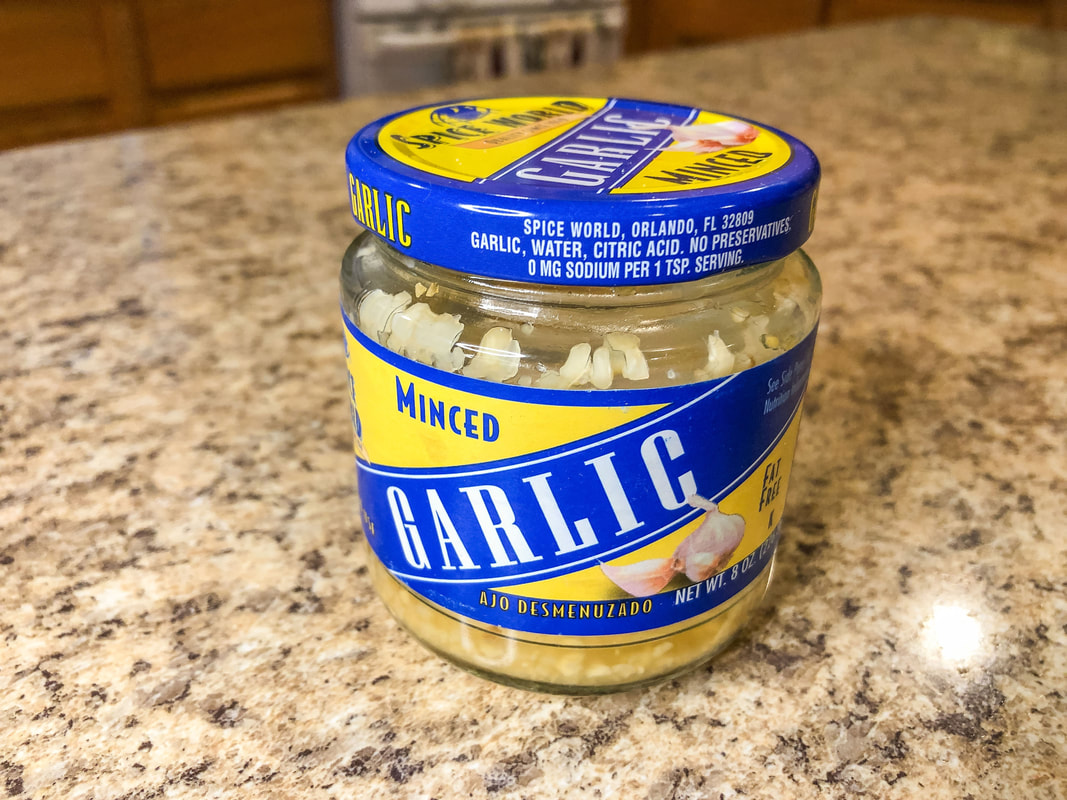 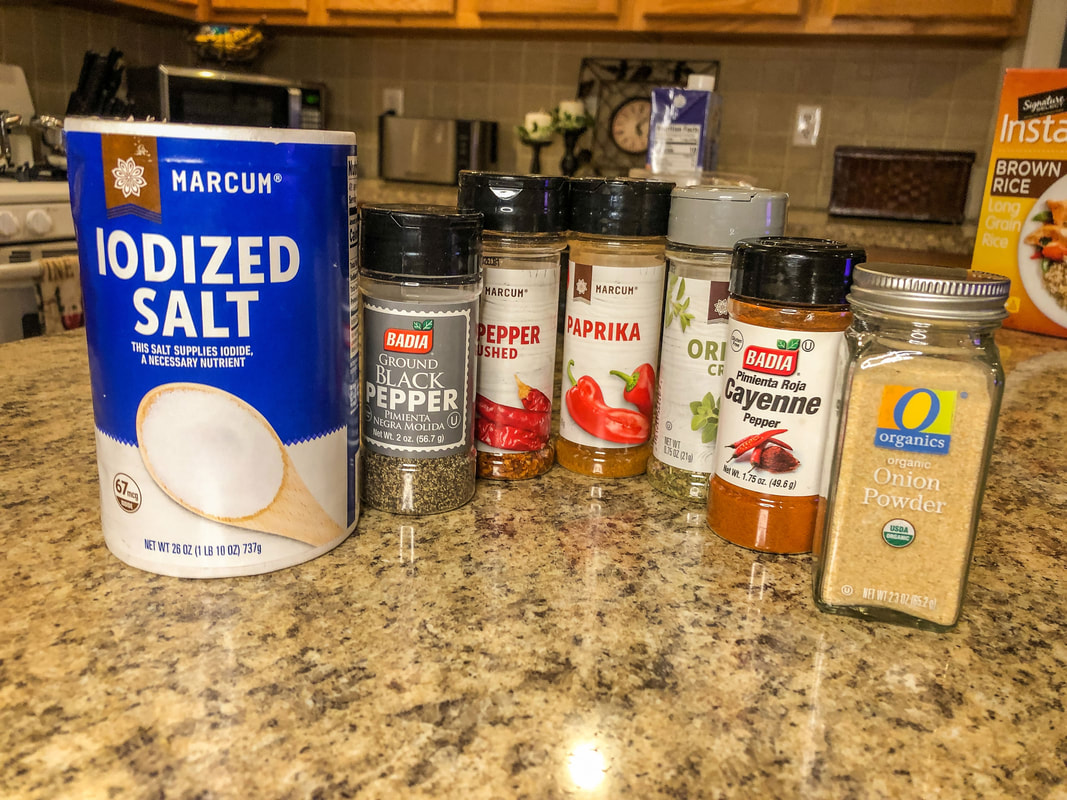 Mix spices in a bowl. Divide in half. 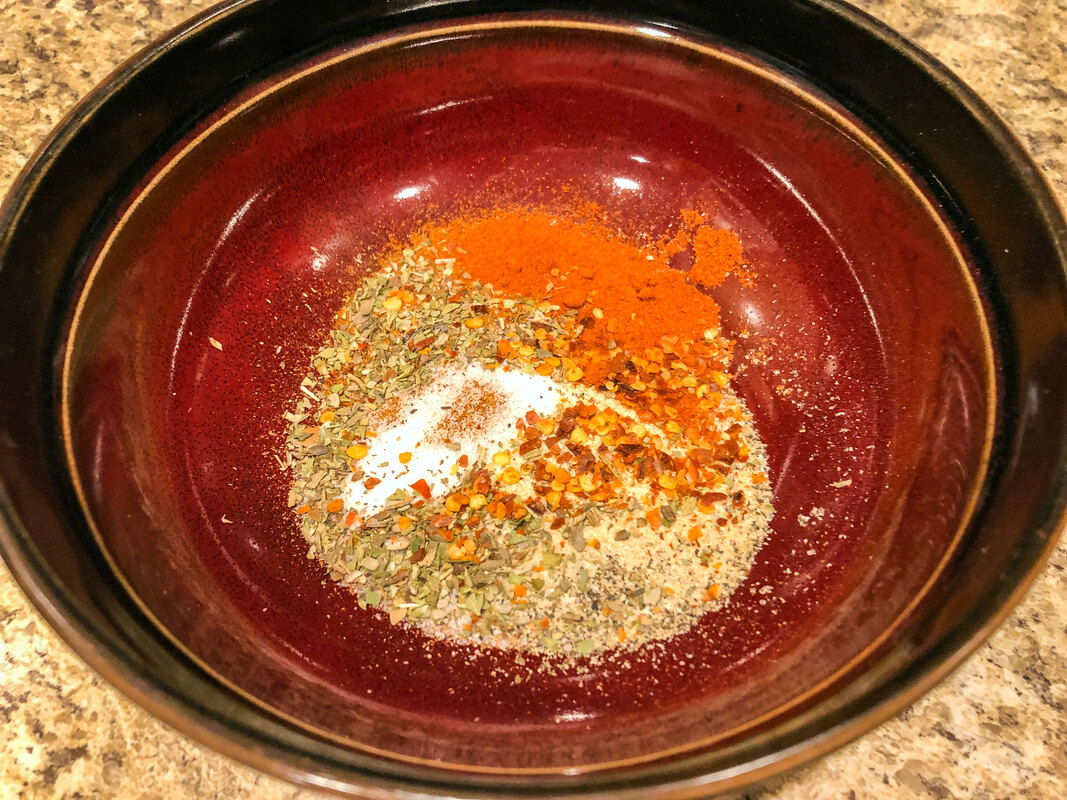 In a large pot, melt butter. Add garlic and saute just a little (20 seconds or so). Add uncooked rice and half of the spice mixture. Stir well to mix and coat the rice. 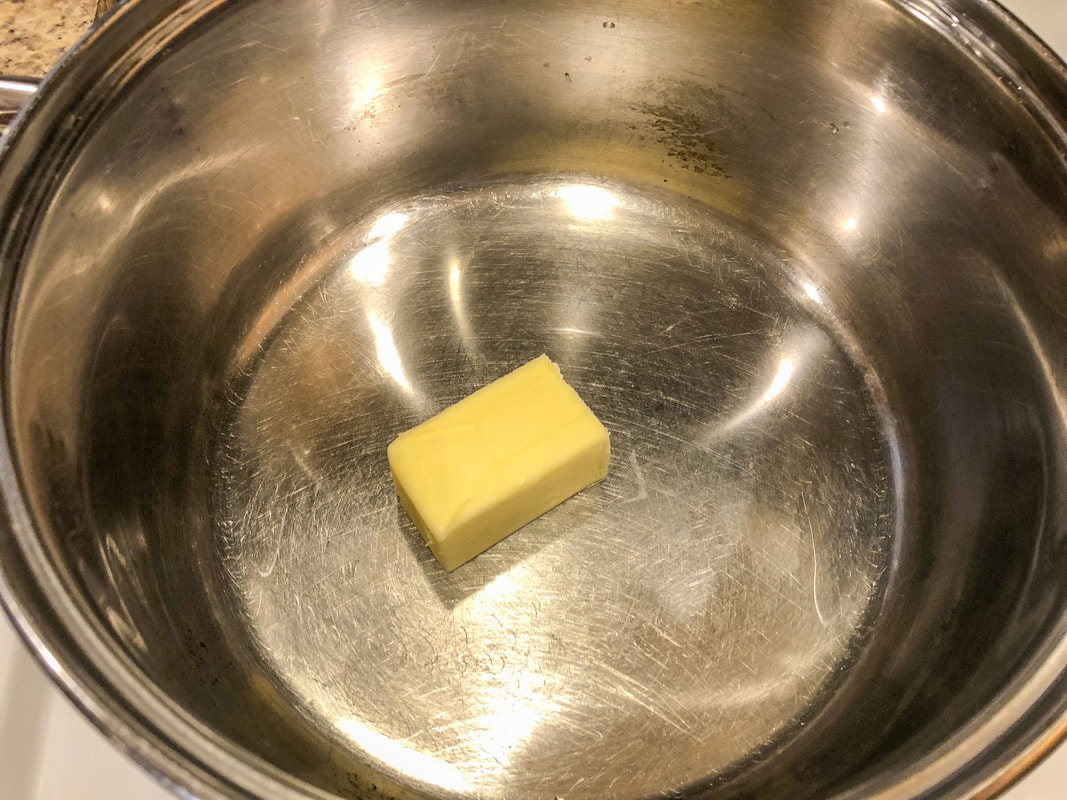 Add in chicken broth. Bring to a boil, reduce heat, and simmer for 15 minutes or until rice is just about cooked. 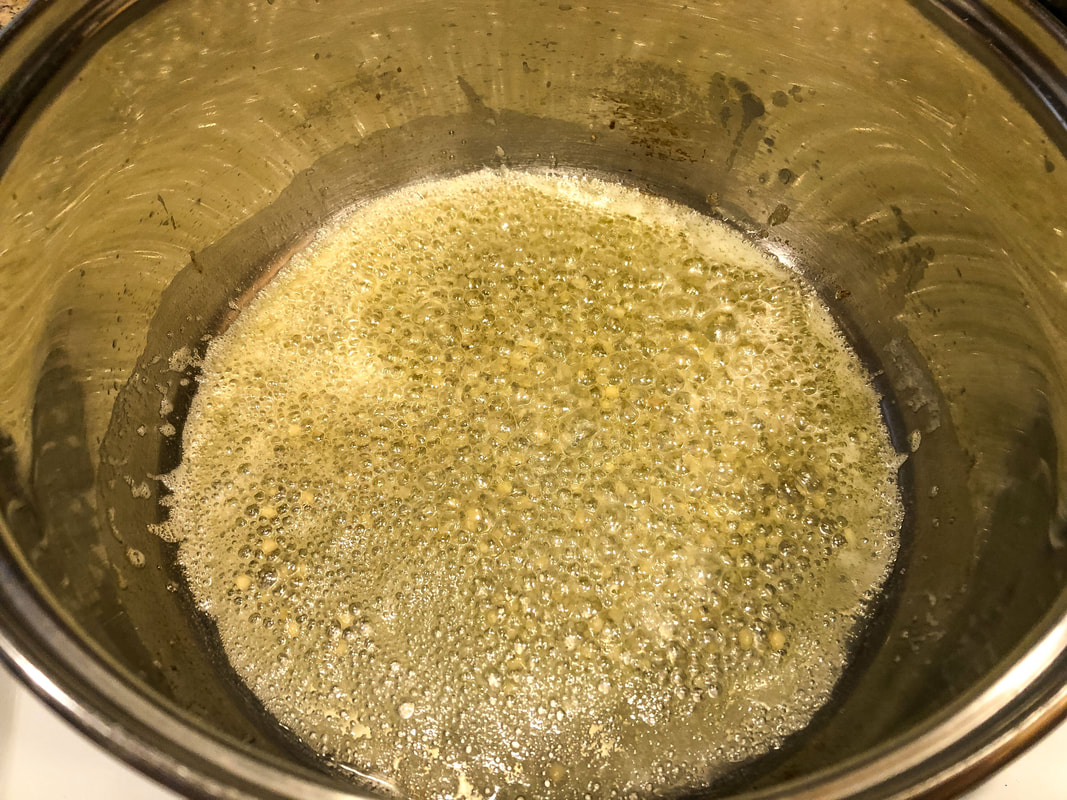 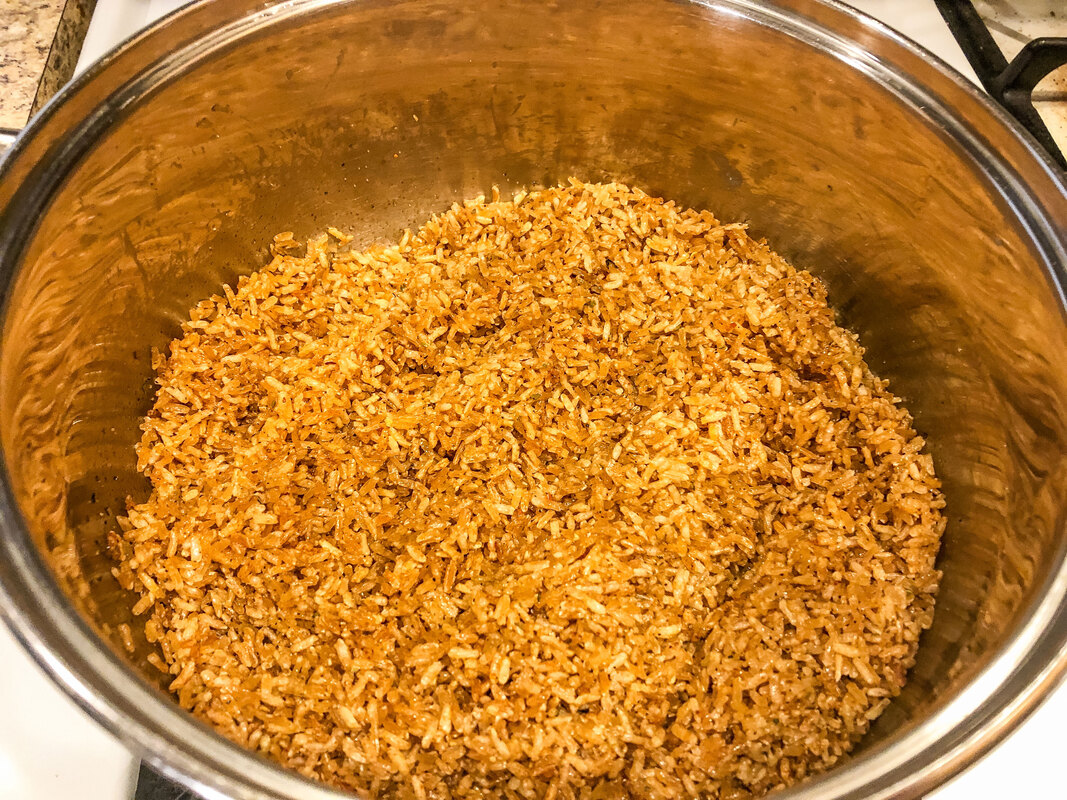 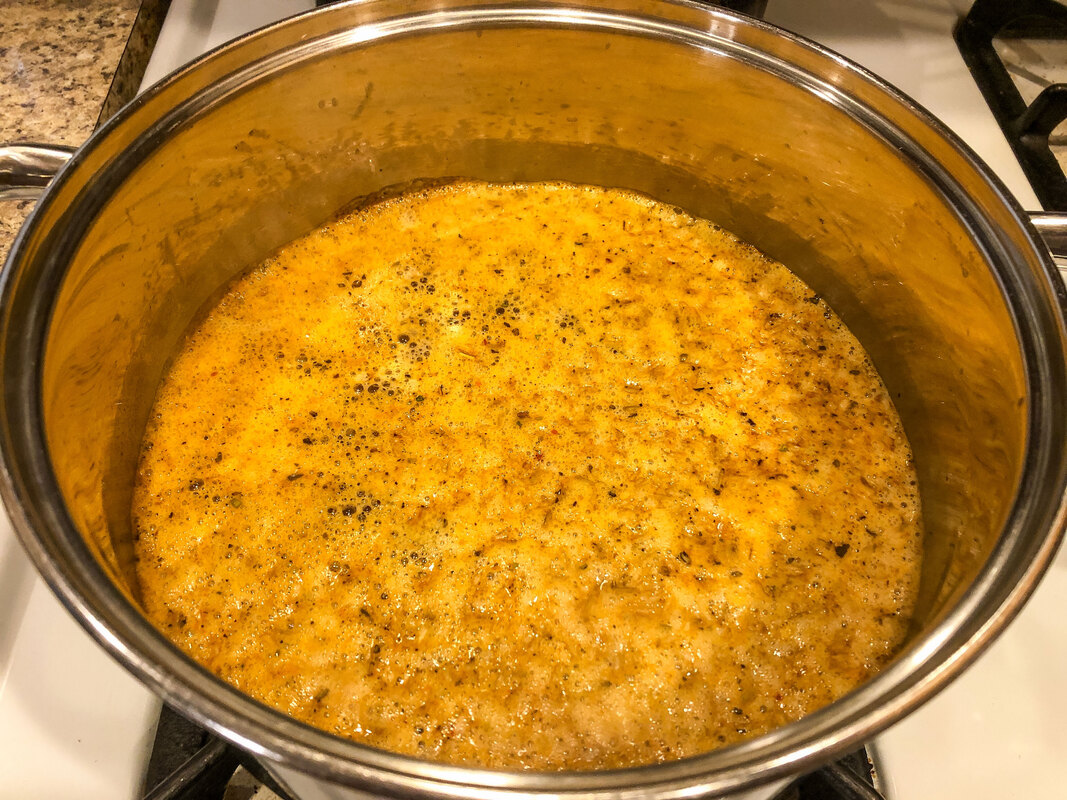 Melt butter in a separate pot. Mix cooked shrimp (I bought precooked, deveined) with butter and the second half of the spices. Make sure the shrimp is evenly coated. Heat through for just a couple of minutes. 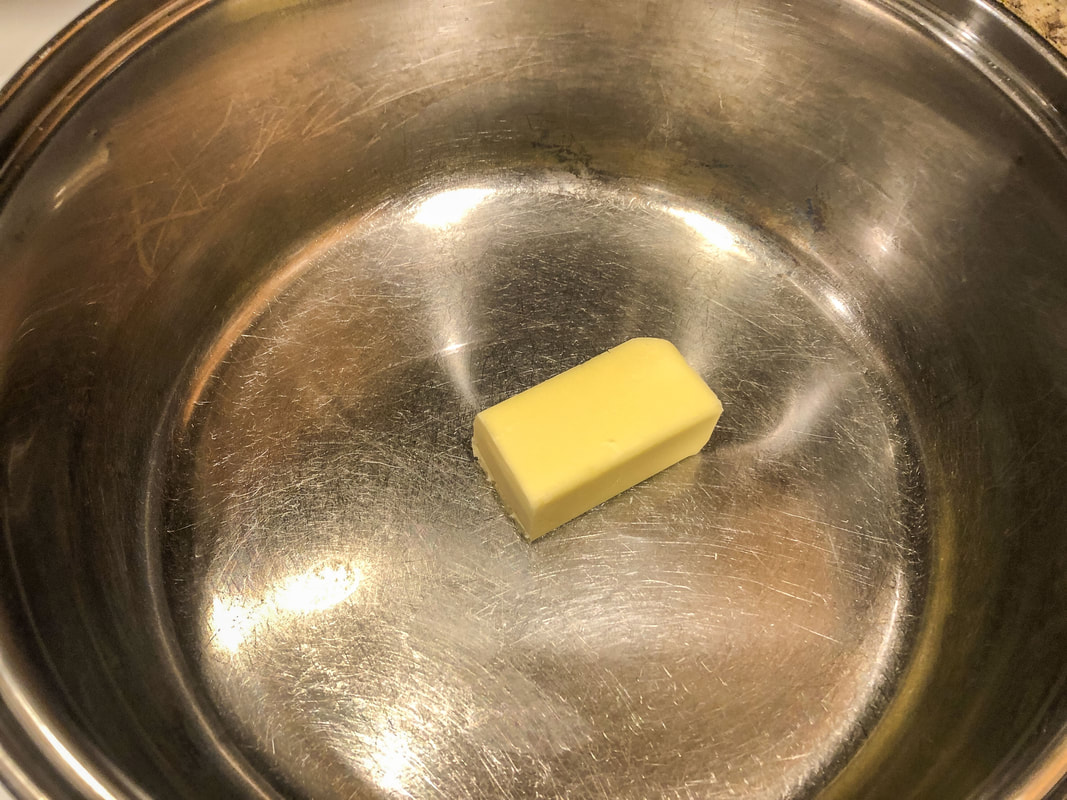 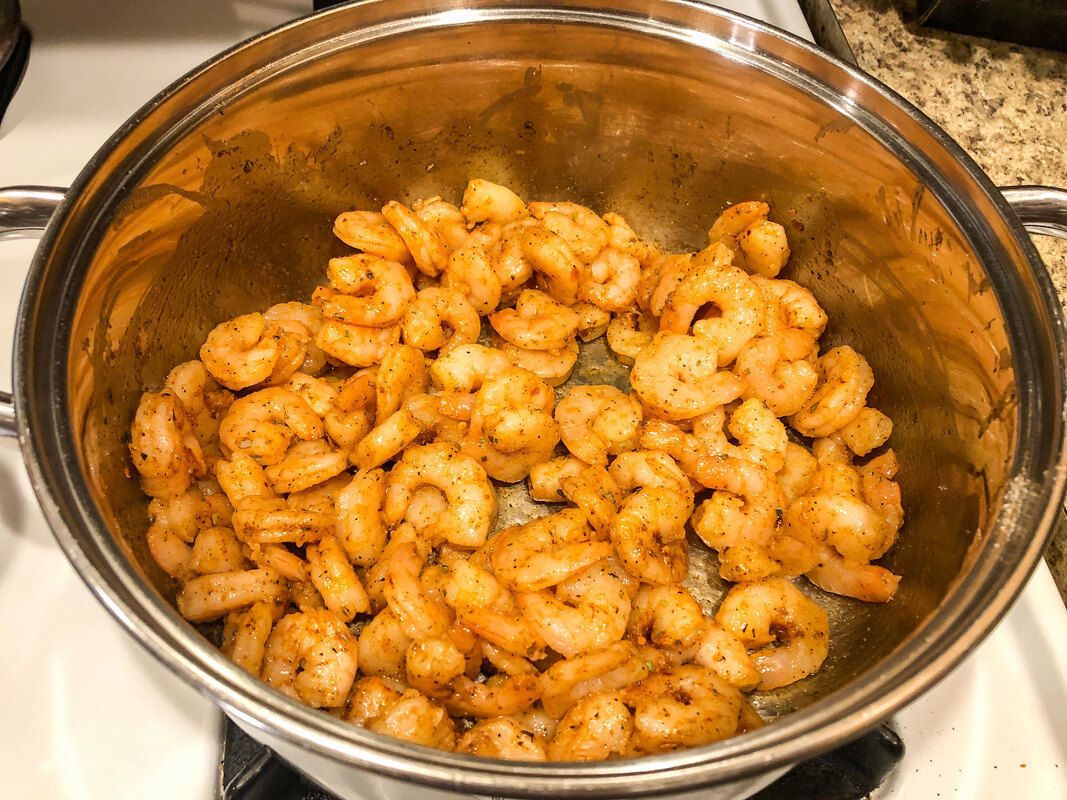 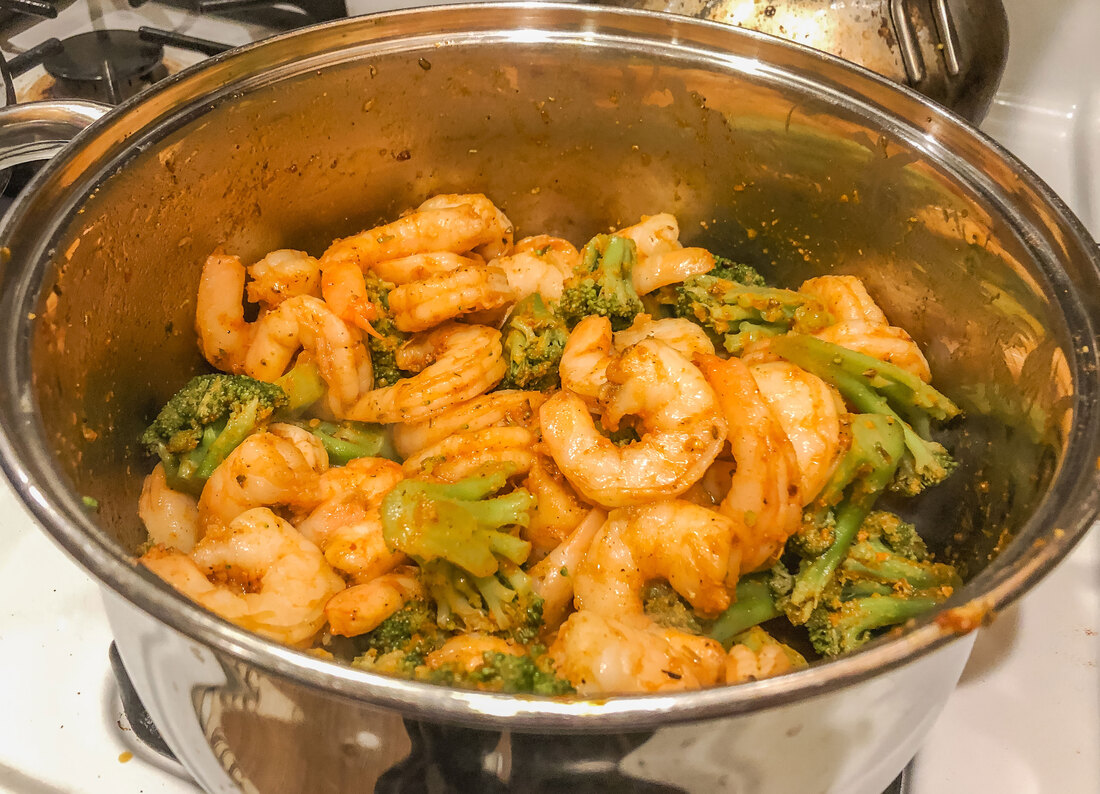 Add heated shrimp to rice and mix. Cover and heat together for a couple more minutes. (Don’t overcook the shrimp or burn the rice.) The first time I tried this recipe, I purchased raw shrimp. Maybe I am being lazy, but I found the process of removing shells to be time-consuming. The next time I tried the same recipe, I opted for pre-cooked shrimp. You can use either brown or white rice in this dish. Just as an FYI, this dish is very spicy! If you don’t like spicy foods, you may want to use fewer spices—or even a different combination of spices—according to your preferences. The third time I cooked this dish, I added leftover cooked broccoli. It turned out to be a delicious variation of this dish! 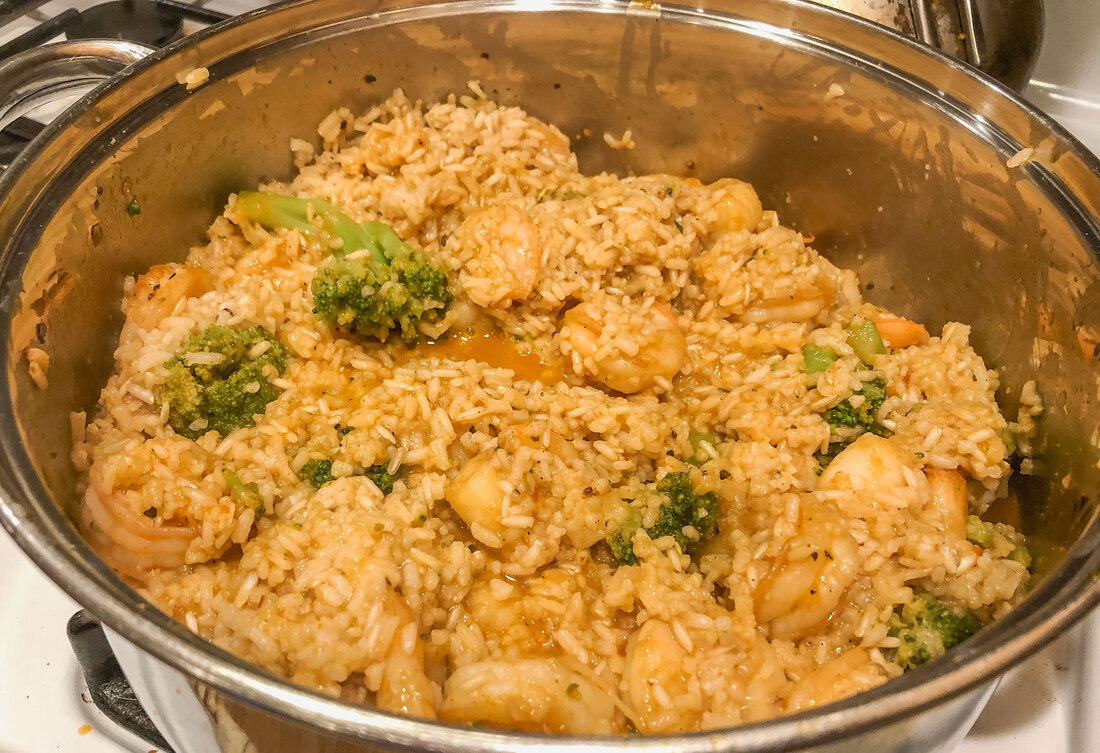 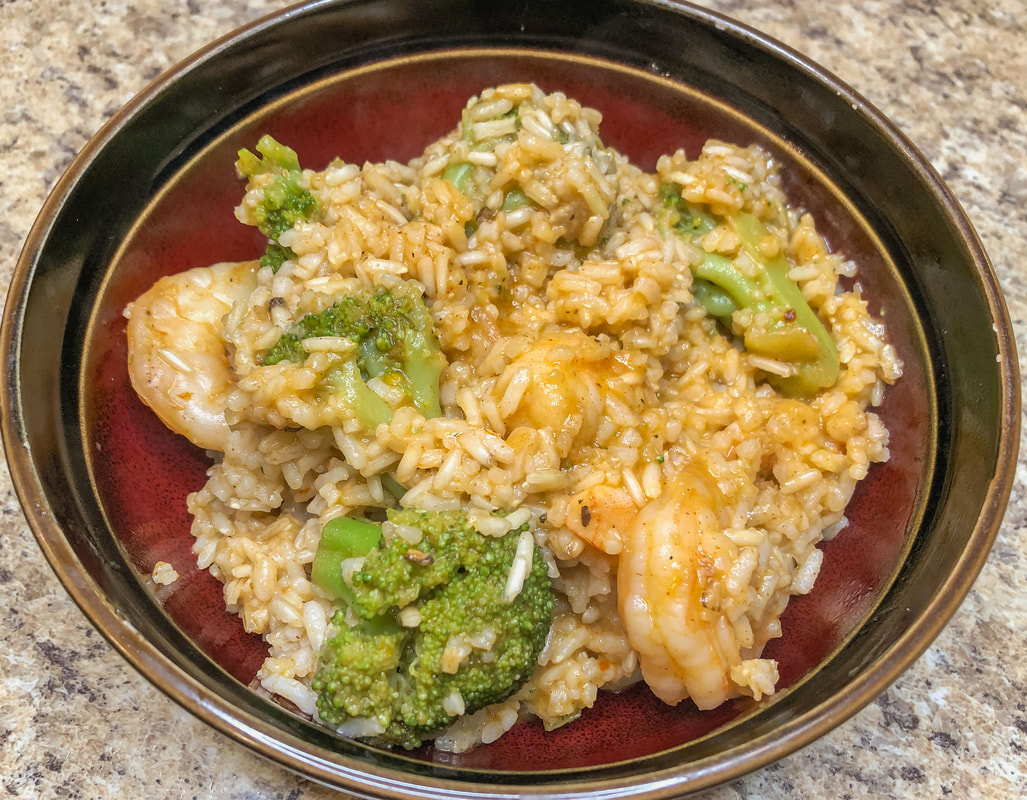 Let me know if you have tried this recipe and share your variations in the comments below! Original recipe https://www.lecremedelacrumb.com/cajun-shrimp-and-rice-skillet/ Related blogs you may want to read: Salmon chowder soup recipe Potato soup recipe Tuna noodle casserole recipe Chicken vegetable pot pie recipe Homemade chicken noodle soup This article may contain a few items or commercial mentions, but I only used them for demonstration purposes. I am not endorsing any particular product or receiving any monetary gain from this blog.
0 Comments
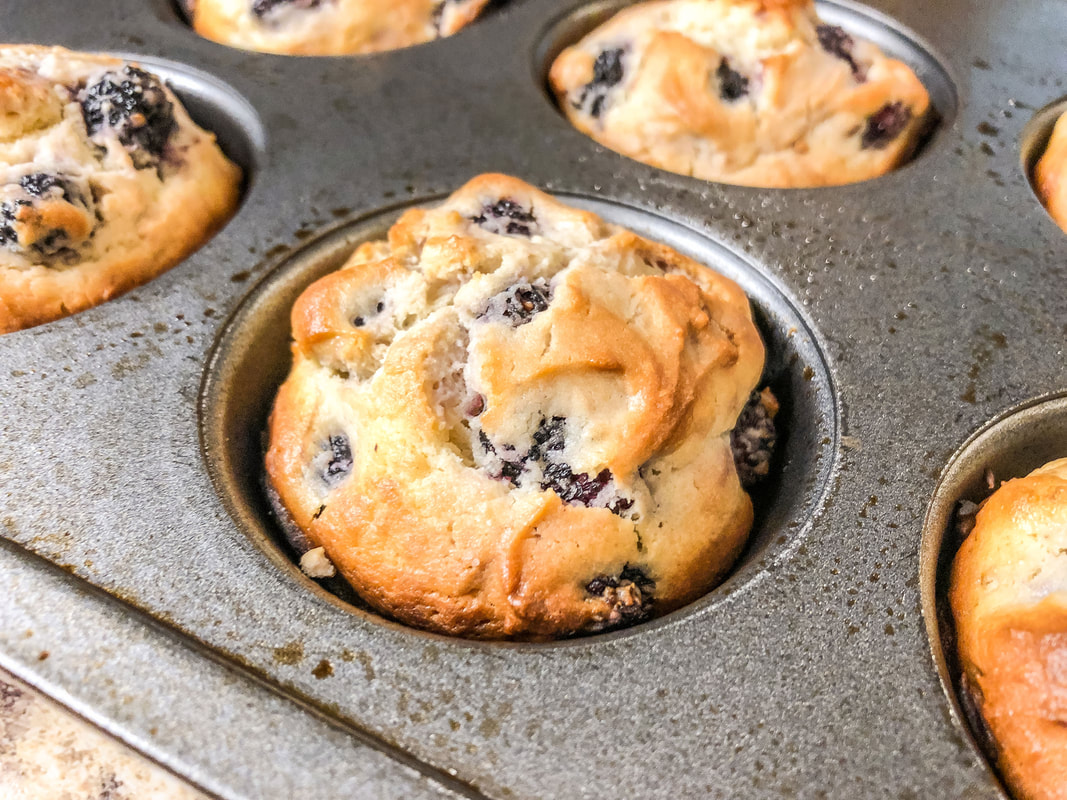 Freshly baked mulberry muffins. Photo by Diane M. Lilly, 2023. There is simply nothing like harvesting your own food for tasty recipes! My backyard garden has become one grand experiment to see what I can grow and how to use the plants in homemade recipes. But I never even realized there was a berry tree in my yard (planted by previous owners) until a couple of years ago when the branches started hanging down low around the raised garden. It was then that I noticed the purple berry mess covering the ground. After investigating, I discovered that this “annoying” tree was mulberry! 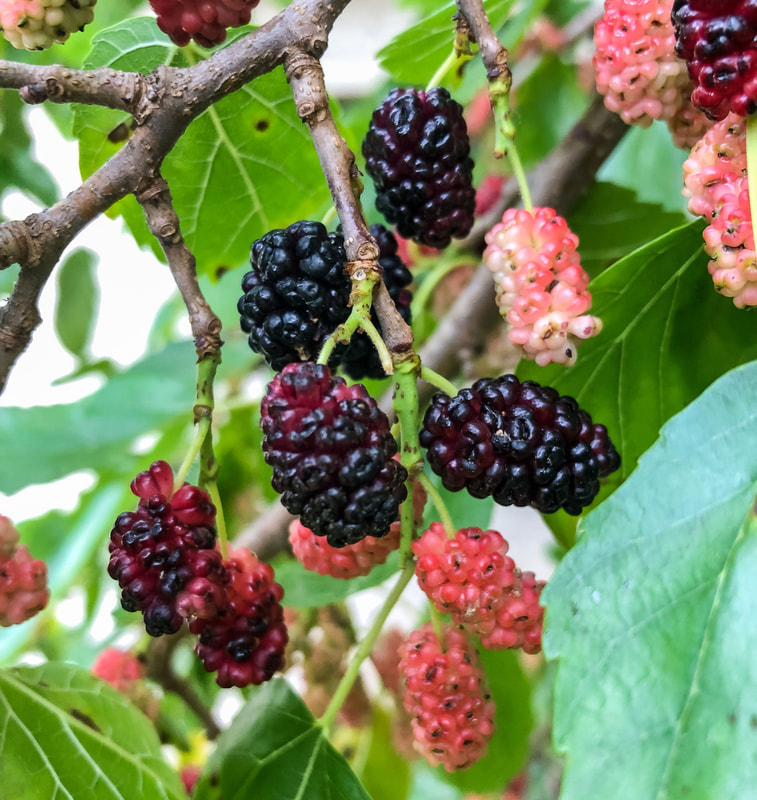 Mulberries on my mulberry tree. Photo by Diane M. Lilly, 2023. This year—rather than letting those ripe berries go to waste in the grass—I decided to pick some and use them in homemade muffins. I searched online and found a simple recipe for blackberry muffins on AllRecipes.com, so I decided to try it out, substituting mulberries for blackberries. Here’s the recipe I followed…  Freshly picked and washed mulberries. Photo by Diane M. Lilly, 2023. Dry ingredients: 2 cups flour 2/3 cups sugar 1 TBS baking powder 1/2 tsp salt Wet ingredients: 1 cup sour cream 1/2 stick butter, softened 2 eggs 1 tsp milk 1 tsp vanilla extract fresh mulberries The first step is to carefully wash, dry, and remove the stems of the berries. My fingers turned a lovely shade of purple! These berries DO stain, so be careful what they touch! 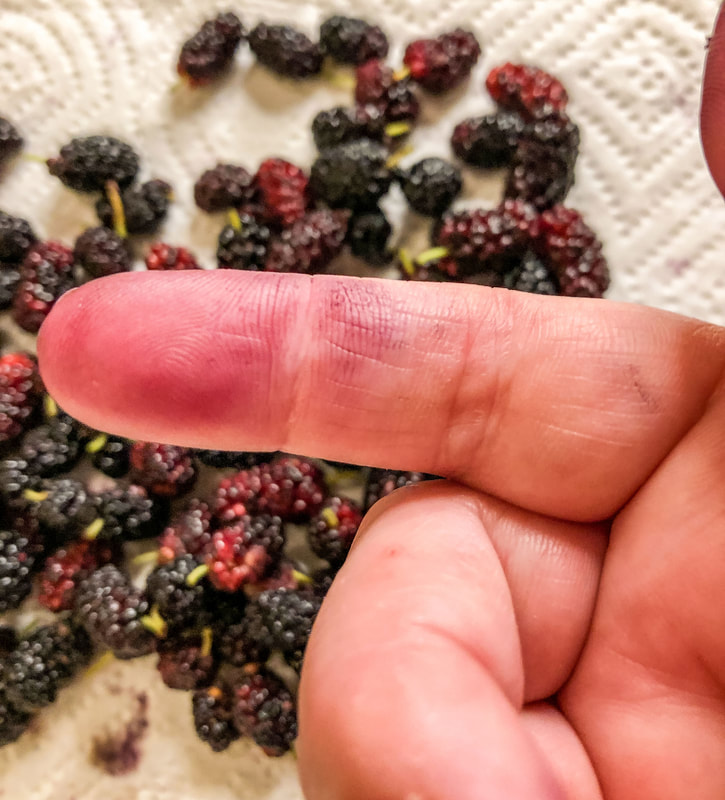 Fingers stained with mulberry juice! Photo by Diane M. Lilly, 2023. Preheat oven to 450˚. Mix dry ingredients in a bowl. 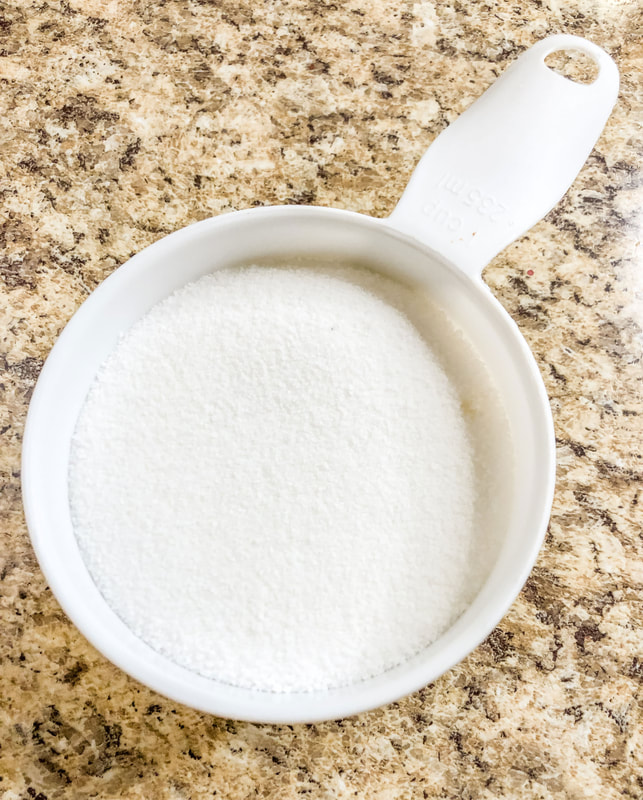 Two-thirds cup of sugar. Photo by Diane M. Lilly, 2023. 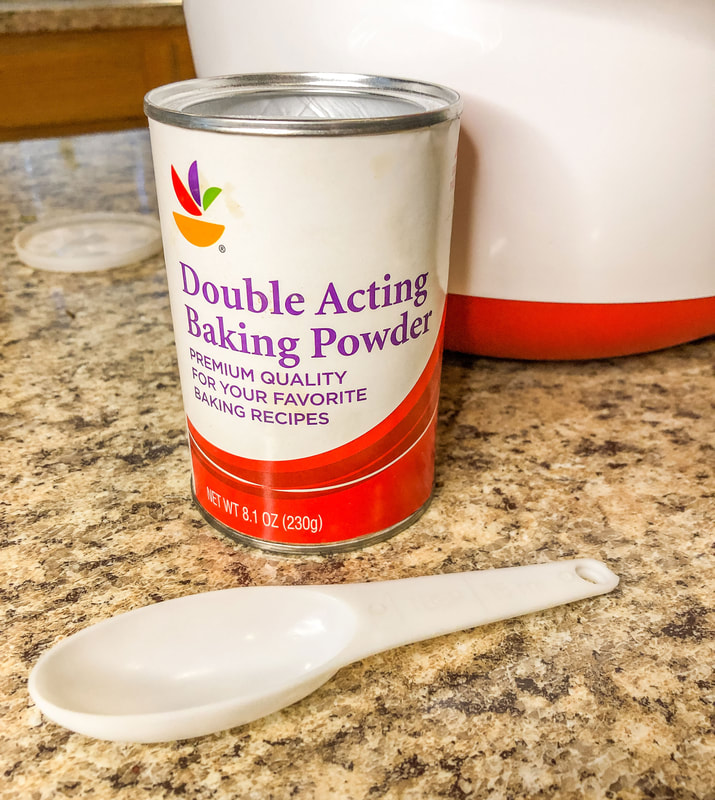 One tablespoon of baking powder. Photo by Diane M. Lilly, 2023. 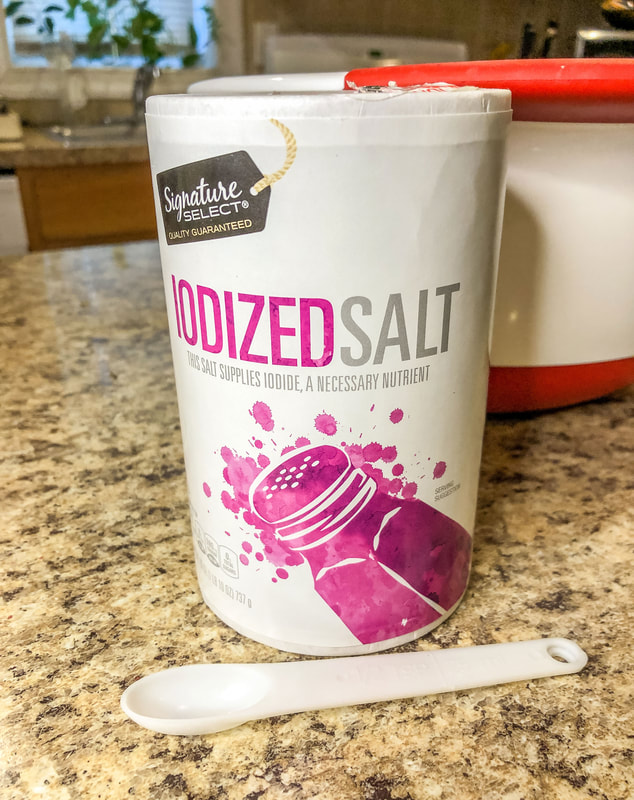 One half teaspoon of salt. Photo by Diane M. Lilly, 2023. 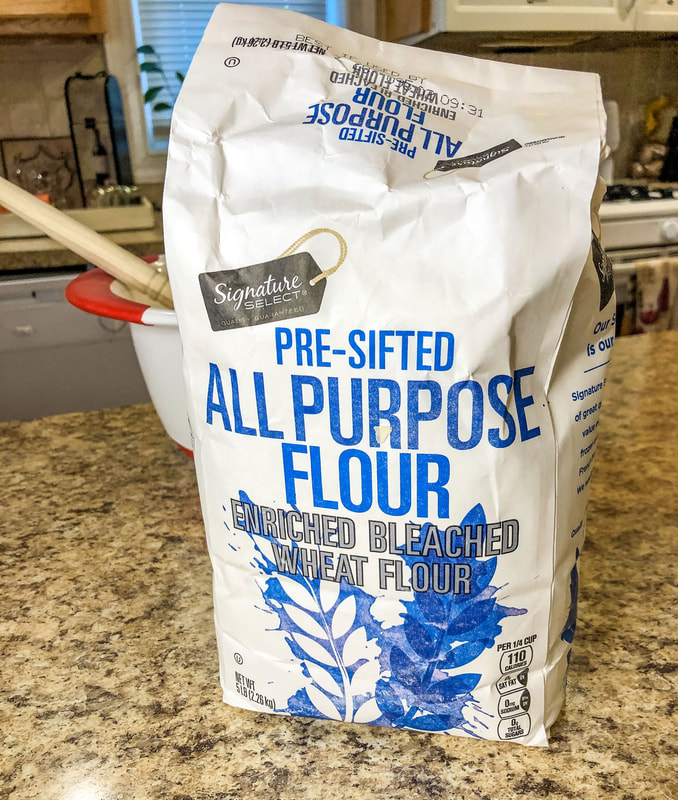 Two cups of flour. Photo by Diane M. Lilly, 2023. Whisk wet ingredients—except mulberries—in a separate bowl. 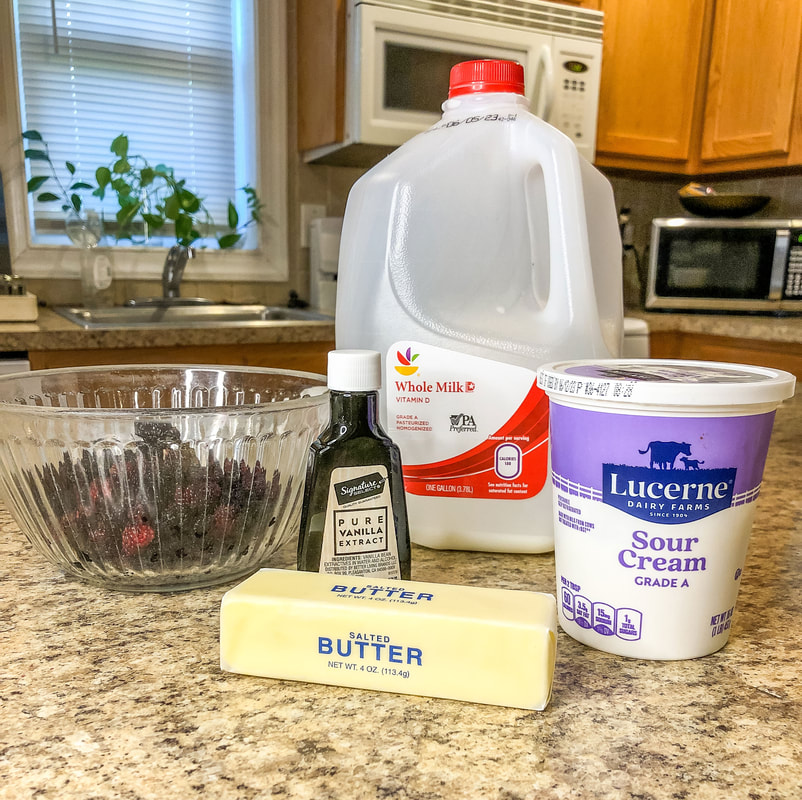 Milk, sour cream, butter, and vanilla extract. Photo by Diane M. Lilly, 2023. Whisk dry and wet ingredients together. Fold in the mulberries, gently. 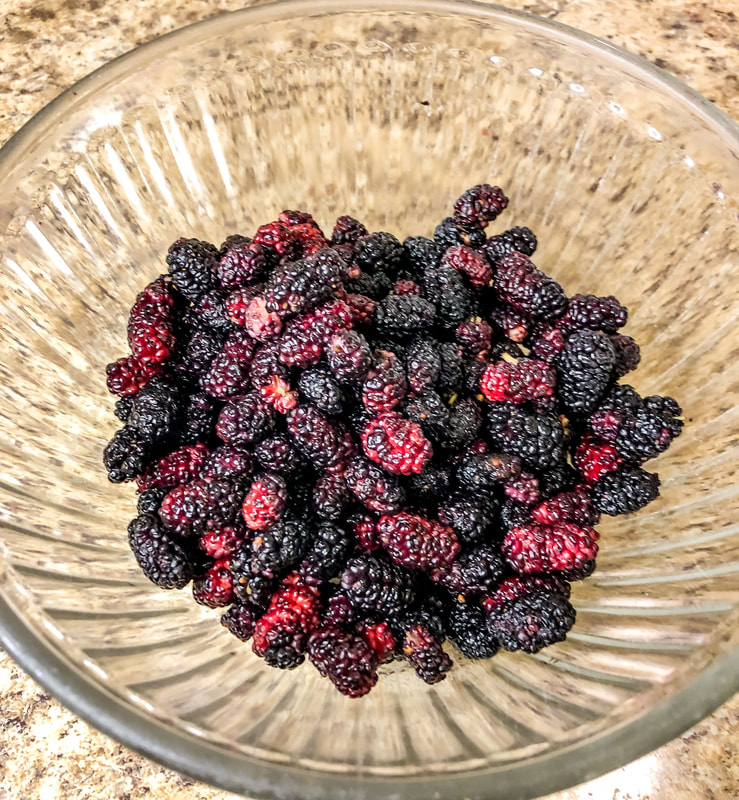 Bowl of mulberries. Photo by Diane M. Lilly, 2023. 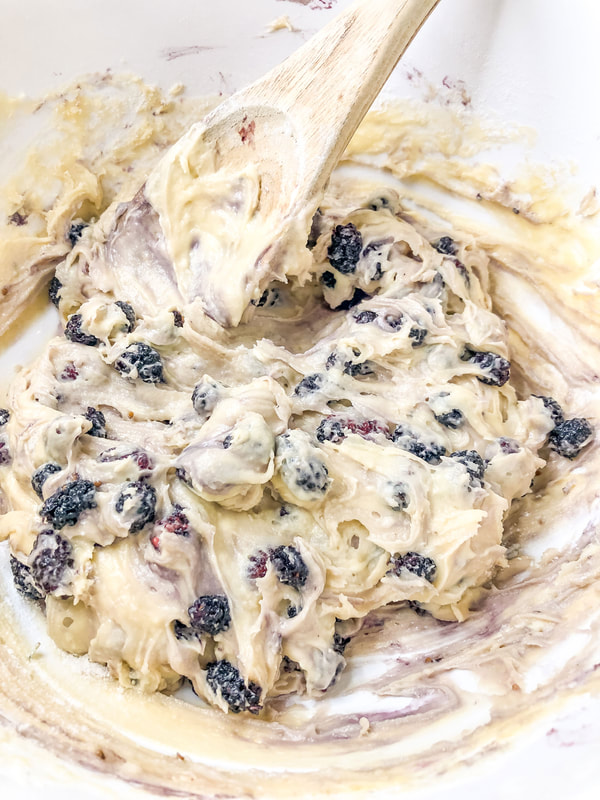 Mulberries mixed into muffin batter. Photo by Diane M. Lilly, 2023. Pour batter into greased muffin pan (or other baking pan of your choice). 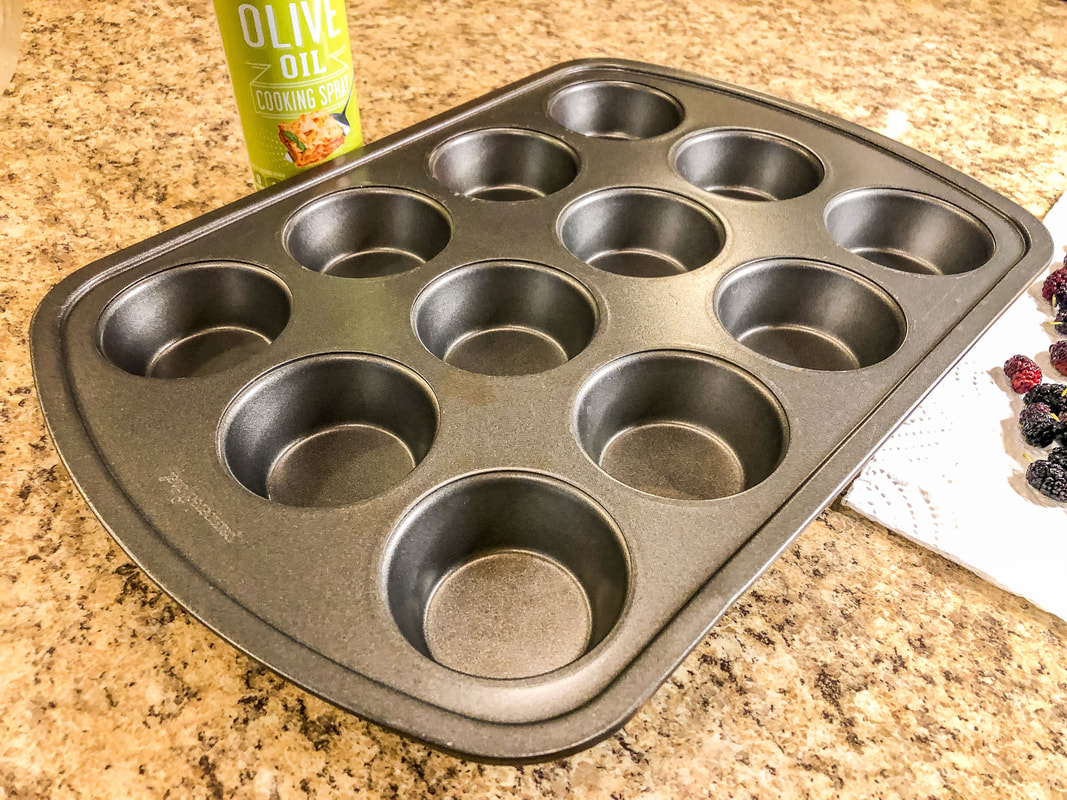 Greased muffin pan. Photo by Diane M. Lilly, 2023. 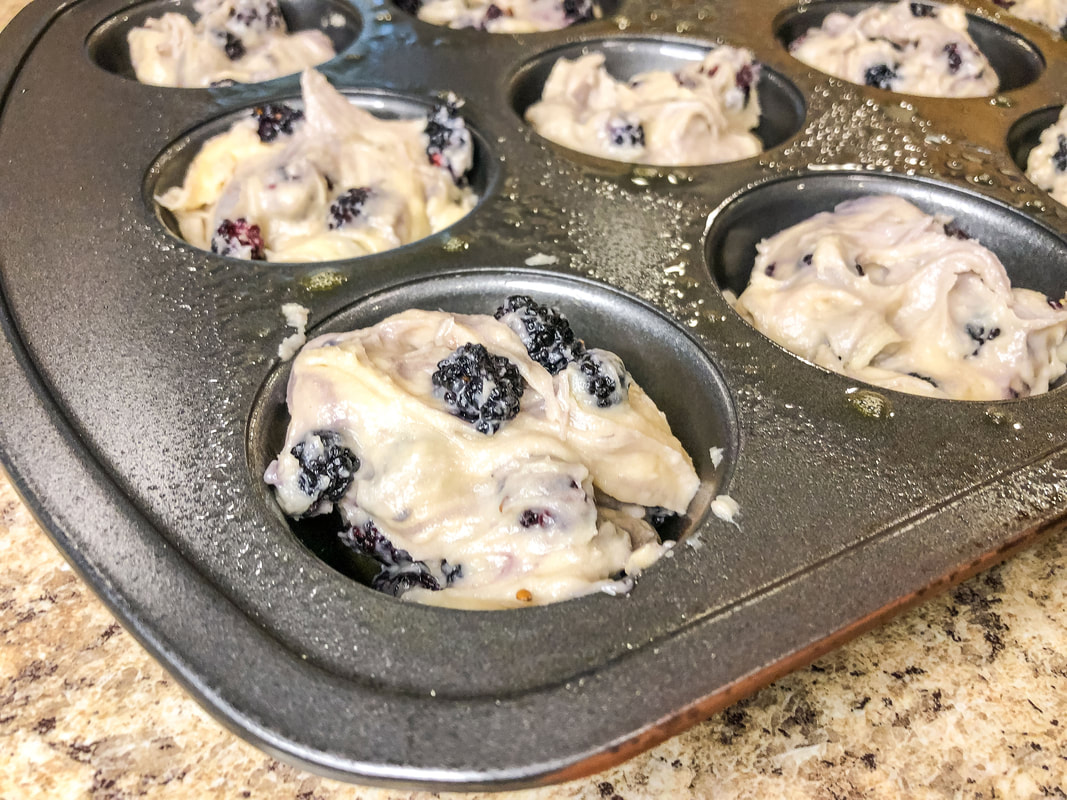 Muffin batter poured into muffin pan. Photo by Diane M. Lilly, 2023. Bake in oven for 18-20 minutes, or until a toothpick comes out clean. 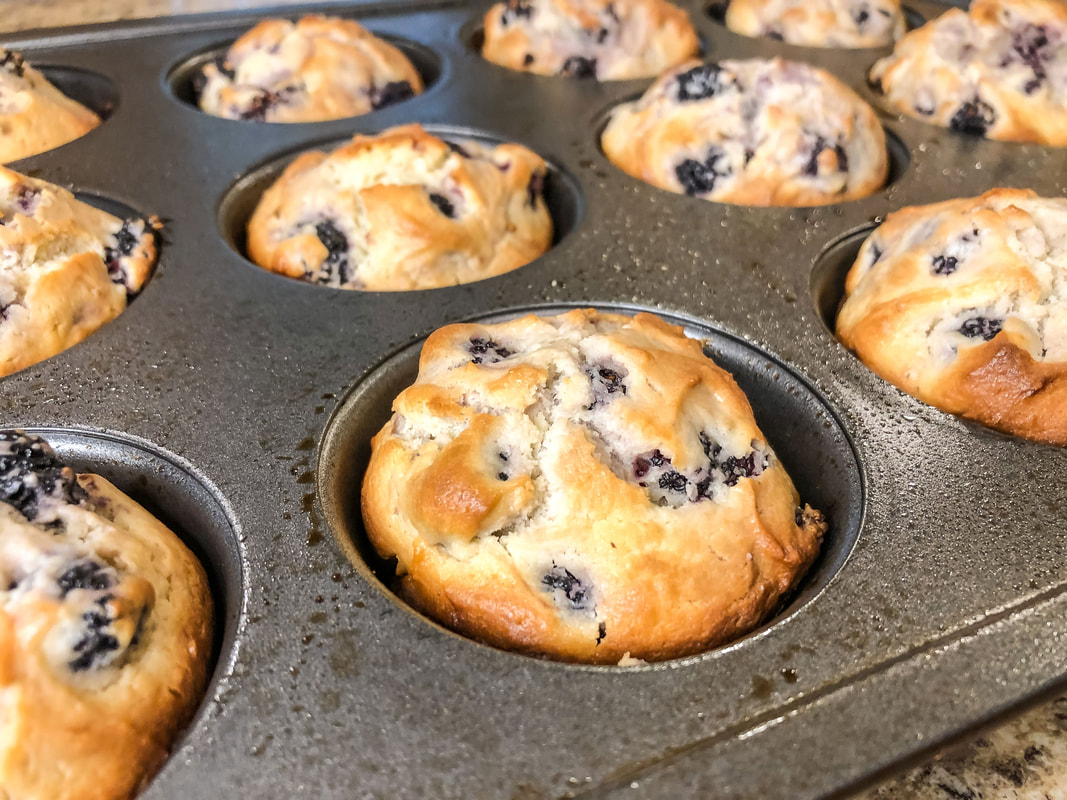 Mulberry muffins finished baking! Photo by Diane M. Lilly, 2023. Now for the taste test… I can’t say enough about this recipe! The texture was the perfect amount of moisture, not dry like some recipes I’ve tried. And the muffins were not overly sweet either. The sublime sweetness from the mulberries gave the muffins a fresh taste I hadn’t experienced in a while! 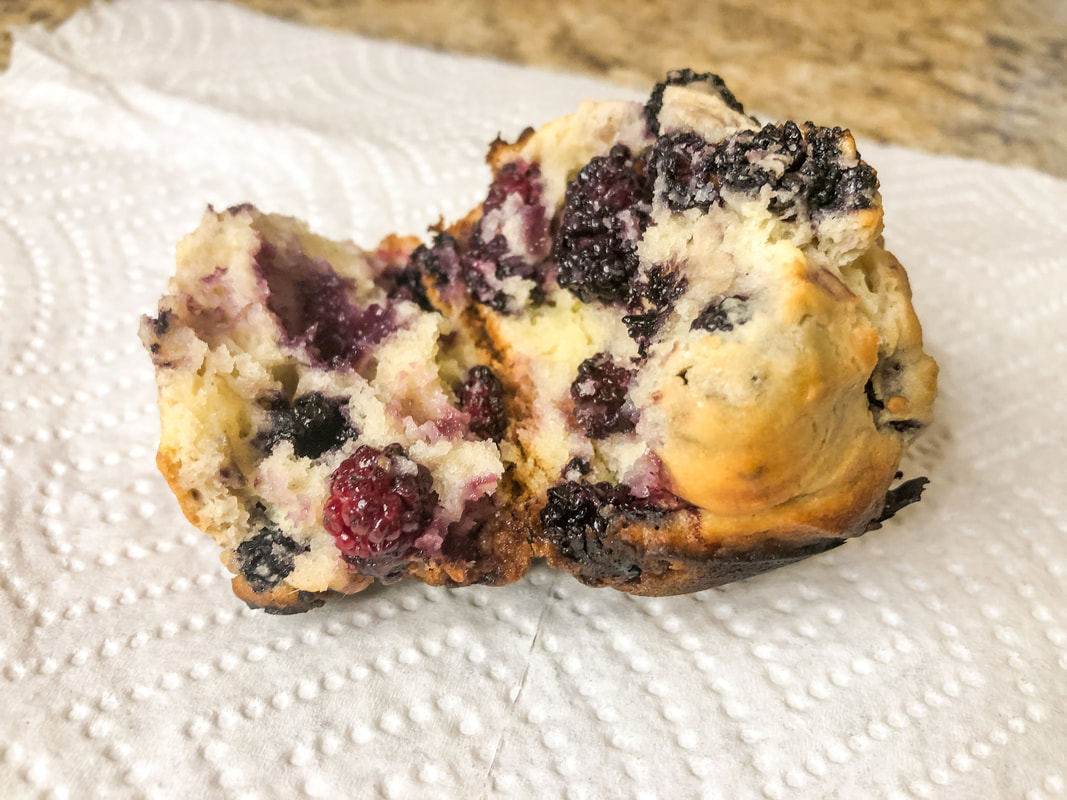 Taste test for the mulberry muffins! Photo by Diane M. Lilly, 2023. This recipe was a resounding success! In the future, I may substitute mulberries or blackberries for raspberries, blueberries, or bananas. The original link is below if you'd like to try it out. Happy baking! Original recipe: https://www.allrecipes.com/recipe/254923/delicious-blackberry-muffins/?utm_source=pinterest&utm_medium=social&utm_campaign=shareurlbuttons Related blogs you may want to read: How to make muffins with fresh rosemary A simple but delicious apple crumb recipe Learning how to harvest and use fresh mint from the garden Harvesting lavender for homemade potpourri Tips for harvesting chamomile for homemade tea Banana and raisin bread recipe This article may contain a few items or commercial mentions, but I only used them for demonstration purposes only. I am not endorsing any particular product or receiving any monetary gain for this blog.  Spaghetti with meatballs baked. Photo by Diane M. Lilly, 2022. Spaghetti is one of the cheapest meals you can make—and I love it for that—but my family has become utterly sick of it! This “cost-effective” meal has become a waste of money, as 75% of it generally ends up in the trash…after a couple of days sitting in the fridge in quiet desperation. So much for saving money, right?! And then I brainstormed a way to ensure my poor spaghetti and meatballs got eaten…Add cheese and bake them in a casserole! This has been a game-changer! The ingredients are essentially all the same, with the addition of one ingredient— mozzarella cheese. It’s as simple as layering all the ingredients in a baking pan and cooking in the oven for 30-40 minutes. So here’s my simple (and cheap) Baked Spaghetti with Meatballs recipe… Ingredients: 2 boxes cooked spaghetti (or pasta of choice) 3 jars sauce (your choice) meatballs (I use frozen Italian seasoned) shredded mozzarella cheese parmesan cheese Italian seasoning garlic powder pepper garlic bread (opt) Make pasta according to package directions. Pour cooked pasta into a greased baking pan.  Boil pot of water. Photo by Diane M. Lilly, 2022. 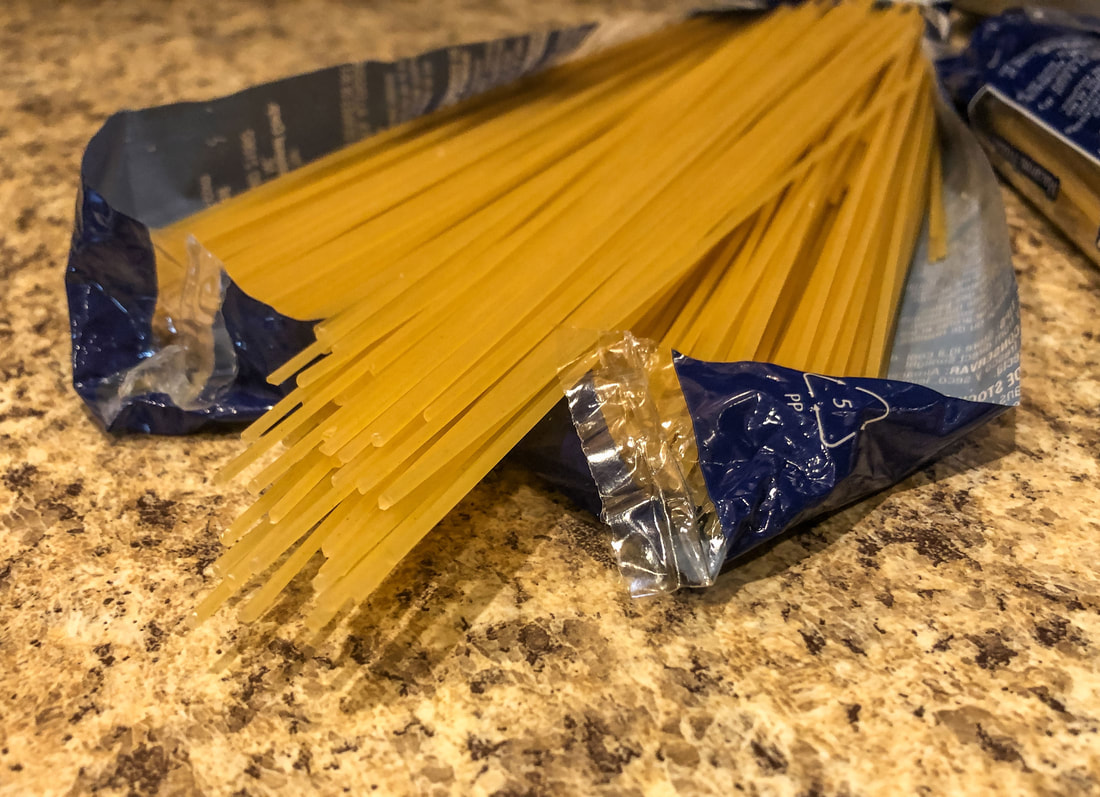 Pack of spaghetti. Photo by Diane M. Lilly, 2022. 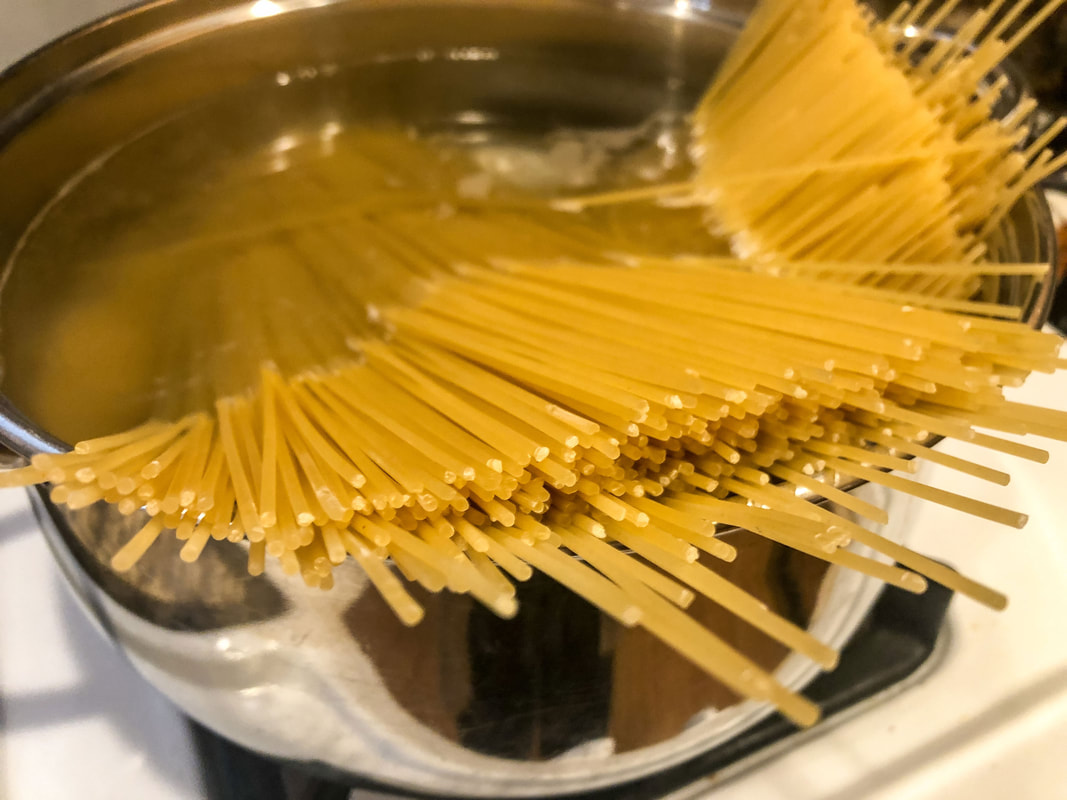 Boil the spaghetti. Photo by Diane M. Lilly, 2022.  Grease a baking pan. Photo by Diane M. Lilly, 2022. 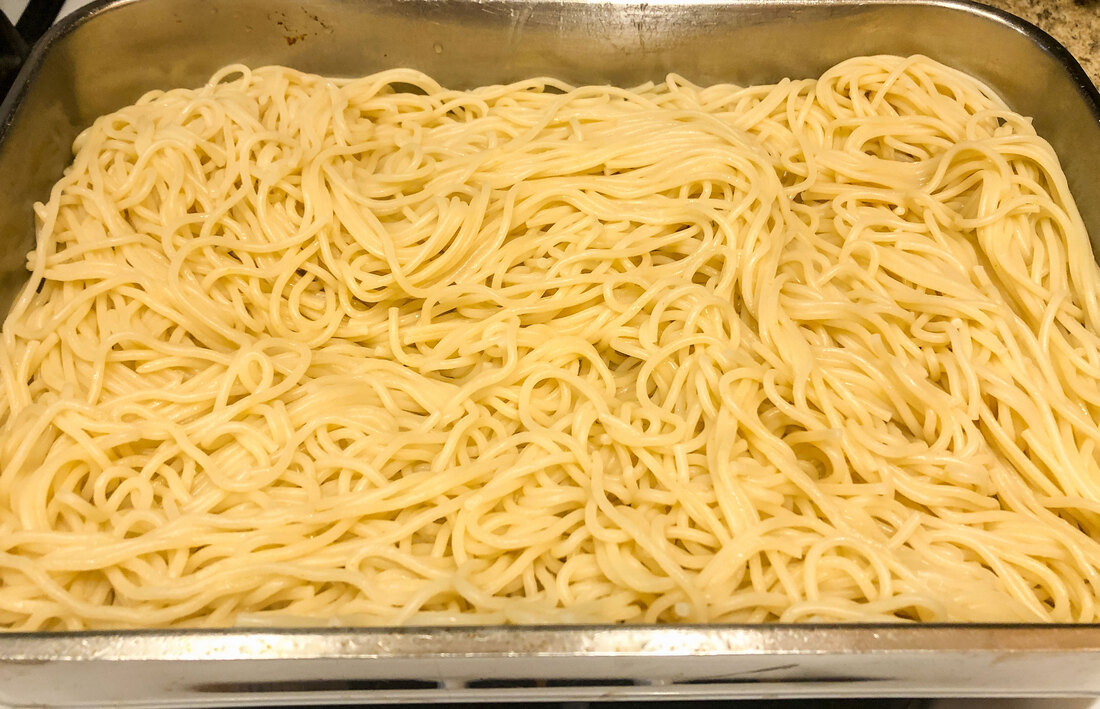 Pour cooked spaghetti into greased pan. Photo by Diane M. Lilly, 2022. Top with layers of meatballs, sauce, parmesan cheese, garlic powder, mozzarella cheese, pepper, and Italian seasoning. 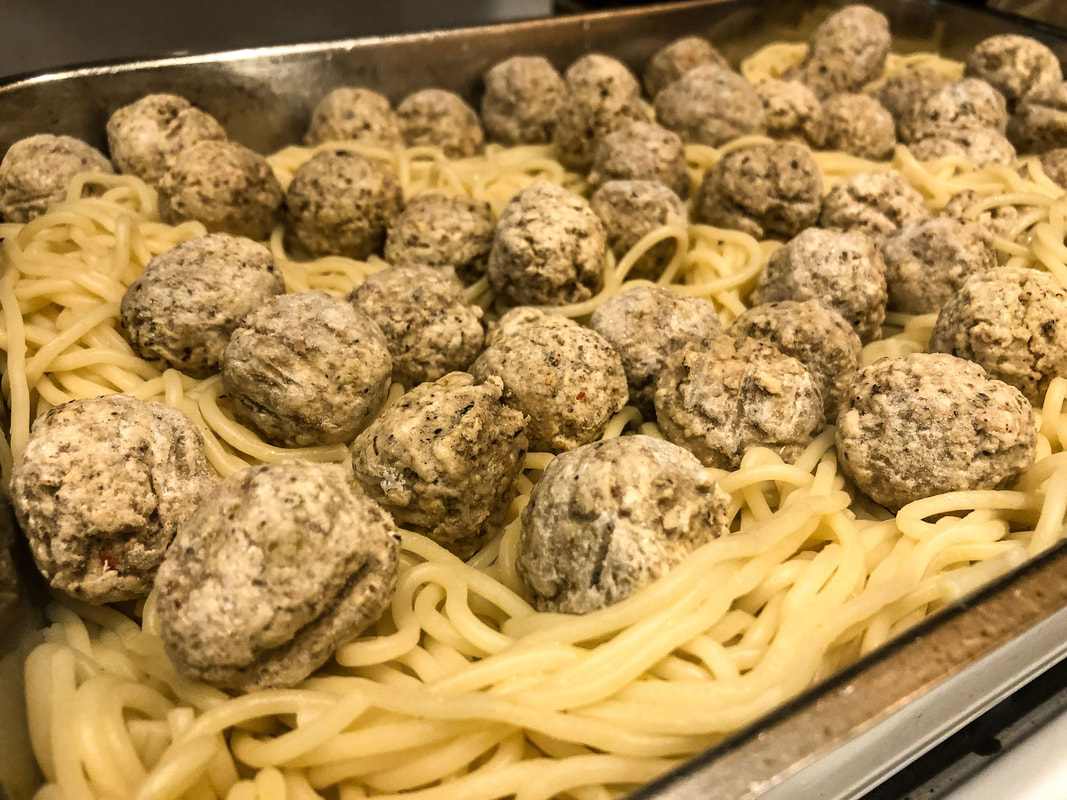 Layer meatballs on top of cooked spaghetti. Photo by Diane M. Lilly, 2022. 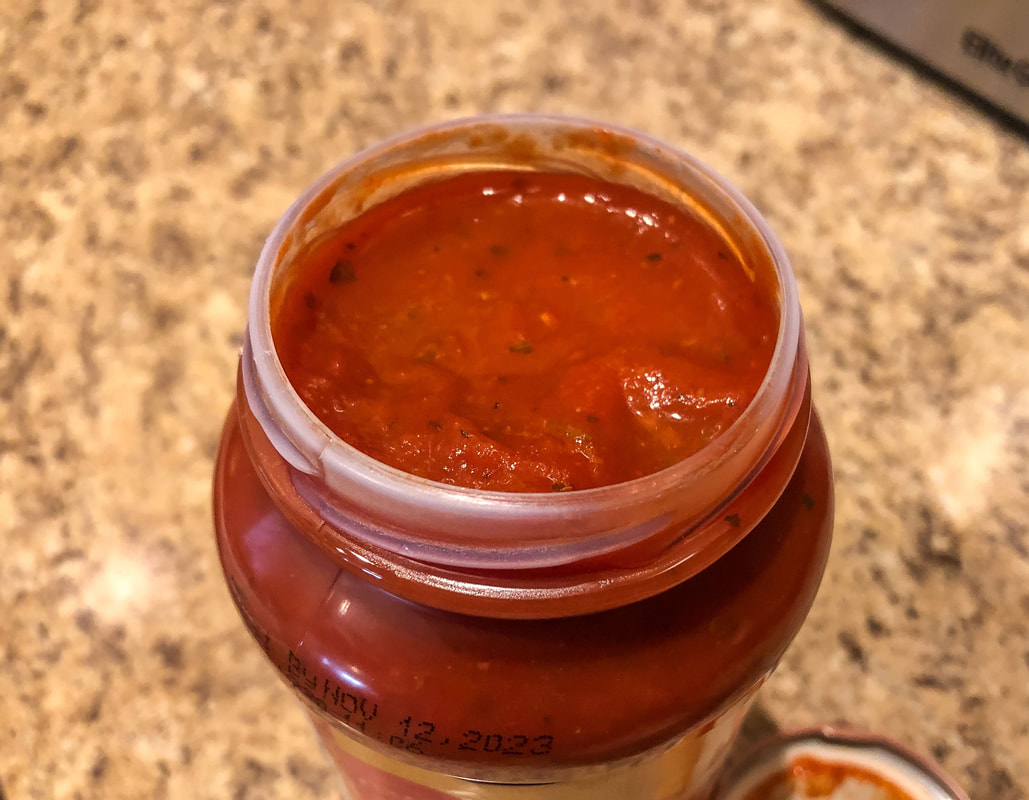 Jar of spaghetti sauce. Photo by Diane M. Lilly, 2022. 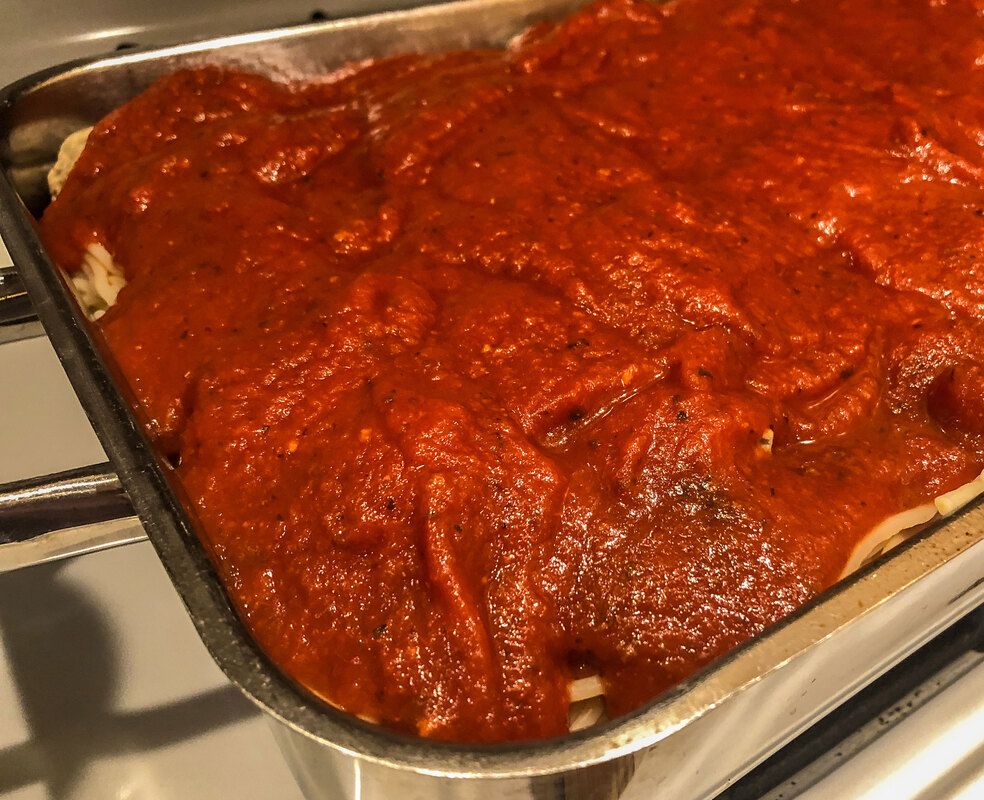 Pour spaghetti sauce over pasta and meatballs. Photo by Diane M. Lilly, 2022. 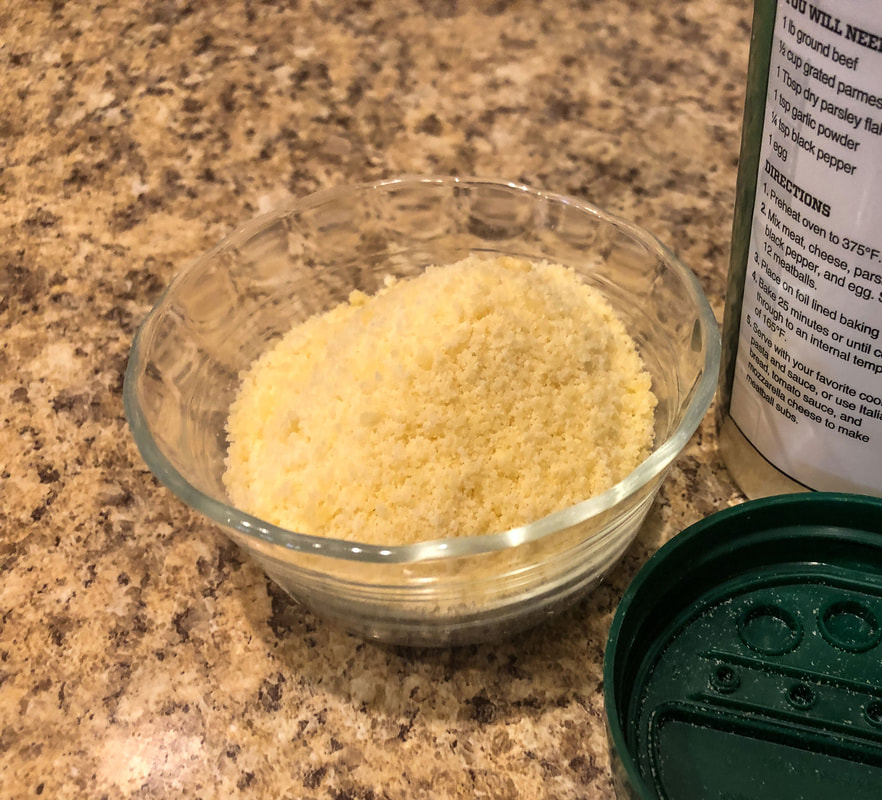 Parmesan cheese. Photo by Diane M. Lilly, 2022. 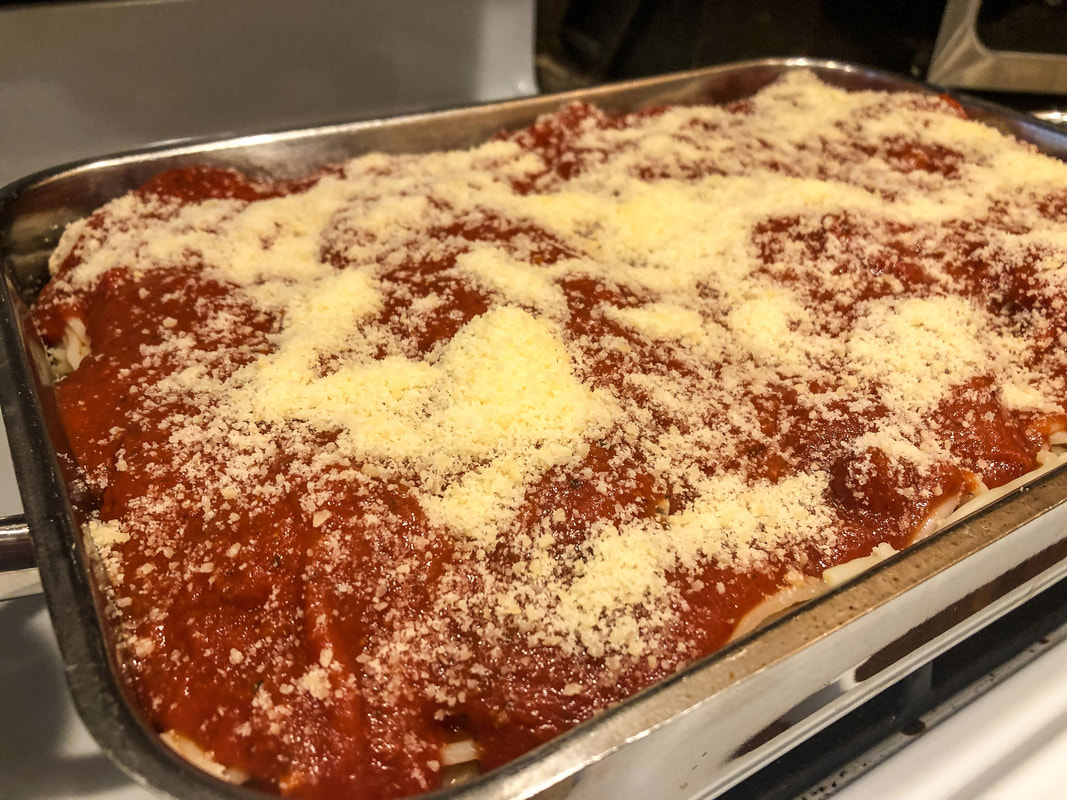 Sprinkle parmesan cheese over spaghetti, meatballs, and sauce. Photo by Diane M. Lilly, 2022. 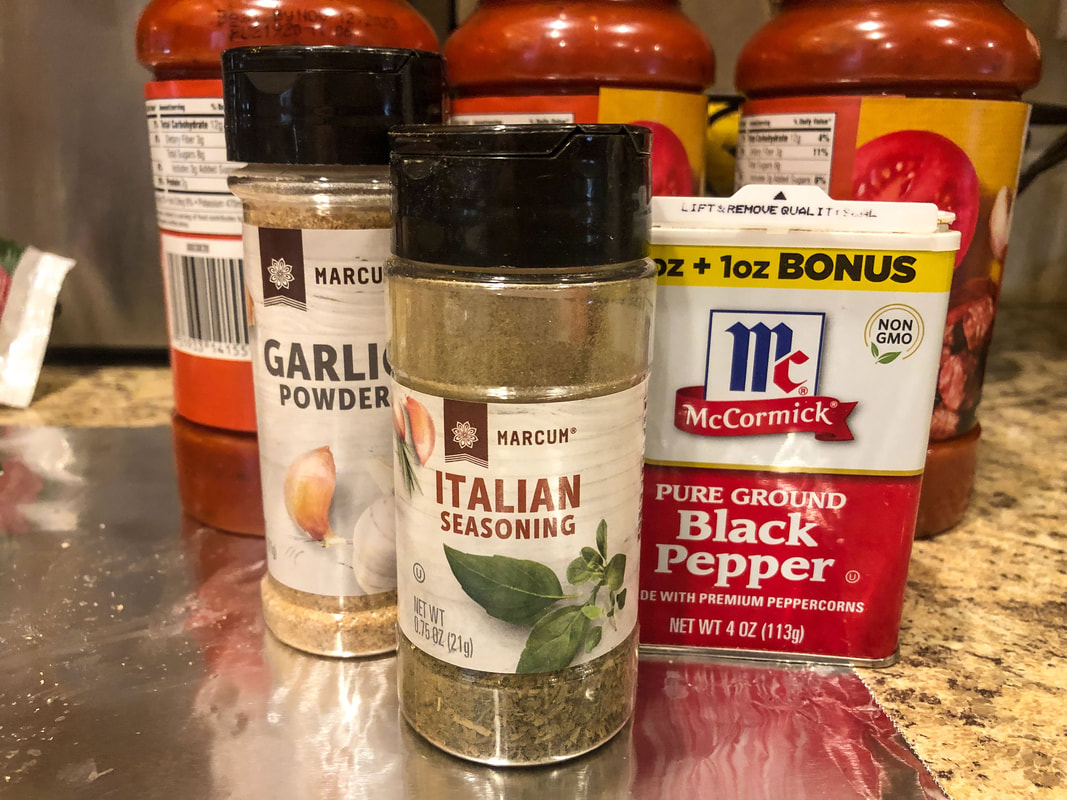 Spices. Photo by Diane M. Lilly, 2022. 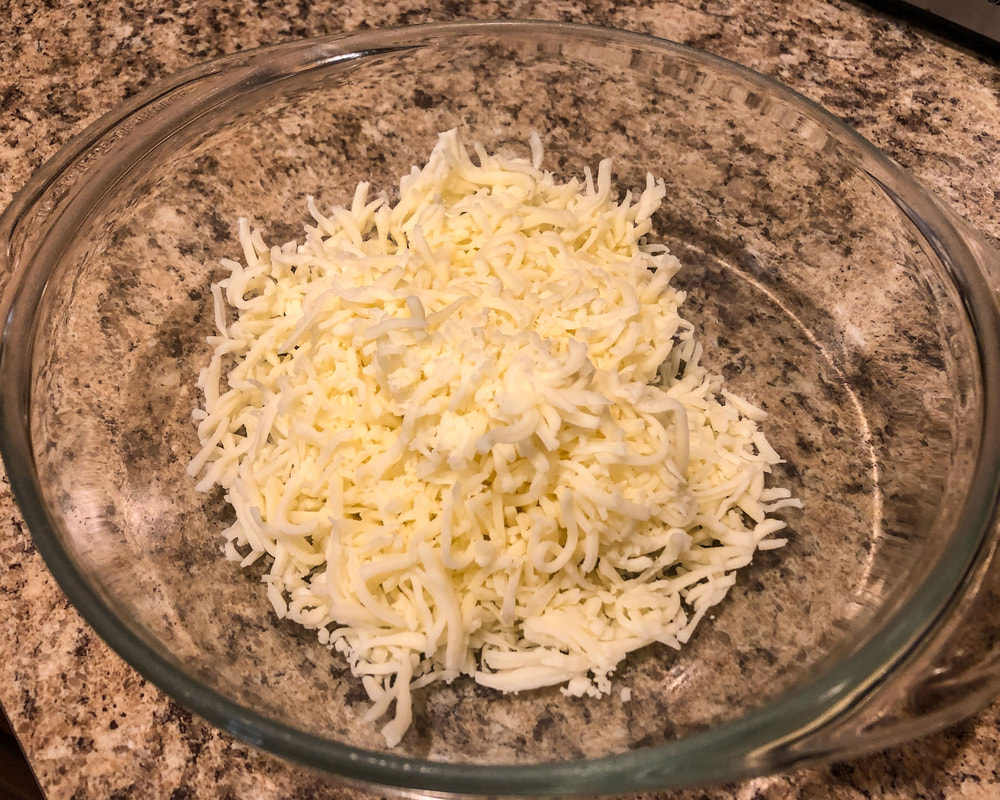 Shredded mozzarella cheese. Photo by Diane M. Lilly, 2022. 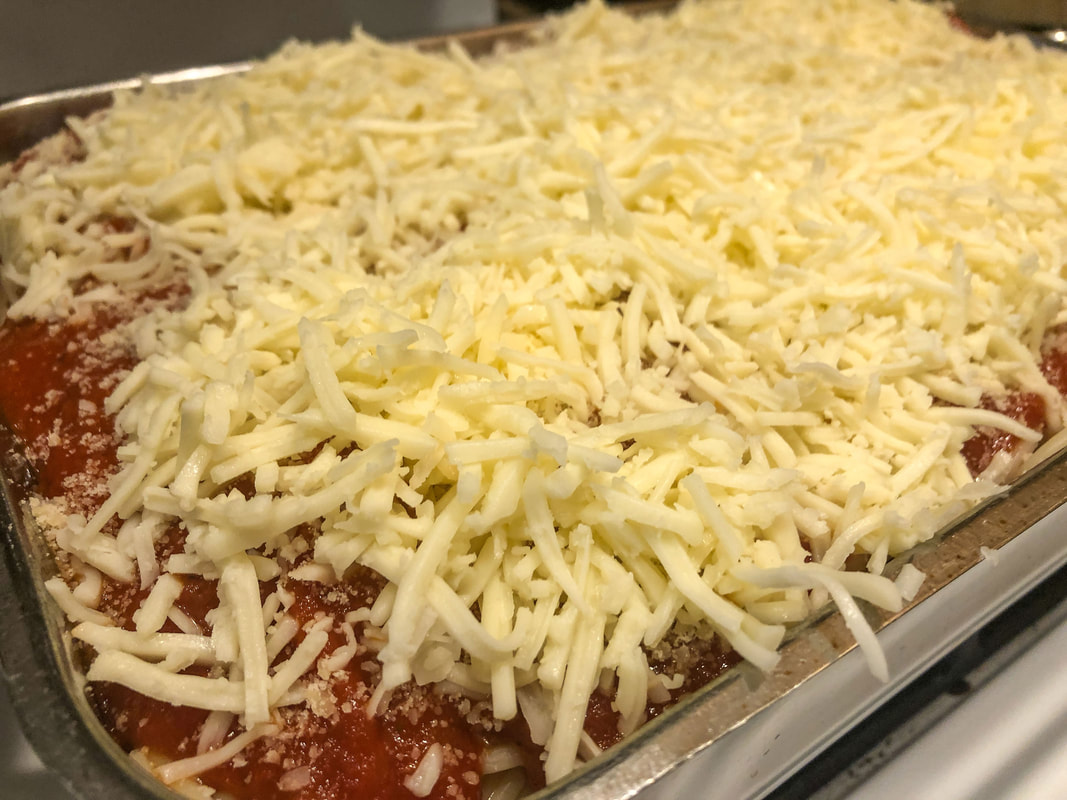 Layer shredded mozzarella over pasta, meatballs, and sauce. Photo by Diane M. Lilly, 2022. 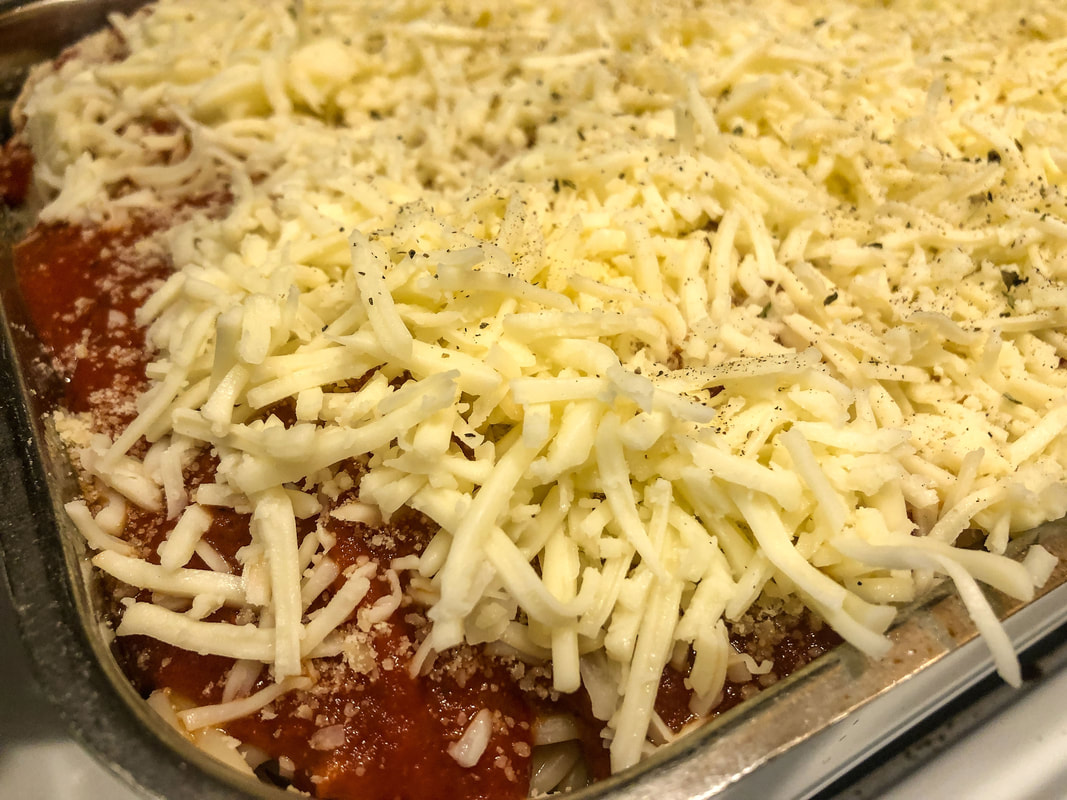 Season dish before placing in oven. Photo by Diane M. Lilly, 2022. Bake at 400 degrees F for about 35 minutes, or until cheese is browned and meatballs are cooked. Serve with garlic bread, if desired. 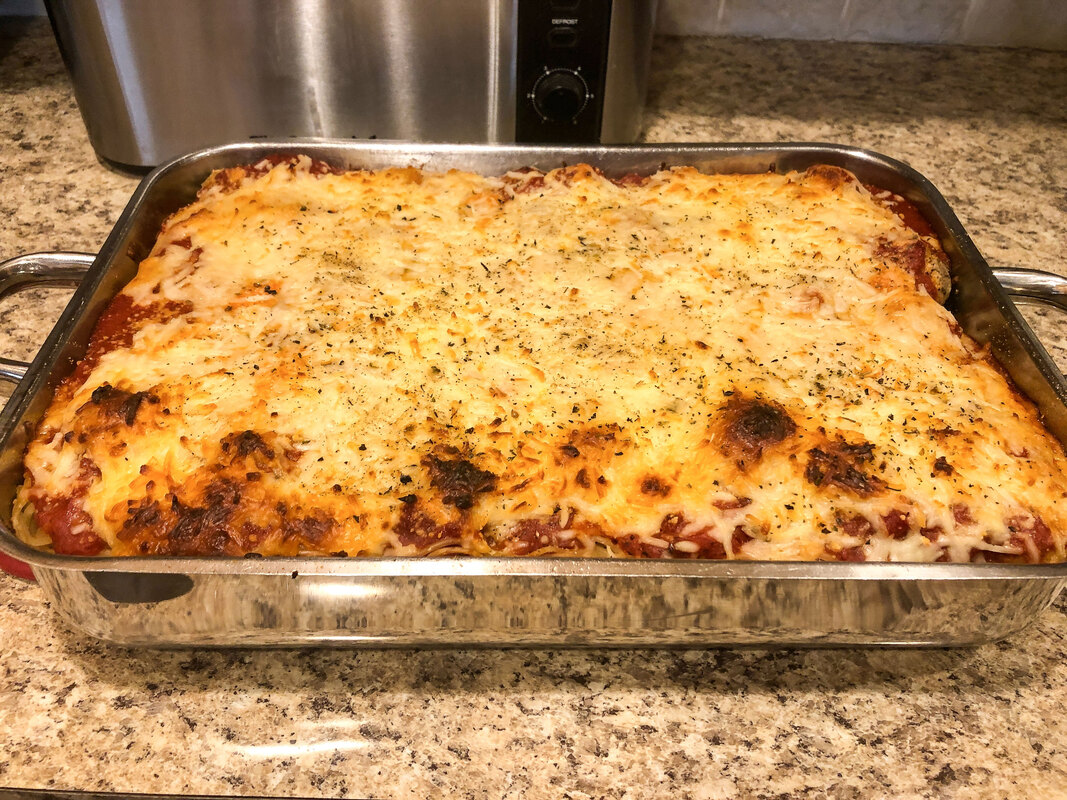 Spaghetti and meatball baked dish finished. Photo by Diane M. Lilly, 2022. Honestly, this couldn’t be a more simple recipe! And guess what? My family actually eats it! Spice it up with pepperoni, mushrooms, or any other topping you like. This dish can be as cheap or as elaborate as your budget allows...That’s what makes it so versatile! So give it a try and let me know how it went. Have a recipe tip of your own? Share it down below in the comments. And Bon Appetit! Related blogs you may want to read: Festive vegetable bake recipe Spicy crock pot chili recipe Homemade chicken noodle soup recipe Potato soup recipe Tuna noodle casserole recipe Chicken vegetable pot pie Salmon chowder recipe How to eat healthy with chicken and roasted vegetables This article may contain a few items or commercial mentions, but I only used them for demonstration purposes only. I am not endorsing any particular product or receiving any monetary gain for this blog. 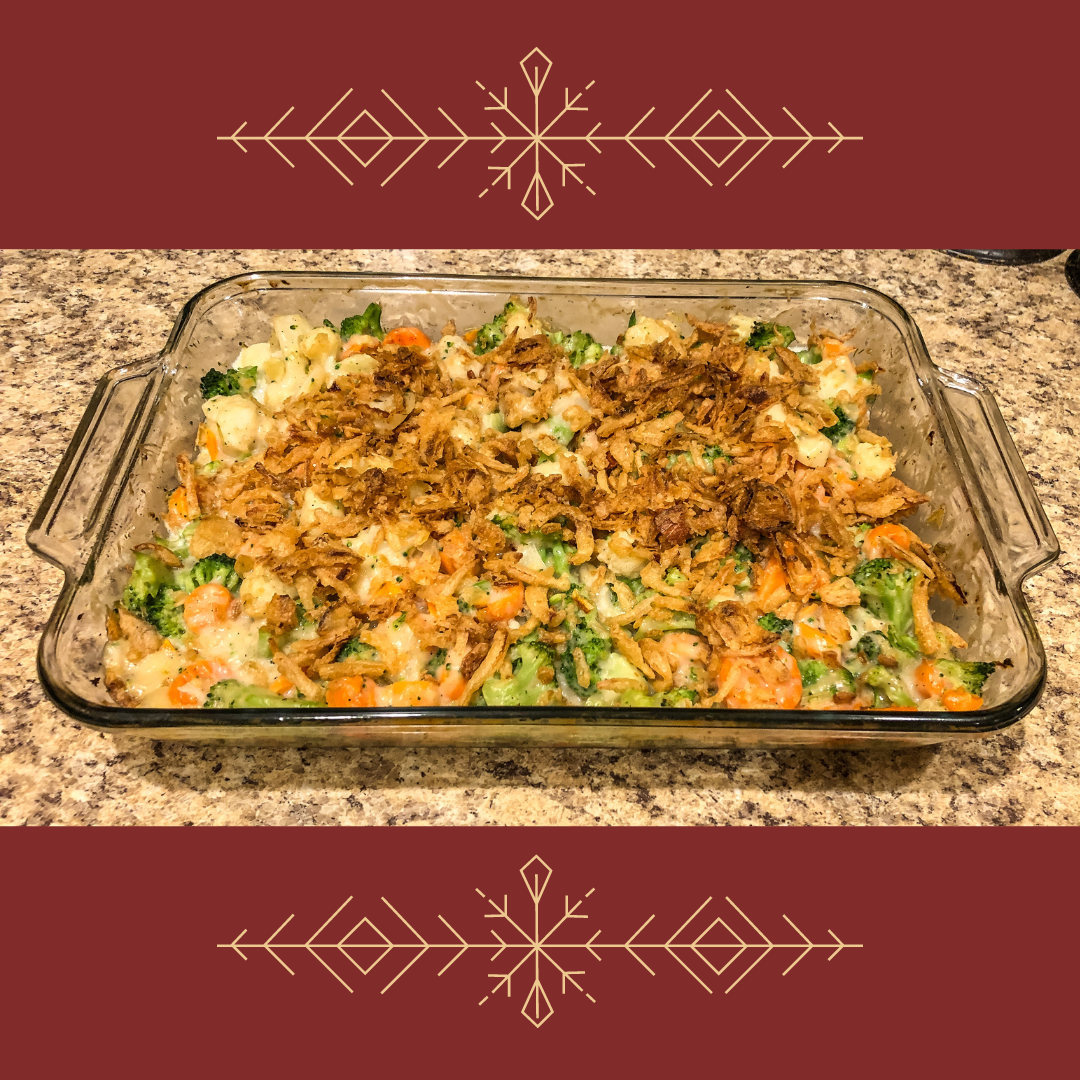 Festive vegetable bake dish. Photo by Diane M. Lilly, 2022. Are you tired of having green bean casserole during the holidays? I have been using a recipe for several years now that is a variation of the green bean casserole using mixed vegetables, and it has been a hit at my holiday dinners! And since we are on the doorstep of the winter holiday season, why not change things up a little bit with a new recipe with that same home-cooked goodness? This is the easiest recipe ever…just FOUR main ingredients! But of course, you can play with the recipe and make it your own! I usually double the ingredients to feed more people, but here is the basic recipe… Ingredients 16 ounces frozen mixed vegetables (I use the cauliflower, carrots, and broccoli mix) 10 3/4 oz condensed cream of broccoli soup 1/3 cup of milk 2.8 oz can of French onions dash of salt (opt) dash of pepper (opt) splash of Worcestershire sauce (opt) Preheat oven to 375˚. Grease a baking pan of your choosing. (I usually use a 9 x 13 glass pan.) Mix the first three ingredients plus about a third of the French onions in a bowl. Pour into your greased pan. (The grocery store was out of cream of broccoli, so I substituted cream of celery.) Spread the remaining French onions evenly over the top. Bake in the oven for 30-35 minutes. 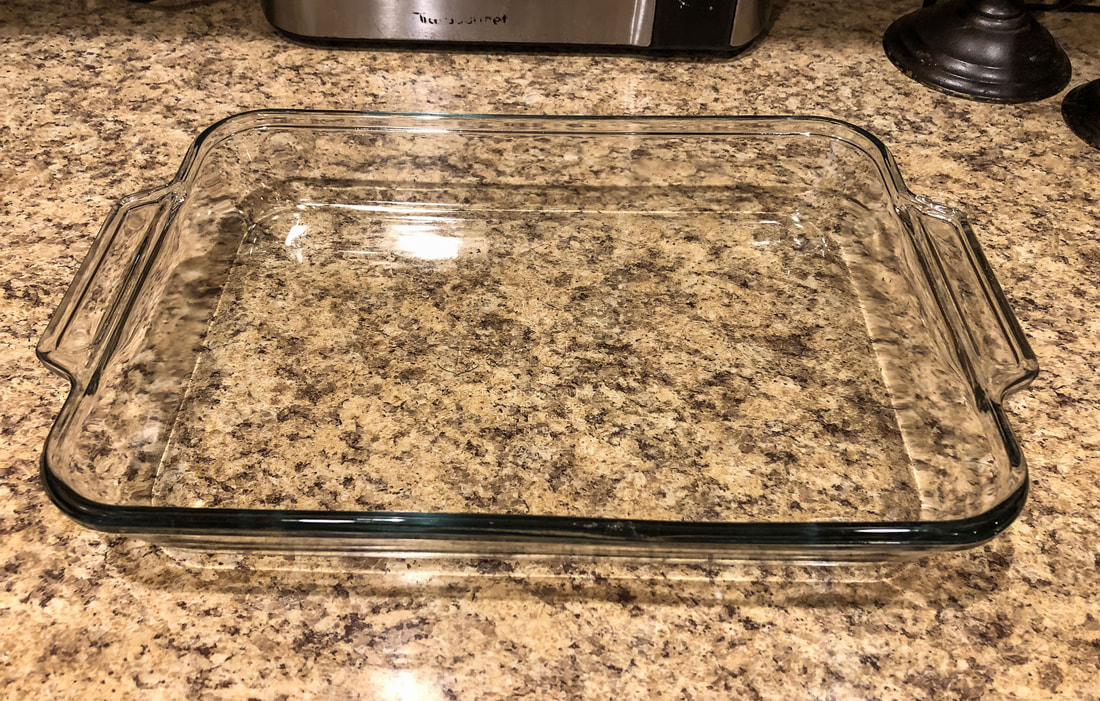 Glass pan sprayed with oil. Photo by Diane M. Lilly, 2022. 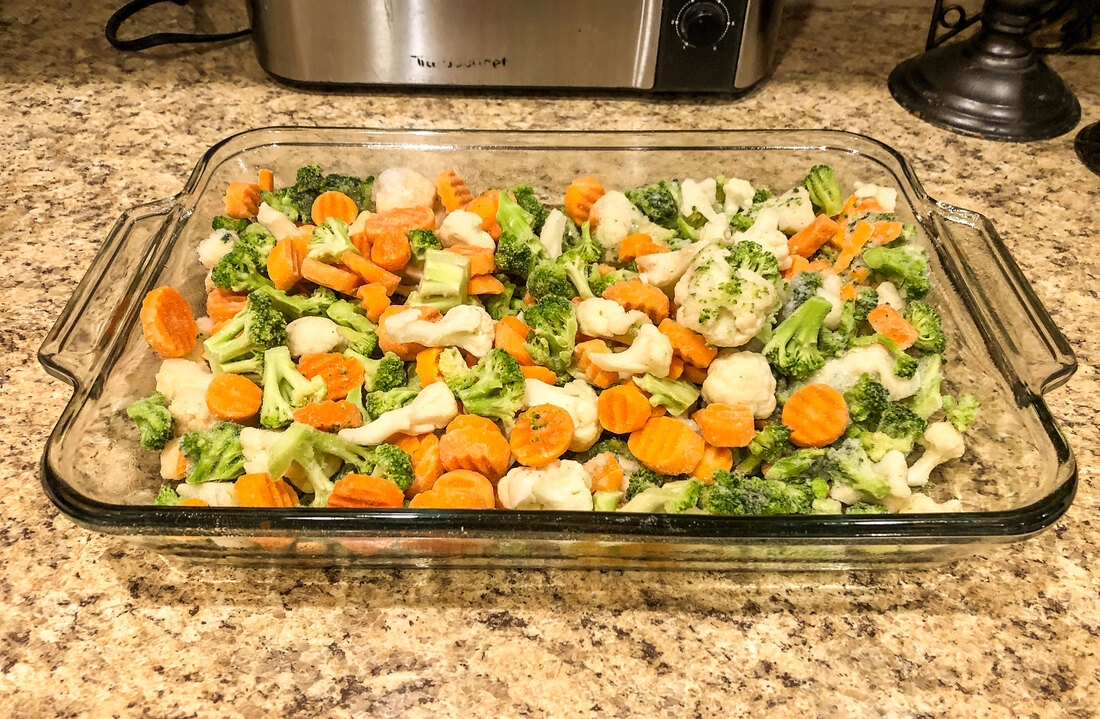 California mixed vegetables spread out in the baking pan. Photo by Diane M. Lilly, 2022. 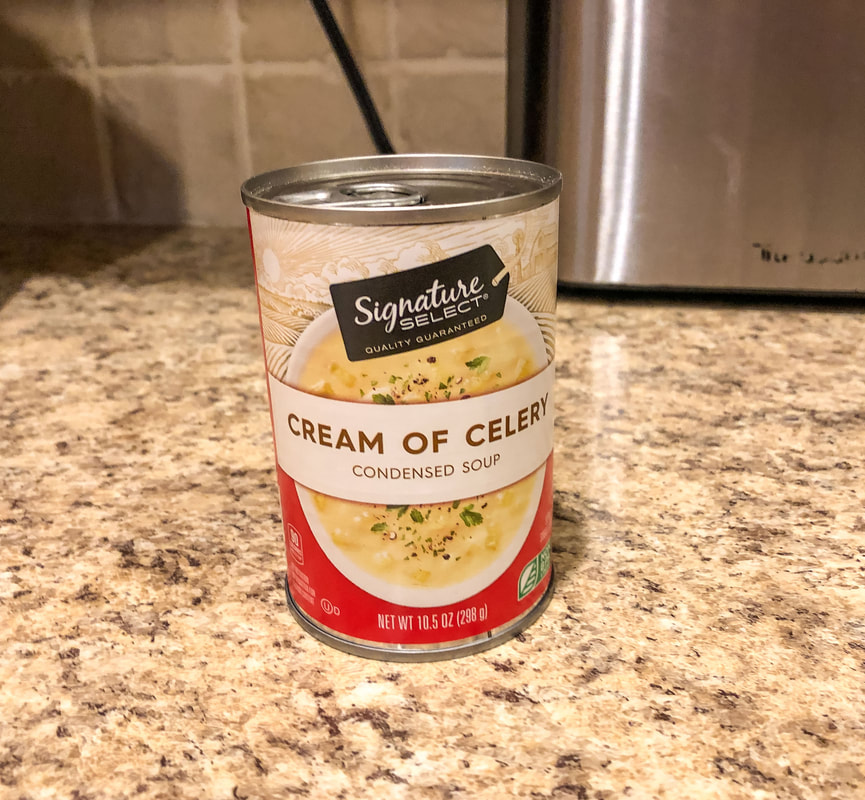 Cream of celery, substituted for the cream of broccoli. Photo by Diane M. Lilly, 2022. 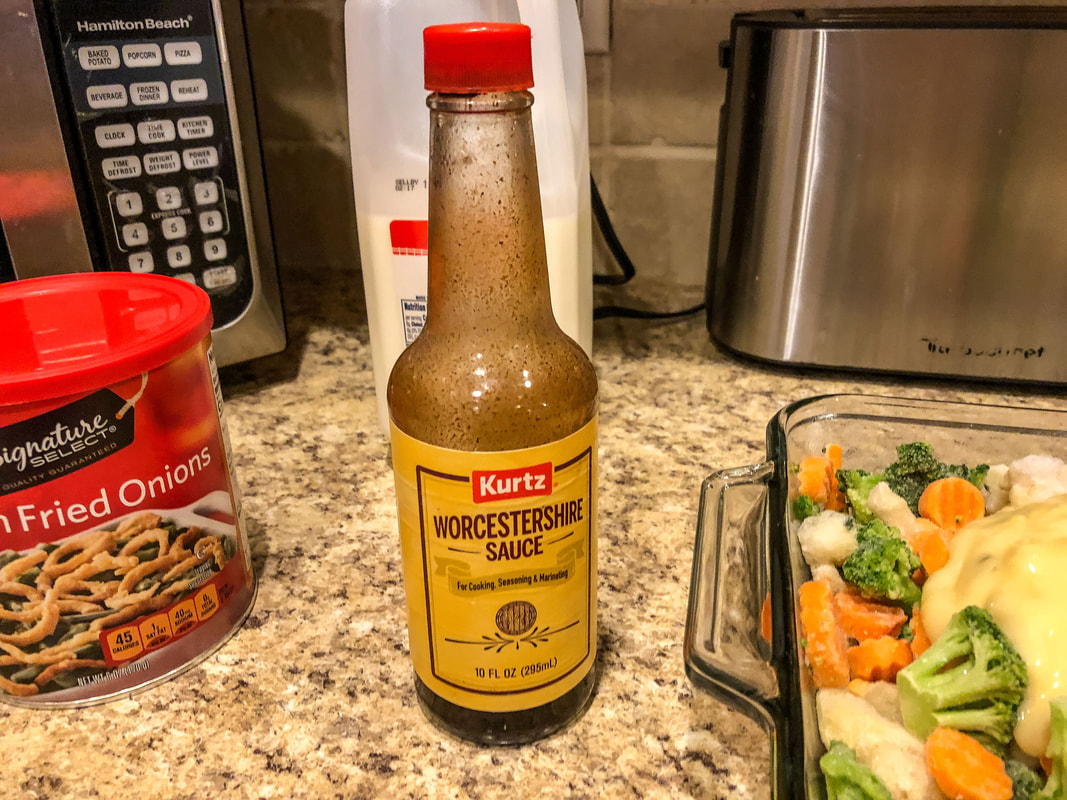 Worcestershire sauce. Photo by Diane M. Lilly, 2022.  Milk for the recipe. Photo by Diane M. Lilly, 2022.  Salt and pepper. Photo by Diane M. Lilly, 2022. 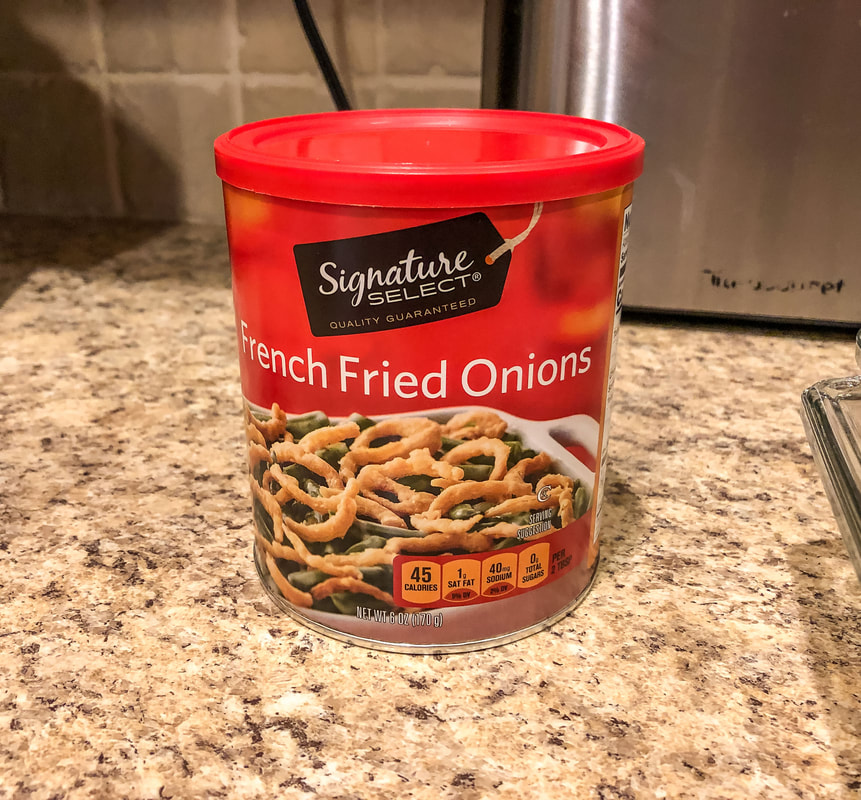 French onions. Photo by Diane M. Lilly, 2022. 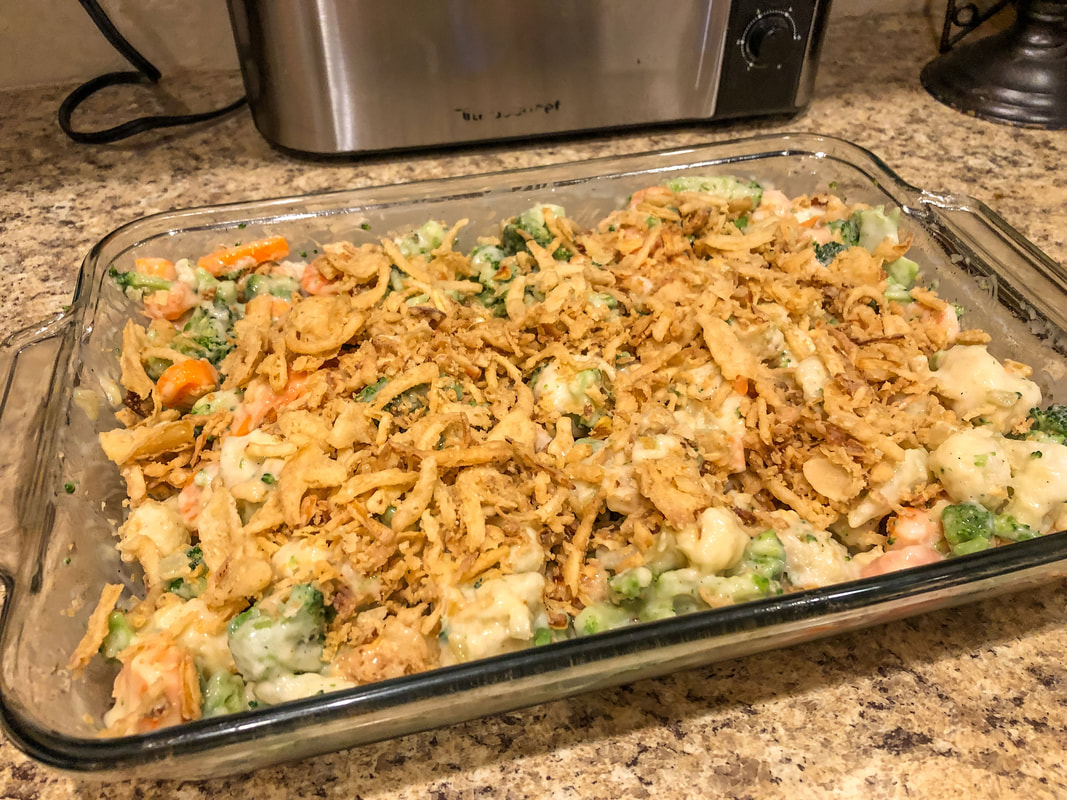 All ingredients mixed into the vegetables with French onions on top. Photo by Diane M. Lilly, 2022. 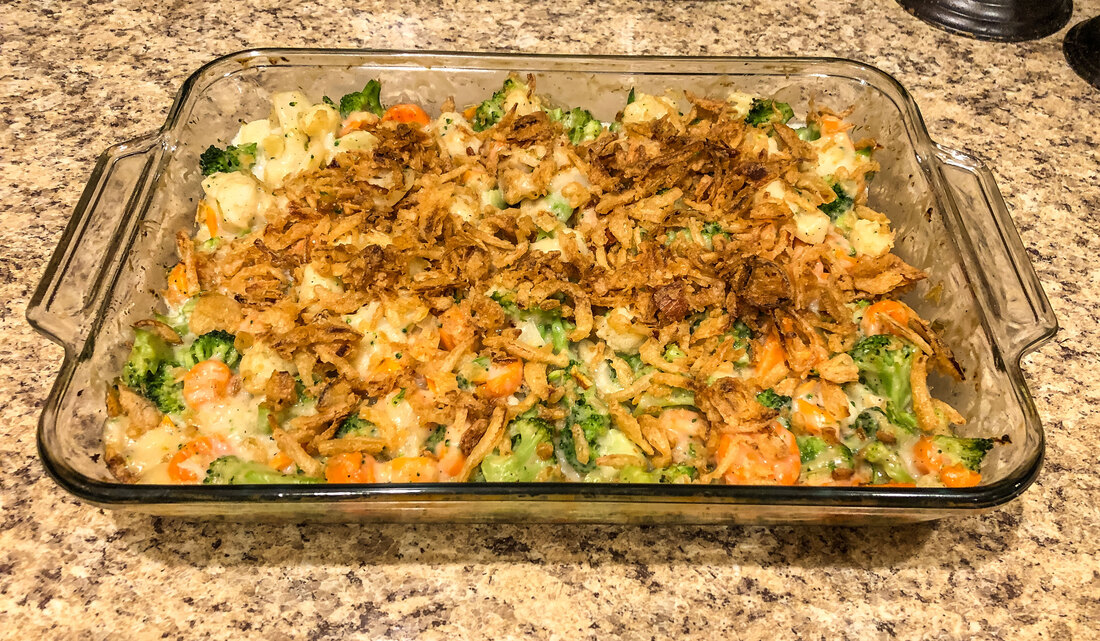 Finished festive vegetable bake. Photo by Diane M. Lilly, 2022. It’s that easy!!! This recipe has been one of my favorites for the holidays every year. It’s quick, easy, and inexpensive…What’s not to like about it?! Give it a try, and let me know what you think in the comments below! And Happy Holidays! 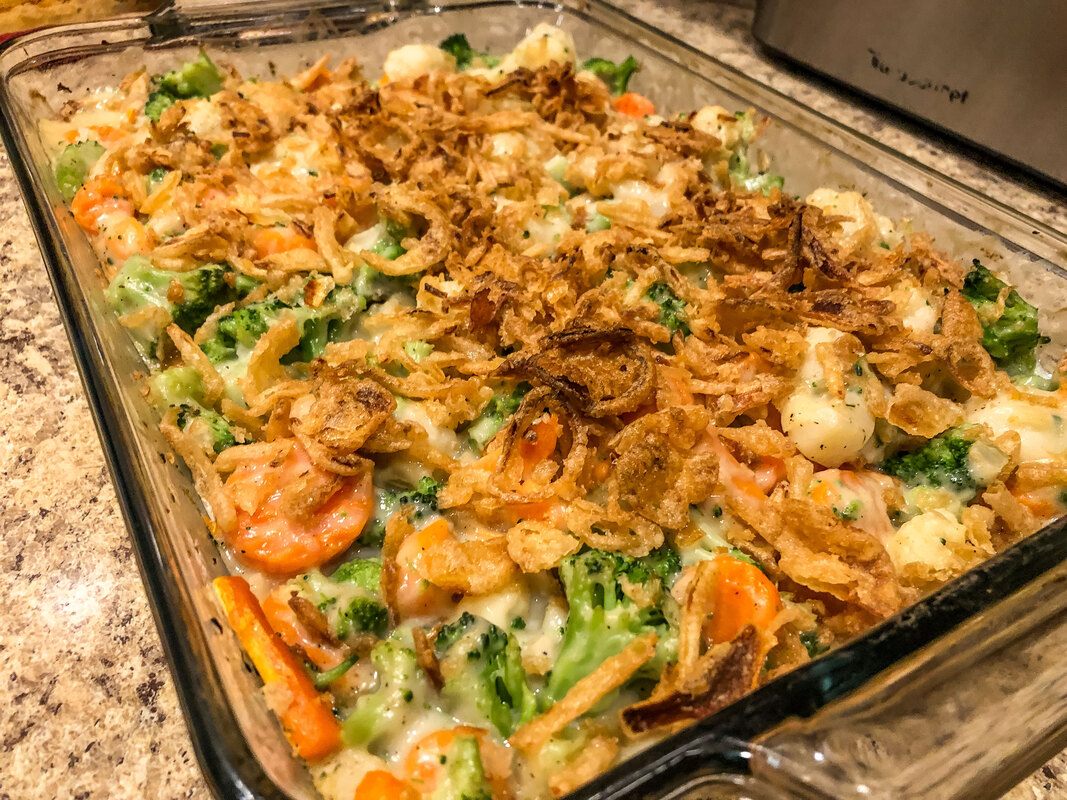 Closeup of the finished festive vegetable bake dish. Photo by Diane M. Lilly, 2022. Related blogs you may want to read: Spicy crock pot chili recipe Homemade chicken noodle soup recipe Potato soup recipe Tuna noodle casserole recipe Chicken vegetable pot pie Salmon chowder recipe How to eat healthy with chicken and roasted vegetables This article may contain a few items or commercial mentions, but I only used them for demonstration purposes only. I am not endorsing any particular product or receiving any monetary gain for this blog. 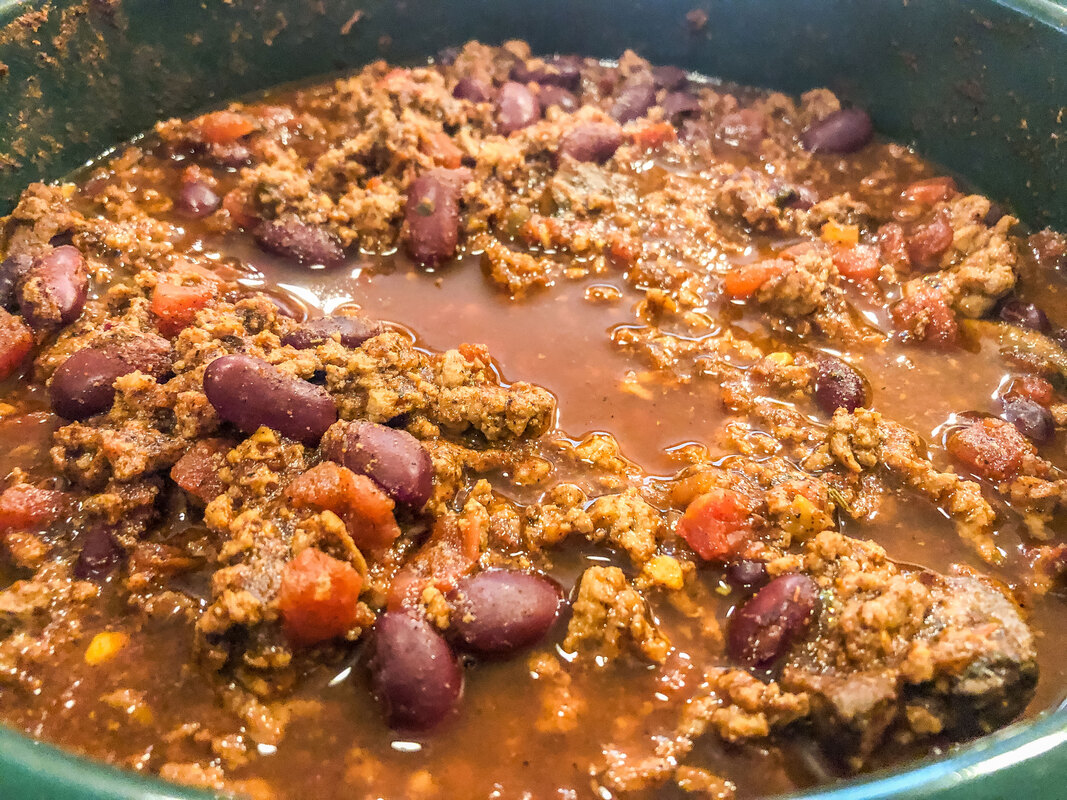 Chili cooking in a crockpot. Photo by Diane M. Lilly, 2022. Each year when the weather turns cold, the anticipation in my household runs high, everyone eagerly waiting for me to bust out one of our favorite meals—belly-warming chili! Nothing is better than warm, spicy food on a cold, wintry day! And when I say spicy, I mean spicy!!! We’re talking “make your family cry” spicy…and yet they all go back for seconds and thirds! I know, we’re sick people! Today, I’ll share the recipe for my homemade spicy chili. The recipe you will find below is a general one--I make it less or more spicy, depending on my mood. Once in a while, other spicy ingredients make their way into the pot, my sinister way of experimenting on my family to see just how much they can take! As for how much spice to use, that is totally up to the individual taste. To be honest, I don’t measure. Every time I make chili, it tastes a little different. But the main ingredients are all the same. The spice list starts with chili powder, and from there, you can use any quantity and combination of other spices to get the taste you want. This recipe fills two crockpots, so if you want less, just cut all the ingredients in half. So here goes… 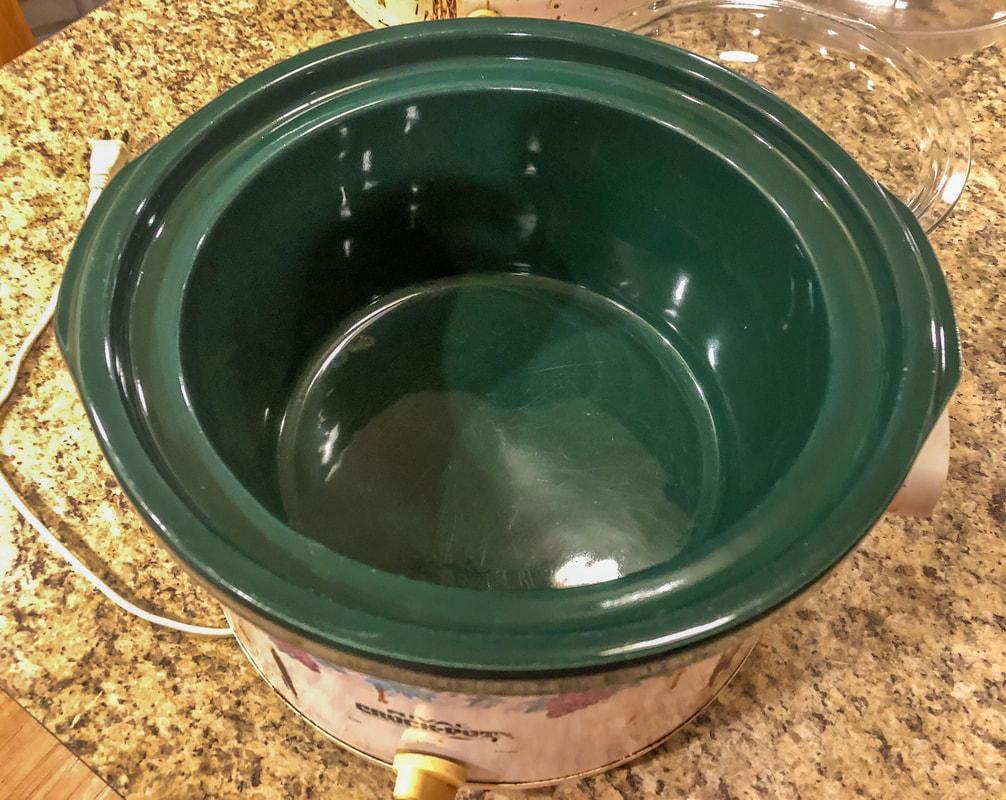 One of two crockpots I will be using. Photo by Diane M. Lilly, 2022. Main ingredients for two crockpots: 5 lb ground meat 4 cans kidney beans (I use a combination of both light and dark) 2 cans stewed or diced tomatoes (with or without seasoning) 2 jars mild/medium salsa splash of soy or Worcestershire sauce (optional) 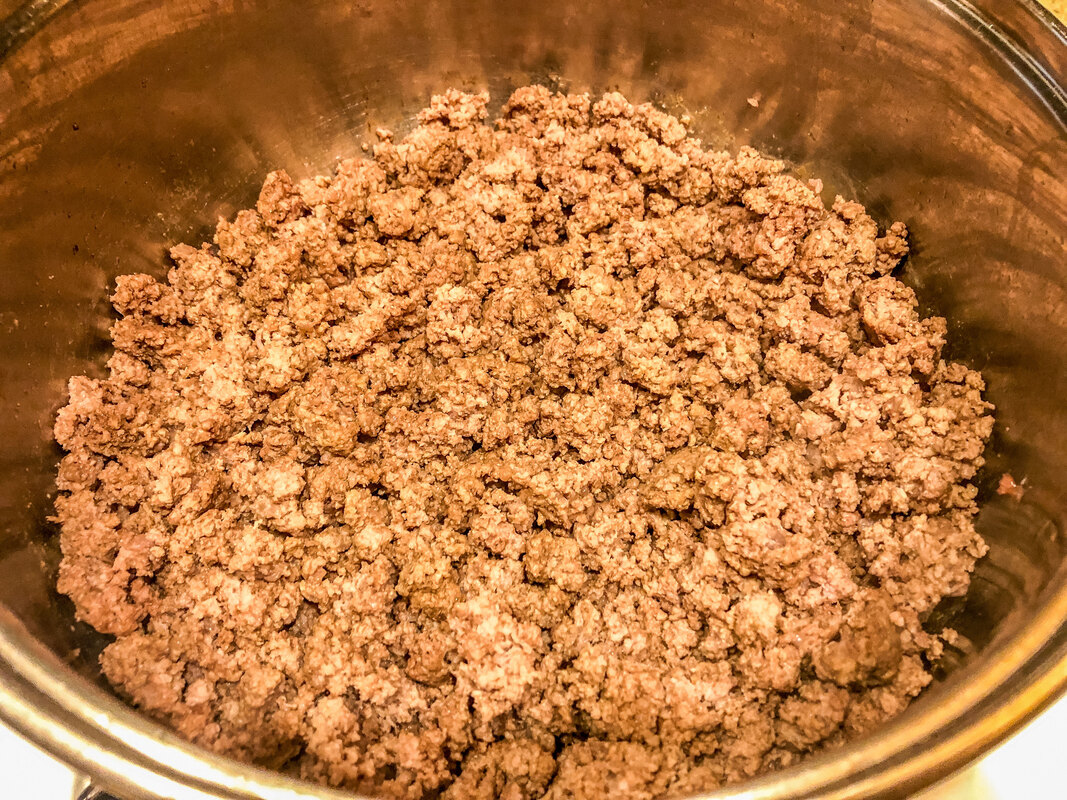 Cooked ground beef. Photo by Diane M. Lilly, 2022. 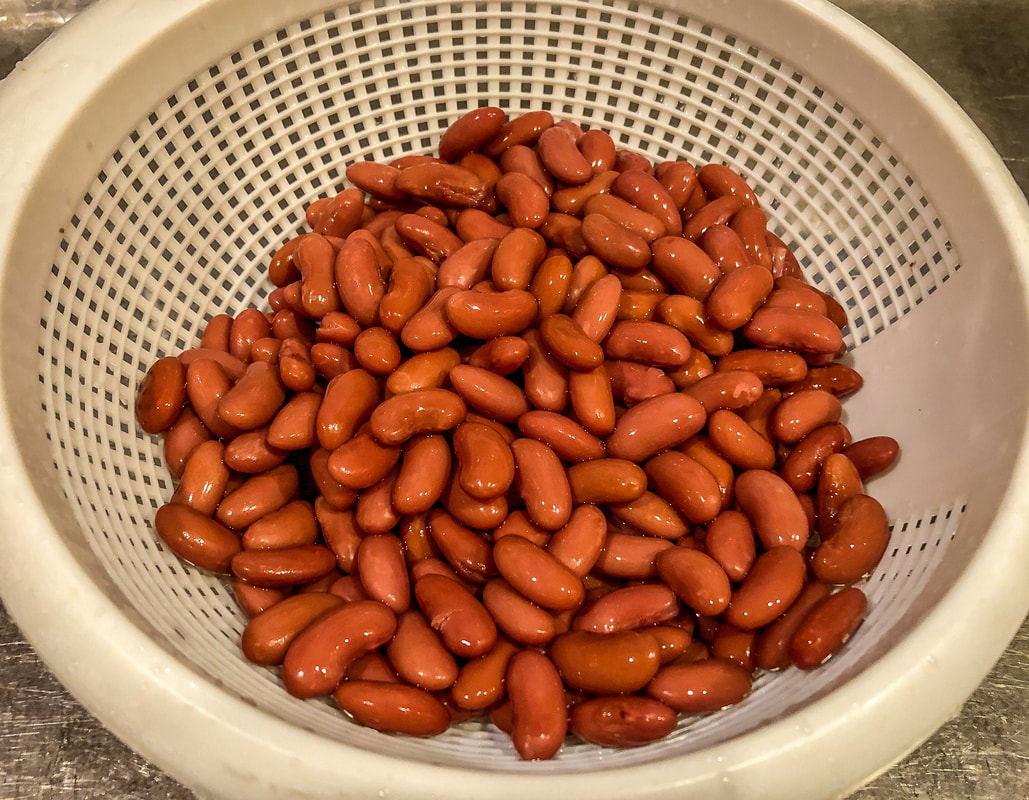 Rinsed kidney beans. Photo by Diane M. Lilly, 2022. 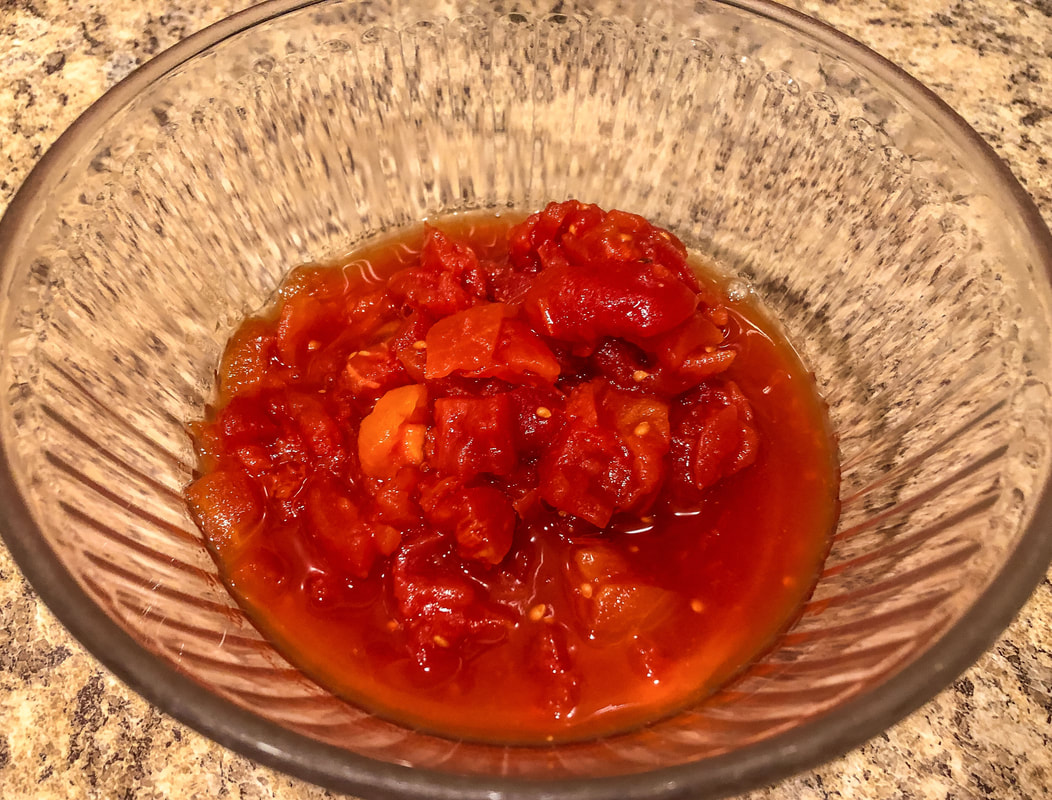 Diced tomatoes. Photo by Diane M. Lilly, 2022. 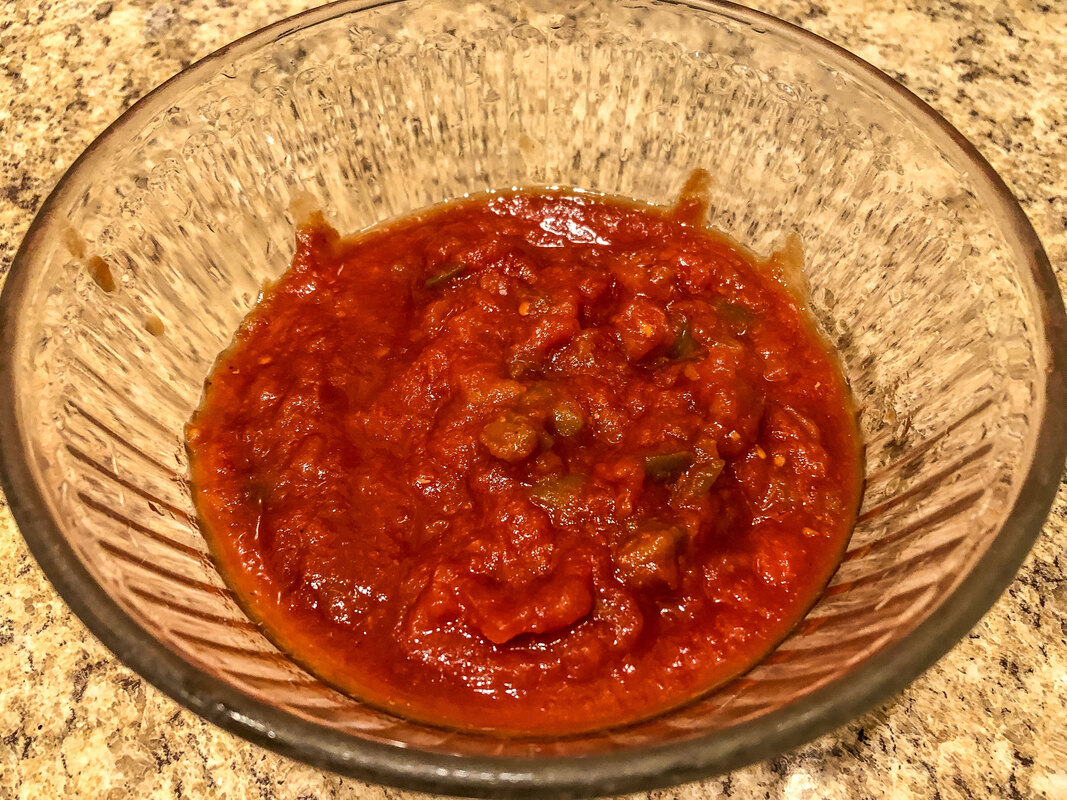 Medium salsa. Photo by Diane M. Lilly, 2022. 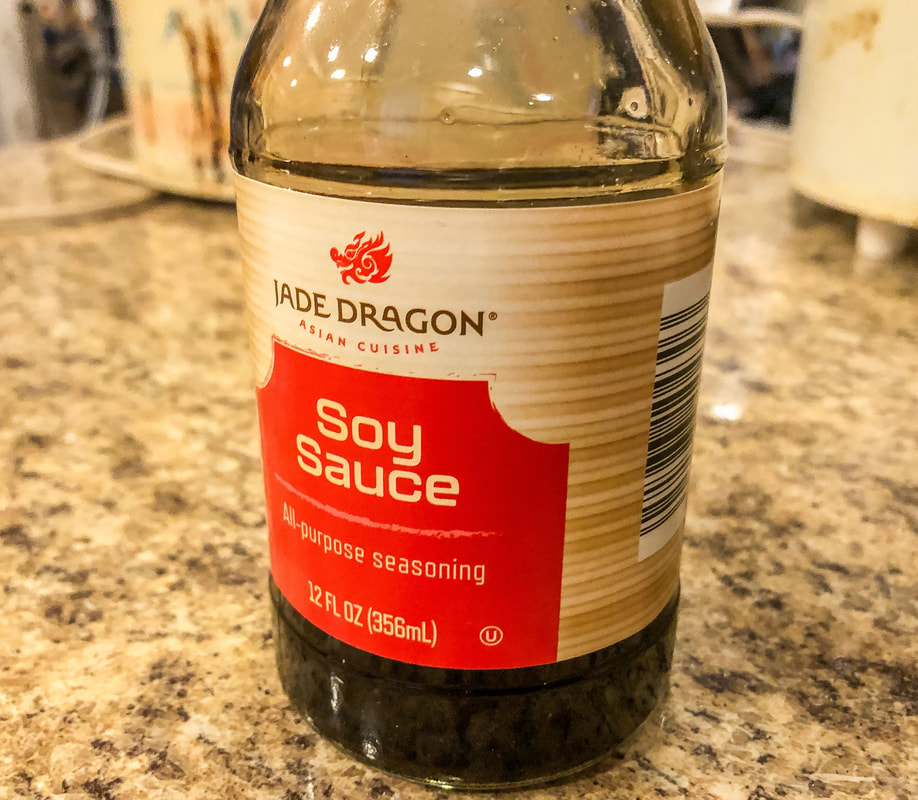 Soy sauce. Photo by Diane M. Lilly, 2022. Seasonings & spices for two crockpots: 2 packs chili seasoning chili powder (approx. 6 TBS) salt (approx. 2 tsp) pepper (approx. 2 tsp) cayenne (approx. 3 tsp) red pepper flakes (approx. 1 tsp) paprika (approx. 3 tsp) garlic powder (approx. 2 tsp) Italian seasonings, optional (approximately 1 tsp) 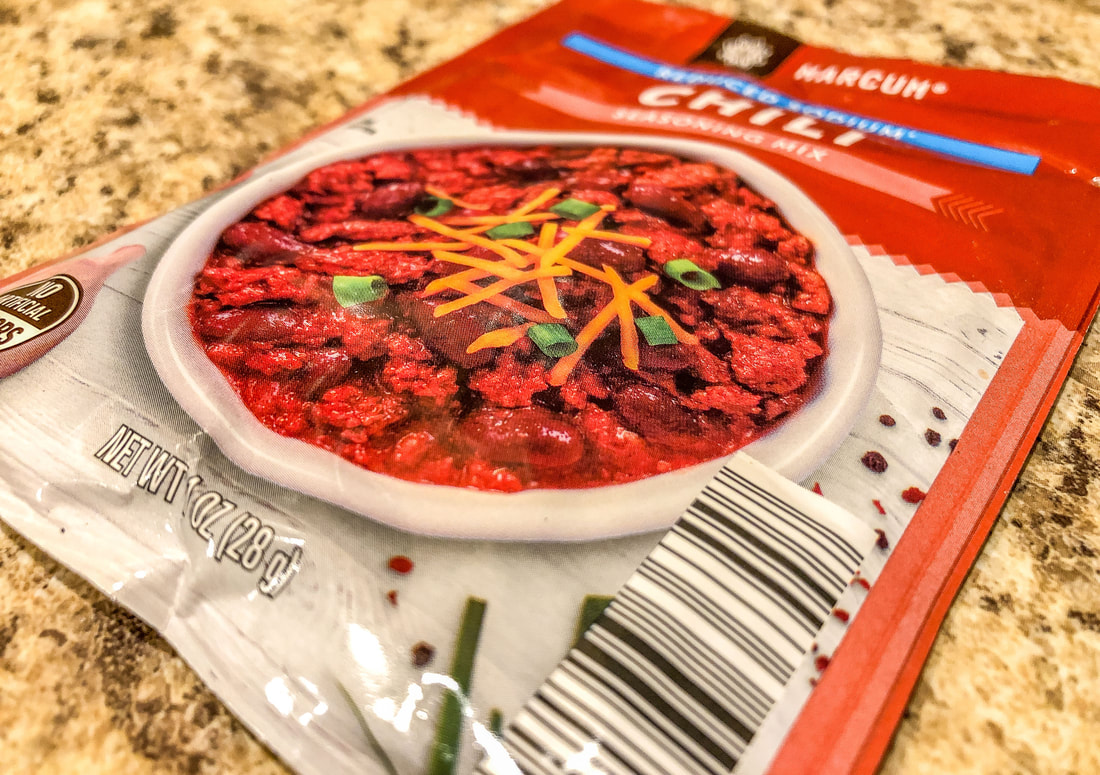 Chili seasoning packet. Photo by Diane M. Lilly, 2022. 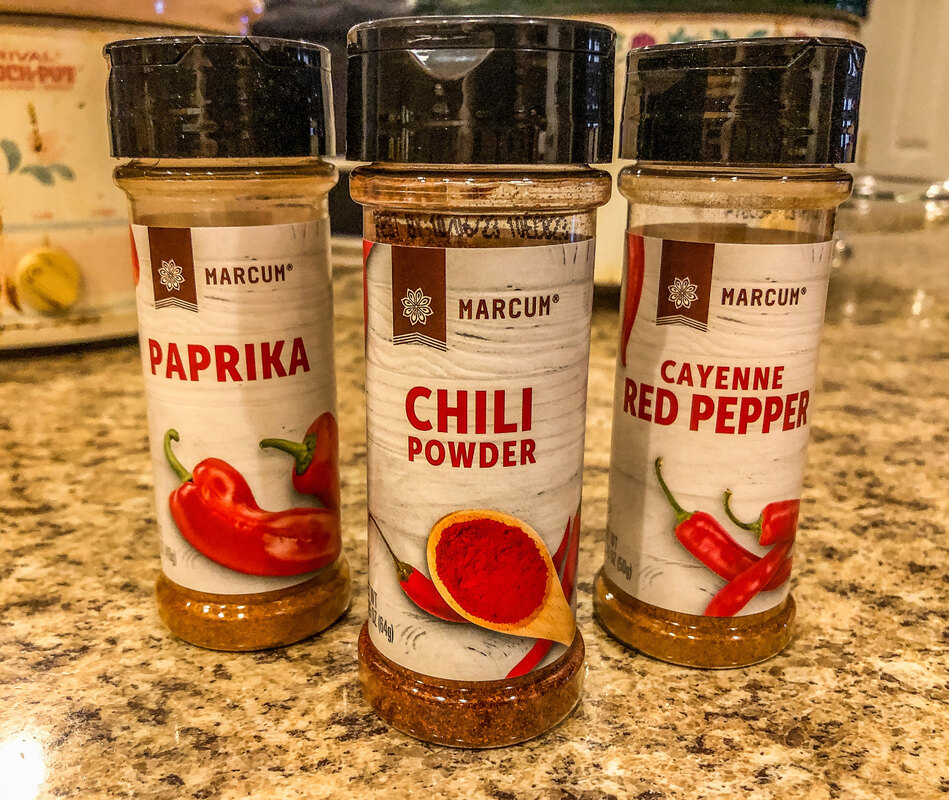 Spices for the chili. Photo by Diane M. Lilly, 2022. 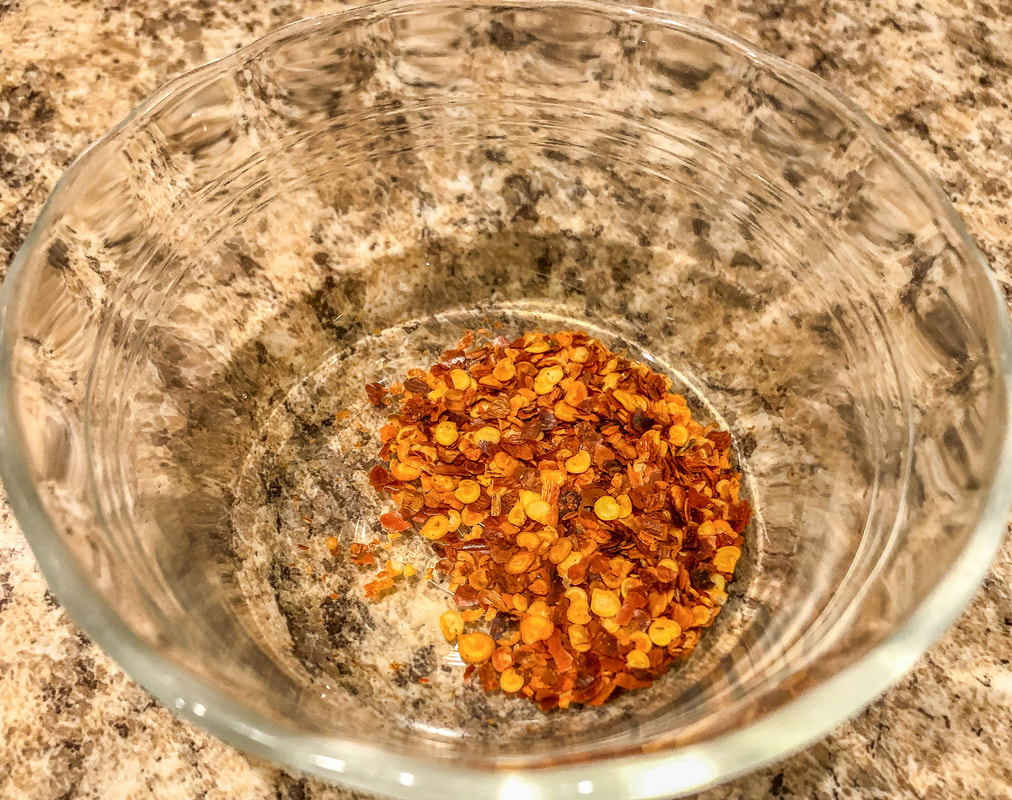 Red pepper flakes. Photo by Diane M. Lilly, 2022. 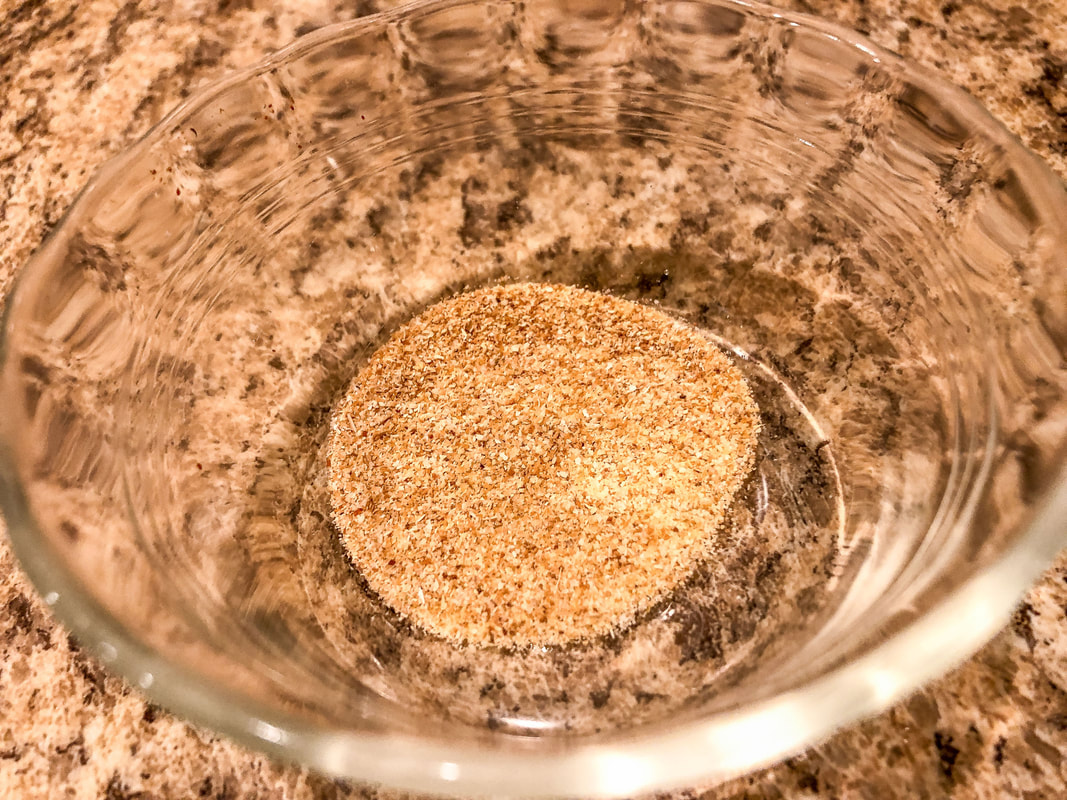 Garlic powder. Photo by Diane M. Lilly, 2022. 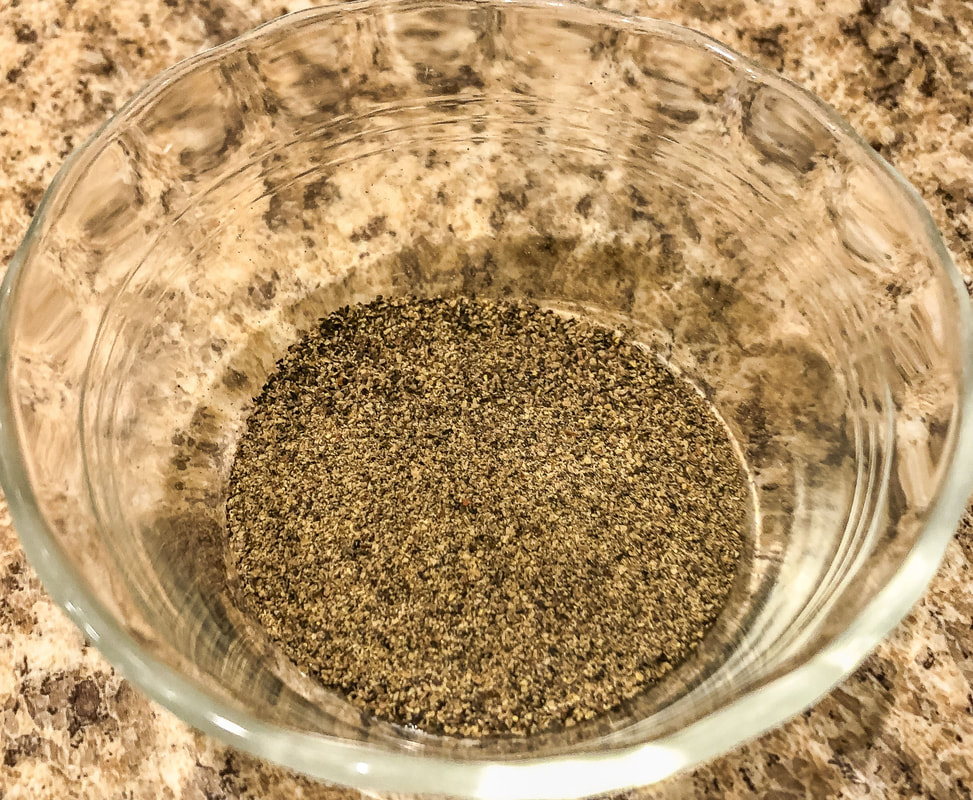 Black pepper. Photo by Diane M. Lilly, 2022. 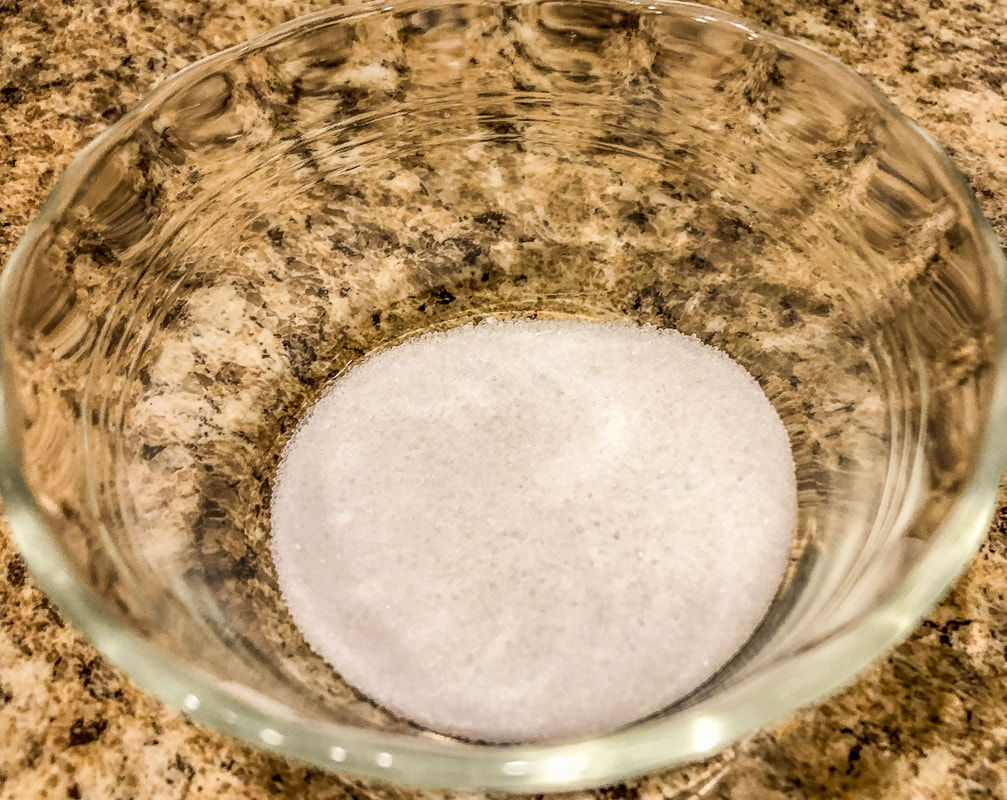 Salt. Photo by Diane M. Lilly, 2022. Brown the beef in a large pot and then rinse the grease. Drain well. Divide the cooked ground beef in half and pour into two crockpots. Next, rinse the kidney beans until the water runs clean, and divide between the two crockpots (2 cans per crock pot). Pour one can of stewed or diced tomatoes into each crockpot. Add one jar of mild or medium salsa to each crockpot. Add a splash of soy or Worcestershire sauce to each pot. (This is optional, but I find it adds a bit of flavor, as long as you don’t use too much.) Pour one pack of chili seasoning into each pot. Add in the rest of the seasonings to taste. Mix them in a bowl and then pour them into the crockpots or eyeball them while adding each spice directly into the pot. I usually eyeball it…keeps things simple! Finally, mix everything and turn the crockpot on low to cook for 5-7 hours (or on high for 4-5 hours). 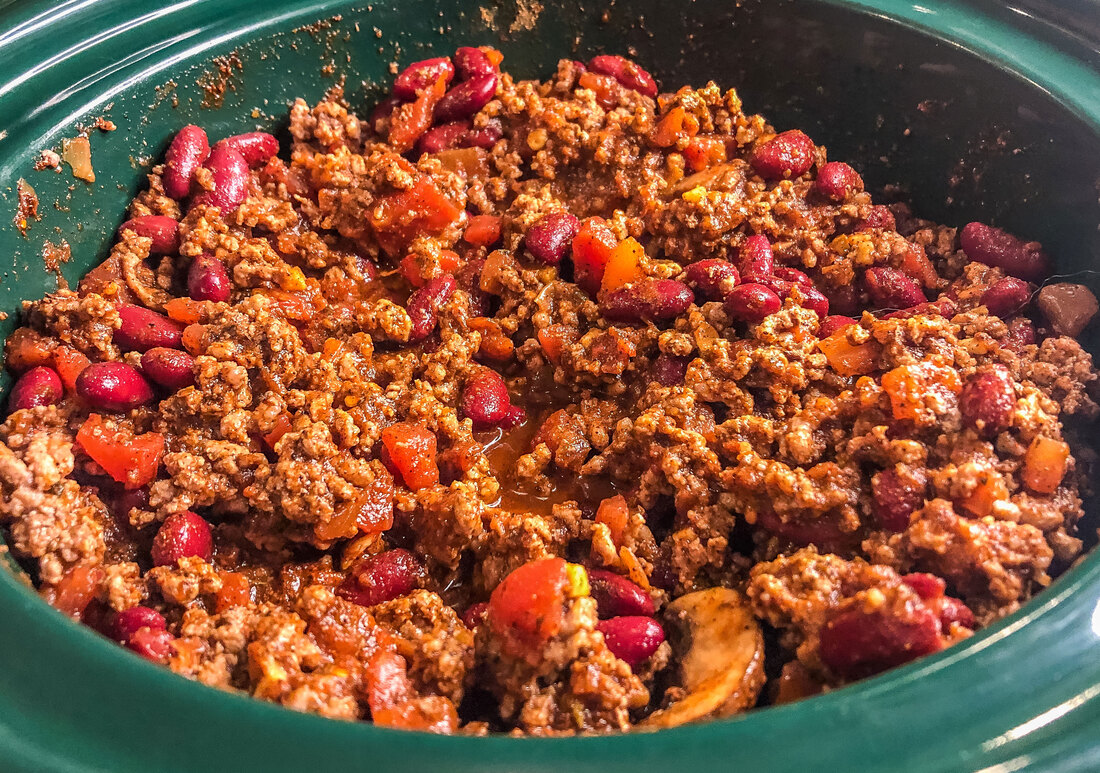 Cooked chili in the crockpot. Photo by Diane M. Lilly, 2022. This chili recipe tastes delicious with shredded cheese and buttered bread, but I have also served it over wide egg noodles or rotini. So that’s my recipe for spicy chili! Let me know in the comments below what you think. Do you have your favorite recipe you’d like to share? And—just curious—do you prefer your chili spicy or not? Drop a comment below!  Homemade spicy chili served with shredded cheese. Photo by Diane M. Lilly, 2022. Related blogs you may want to read: Homemade chicken noodle soup recipe Potato soup recipe Tuna noodle casserole recipe Chicken vegetable pot pie Salmon chowder recipe How to eat healthy with chicken and roasted vegetables This article may contain a few items or commercial mentions, but I only used them for demonstration purposes only. I am not endorsing any particular product or receiving any monetary gain for this blog.  Homemade rosemary muffins with eggs and sausage. Photo by Diane M. Lilly, 2022. For some crazy reason, the fall weather has awakened a craving for breakfast muffins! After weeks of brainstorming, this recipe on Epicurious for rosemary muffins came to my attention, and the proverbial lightbulb went off. I have this wily-looking rosemary plant that needs to be pruned and harvested…But what to do with all of that herbal goodness?!  Freshly cut sprigs of rosemary. Photo by Diane M. Lilly, 2022. This was the perfect opportunity to kill two birds with one stone—harvest my rosemary plant AND make delicious muffins! The recipe listed below differs a little from the original. This recipe has been doubled to make 12 muffins instead of the original six. I also used all-purpose flour because that is what I had on hand. The skim milk was replaced with Lactaid. The final change was the addition of lemon peel grinds. So let’s get on with the recipe, shall we?! Ingredients: 2 cups flour 2 tsp baking powder 1/4 tsp salt 2 TBS sugar 2 tsp chopped rosemary 1/2 tsp lemon peel grinds 1 cup Lactaid milk 2 TBS olive oil 2 eggs spray oil 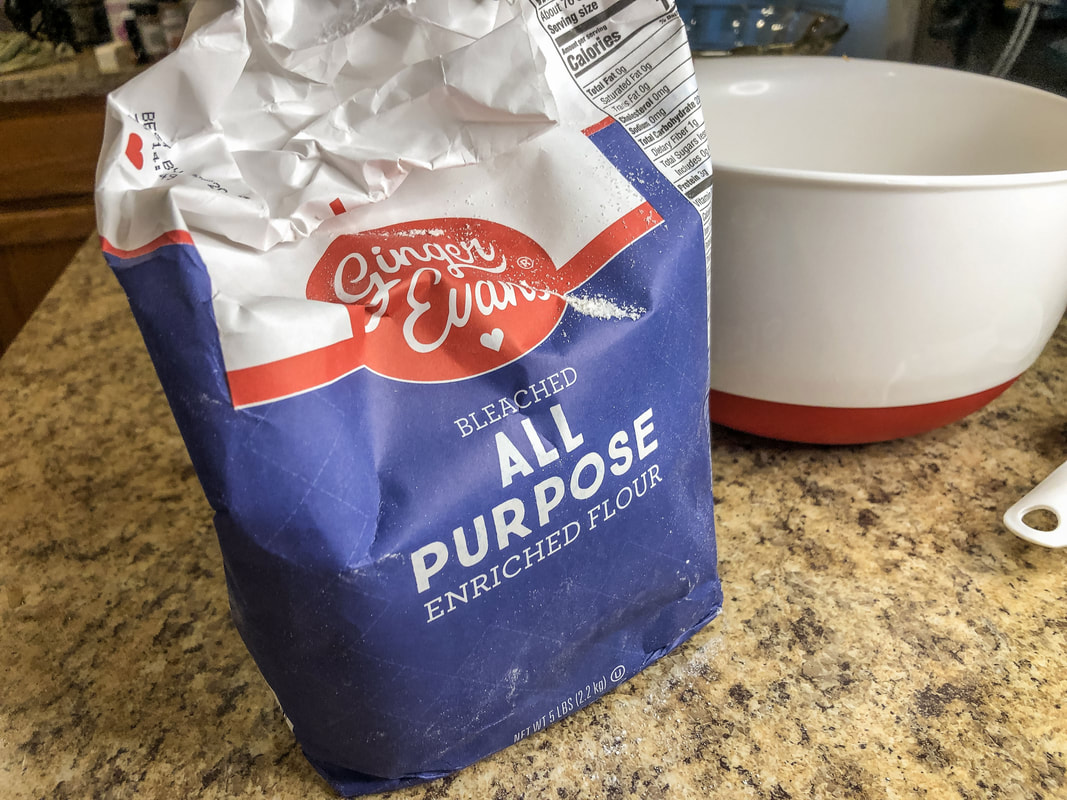 All purpose flour. Photo by Diane M. Lilly, 2022. 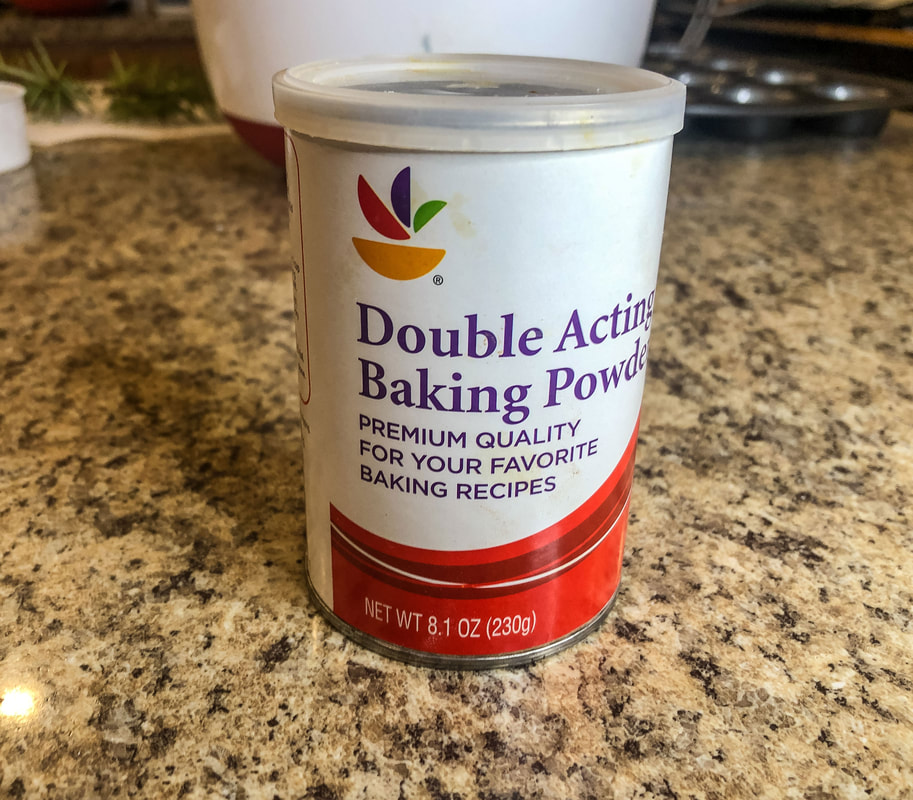 Baking powder. Photo by Diane M. Lilly, 2022.  Salt. Photo by Diane M. Lilly, 2022. 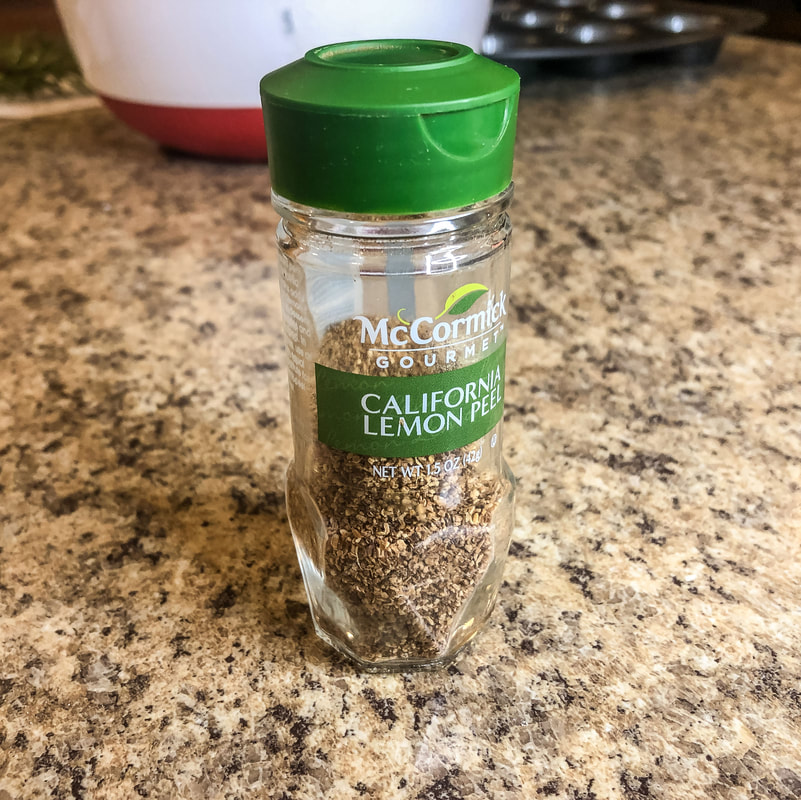 Lemon peel. Photo by Diane M. Lilly, 2022. 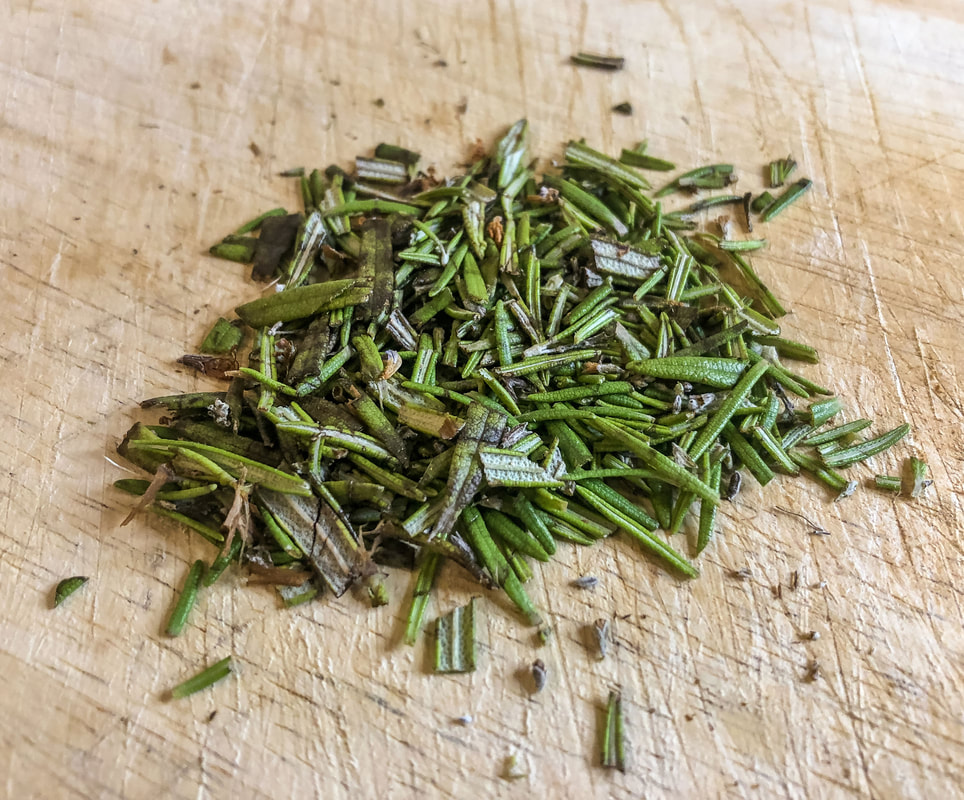 Chopped rosemary. Photo by Diane M. Lilly, 2022. 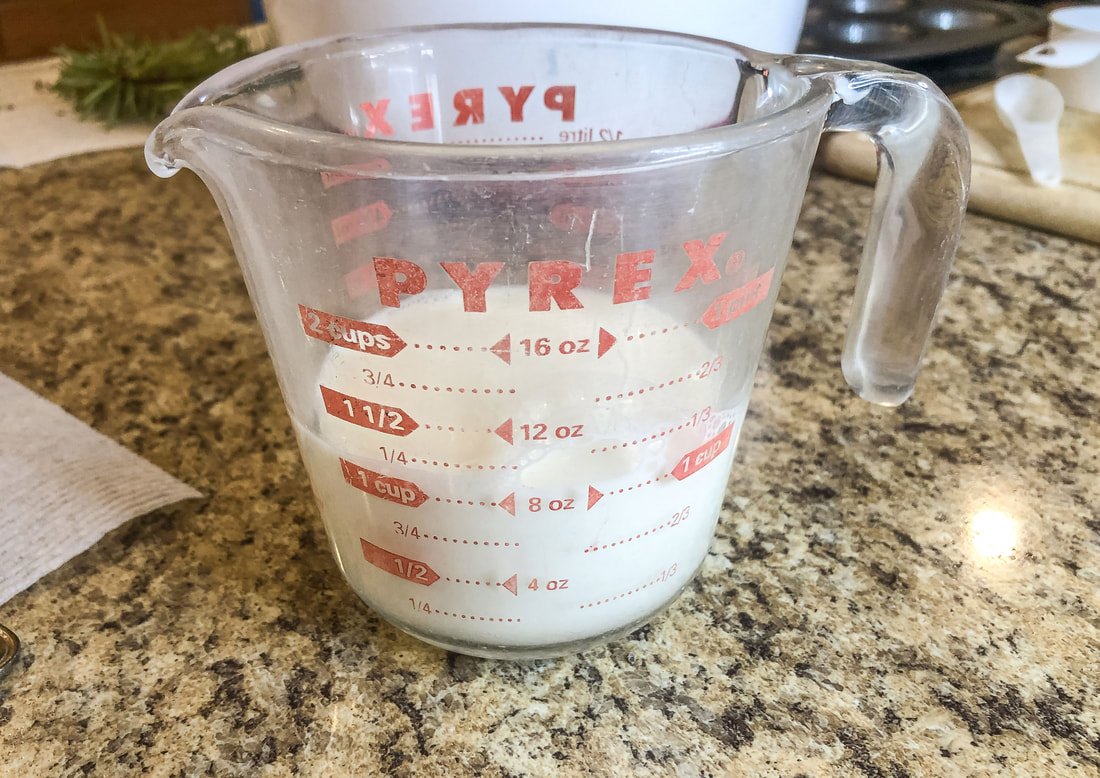 Cup of milk. Photo by Diane M. Lilly, 2022. 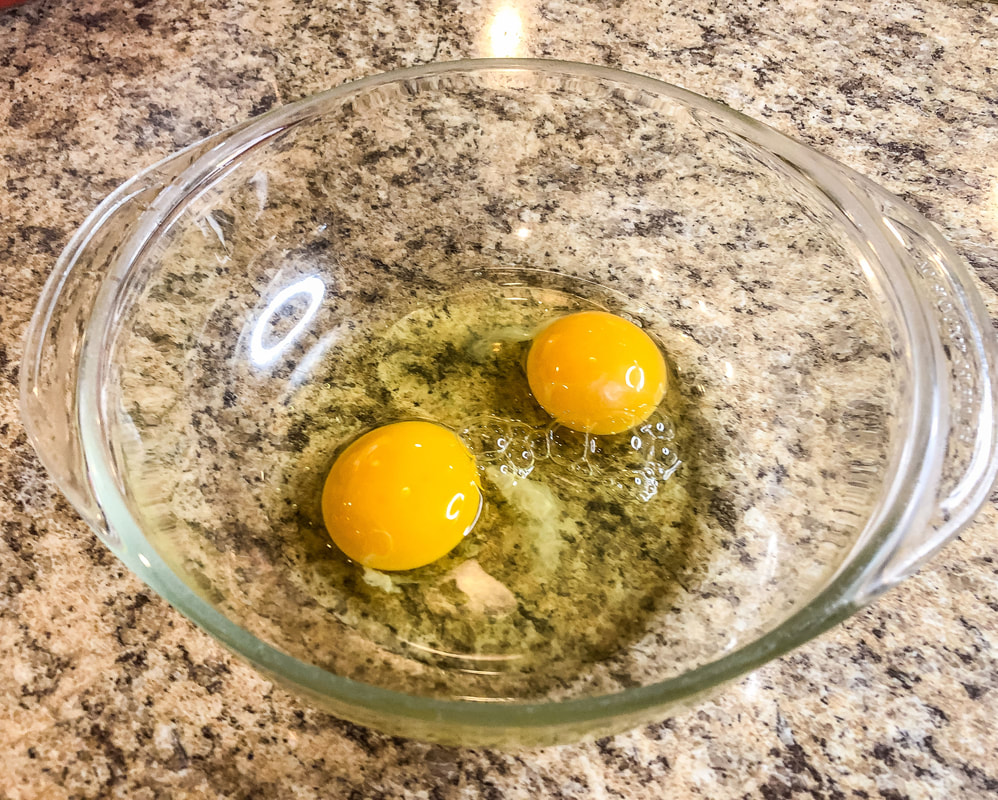 Two fresh eggs. Photo by Diane M. Lilly, 2022. 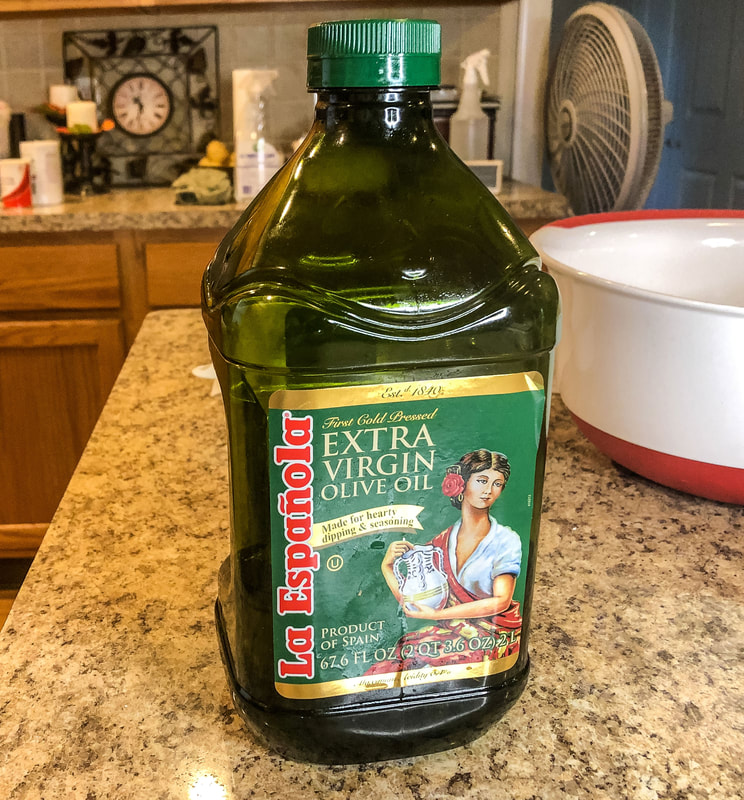 Olive oil. Photo by Diane M. Lilly, 2022. Combine all of the dry ingredients in a large mixing bowl. Combine the lightly beaten eggs, 1 cup of milk, and the oil in another bowl and mix well. 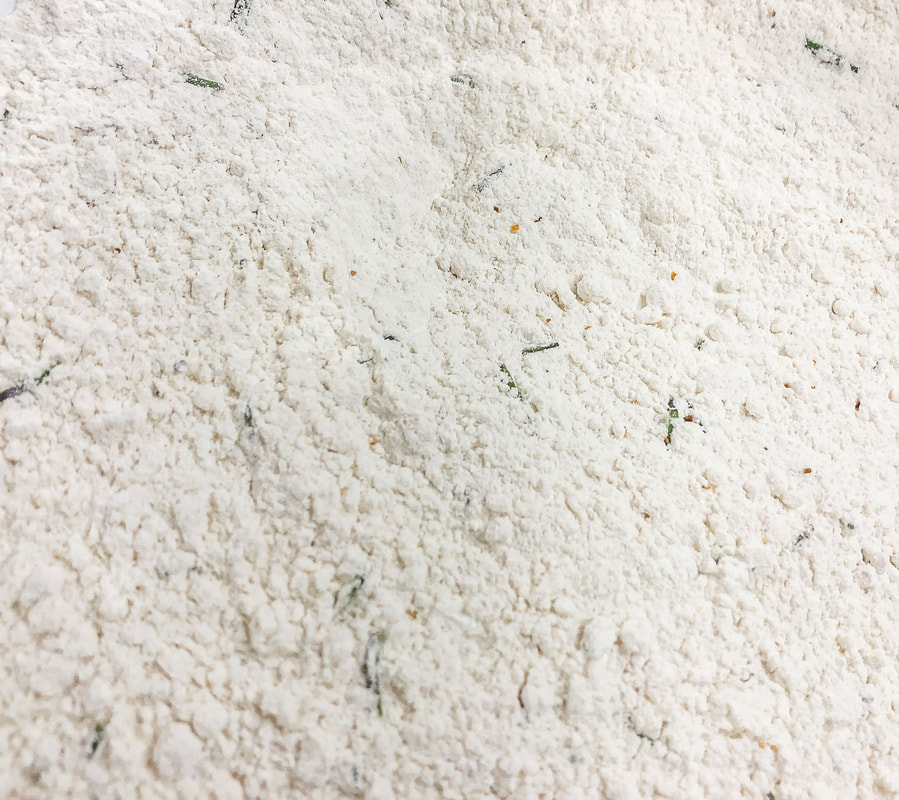 Flour and other dry ingredients for muffin mix. Photo by Diane M. Lilly, 2022. 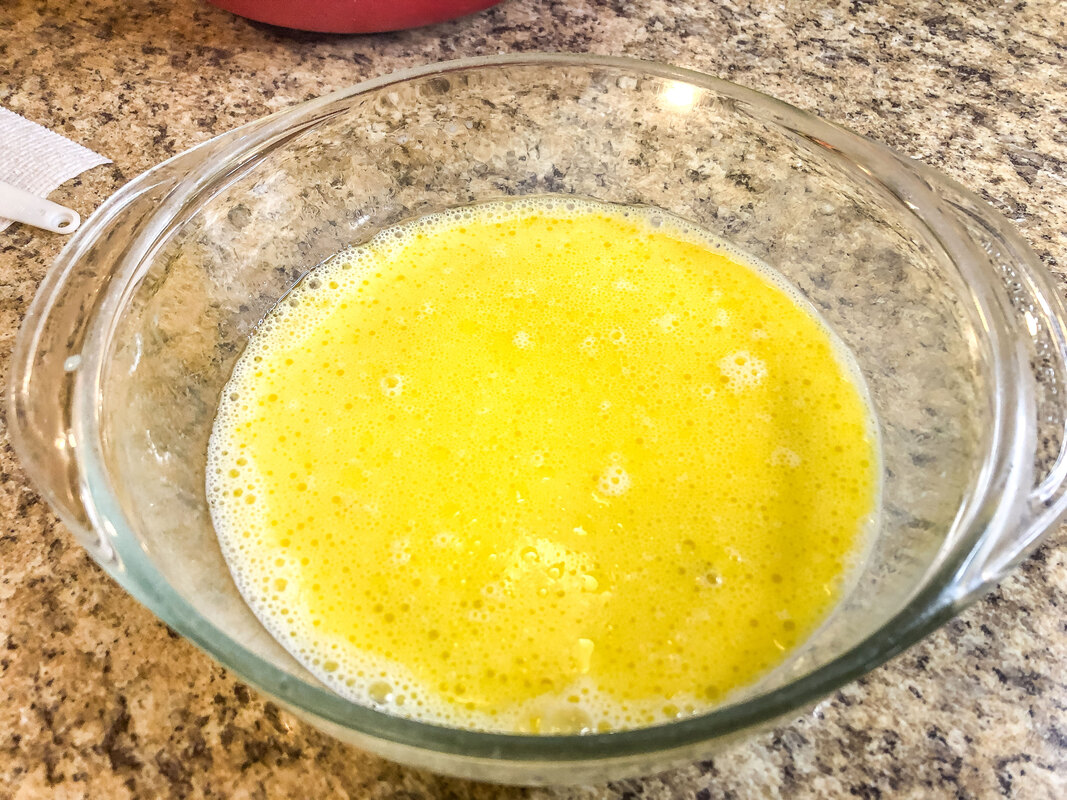 Eggs, milk, and oil mixture. Photo by Diane M. Lilly, 2022. Create a well in the center of the bowl with the dry ingredients and pour it into the wet mixture. Mix all ingredients until well blended. Do not over-mix, or your muffins will come out dry and tough. Spoon rosemary batter into greased muffin tins, filling each 3/4 full. 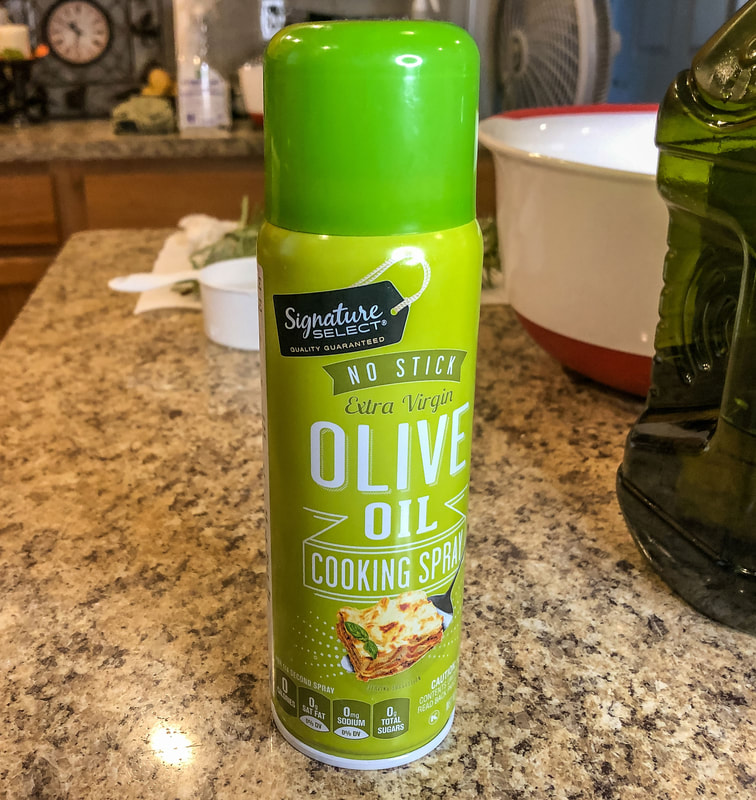 Cooking spray. Photo by Diane M. Lilly, 2022. 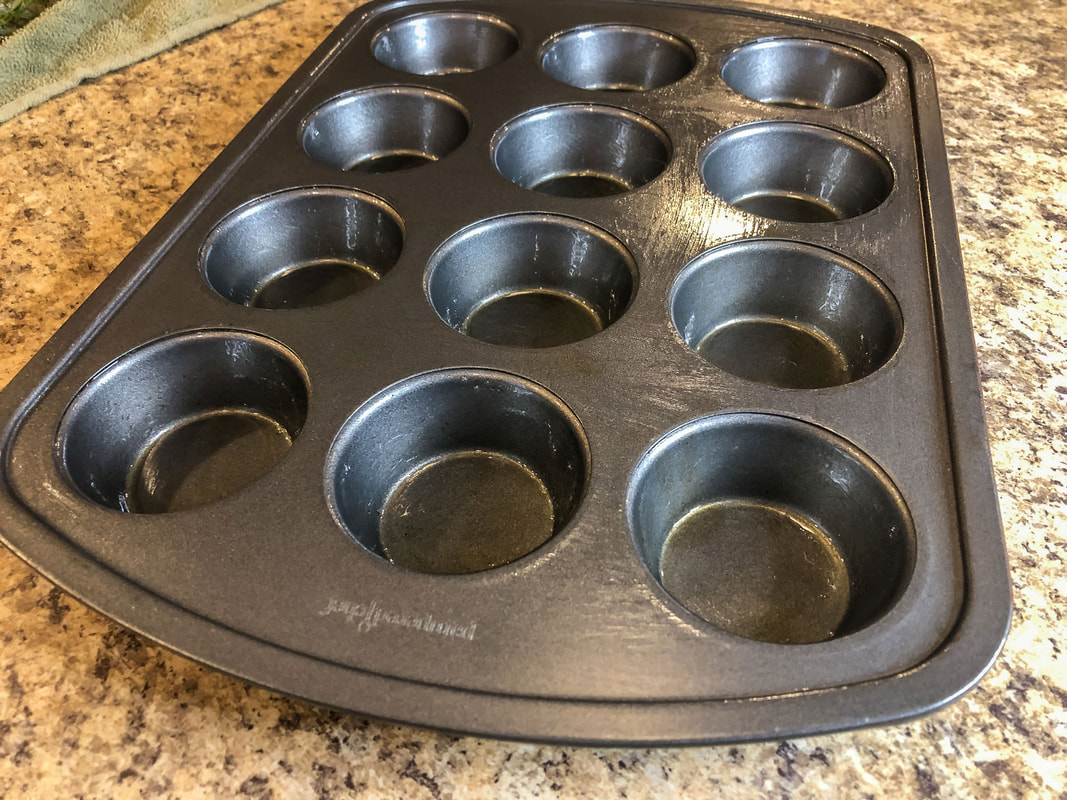 Greased muffin tray. Photo by Diane M. Lilly, 2022. 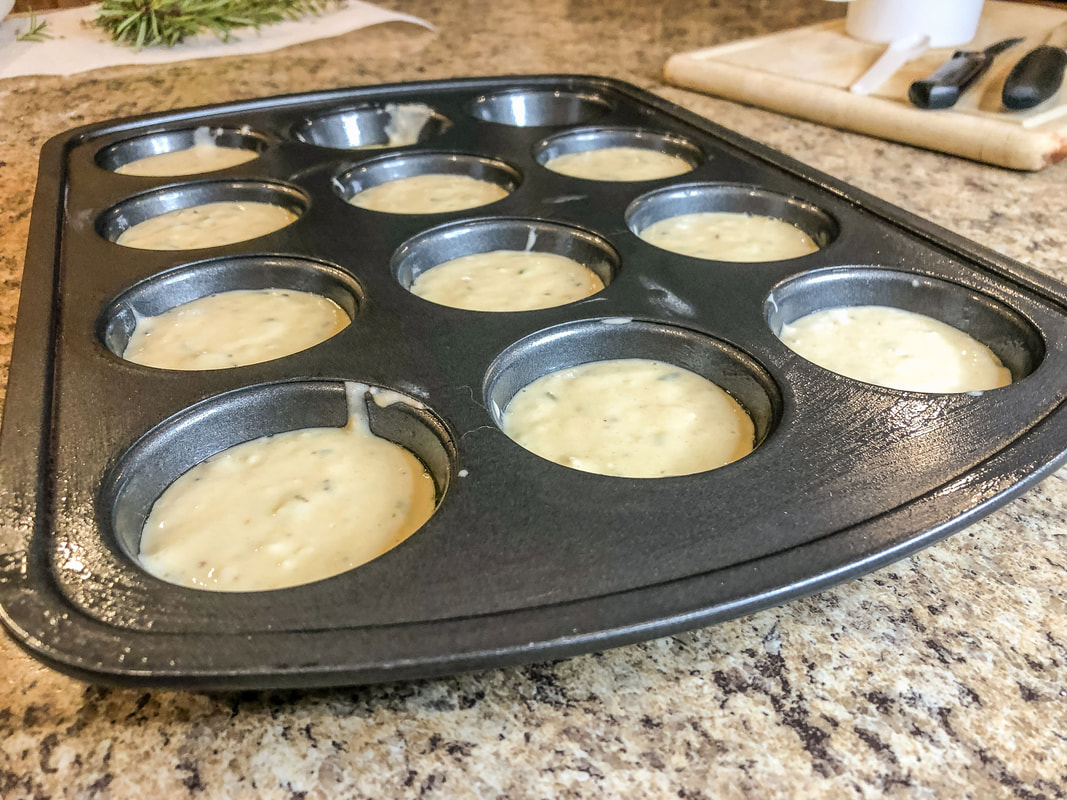 Muffin mix poured into tray. Photo by Diane M. Lilly, 2022. Bake at 400˚ for 18-20 minutes. This recipe makes approximately 12 muffins (I was actually half a muffin short, but I’ll do better next time!) 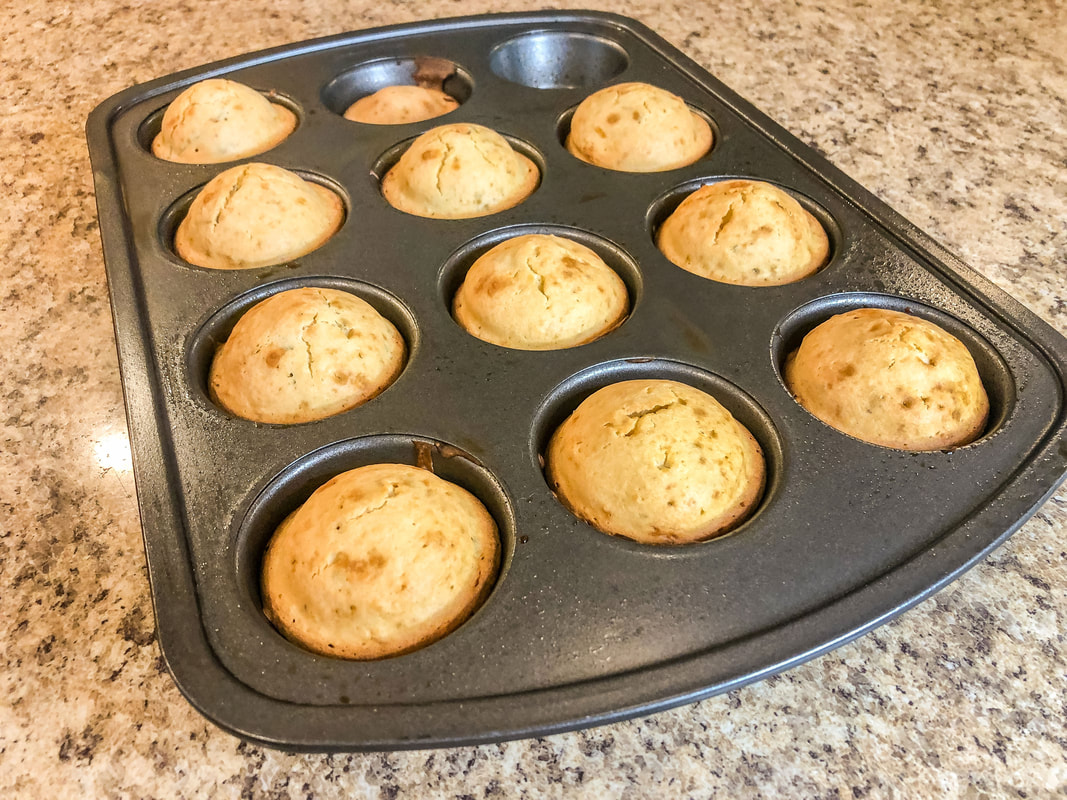 Freshly baked rosemary muffins. Photo by Diane M. Lilly, 2022. 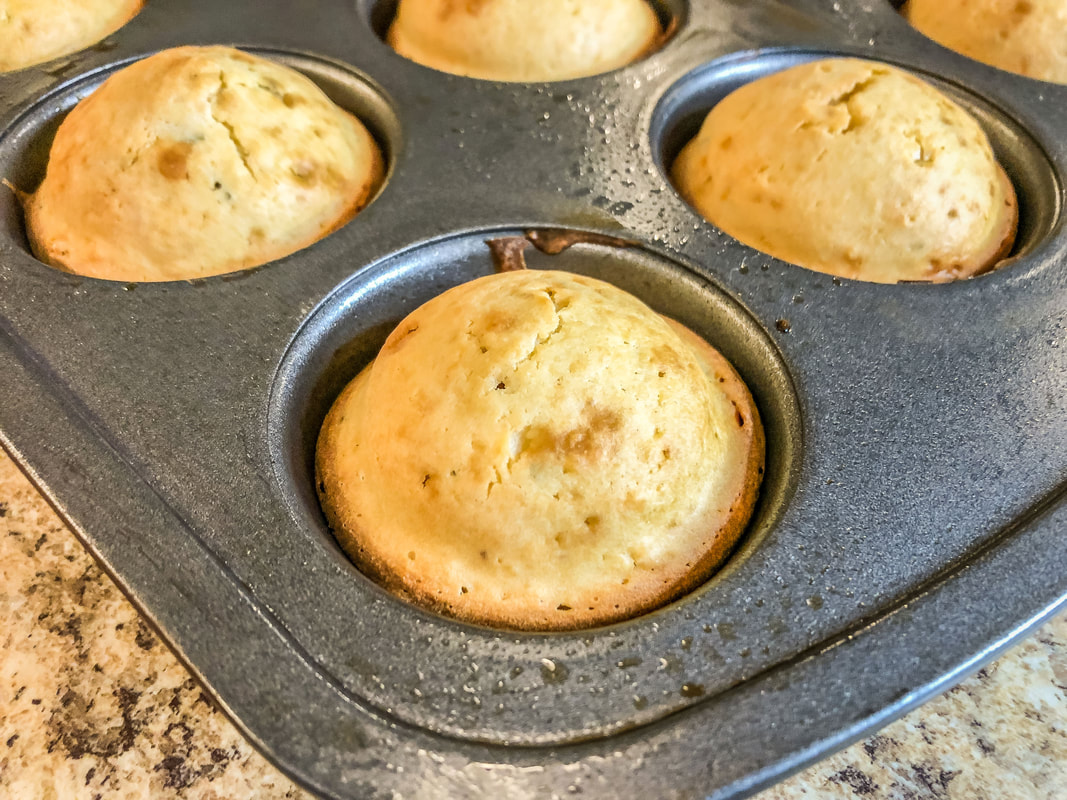 Closeup of freshly baked muffins. Photo by Diane M. Lilly, 2022. 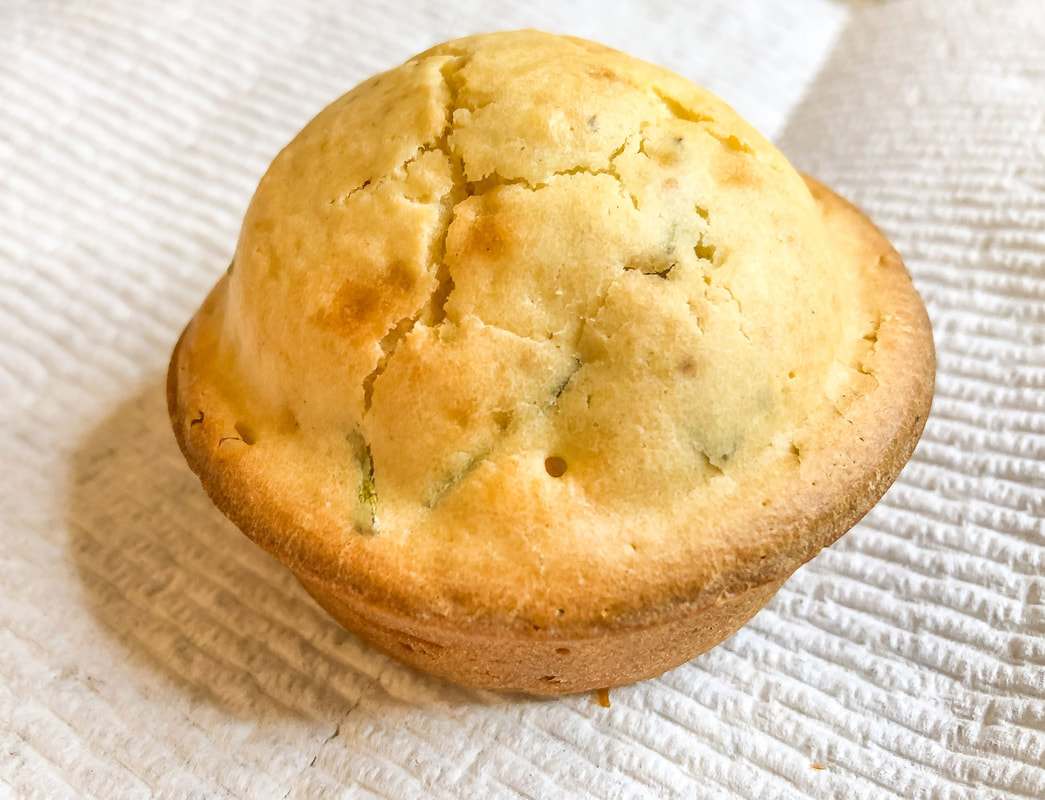 Yummy looking rosemary muffin. Photo by Diane M. Lilly, 2022. 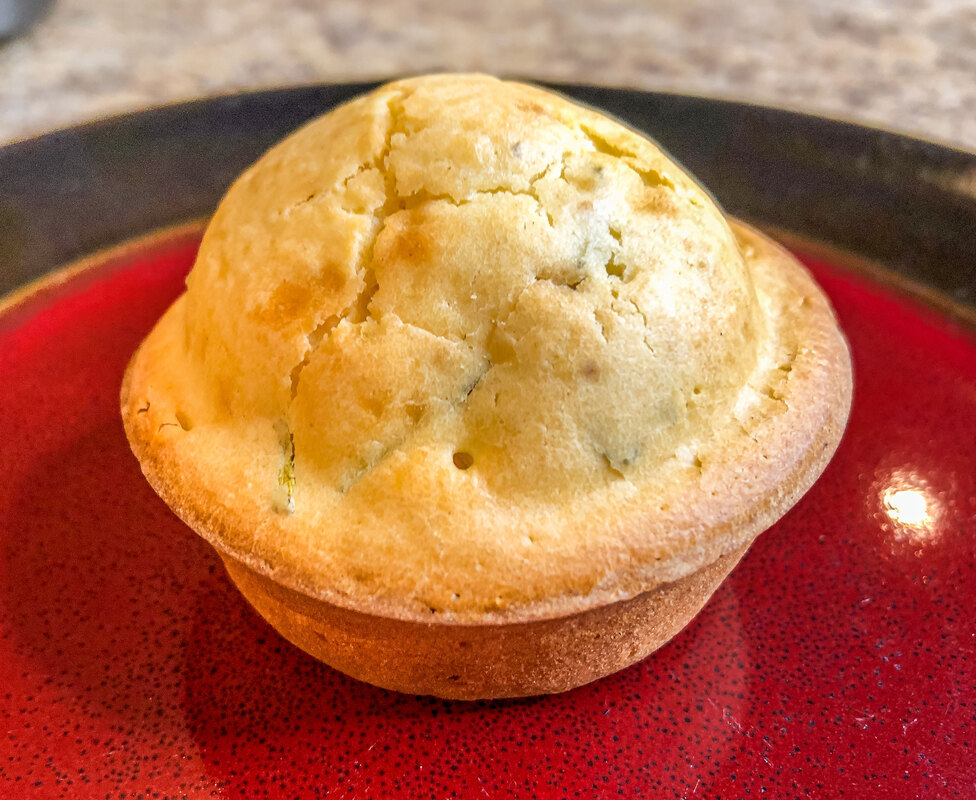 Freshly baked muffin ready to serve. Photo by Diane M. Lilly, 2022. My take on this recipe… The rosemary taste was strong so I will use less next time. Also, I feel like this recipe needs a bit of citrus to take it to the next level—maybe lemon extract or lemon juice mixed into the batter. Even though I used lemon peel grinds, I didn’t feel like it created the desired flavor. Also, these muffins would probably taste amazing with some sweet lemon glazing. A little butter spread over these rosemary muffins takes things to the next level! After all, is said and done, though, these would make a tasty—and healthy—addition to your morning breakfast or even lunch, and I’ll definitely be trying out various renditions of this recipe until I get just the right flavor. Let me know in the comments whether you’ve tried this recipe—or one similar—and how it worked out for you. Feel free to share any tips for a making better rosemary muffin recipe! 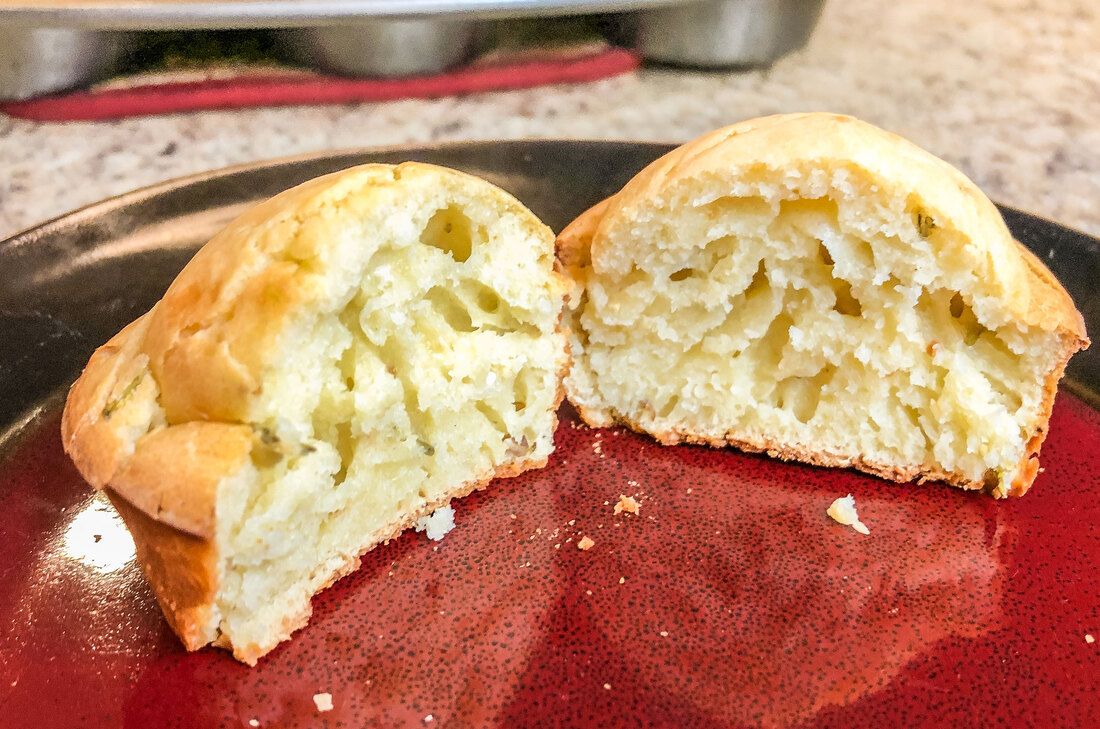 A look at the inside of the rosemary muffins. Photo by Diane M. Lilly, 2022. Related blogs you may want to read: Apple crumble recipe Homemade chicken noodle soup recipe Banana and raisin bread recipe Potato soup recipe Tuna noodle casserole recipe Chicken vegetable pot pie Salmon chowder recipe How to eat healthy with chicken and roasted vegetables This article may contain a few items or commercial mentions, but I only used them for demonstration purposes only. I am not endorsing any particular product or receiving any monetary gain for this blog. 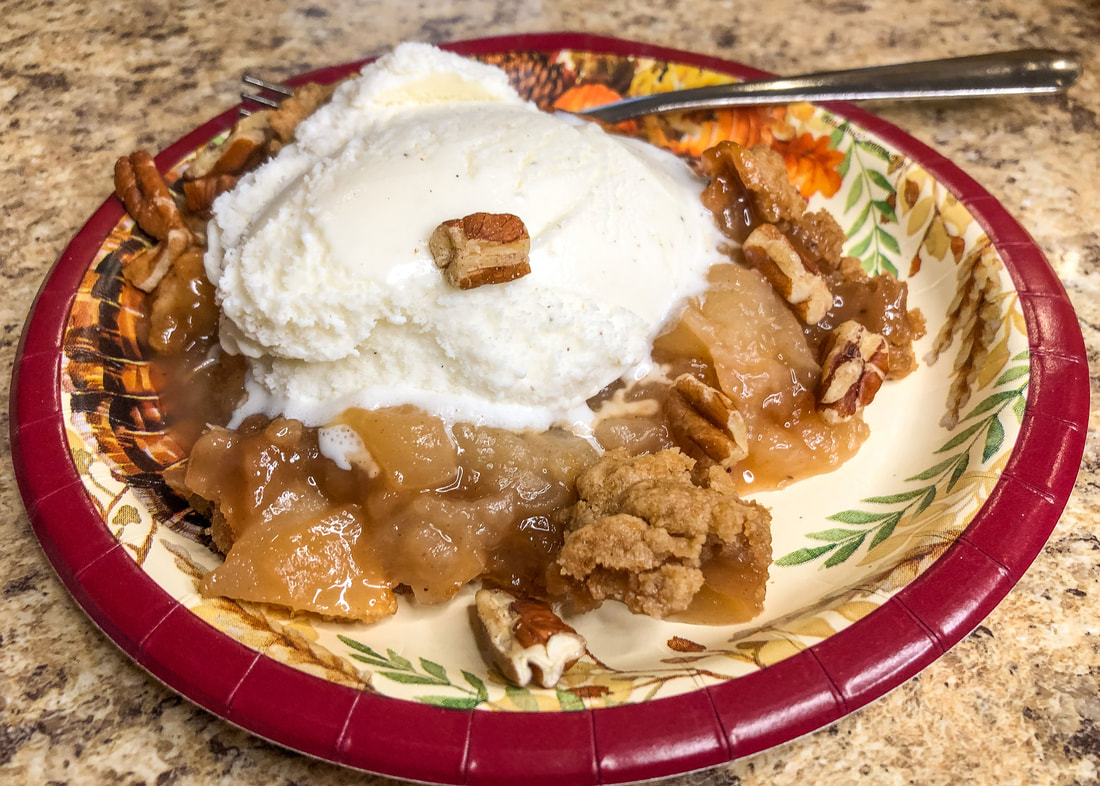 Apple crumble dessert with vanilla ice cream. Photo by Diane M. Lilly, 2022. Something about the crisp fall air triggers the inner baker in me! In my household, apple and pumpkin pies appear in October and become staple desserts throughout the holiday season. And even though it’s a heck of a lot of work, I usually insist on making my apple pie crusts from scratch using the good old-fashioned flour and rolling pin. Sometimes, I even take it to a whole new level of insanity by creating a two-crust pie (one bottom crust and crust for the top), but on those occasions when I need a shortcut, the crumble topping makes a delicious sugary substitute. (If you’d like to see my homemade apple pie recipe, you can find it here in an older blog post from a few years back.) 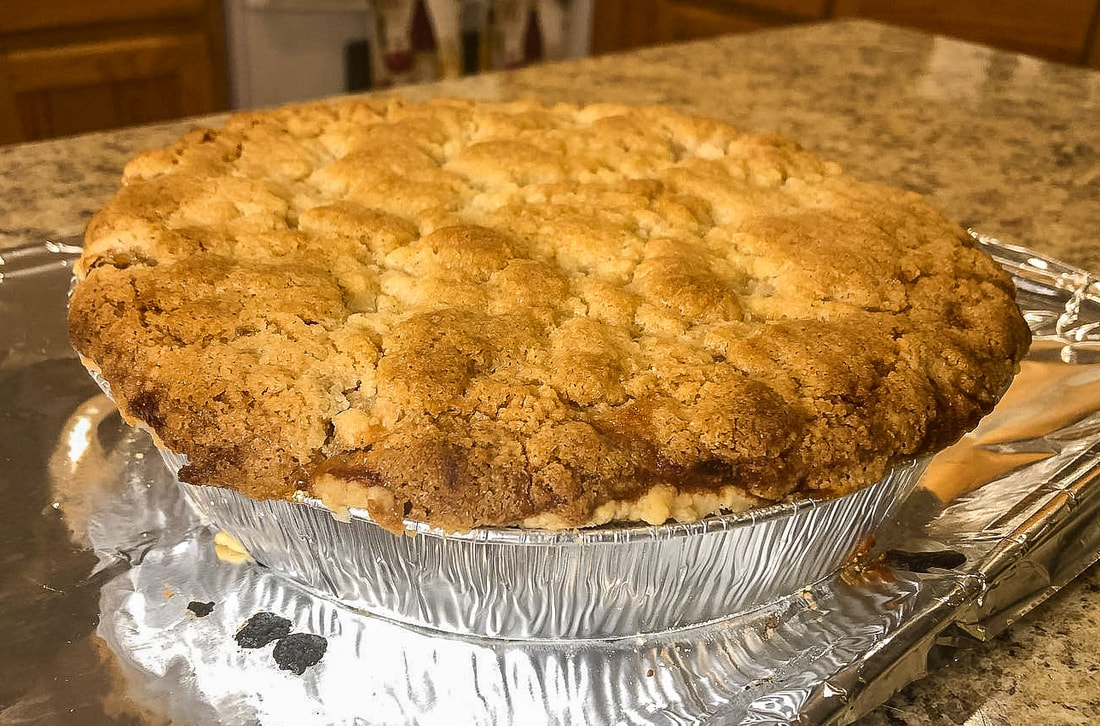 Homemade apple pie with crumble topping. Photo by Diane M. Lilly, 2020. Lately, I’ve been spending time on Pinterest looking for recipe ideas. While happily pinning away, I stumbled across a recipe for an apple crumble--a recipe that was essentially my apple pie without the bottom crust. As much as I love baking apple pies, I don’t enjoy all the work that goes into creating the pie crust, so this crumble recipe is an excuse to cut corners but still end up with a delicious dessert! As this recipe is similar to my apple pie filling, I used my recipe—minus the pie crust—with a few tweaks taken from the Pinterest recipe to experiment with flavor. And I had to adjust for the servings because I’m a family of five, so I need to make a LOT! This apple dessert has two main parts: apple filling and crumbly topping. For this recipe’s filling, I used 14 McIntosh apples to fill a 9 x 13 baking pan. So here’s the recipe I used for this mouthwatering apple dessert… Apple filling ingredients: 14 apples, peeled and sliced 2 TBS lemon juice 1/2 tsp vanilla extract 1/3 cup granulated sugar 1/4 cup brown sugar 1/4 cup all purpose flour 1/2 tsp salt 1/2 tsp ground cinnamon 1/2 tsp nutmeg  McIntosh apples. Photo by Diane M. Lilly, 2022. 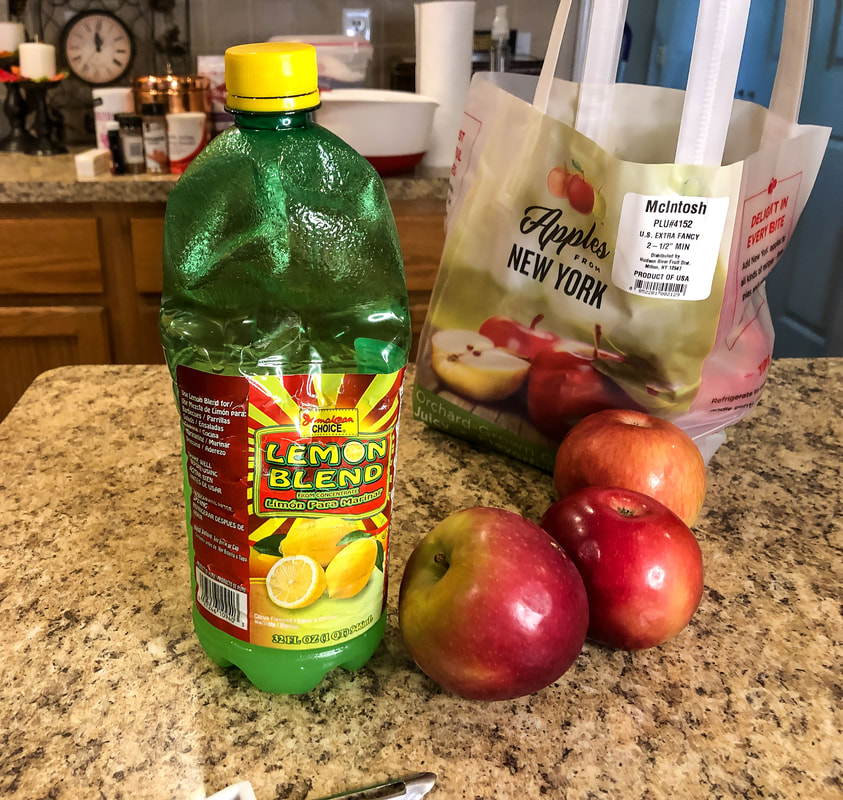 Lemon juice and apples. Photo by Diane M. Lilly, 2022. Cup of sugar. Photo by Diane M. Lilly, 2022. 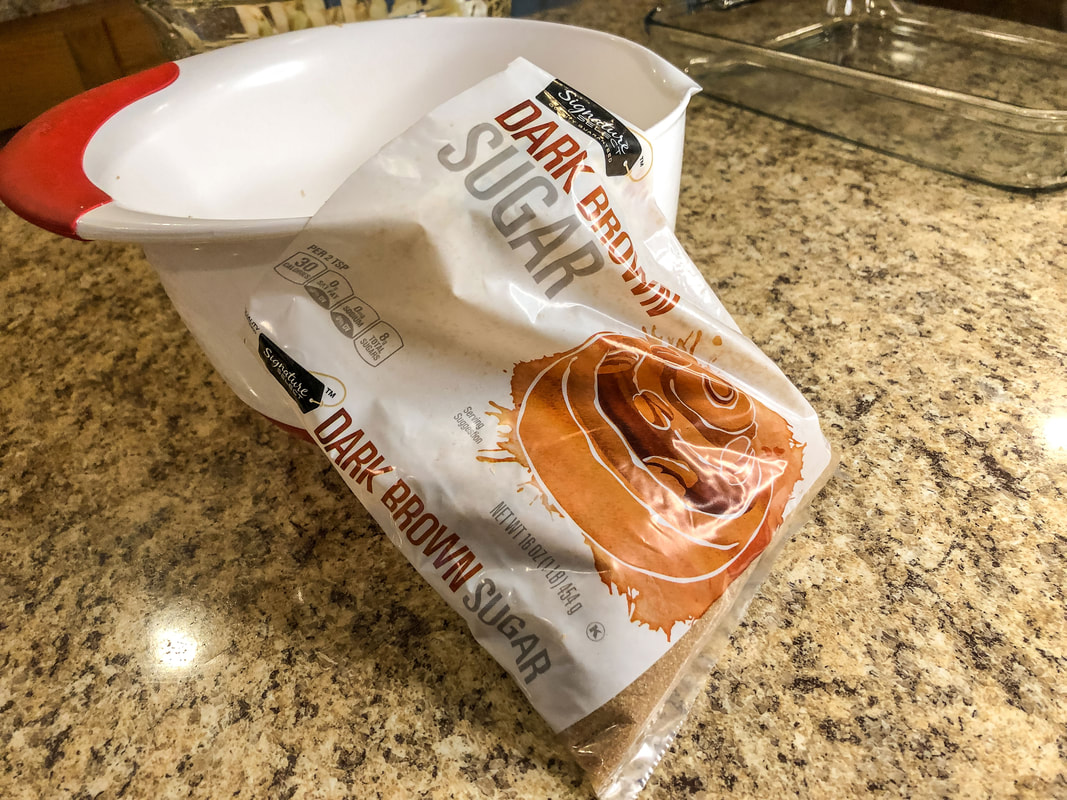 Dark brown sugar. Photo by Diane M. Lilly, 2022.  All purpose flour. Photo by Diane M. Lilly, 2022. 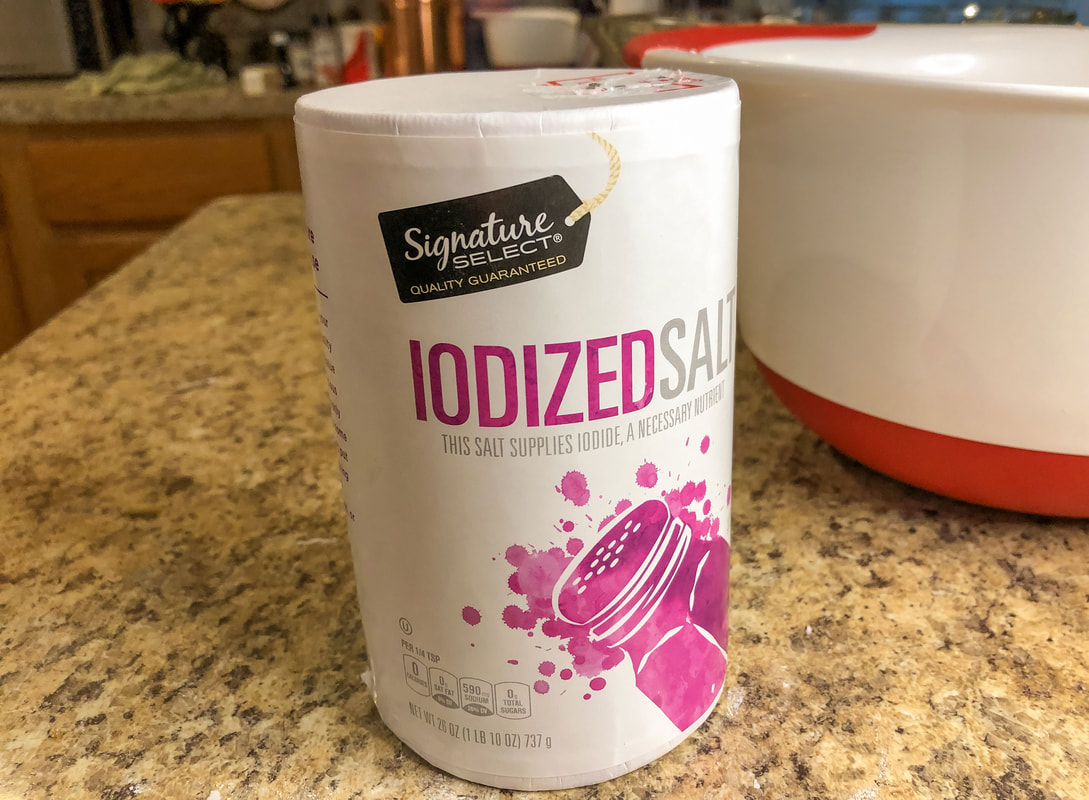 Iodized salt. Photo by Diane M. Lilly, 2022. 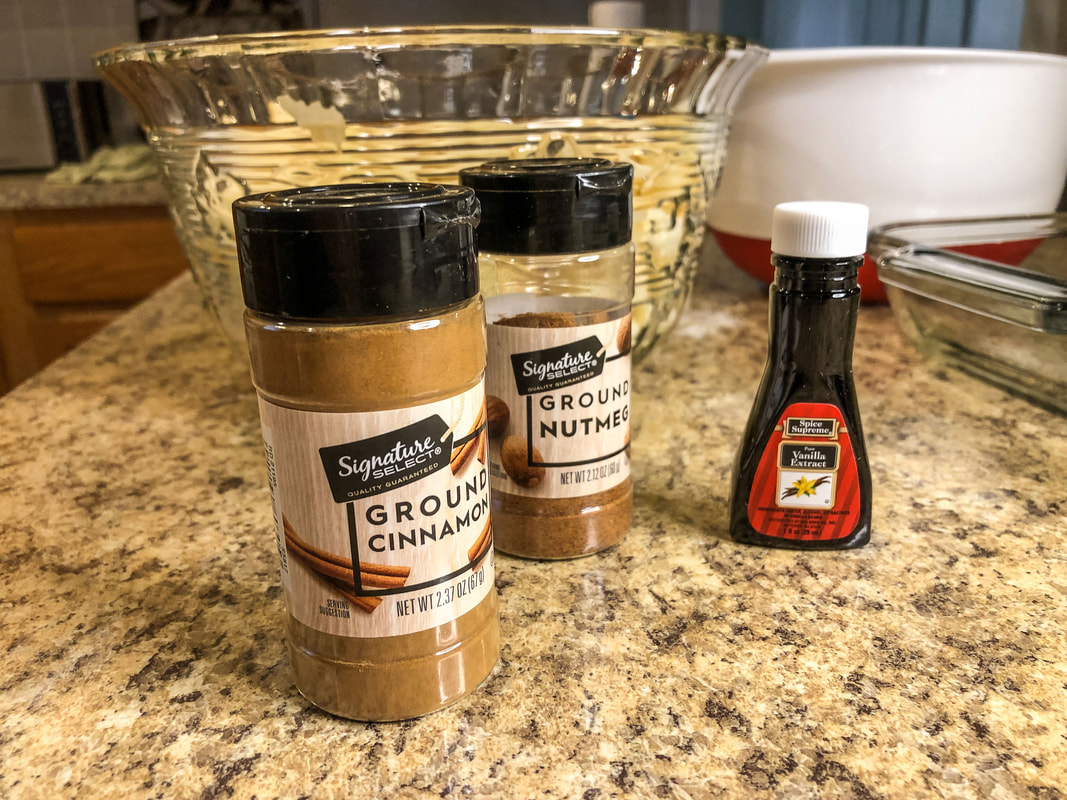 Spices and vanilla extract. Photo by Diane M. Lilly, 2022. Crumbly topping ingredients: 1 stick butter, unsalted 1 cup all purpose flour 1 tsp baking powder 1/2 cup packed brown sugar (light or dark) 1/2 tsp ground cinnamon 1/2 tsp salt 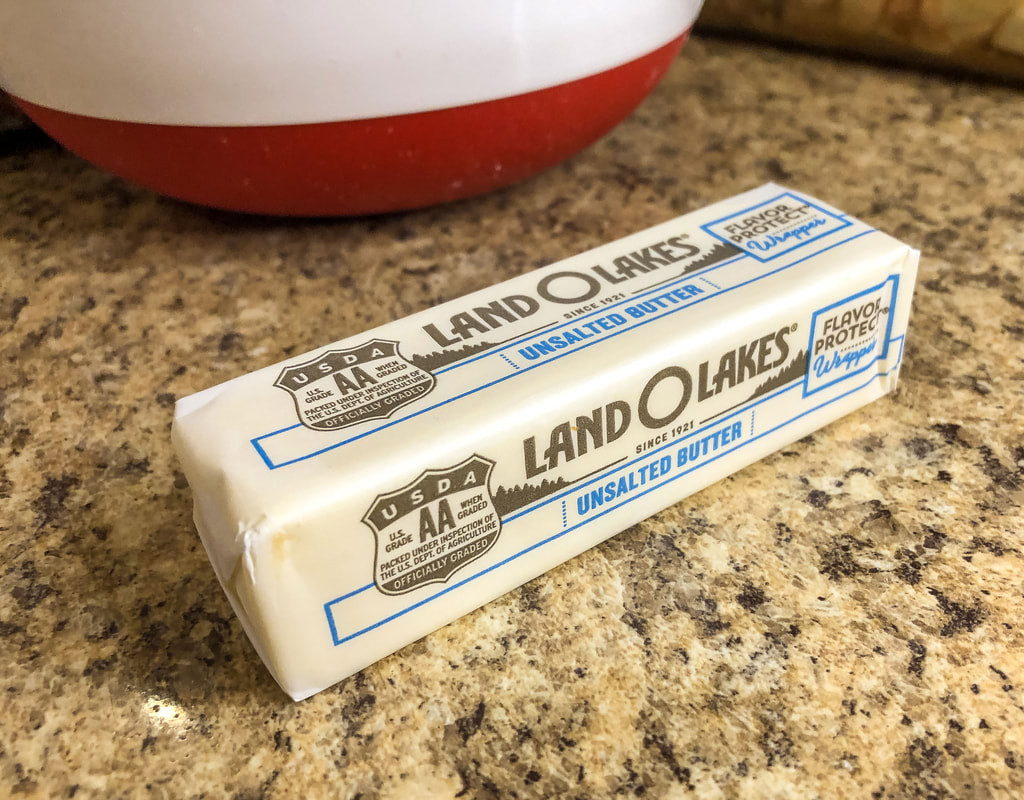 Butter. Photo by Diane M. Lilly, 2022. 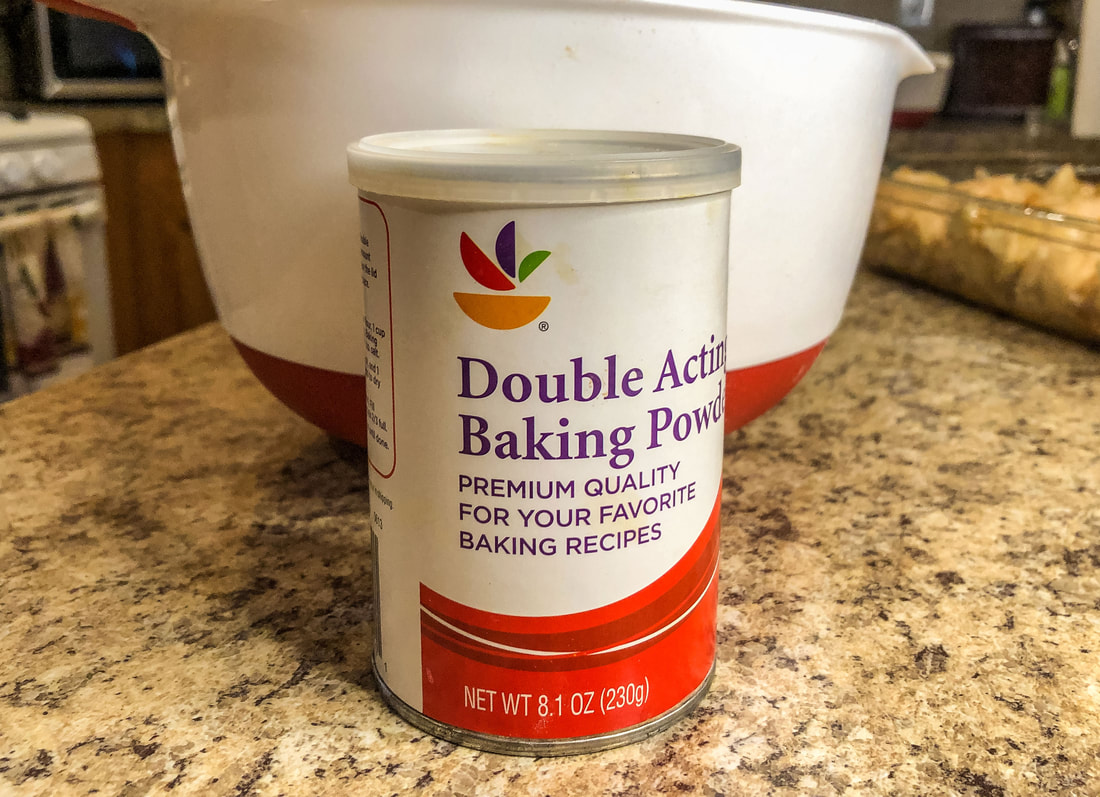 Baking powder. Photo by Diane M. Lilly, 2022. Preheat oven to 375˚. Peel, core, and chop apples. Coat in lemon juice. Add vanilla extract, brown sugar, sugar, flour, salt, nutmeg, and cinnamon. Pour mixture into a greased 9 x 13 baking dish. 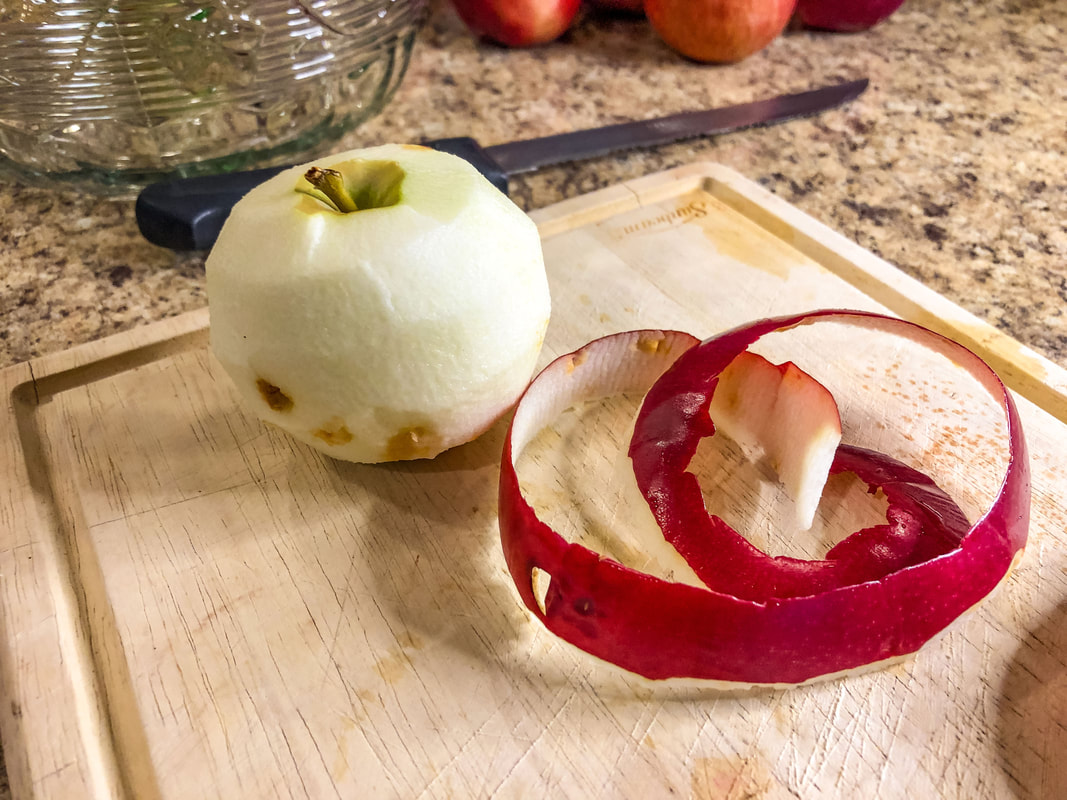 Apple peeled. Photo by Diane M. Lilly, 2022. 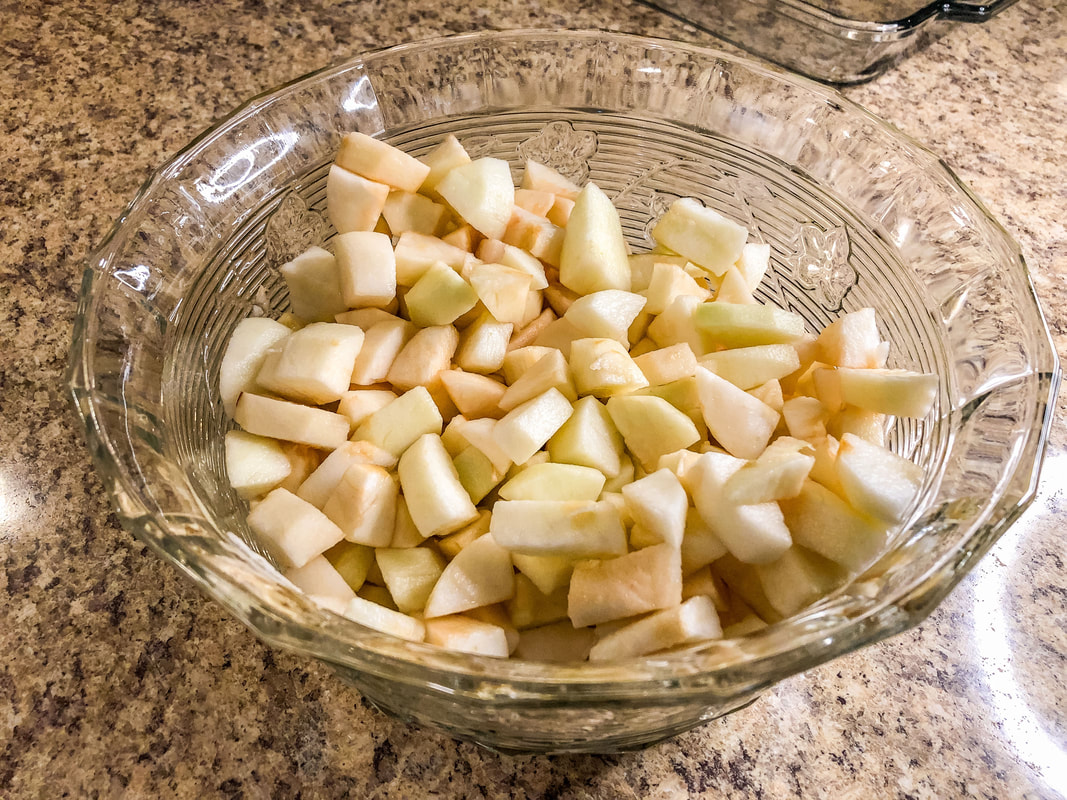 Apple chunks. Photo by Diane M. Lilly, 2022. 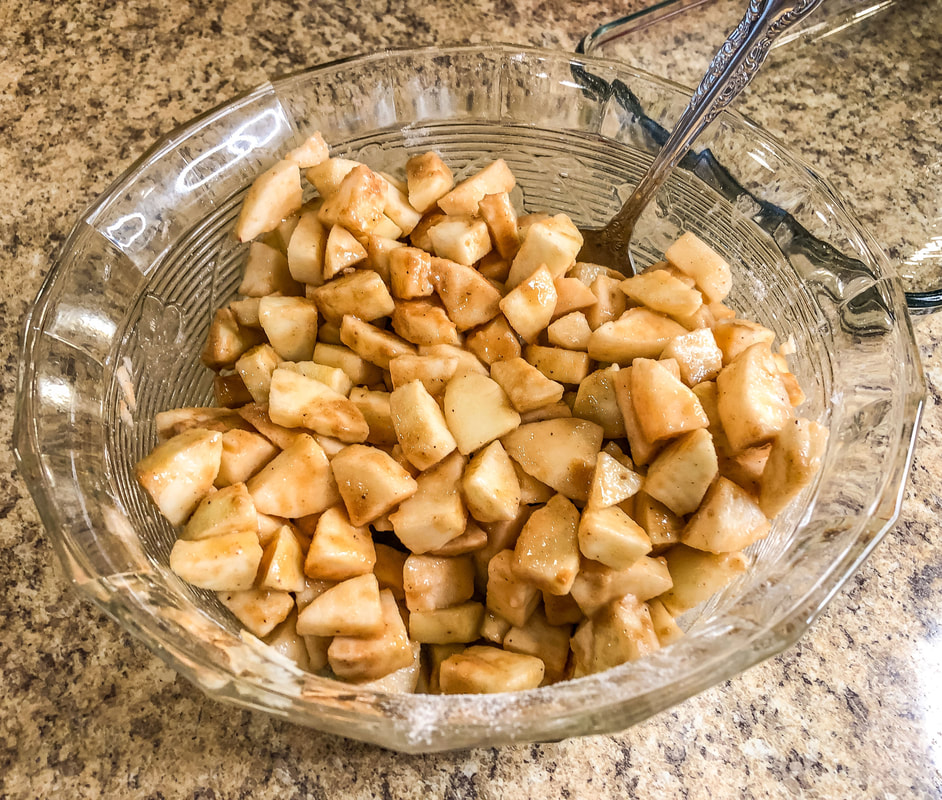 Apple chunks with sugars. Photo by Diane M. Lilly, 2022. 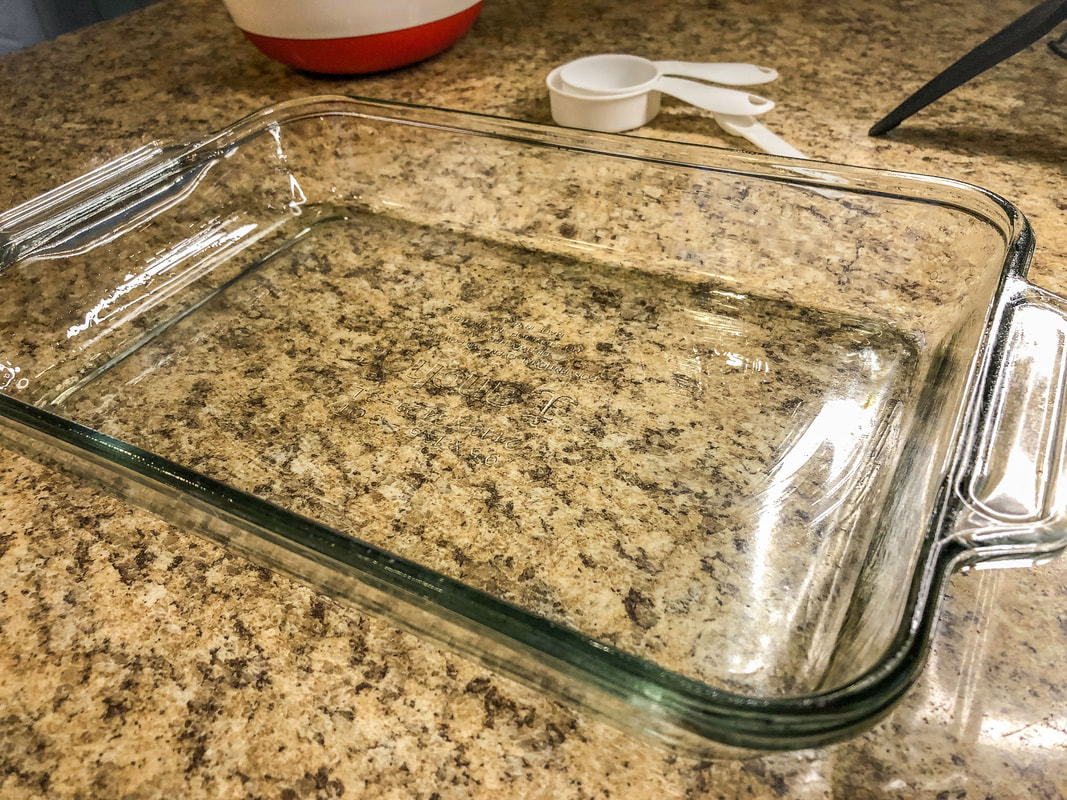 9 x 13 greased baking pan. Photo by Diane M. Lilly, 2022. 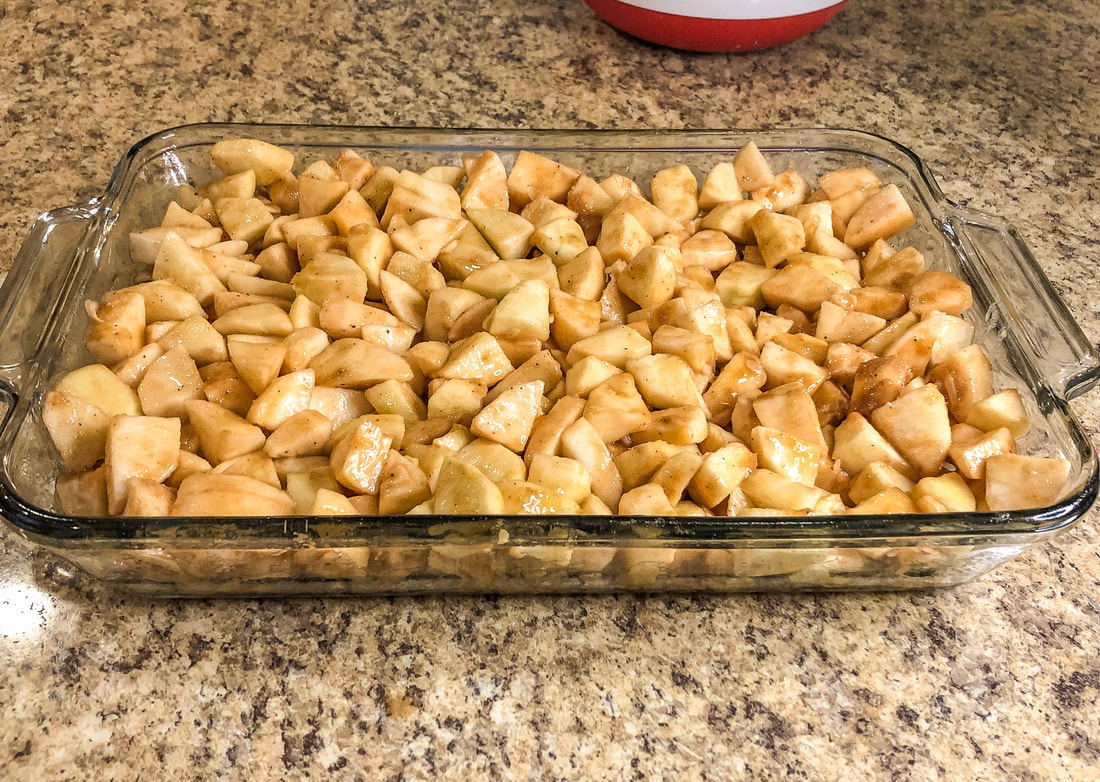 Apple mixture in pan. Photo by Diane M. Lilly, 2022. Mix dry ingredients in a bowl for crumb topping. Cut in melted butter until you get a crumbly texture. Spread evenly over the top of the apple pie filling. 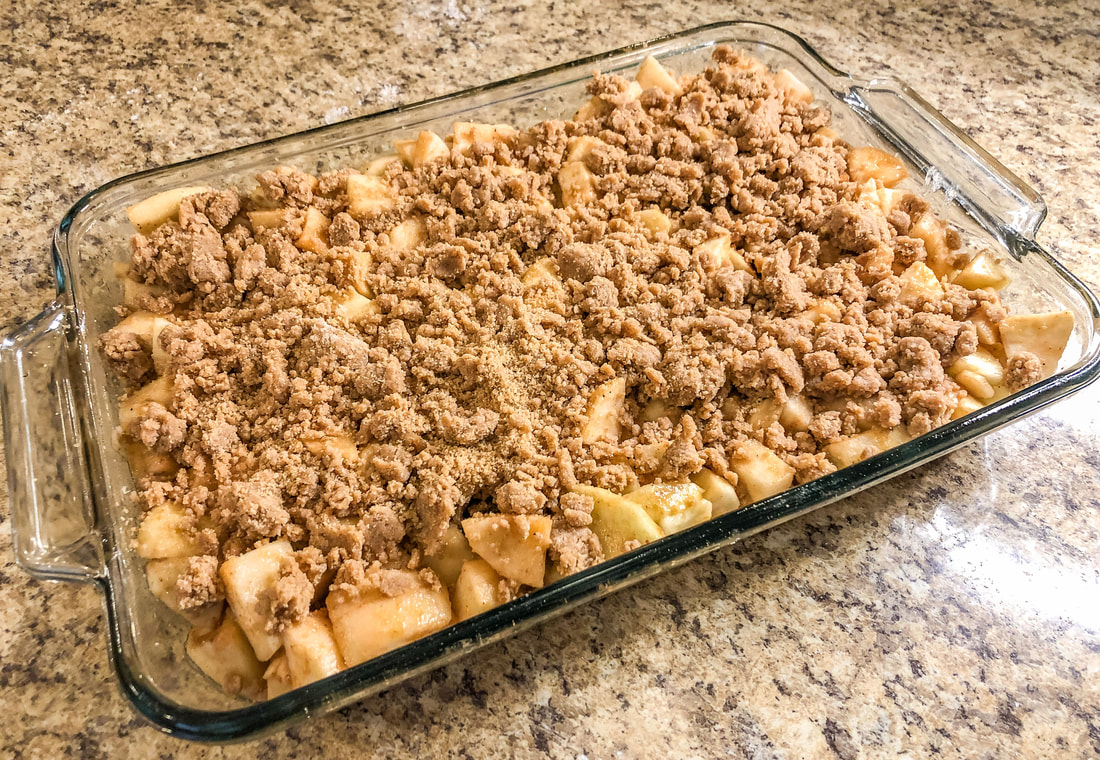 Apple mixture with crumb topping ready for the oven. Photo by Diane M. Lilly, 2022. Put in oven and bake for approximately 40 minutes. When done, remove from the oven and let sit for 10-15 minutes so the filling thickens. 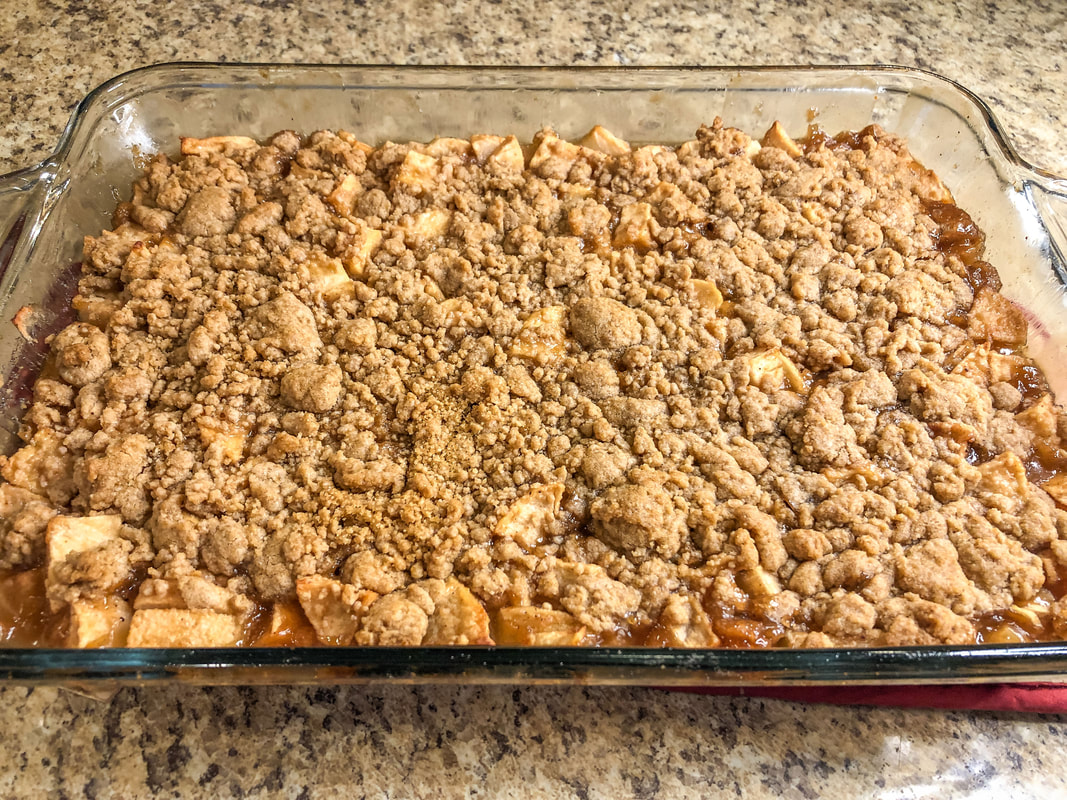 Apple crumble dessert fresh out of the oven. Photo by Diane M. Lilly, 2022. 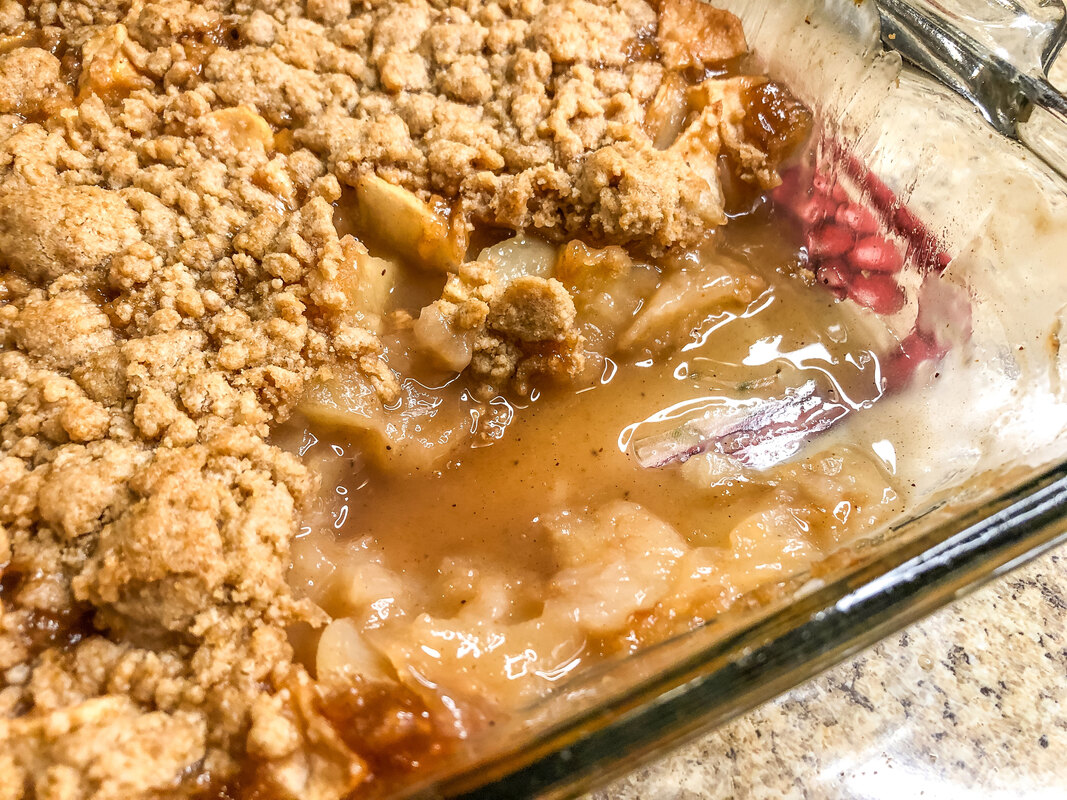 Apple crumble dessert. Photo by Diane M. Lilly, 2022. Once cooled, a sliver of this warm apple dessert was served with a scoop of vanilla ice cream and chopped pecans…and WOW! It all just melts in the mouth! The tartness of the apple mixes perfectly with the sweet vanilla ice cream and the nutty flavor of the pecans. This could also be served with melted caramel, whipped topping, or nuts. You could also mix raisins into the apple mixture before baking for a delicious variation. 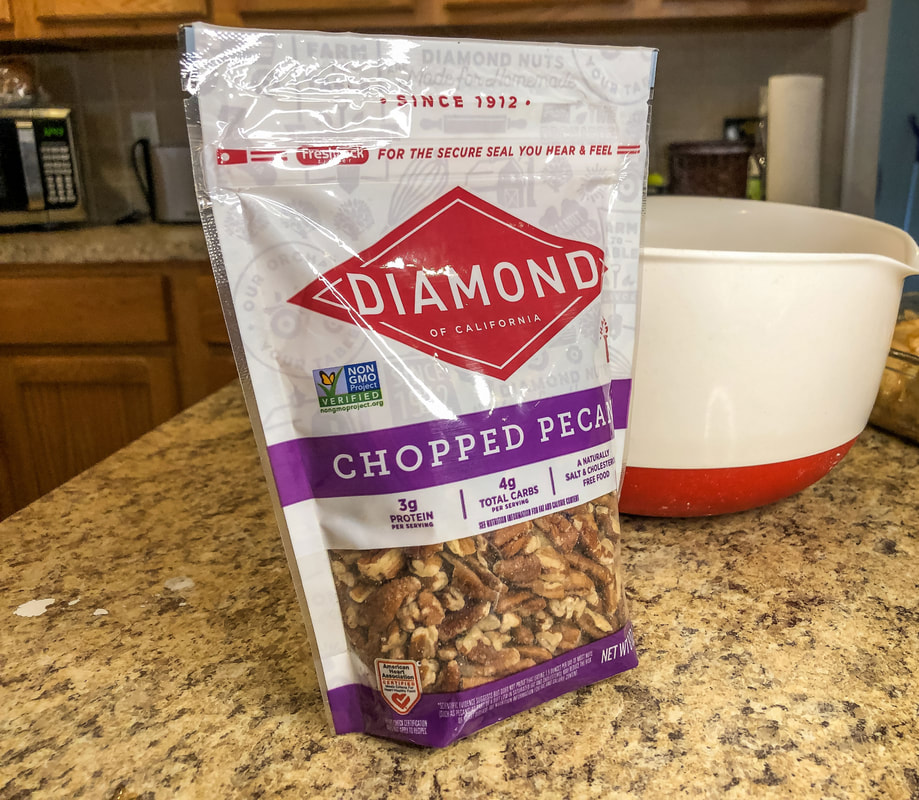 Chopped pecans. Photo by Diane M. Lilly, 2022.  Vanilla ice cream. Photo by Diane M. Lilly, 2022. The one thing I will do differently the next time I make this delicious apple crumble will be to double the ingredients for the topping. I just felt like the topping was a bit on the skimpy side…Not that the result tasted any less heavenly! 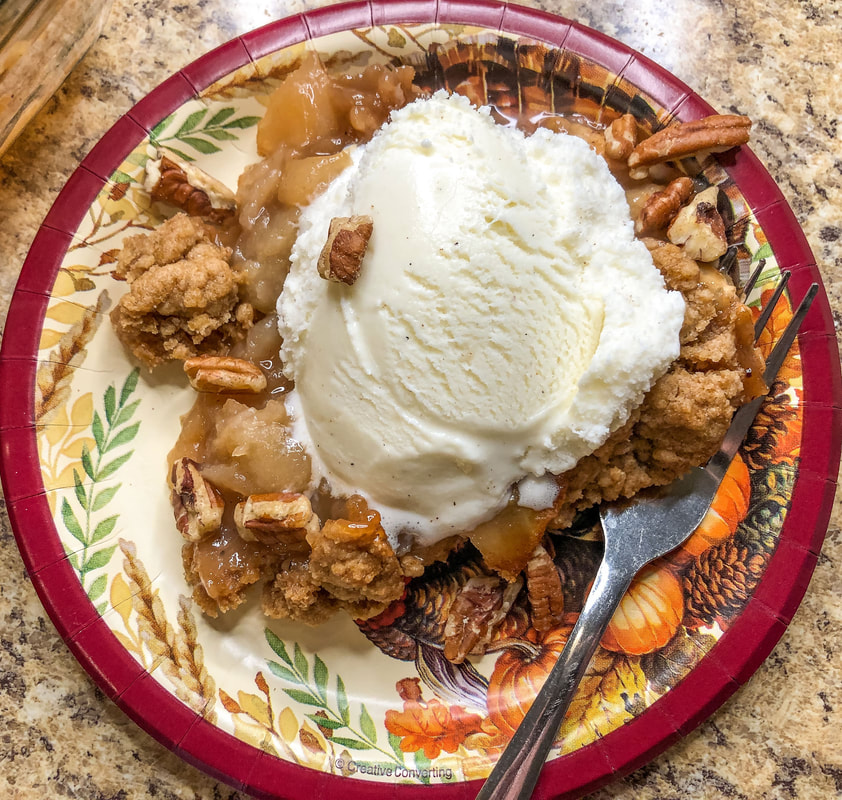 Apple crumble dessert with pecans and vanilla ice cream. Photo by Diane M. Lilly, 2022. Do you have a favorite apple dessert for the fall holidays? Drop a comment below with your recipe tips, tricks, or variations. I’d love to hear other delicious dessert ideas! Btw…If you like recipes, follow me on Pinterest, where I have started boards for dessert and meal recipes. Related blogs you may want to read: Homemade chicken noodle soup recipe Banana and raisin bread recipe Potato soup recipe Tuna noodle casserole recipe Chicken vegetable pot pie Salmon chowder recipe How to eat healthy with chicken and roasted vegetables This article may contain a few items or commercial mentions, but I only used them for demonstration purposes only. I am not endorsing any particular product or receiving any monetary gain for this blog. 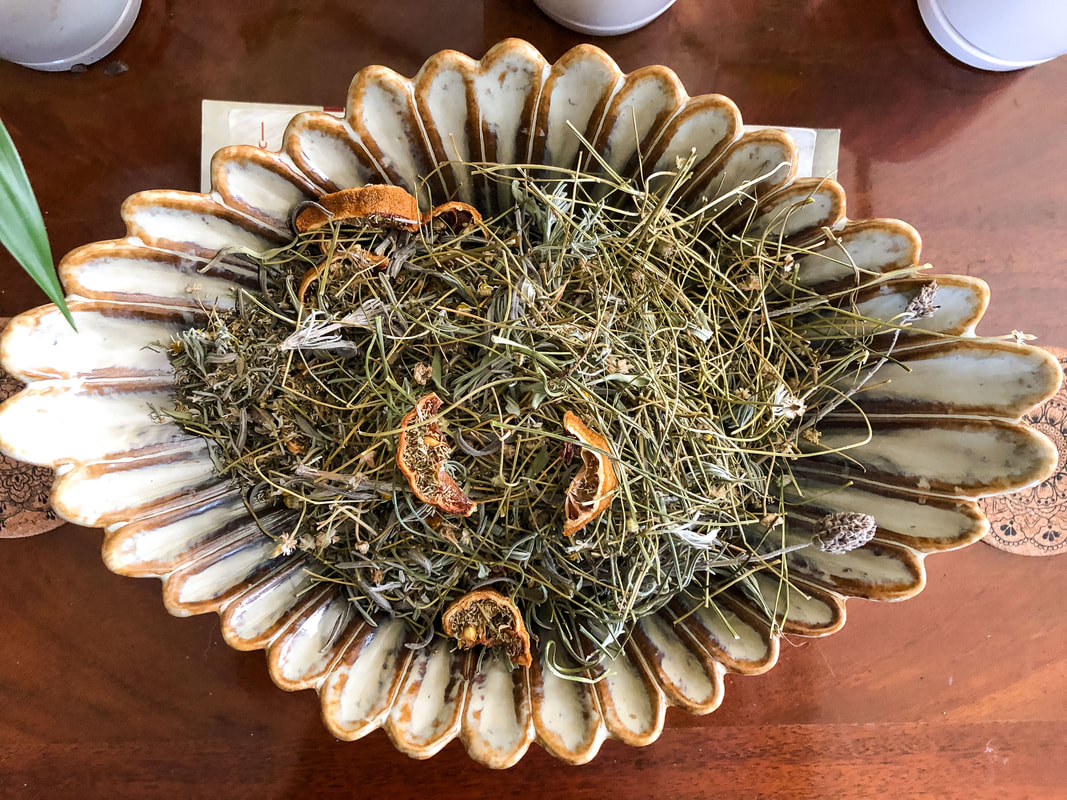 Homamde lavender, chamomile, and lemon potpourri. Photo by Diane M. Lilly, 2022. Nothing speaks to being calm and relaxed like the aromatic floral scent of lavender. Retail stores are filled with essential oils, incense, candles, and potpourri with the lavender scent. 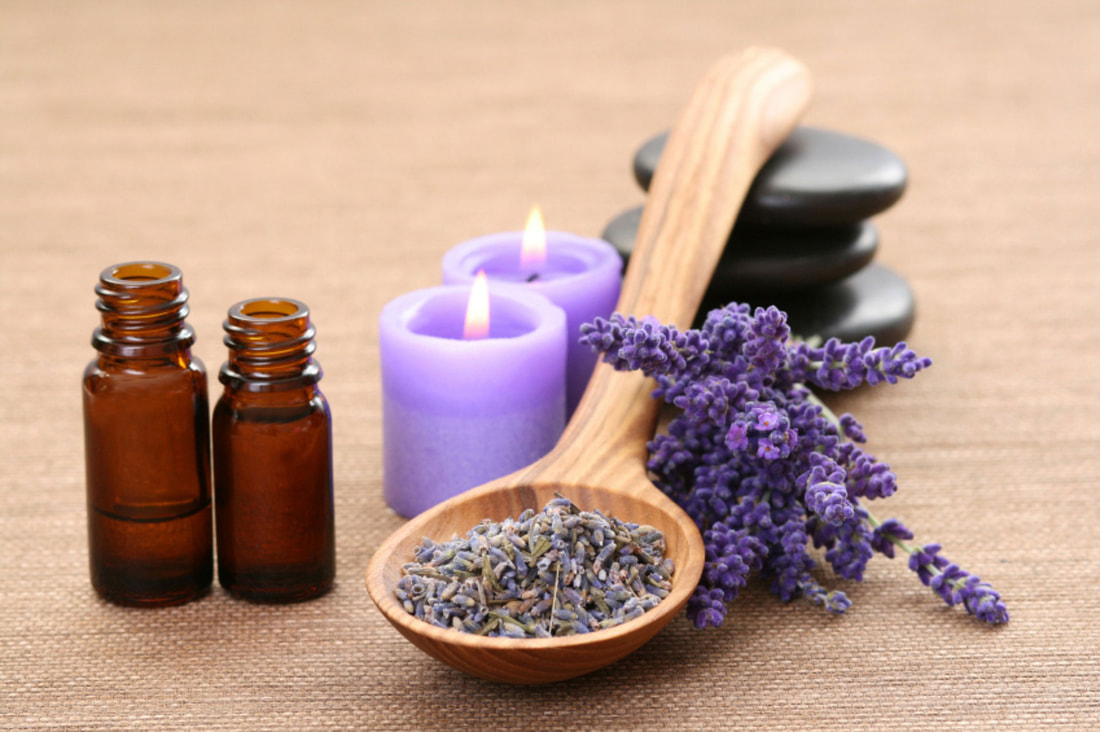 Image by googlerankfaster from Pixabay. As an amateur gardener who has been growing a few select herbs for several years now, lavender has been one of those plants I’ve been chomping at the bit to get my hands on, and this year was finally the year I succeeded! I have my dad to thank for that…He gifted me a couple of plants for my deck, one of them being a small lavender plant that had yet to develop blooms. There was no label with identification of the specific plant type and care instructions, so I had to guess the exact type of lavender, but--now that small blooms are appearing--I’m pretty sure the plant is of the French or Spanish variety. 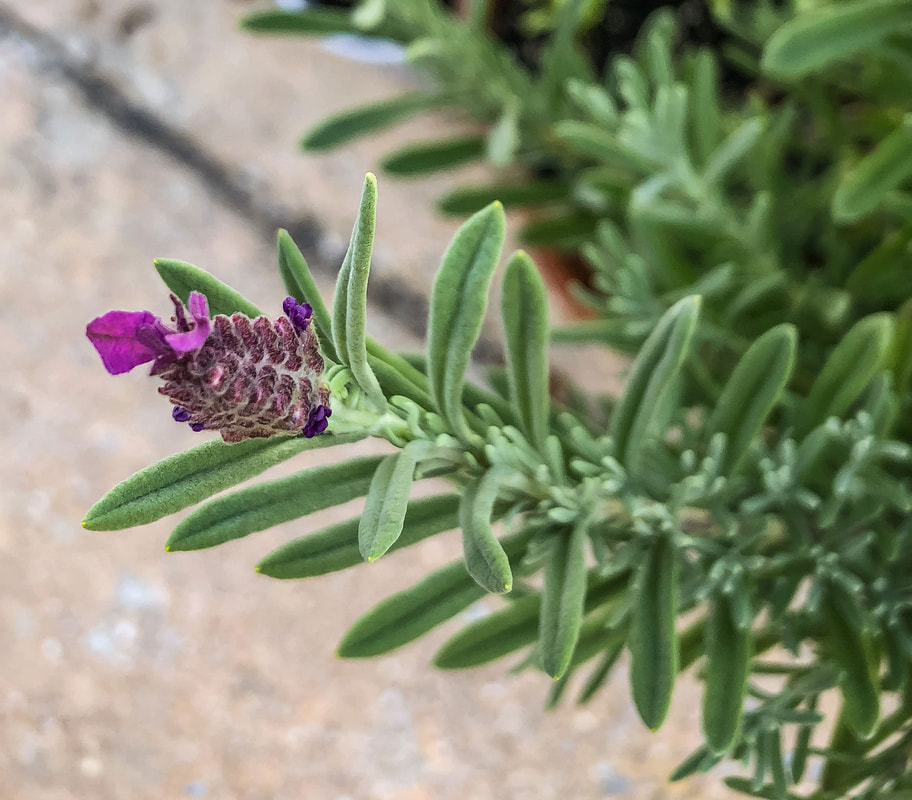 Lavender bloom from my potted plant. Photo by Diane M. Lilly, 2022. I’ll never understand why these garden stores don’t label the plants to let you know what plant you are buying! That information is crucial so you know how to care for your new plant, right? And here’s why it’s important: When it comes to growing lavender, there are many varieties from which to choose. I was astonished at just how many varieties of this purple beauty exist! Some lavender varieties thrive in drier climates, and some can tolerate colder temperatures over the winter months. So, it is critical to understand exactly which variety you are growing so you can enjoy your lavender and get the most use from it. 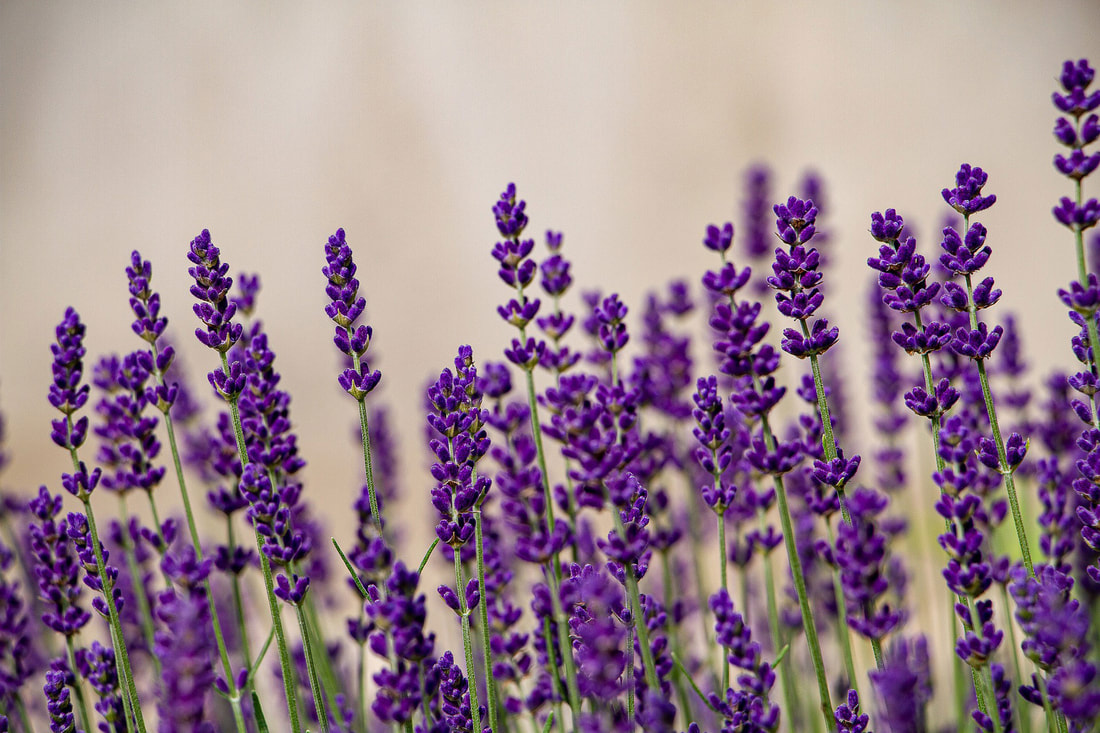 Image by Sabrina Wisian from Pixabay. 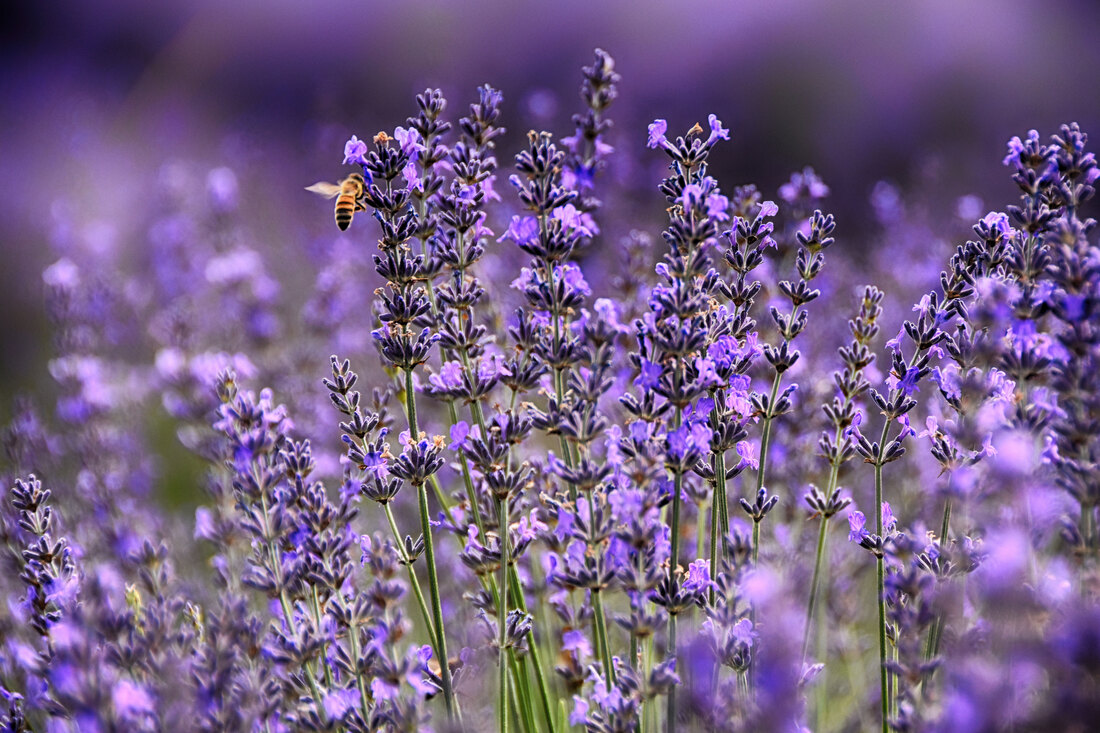 Image by gianniarmano from Adobe Stock. In addition to the French lavender plant my dad bought me, I have also decided to experiment and grow some Munstead English lavender from seed. The tiny plant is growing very slowly, but it is growing! It’s still tiny-- and probably won’t be of much use to me this year--but this plant (along with the other lavender plant) is sitting on my front porch just soaking up all of that warm southern sun, which lavender loves. 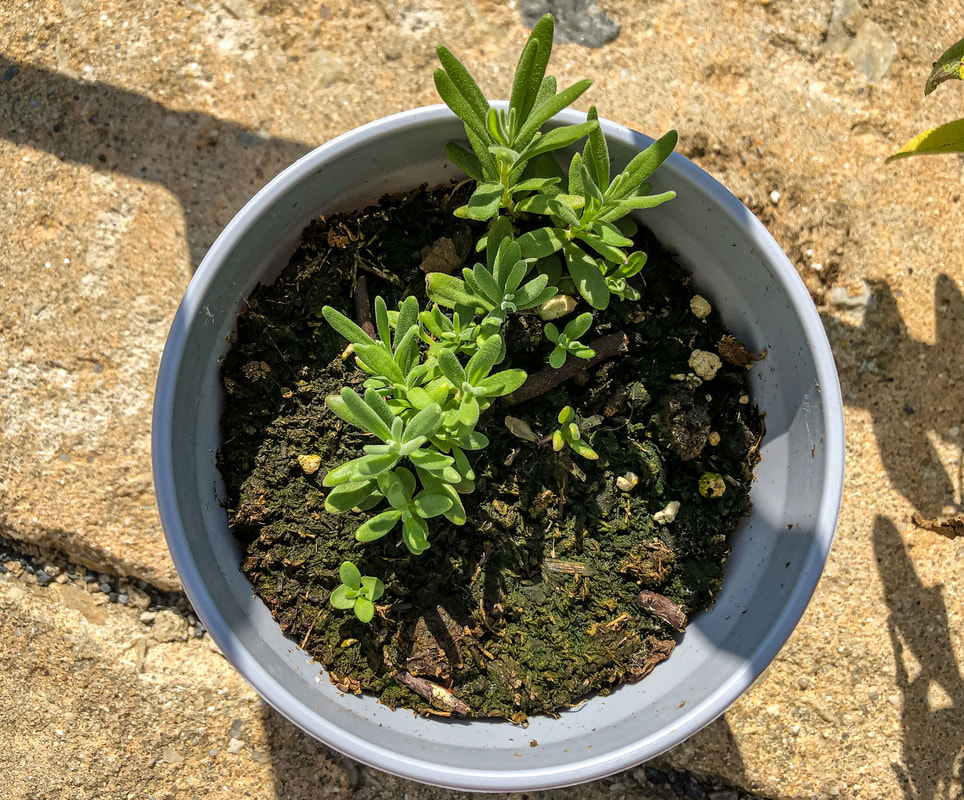 Munstead English lavender seedling in a pot on my porch. Photo by Diane M. Lilly, 2022. There are a couple of concerns with the climate in my area and whether or not it will be suitable for allowing these plants to thrive. The first concern is the high humidity in the summer months, and the second is the cold temperatures in the winter. I’ve decided to keep both lavender plants in pots so that they can either be moved to different spots or be brought indoors where I can better monitor their needs. Lavender does not require a lot of water, as it thrives in drier Mediterranean climates, so be careful not to overwater! That’s an issue for my lavender plants right now. The summer weather in my area has become humid and rainy, so I now have to decide to relocate my pots to a better-suited area or bring them inside. How to harvest and store At any rate, I am super excited to see how these two distinctly different lavender plants grow, and I’m on a mission to learn how to use clippings for scenting my home with potpourris and oils. My goal: learn as much as possible about growing, harvesting, storing, and ultimately using these aromatic herbs. I’ve been spending a lot of time researching, and below are a few tips I’ve uncovered… 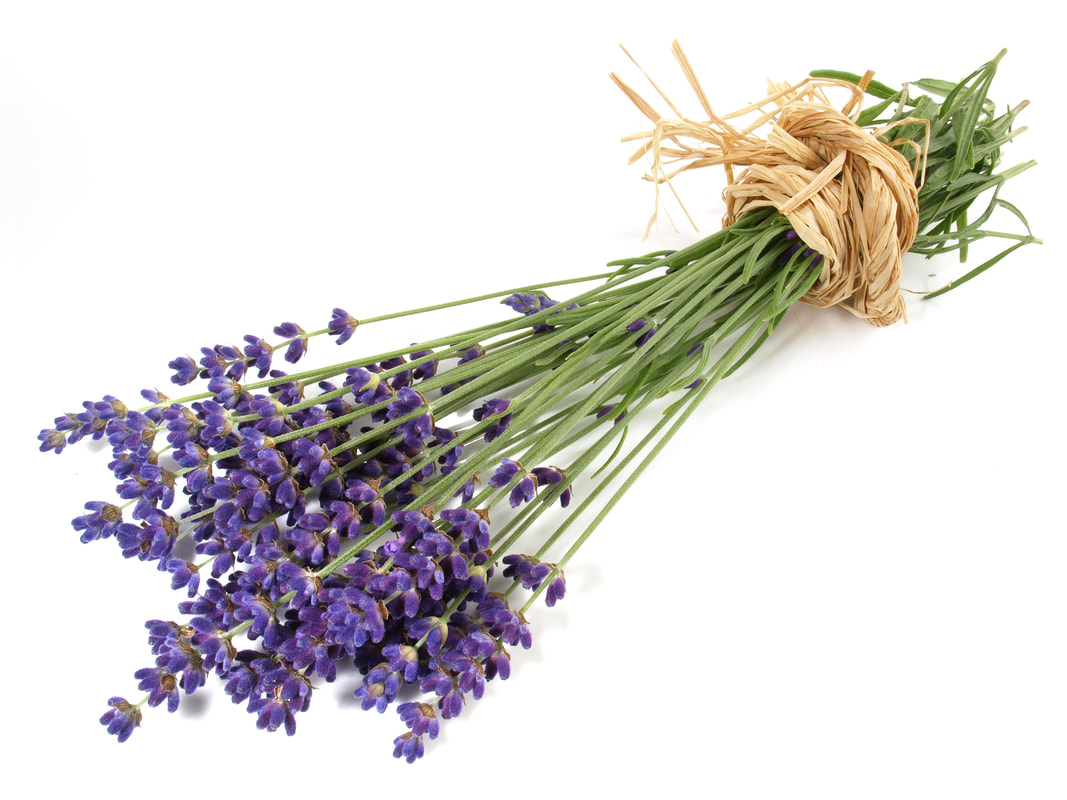 Image by ExQuisine from Adobe Stock. Harvest below the flower, where the stem meets at the junction of another stem. Harvest lavender in early spring or summer or early in the bloom when the buds are just opening so you can get another crop later. The more you harvest or deadhead (remove old flower blossoms), the more new growth is encouraged. If you leave the flowers too long, they may lose their potency and therapeutic benefits, so keep that in mind when harvesting for these purposes. Always harvest in the morning to minimize the stress on the plant and preserve any oils in the blooms. You can prune up to a third of the plant to promote future growth (especially in the fall). If you prune heavily in early spring, you’ll get a lot of new growth during the spring and summer. You can prune in the fall to shape the plant for the next season. Prune only the top 1/3 of the plant, right above the woody growth, and only when the plant becomes too woody. Seeds from the lavender plant can be gathered by hanging stalks upside down with a bag underneath. Store clippings in a dry place and let hang dry for at least a week. Make the bundles small to reduce the chances of mold developing from trapped moisture. My quick and easy lavender chamomile citrus potpourri Now that I have my long-coveted lavender plants, I’ve been itching to create a potpourri mix using lavender clippings, so I looked around the internet for ideas. Many of the summer recipes I found included lavender, rosemary, chamomile, and some citrus scent, and they all sound so lovely! Many of these recipes also include essential oils, and I just so happen to have recently bought a box with several different scents that I would like to use in my home. So today, I decided to take this opportunity to create a dry potpourri using my homegrown chamomile and lavender, some slices of lemon, lemongrass essential oil, and lavender essential oil. This DIY project's goal was to create a quick potpourri that I could put out on a table to scent my living room for a few days, maybe a week. So here’s the recipe I tried… Lavender & chamomile potpourri fresh lavender clippings fresh chamomile clippings 2 small lemons, sliced thinly 3 or 4 drops lemon grass essential oil 3 or 4 drops lavender essential oil a decorative bowl The first things you’ll need are the lavender and chamomile stems. I went out to my yard and clipped chamomile flowers with stalks, choosing the ones where the flowers were open but not drooping. Next, I headed to my lavender plant and cut several stems with the blooms. You don’t necessarily need the lavender flower because the leaves are very fragrant, but I wanted to add some visual interest to my potpourri mix, so I cut the blooms as well. And it’s worth noting that French or Spanish lavender is perfect for use in potpourri. 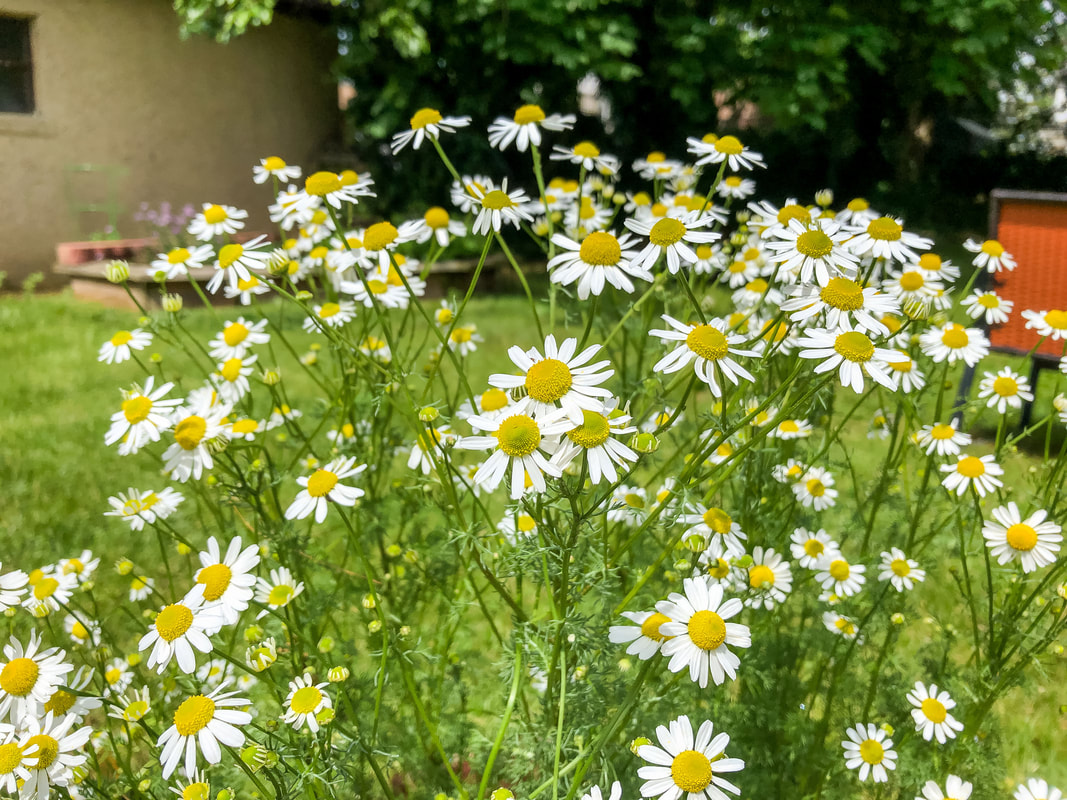 Chamomile growing in my garden. Photo by Diane M. Lilly, 2022. 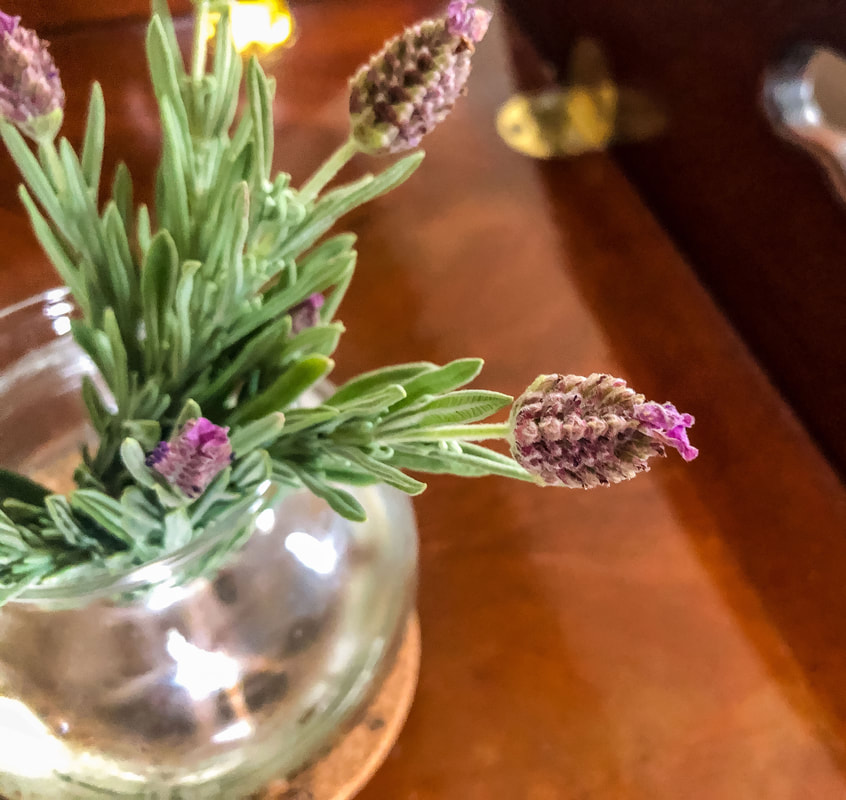 Lavender clippings from my plant, keeping fresh in a glass vase of water. Photo by Diane M. Lilly, 2022. The next step is to cut a couple of small lemons into thin slices. It is essential to keep the slices thin so they don’t take as long to dry out. To dry out my fresh lavender, chamomile, and lemon slices, I spread everything out on a baking pan and place it in the oven at 200˚ F for at least a couple of hours or until all the moisture is gone from the flowers and lemon slices. 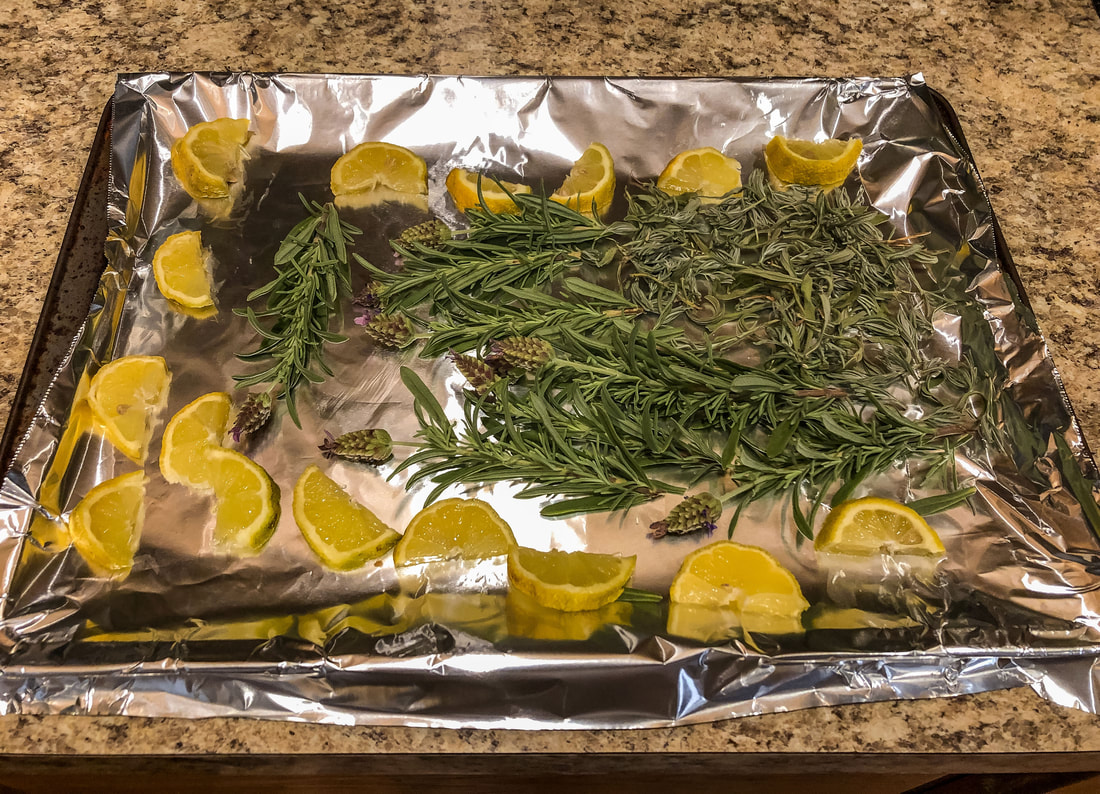 Lemon slices and lavender clippings on a tray, waiting to be put in the oven for drying. Photo by Diane M. Lilly, 2022. 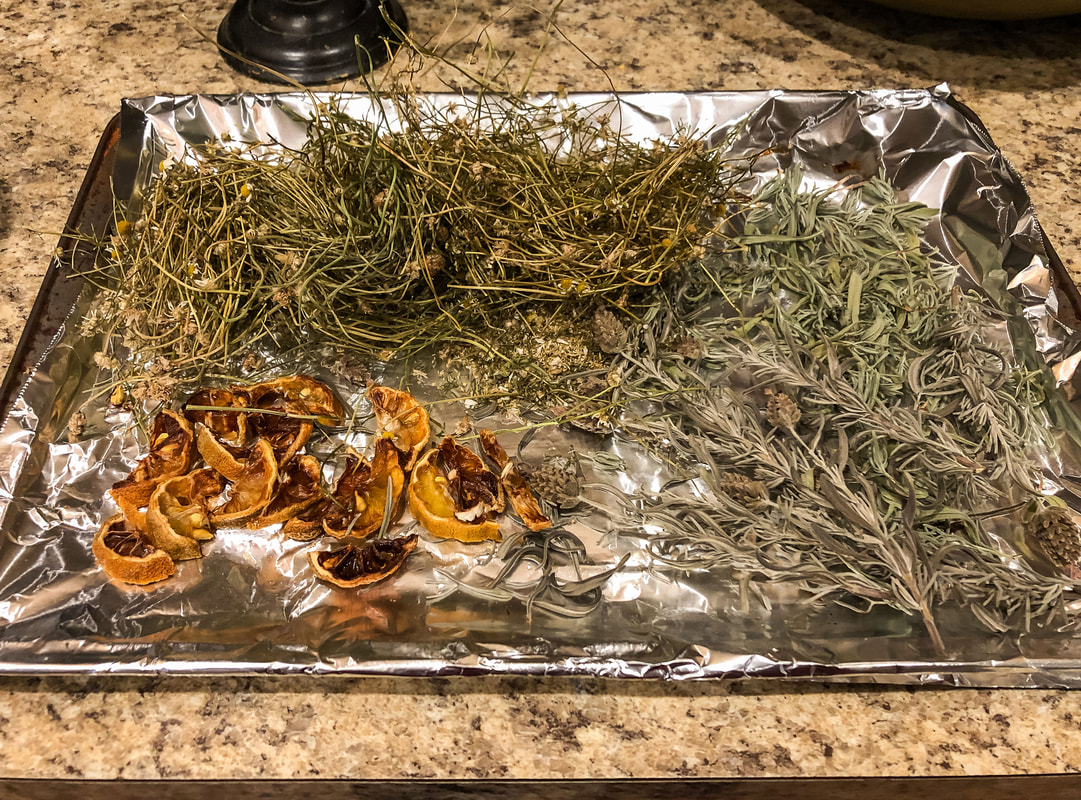 Dried chamomile, lavender, and lemon slices on a tray. Photo by Diane M. Lilly, 2022. At this point, you can decide what essential oils you want to use to enhance the fragrance. The reason I used essential oil is that--while the lavender, chamomile, and lemon are fragrant--the mixture isn’t potent enough to scent the room on its own. Essential oils infuse the dried flowers with a strong scent that lasts longer. For my mixture, I wanted to use essential oils that enhanced the citrus and lavender aroma, so I chose to use a few drops each of lemongrass and lavender…and it smelled AMAZING! 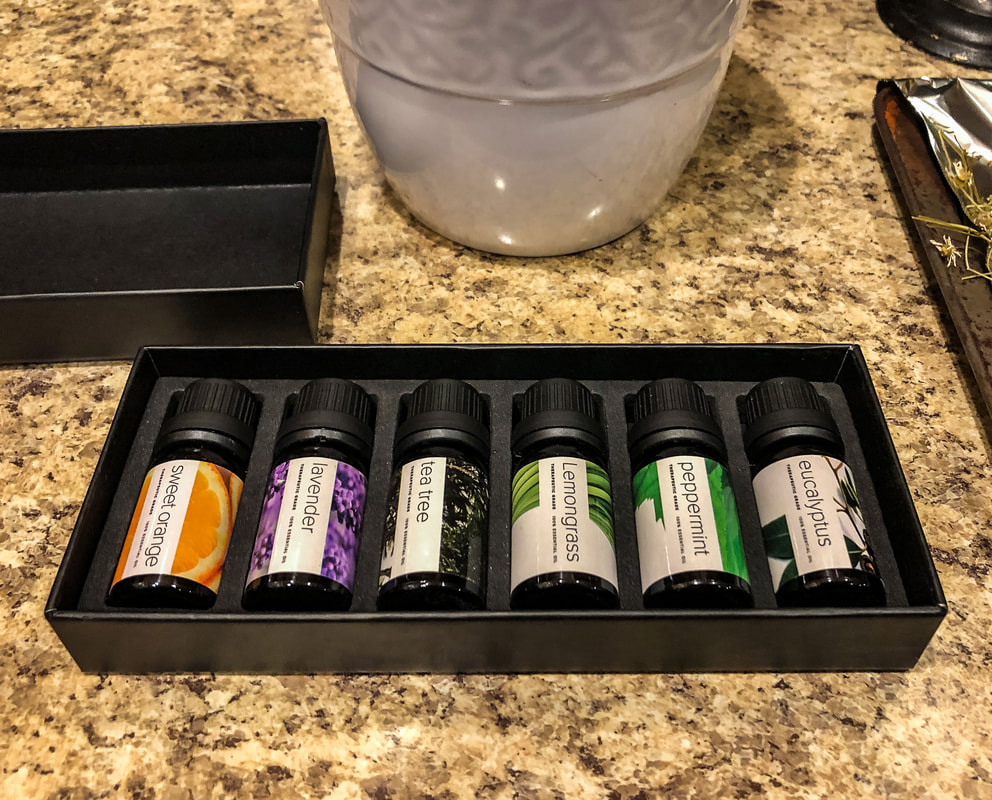 Newly purchased box of essential oils. Photo by Diane M. Lilly, 2022. 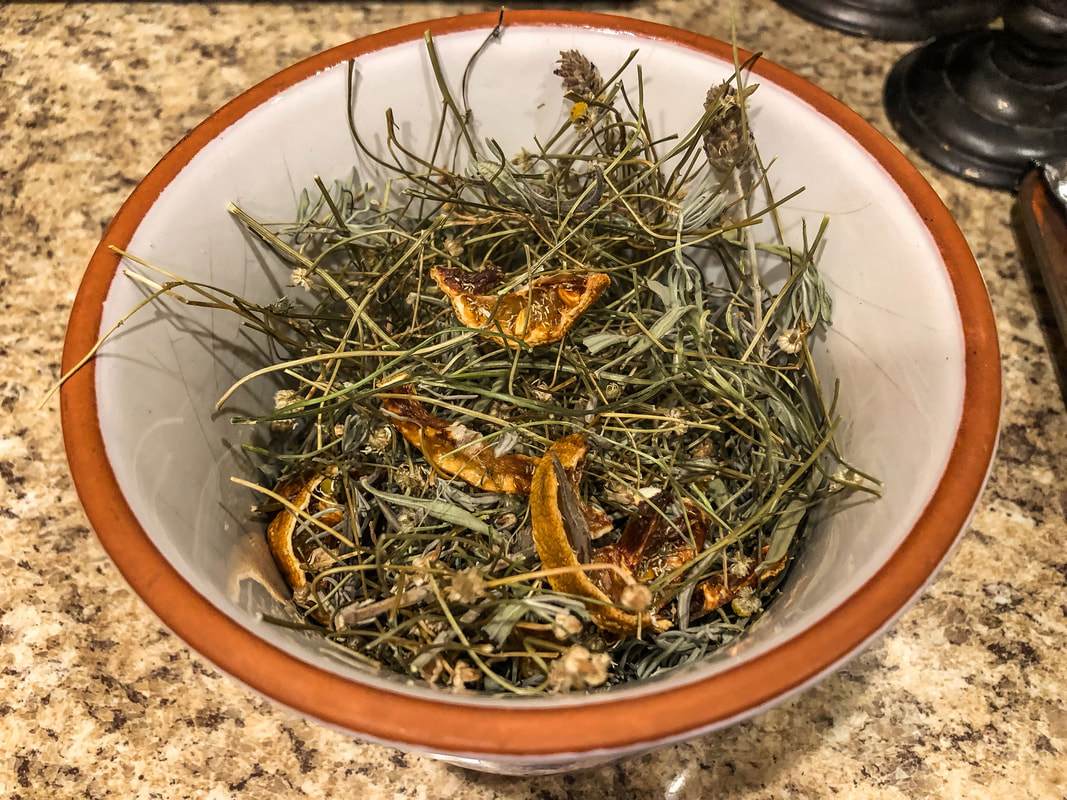 White ceramic vase filled with potpourri herbs and lemon slices. Photo by Diane M. Lilly, 2022. The only step left is to find a decorative bowl to put the potpourri in and a nice spot in your home where you would like to smell your new potpourri. I didn’t have a nice bowl, so I went to my nearest Hobby Lobby and bought this beautiful green ceramic bowl that perfectly fits my decor! It ended up being just perfect for my potpourri mix. 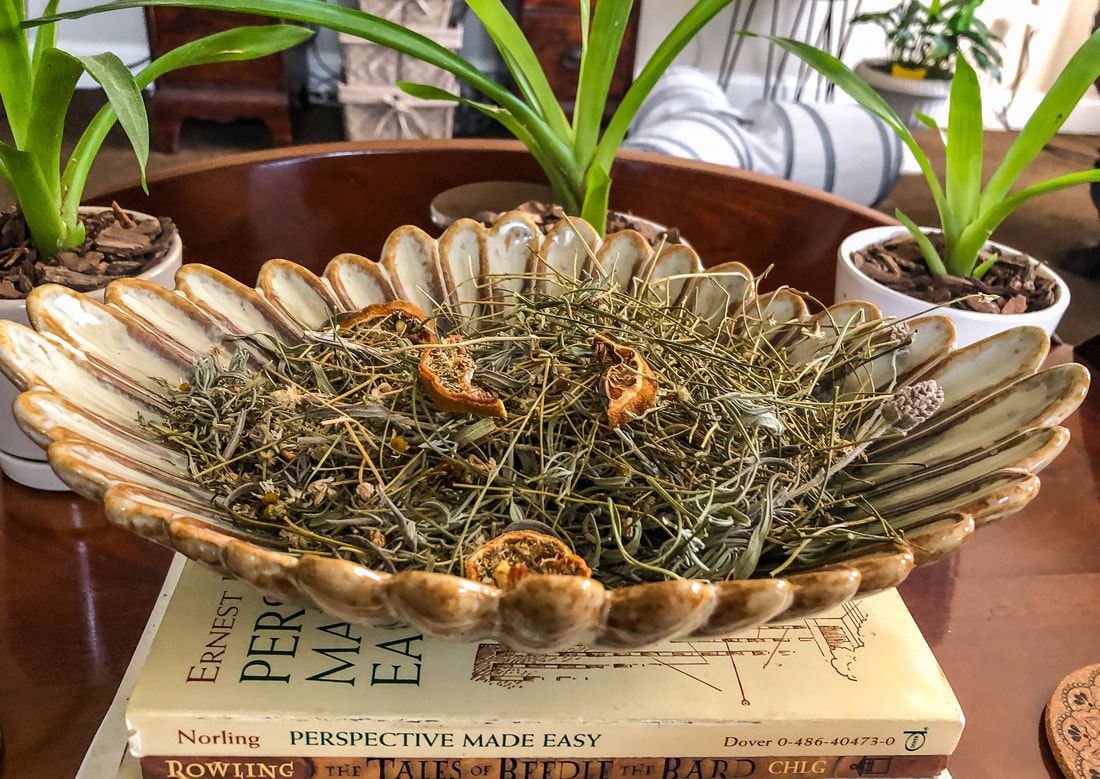 My freshly dried herbs and lemon in a newly purchased decorative bowl. Photo by Diane M. Lilly, 2022. Just a word of caution…If you have cats like I do (and this probably also goes for dogs), be aware that some essential oils and herbs can be toxic and even fatal if ingested. My cats don’t bother my plants or potpourri, but I am careful because lavender and chamomile are toxic to cats, and essential oils are toxic to pets. So please use these things with caution! So, I hope you found this article interesting and maybe learned something from it as I did, and I’d love to hear from you in the comments about your tips for growing lavender or potpourri recipes you love. And if you enjoyed this article or my blog, please share so we can expand and grow this community! Related blogs you may want to read: Tips for harvesting chamomile for homemade tea Learning how to harvest and use fresh mint from the garden How to care for 11 common herb seedlings Tips for planting seeds indoors Six herbs I planted indoors It’s planting season again Growing tomatoes and cucumbers for my garden How to repot a pothos plant How to propagate bromeliad pups Small houseplants that love bathroom humidity Sources: https://www.gardenloversclub.com/edible/herbs/lavender/types-of-lavender/ https://www.proflowers.com/blog/types-of-lavender https://www.gardeningchores.com/types-of-lavender/ https://homesteadandchill.com/how-to-harvest-dry-lavender/ https://preparednessmama.com/lavender-harvest/ https://bytherfarm.com/homemade-potpourri/ https://afternoonteareads.com/make-homemade-potpourri/ https://nwmaids.com/how-to-make-potpourri-2-methods-1-aromatic-result/ Affiliate Disclosure Some of the posts in this article contain affiliate links. This means if you click on the link and purchase the item, I will receive an affiliate commission at no extra cost to you. I will only recommend products or services I use personally and/or believe will add value to my readers, so there is no conflict of interest. 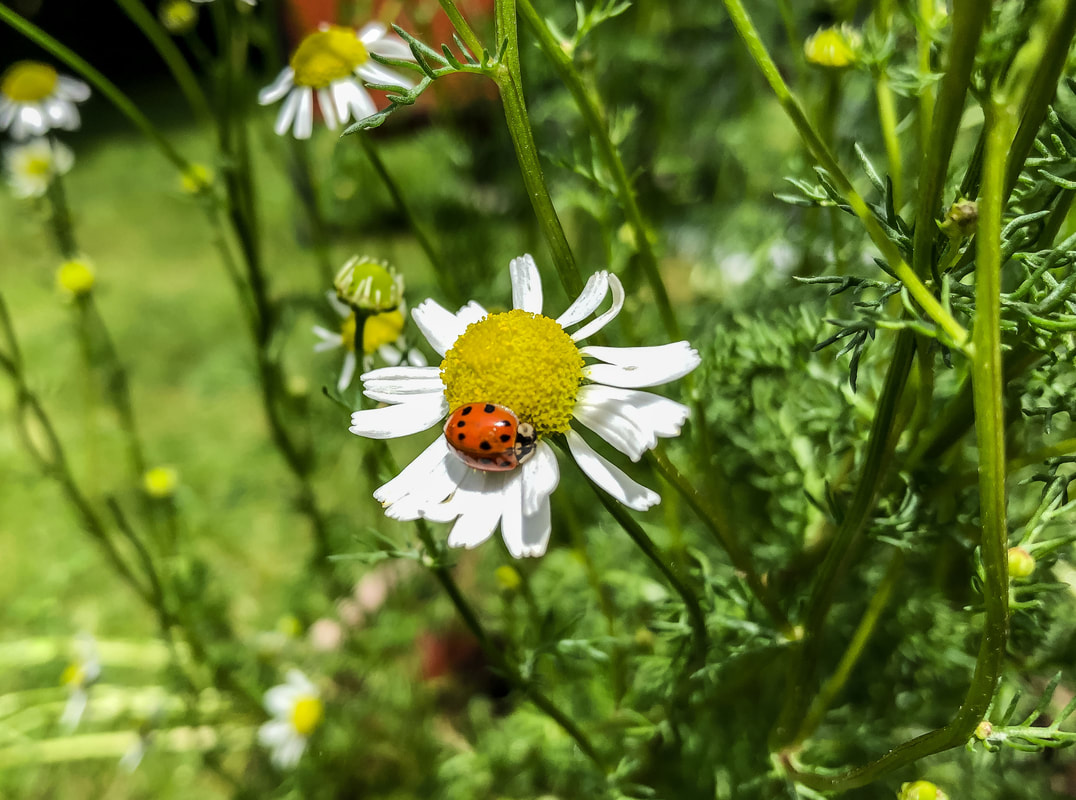 My chamomile has a ladybug visitor. Photo by Diane M. Lilly, 2022. I’ll let you in on a little secret—chamomile is my favorite herb! I have to tell you, I have developed quite an infatuation with this gorgeous little flower. Two years ago, I planted chamomile in pots that eventually ended up on my back patio. Chamomile is part of the daisy family, as evidenced by the slender white petals stretching out from knobby yellow buds…And this herb is so deliciously fragrant! Typically, chamomile is an annual—meaning it only blooms once and then dies—but this flowery herb is a prolific self-seeder, so it comes back for me every year just like a perennial. There are two main types of chamomile—German chamomile, which grows tall with tiny flowers, and the Roman variety, which grows shorter with slightly larger blooms. Either variety of chamomile will bloom through the entire warm season, which in these parts is from mid-spring to early fall.  Chamomile growing in my garden. Photo by Diane M. Lilly, 2022. So, my big idea was that I wanted to drink homemade tea with my fresh chamomile. (That’s been a mixed bag…but I’ll get to that later.) As I do more research into this aromatic herb, I am discovering more and more possibilities for uses in my home, from using it in recipes to essential oils and so much more. This journey of exploration should be educational! But first, a few tips on how to harvest and store chamomile, and at the end, I’ll discuss my attempts at making that homemade herbal tea… How and when to harvest chamomile… Generally speaking, I harvest throughout the summer, picking the blooms as needed. You do not harvest all the flowers at once, but instead harvest frequently by snipping off only the flower bud itself and only the flowers whose petals are fully open and not drooping. Harvest the chamomile in the morning for the best flavor and to lessen the stress on the plant. 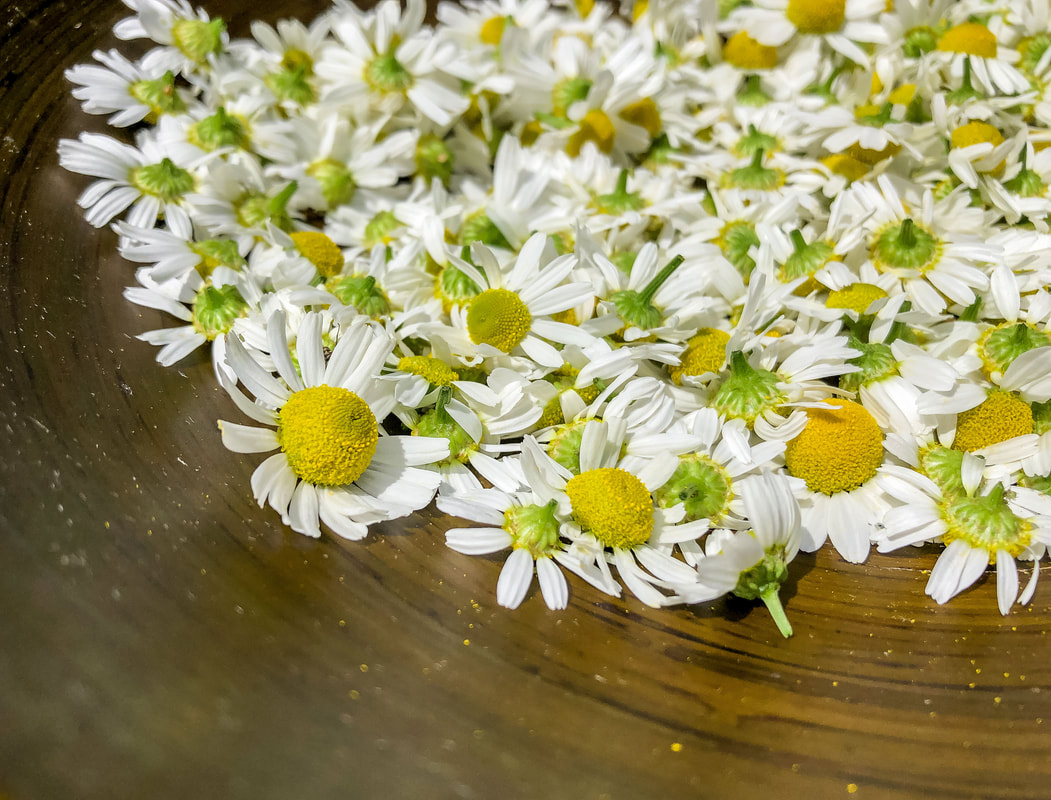 Freshly picked chamomile flowers. Photo by Diane M. Lilly, 2022. How to prep and store chamomile… Chamomile can be used fresh, but, in my experience, the flavor seems better when it is left to dry out first. Dried chamomile can become the seeds for next year’s crop (in case your plant does not self-seed) or can be used in amazing recipes. There are a couple of ways you can dry out the flowers. One way is to spread the flowers on a baking sheet and put them in the oven at a very low temperature (no more than 250˚) for a few minutes. Another way is to lay the buds on a tray and leave them in a dark, dry place for one to two weeks. Some people splurge and buy a dehydrator—which can be purchased for as little as $70—to speed up the drying process. After the chamomile is thoroughly dried out, it is ready to be stored in a glass container. Ensure there is no moisture before sealing in a container--otherwise, mold can develop, and we don’t want that! How to make homemade chamomile tea… According to my research, there are many benefits to drinking chamomile tea. The best option is always to use your homegrown process-free chamomile. Chamomile tea is said to be a calming beverage that can help you get to sleep. I have personally found that this tea relieves the menopausal bloating I’ve been experiencing lately. And it is said that drinking chamomile tea regularly significantly reduces anxiety. I am no doctor (do your own research and draw your own conclusions), but it sounds like this little daisy-like flower is more than just a pretty face! Oh, and did I mention that the same recipe you used for tea can be used as a hair rinse and lightener? The process of making chamomile tea is quite simple…You will need 2-3 tsp dried chamomile to one cup of boiling water for your tea. (If using fresh chamomile, you’ll need 6-8 tsp to one cup boiling water.) Steep the flowers for 3-5 minutes (you can steep for longer if you want a more potent brew), then pour the tea through a strainer to eliminate the heavy particles. So, for my first few attempts at making this herbal tea, I rinsed the flowers off, then spread them out to dry for slightly less than an hour before steeping them in boiling water. I used a coffee filter with a small sieve to separate the heavy particles, which worked well. One of the things I did notice—which I was not thrilled with—was that the tea seemed bitter. On subsequent attempts, I made sure to leave out any stems and leaves and lessened the time the brew steeped (from around ten minutes to more like 5 minutes), which seemed to help reduce the bitterness. 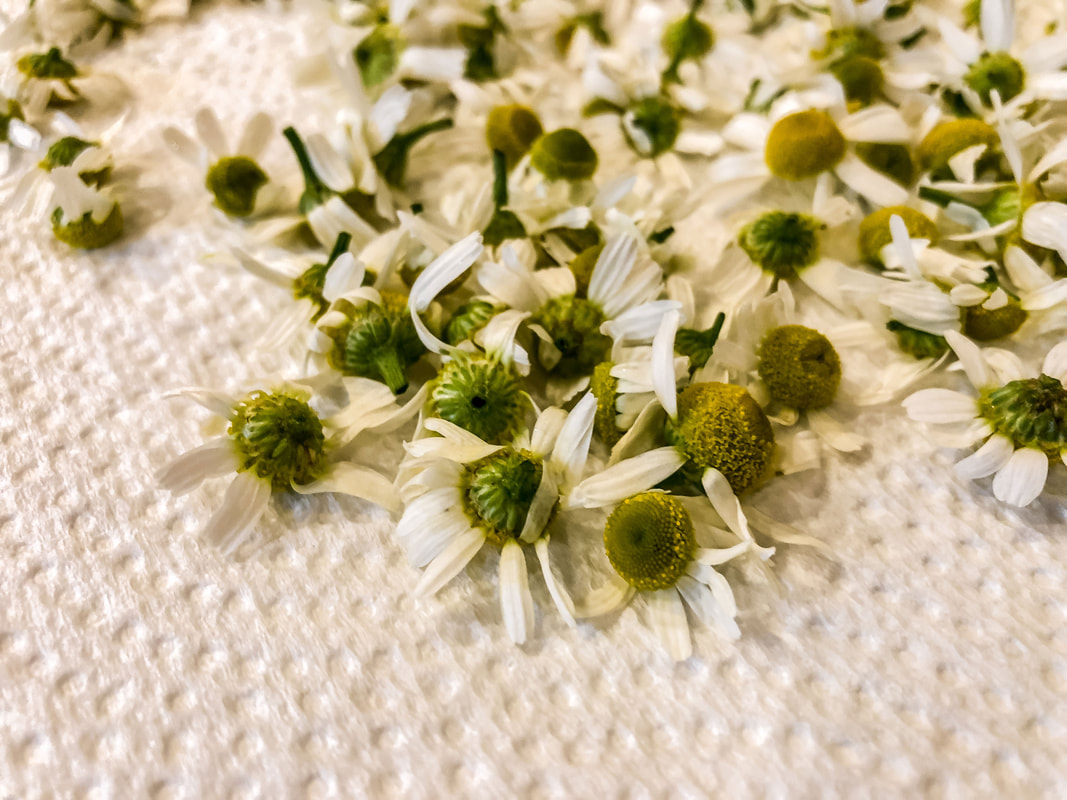 Chamomile flowers drying on a paper towel. Photo by Diane M. Lilly, 2022. 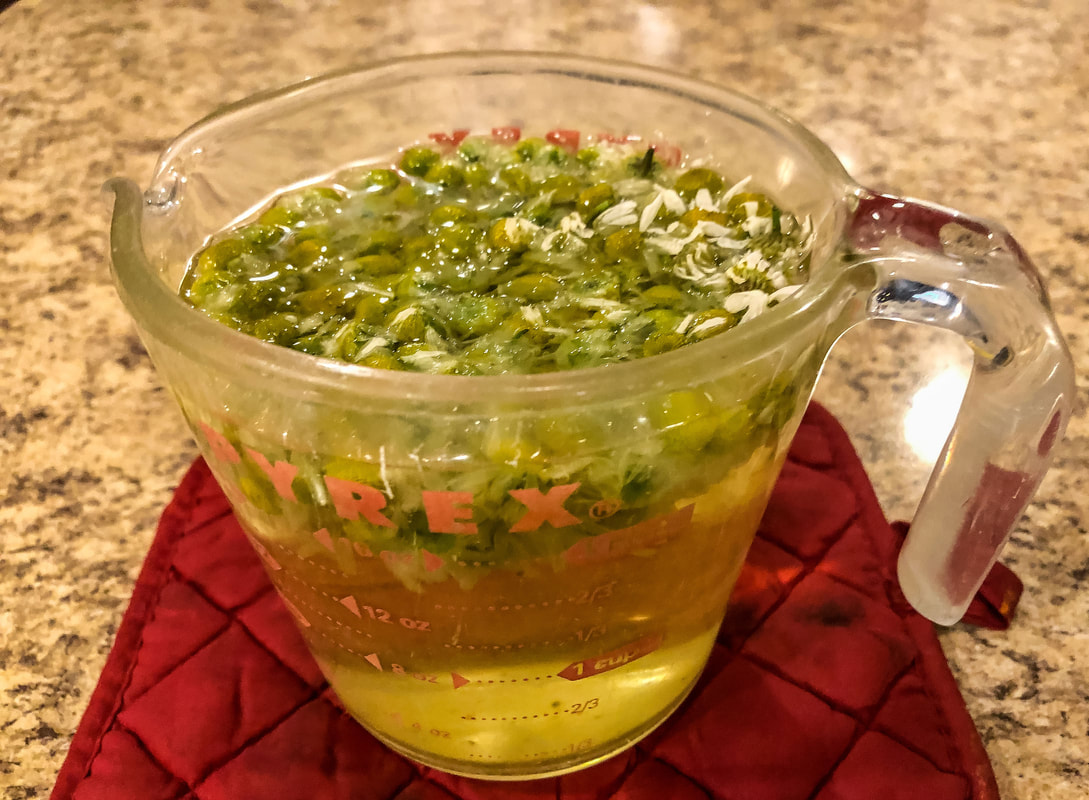 Chamomile seeping in hot water. Photo by Diane M. Lilly, 2022. Through my most recent attempts at making homemade chamomile tea, I have discovered that dried chamomile works much better in terms of taste. This time, the flowers were dried in the oven on low heat (which also helped kill tiny bugs) and left to sit out covered with a paper towel for a day before use. Once the flowers were dried, they were steeped for almost 5 minutes in hot water and then strained. I added a few spritzes of fresh lemon and store-bought honey for additional flavor. I’d say the third time was the charm! The tea tasted just right! The next time I make this homemade tea, I may let it steep for two extra minutes because I want just a smidgen more of the chamomile flavor. But, I must say, this last time, I got much closer to achieving a terrific-tasting homemade chamomile tea! Once I get my recipe down pat, I will share it as a separate blog post, so stay tuned! 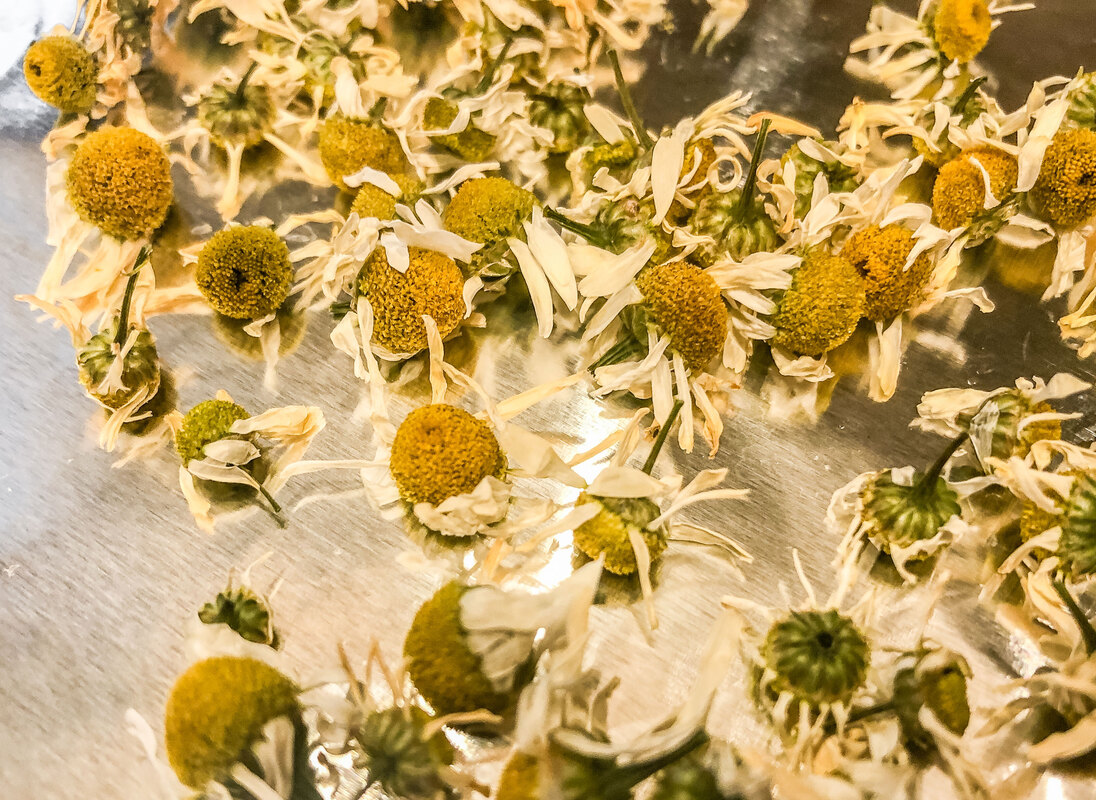 Chamomile on a baking sheet after drying in the oven. Photo by Diane M. Lilly, 2022. 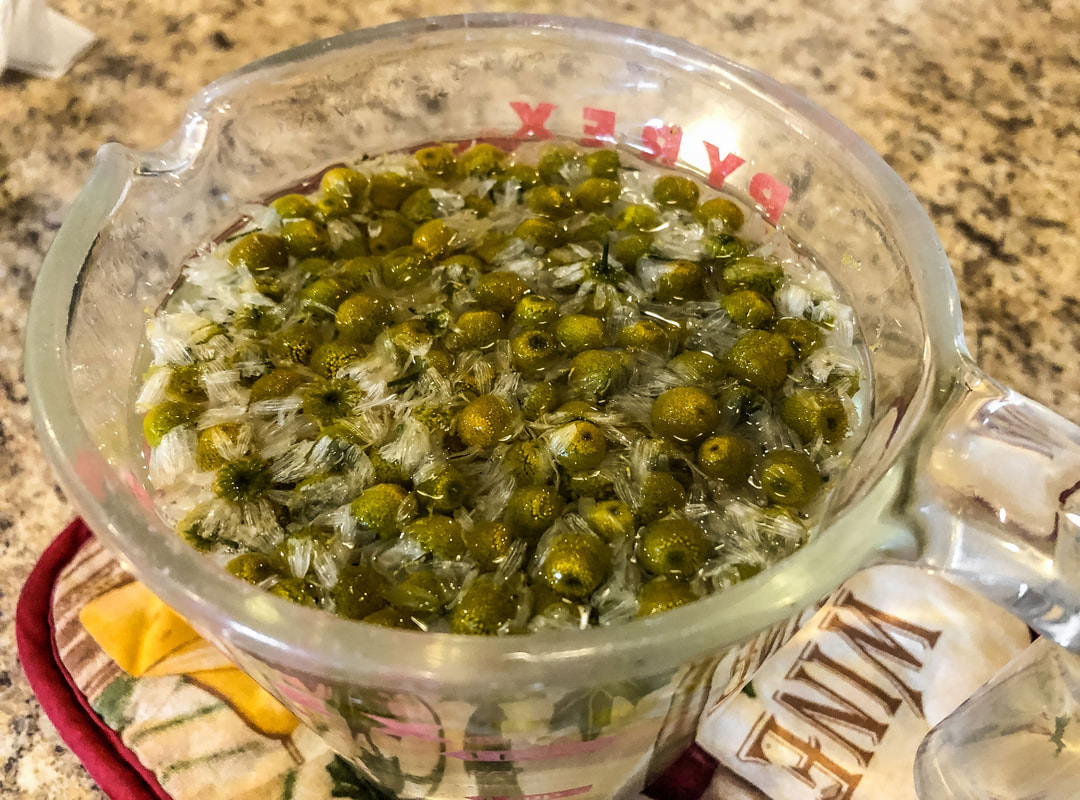 Another batch of chamomile seeping in hot water. Photo by Diane M. Lilly, 2022. 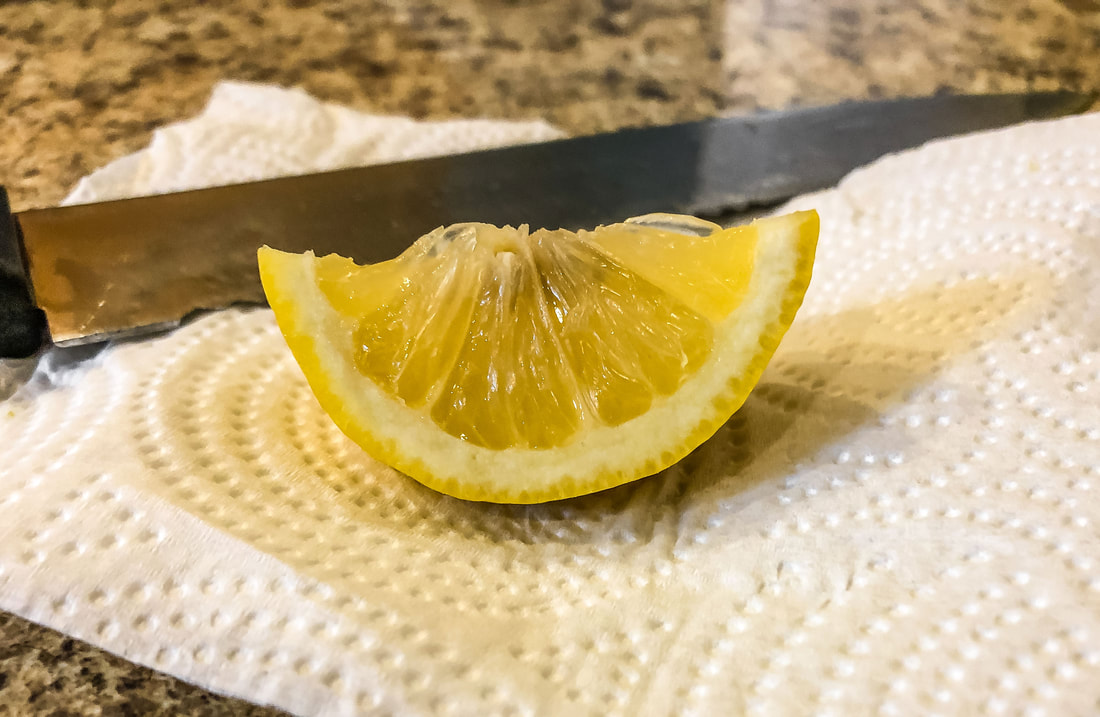 Lemon wedge for my freshly brewed chamomile tea. Photo by Diane M. Lilly, 2022. 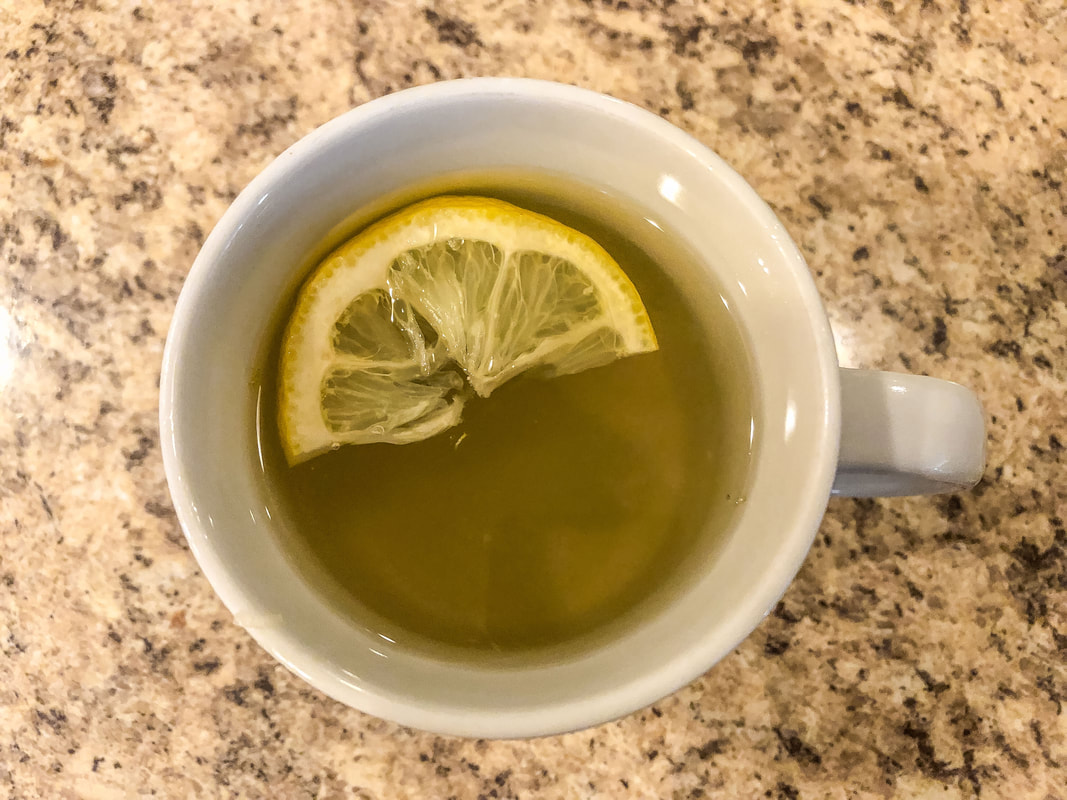 Cup of freshly brewed chamolie tea with a lemon wedge. Photo by Diane M. Lilly, 2022. 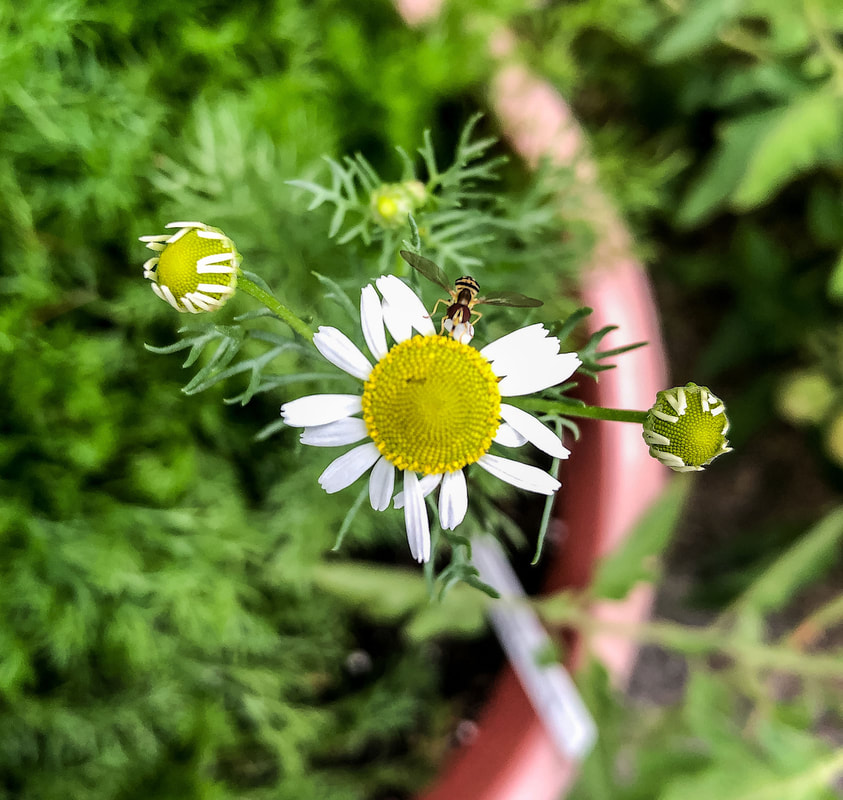 A visitor on my chamomile! Photo by Diane M. Lilly, 2020. Related blogs you may want to read: Learning how to harvest and use fresh mint from the garden Tips for planting seeds indoors How to repot a pothos plant How to propagate bromeliad pups Six herbs I planted indoors Growing tomatoes and cucumbers for my garden It’s planting season again This article may contain a few items or commercial mentions, but I only used them for demonstration purposes only. I am not endorsing any particular product or receiving any monetary gain for this blog. 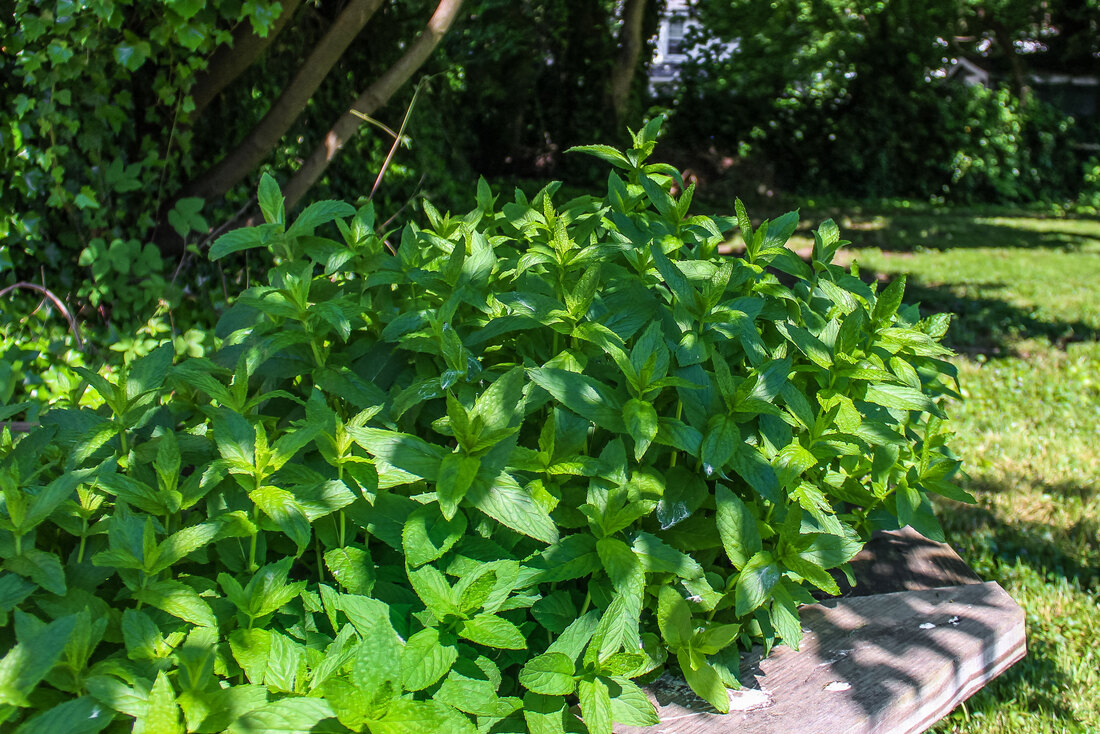 Mint growing in my garden. Photo by Diane M. Lilly, 2021. A few years back, I bought this packet of mint seeds to plant in my yard for fresh mint. Not only did I have no idea how to grow mint, but there was no thought given to how I would use the stuff when it started to grow…and grow it did! So, the first thing you should know is that mint is prolific! No, seriously, you'll have to keep on top of it so this plant doesn’t spread all over your yard. But it needs little care to keep it alive, and you get a lot of it for whatever uses you have in mind. Which brings me to my second point…What can you do with fresh mint? It’s been growing in my yard for a while now, and you’re probably like…how have you not yet figured out how to use this herb? It just comes down to time—as in not enough of it. So, this year, I am committed to learning how to use the plant for something other than pretty photos! 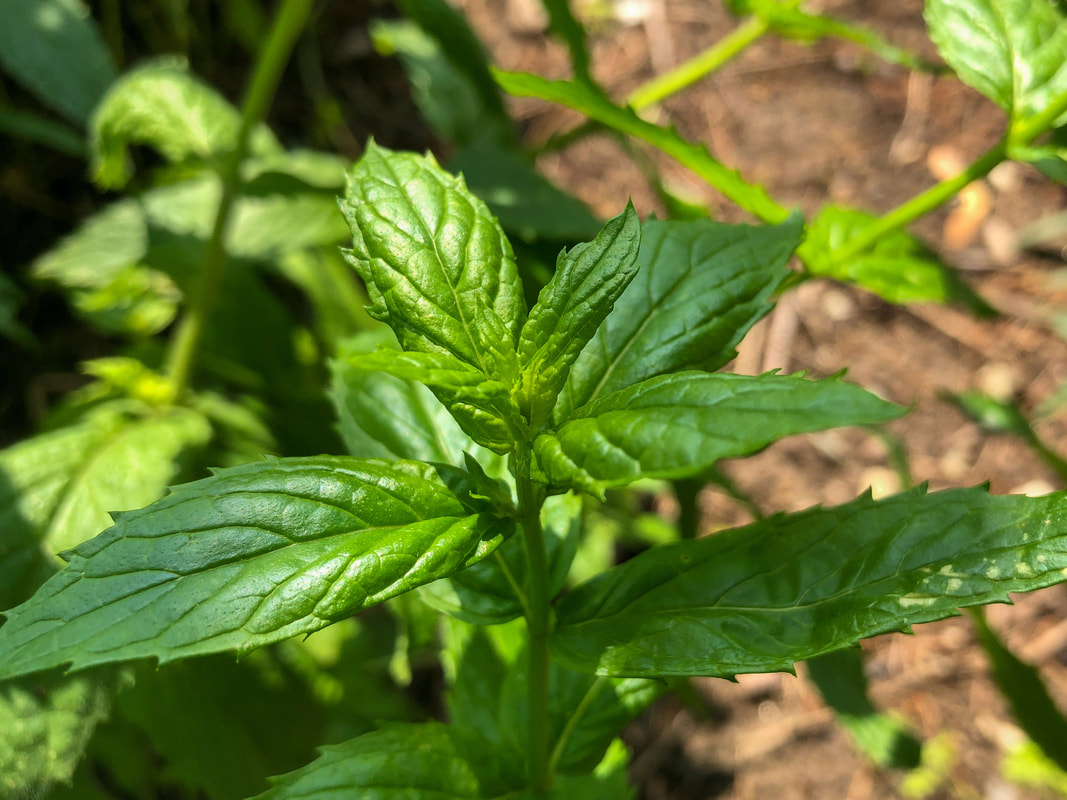 Mint leaves. Photo by Diane M. Lilly, 2021. I’m embarrassed to admit that I had allowed my mint to make itself at home in my yard for so long, not using it for anything, that I had forgotten exactly what type of mint I had grown. So the burning question became, how do I figure out what kind of mint I have? Well, a little research has turned up an answer—give it a taste. If it has a sharp, almost spicy taste, it’s probably peppermint. If the taste is more subtle and sweeter, it’s more likely to be spearmint. So I popped off a leaf and gave it a chew, and—sure enough—it had a sharp, almost peppery flavor! So, I can assume I am growing peppermint. Good to know! Now that I know what type of mint I have and how to grow it, it's time to learn how to harvest and use this leafy green herb. And so this will be the beginning of a continuing journey to delve deeper into how to grow, harvest, and use common herbs like mint. I’m no herbalist, but I like the idea of finding more natural ways of living, and growing herbs plays into that mode of thinking. So let's see if we can get our heads wrapped around a few beginner’s tips… How and when to harvest mint… While the mint plant benefits from frequent harvesting (increasing the yield of new growth), this is also an opportunity to keep the herb in check, pulling runners from spots where you don’t want the mint to grow. The actual act of harvesting is pretty simple—simply clip (with scissors, do not break) the top buds with the younger, more flavorful leaves (cut above the second set of leaves near the bottom), pluck a leaf at a time as needed, or cut large bunches just before the plant blooms (never harvest more than 2/3 of the plant). The mint plant can be harvested any time after maturity, but the best time is before it flowers. After the flowers bloom, the taste of the leaves gets more bitter. Also, as with most other herbs, harvest in the morning for the best concentration and flavor. 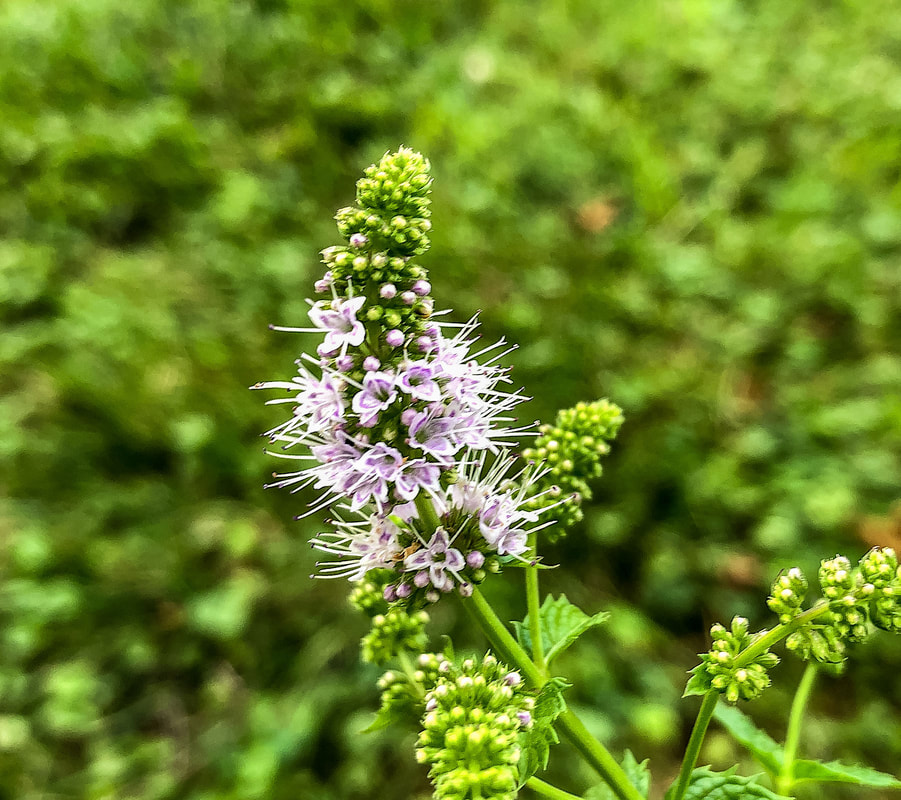 Mint flower. Photo by Diane M. Lilly, 2020. 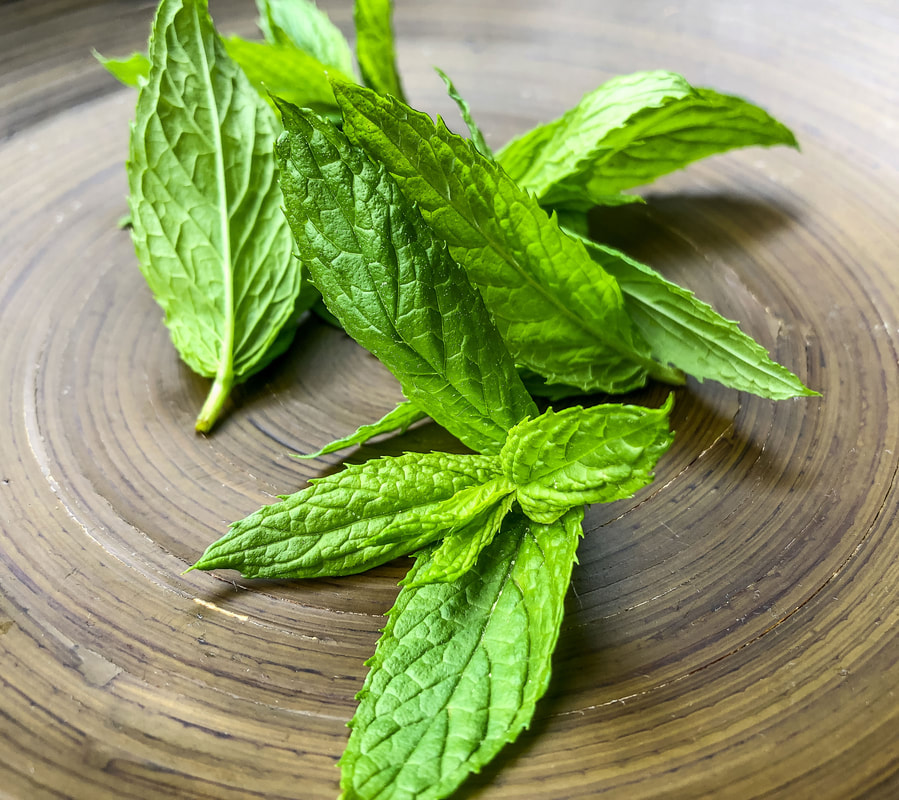 Mint leaves harvested from my garden. Photo by Diane M. Lilly, 2022. How to store mint… Dried mint loses some flavor, so using mint when fresh from the garden is the optimal way to get the most flavor. That being said, there are still benefits to using properly dried mint. The best way to dry out this herb is to tie your cuttings together and hang them in a cool, dry, dark place (do not dry with heat). Store dried mint in a glass container, and make sure no moisture is left that could create mold (you can use absorbing packets). Wrap them in a damp paper towel or place them in a container with water and place them in the fridge for a week to 10 days if using within a few days. Mint leaves can also be frozen in freezer bags (freeze on wax paper first) or chopped up and frozen in ice cubes, ready for your next delicious beverage! Your mint will be kept in the freezer for up to three months. 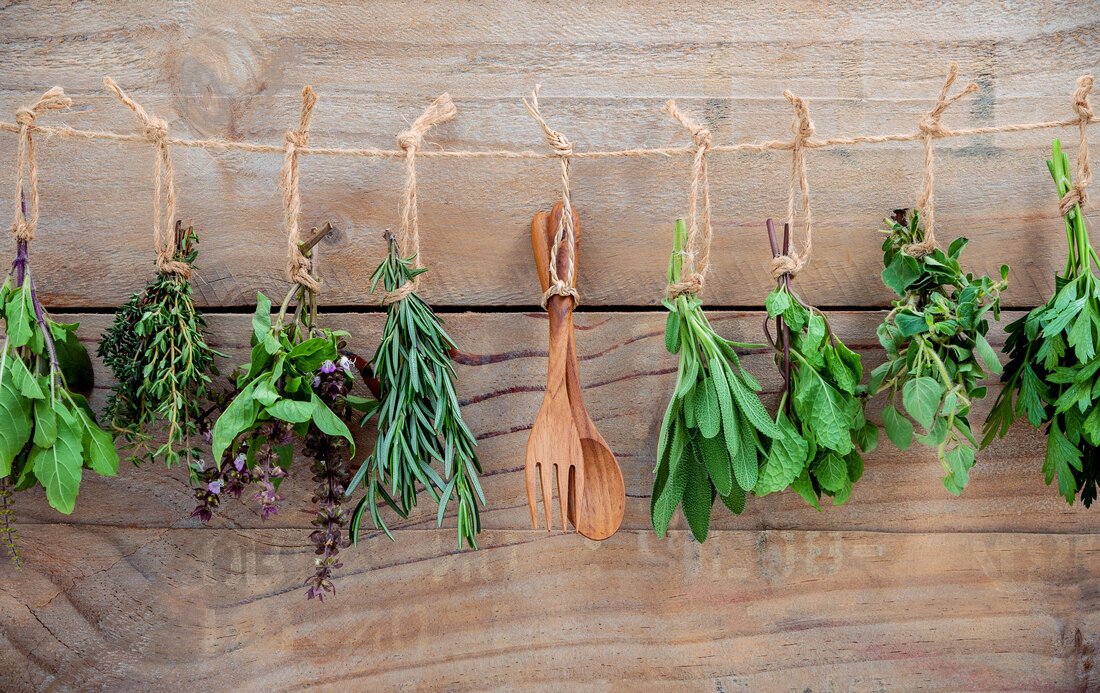 Image by kerdkanno from Adobe Stock. How to use mint… Last year, I decided to try making homemade mint tea with fresh clippings from my yard. The results were somewhat unsatisfactory, but it was--after all--my first attempt! At some point, I’d like to try making mint tea again…but maybe iced tea this time. Once I play around with it a little more, I’ll post another article with the recipe…but in the meantime, I have discovered lemon and mint leaves in water. I started drinking water with lemon slices and some freshly squeezed lemon juice. Then I remembered I have fresh mint in my yard…so, of course, I had to throw in some fresh mint leaves, right?! This is an incredibly refreshing drink that screams summer! I make mine by the glass, but you can find recipes for making a pitcher of this wonderfully light and refreshing beverage. I’ve become seriously addicted to this drink! It’s a perfect excuse to drink more water. 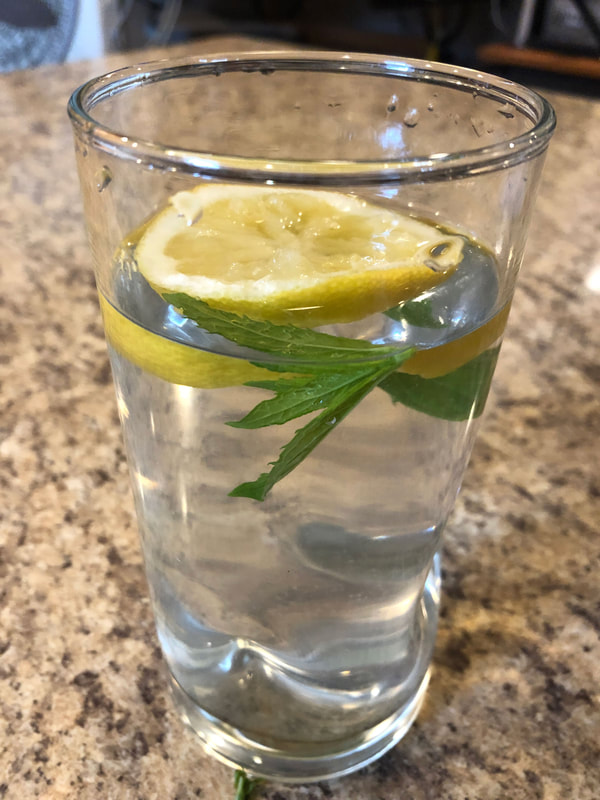 Water with fresh lemon and homegrown mint leaves. Photo by Diane M. Lilly, 2022. 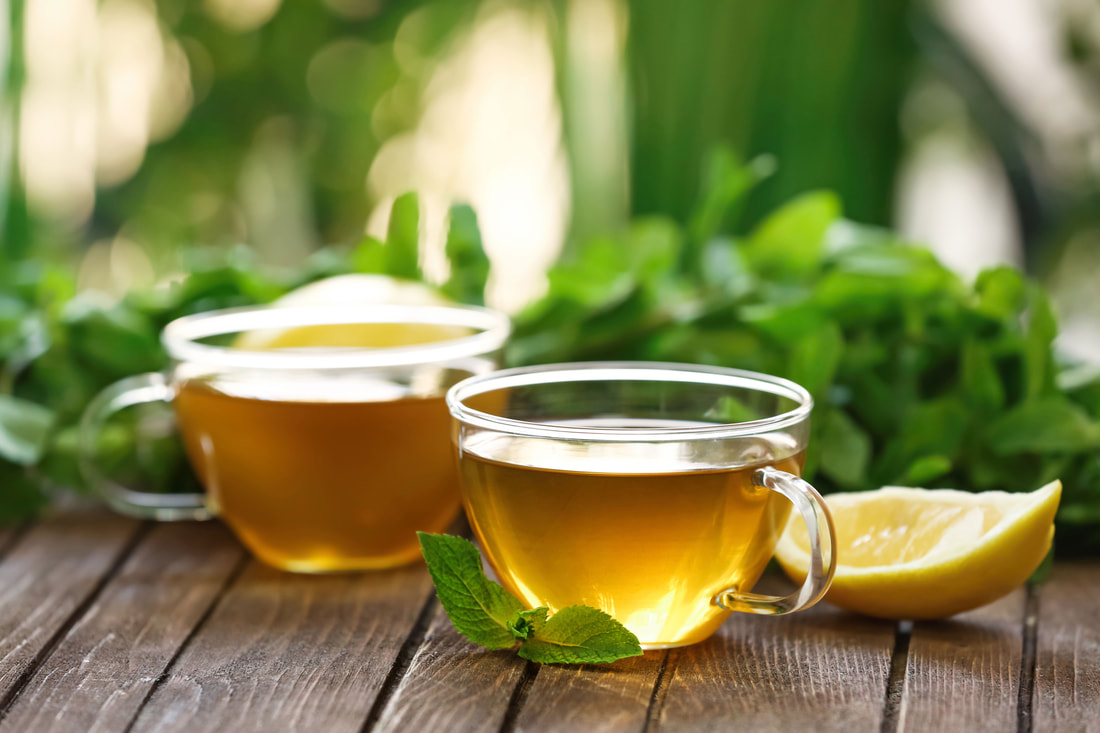 Image by Africa Studio from Adobe Stock. Another delicious way to use fresh mint leaves is in a salad. Today’s lunch consisted of mixed salad greens, celery, cucumber, shredded cheese, fresh chive flowers and stems (from my garden), mint leaves (also from my garden), and balsamic vinaigrette. The peppermint has a sharp flavor that wakes up the rest of the greens and compliments the vinaigrette quite nicely. So that was a darn good lunch! And I will experiment with different kinds of salads during the summer months. If I stumble across something particularly delicious, I will post a blog about it so you can try it out yourself! In the meantime, you can check out this terrific blog post I uncovered during my research that is packed full of uses and benefits for using mint. Let me know if you have tried any recipes using fresh mint. And comment below with any recipe ideas or tips you have learned! 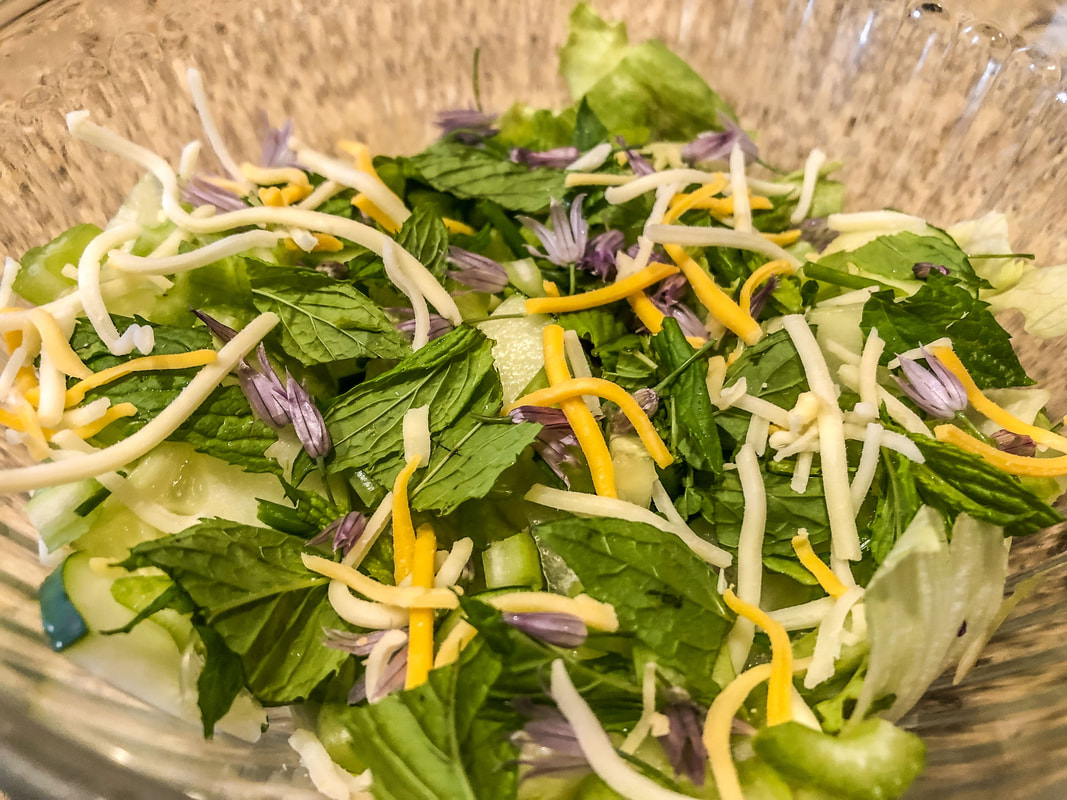 Mixed green salad with freshly picked mint leaves from my garden. Photo by Diane M. Lilly, 2022. 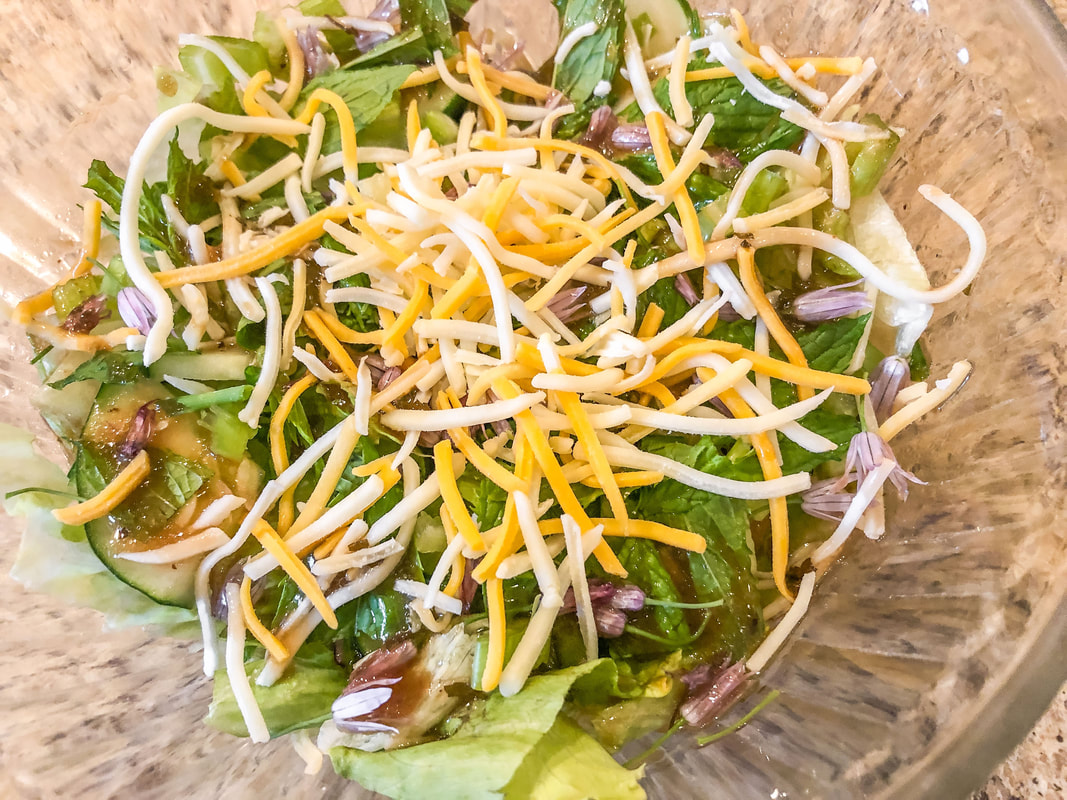 Same mixed salad with mint leaves...with more shredded cheese please! Photo by Diane M. Lilly, 2022. Related blogs you may want to read: Tips for planting seeds indoors How to repot a pothos plant How to propagate bromeliad pups Six herbs I planted indoors Growing tomatoes and cucumbers for my garden It’s planting season again This article may contain a few items or commercial mentions, but I only used them for demonstration purposes only. I am not endorsing any particular product or receiving any monetary gain for this blog.  Wrap with green pepper, onion, tomato, chicken, and shredded cheese. Photo by Diane M. Lilly, 2022. I’ve decided March will be the month I start thinking about a healthier me. Part of that equation means planning healthy meals that will help lower my cholesterol and help me lose weight. I remembered I used to make a lot of chicken with roasted veg. There are so many variations of this recipe that work well. You could add potatoes, carrots, broccoli, or any vegetable you prefer. 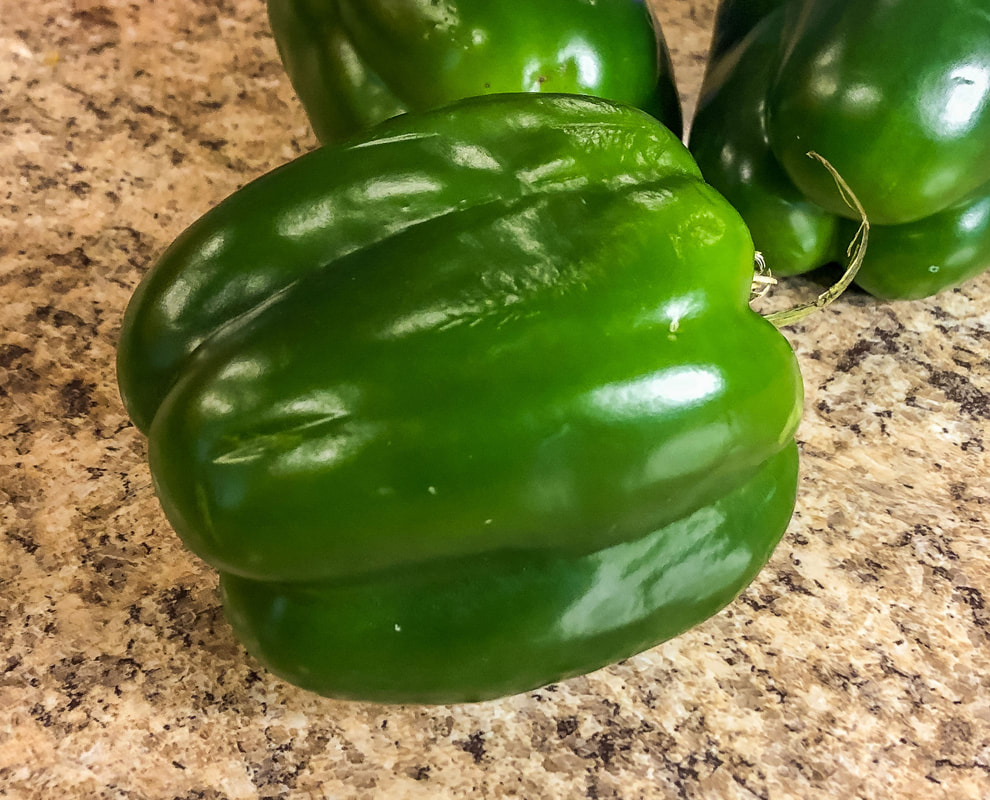 Green pepper. Photo by Diane M. Lilly, 2022. 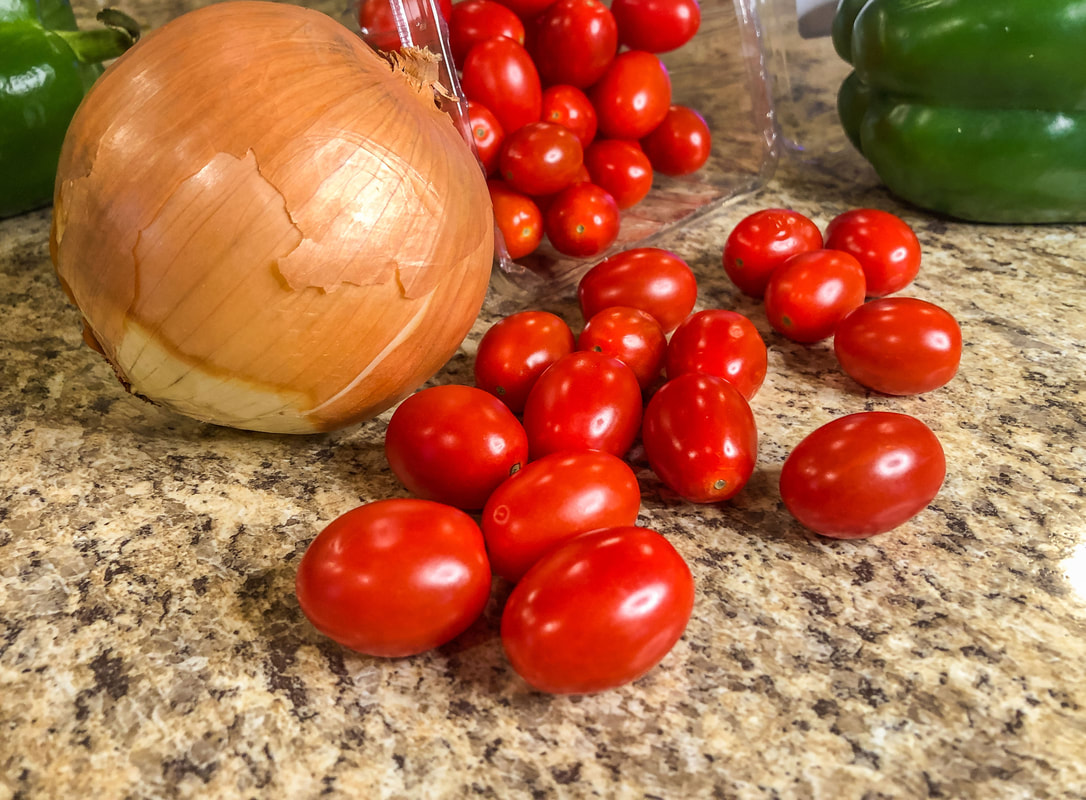 Onion and grape tomatoes. Photo by Diane M. Lilly, 2022. The key is to keep it as fresh as possible and use olive oil and seasonings to spice up the flavor. (Go easy on the salt. A little salt is necessary to bring out the flavors, but not too much.) Experiment with your seasonings to see which ones you like best! I happen to love Cayenne and paprika…I could eat just about anything with cayenne and paprika! And I’ve found that I love Italian seasoning and olive oil on my roasted veggies. 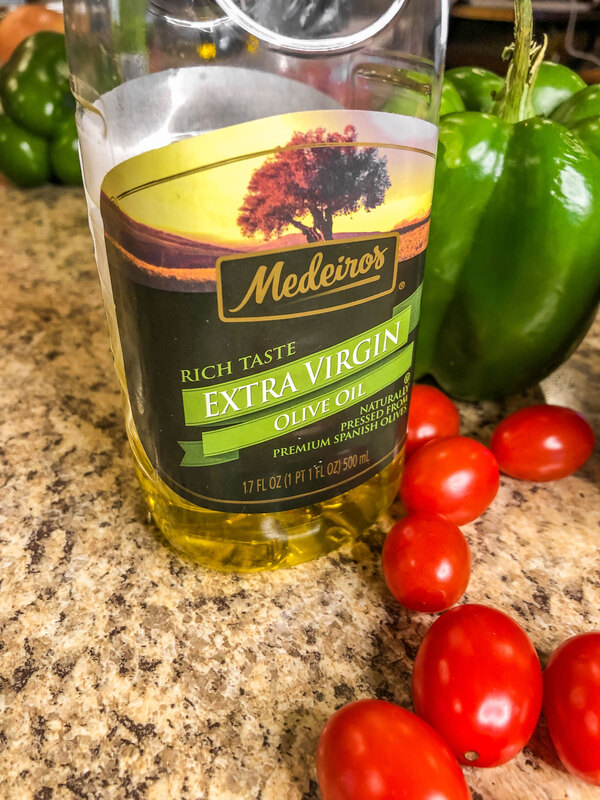 Olive oil. Photo by Diane M. lilly, 2022. 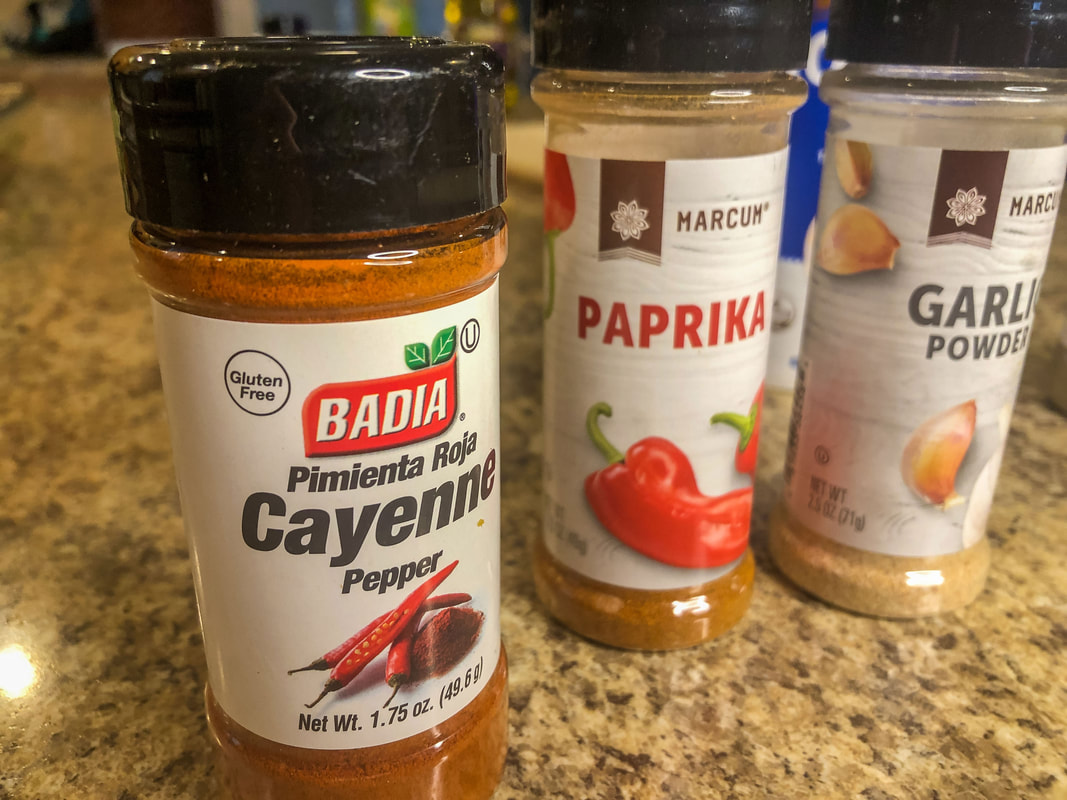 Seasonings. Photo by Diane M. lilly, 2022. 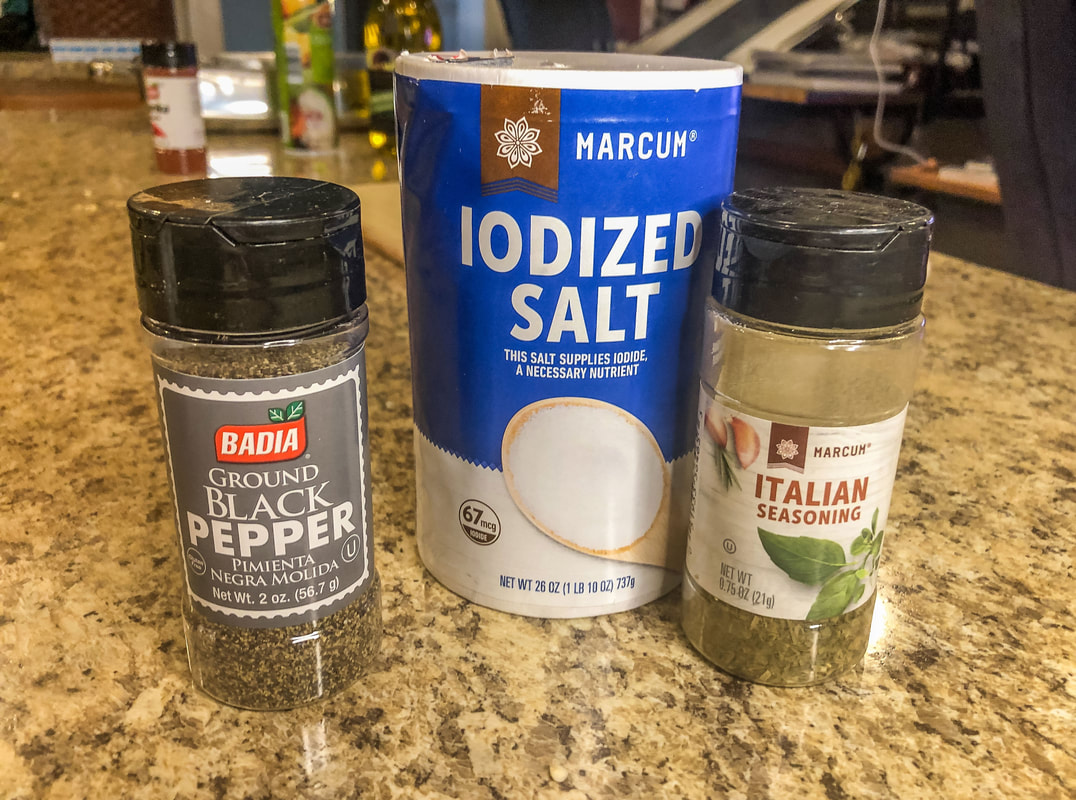 More seasonings. Photo by Diane M. Lilly, 2022. As for the toppings, anything goes. To keep it healthy, use low-fat sour cream, skip the shredded cheese and wraps, and use brown rice instead. This basic recipe is so versatile and can be made in so many ways, and—other than a little bit of fast chopping—it’s relatively quick and easy to make. Ingredients: 1 lb boneless chicken breasts, cut into cube size pieces 3-4 green, red, or yellow peppers 2-3 onions (yellow or red) Pint of cherry or grape tomatoes Olive oil Salt Pepper Italian seasonings Cayenne Paprika Salsa (optional) Shredded cheese (optional) Sour cream (optional) Wraps (optional) Brown rice (optional) Preheat oven to 375 degrees F. Cut chicken into cubes. Coat in olive oil, salt, pepper, cayenne, and paprika. Place in baking dish. 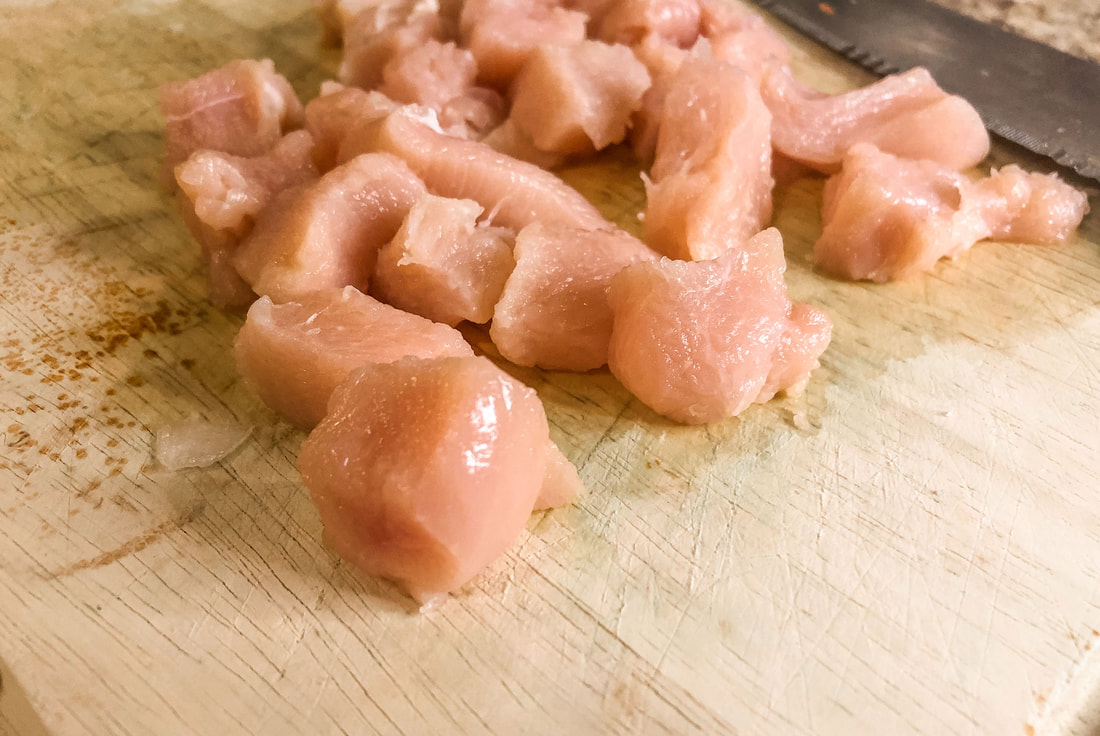 Raw cubed chicken. Photo by Diane M. Lilly, 2022. 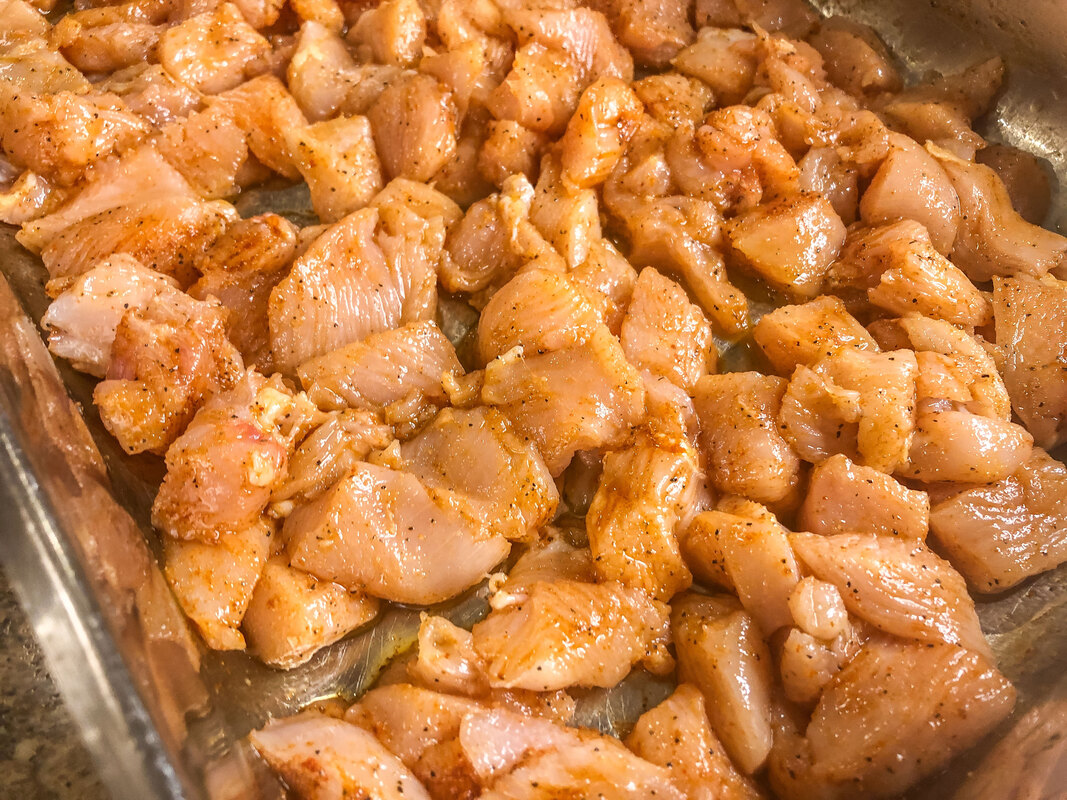 Uncooked cubed chicken coated in seasonings. Photo by Diane M. Lilly, 2022. Cut peppers and onions into strips or chunks. Place on a baking sheet (or in a baking dish) with tomatoes. Coat in olive oil, salt, pepper, and Italian seasonings. 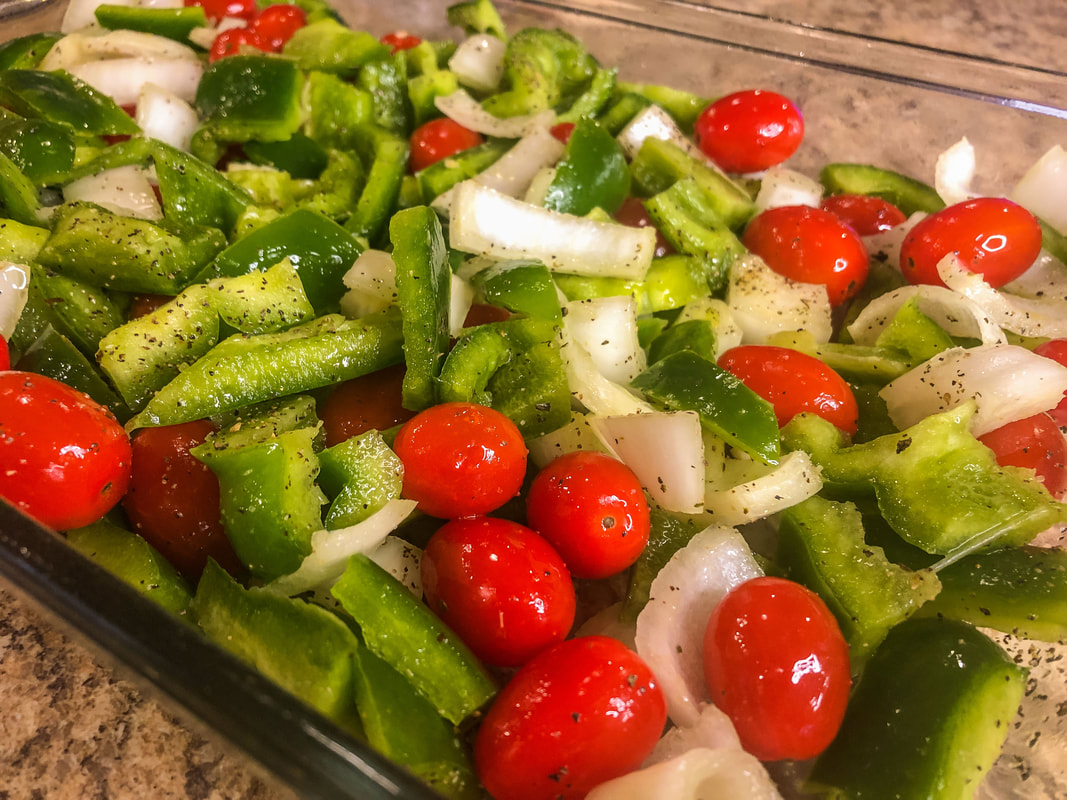 Green peppers, onion, grape tomatoes. Photo by Diane M. Lilly, 2022. Place chicken and vegetables in the oven for 30-40 minutes. Serve with rice or on wraps with toppings of choice (salsa, sour cream, shredded cheese). 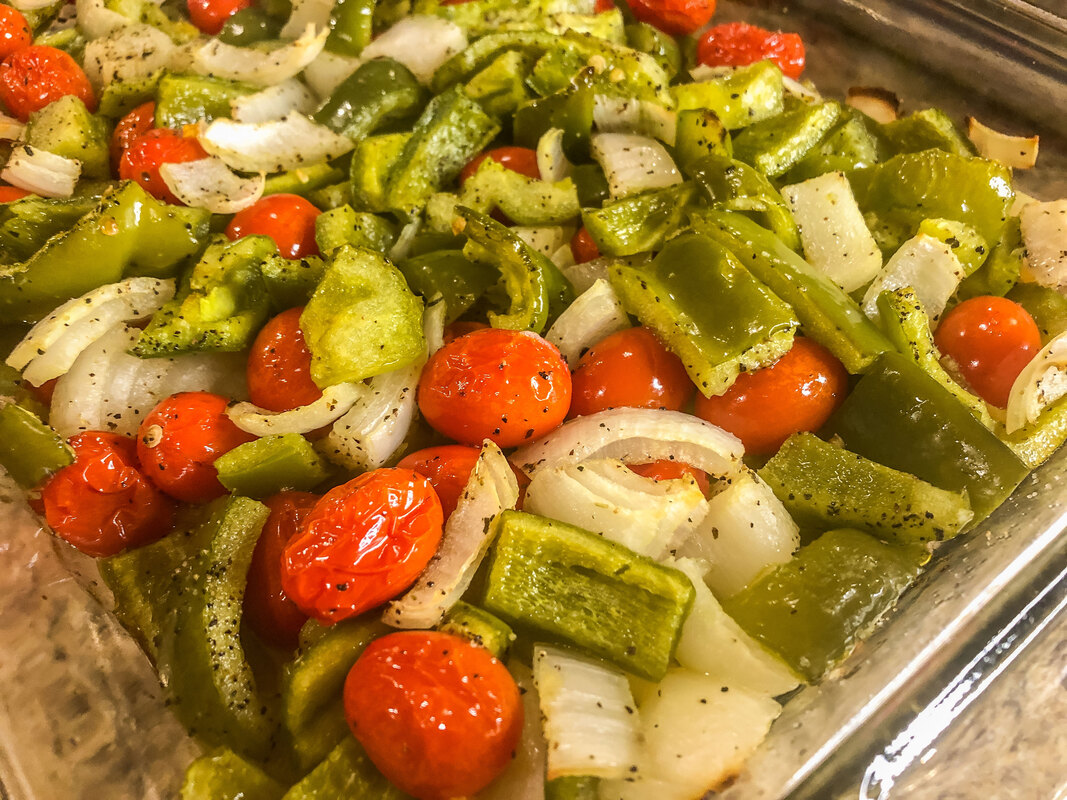 Cooked green peppers, onion, grape tomatoes. Photo by Diane M. Lilly, 2022. 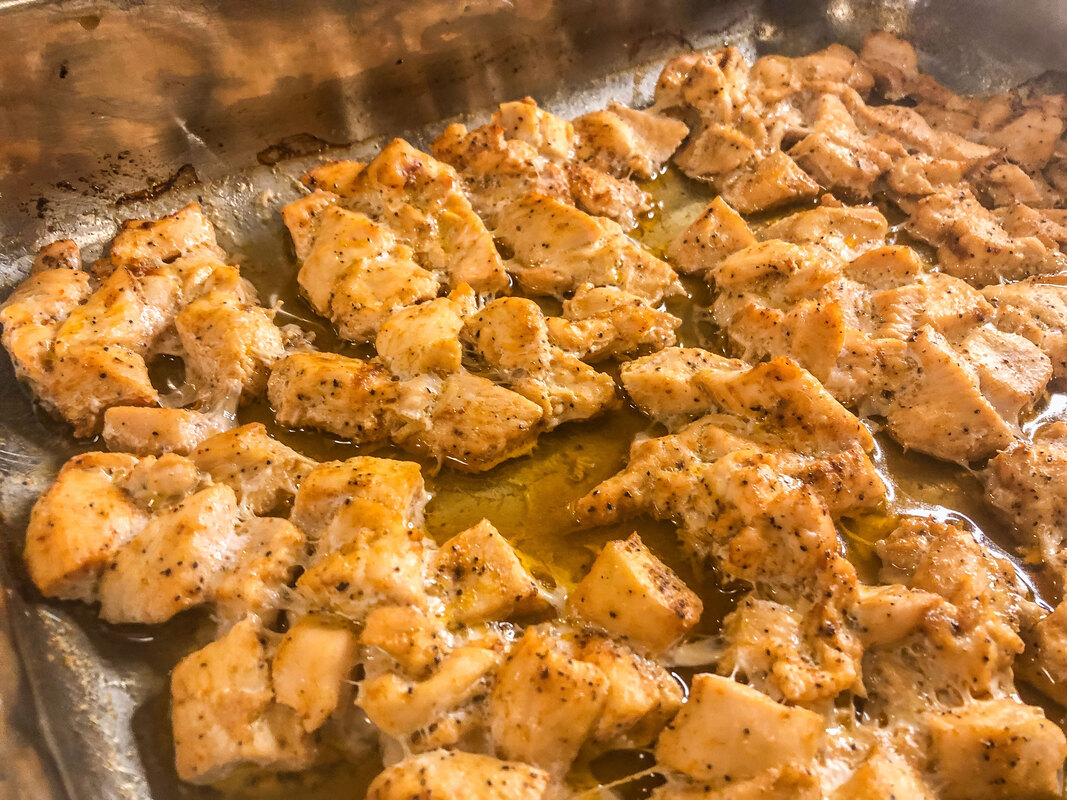 Cooked chicken. Photo by Diane M. Lilly, 2022. 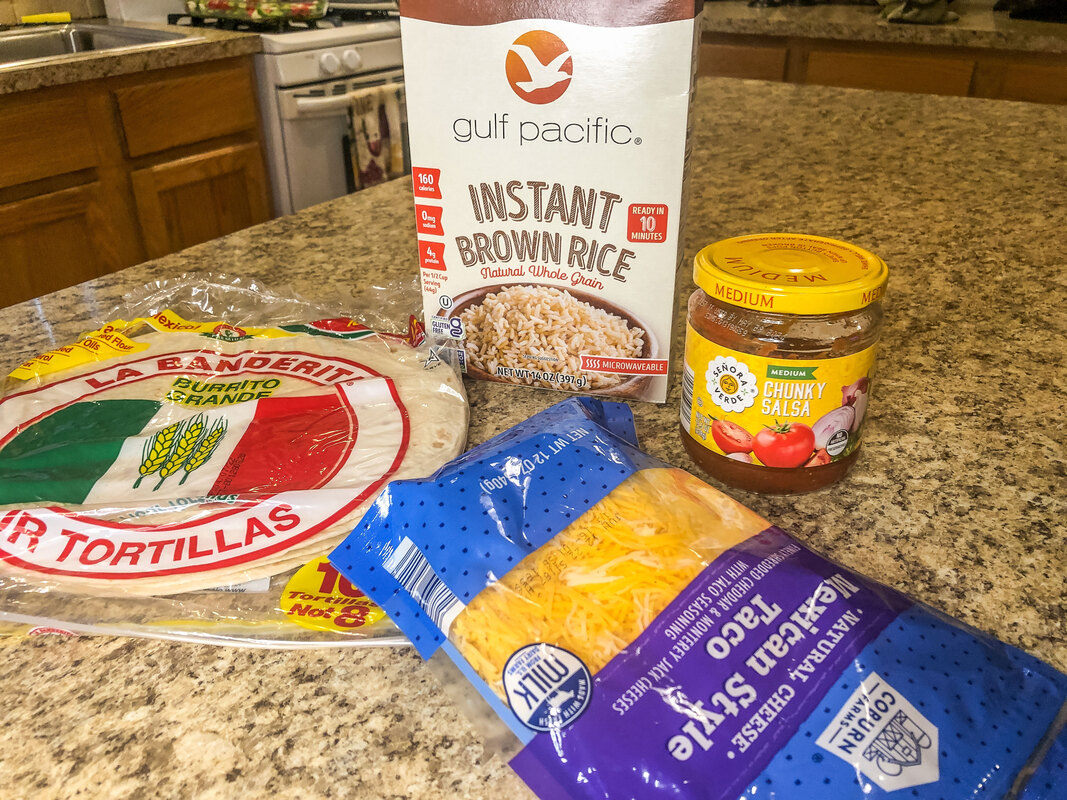 Optional extras that can be used with the chicken and roasted vegetables. Photo by Diane M. Lilly, 2022.  My dinner--chicken and roasted vegetables on a wrap with shredded cheese. Photo by Diane M. Lilly, 2022. Do you have a go-to variation of a chicken and roasted veg recipe? If so, drop a comment below! Related blogs you may want to read: Homemade chicken noodle soup recipe Potato soup recipe Tuna noodle casserole recipe Chicken vegetable pot pie recipe This article may contain a few items or commercial mentions, but I only used them for demonstration purposes only. I am not endorsing any particular product or receiving any monetary gain for this blog. 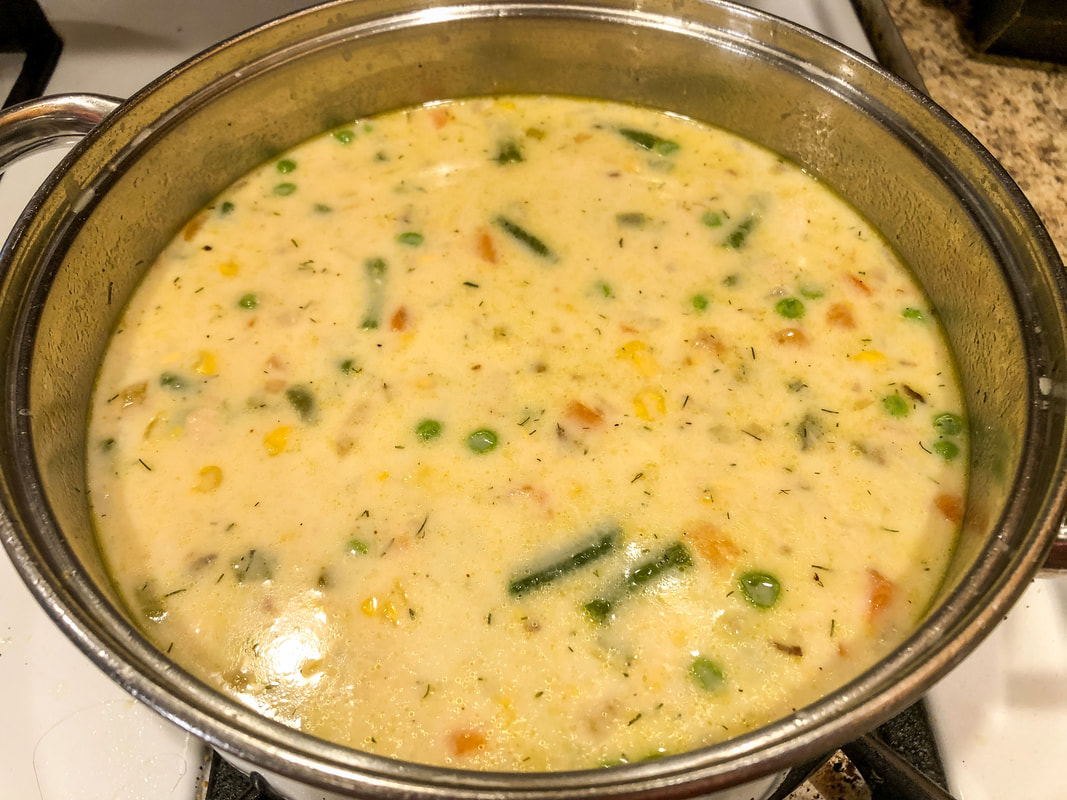 Salmon chowder cooking in a pot. Photo by Diane M. Lilly, 2022. I’ve wanted to make seafood chowder for a while now. I was planning on making clam chowder, but I came across this recipe for salmon chowder and thought I’d try it. This ended up being an easy meal, and the ingredients weren’t too expensive either, which is a major plus these days with the high cost of food. As usual, I roughly doubled the ingredients because I had to feed a family of five. This time around was a bit of an experiment, and—though this turned out delicious—I’m going to admit up front that I needed maybe one or two more cans of salmon to get the full flavor. So here goes… Ingredients: 2 tsp extra virgin olive oil 32 oz fat free chicken broth 12 oz evaporated milk (2) 14.75 oz cream style sweet corn (2) 5 oz cans skinless boneless pink salmon in water (I used 2 cans but this would’ve been better with another can or two.) 1 bag of frozen vegetable of choice (I used green beans, corn, and carrots this time around.) 4 cups of shredded hash browns 4 celery stalks, diced 1 green pepper julienned 1/2 onion, diced 2 garlic cloves, minced 1 tsp dill 1 tsp pepper 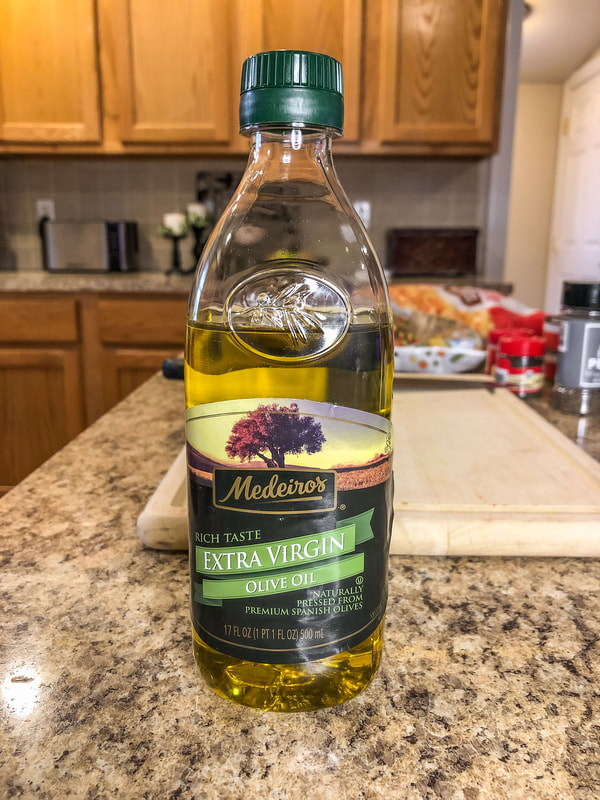 Olive oil. Photo by Diane M. Lilly, 2022. 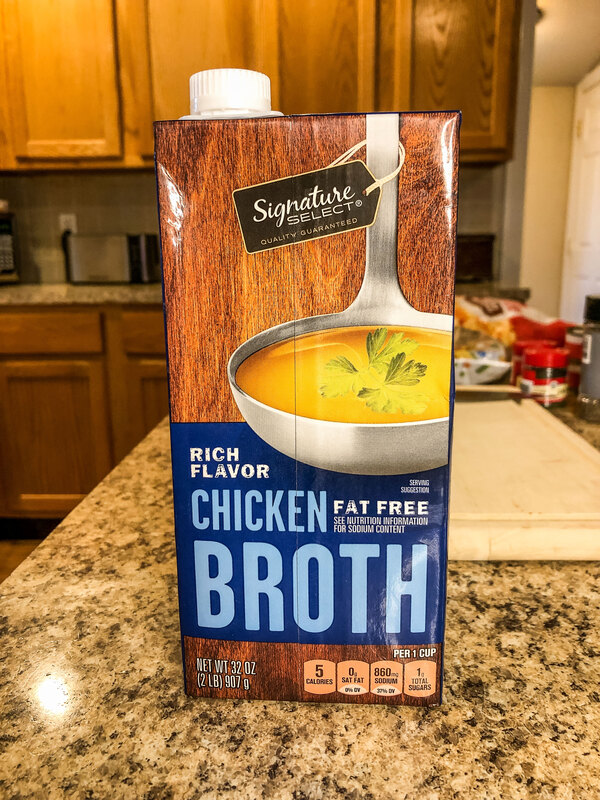 Chicken broth. Photo by Diane M. Lilly, 2022. 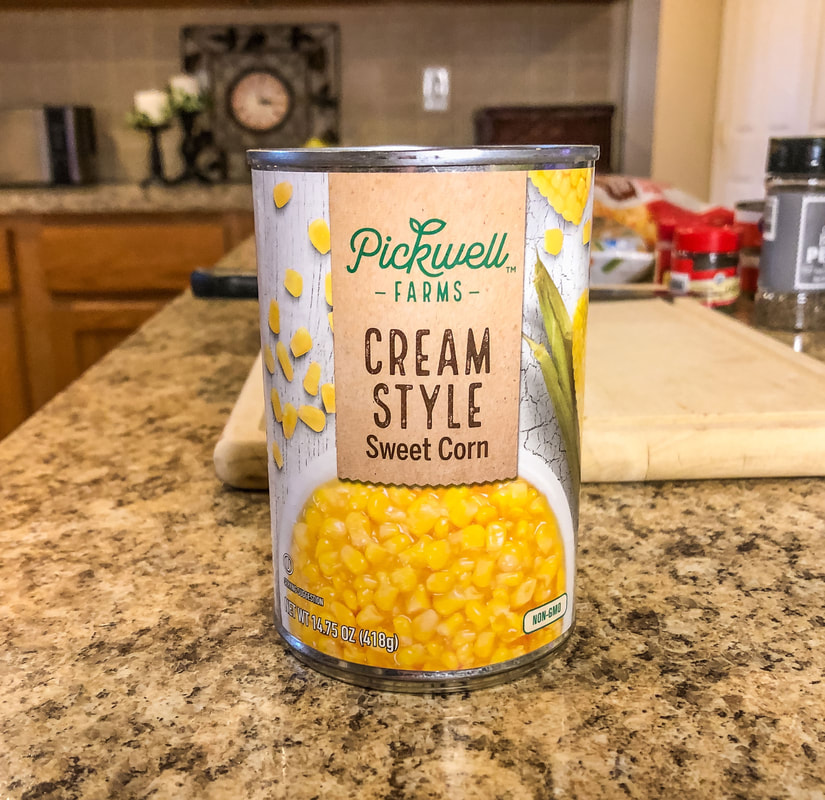 Cream style corn. Photo by Diane M. Lilly, 2022. 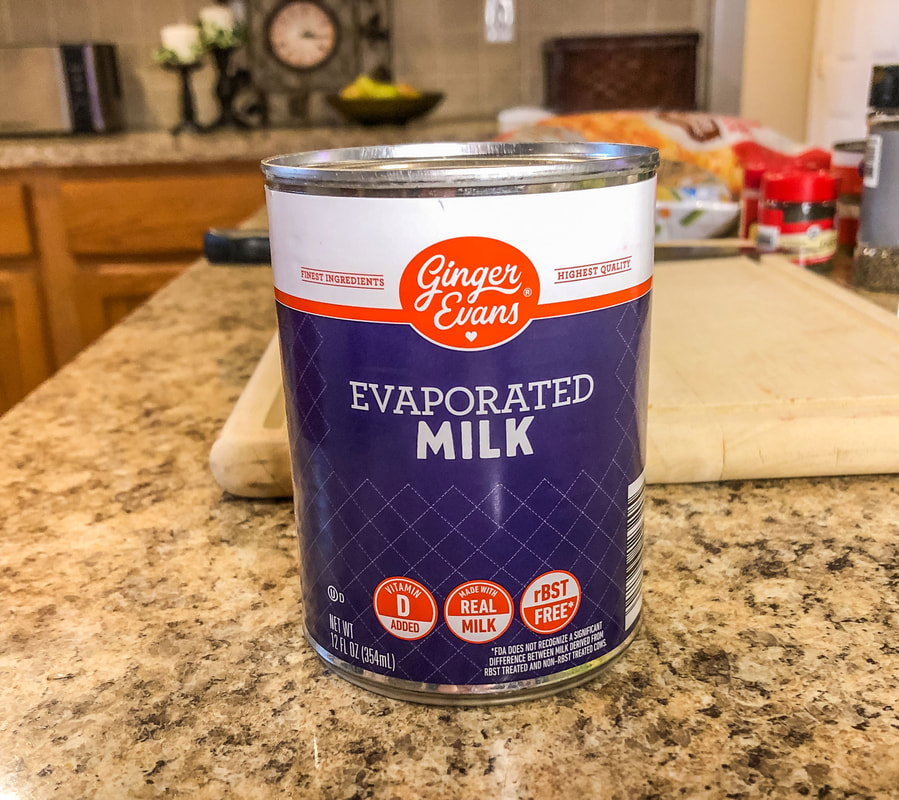 Evaporated milk. Photo by Diane M. Lilly, 2022. 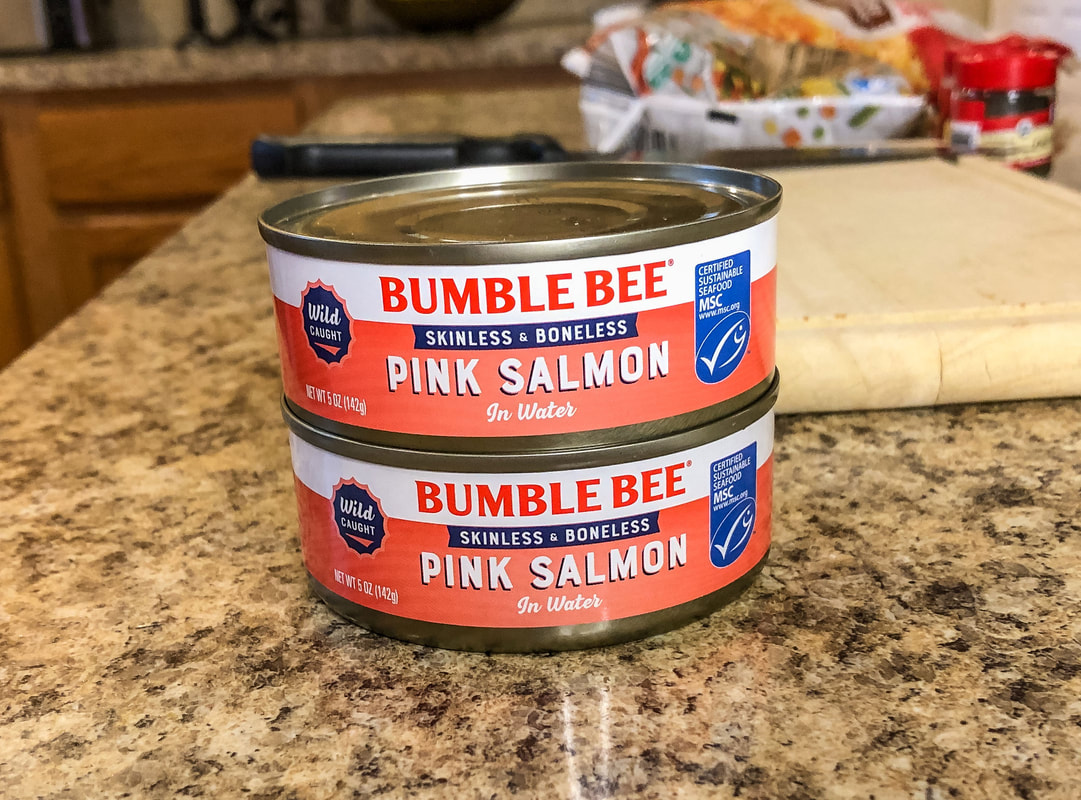 Pink salmon. Photo by Diane M. Lilly, 2022. 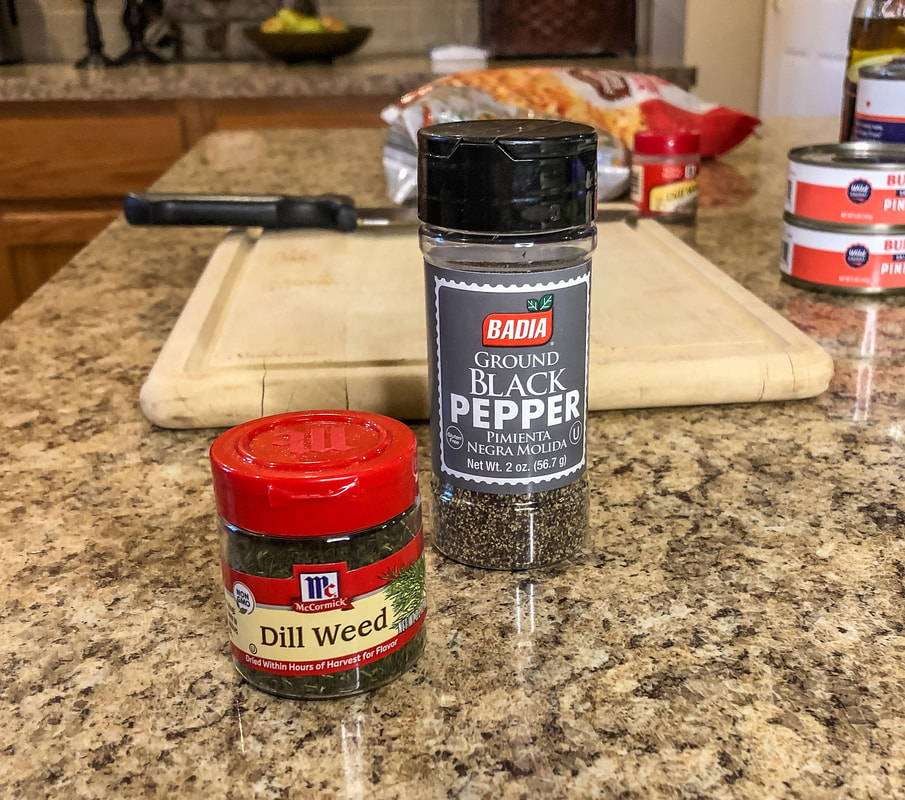 Seasonings for the soup. Photo by Diane M. Lilly, 2022. 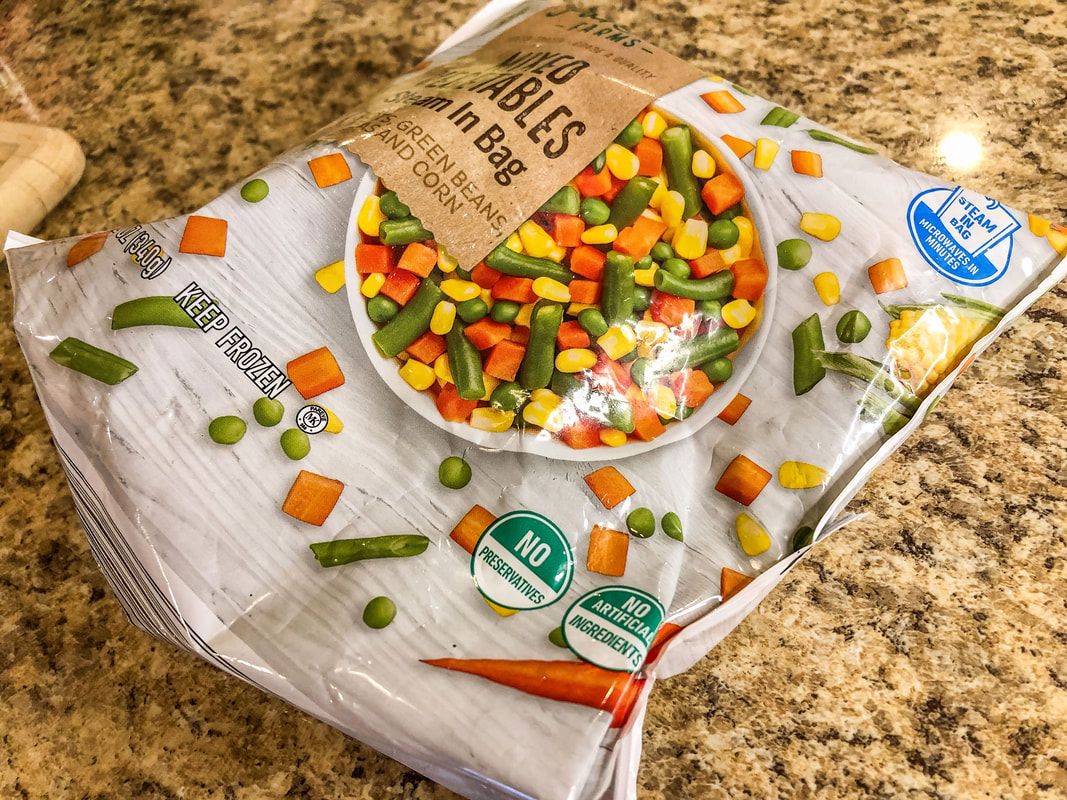 Frozen mixed vegetables. Photo by Diane M. Lilly, 2022. 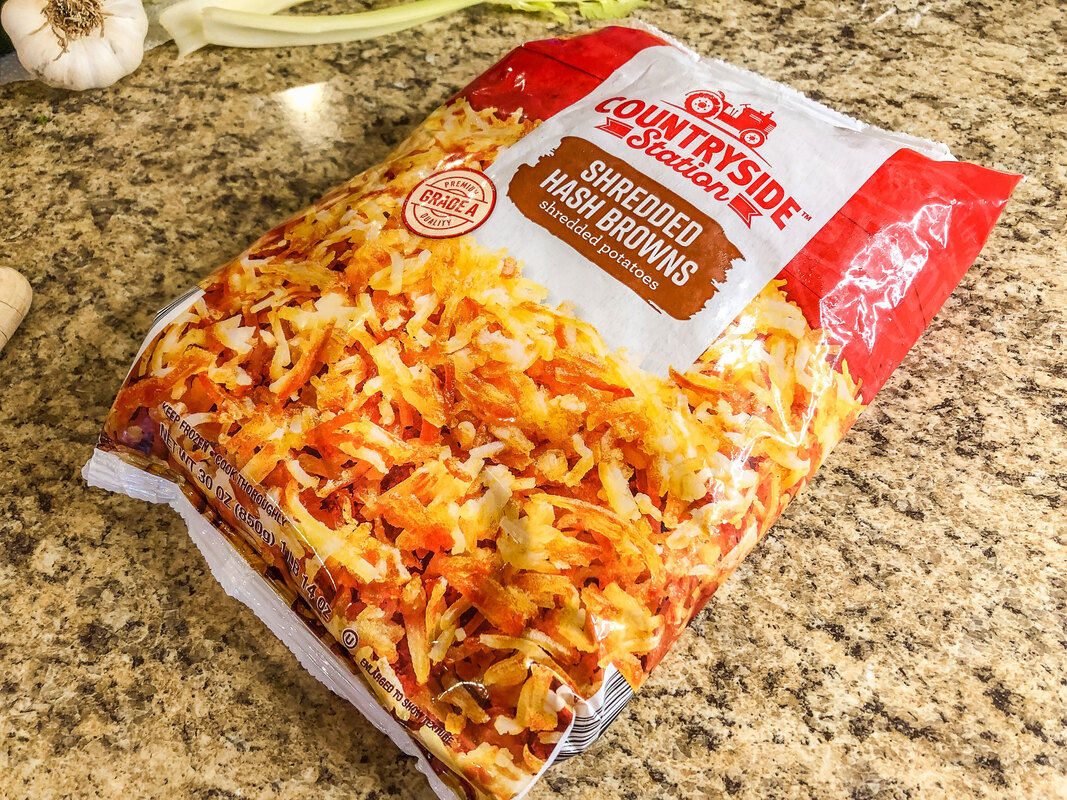 Shredded hash browns. Photo by Diane M. Lilly, 2022. 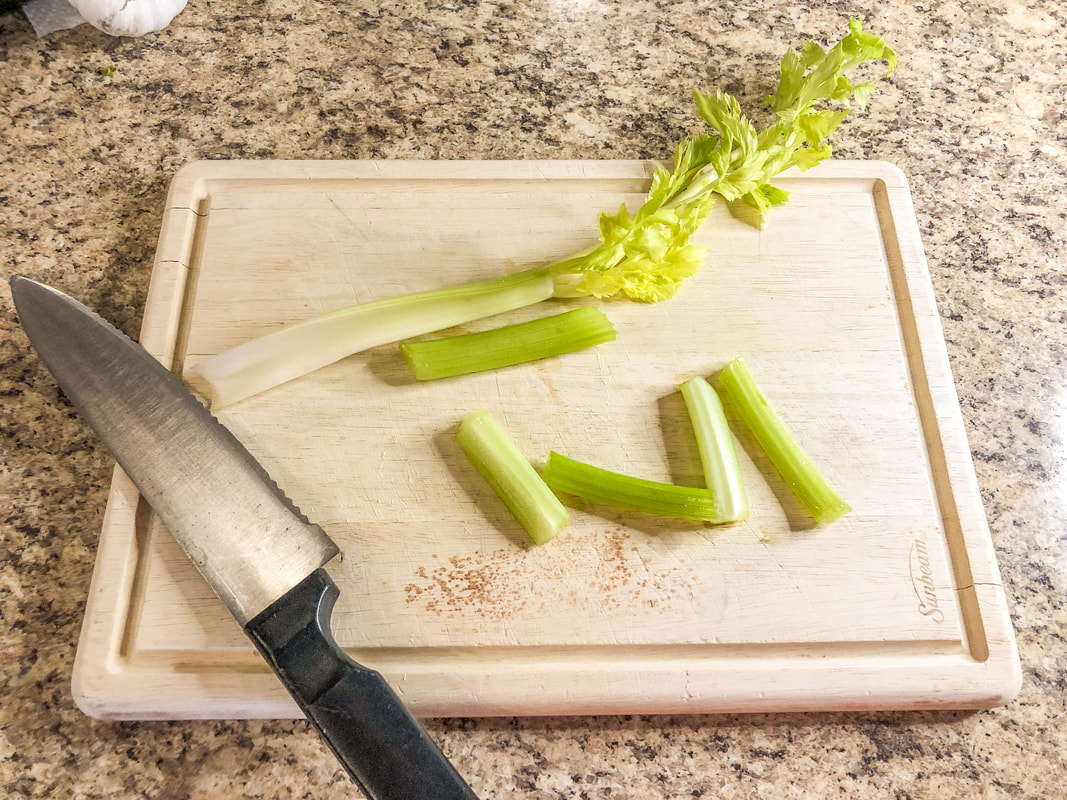 Chopped celery. Photo by Diane M. Lilly, 2022. 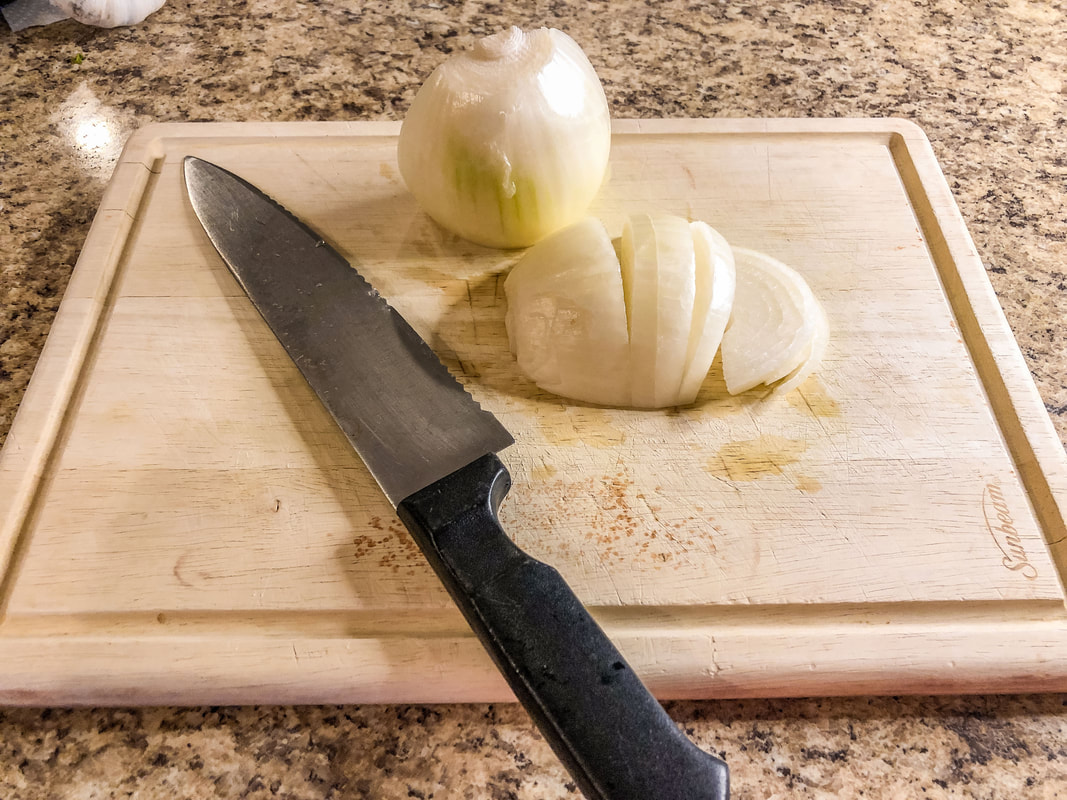 Chopped onion. Photo by Diane M. Lilly, 2022. 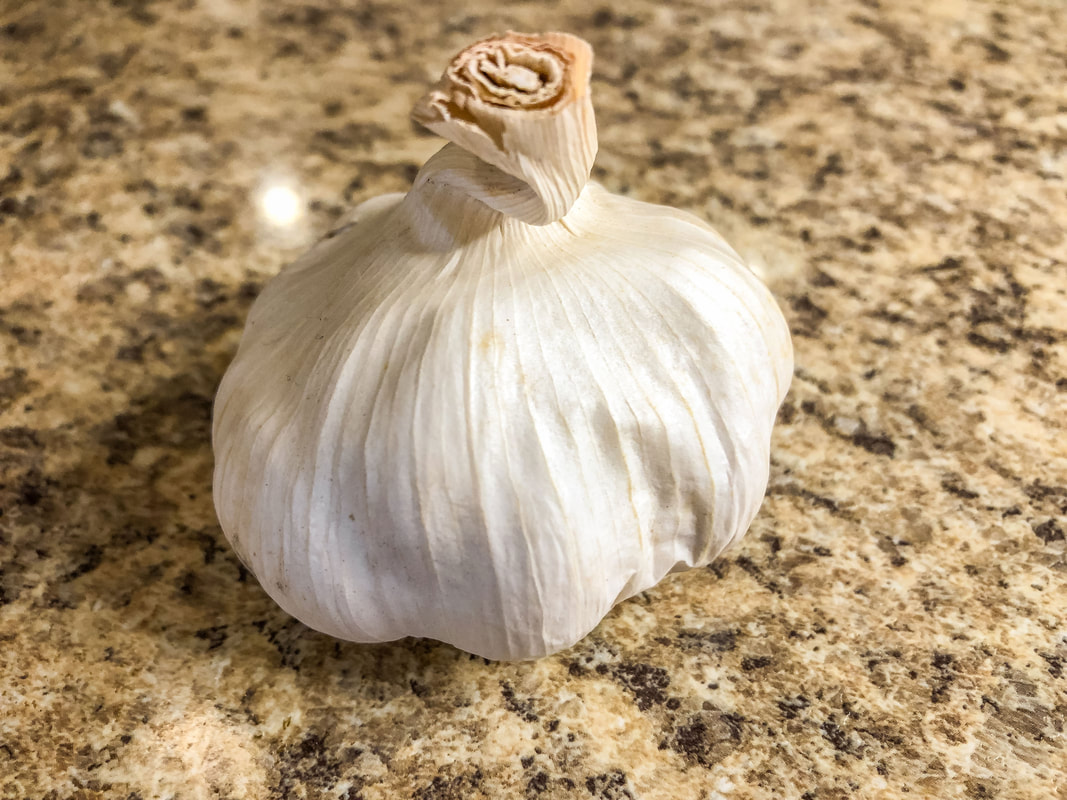 Garlic clove. Photo by Diane M. Lilly, 2022. 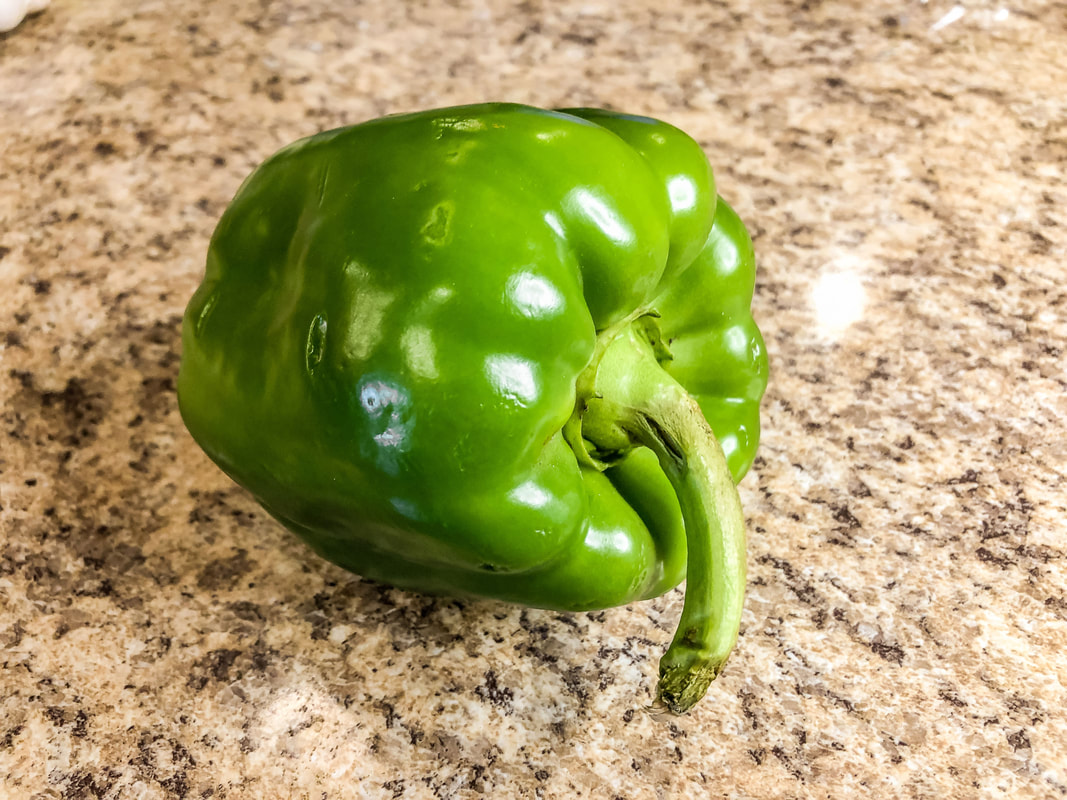 Green pepper. Photo by Diane M. Lilly, 2022. Heat olive oil in a large pot. Add in garlic, celery, onion, and green pepper. Saute until garlic is just getting slightly brown. 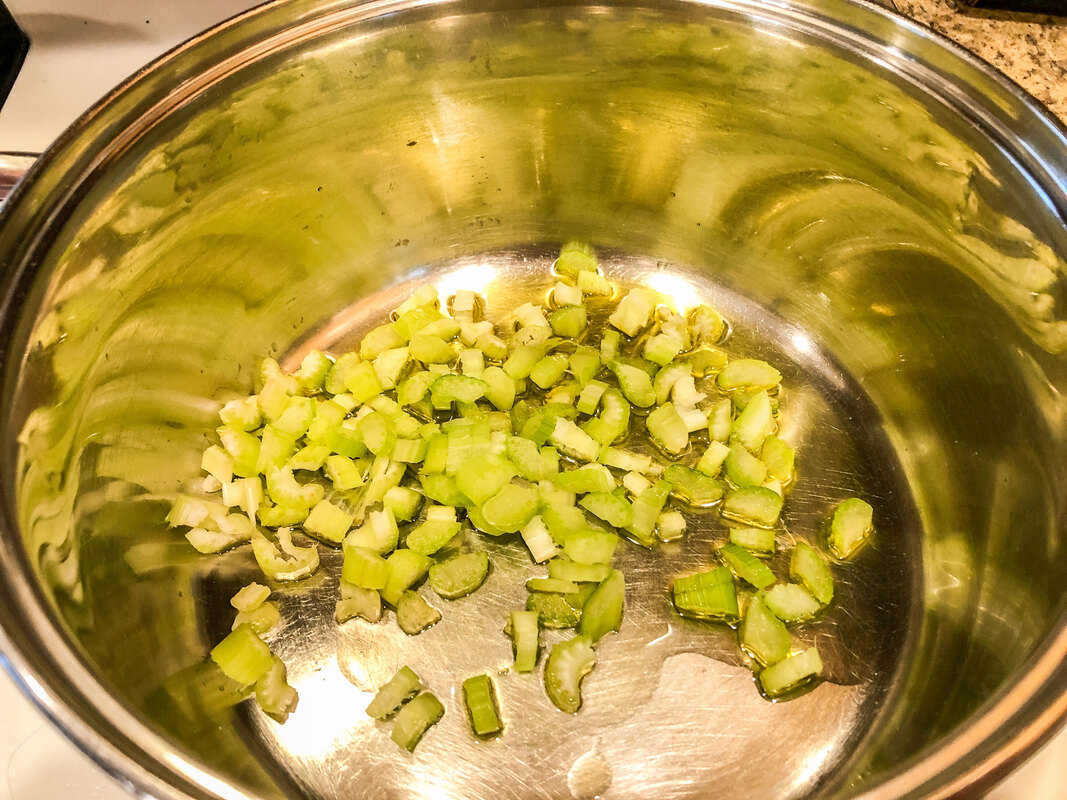 Garlic, celery, and onion with oil. Photo by Diane M. Lilly, 2022. 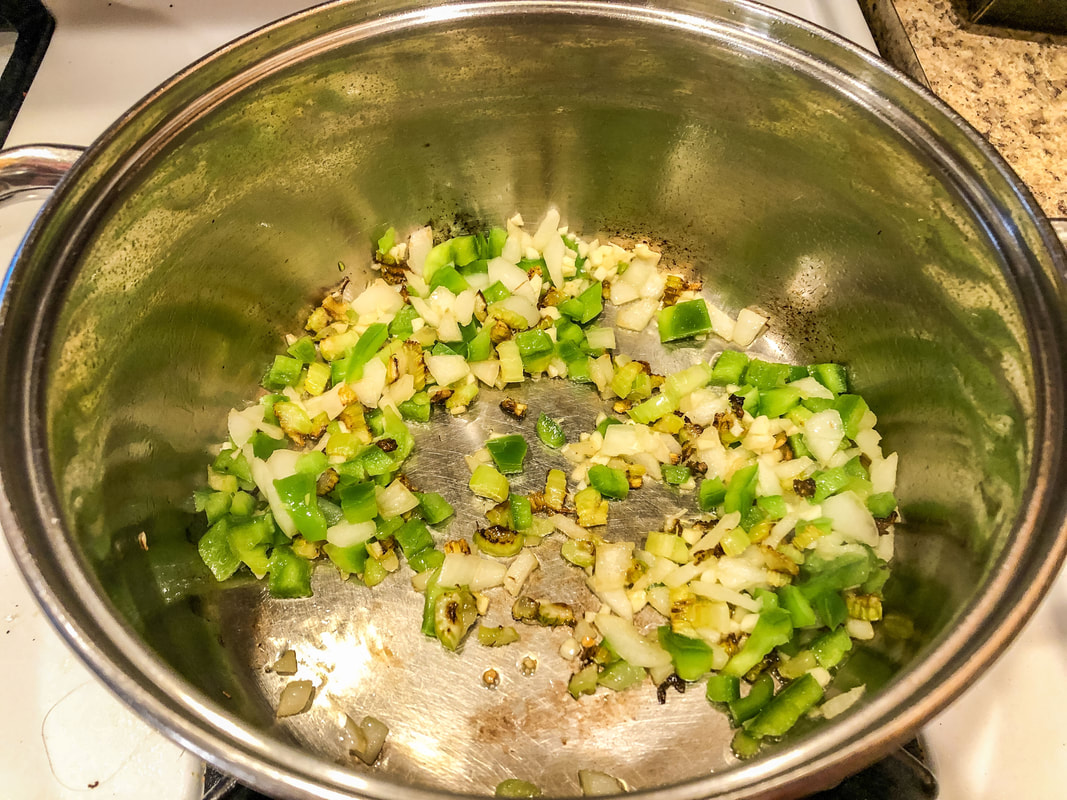 Green pepper added to celery, garlic, and onion. Photo by Diane M. Lilly, 2022. Add in chicken broth, frozen vegetables, and hash browns. Season with dill and pepper. Bring to a boil. Reduce the heat and let simmer for 10 minutes or until the vegetables are cooked. 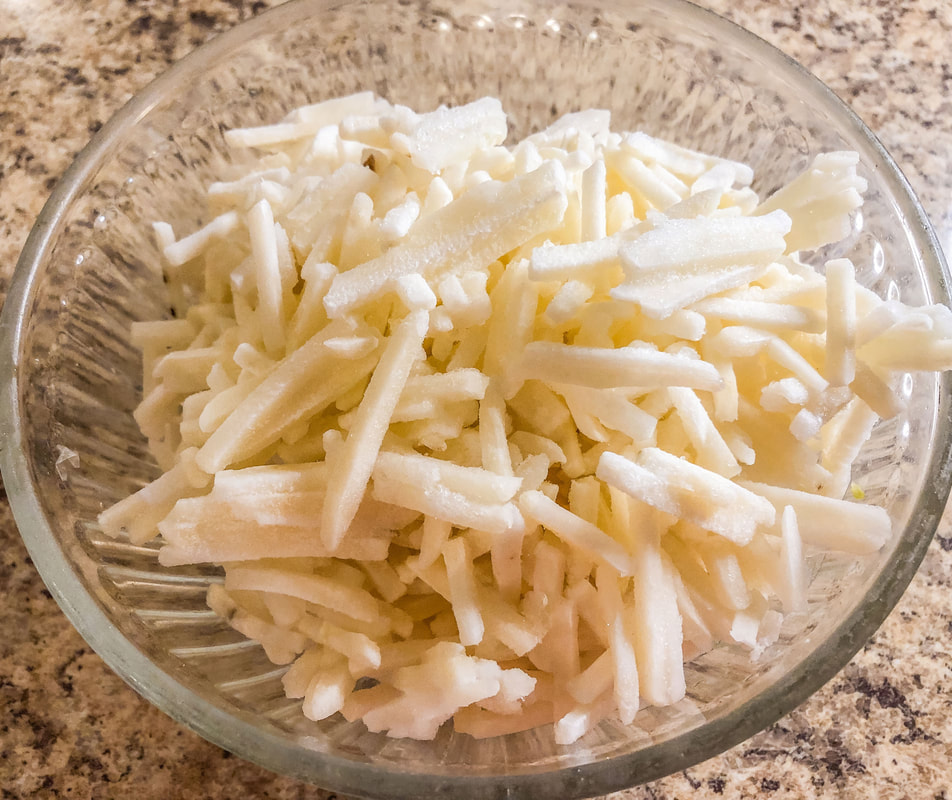 Shredded hashbrowns to add to the pot. Photo by Diane M. Lilly, 2022. 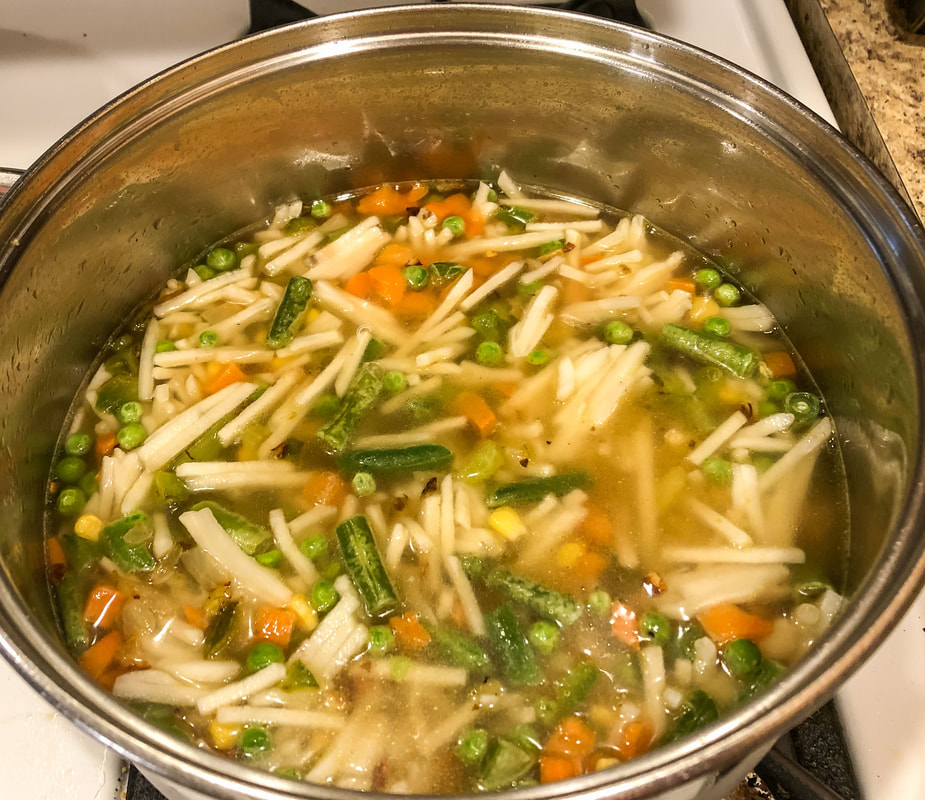 All ingredients added to the pot to cook. Photo by Diane M. Lilly, 2022. Drain water from salmon, flake, then add to soup mixture. Add in cream corn and heat through for a few minutes.  Bowl of salmon chowder soup. Photo by Diane M. Lilly, 2022. And it’s done! I made some dinner rolls to serve with this soup, which hit the spot. As I mentioned, the amount of salmon needed to be adjusted, but it’s always a gamble when you double a recipe! The soup was delicious anyway…And now I know how to make it better next time! 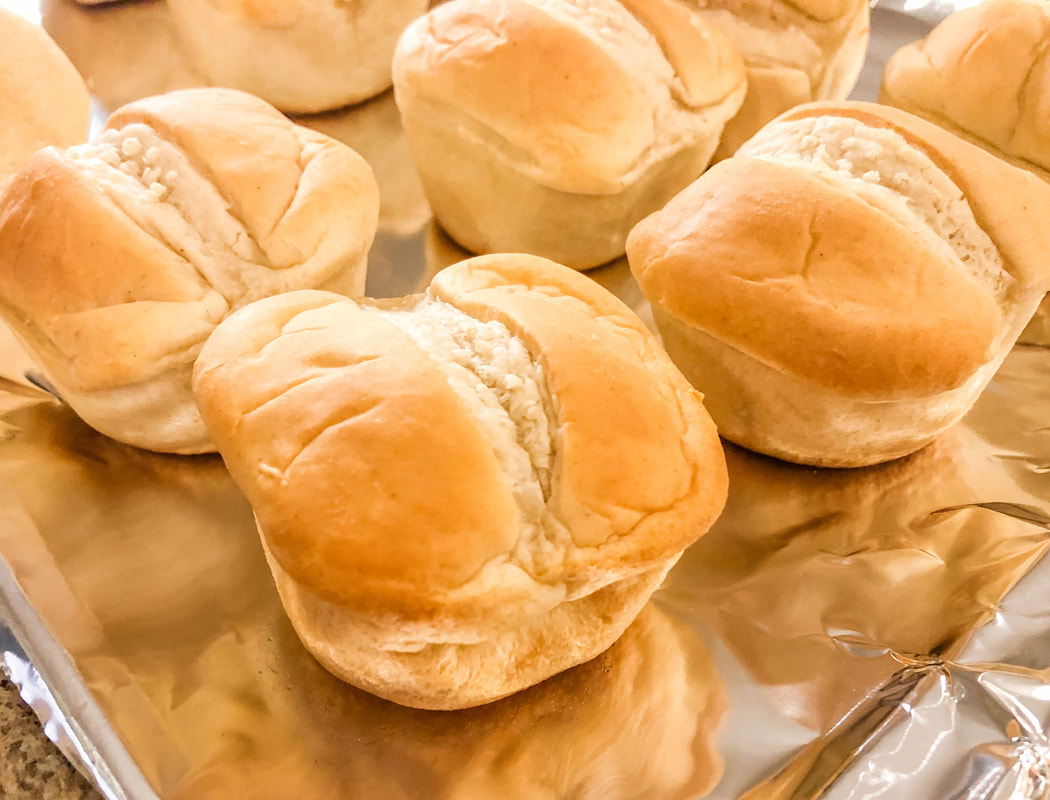 Dinner rolls freshly baked. Photo by Diane M. Lilly, 2022. Related blogs you may want to read: Homemade chicken noodle soup recipe Potato soup recipe Tuna noodle casserole recipe Chicken vegetable pot pie recipe Homemade chicken noodle soup This article may contain a few items or commercial mentions, but I only used them for demonstration purposes only. I am not endorsing any particular product or receiving any monetary gain for this blog. 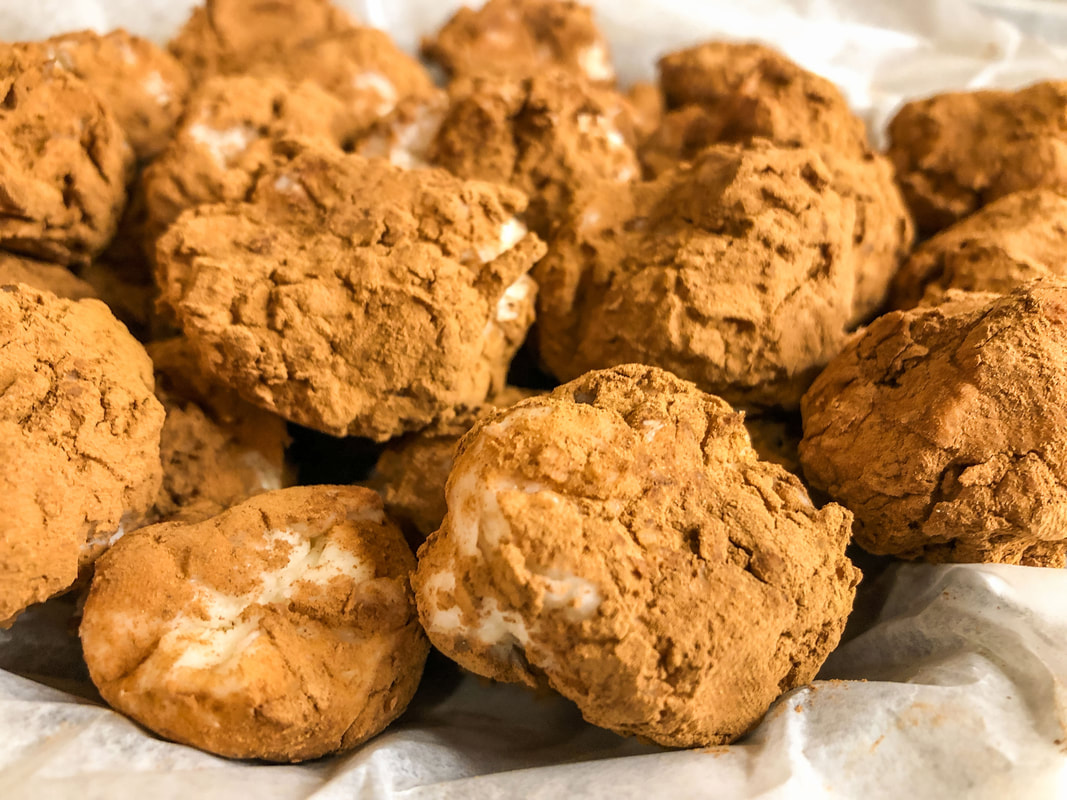 My finished Irish Potato candies. Photo by Diane M. Lilly, 2022. Yep. It’s that time of year again…St. Paddy’s Day. And my family would disown me if I didn’t make my yearly homemade Irish Potatoes! (Well, I certainly hope not!) So what are Irish Potatoes, you may ask? According to Eater, this candy was never actually made in Ireland but originated (probably) somewhere in the Philadelphia area, in the southeastern part of Pennsylvania in the late 1800s. The Irish immigrants of the time seem to have invented this VERY sweet candy that looks like miniature potatoes, hence the name. The recipe I typically use as a reference can be found on AllRecipes.com. I modified this recipe a wee bit and doubled the recipe to satisfy a family of five. Ready to get your hands messy? Here goes… Ingredients: 16 oz cream cheese 1/2 cup softened butter 7 cups confectioners sugar (aka powdered sugar) 4 cups flaked coconut 2-3 TBS cinnamon 2 tsp vanilla extract I softened the cream cheese by putting each slab in the microwave for no more than 30 seconds. The butter was then softened (not melted) in the microwave for no more than 20 seconds. Beat butter and cream cheese together until smooth. (I used a potato masher to mash the cream cheese and butter together, then used a heavy-duty wooden spatula to blend the mixture.) 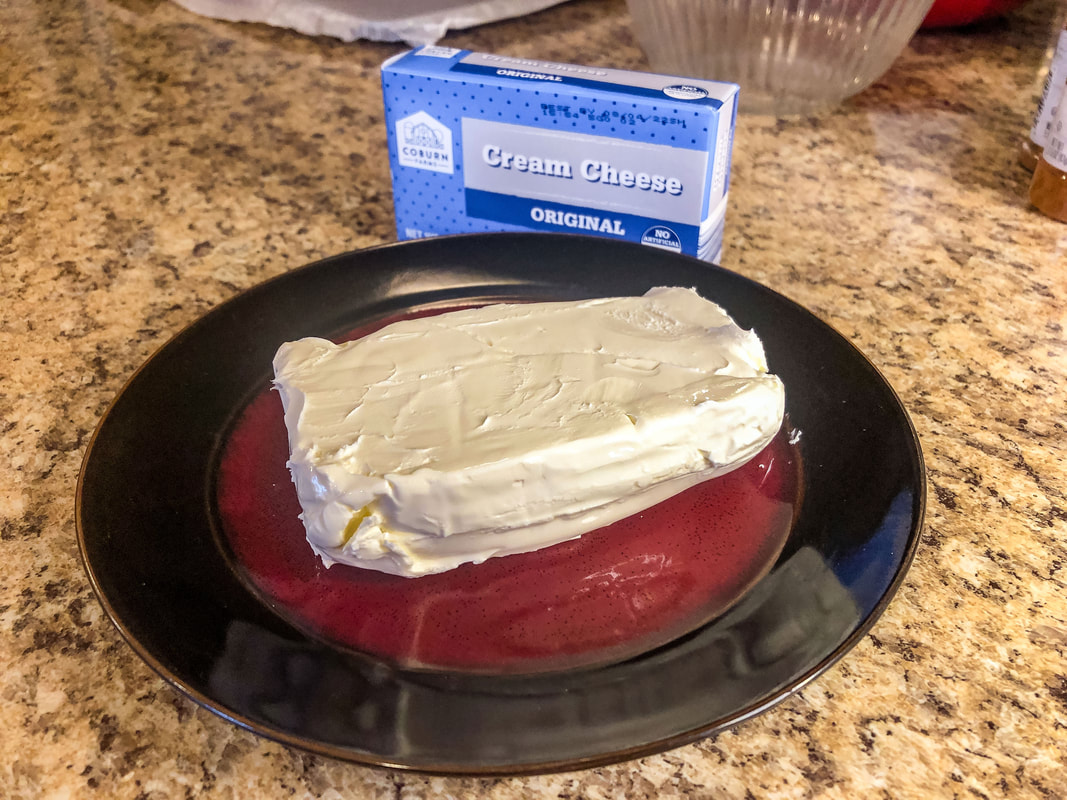 Cream cheese (2 packs). Photo by Diane M. Lilly, 2022. 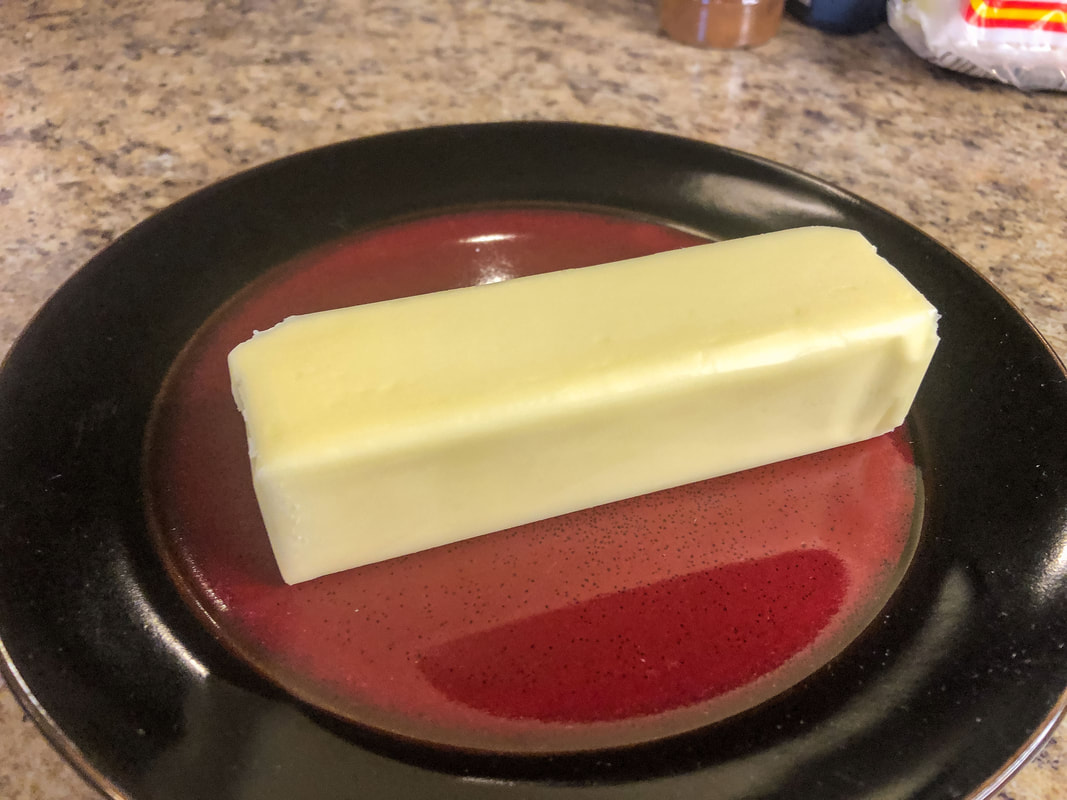 One stick of butter. Photo by Diane M. Lilly, 2022.  Cream cheese and butter mixed with potato masher. Photo by Diane M. Lilly, 2022. 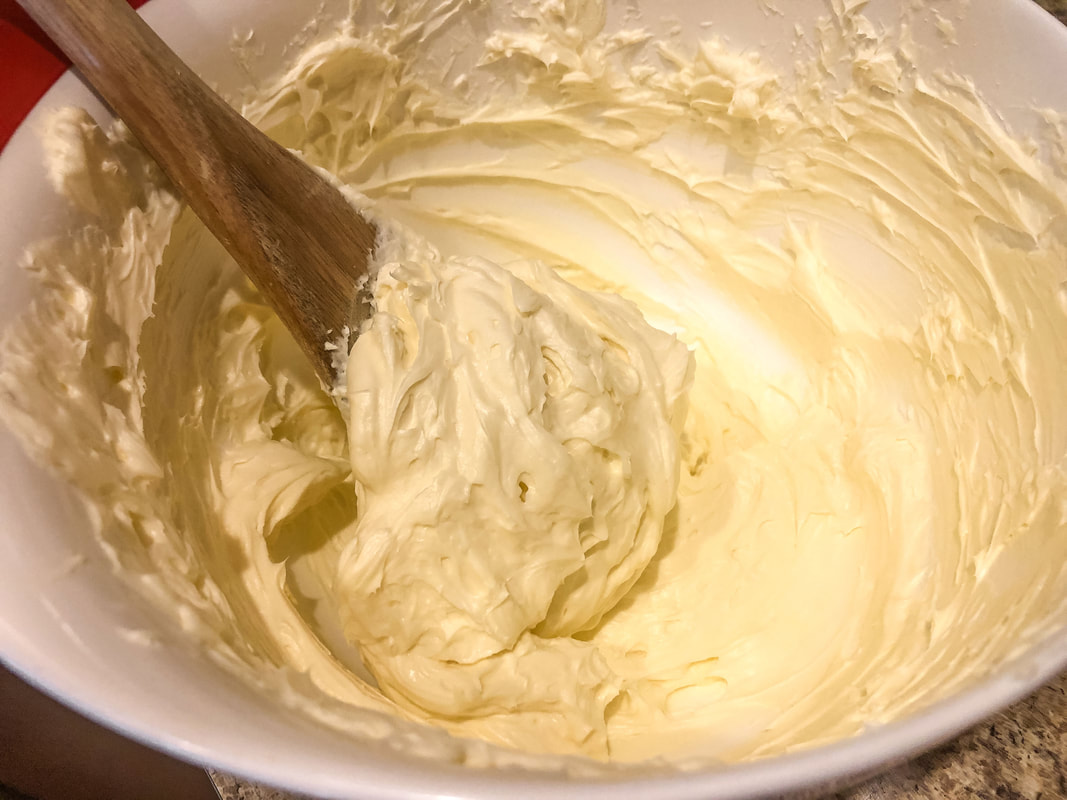 Cream cheese and butter mixed with wooden spatula. Photo by Diane M. Lilly, 2022. Add sugar and vanilla, and beat again until smooth. (I usually use the real vanilla extract, but I only had imitation.) 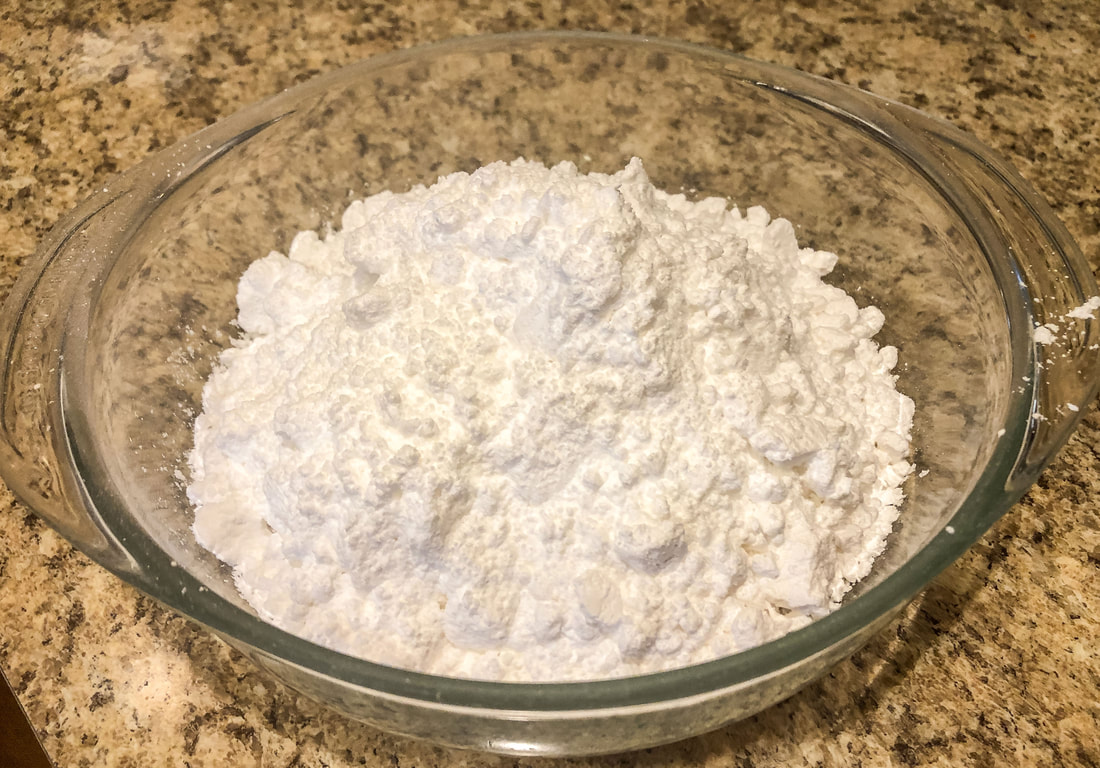 Powdered sugar. Photo by Diane M. Lilly, 2022. 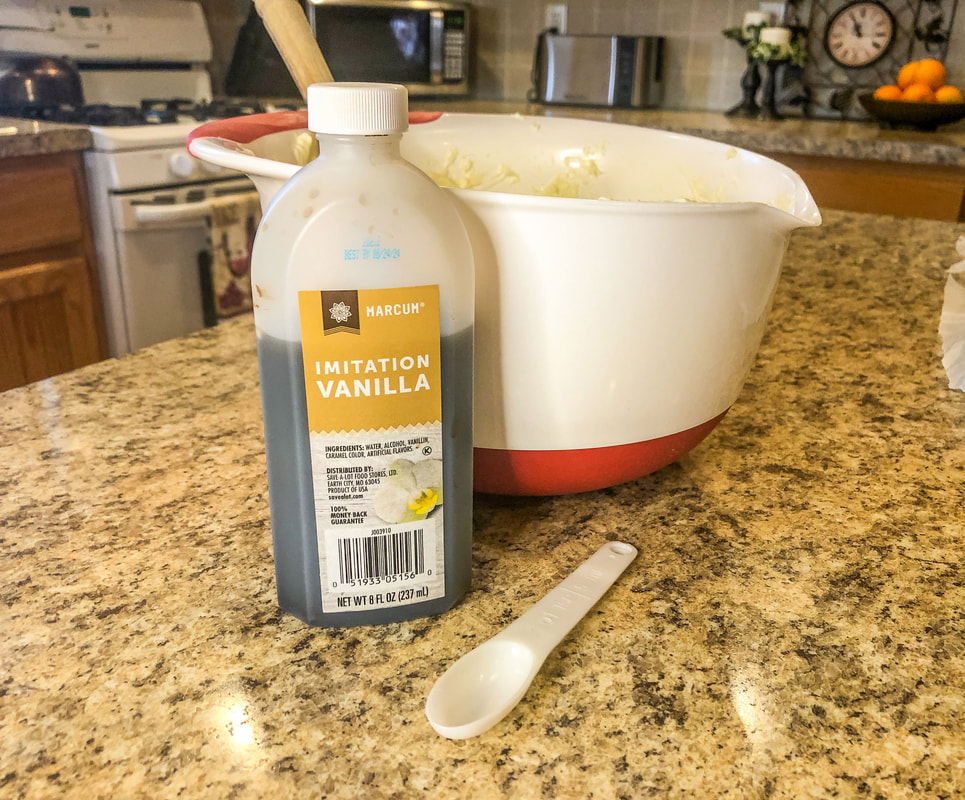 Imitation vanilla. Photo by Diane M. Lilly, 2022. 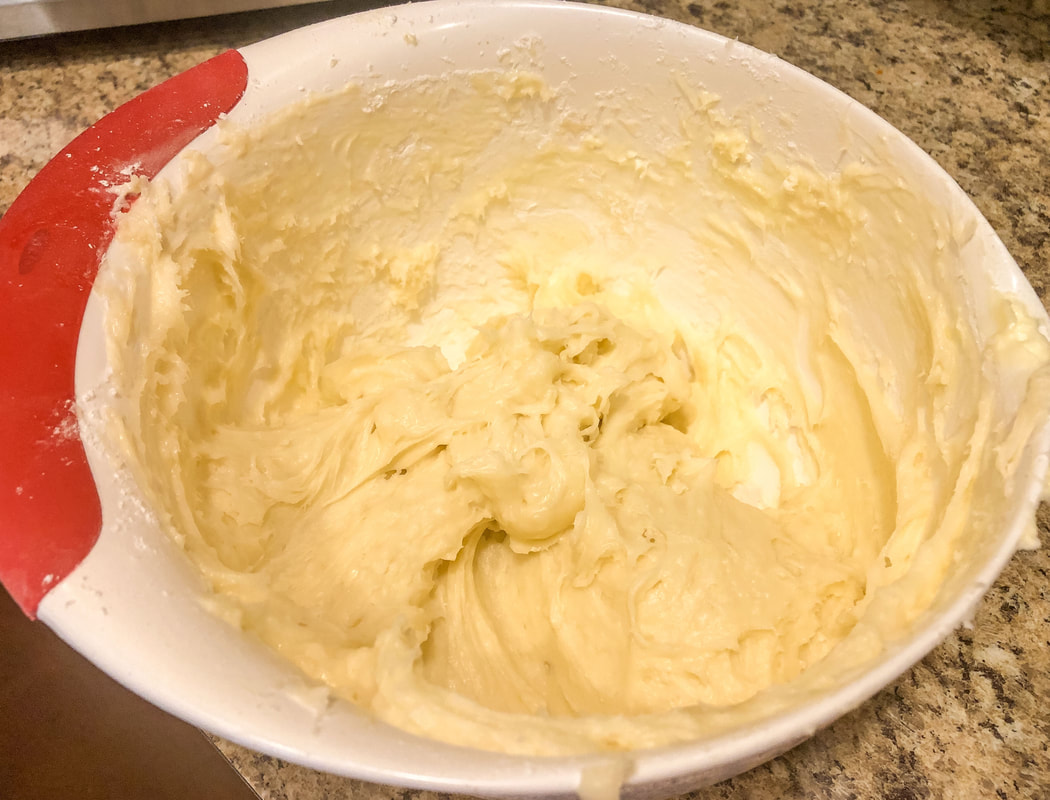 Vanilla mixed in with cream cheese and butter. Photo by Diane M. Lilly, 2022. Mix in the coconut flakes.  Bowl of shredded coconut. Photo by Diane M. Lilly, 2022. 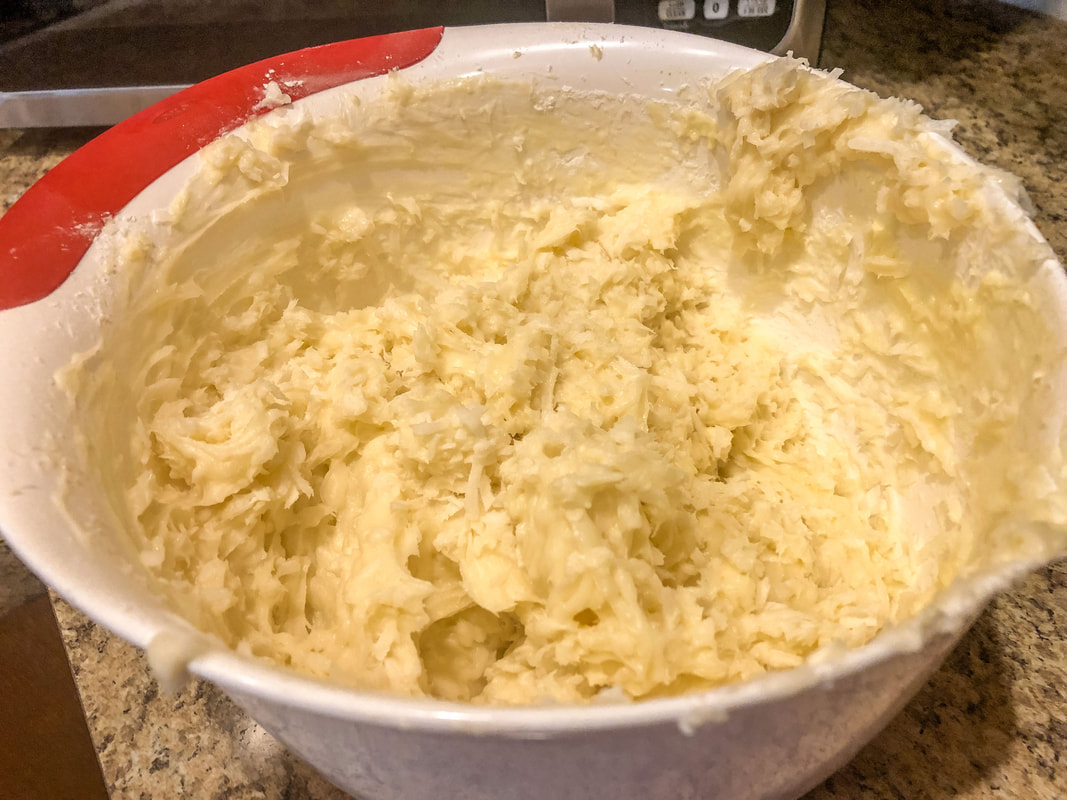 Coconut flakes mixed in with cream cheese mixture. Photo by Diane M. Lilly, 2022. Place in refrigerator for about 30 minutes to get the mixture to harden a little so that it is easier (and less messy) to roll into balls. Prep 2-3 baking sheets lined with wax paper. Pour the cinnamon into a bowl. 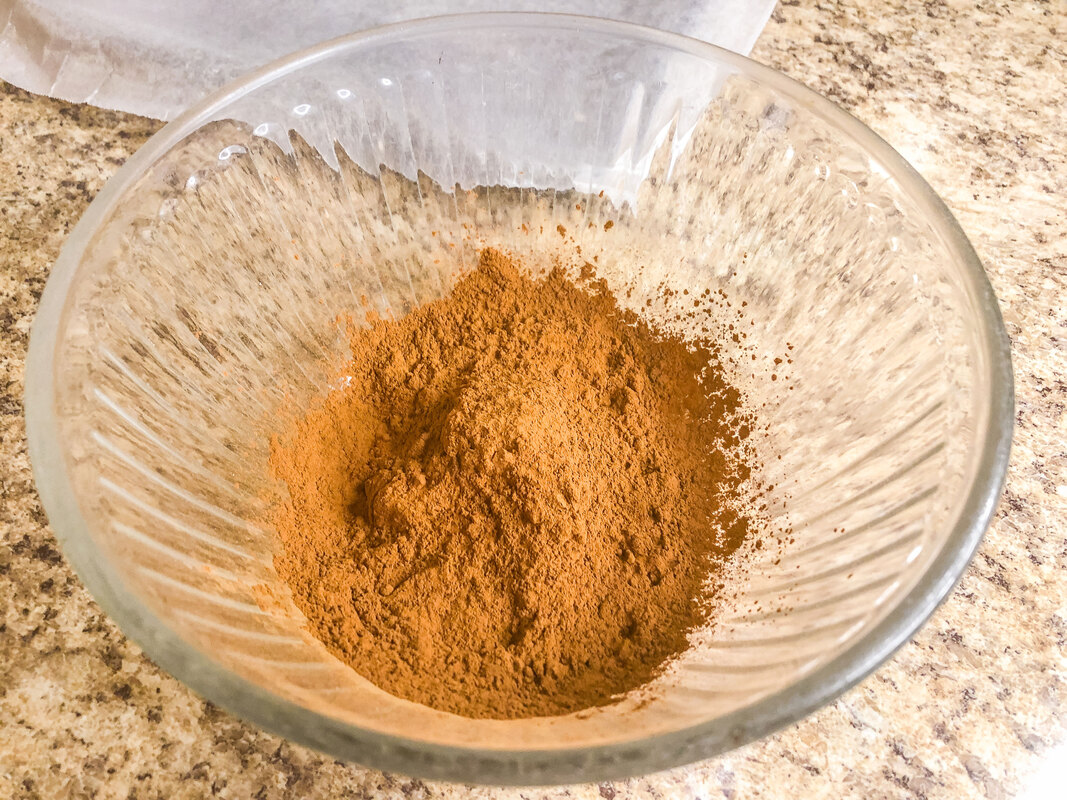 Cinnamon in a bowl. Photo by Diane M. Lilly, 2022. 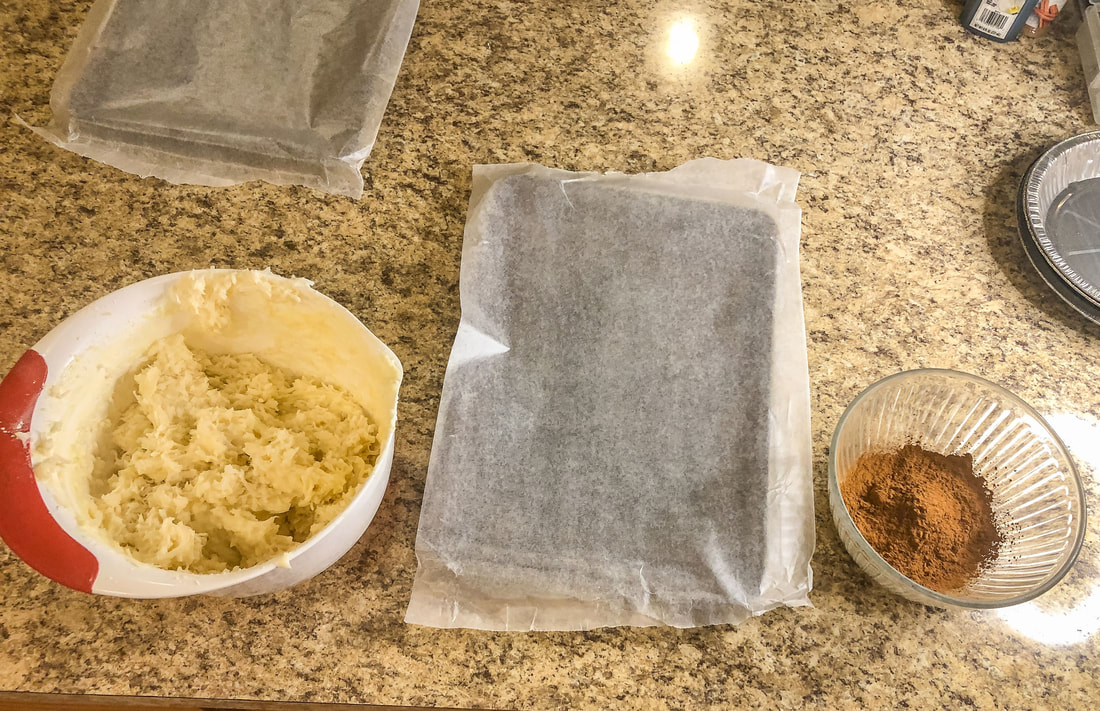 Getting ready for rolling the candies with the cream cheese mixture, wax paper sheet, and cinnamon. Photo by Diane M. Lilly, 2022. Take the cream cheese mixture out of the fridge. Shape the confection mixture into potato-shaped balls slightly larger than a quarter. Roll each sugar ball in the cinnamon until evenly coated. Place on tray. (If your hands get sticky—and they will—rinse them off and keep going!) Place trays in the refrigerator until cream cheese is set again. 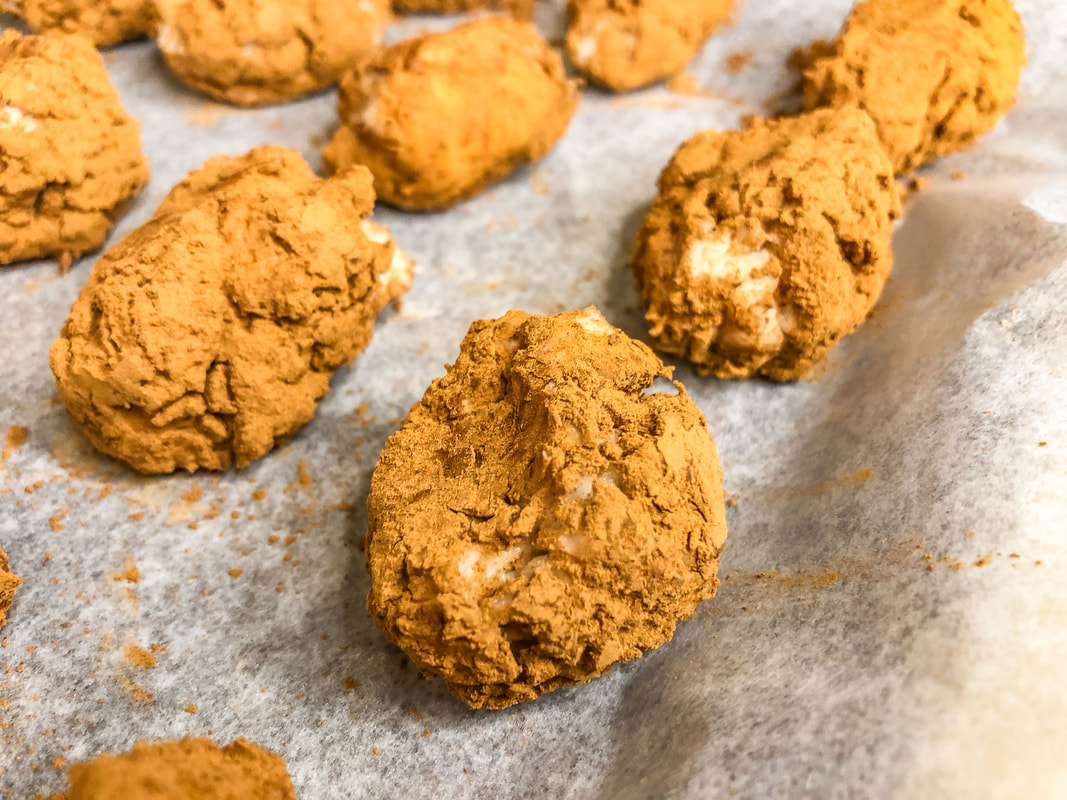 Finished Irish Potato candies on the waxed tray. Photo by Diane M. Lilly, 2022. You can serve as is on the cookie trays, watching the family trample each other to get their “dirty potatoes” (as they are also called), or you can make up a pretty St. Paddy’s Day display or even treat bags. Just remember the cream cheese needs to be refrigerated, so don’t leave the candy potatoes out for long periods. These are so sweet they make your teeth ache just by looking at them, but, man, are they good! Happy St. Paddy’s Day! Original recipe https://www.allrecipes.com/recipe/16520/irish-potato-candy/ Related blogs you may want to read: Homemade chicken noodle soup recipe Banana and raisin bread recipe Potato soup recipe Tuna noodle casserole recipe Chicken vegetable pot pie This article may contain a few items or commercial mentions, but I only used them for demonstration purposes only. I am not endorsing any particular product or receiving any monetary gain for this blog. 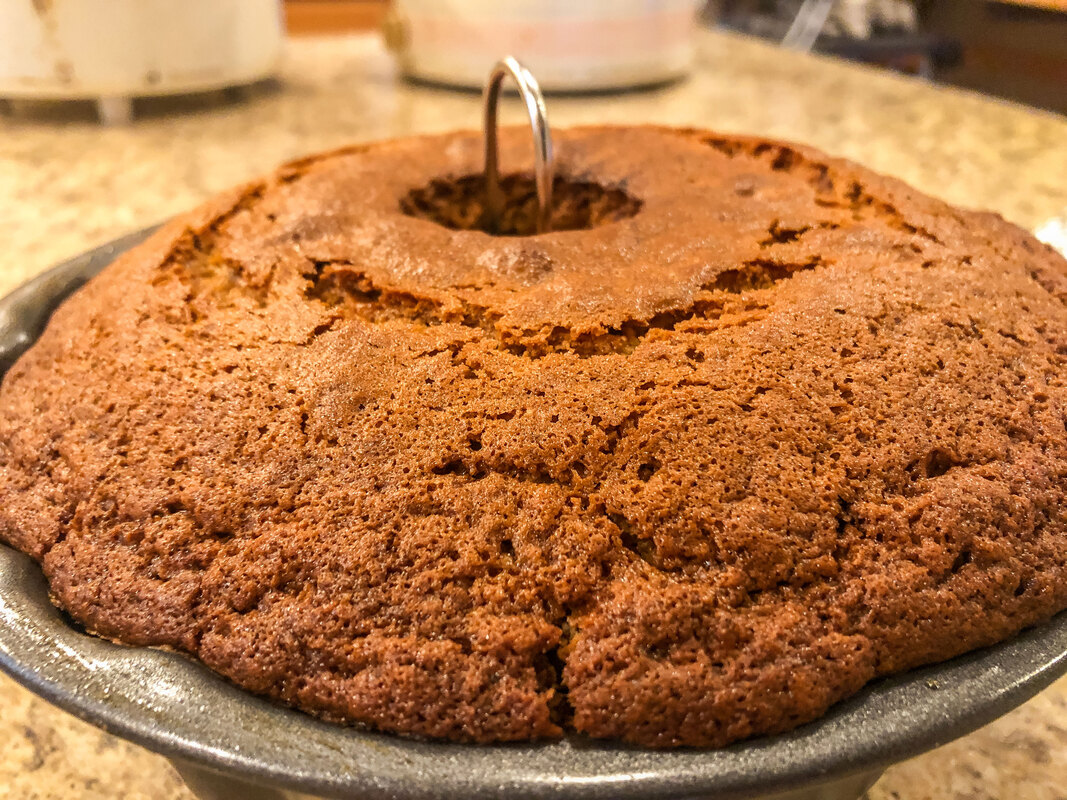 Homemade banana and raisin bread. Photo by Diane M. Lilly, 2022. The end of winter can be so dreary, can’t it? I find myself chomping at the bit with anticipation for the warmer weather that seems like it’s taking its good old time getting here! I’m craving the warmth of the upcoming spring. Maybe something warm and home-baked will help… Every week, we buy a bunch of bananas, and some weeks they get eaten, but many times, I end up with a few bananas that have gone brown…and who wants to eat that?! I feel so wasteful throwing them out! So, sometimes, I dig through my cabinets to find something to compliment the bananas in a bread recipe. Sometimes I find chopped nuts, or coconut, or chocolate chips…This time around, it was raisins. And so the oven was turned on, and the baking began. 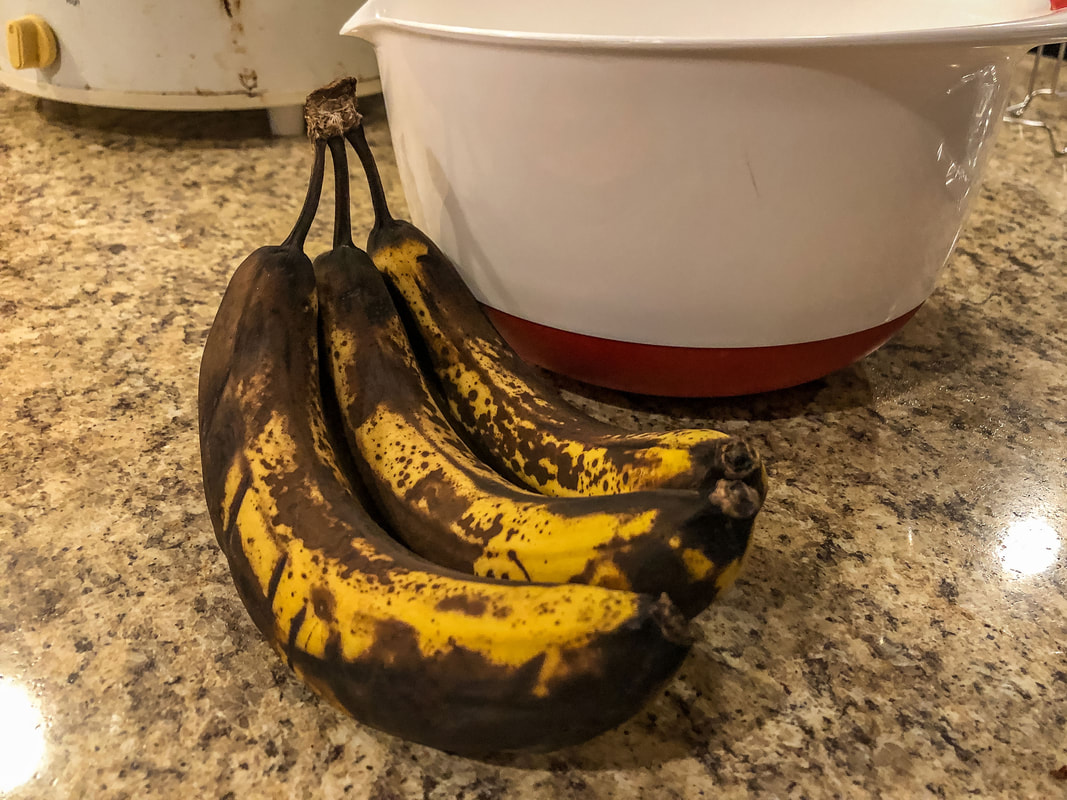 Three ripe bananas. Photo by Diane M. Lilly, 2022. 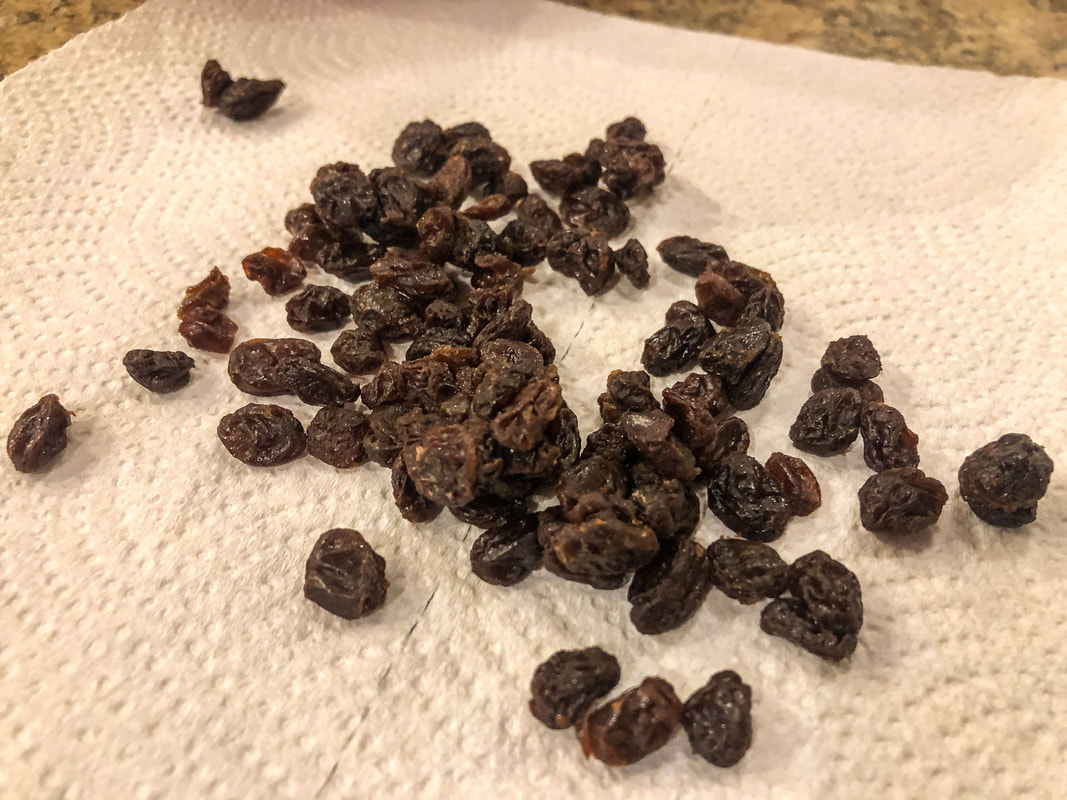 Raisins. Photo by Diane M. Lilly, 2022. Banana bread is not a hard thing to make, and it’s a great way to limit waste and make a special treat for the family…better than store-bought, in my opinion! So here’s today’s version of banana bread with raisins… Ingredients: 2-3 ripe bananas 2 eggs 1/2 stick butter, softened 1/2 cup milk 2 tsp vanilla 1 cup sugar 1/4 cup brown sugar 2 cups flour 1 tsp baking soda 1 tsp salt Nuts, raisins, or chocolate chips (optional) Heat oven to 350 degrees F. Grease the pan. (I used a Bundt pan and a muffin pan for this recipe.) 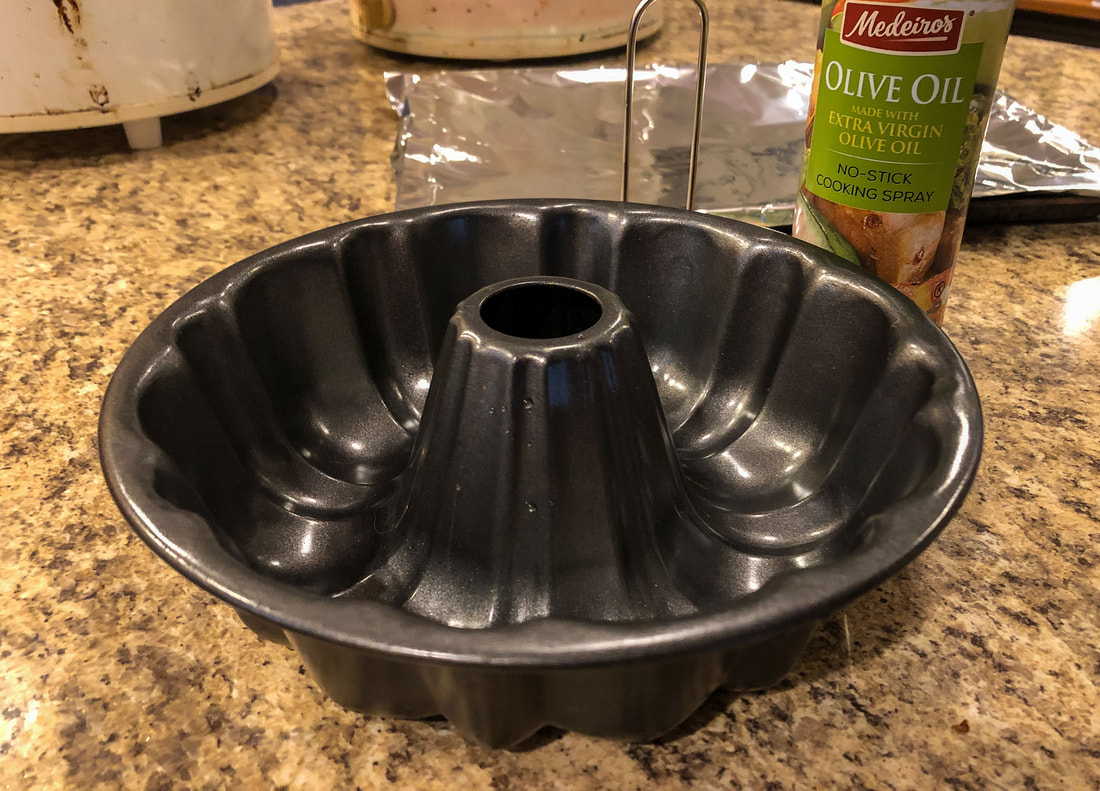 Bundt cake pan greased. Photo by Diane M. Lilly, 2022. Mix the sugars and butter, and stir in eggs. Mix until moist and crumbly. 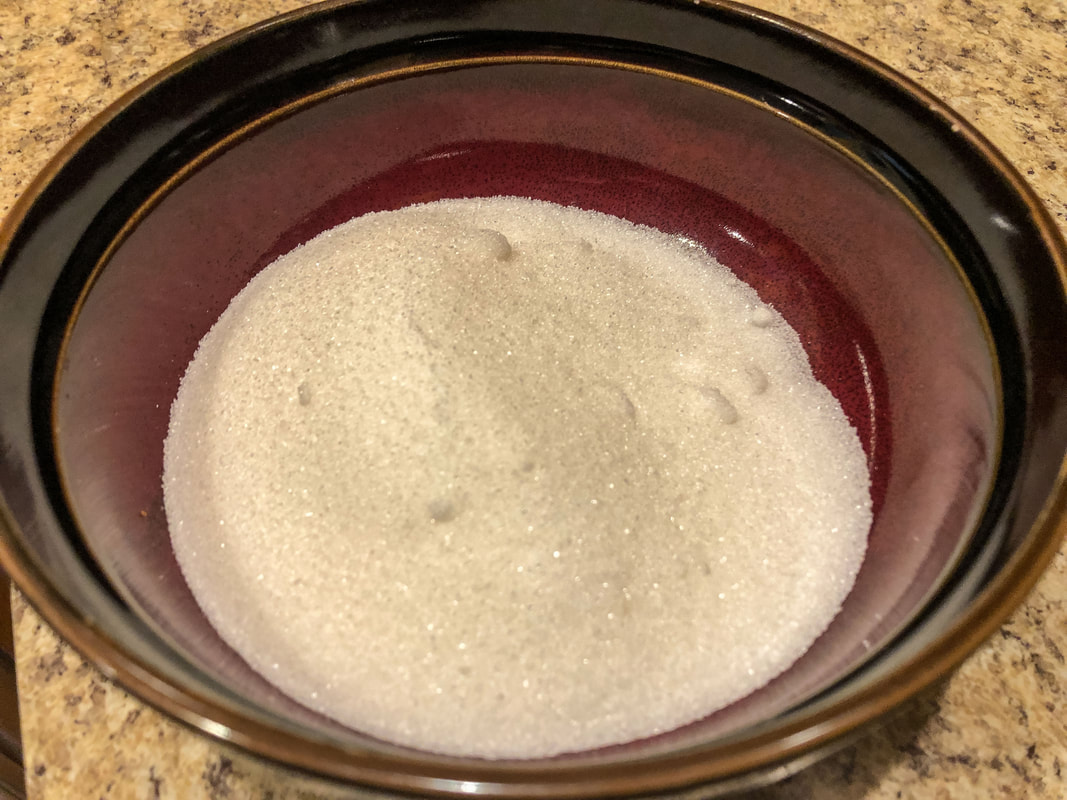 Cup of sugar in a bowl. Photo by Diane M. Lilly, 2022. 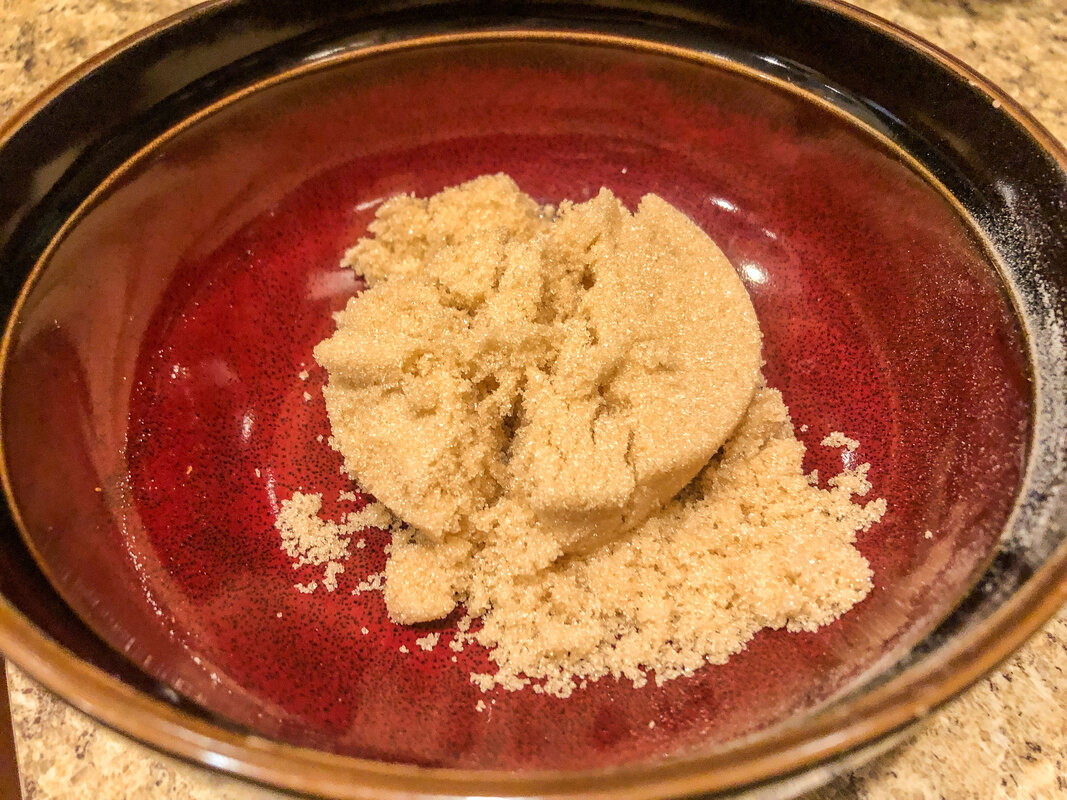 1/4 cup brown sugar. Photo by Diane M. Lilly, 2022. 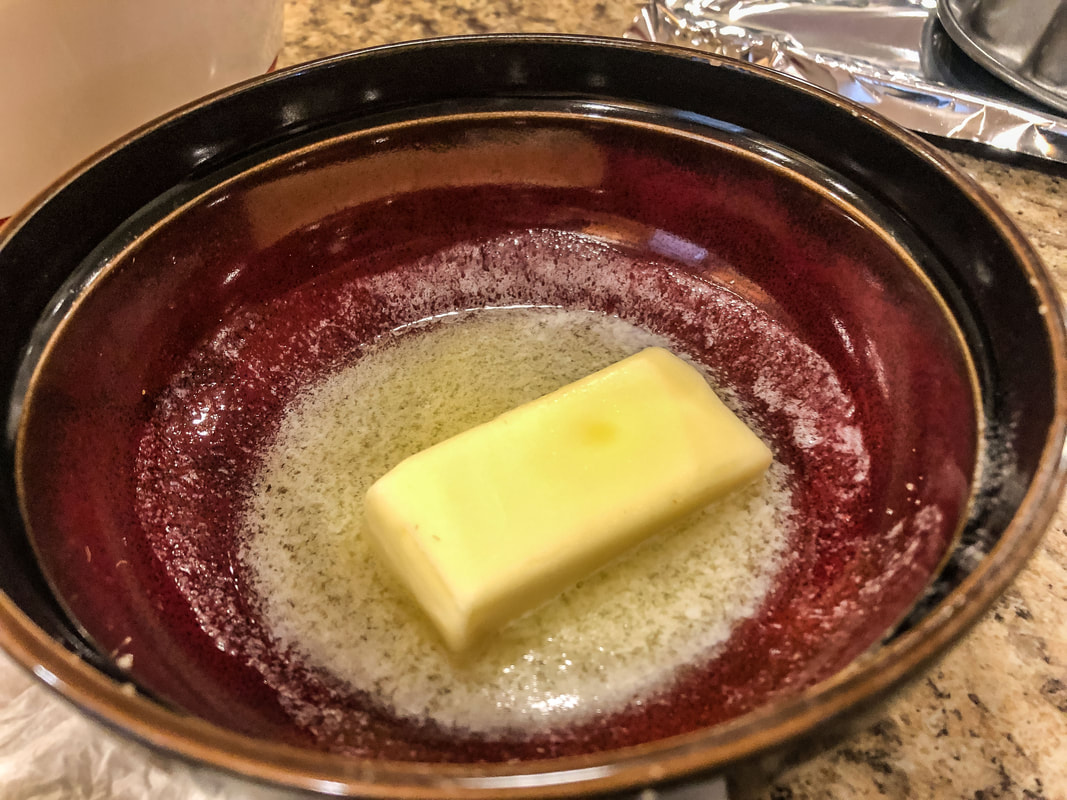 1/2 stick butter melted. Photo by Diane M. Lilly, 2022. Add bananas, milk, and vanilla. Beat until smooth. 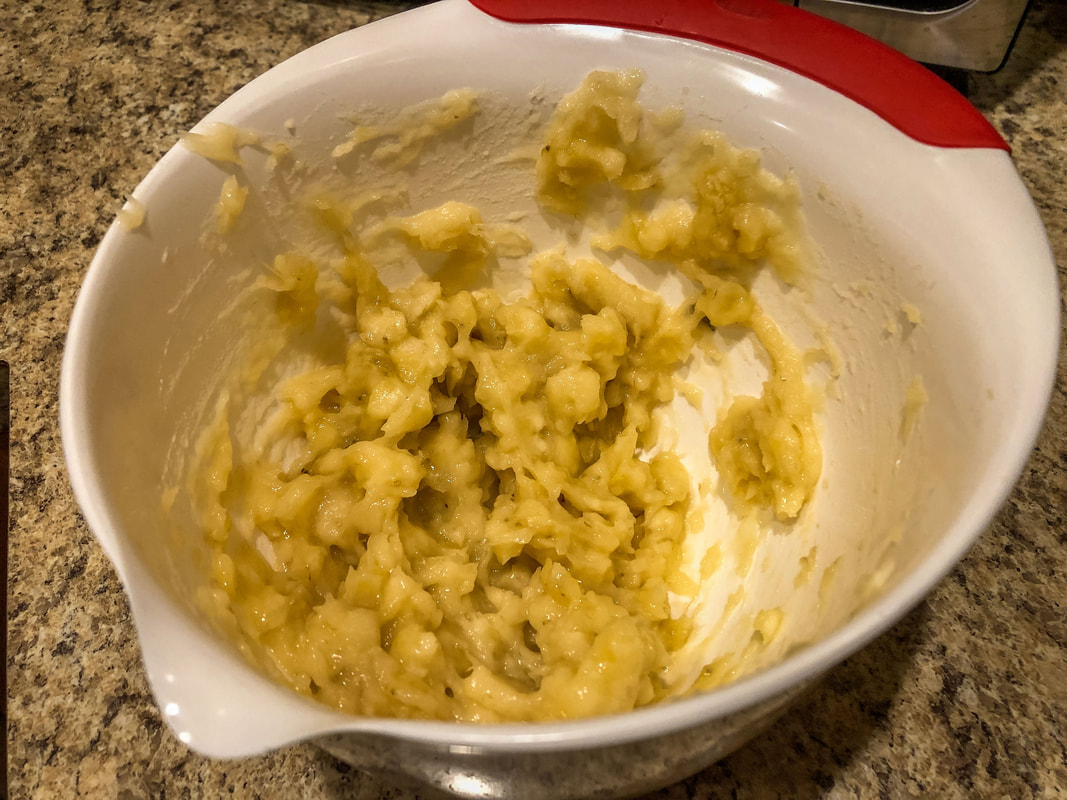 Mashed bananas. Photo by Diane M. Lilly, 2022. 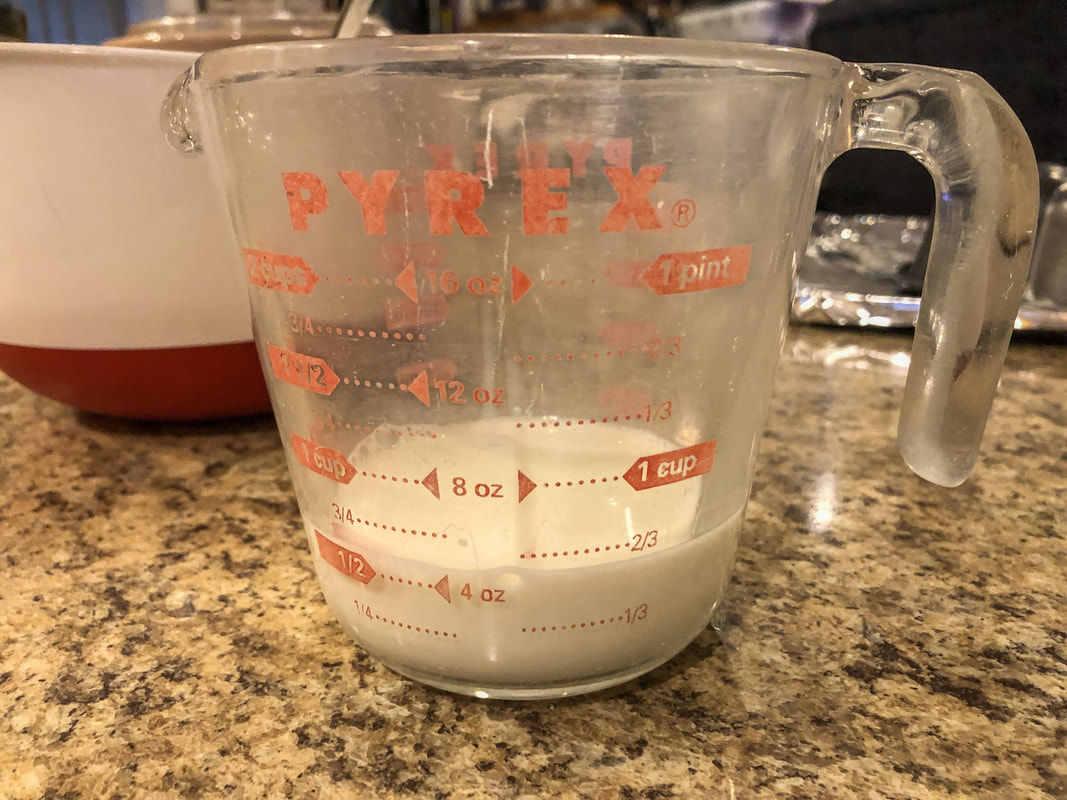 1/2 cup milk. Photo by Diane M. Lilly, 2022. 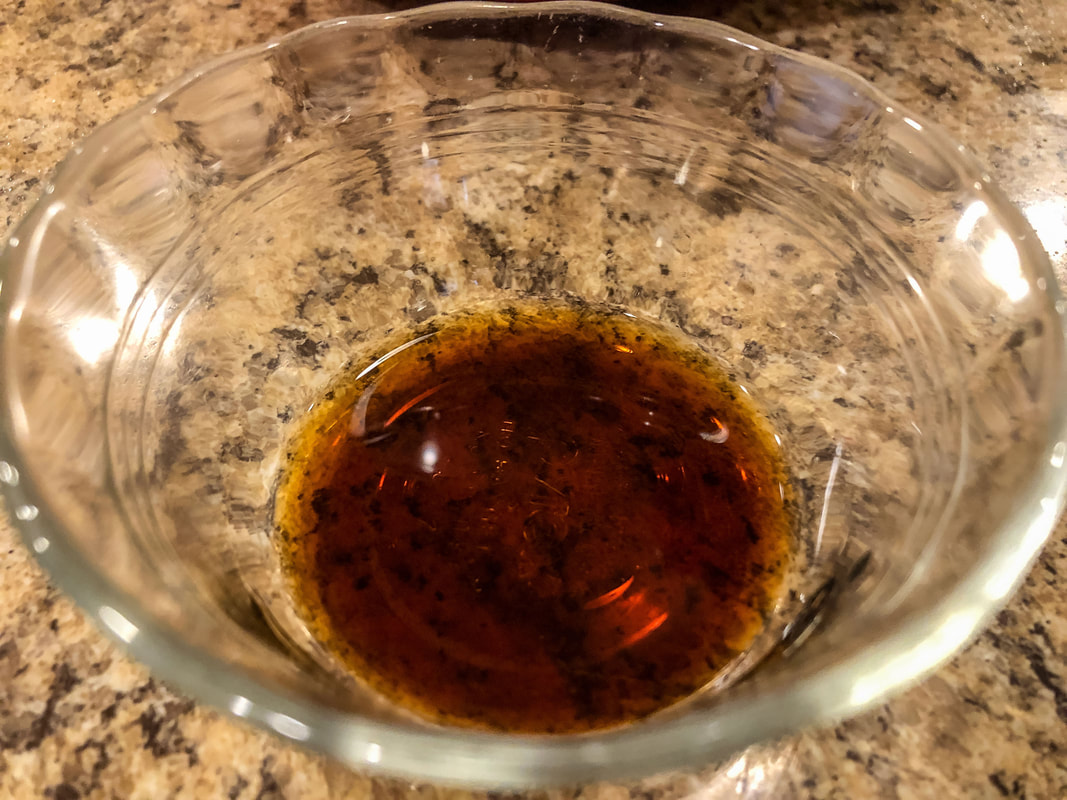 Two teaspoons vanilla. Photo by Diane M. Lilly, 2022. Stir in flour, baking soda, and salt until moistened.  All purpose flour. Photo by Diane M. Lilly, 2022.  Baking soda. Photo by Diane M. Lilly, 2022. Salt. Photo by Diane M. Lilly, 2022. Stir in nuts, chocolate chips, or raisins. Bake for 1-1 1/4 hours, or until toothpick comes out clean. 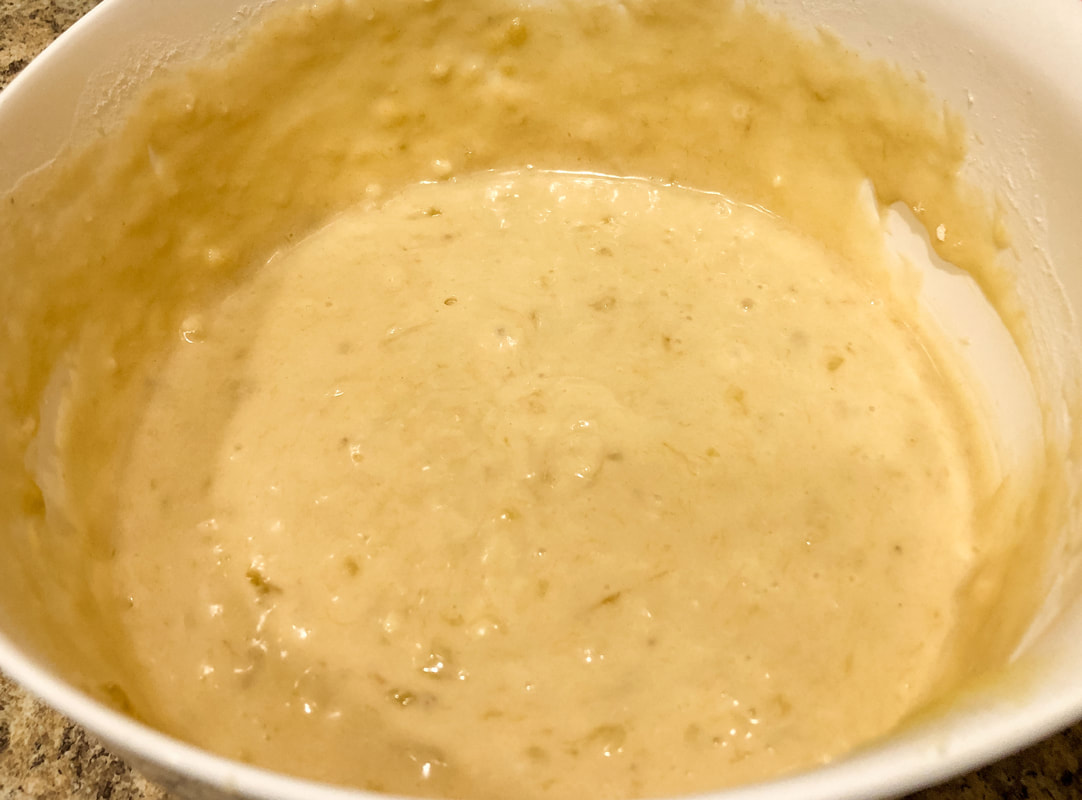 Banana bread batter in bowl. Photo by Diane M. Lilly, 2022. 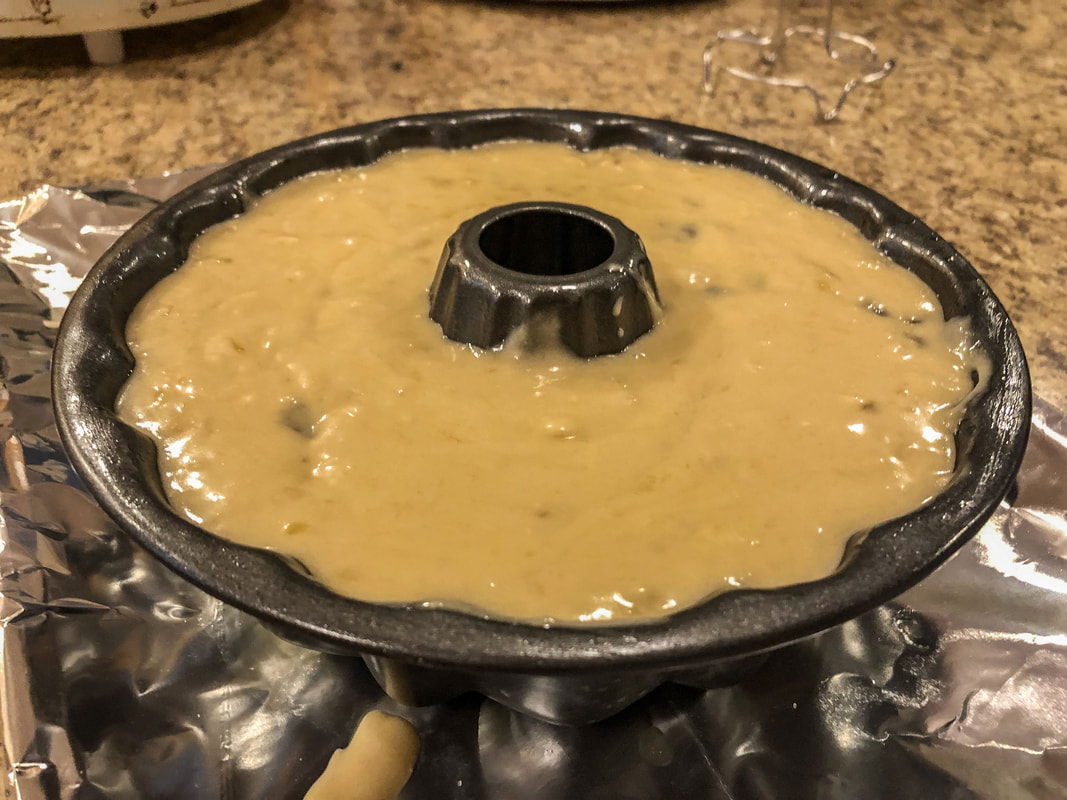 Banana bread batter poured into Bundt pan. Photo by Diane M. Lilly, 2022. I have a round cake pan that I love to use for banana bread, but I also have a muffin tray for the excess…because there is ALWAYS excess! Sometimes, I take the time to make a creamy buttery icing to glaze the tops for a little extra “sweet” on my treats! (I think I’ll save that for another blog, but let me know in the comments below if you’d like me to post some options for icing.)  Banana bread finished baking and cooling on the counter. Photo by Diane M. Lilly, 2022. 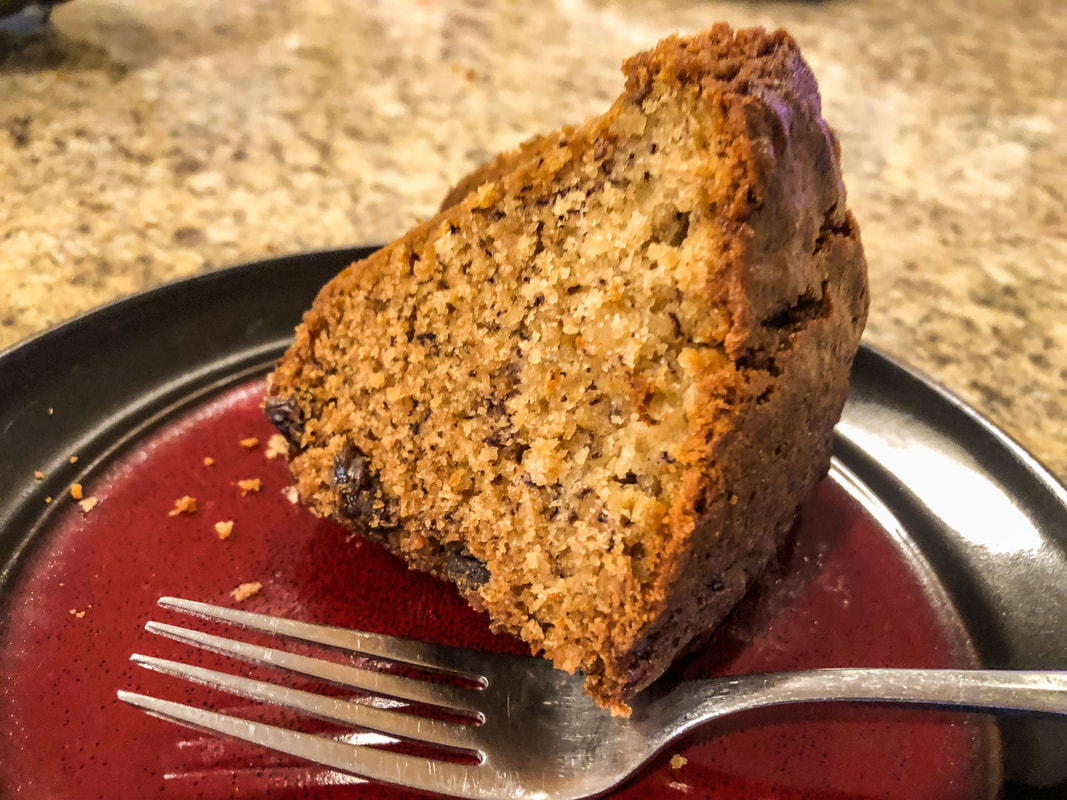 Banana and raisin bread on a plate, ready to be eaten! Photo by Diane M. Lilly, 2022. Bon Appetit! Related blogs you may want to read: Homemade chicken noodle soup recipe Potato soup recipe Tuna noodle casserole recipe Chicken vegetable pot pie recipe This article may contain a few items or commercial mentions, but I only used them for demonstration purposes only. I am not endorsing any particular product or receiving any monetary gain for this blog. A recent trip to the family doctor reminded me that I need to eat healthier! So I thought I’d kick off March with one of my favorite healthy meals— homemade chicken soup. This soup is a slight variation of a family recipe passed down from my great-grandmother—a little Ukrainian woman who could make a paper bag taste good! I have fond memories of helping her peel and chop vegetables and making this soup takes me right back there to that tiny faux marble kitchen table all those years ago. 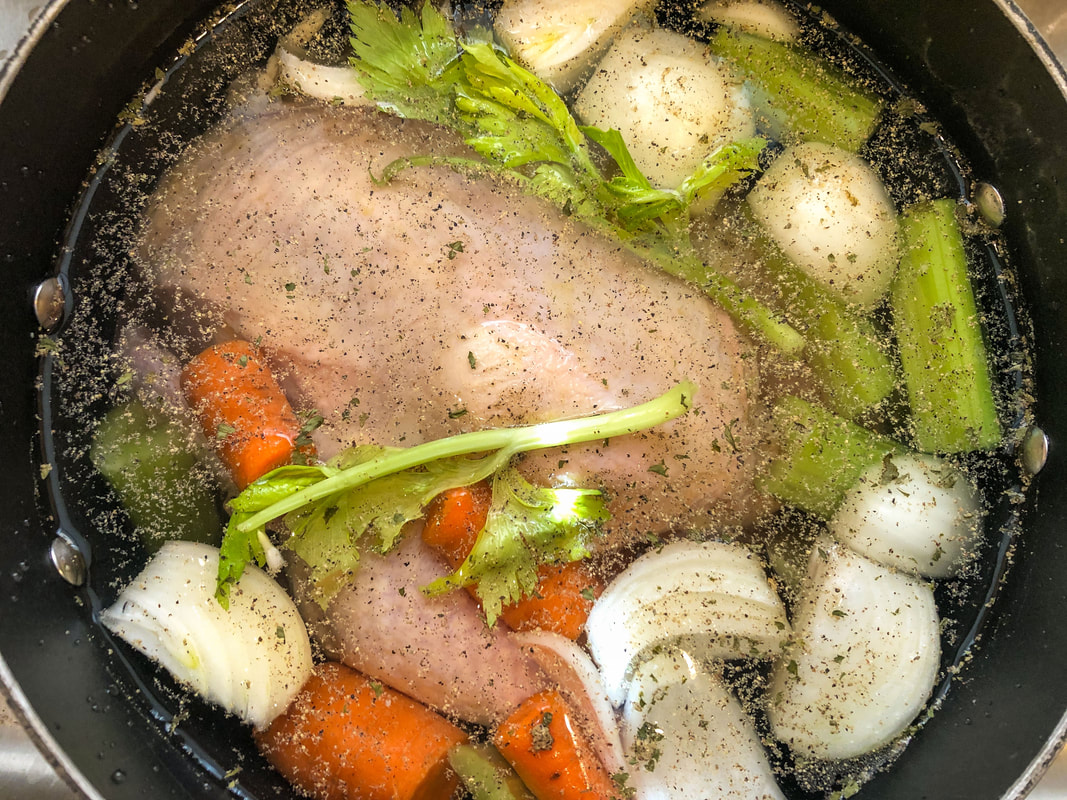 Chicken soup cooking in a pot. Photo by Diane M. Lilly, 2022. There’s nothing complicated about making chicken soup. It takes a little time and prep work, but the extra effort gets you a meal that lasts several days. And it’s so good for you! According to Healthline, chicken is a good source of protein, vitamin B, and selenium (for the immune system and thyroid). Celery contains vitamins A, K, and C and is an anti-inflammatory that aids digestion while decreasing the occurrence of ulcers. Carrots are known for eye health since they contain vitamin A, beta carotene, and potassium. WebMD even describes carrots as beneficial for lowering cholesterol and fighting cancer, arthritis, and heart disease. In other words, chicken soup is just good for whatever ails you! Ingredients: Whole chicken 5- 6 celery stalks 5-6 carrots 2 onions 2 cups chicken stock or broth 2 chicken bouillon cubes 4 cups water 2 tsp salt Pepper, to taste Parsley, to taste Wide egg noodles (optional) 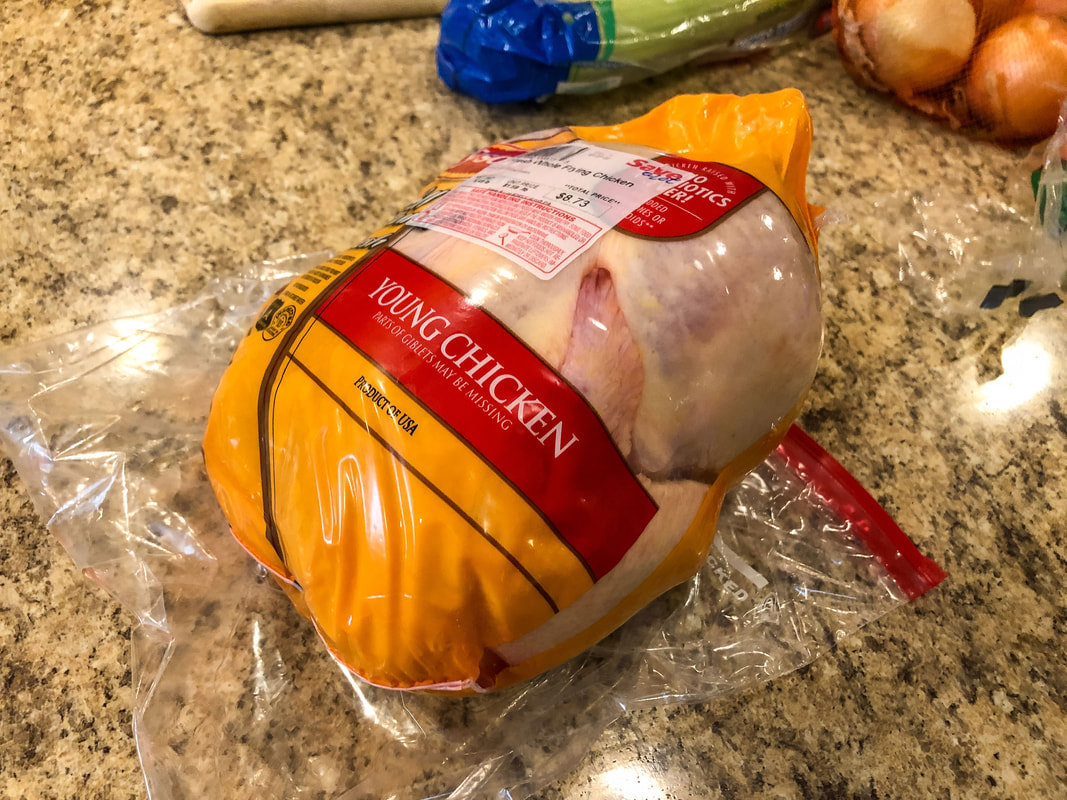 Whole chicken. Photo by Diane M. Lilly, 2022. 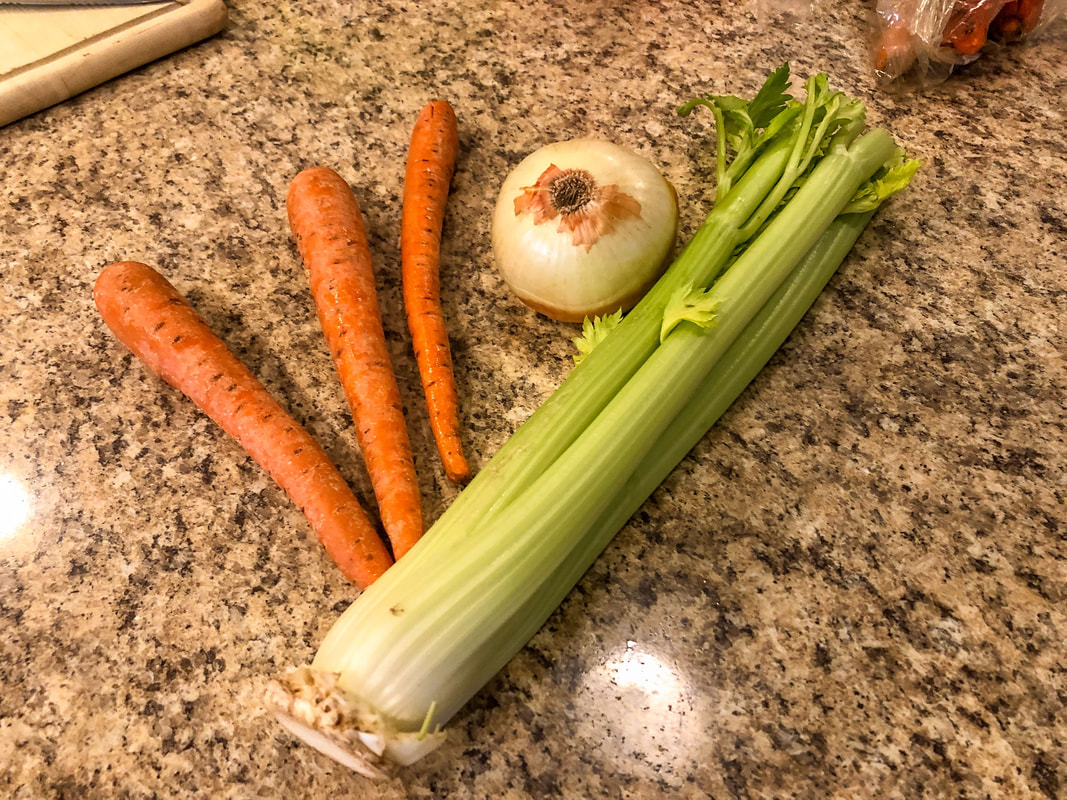 Carrots, onion and celery to be prepped. Photo by Diane M. Lilly, 2022. 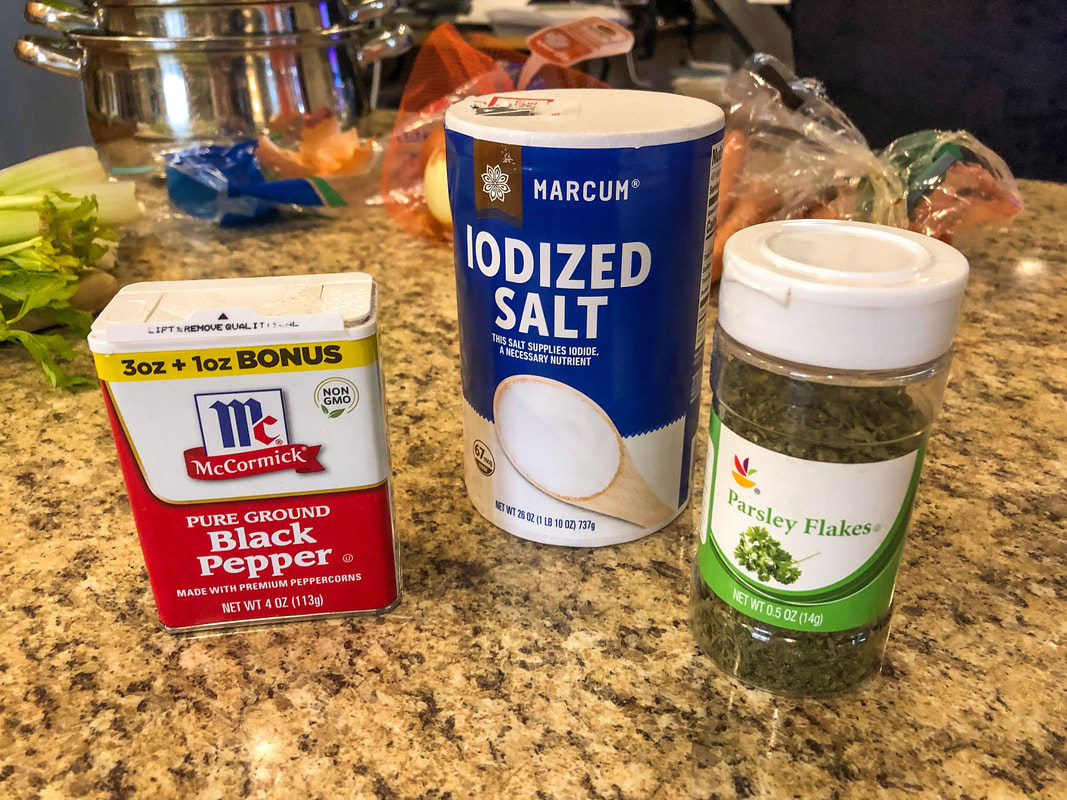 Pepper, salt and parsley to be used in soup. Photo by Diane M. Lilly, 2022. 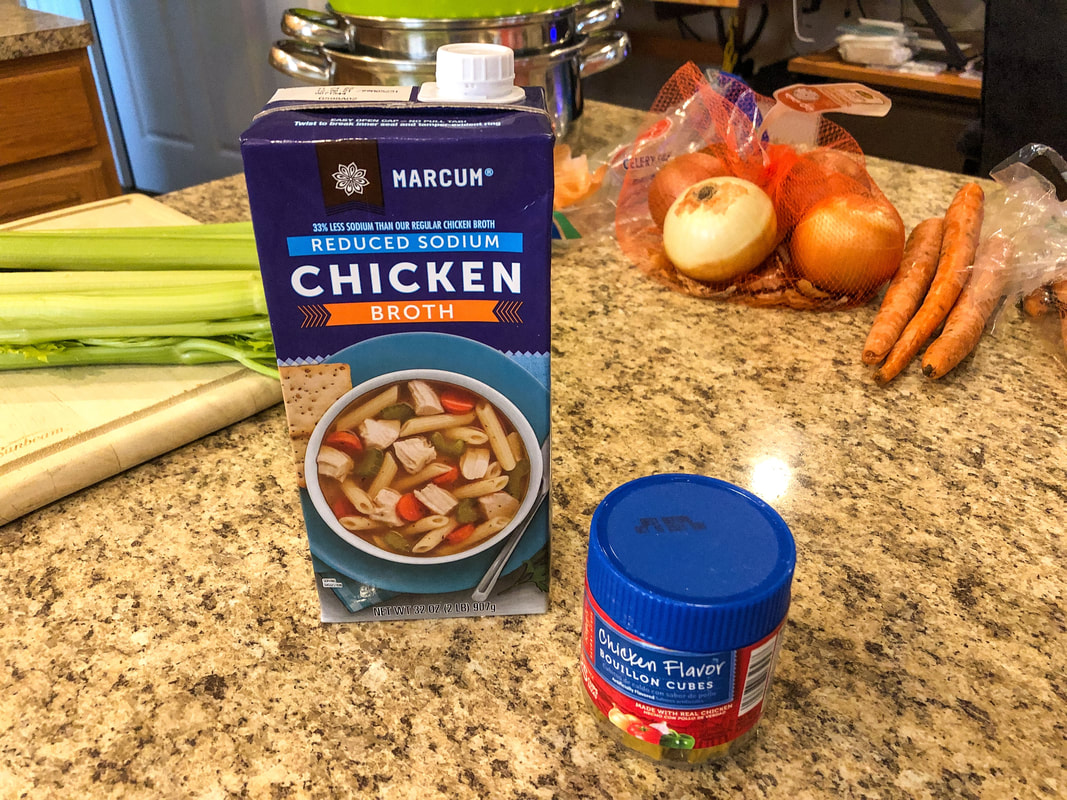 Chicken broth and bouillon to be used in soup. Photo by Diane M. Lilly, 2022. Place whole chicken in a large pot and cover with water. Chop up two celery stalks, two carrots, and one onion in large chunks (these are just to make the stock and will not be eaten) and add to the pot. Add one tsp salt, two chicken bouillon cubes, parsley, and pepper. Cook chicken and veggies on medium-high heat for approximately 45 minutes or until carrots and chicken are cooked. Remove the chicken from the pot, and place it on a plate to cool. 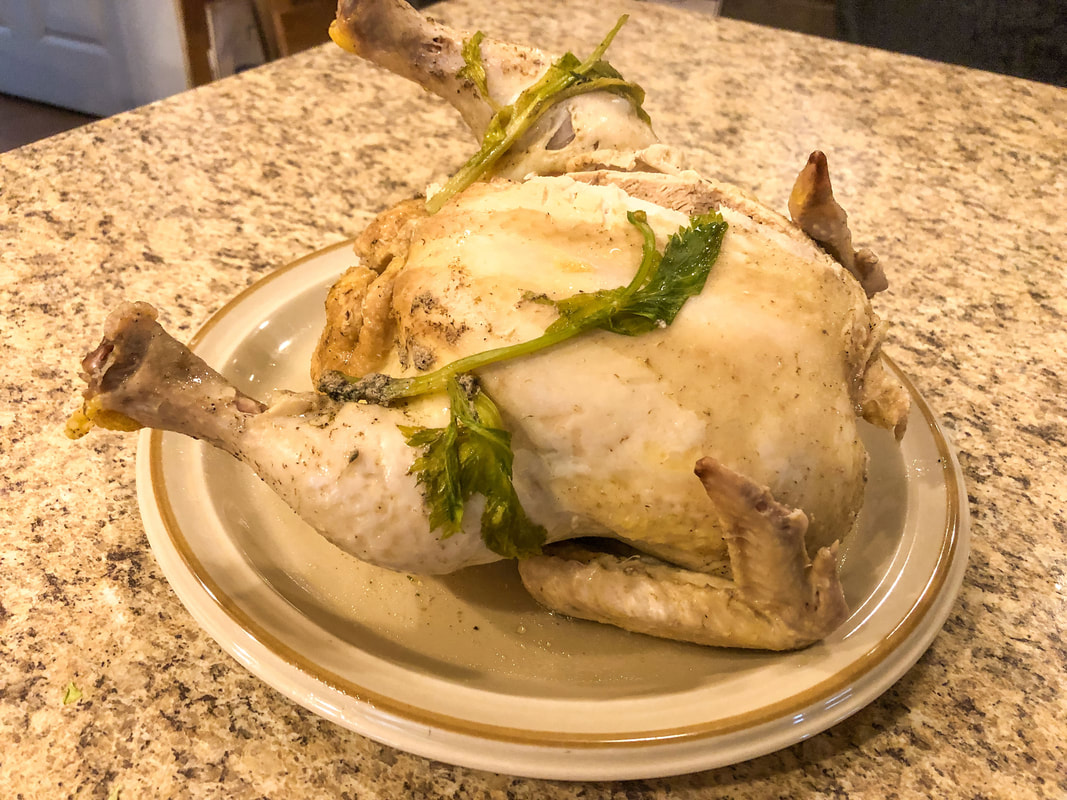 Cooked chicken, waiting to cool before shredding. Photo by Diane M. Lilly, 2022. Drain the liquid stock into another pot, discarding only the cooked vegetables. Add four cups of water and two cups of store-bought chicken stock to liquid, then re-season with pepper, parsley, and one tsp salt. Add in fresh chopped celery (2-4 stalks), carrots (3-4), and an onion. 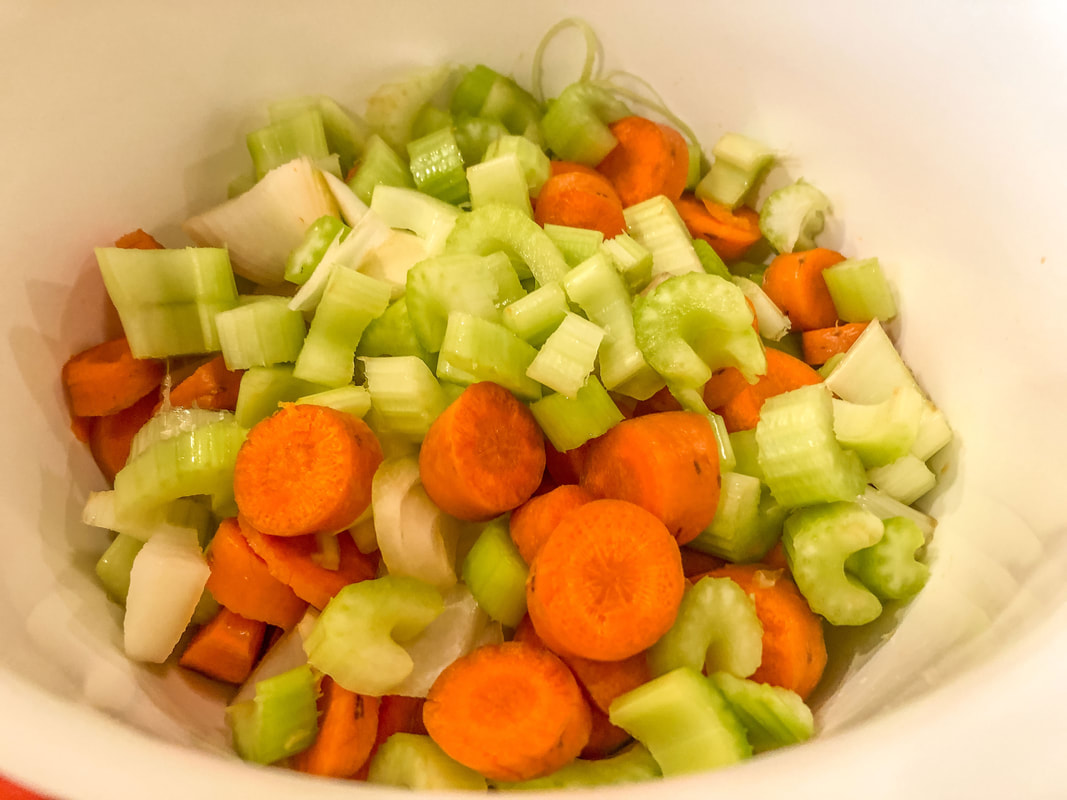 Fresh chopped carrots, celery and onion for the chicken soup. Photo by Diane M. Lilly, 2022. 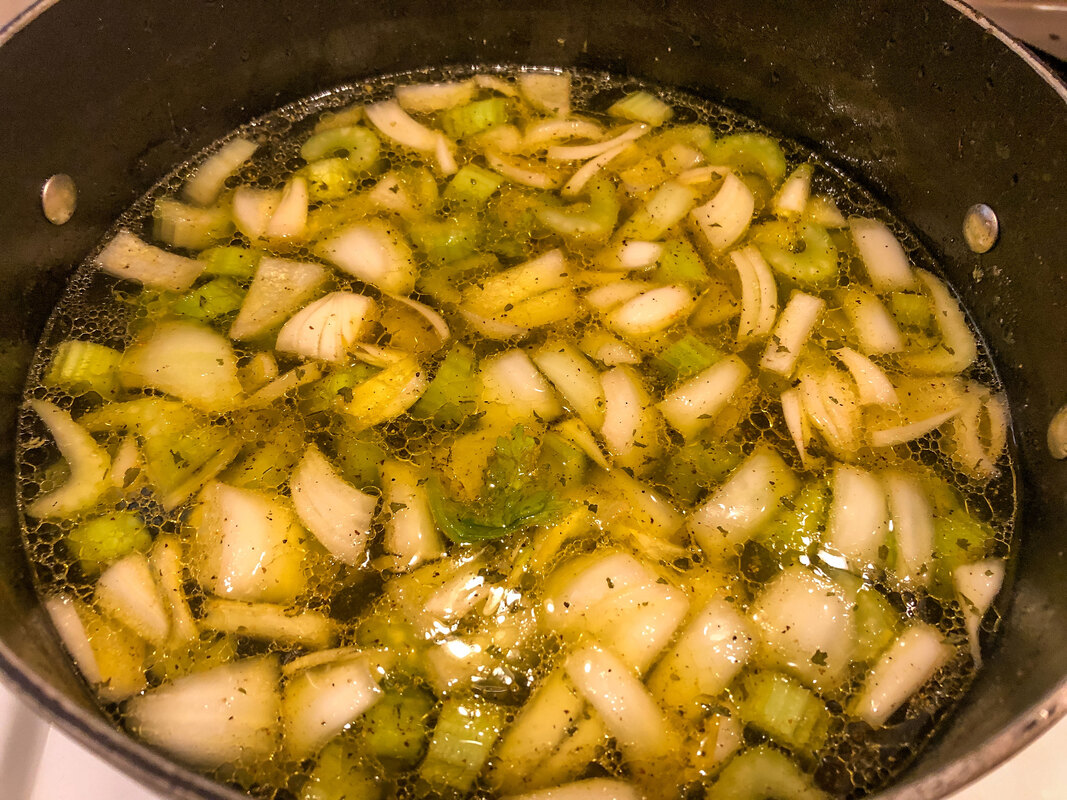 Celery, onions, and carrots for the chicken soup cooking. Photo by Diane M. Lilly, 2022. Cut or shred the cooked chicken into small pieces and add it to the new chicken stock mix. 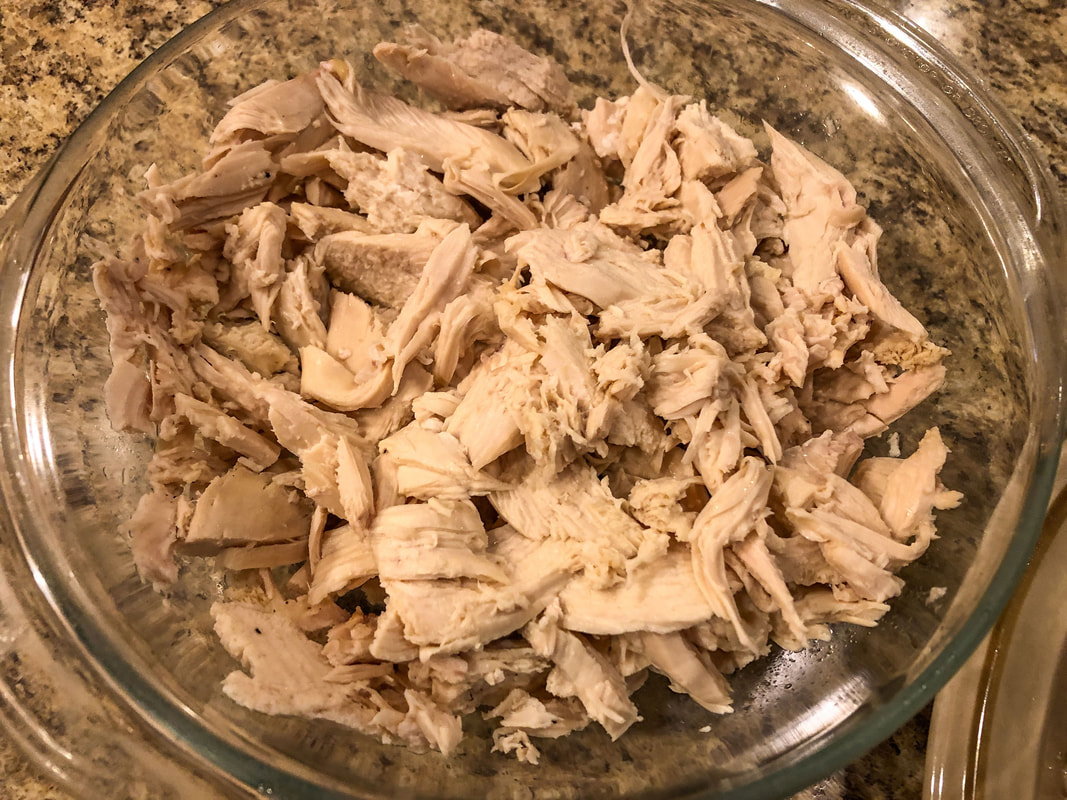 Cooked and shredded chicken. Photo by Diane M. Lilly, 2022. Cook on medium heat for an additional 30 minutes, or until the carrots are cooked. Cook the noodles according to directions. 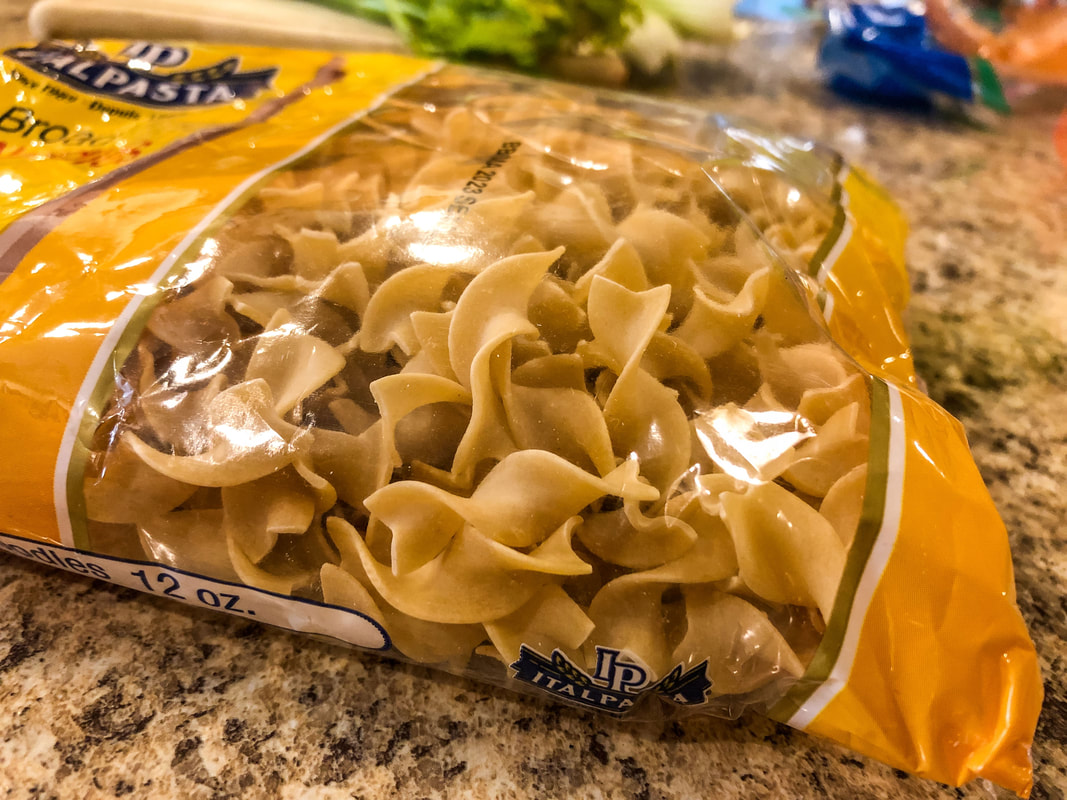 Wide egg noodles for the chicken soup. Photo by Diane M. Lilly, 2022. Serve with cooked noodles and buttered bread. 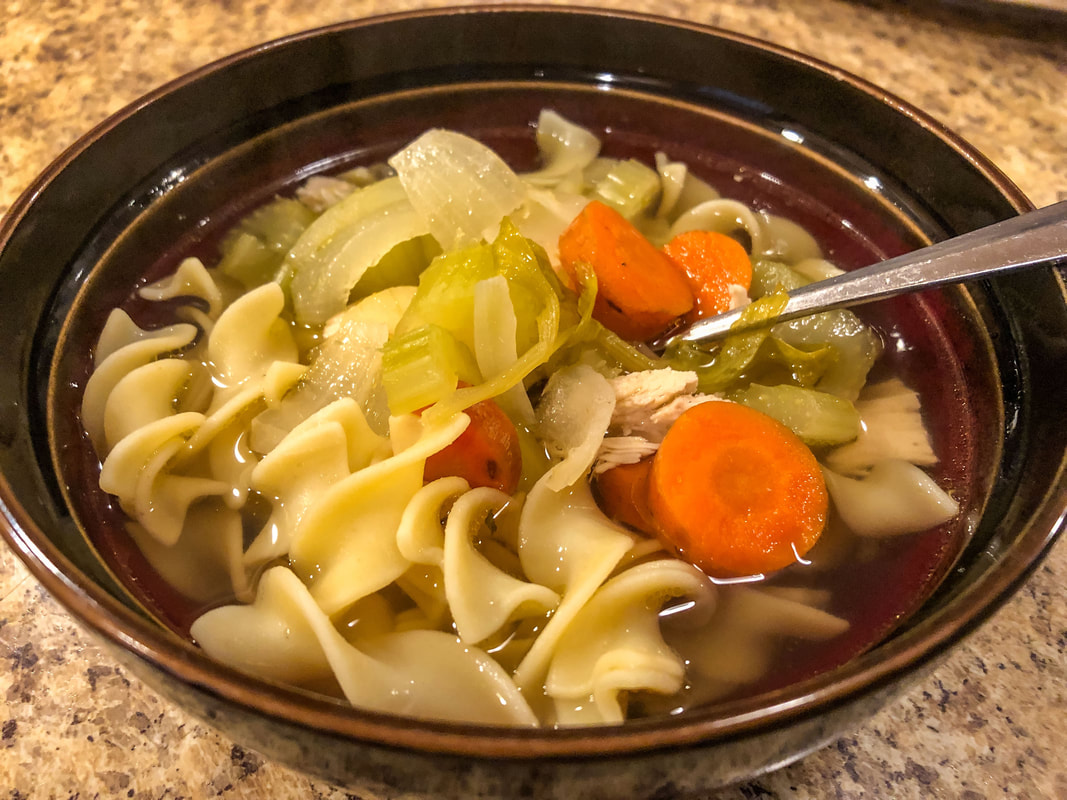 Cooked homemade chicken soup in a bowl. Photo by Diane M. Lilly, 2022. Do you make homemade soup? I’d love to hear about your fond memories and healthy soup recipes, so feel free to share them in the comments below! Related blogs you may want to read: Banana bread and raisin recipe Potato soup recipe Tuna noodle casserole recipe Chicken vegetable pot pie recipe This article may contain a few items or commercial mentions, but I only used them for demonstration purposes only. I am not endorsing any particular product or receiving any monetary gain for this blog. What better time to make warm homemade soup than on a cold, dreary winter day? We all need a little cozy comfort food when the dim winter daylight doesn’t seem to warm up our world like the rest of the year. Eating a delicious hot soup while snuggled under a warm, cozy blanket is good for the soul. Even better if the soup is homemade—much more nutritious than anything you can get out of a can! 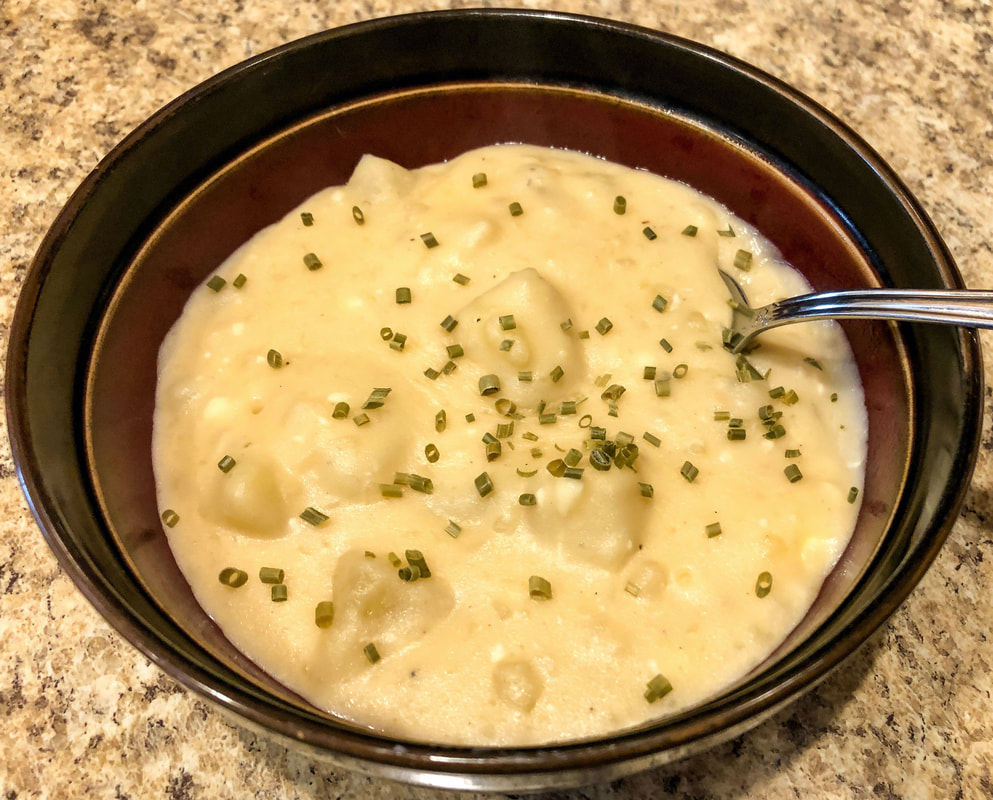 Homemade creamy potato soup. Photo by Diane M. Lilly, 2022. I found this recipe on Facebook several years ago and fell in love! It’s so rich and creamy, and, to be honest, I love anything potato! There’s a lot of chopping, but the result is worth it! I almost double this recipe, and I leave out the cooked bacon. It doesn’t need it, and I feel it adds unnecessary grease. Other than that, I almost follow the recipe exactly, just tweaking the chicken broth and bouillon as needed. I didn’t buy enough chicken stock, so two cans of chicken soup were sacrificed for the broth they contained. The other modification I need to make is to decrease the time the recipe calls for simmering the potatoes. My soup was on the verge of mashed potatoes! Next time, I’ll let the potatoes simmer for eight minutes instead of ten. (It’s still yummy though!) Potato Soup (my version) Ingredients: 5 lb bag of Russett potatoes 1 small onion, diced 4 1/2 cups chicken stock, plus broth from two chicken noodle soup cans 5 chicken bouillon cubes 1 TBS minced garlic 1/2 cup flour 8 TBS stick butter 1 cup heavy cream 8 oz cream cheese, softened and cubed 1 tsp salt Ground black pepper (to taste) Chives (to taste) 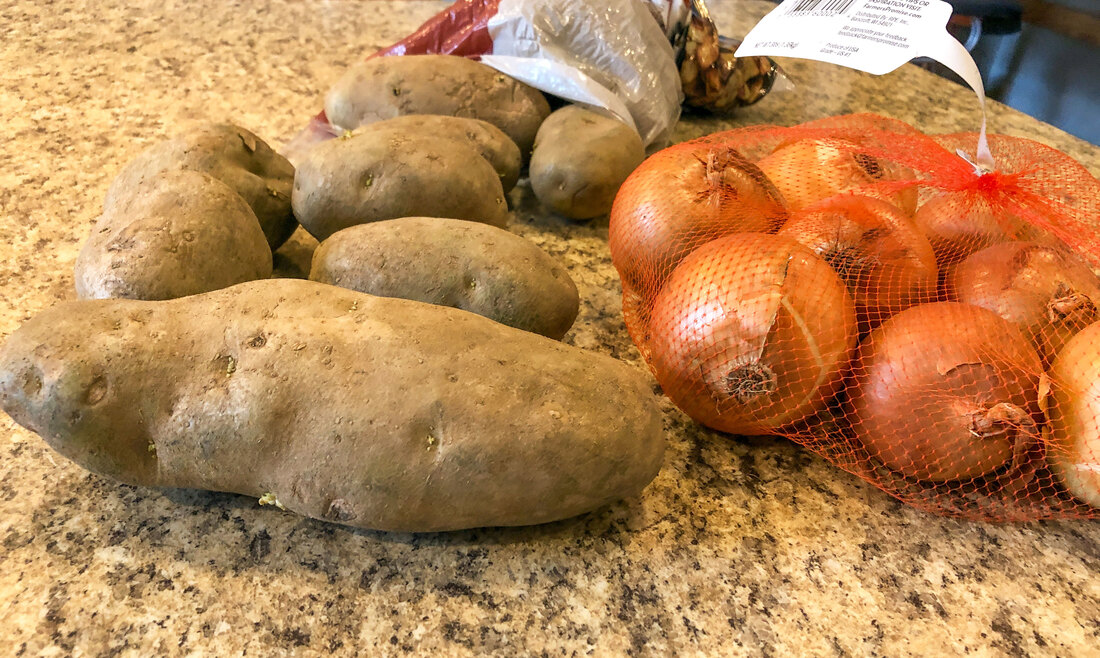 Potatoes and onions. Photo by Diane M. Lilly, 2022. 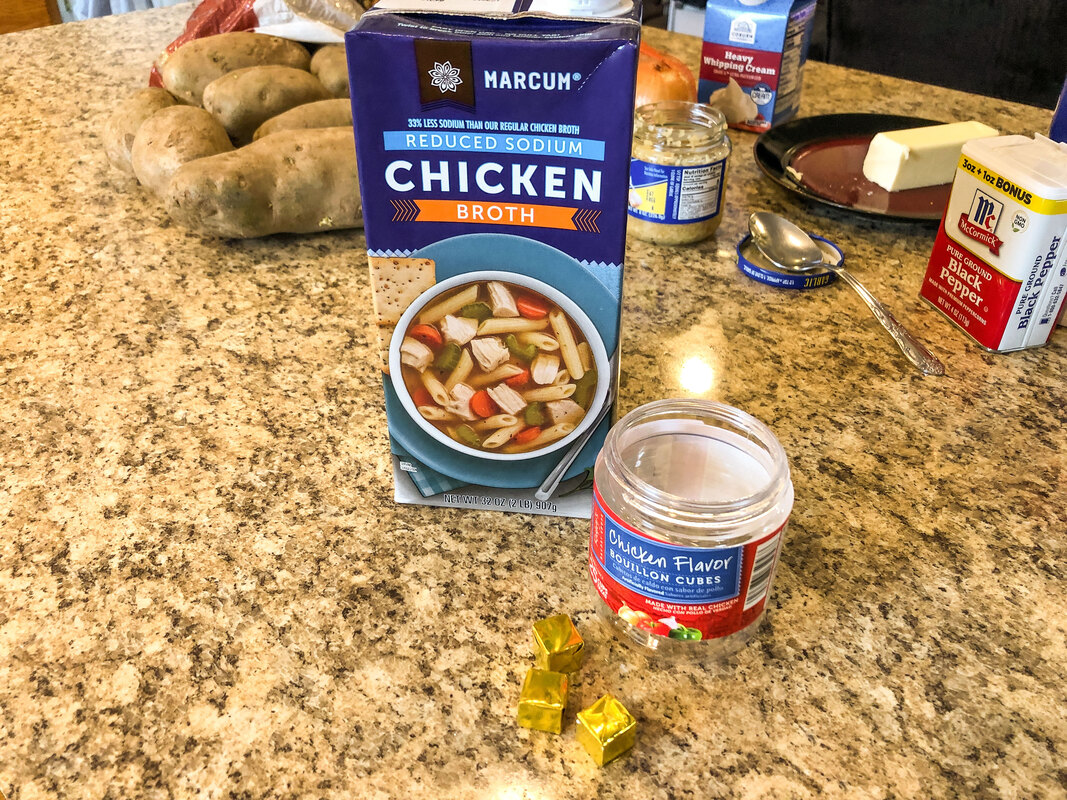 Chicken broth and bouillon cubes. Photo by Diane M. Lilly, 2022.  Minced garlic. Photo by Diane M. Lilly, 2022. 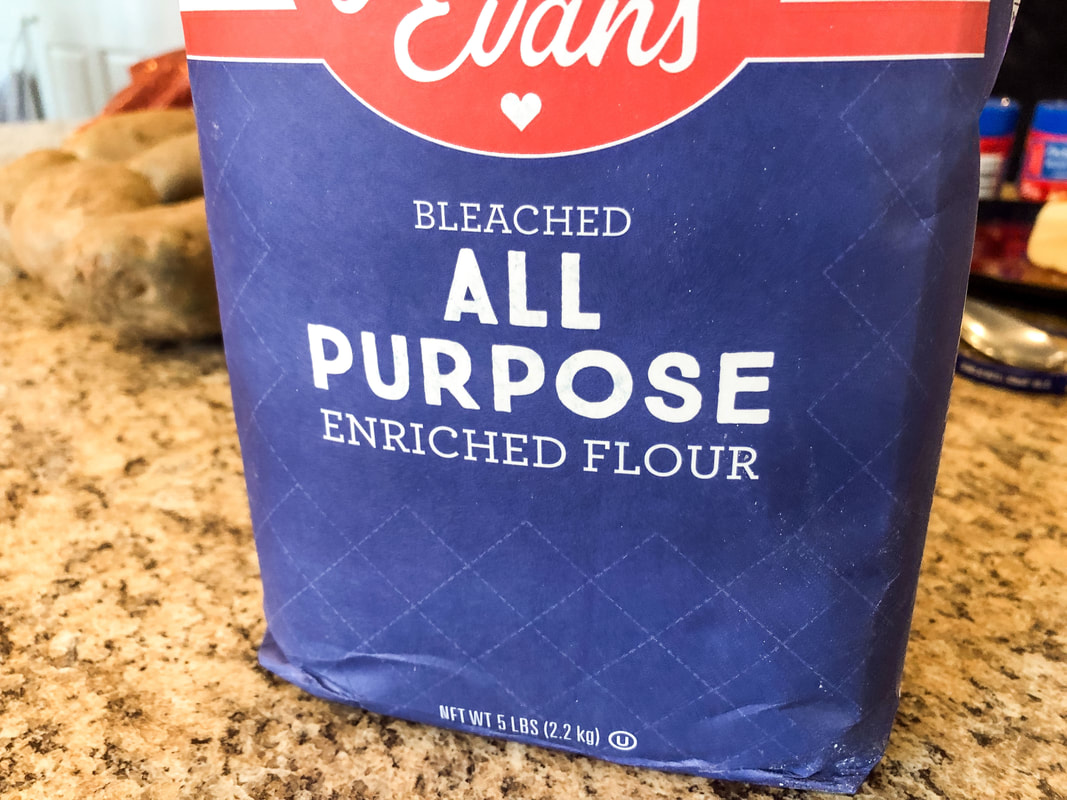 All purpose flour. Photo by Diane M. Lilly, 2022. 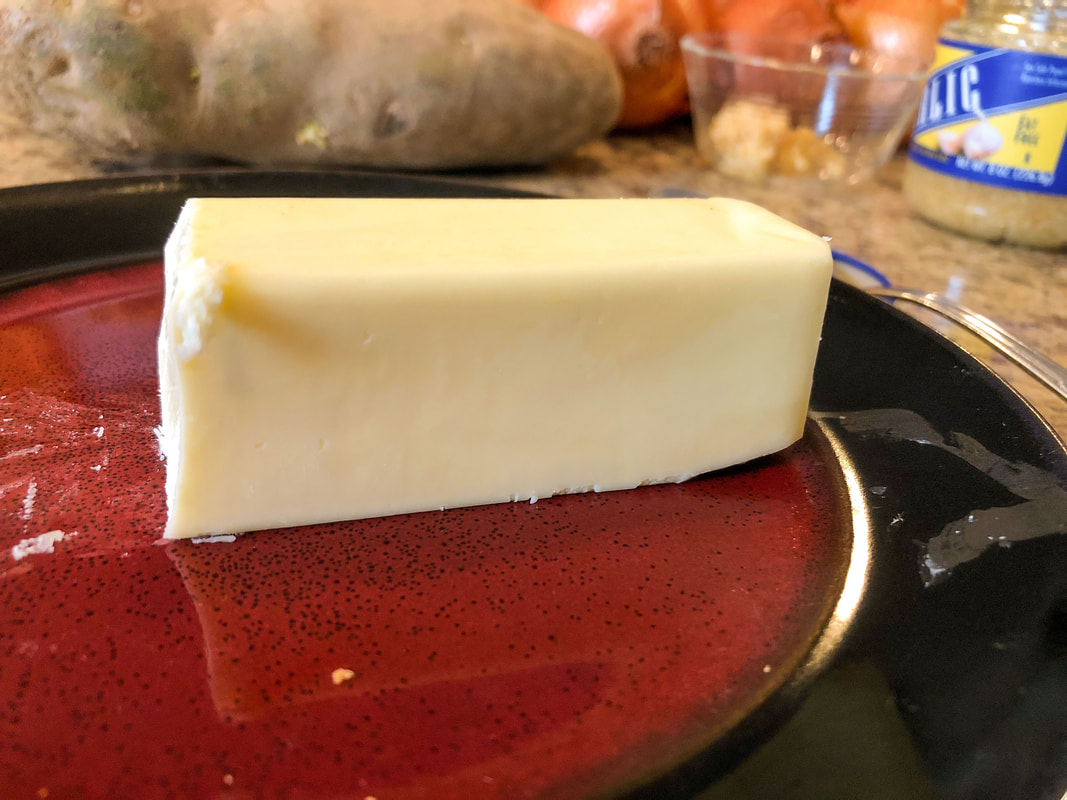 Stick of butter. Photo by Diane M. Lilly, 2022. 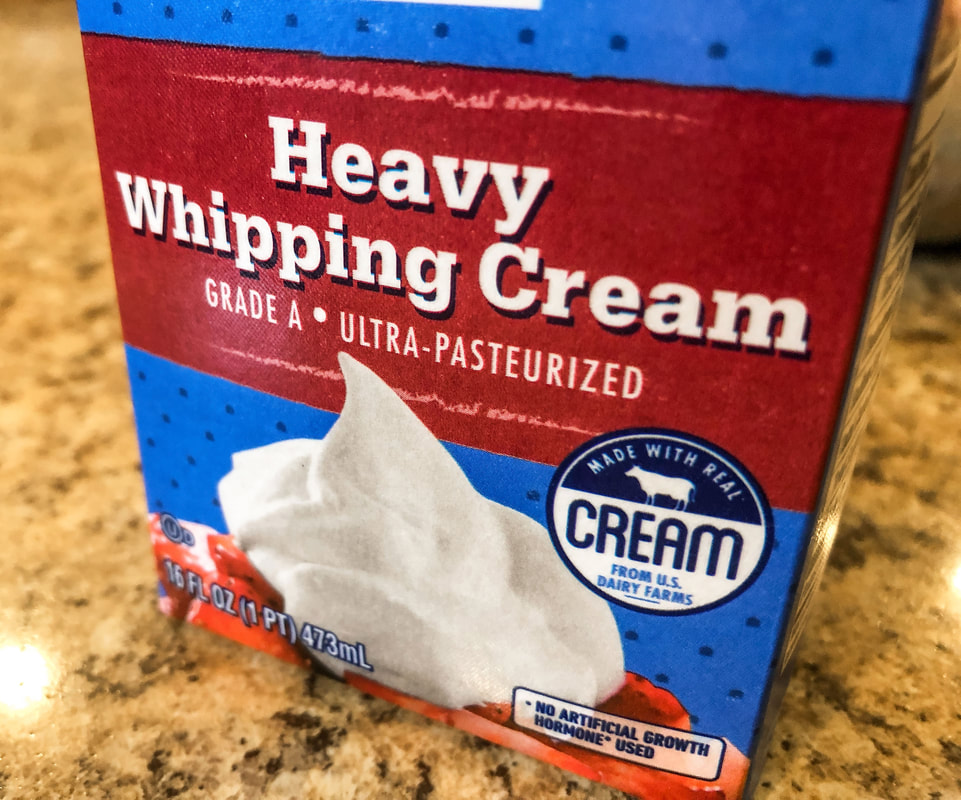 Heavy whipping cream. Photo by Diane M. Lilly, 2022. 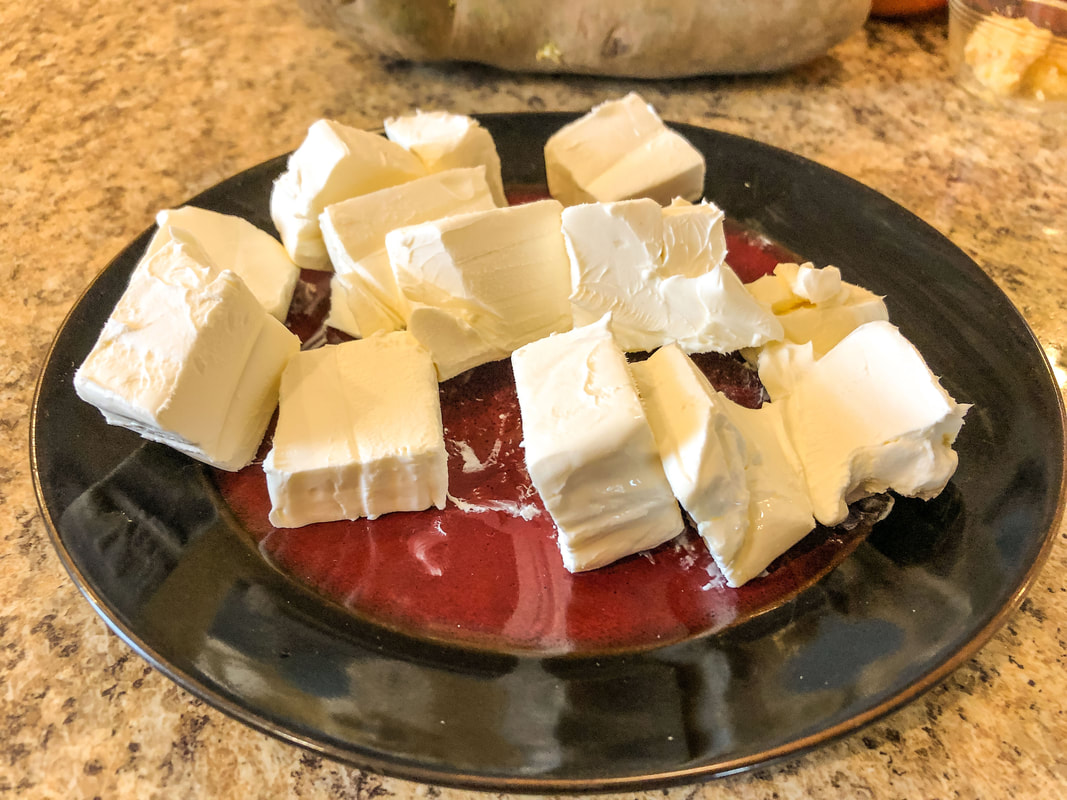 Cubed cream cheese. Photo by Diane M. Lilly, 2022. 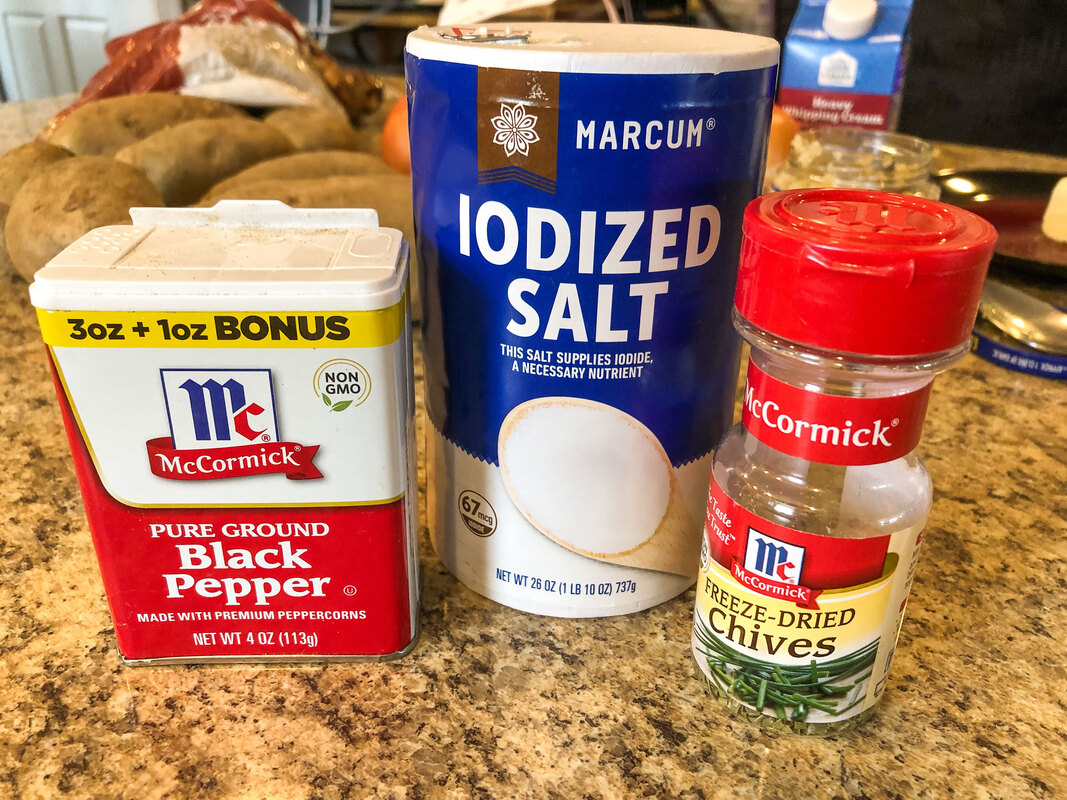 Black pepper, salt, and chives. Photo by Diane M. Lilly, 2022. Cube potatoes and place in a large pot. Cover potatoes with chicken broth and add chicken bouillon cubes. Bring to a boil. Cover and reduce heat and simmer until potatoes are soft but not mushy. (This is important because if the potatoes are too soft, they will “mash” when you mix the ingredients.  Cubed potatoes. Photo by Diane M. Lilly, 2022. 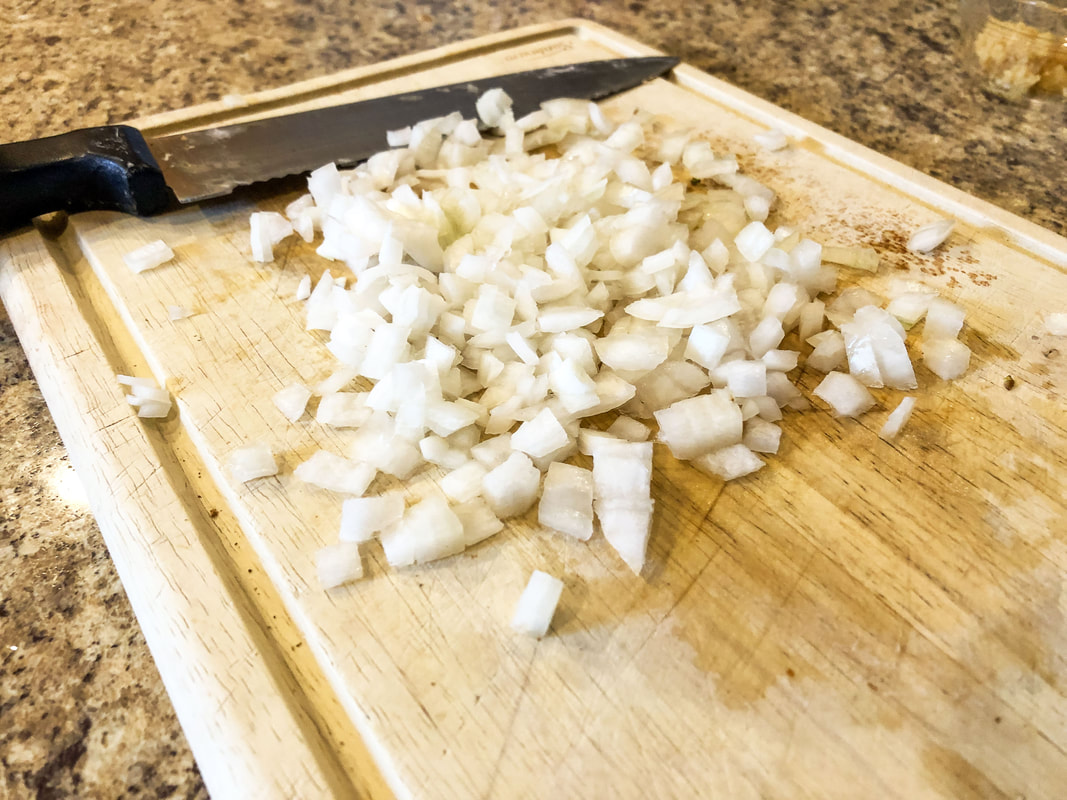 Chopped onions. Photo by Diane M. Lilly, 2022.  Potatoes cooking in chicken broth. Photo by Diane M. Lilly, 2022. In a separate pan, melt the butter, then add the onion and garlic. Saute until the onions are translucent. Whisk in flour until you get a bubbly paste—a nice roux—then slowly add the paste to the stock and potato soup. Stir to get rid of any lumps, and cook just until thickened. 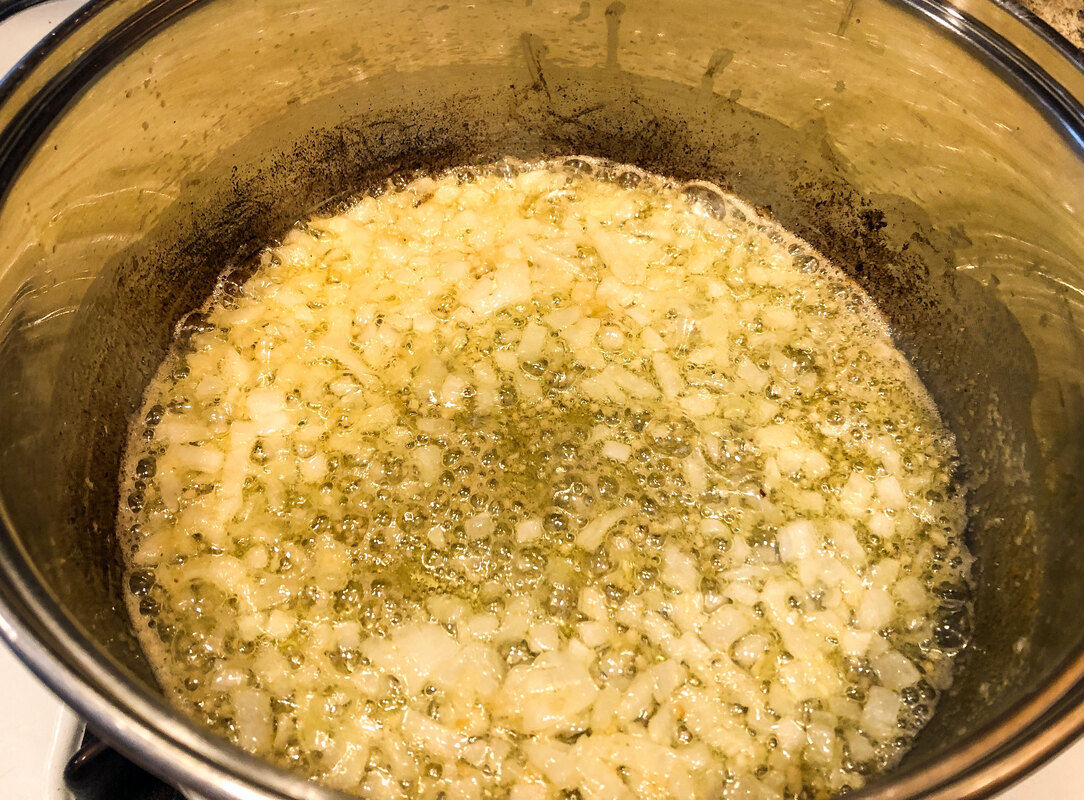 Onions and garlic sautéed. Photo by Diane M. Lilly, 2022. 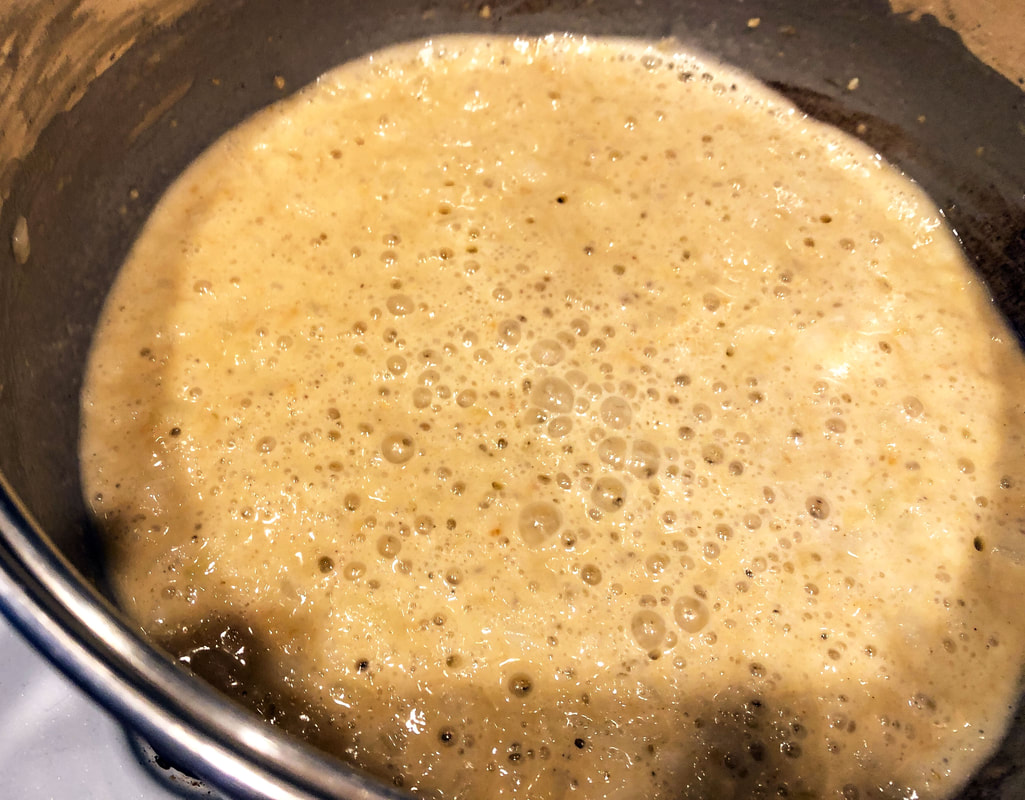 Garlic, onion, and flour roux. Photo by Diane M. Lilly, 2022. Add in the softened cream cheese and stir until melted. Add heavy cream, salt, and pepper. Mix thoroughly. Top with chives (or cooked bacon if that’s your thing). 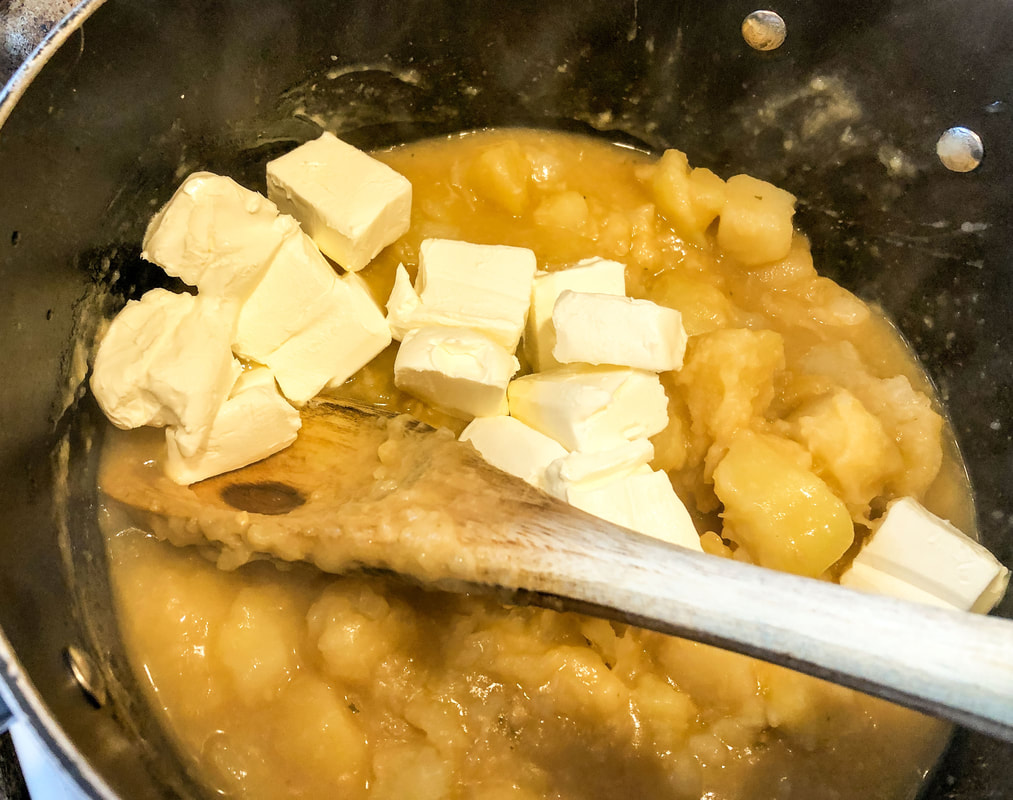 Cream cheese added to cooked potatoes and broth. Photo by Diane M. lilly, 2022.  Potato soup finishing cooking. Photo by Diane M. Lilly, 2022. 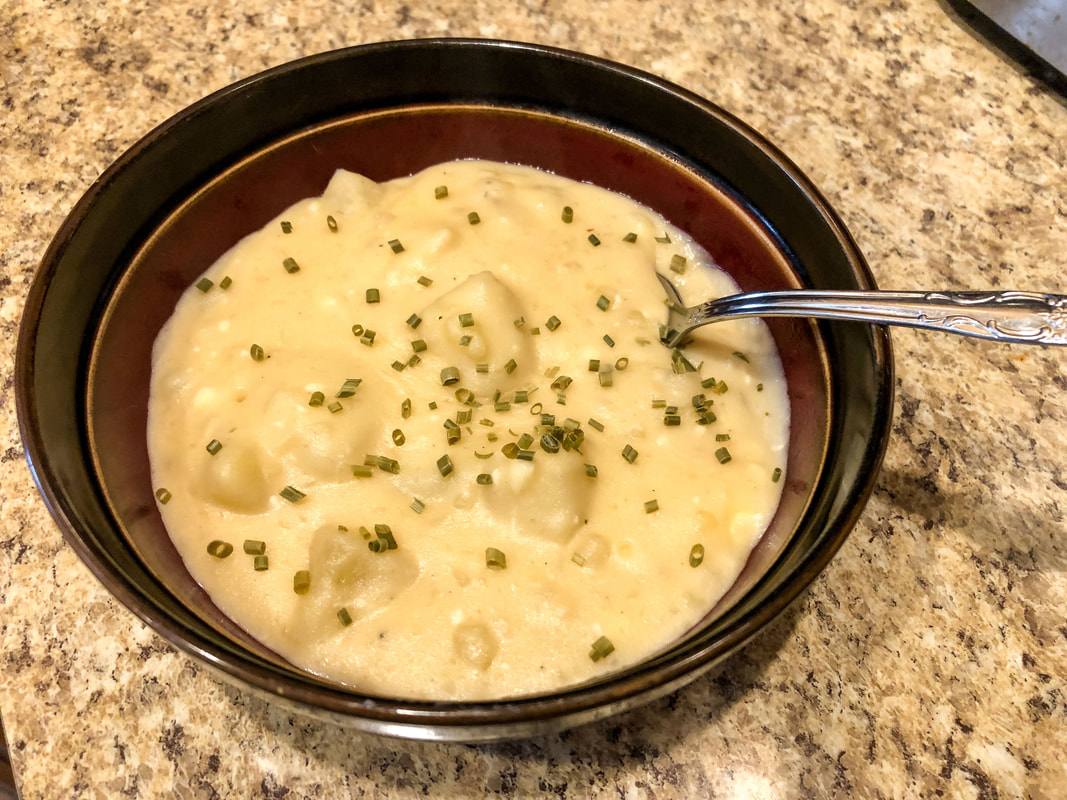 Bowl of hot creamy potato soup sprinkled with chives. Photo by Diane M. Lilly, 2022. So what do you think? Have you tried this recipe before? Do you know a different recipe for potato soup? Is there another homemade soup recipe you prefer to eat on cold winter days? Leave a comment below! I’d love to hear about your soup ideas… Original link https://bakeatmidnite.com/copycat-panera-baked-potato-soup/ Related blogs you may want to read: Homemade chicken noodle soup recipe Chicken Vegetable Pot Pie Recipe Tuna Noodle Casserole Recipe This article may contain a few items or commercial mentions, but I only used them for demonstration purposes only. I am not endorsing any particular product or receiving any monetary gain for this blog.  Tuna Noodle Casserole. Photo by Diane M. Lilly, 2022. Today's comfort food dish—tuna noodle casserole! I know it’s not everyone’s cup of tea (I need to be in the mood for it), but a warm tuna noodle casserole can be perfect on a cold day! You can find a thousand recipes online, but the one I liked the best is on allrecipes.com. I’m following this recipe exactly (well, almost) because it’s been quite a while since I have made tuna noodle casserole! I will be using Mexican-style taco cheese instead of shredded cheddar because that is what I have on hand (and I’d rather not spend the money buying more shredded cheese). In my defense, cheese is expensive! Also, I want to use up what I have so it doesn’t expire and get thrown out. What can I say? I'm a thrifty gal! The only other change I might make is to omit the canned mushrooms…too many mushrooms! (Spoiler alert…I ended up using the canned mushrooms!) The last point I will make before sharing my version of this recipe is that I like to use tuna in WATER and not oil. The oil is too “greasy” for my tastes, but it may not matter to someone else. So here is my version of a tuna noodle casserole… Tuna Noodle Casserole Ingredients: 1 package medium wide egg noodles 1/4 cup chopped onion 2 cups shredded taco/Mexican cheese 1 bag frozen peas 3 cans tuna in water, drained 2 cans cream of mushroom soup 4.5 oz can sliced mushrooms Potato chips, crushed 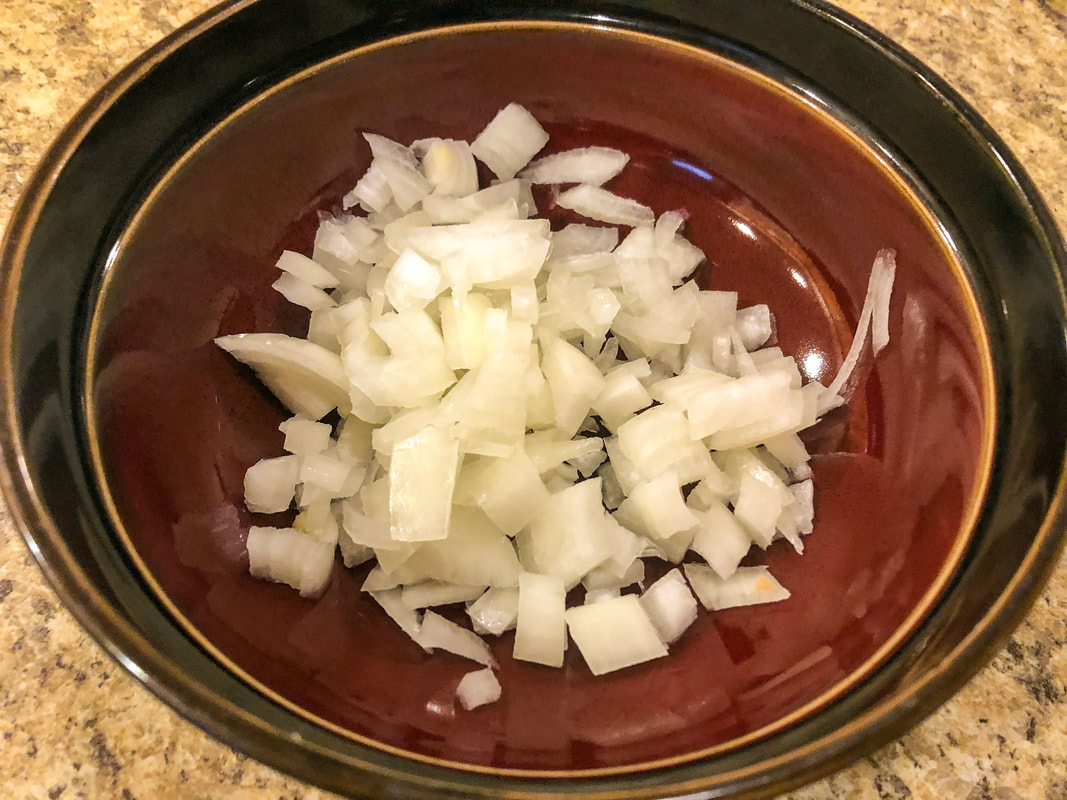 Chopped onions. Photo by Diane M. Lilly, 2022. 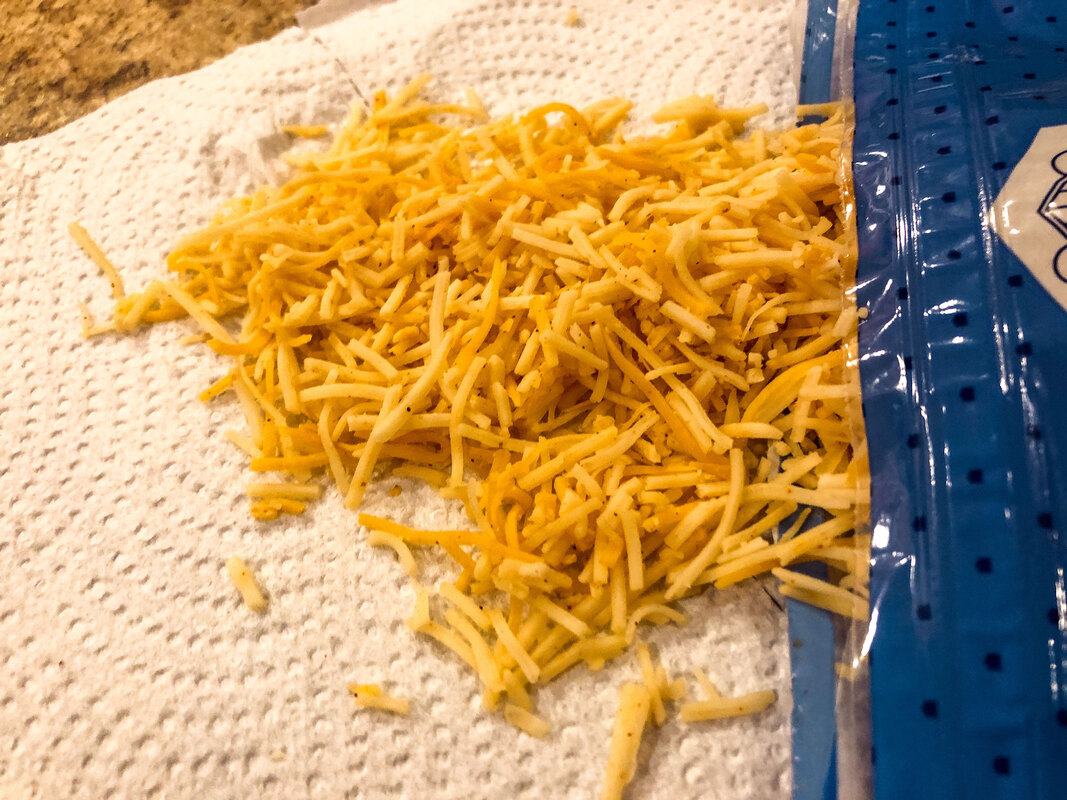 Shredded taco cheese. Photo by Diane M. Lilly, 2022. 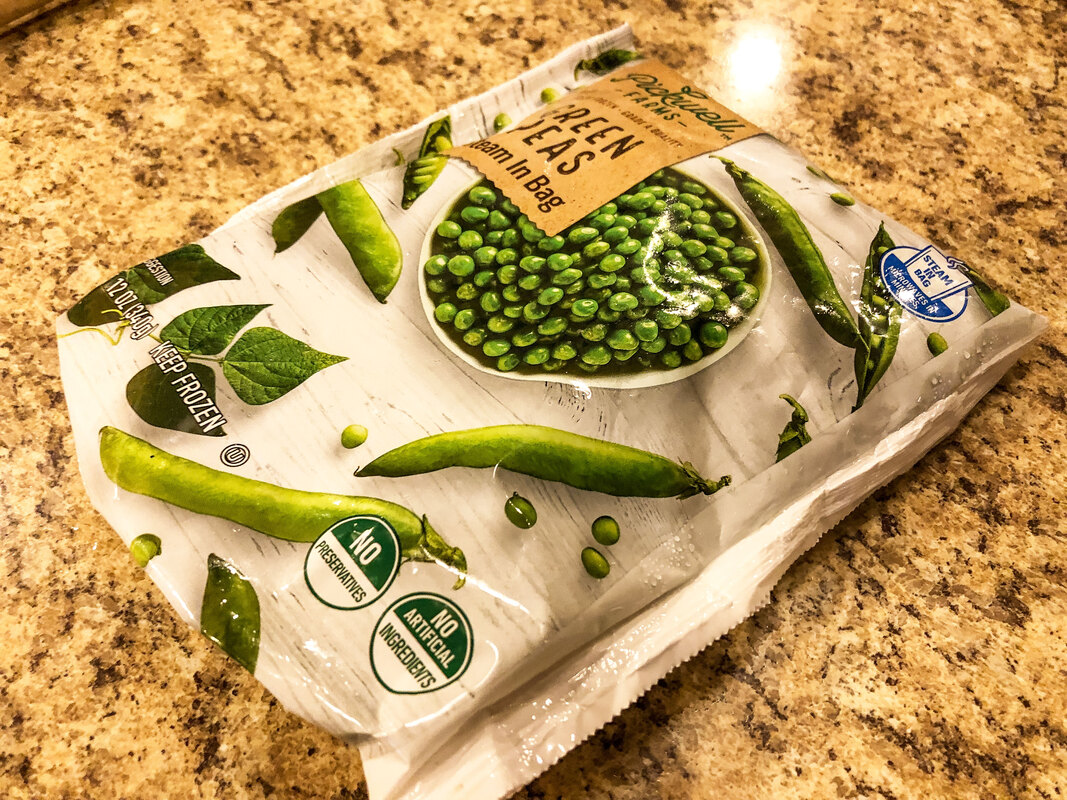 Frozen peas. Photo by Diane M. Lilly, 2022. 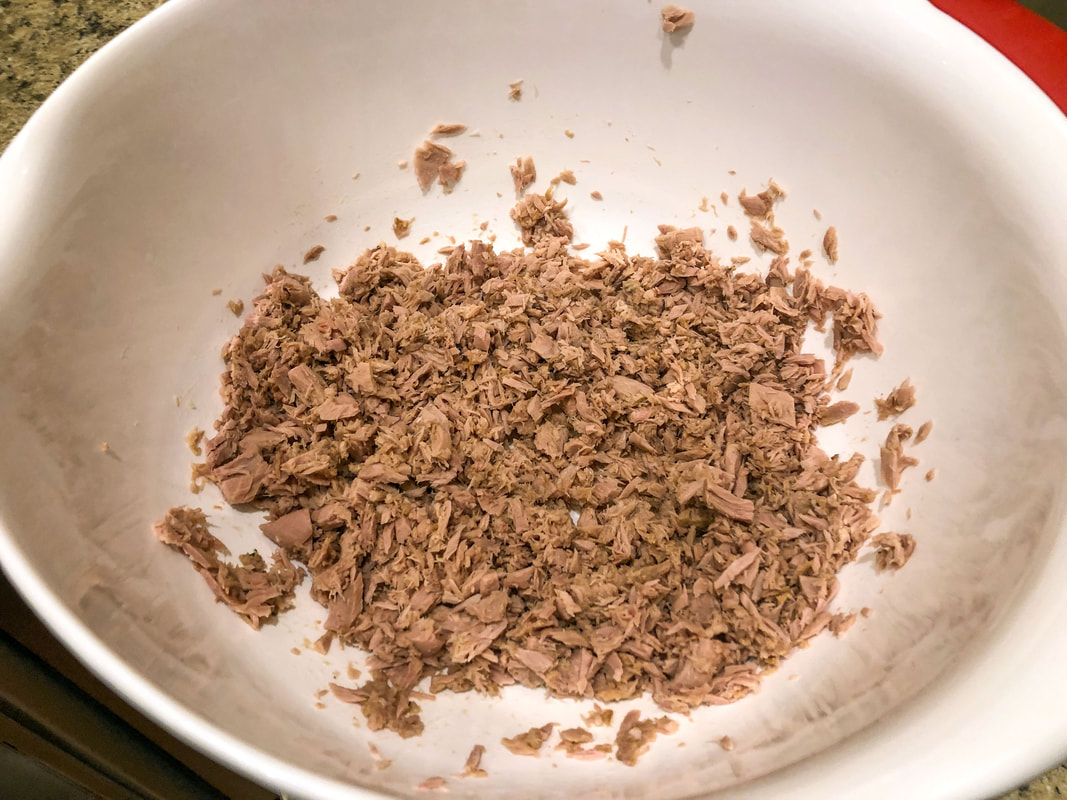 Tuna, drained and flaked. Photo by Diane M. Lilly, 2022. 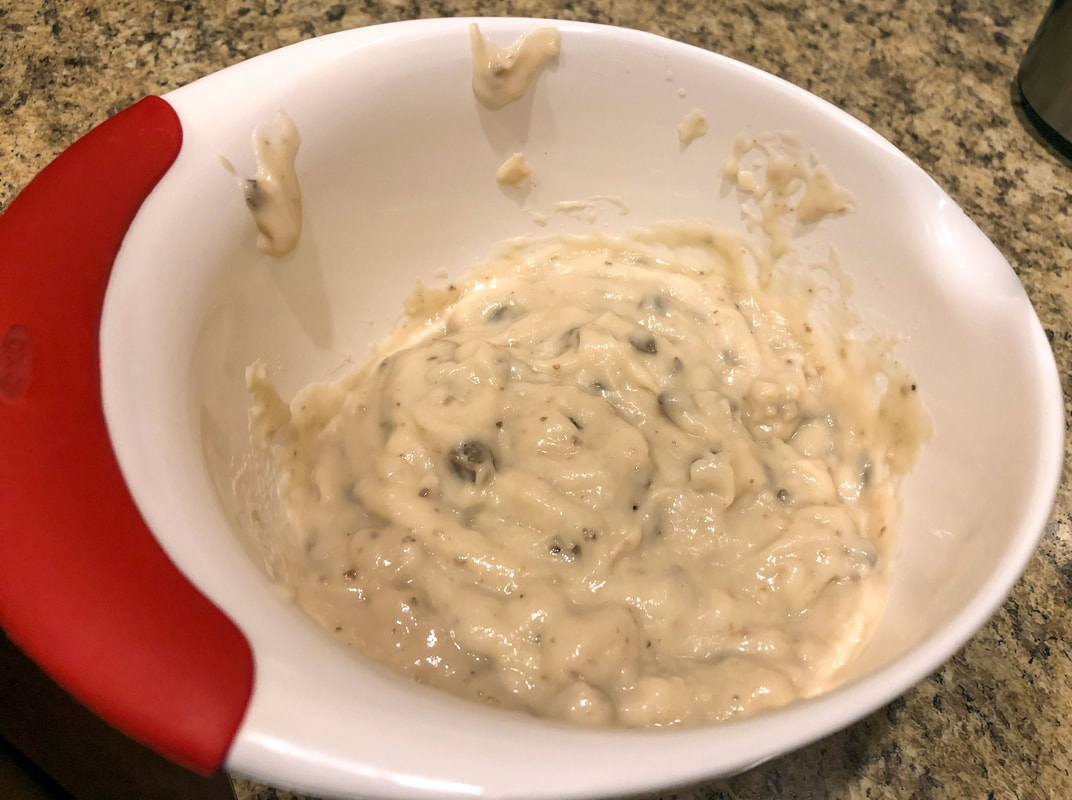 Mushroom soup. Photo by Diane M. Lilly, 2022. 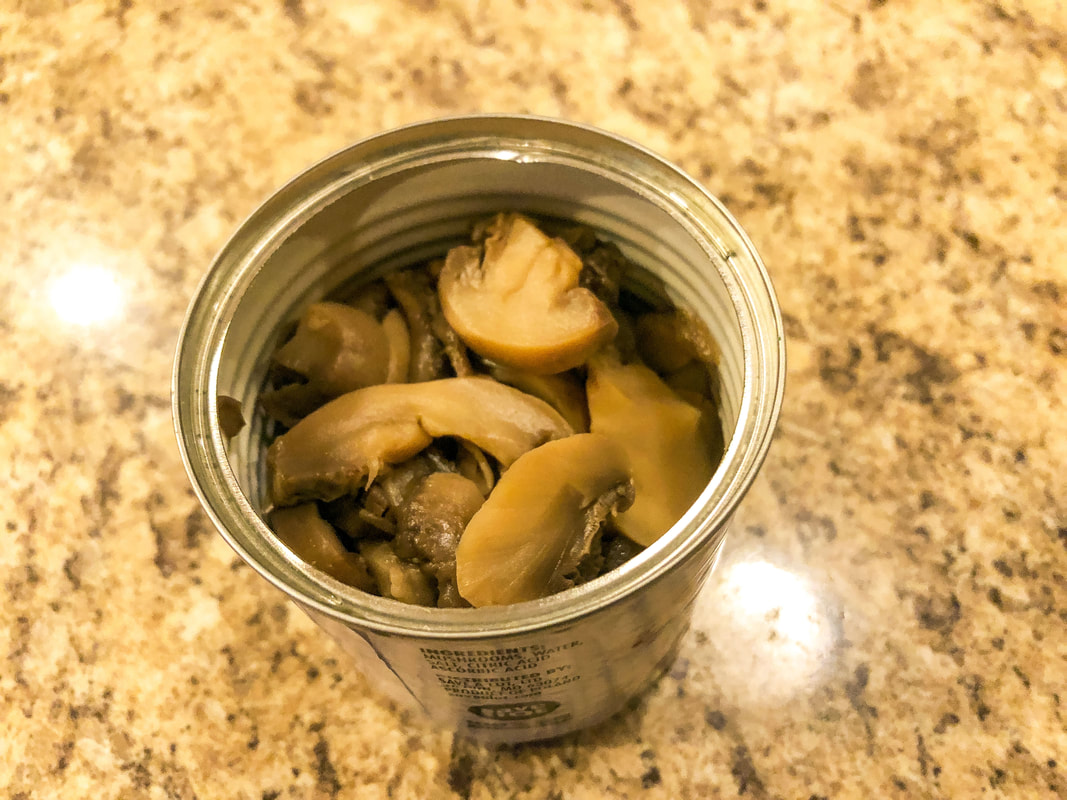 Can of sliced mushrooms. Photo by Diane M. Lilly, 2022. 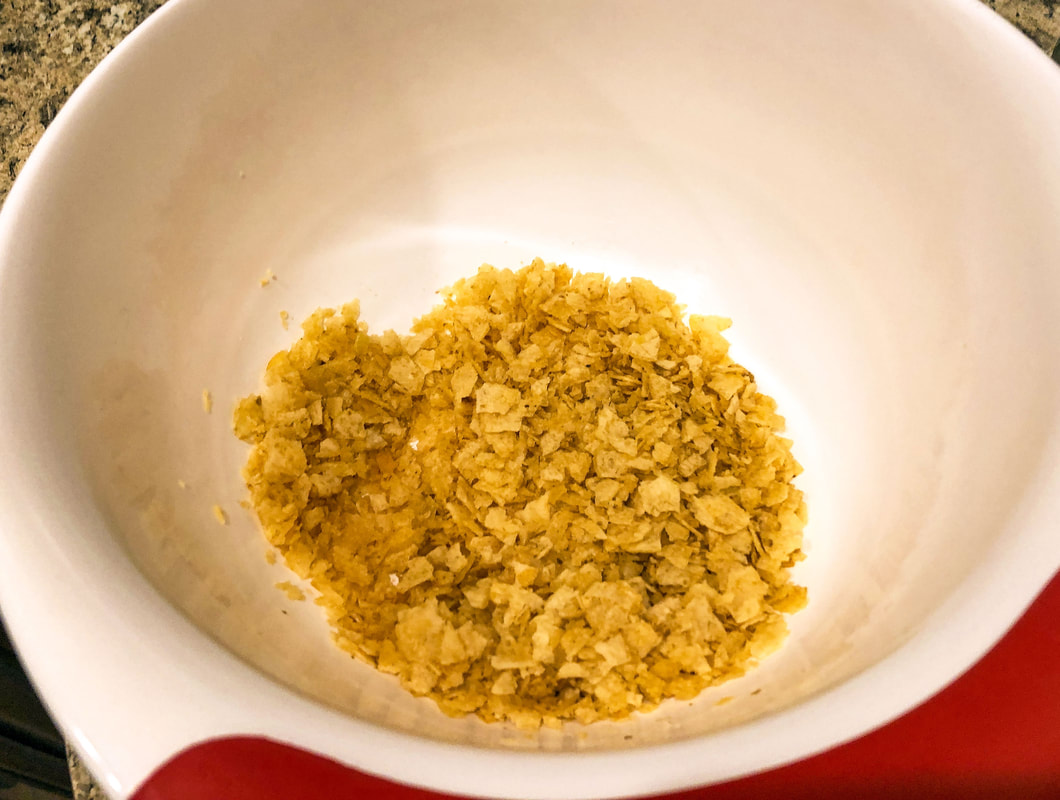 Crushed potato chips. Photo by Diane M. Lilly, 2022. Boil a pot of water and cook the noodles according to the instructions on the package or until al dente. Drain and pour into a baking pan. 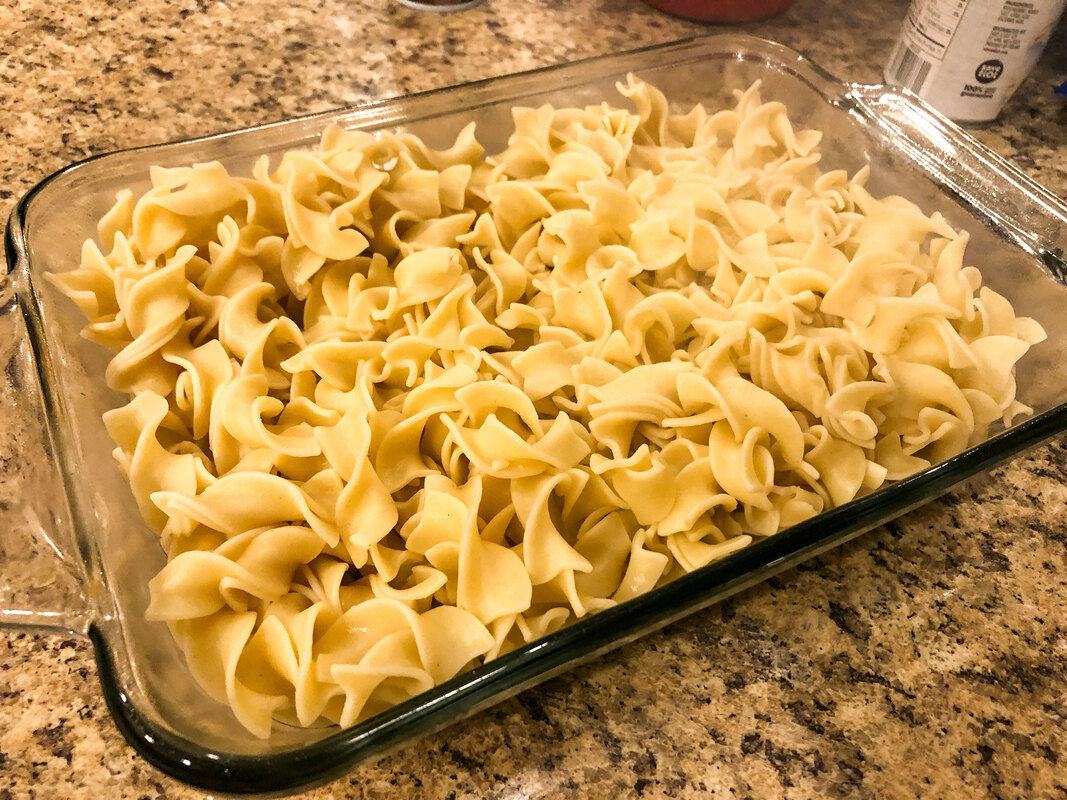 Wide egg noodles, cooked. Photo by Diane M. Lilly, 2022. Preheat oven to 425 degrees F. Combine tuna, peas, onion, soup, one cup of shredded cheese, and mushrooms in a large mixing bowl. Pour mixture over noodles and lightly mix. 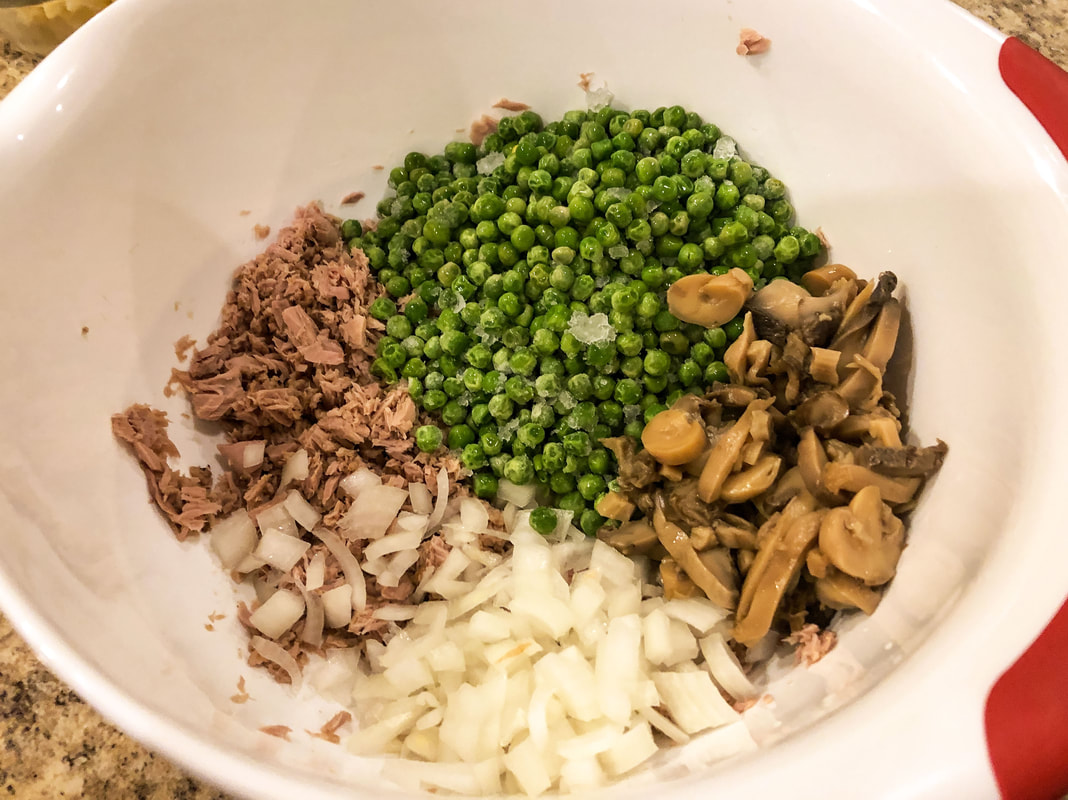 Tuna, peas, chopped onion, and mushrooms. Photo by Diane M. Lilly, 2022. 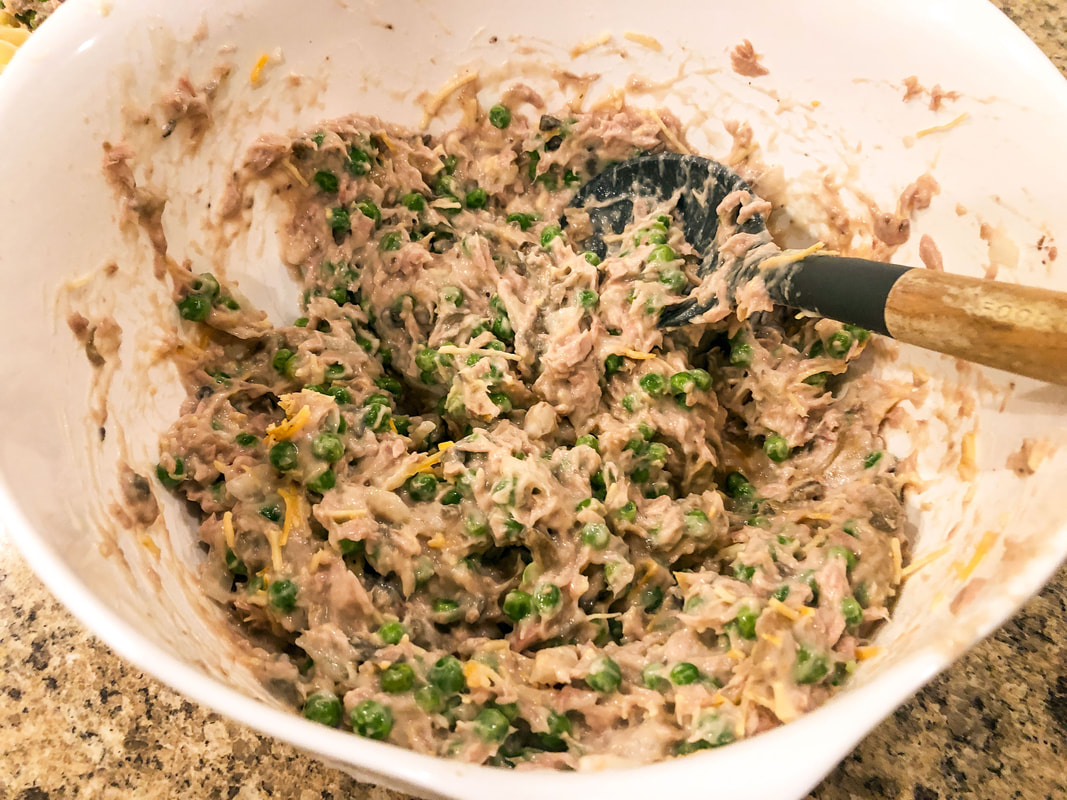 Tuna, peas, chopped onion, mushrooms, shredded cheese, and mushroom soup mixed together. Photo by Diane M. Lilly, 2022. Add a thin layer of crushed potato chips over the mixture, followed by the rest of the shredded cheese. 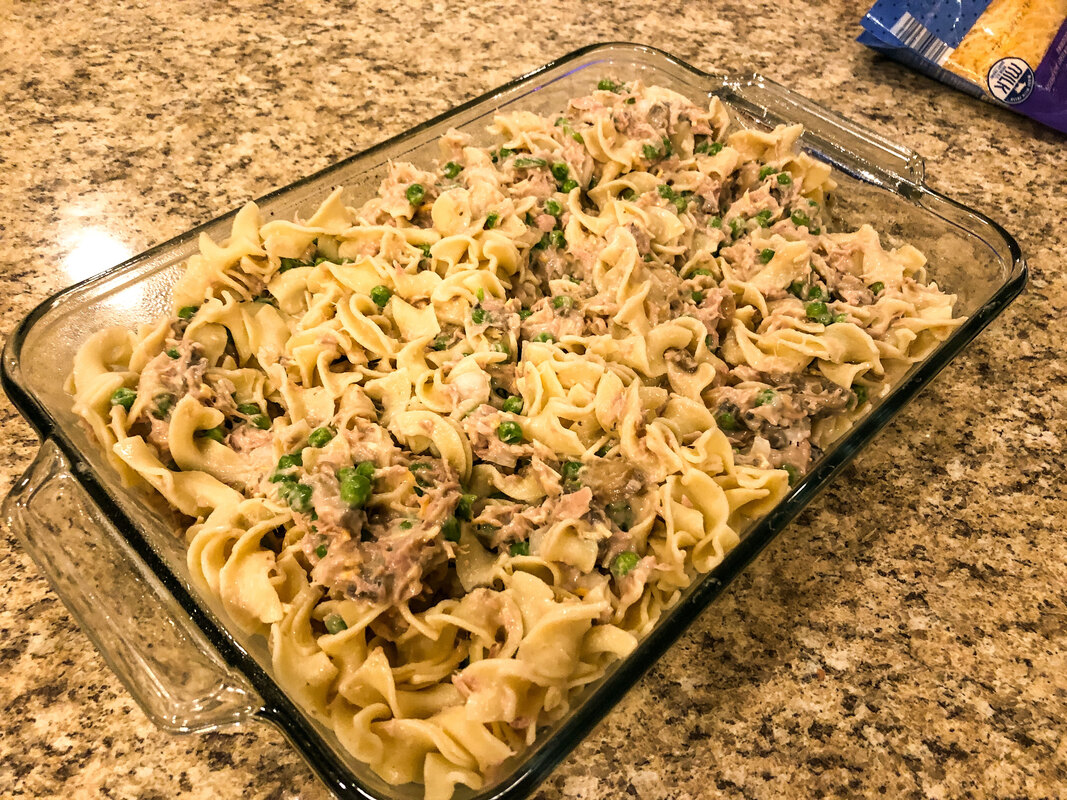 All ingredients (except extra shredded cheese and chips) in a baking pan. Photo by Diane M. Lilly, 2022. 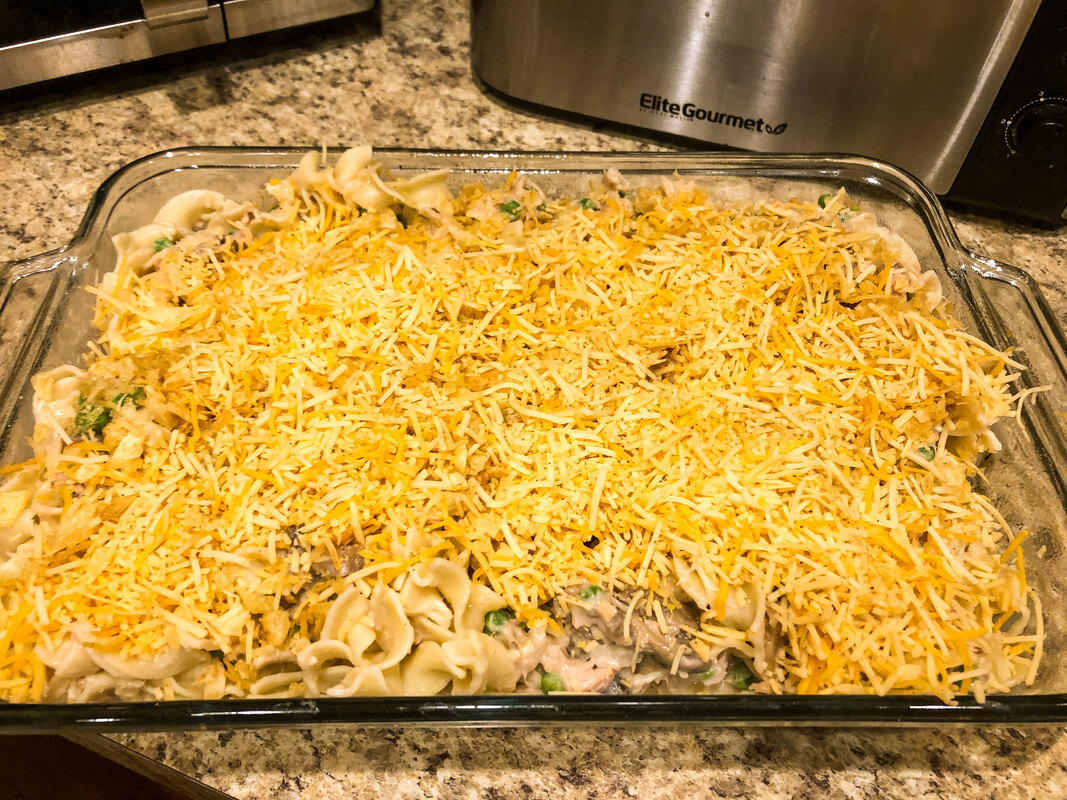 All ingredients, with shredded cheese and crumbled chips on top, in a baking pan. Photo by Diane M. Lilly, 2022. Bake 15-20 minutes or until bubbly.  Tuna noodle casserole baked and ready to eat. Photo by Diane M. Lilly, 2022. This recipe went over great in my household! Original link https://www.allrecipes.com/recipe/17219/best-tuna-casserole/ Do you like tuna noodle casserole? Yeah, or nay? Do you have any other recipes for this dish? Please share your tips and thoughts below! This article may contain a few items or commercial mentions, but I only used them for demonstration purposes only. I am not endorsing any particular product or receiving any monetary gain for this blog.  Photo by Diane M. Lilly, 2022. It’s January. It’s cold and dreary…and I’ve discovered the concept of hygge, of making my life more meaningful, of creating a deliberate sense of coziness and joy. So what else to do but cook some comfort food? There’s no better way to cozy up on a wintry day than to fill your belly with warm, delicious comfort food. Winter is the perfect time to make soups, casseroles, stews, pot roasts, potpies, and many other one-dish meals. I love these meals because, even though they can be labor intensive (compared to box, frozen, or canned goods), they will last for two to three days. (Well, that’s the idea anyhow.) That’s two to three days of deliciousness with no cooking…for an hour of your time! That’s a good tradeoff, don’t you think?! One of my family’s favorite dishes is chicken pot pie. I found this delicious recipe a couple of years back on allrecipes.com, and I gave it a few tweaks to make it my own, namely adding the cooked chicken. It goes over well every time and has become a staple meal in my household. We are a family of five (me, my husband, and my three grown sons), so I always double the recipe and bulk it up with extra cream of potato soup and cooked chicken. The mixed veggies are typically a combination of corn, peas, green beans, carrots, broccoli, cauliflower, or carrots (whichever is readily available or on sale). 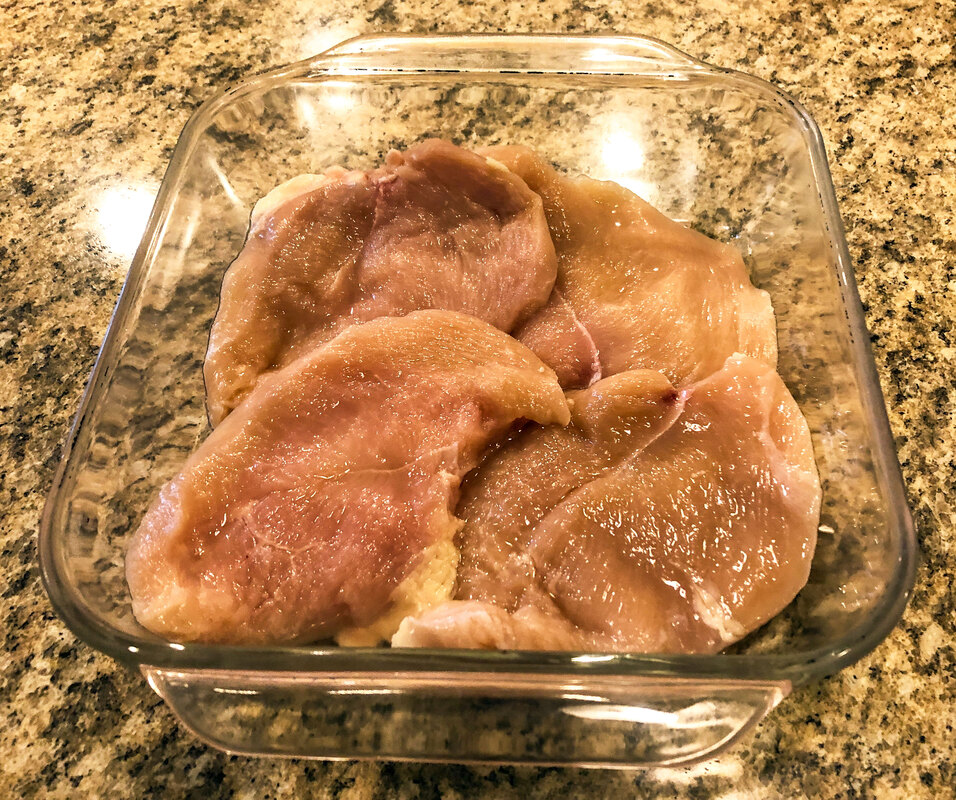 Photo by Diane M. Lilly, 2022. I’ll leave the link to the original recipe below, along with my “adjusted” version…Let me know in the comments whether you’ve ever tried a similar recipe or if you have any tips to make this recipe better! My Chicken Vegetable Pot Pie Ingredients: 1 lb (approx.) chicken breast or tenderloins (2) 10.75 oz cans cream of potato soup 2-3 bags of frozen mixed vegetables 1 cup of milk Splash of Worcestershire or soy sauce Dried thyme (to taste, I use approx. 3/4 tsp) Ground black pepper (to taste, I use approx. 3/4 tsp) 4 frozen pie crusts, partially thawed 2 eggs, lightly beaten Cook chicken breasts for 25-30 minutes at 375 degrees F. Shred cooked chicken. Combine mixed vegetables, soup, Worcestershire sauce, milk, thyme, pepper, and the cooked chicken pieces in a large bowl. Mix well. 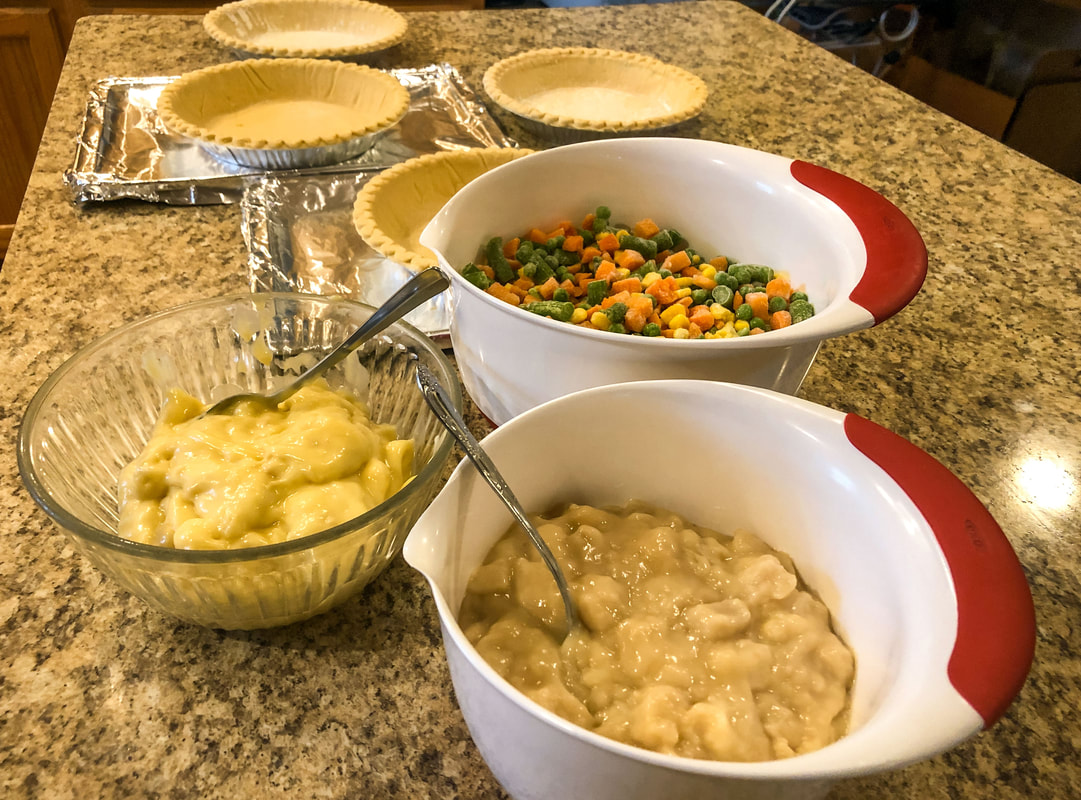 Photo by Diane M. Lilly, 2022. 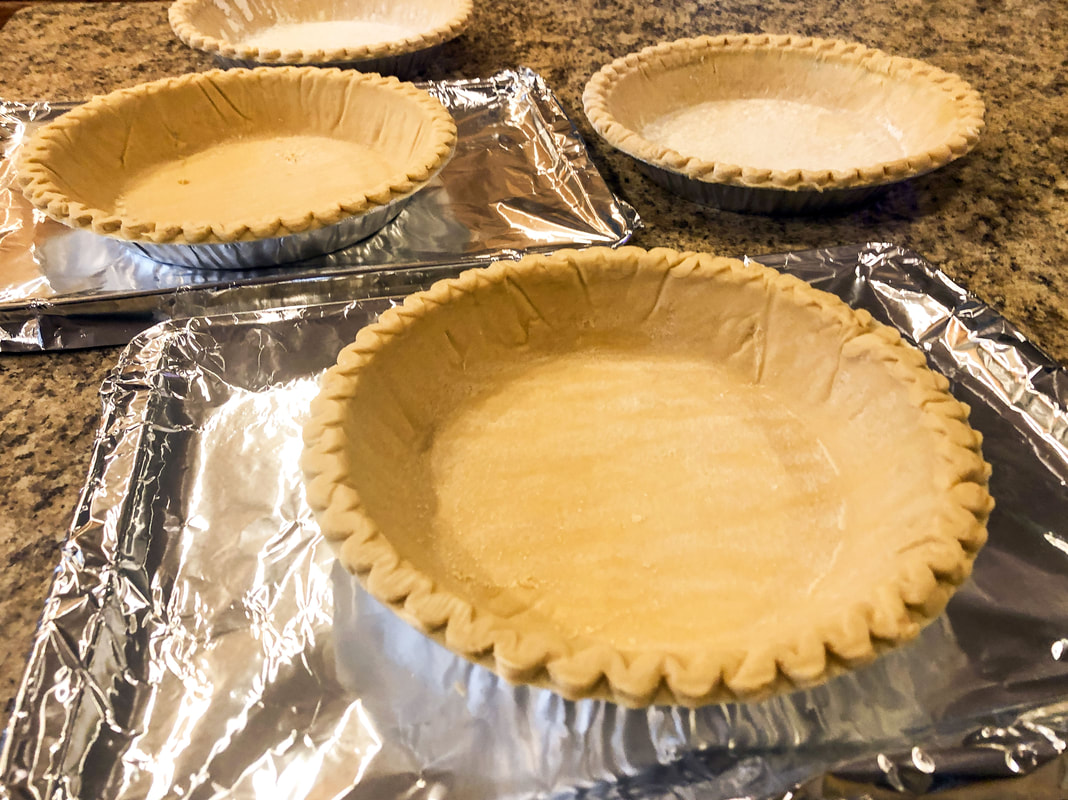 Photo by Diane M. Lilly, 2022. 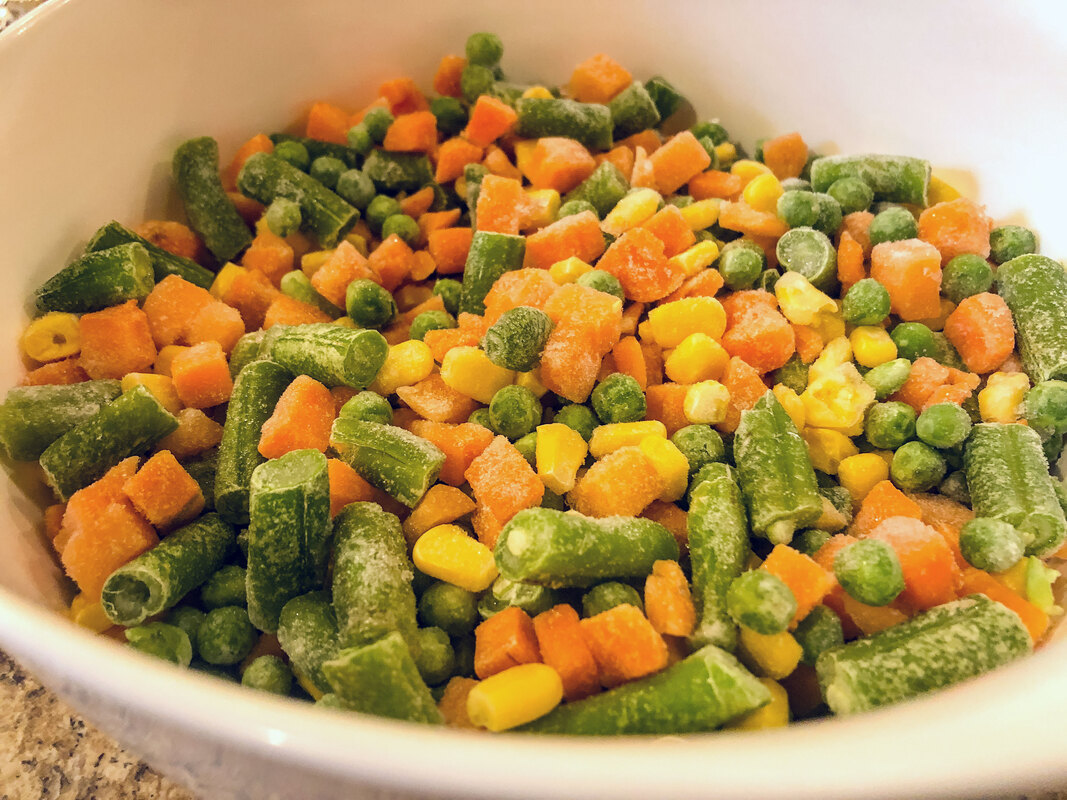 Photo by Diane M. Lilly, 2022. 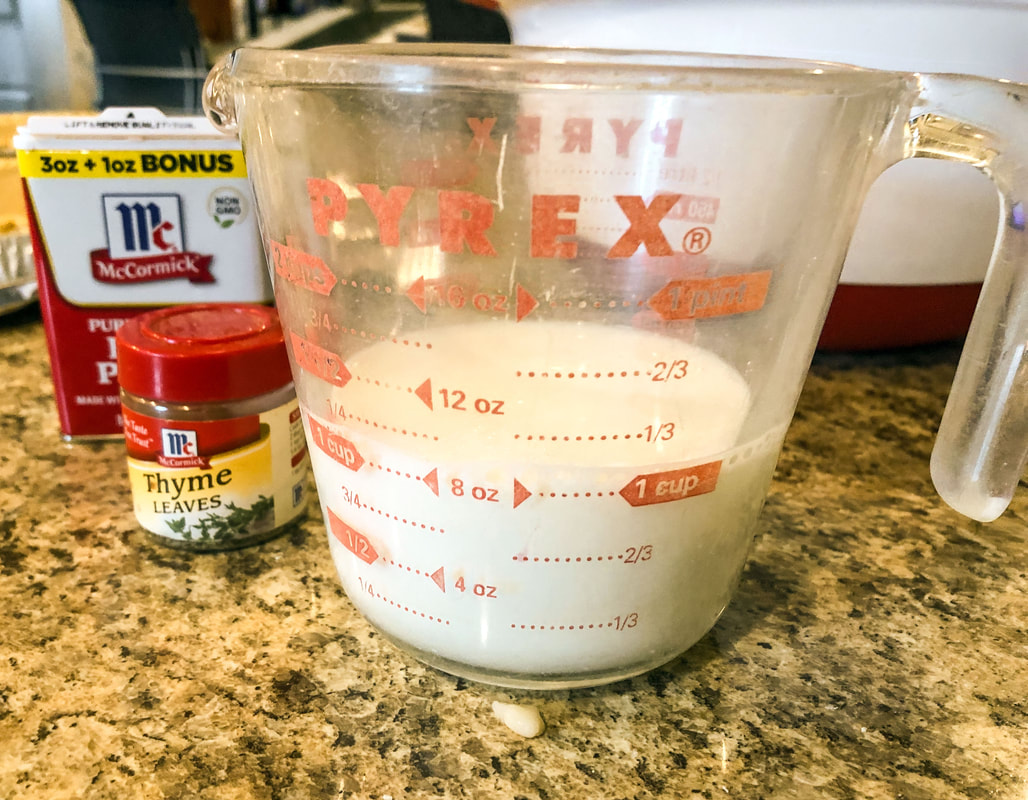 Photo by Diane M. Lilly, 2022. 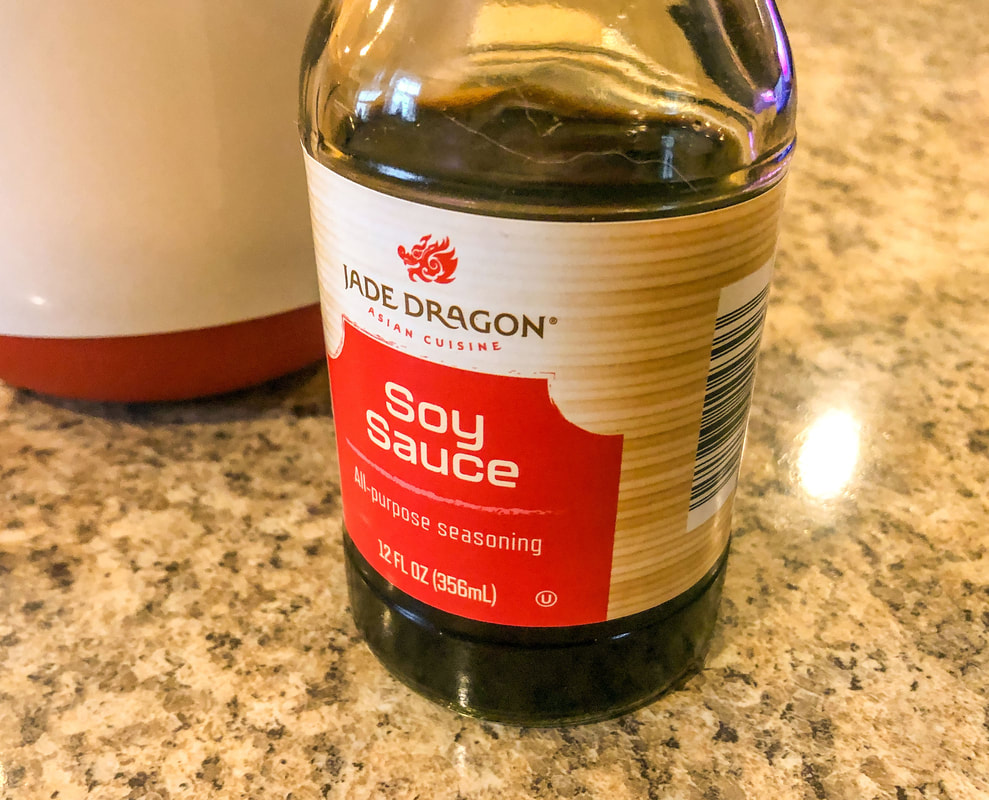 Photo by Diane M. Lilly, 2022.  Photo by Diane M. Lilly, 2022. Pour half of the mixture into one pie crust and the other half into a second crust. Top each with an empty pie crust with an X carved into the top for venting steam. Squeeze the edges of top and bottom pie crusts together to create a seal. Brush each pie top crust with beaten egg. 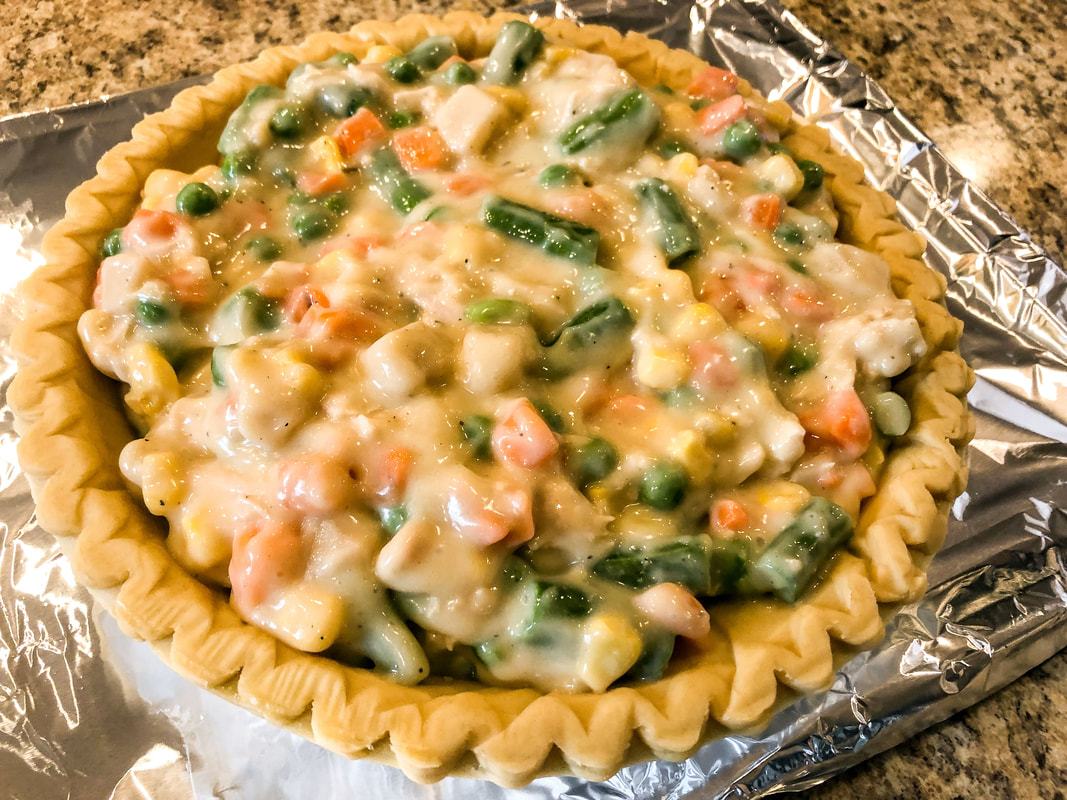 Photo by Diane M. Lilly, 2022. 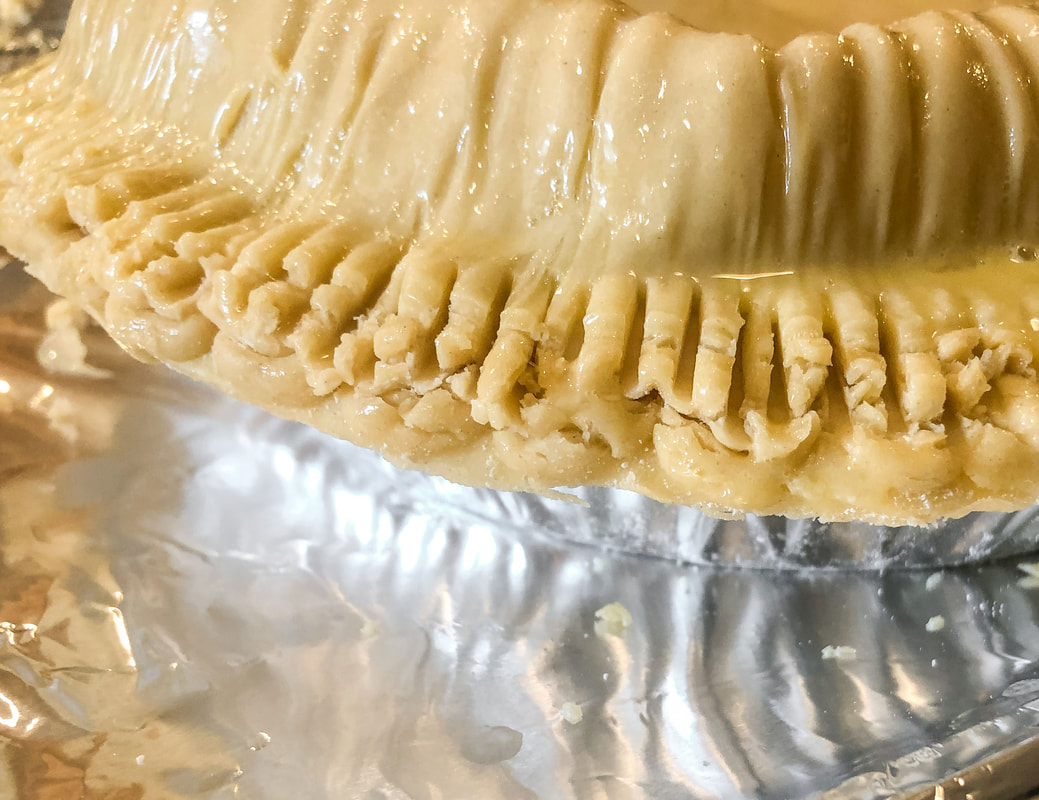 Photo by Diane M. Lilly, 2022. Place two pies onto baking sheets and bake in the oven for about 40 minutes at 375 degrees F. Bon appetit! 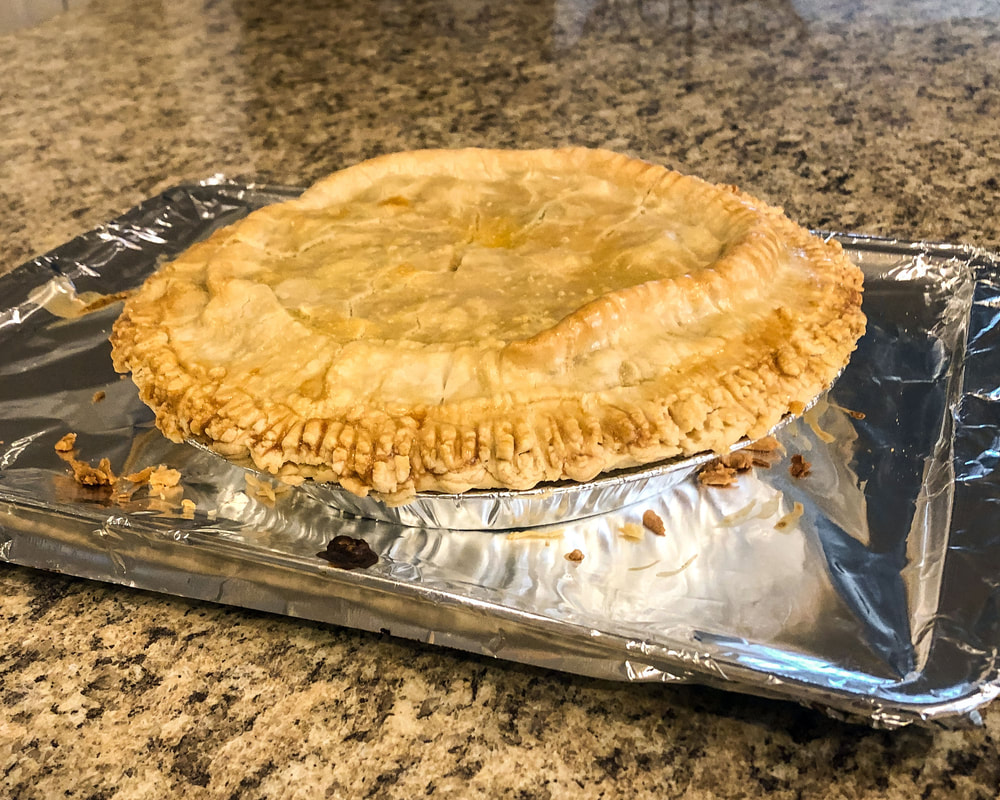 Photo by Diane M. Lilly, 2022. 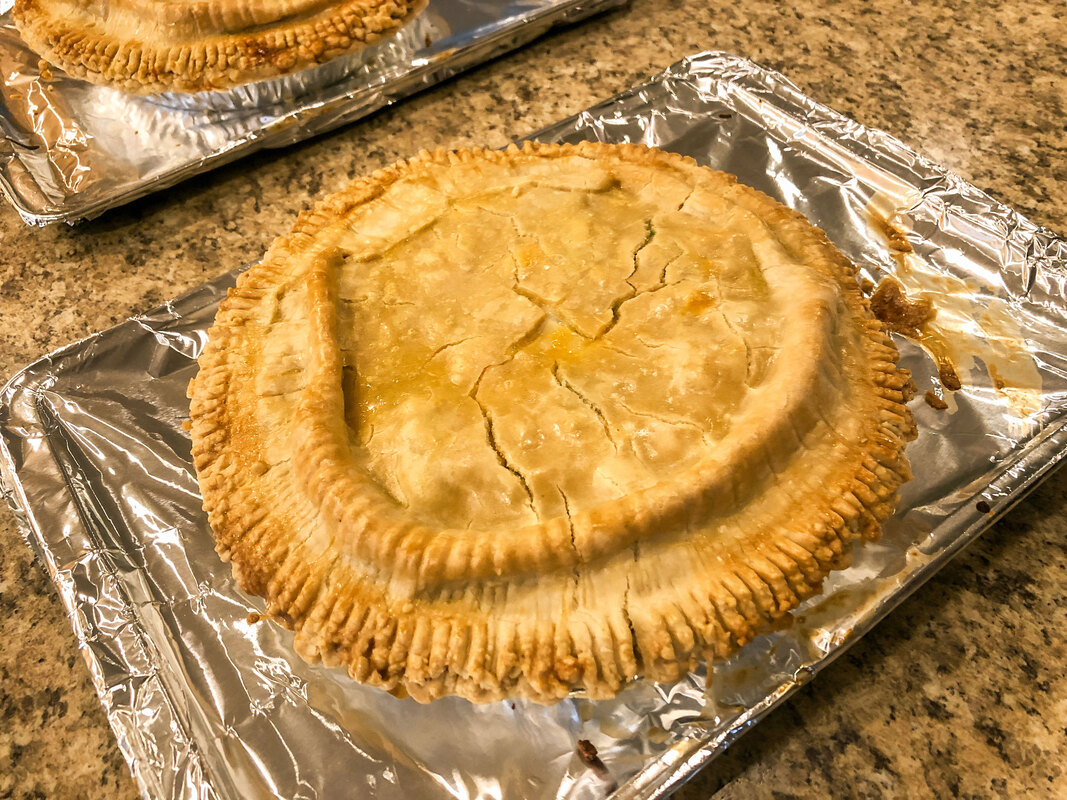 Photo by Diane M. Lilly, 2022. Original link to Vegetable Pot Pie https://www.allrecipes.com/recipe/13884/easy-vegetable-pot-pie/ Feel free to share your versions (or any tips to improve the recipe) below! This article may contain a few items or commercial mentions, but I only used them for demonstration purposes only. I am not endorsing any particular product or receiving any monetary gain for this blog. |
Author
Some of the posts on this site contain affiliate links. This means if you click on the link and purchase the item, I will receive an affiliate commission. 
Categories
All
Archives
April 2024
|