|
What better time to make warm homemade soup than on a cold, dreary winter day? We all need a little cozy comfort food when the dim winter daylight doesn’t seem to warm up our world like the rest of the year. Eating a delicious hot soup while snuggled under a warm, cozy blanket is good for the soul. Even better if the soup is homemade—much more nutritious than anything you can get out of a can! 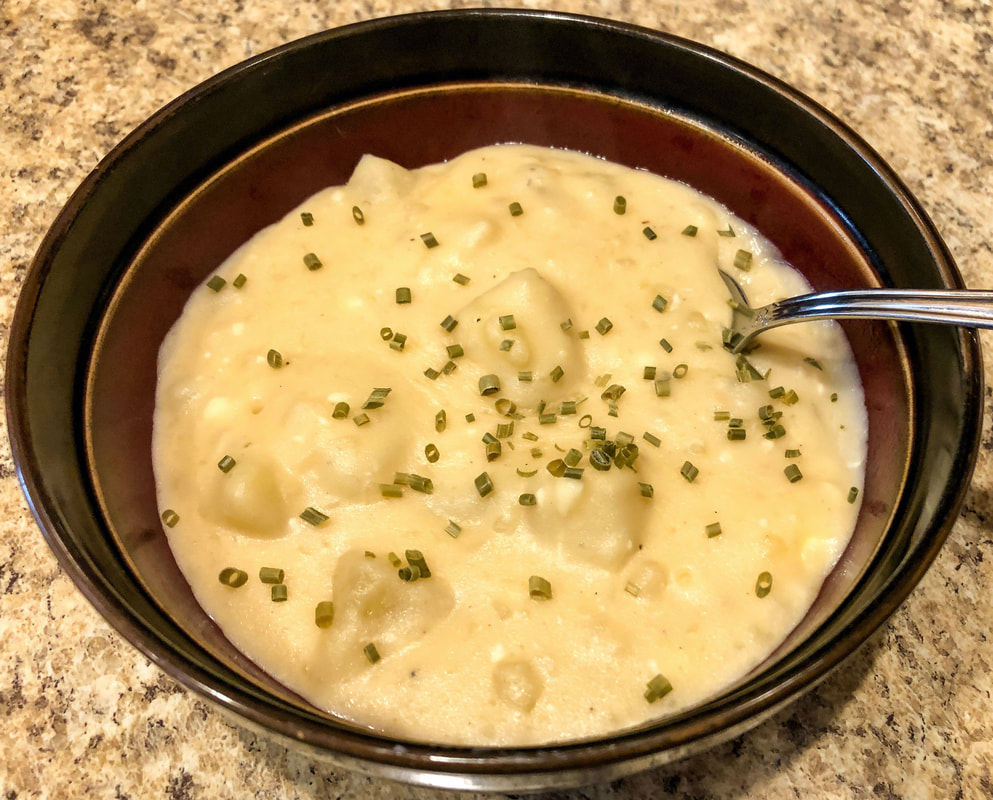 Homemade creamy potato soup. Photo by Diane M. Lilly, 2022. I found this recipe on Facebook several years ago and fell in love! It’s so rich and creamy, and, to be honest, I love anything potato! There’s a lot of chopping, but the result is worth it! I almost double this recipe, and I leave out the cooked bacon. It doesn’t need it, and I feel it adds unnecessary grease. Other than that, I almost follow the recipe exactly, just tweaking the chicken broth and bouillon as needed. I didn’t buy enough chicken stock, so two cans of chicken soup were sacrificed for the broth they contained. The other modification I need to make is to decrease the time the recipe calls for simmering the potatoes. My soup was on the verge of mashed potatoes! Next time, I’ll let the potatoes simmer for eight minutes instead of ten. (It’s still yummy though!) Potato Soup (my version) Ingredients: 5 lb bag of Russett potatoes 1 small onion, diced 4 1/2 cups chicken stock, plus broth from two chicken noodle soup cans 5 chicken bouillon cubes 1 TBS minced garlic 1/2 cup flour 8 TBS stick butter 1 cup heavy cream 8 oz cream cheese, softened and cubed 1 tsp salt Ground black pepper (to taste) Chives (to taste)  Potatoes and onions. Photo by Diane M. Lilly, 2022. 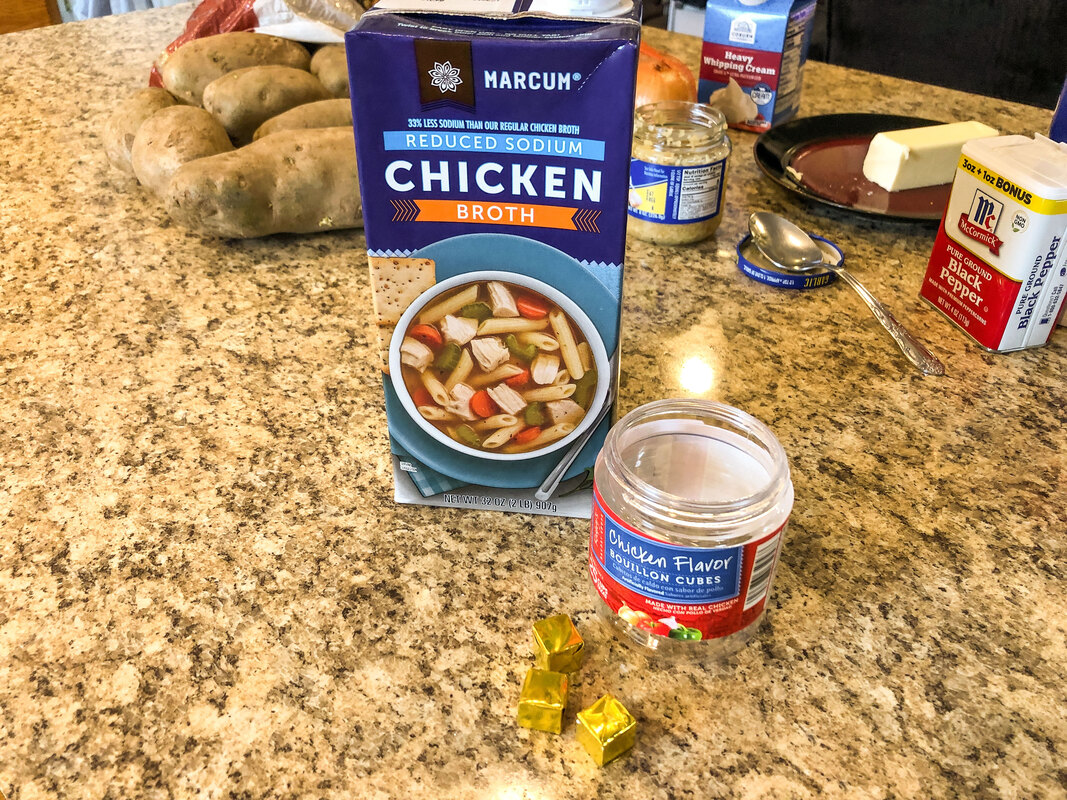 Chicken broth and bouillon cubes. Photo by Diane M. Lilly, 2022.  Minced garlic. Photo by Diane M. Lilly, 2022. 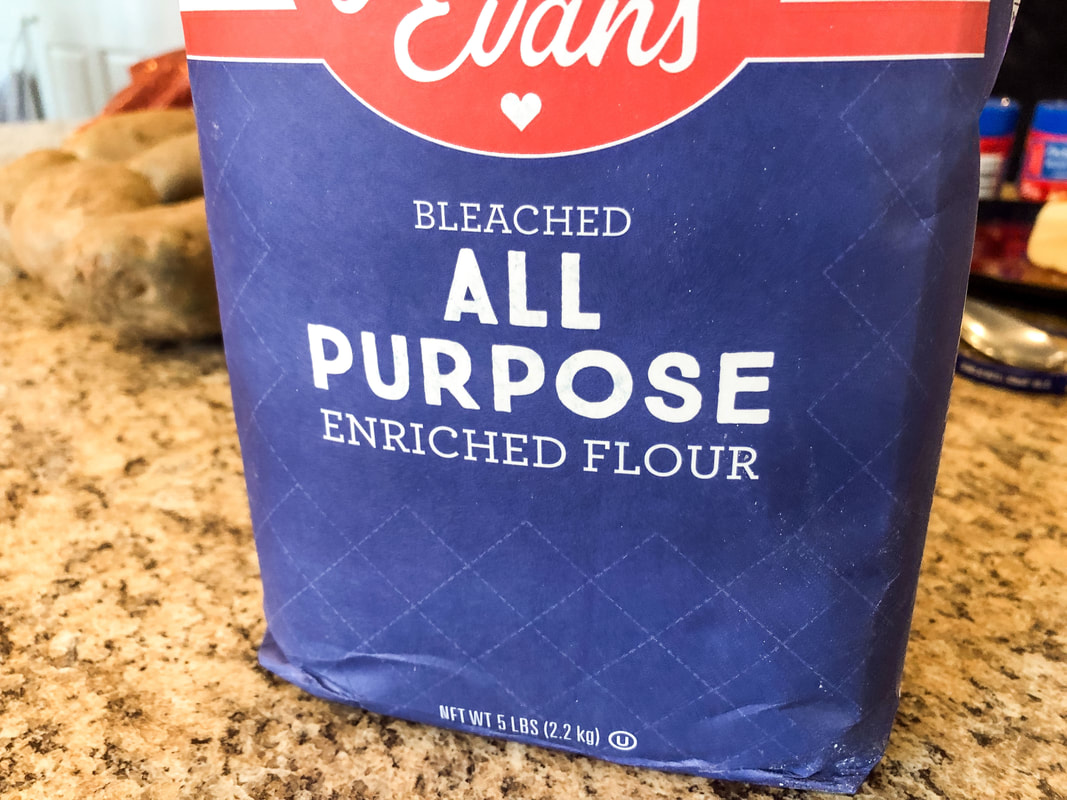 All purpose flour. Photo by Diane M. Lilly, 2022. 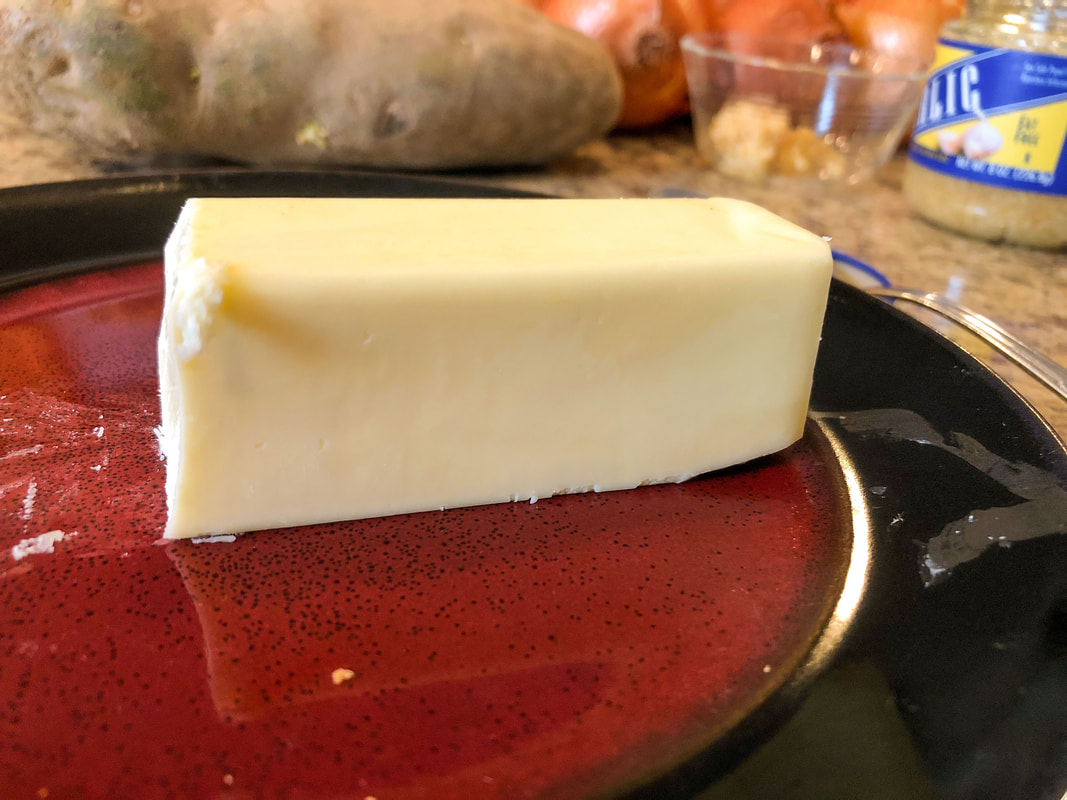 Stick of butter. Photo by Diane M. Lilly, 2022.  Heavy whipping cream. Photo by Diane M. Lilly, 2022.  Cubed cream cheese. Photo by Diane M. Lilly, 2022.  Black pepper, salt, and chives. Photo by Diane M. Lilly, 2022. Cube potatoes and place in a large pot. Cover potatoes with chicken broth and add chicken bouillon cubes. Bring to a boil. Cover and reduce heat and simmer until potatoes are soft but not mushy. (This is important because if the potatoes are too soft, they will “mash” when you mix the ingredients.  Cubed potatoes. Photo by Diane M. Lilly, 2022.  Chopped onions. Photo by Diane M. Lilly, 2022.  Potatoes cooking in chicken broth. Photo by Diane M. Lilly, 2022. In a separate pan, melt the butter, then add the onion and garlic. Saute until the onions are translucent. Whisk in flour until you get a bubbly paste—a nice roux—then slowly add the paste to the stock and potato soup. Stir to get rid of any lumps, and cook just until thickened. 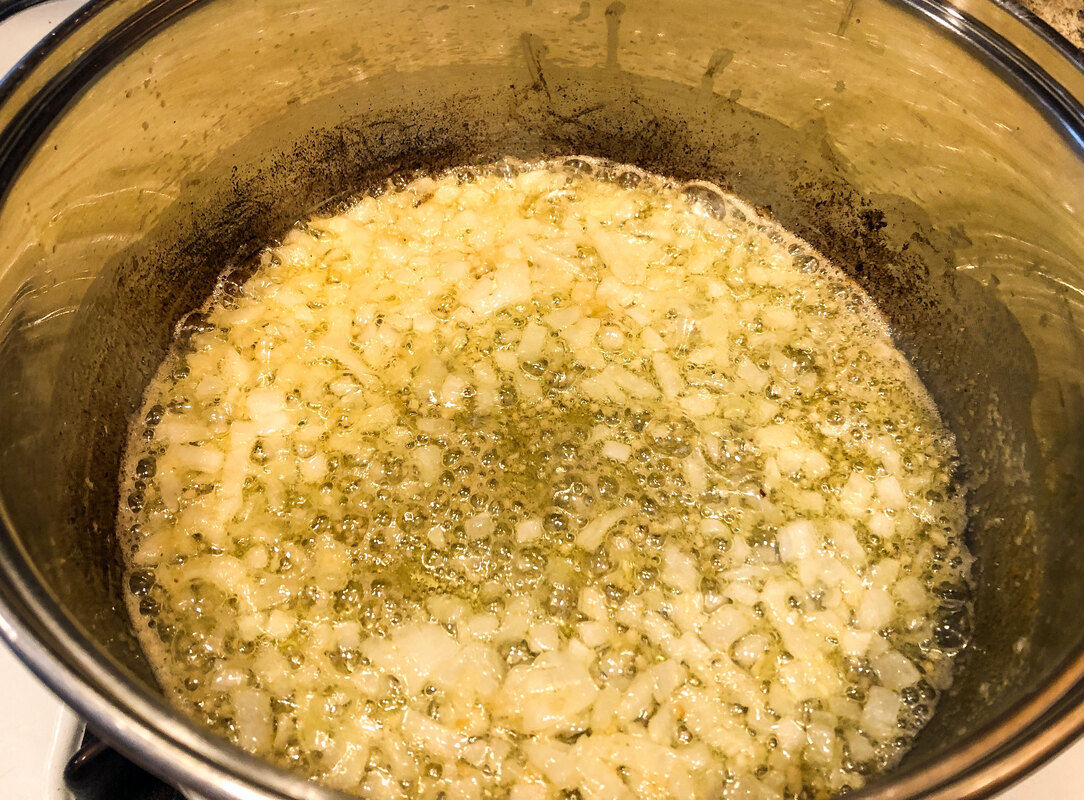 Onions and garlic sautéed. Photo by Diane M. Lilly, 2022. 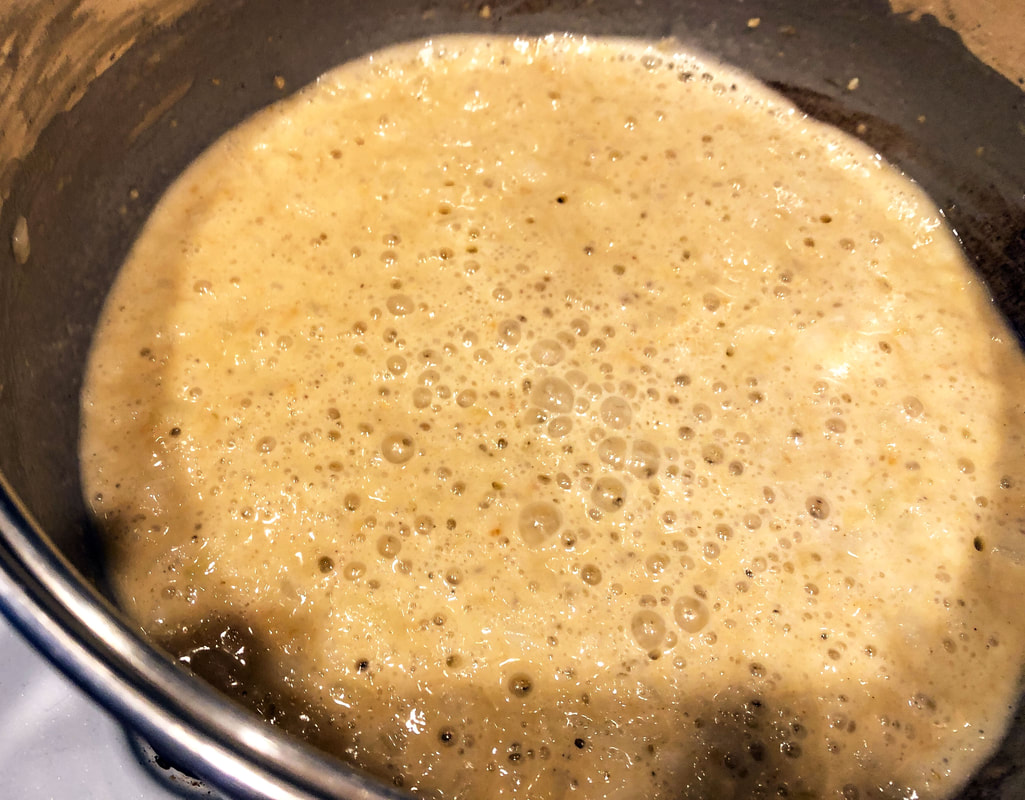 Garlic, onion, and flour roux. Photo by Diane M. Lilly, 2022. Add in the softened cream cheese and stir until melted. Add heavy cream, salt, and pepper. Mix thoroughly. Top with chives (or cooked bacon if that’s your thing). 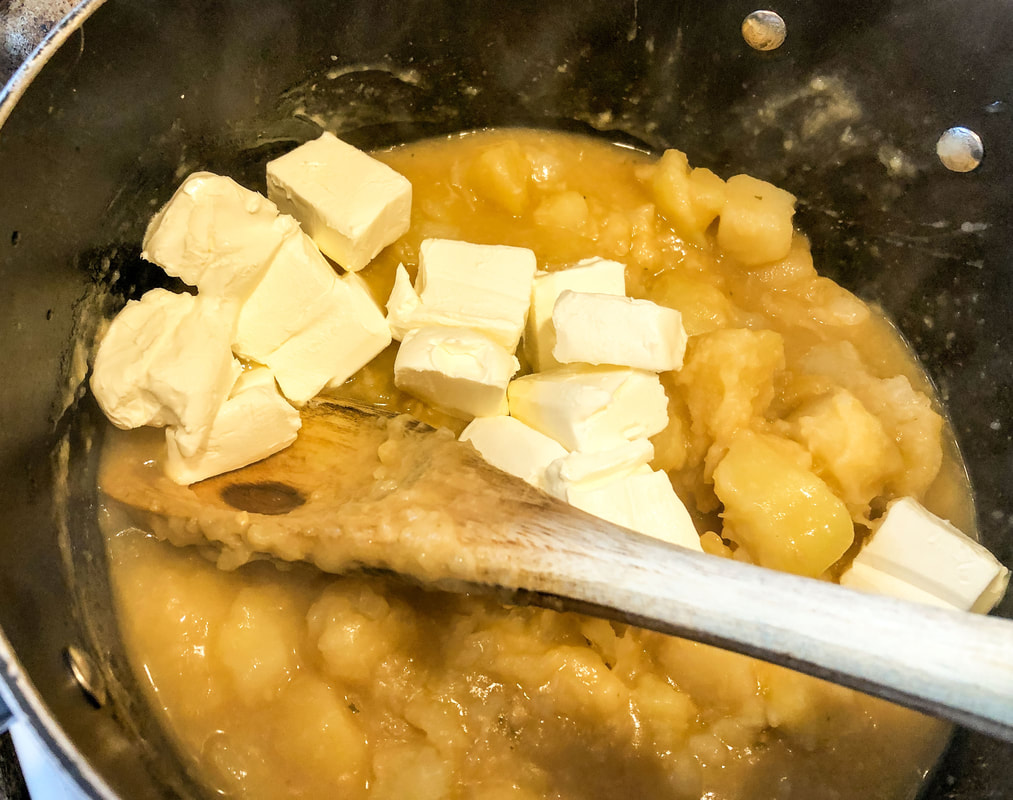 Cream cheese added to cooked potatoes and broth. Photo by Diane M. lilly, 2022.  Potato soup finishing cooking. Photo by Diane M. Lilly, 2022. 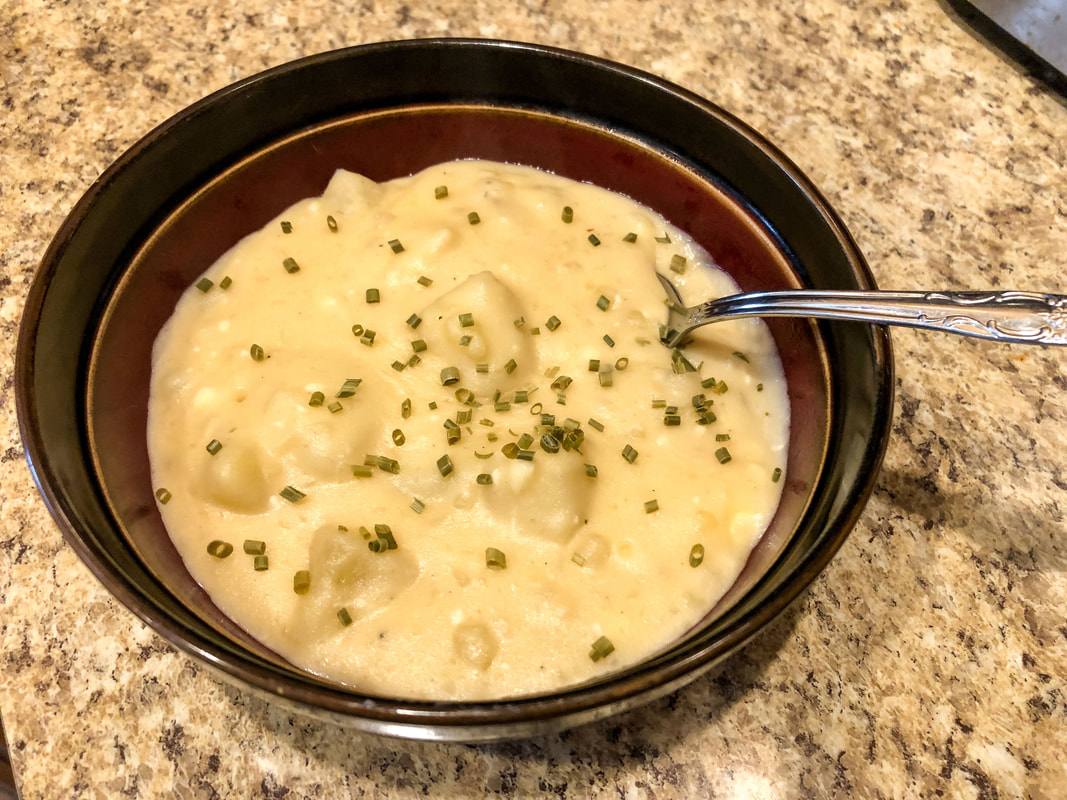 Bowl of hot creamy potato soup sprinkled with chives. Photo by Diane M. Lilly, 2022. So what do you think? Have you tried this recipe before? Do you know a different recipe for potato soup? Is there another homemade soup recipe you prefer to eat on cold winter days? Leave a comment below! I’d love to hear about your soup ideas… Original link https://bakeatmidnite.com/copycat-panera-baked-potato-soup/ Related blogs you may want to read: Homemade chicken noodle soup recipe Chicken Vegetable Pot Pie Recipe Tuna Noodle Casserole Recipe This article may contain a few items or commercial mentions, but I only used them for demonstration purposes only. I am not endorsing any particular product or receiving any monetary gain for this blog.
0 Comments
 Tuna Noodle Casserole. Photo by Diane M. Lilly, 2022. Today's comfort food dish—tuna noodle casserole! I know it’s not everyone’s cup of tea (I need to be in the mood for it), but a warm tuna noodle casserole can be perfect on a cold day! You can find a thousand recipes online, but the one I liked the best is on allrecipes.com. I’m following this recipe exactly (well, almost) because it’s been quite a while since I have made tuna noodle casserole! I will be using Mexican-style taco cheese instead of shredded cheddar because that is what I have on hand (and I’d rather not spend the money buying more shredded cheese). In my defense, cheese is expensive! Also, I want to use up what I have so it doesn’t expire and get thrown out. What can I say? I'm a thrifty gal! The only other change I might make is to omit the canned mushrooms…too many mushrooms! (Spoiler alert…I ended up using the canned mushrooms!) The last point I will make before sharing my version of this recipe is that I like to use tuna in WATER and not oil. The oil is too “greasy” for my tastes, but it may not matter to someone else. So here is my version of a tuna noodle casserole… Tuna Noodle Casserole Ingredients: 1 package medium wide egg noodles 1/4 cup chopped onion 2 cups shredded taco/Mexican cheese 1 bag frozen peas 3 cans tuna in water, drained 2 cans cream of mushroom soup 4.5 oz can sliced mushrooms Potato chips, crushed 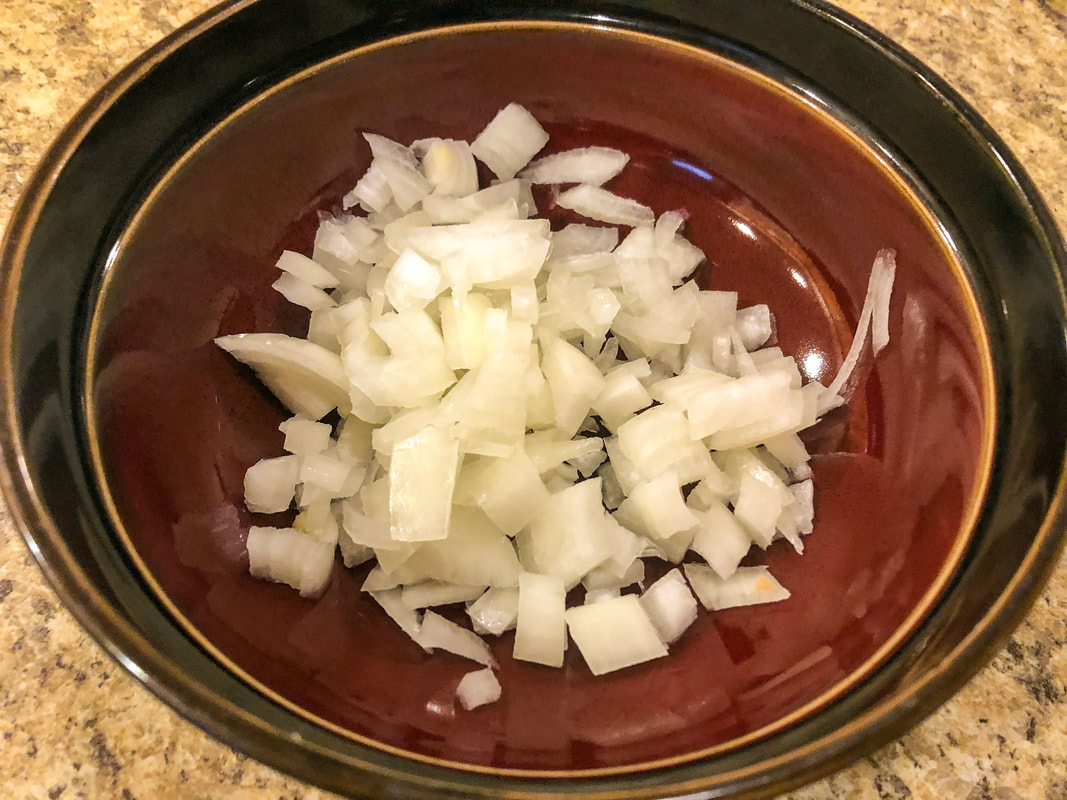 Chopped onions. Photo by Diane M. Lilly, 2022.  Shredded taco cheese. Photo by Diane M. Lilly, 2022. 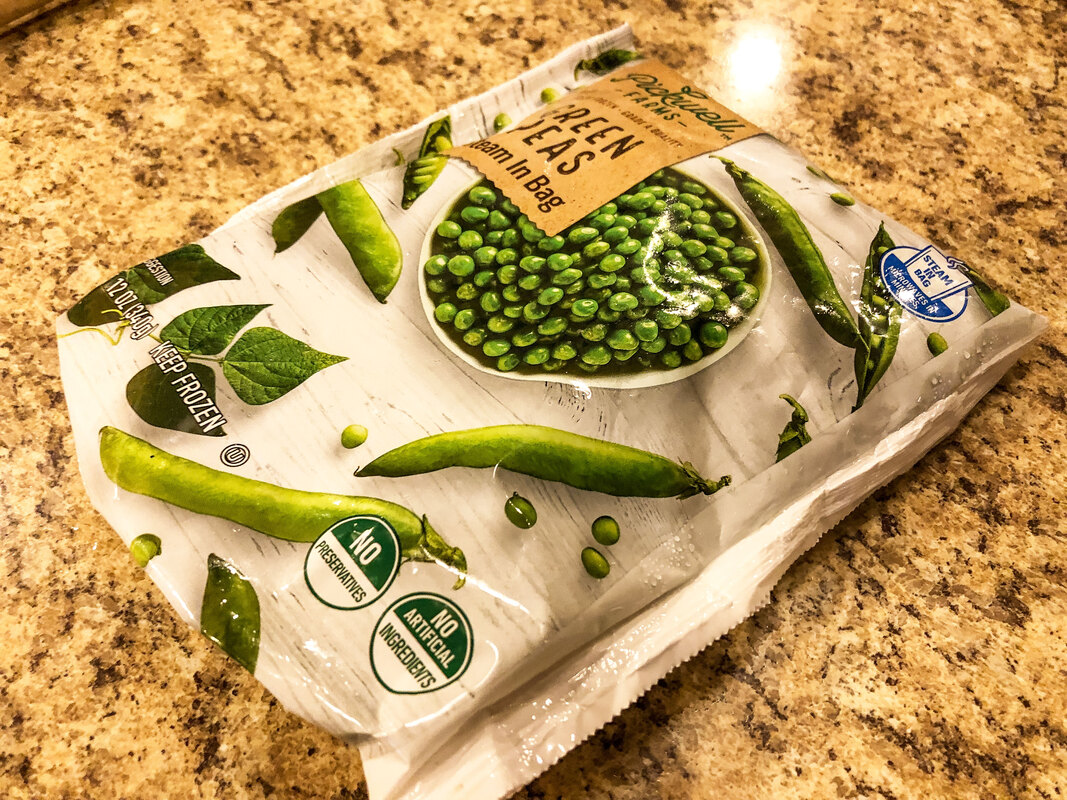 Frozen peas. Photo by Diane M. Lilly, 2022. 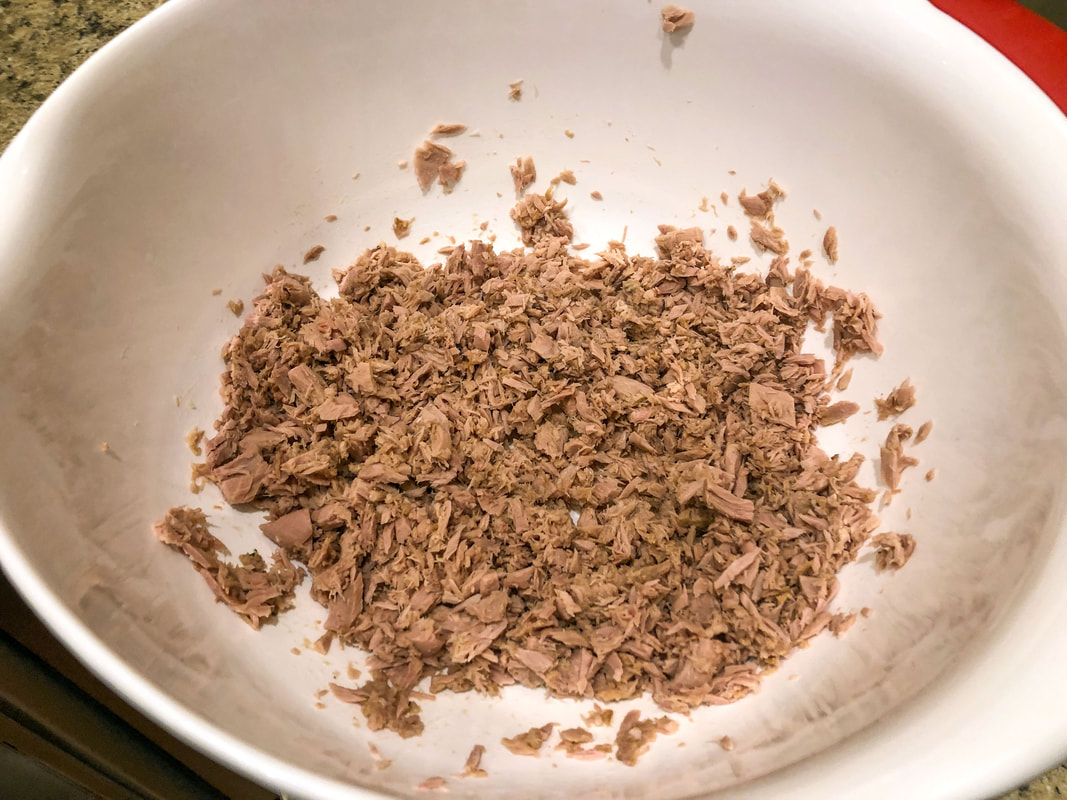 Tuna, drained and flaked. Photo by Diane M. Lilly, 2022. 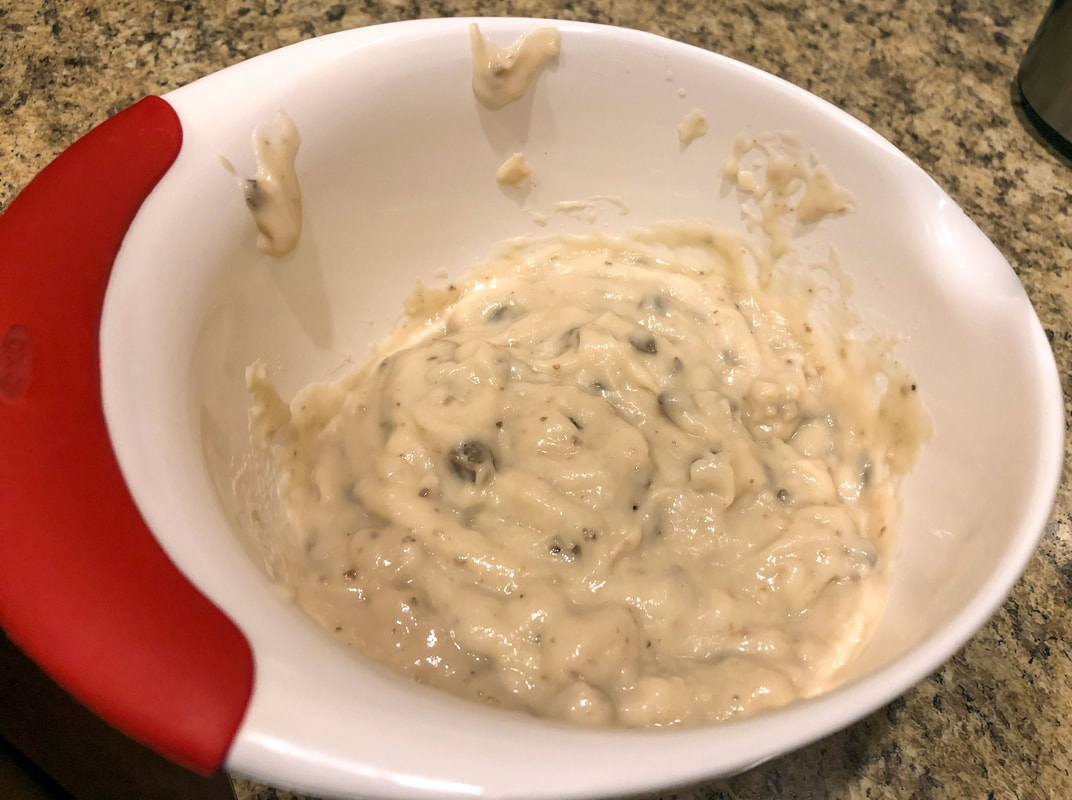 Mushroom soup. Photo by Diane M. Lilly, 2022. 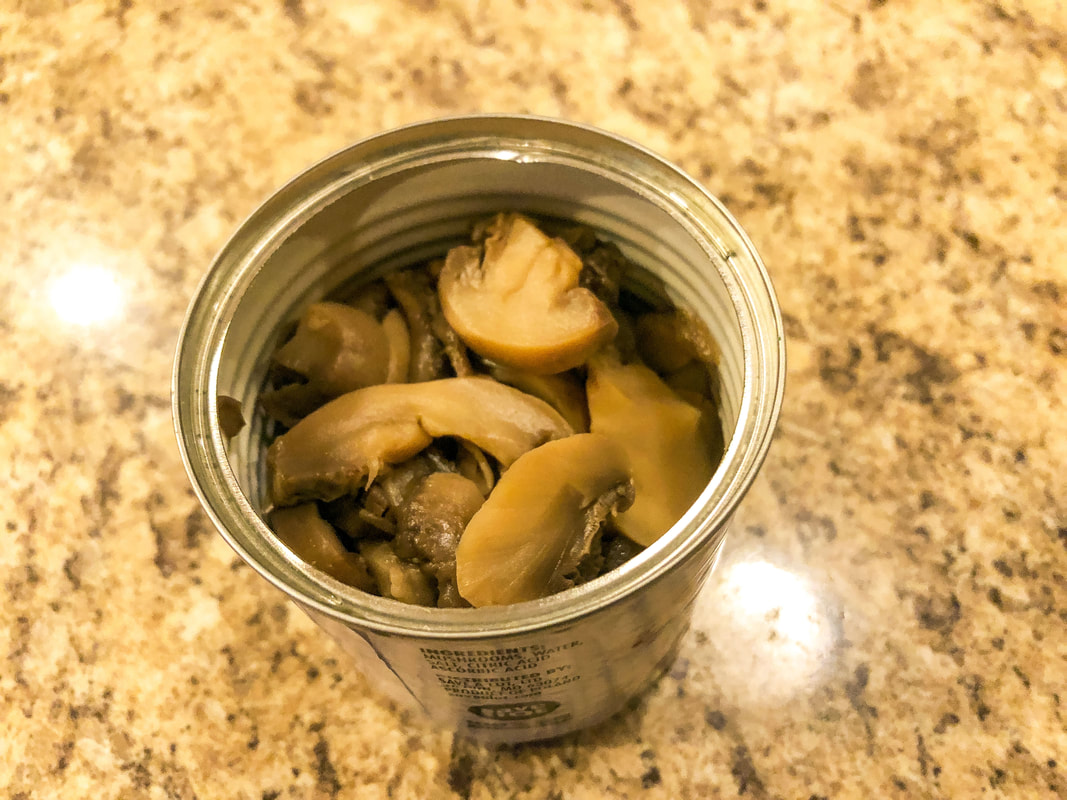 Can of sliced mushrooms. Photo by Diane M. Lilly, 2022. 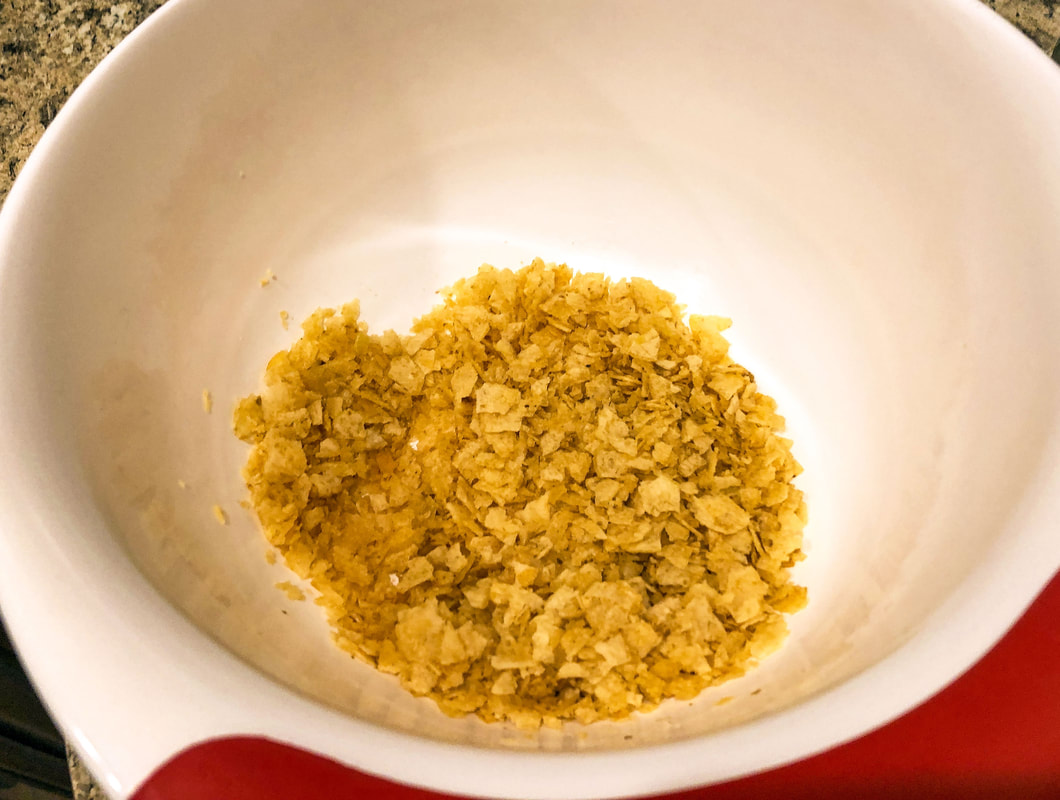 Crushed potato chips. Photo by Diane M. Lilly, 2022. Boil a pot of water and cook the noodles according to the instructions on the package or until al dente. Drain and pour into a baking pan. 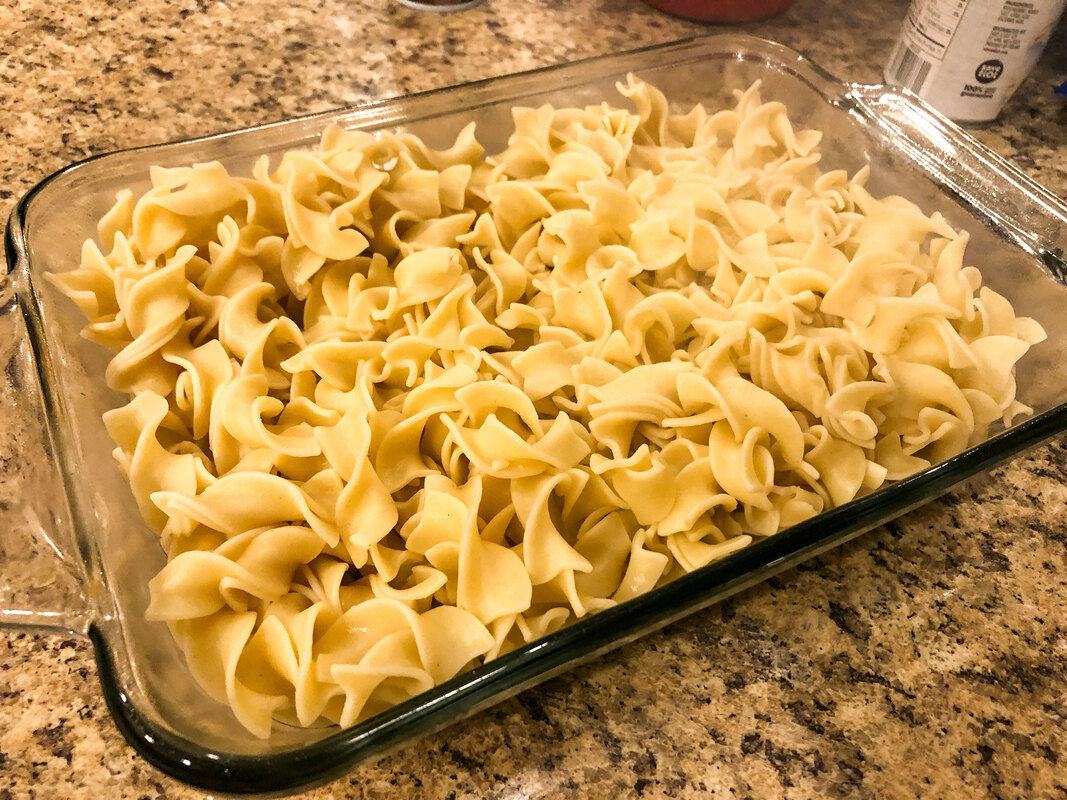 Wide egg noodles, cooked. Photo by Diane M. Lilly, 2022. Preheat oven to 425 degrees F. Combine tuna, peas, onion, soup, one cup of shredded cheese, and mushrooms in a large mixing bowl. Pour mixture over noodles and lightly mix. 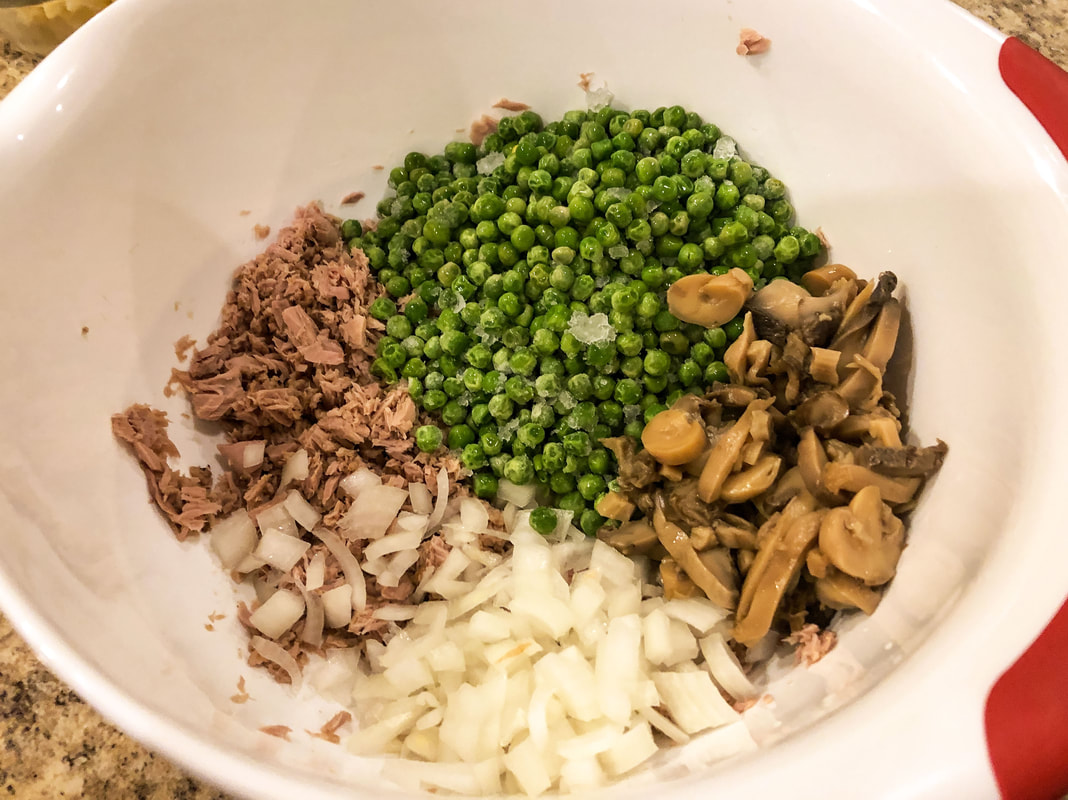 Tuna, peas, chopped onion, and mushrooms. Photo by Diane M. Lilly, 2022.  Tuna, peas, chopped onion, mushrooms, shredded cheese, and mushroom soup mixed together. Photo by Diane M. Lilly, 2022. Add a thin layer of crushed potato chips over the mixture, followed by the rest of the shredded cheese.  All ingredients (except extra shredded cheese and chips) in a baking pan. Photo by Diane M. Lilly, 2022.  All ingredients, with shredded cheese and crumbled chips on top, in a baking pan. Photo by Diane M. Lilly, 2022. Bake 15-20 minutes or until bubbly.  Tuna noodle casserole baked and ready to eat. Photo by Diane M. Lilly, 2022. This recipe went over great in my household! Original link https://www.allrecipes.com/recipe/17219/best-tuna-casserole/ Do you like tuna noodle casserole? Yeah, or nay? Do you have any other recipes for this dish? Please share your tips and thoughts below! This article may contain a few items or commercial mentions, but I only used them for demonstration purposes only. I am not endorsing any particular product or receiving any monetary gain for this blog. 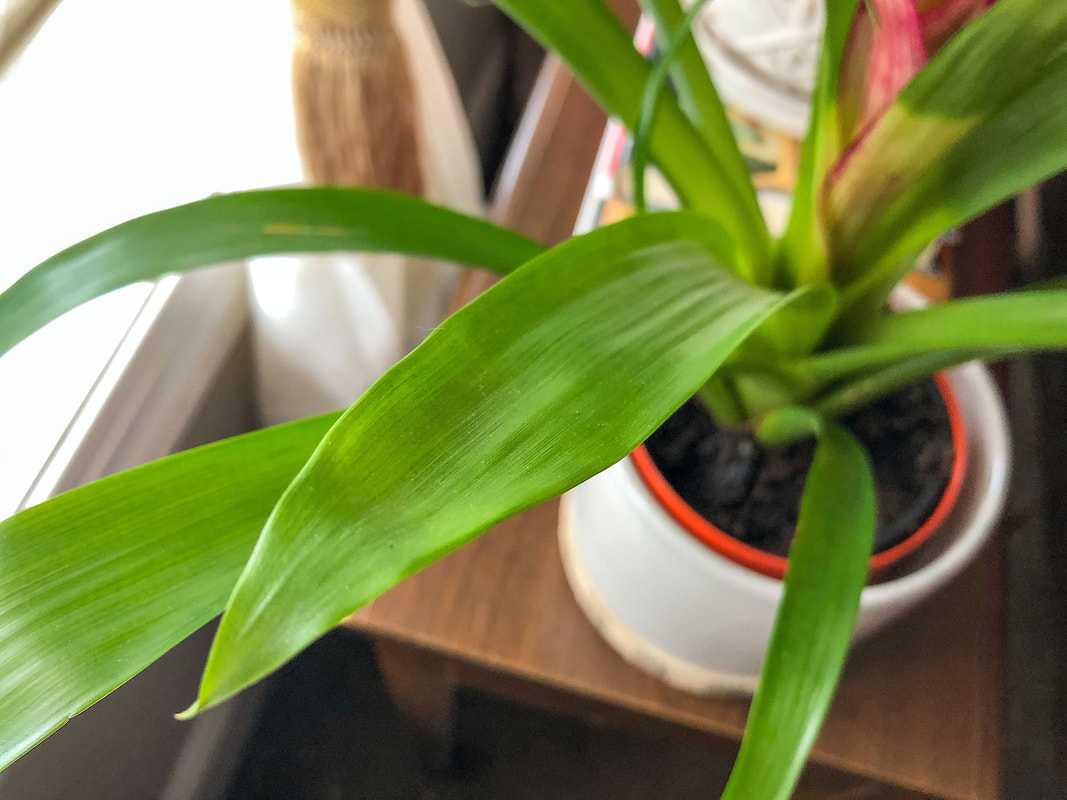 Bromeliad plant. Photo by Diane M. Lilly, 2021. Plants can add beauty and a depth of color and texture to a space, but there are also health benefits to having plants around. There is a houseplant for you, even if you don't have a green thumb! Just do some research for low-maintenance houseplants…and buy just one plant. Keep one plant alive, and you’ll soon catch the houseplant bug…I know from experience! (Plants are the new candy for me now!) If you are interested in houseplants and would like to know some of the benefits, read on to learn how adding live plants in your space can benefit your health. Plants and indoor air So, I’ll start with a controversial “benefit” to having houseplants. It has been said that houseplants help clean the air, thus improving indoor air quality in your home. The idea is that plants absorb CO2 and harmful VOCs from the air while at the same time producing oxygen. Some plants—like peace lilies and Gerbera daisies—are thought to help with sleep. According to some of the latest research, however, it may not be accurate that houseplants have much in the way of air-purifying properties. (You can read an article by Inverse that discusses this topic.) So it may or may not be true that houseplants clean indoor air, but how can you pass up the opportunity to have a beautiful plant in your bedroom?! 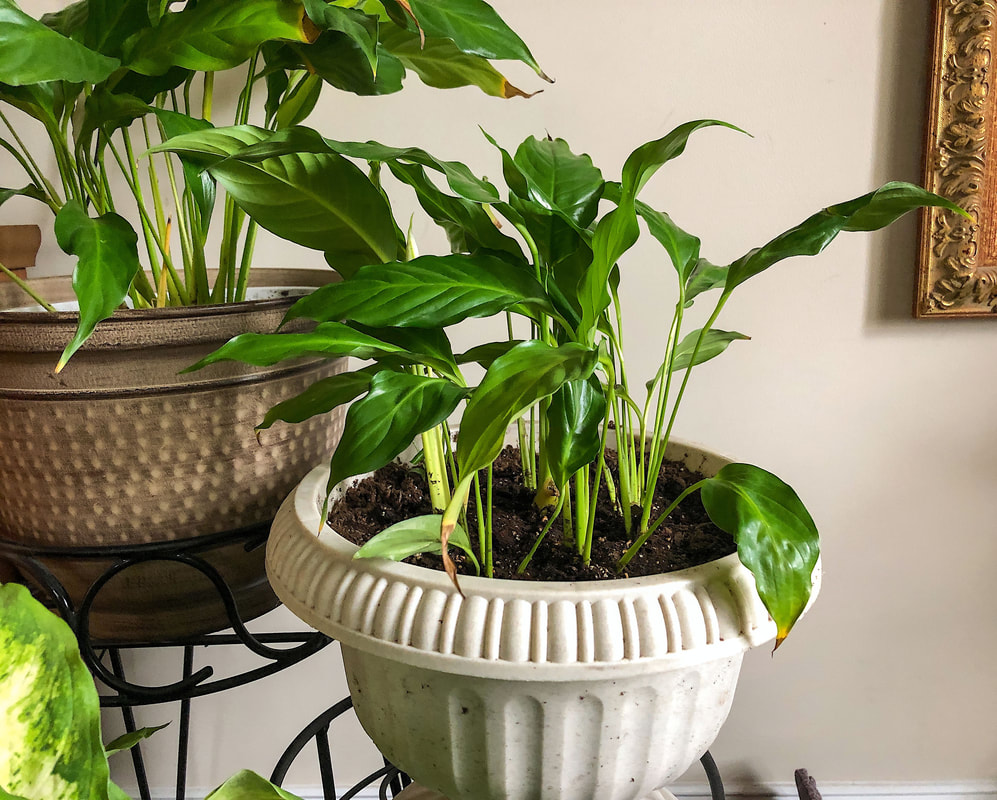 Peace lilies in my living room. Photo by Diane M. Lilly, 2021. It’s worth talking about indoor air quality, though…Indoor air quality can be filled with more toxins and pollutants than the air outside, with some research showing levels 2-5 times higher due to the types of products we use in a sealed space. An article by the EPA discusses just how bad the air inside our homes can be and the causes of poor indoor air quality, and it’s worth a read for anyone who spends a lot of time at home. There are sources out there that claim houseplants can act as indoor air purifiers, naturally performing the task of removing at least some of the harmful VOCs (indoor air pollutants) in our homes. I can’t personally speak to whether or not this is true, but I’d like to think plants at least have some effect on indoor air quality, just as plants and trees affect the air outside. It probably takes many plants in a space to make a dent in removing VOCs…All the more reason to fill your home with lots of plants! Some plants are naturally aromatic/aromatherapy Let’s not forget that some plants can be quite fragrant! Many artificially scented apparatuses—like candles, aerosol sprays, etc—pump potentially toxic aerosols into the air (i.e., VOCs) that build up over time and can cause breathing issues or other health problems. Choosing aromatic plants that give off a natural scent eliminates the need to buy harmful products. Lavender, for instance, is well known for its incredible fragrance. For anyone interested, Healthline has a great article on the many benefits of lavender. 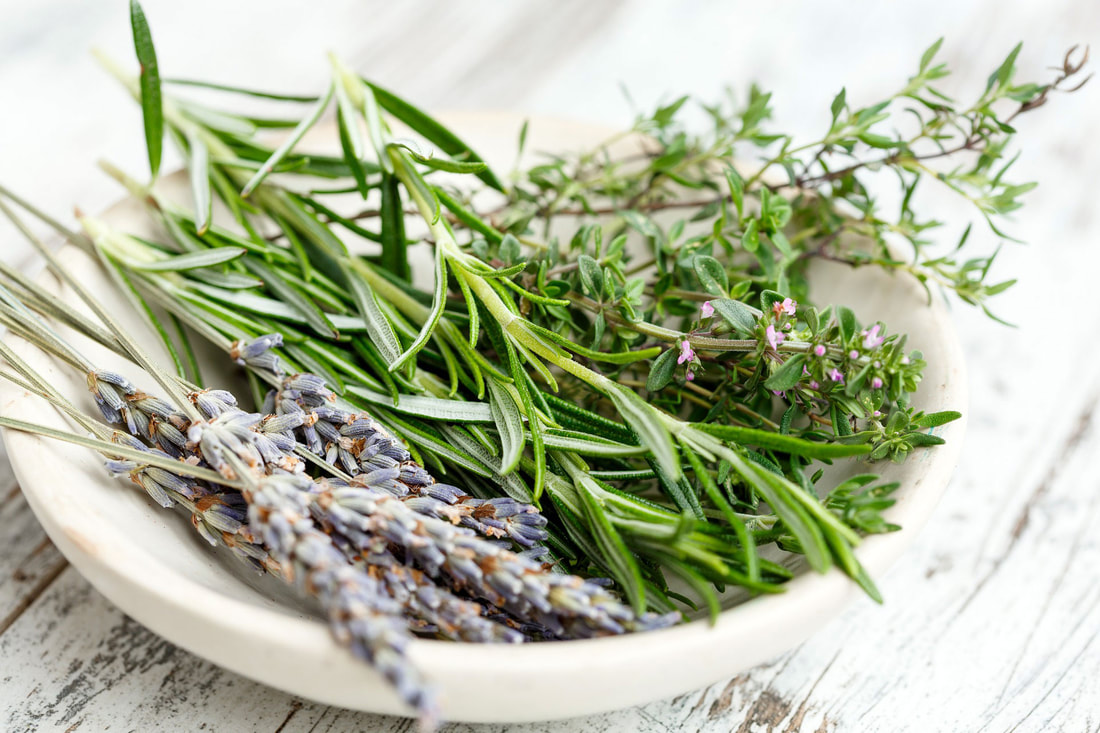 Image by gate74 from Pixabay. Plants reduce stress and fatigue Plants in your living space have been shown to create a sense of calm, which lowers blood pressure, heart rate, cortisol, and stress levels. Just having plants around awakens the natural healing in the brain, which boosts mood and helps with mental health. There’s a reason why “forest bathing” is a thing! Being out in nature is calming and makes us feel more at ease, so bringing plants into our home taps into that experience. Lavender, for instance, is known for its calming properties that reduce stress and help with sleep. (If I keep mentioning lavender, it’s because it’s such an incredible plant!) Reduces pain and helps with healing Being near plants can also help speed the healing process, which may lead to a faster recovery. Studies have shown that just having plants nearby can lead to better tolerance for pain and the need for fewer medications for pain. Some plants (like aloe vera) have more direct medicinal properties. If you’re into using plants for medicinal purposes, you’ll love having an indoor garden! 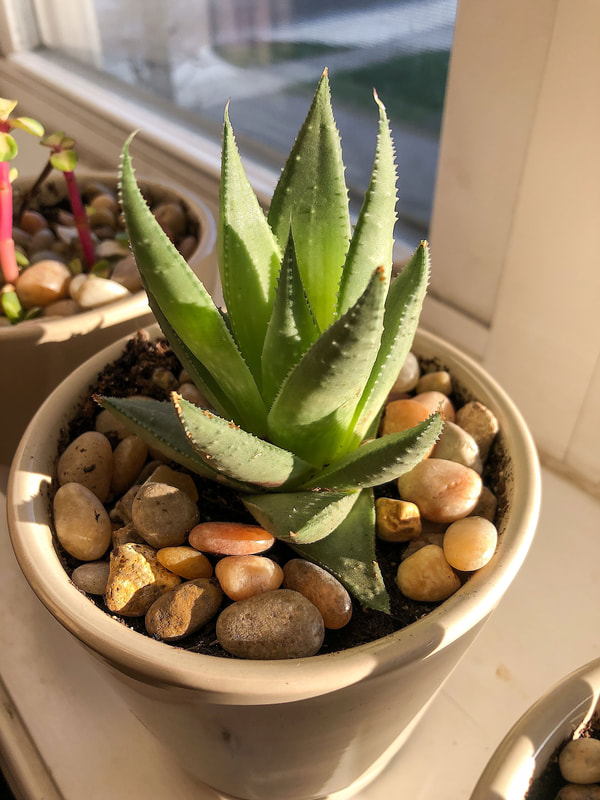 Aloe plant on my windowsill. Photo by Diane M. Lilly, 2021. Improve mood If you’ve ever spent time in a garden, you’ll agree that plants help make you feel calmer and more at ease, promoting a sense of well-being. Often, being around plants or working with indoor gardens helps alleviate mental health issues like anxiety and depression. But studies also suggest that being around plants can also alleviate some of the symptoms related to trauma and dementia, especially if you are involved with actually handling the plants and soil. The act of nurturing another living thing can be quite healing! It’s not just actual plants that can help improve mood. Sometimes, all it takes is to have the color green in your space. The color green (which, by the way, is trending for 2022) boosts mood through the psychological connection with nature. This makes green a very soothing color for your space. 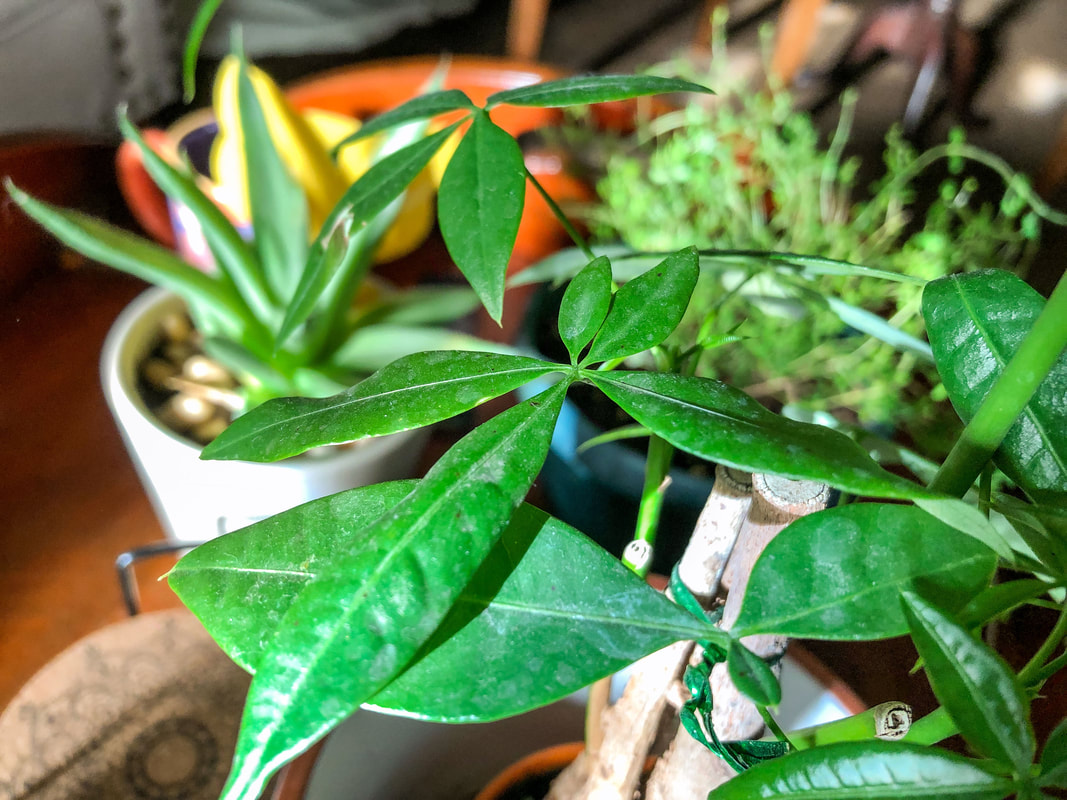 Money Tree and other plants in my living room. Photo by Diane M. Lilly, 2021. Improve performance The topic of improved performance is very timely, especially with many of us working from home. Believe it or not, according to some studies, a plant sitting on your desk or other workspace has so many benefits when it comes to work performance. Benefits can include sharpened attention, improved focus and productivity, increased creativity, and better concentration and memory. A plant (or plants, even better) provides a visual reminder of nature and maybe even a beautiful fragrance. Plants also increase the oxygen levels in a space. These benefits help with thinking, focus, and mood, improving performance and job satisfaction.  Image by kieutruongphoto from Pixabay. Edible plants promote healthy eating & aid digestion Did you know you can grow herbs indoors as houseplants? Well, now you do! Herb plants are great to grow indoors! I love using my fresh herbs (I currently have parsley and thyme) for cooking. When you use fresh herbs in your cooking, you think more about healthy eating. Herbs are not only aromatic, but you can use them in healthy dishes. Grow your herbs indoors, and you'll have access to fresh herbs all year round. Plants like peppermint, spearmint, and basil aid digestion and calm the stomach. Many herbs also have medicinal purposes, so it’s worth researching what your favorite herb can do for you! 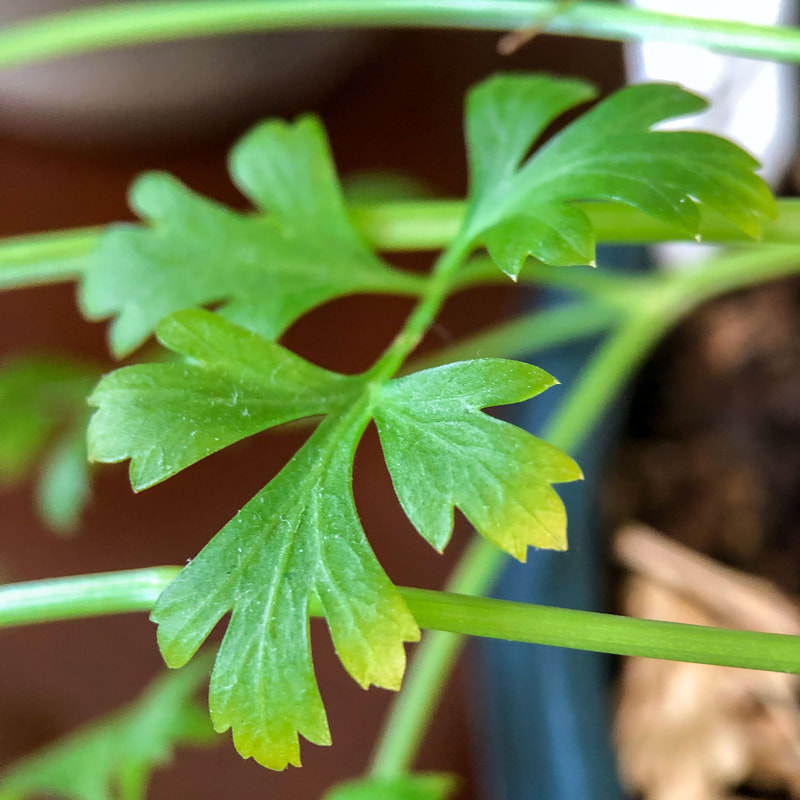 Parsley plant. Photo by Diane M. Lilly, 2021. Noise absorption properties And I’ll end this article the way I started it, with another controversial property that some plants are said to have—noise absorption. I’ve never even heard about plants and noise absorption until recently. According to an article I recently found by Access Plants, the idea is that large leafy plants—like Monstera deliciosa, or perhaps many plants grouped—can absorb some of the noise levels in the room. I haven’t noticed this effect in my home, but I also don’t have large leafy houseplants…yet! But I thought I would throw it in there to wrap up this list of possible benefits for houseplants. 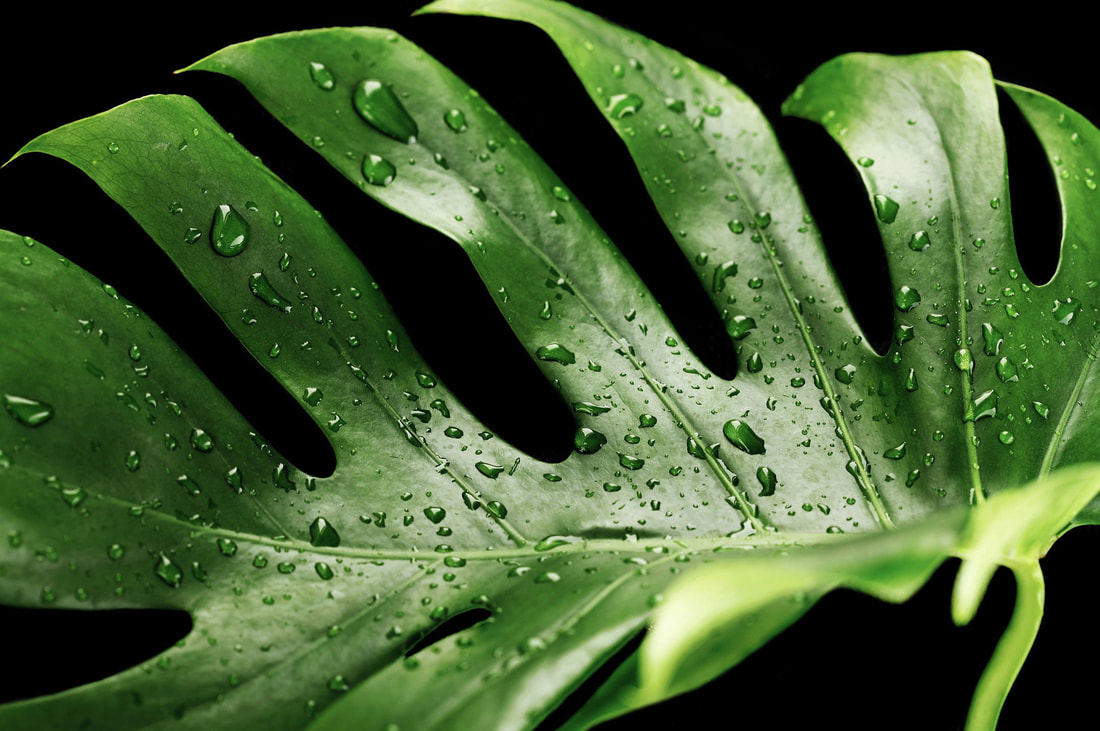 Image by Nika_Akin from Pixabay. So, are you convinced yet that you need a plant in your life? Or are you already a proud plant parent? Feel free to share your thoughts about houseplants below, and let’s keep the conversation going! Related blogs you may want to read: Small houseplants that love bathroom humidity How to propagate bromeliad pups Winter color palette ideas for your home decor Nine design trends for 2022 11 Interior decorating tips that help reduce anxiety and depression Nine hygge decor ideas Eight ways to create cozy winter interiors after the holiday decor comes down Five things to consider when choosing houseplants Let’s talk about houseplants This article may contain a few items or commercial mentions, but I only used them for demonstration purposes only. I am not endorsing any particular product or receiving any monetary gain for this blog. 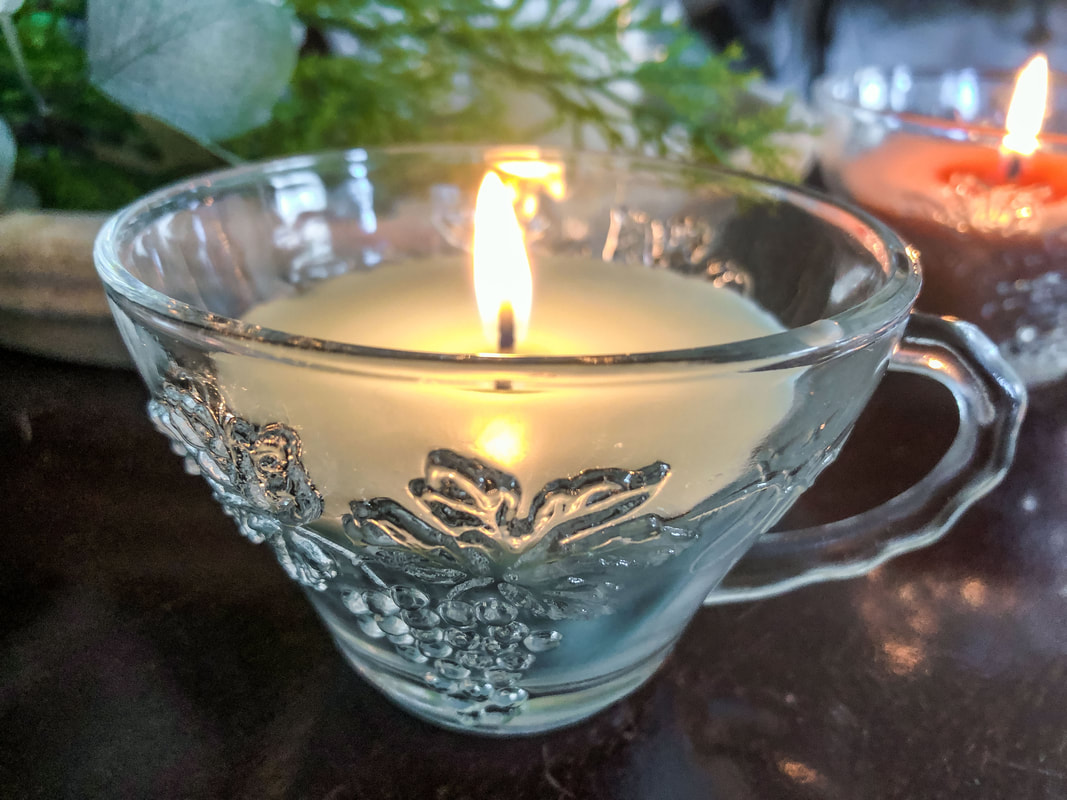 Burning finished homemade soy candle with eucalyptus and spearmint fragrance. Photo by Diane M. Lilly, 2022. There’s nothing like homemade, right? I used to work in a store where I merchandised candles and could never resist the urge to smell every new scent I unpacked. There’s just something about the allure of scented candles that’s irresistible! There’s just one thing about store-bought candles, though…They are full of pollutants I don’t want in my house. I decided to learn how to make homemade candles several years ago...and I was hooked! Making scented candles is not hard, but it takes some trial and error to get the process right. When the process is perfected, you end up with a candle that burns steady with a nice pool and has a hot throw. Today’s project is to make soy candles with this incredible fragrance oil (FO) from Nature’s Garden Candles called Eucalyptus and Spearmint. This is a wonderfully fresh scent that honestly would smell amazing in homemade soap! But today’s project is candle making…So here is my process and recipe for homemade eucalyptus and spearmint soy candles… 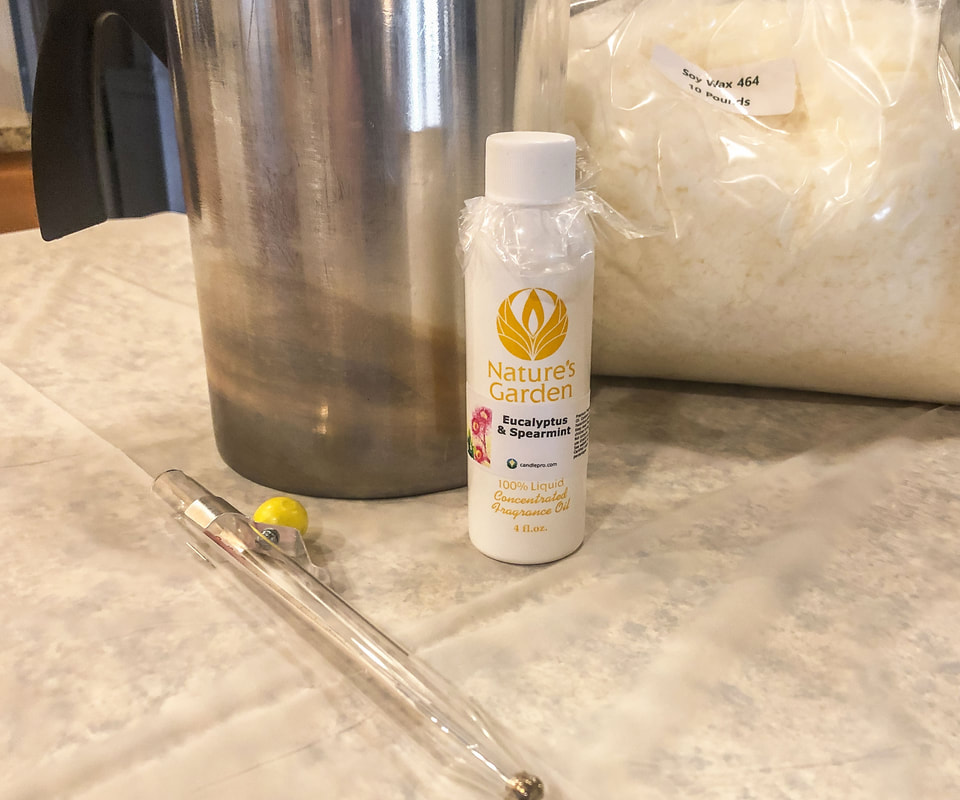 The Eucalyptus and Spearmint FO used for this project. Photo by Diane M. Lilly, 2022. The materials you will need… Scissors, hot glue gun, syringe for the FO, eye dropper for the candle dye, candy thermometer, wax melting pot, two pots for water (one for hot and one for cold), stirring sticks, more sticks to prop up the wicks, rubber bands, a heat gun (or hair dryer), pre-tabbed wicks (or wicks and tabs that you assemble yourself), your fragrance oil of choice (make sure it is candle safe), candle safe colorant, your wax of choice (I will be using soy wax), and a candle safe container for your homemade candle. 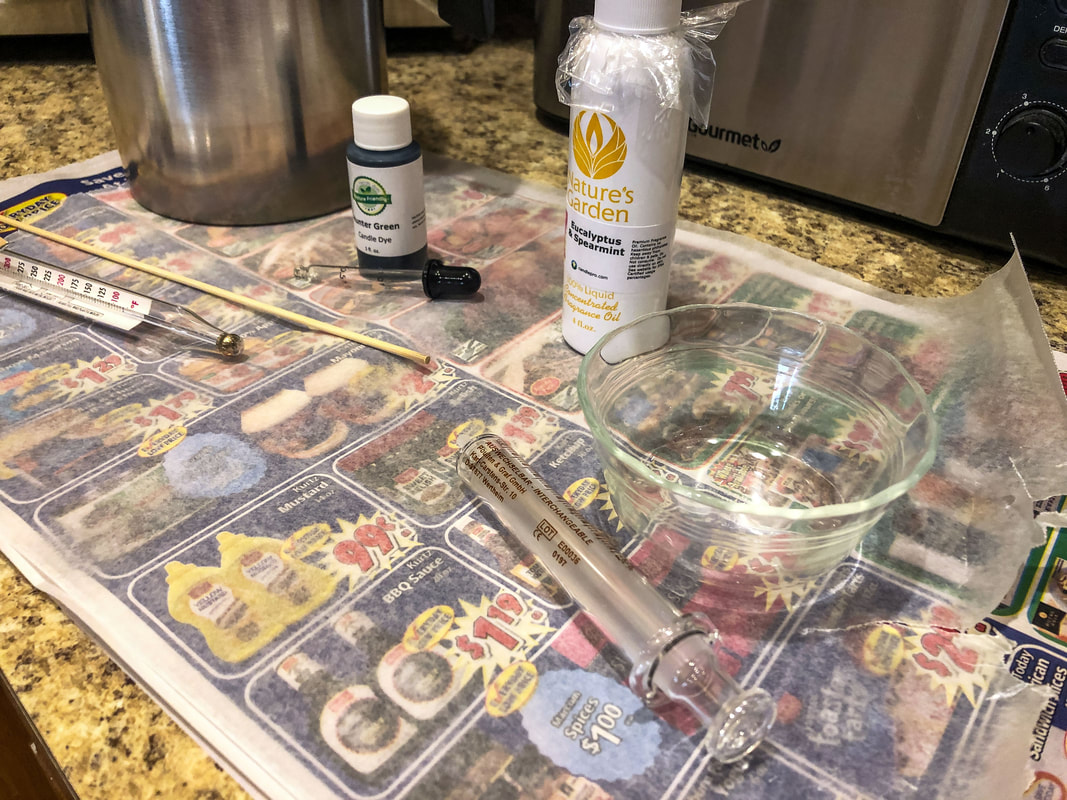 Materials for melting the wax: melting pot, green candle dye, stirring stick, candie thermometer, eye dropper, small glass bowl, glass syringe, Eucalyptus and Spearmint FO. Photo by Diane M. Lilly, 2022. 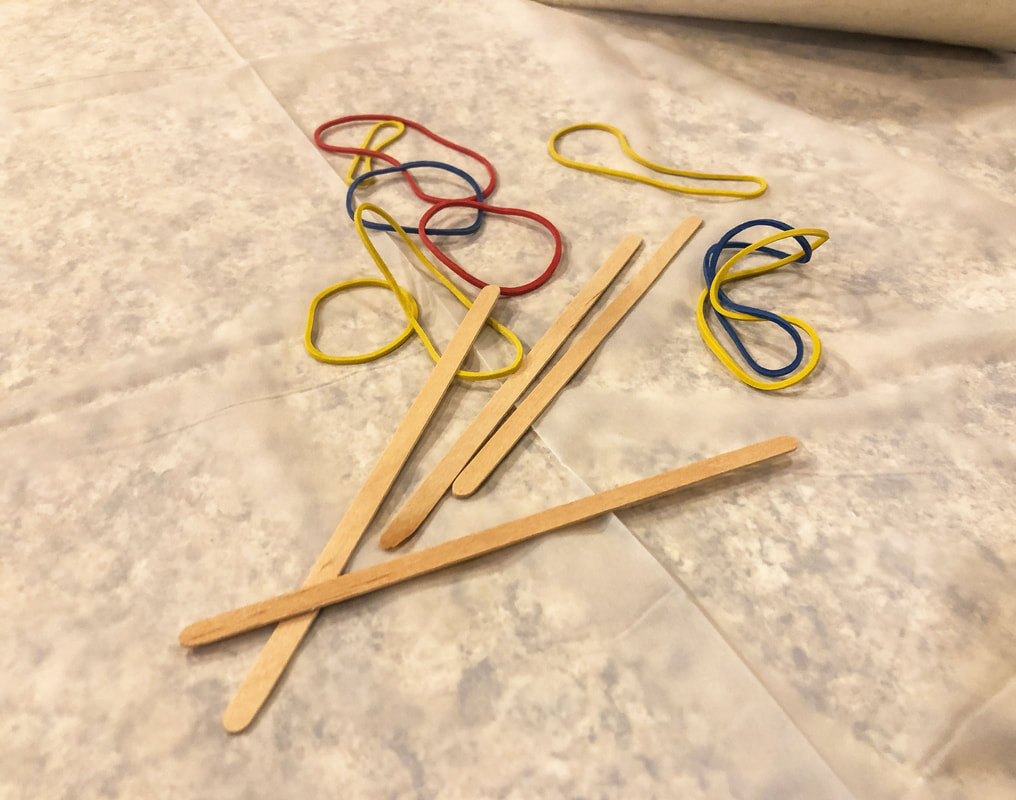 Popsicle sticks and rubber bands work well for holding the wick in place during pouring. Photo by Diane M. Lilly, 2022. 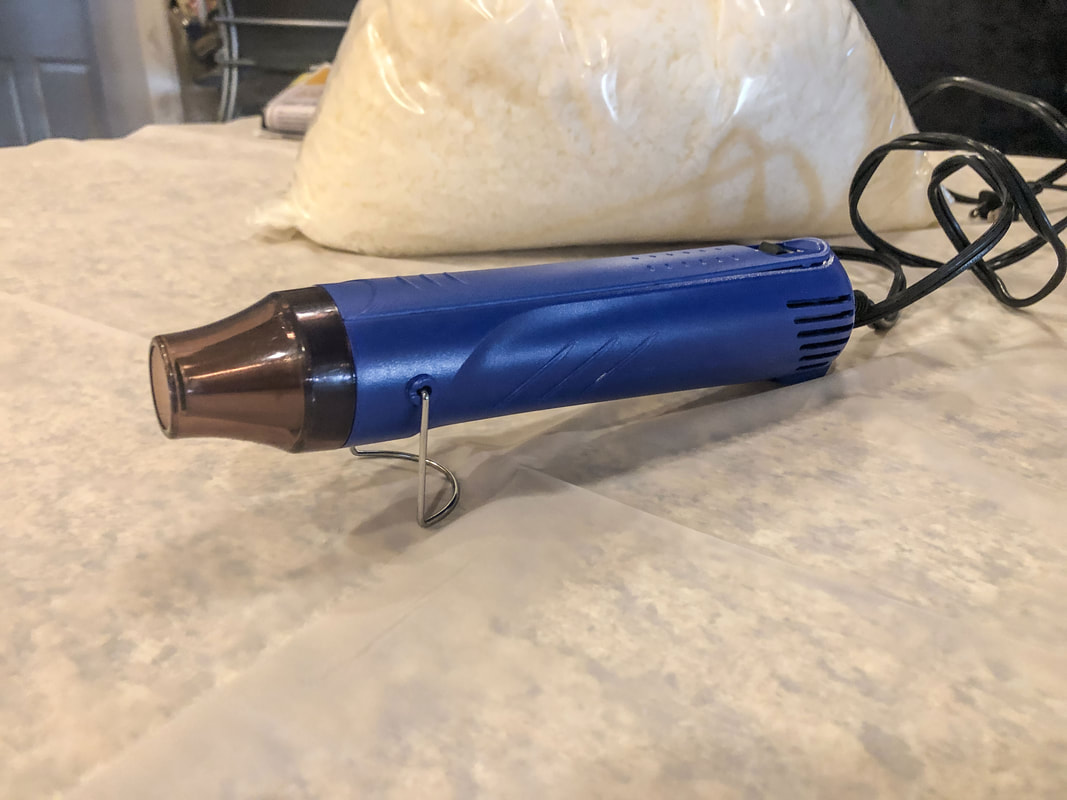 Heat gun. Photo by Diane M. Lilly, 2022. 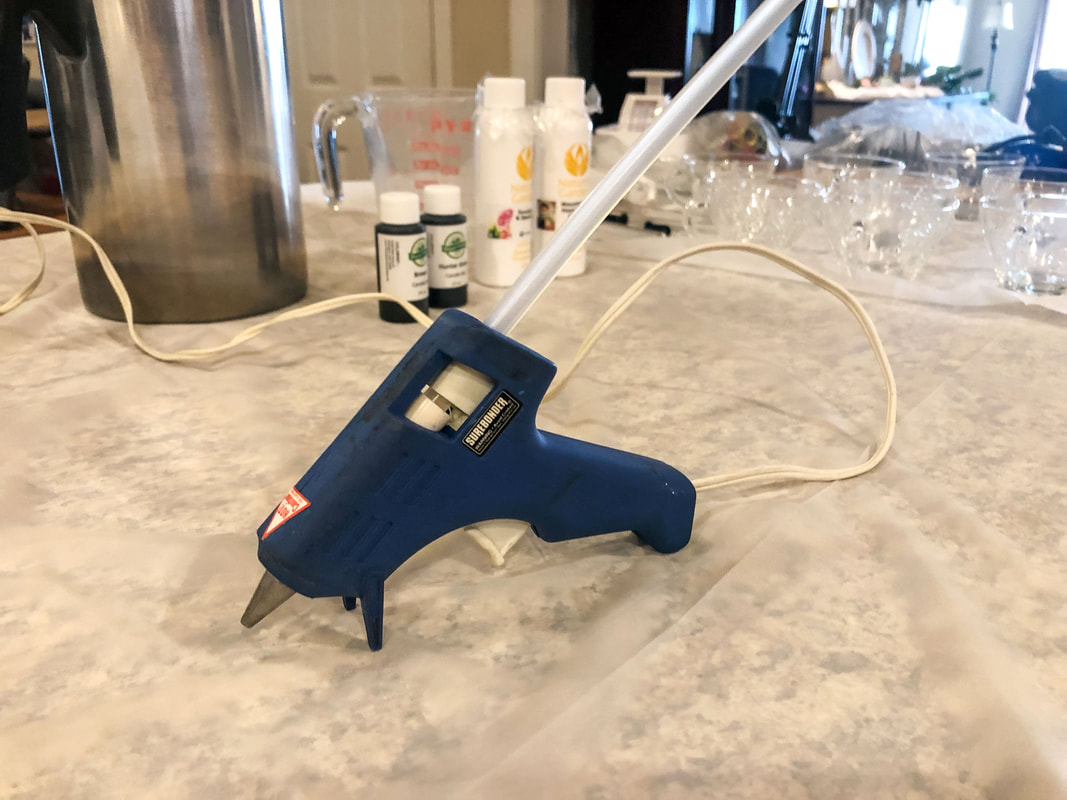 Hot glue gun for wicks. Photo by Diane M. Lilly, 2022. About the wax, wicks, fragrance oil, and candle dye… When I make homemade candles, I usually use 464 soy wax. I measure out about a pound—give or take—of dry wax flakes, which will melt down to about 18 fl. oz. 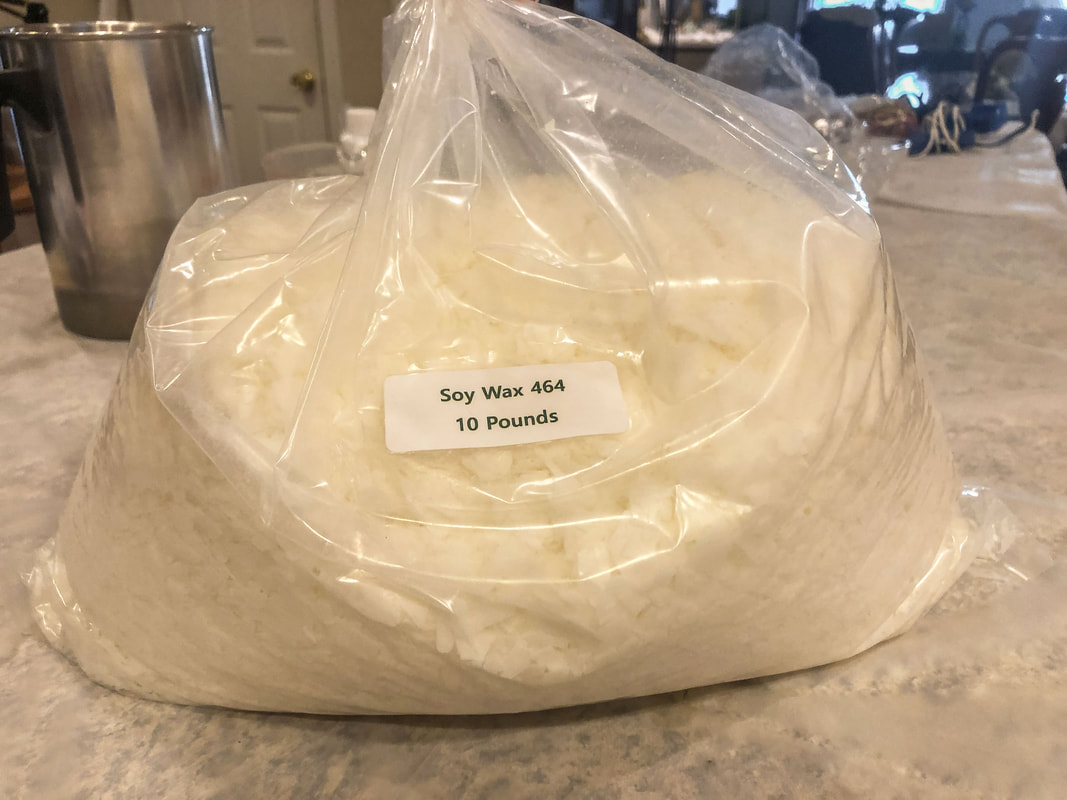 464 soy wax for this project. Photo by Diane M. Lilly, 2022. As a rule, you should use 1-1.5 fl. oz. of fragrance oil for each pound of soy wax. For this project, I measured out 40 ml—just over 1 oz—of Nature’s Garden Candles Eucalyptus and Spearmint fragrance oil. (The amount of FO you use will depend on your wax and the properties of the fragrance oil, such as flashpoint.) The wick type chosen for this project is the 1400 hemp core wick, used for 2.5-3.5 diameter containers. My glass tea cups fall into those parameters nicely, so this wick should be perfect. Different types of wicks work for different varieties of waxes and candles, or even just personal preferences, and what you choose will come down to trial and error and learning what works best for you.  Hemp core wicks for this homemade candle project. Photo by Diane M. Lilly, 2022. And finally, candle dye. Hunter Green Nature-Friendly Candle Dye is what I will be using for today’s candles, about two drops (green is a saturated color). 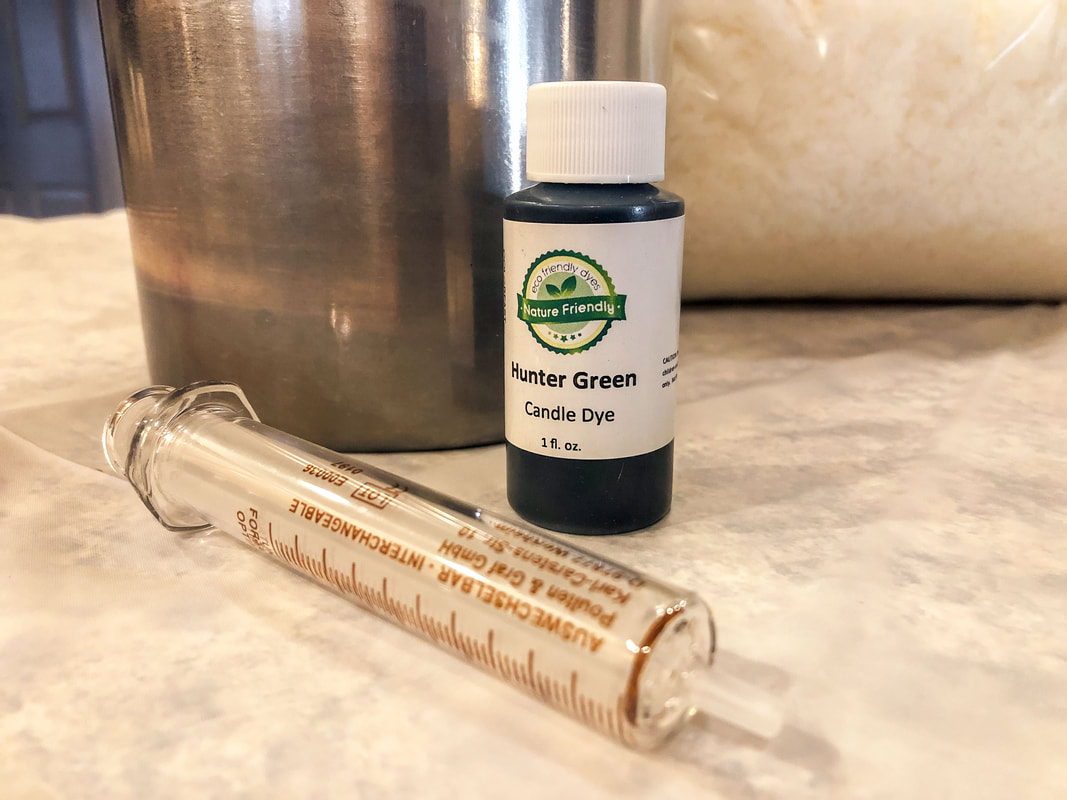 Green candle dye for this project. Photo by Diane M. Lilly, 2022. Choosing and prepping your container… I love buying from thrift shops and repurposing, so for this project, I'm making homemade candles with a few beautiful glass tea cups purchased from a local second-hand store. Use anything you like to make homemade candles--just as long as the container is candle-safe--and never leave your burning candle unattended. 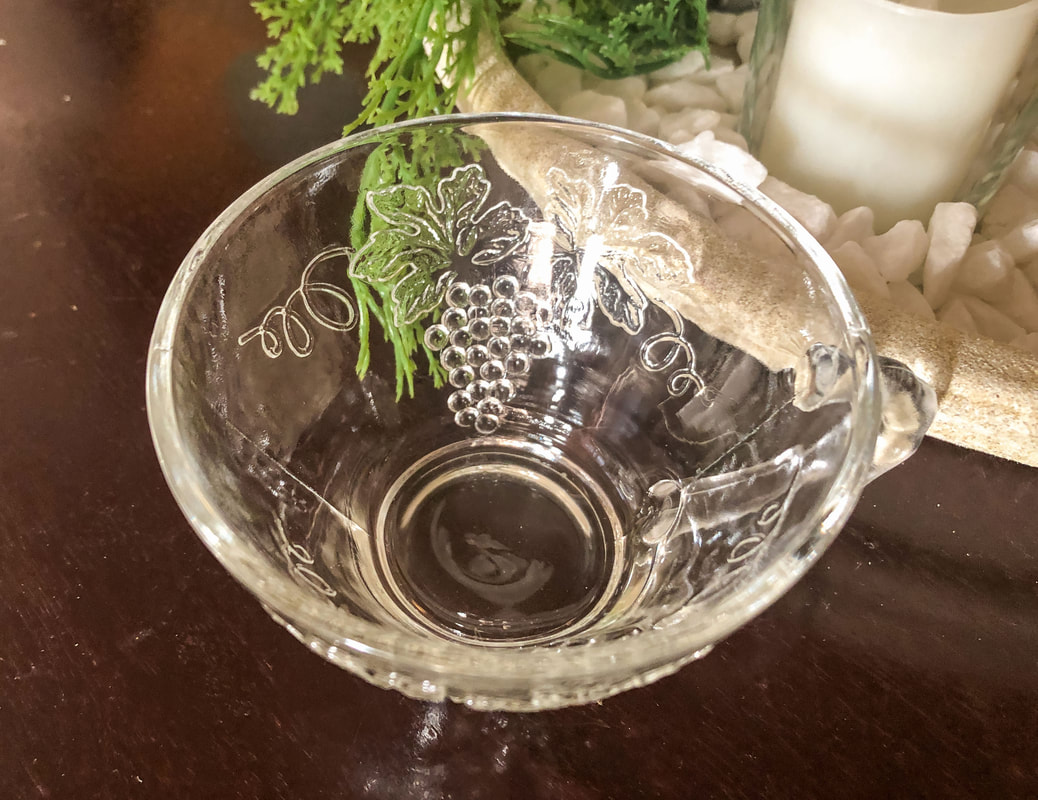 Thrifted glass tea cup to be used for this homemade candle project. Photo by Diane M. Lilly, 2022. Prep your clean room-temperature containers using a hot glue gun to secure the wick tabs to the bottom. The wicks can be held in place (to prevent them from moving during the pouring process) with sticks and rubber bands. 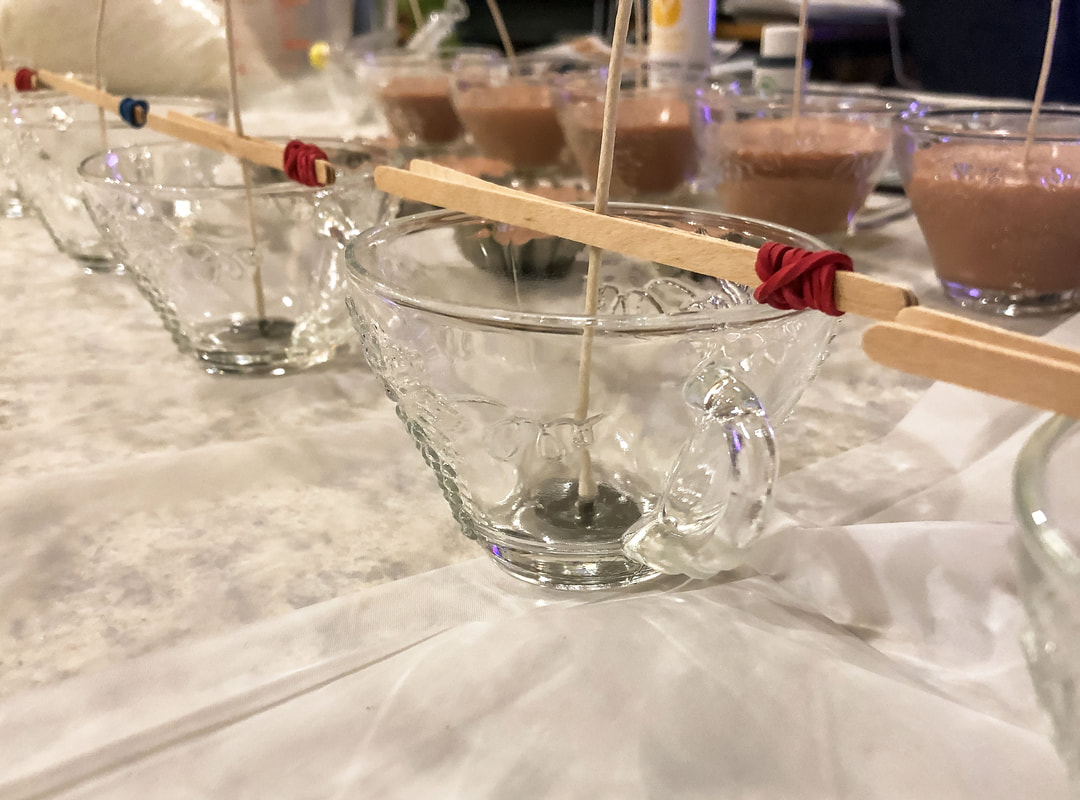 Glass tea cups with wicks set. Photo by Diane M. Lilly, 2022. Prepping the work surfaces… If you value your counters or tables (or whatever surfaces you will be using for this project), do yourself a favor and spend a little time carefully covering them with layers of newspaper, cardboard, or plastic tablecloths. Fragrance oil and candle dye can be challenging to remove from certain surfaces! And have plenty of paper towels, old rags, and newspapers for cleanups and spills. If you spill any wax, FO, or dye, clean it immediately with soap and water. Try to be mindful of how you handle your materials to prevent drips and spills. Melting the candle wax… Fill a large pot halfway with water and place it on the stove. Pour your dry wax flakes into the wax melting pot and place this container into the large pot on the stove. It’s ok if it floats a little. Boil the water and keep an eye on the melting wax. (Do not leave unattended.) Once all the wax is melted, monitor the temperature with a candy thermometer. The melted wax is ready for fragrance oil when the temp reaches 185 degrees F. (This is the temperature for my particular type of wax and FO. You will follow any directions for your own choices.) Turn off the burner, and stir the wax and FO well. Add candle dye, stirring frequently, until everything is thoroughly blended. 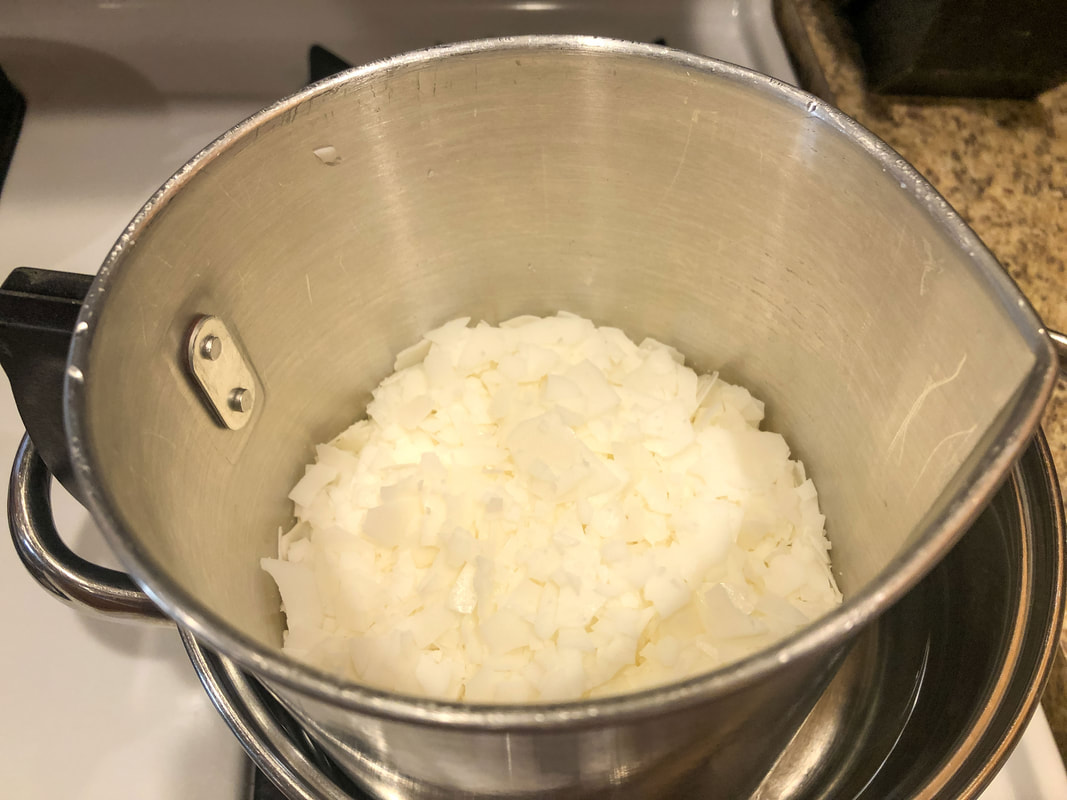 Soy wax flakes in metal melting pot inside a larger pot partially filled with water. Photo by Diane M. Lilly, 2022. Let the candle wax cool (mixing occasionally) to 110 degrees F or less or until slushy. I like to let the wax cool in the hot water for a few moments, then transfer it to a second pot with a couple of inches of cool water. Continue stirring the wax as it cools. Add a few ice cubes to speed up the process and continue stirring. (Do not cool down the wax too quickly--you won't get a good pour.) 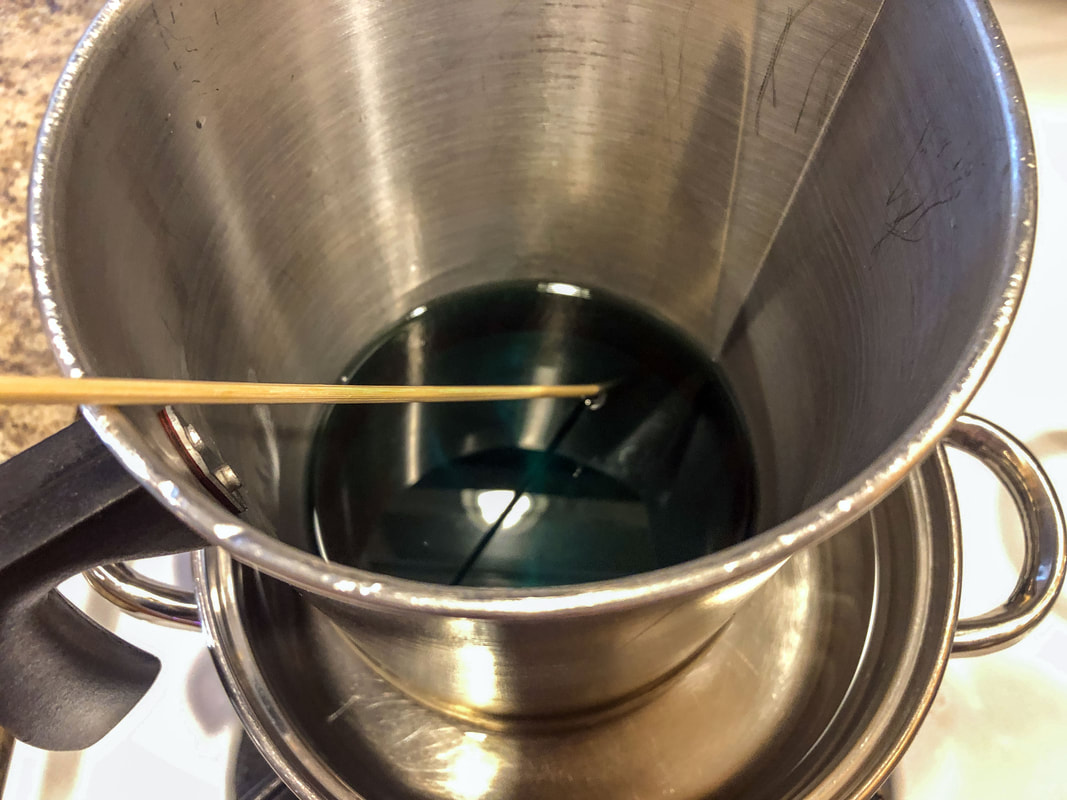 Wax melted down and green dye and FO added. Photo by Diane M. Lilly, 2022. 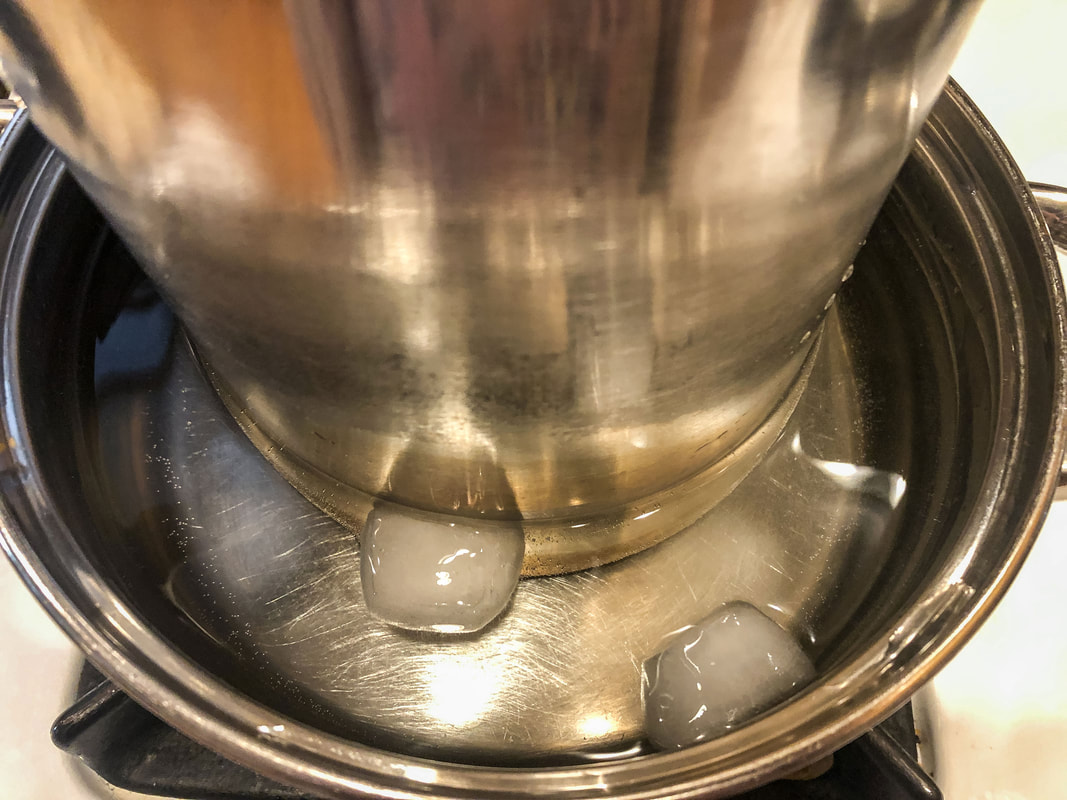 Ice cubes added to cold water to help cool down the wax a little faster. Photo by Diane M. Lilly, 2022. Pouring the candle wax… Pour cooled, slushy wax into your containers VERY SLOWLY, keeping an eye on the wick so it stays centered. Take your time--don’t be in a rush. Pouring too quickly can cause air bubbles and cave-ins around the wick. If this should occur, remelt the top and pour more wax into the holes. Some prefer to do this step in two pours, but lines sometimes appear if you don’t get it right. If I have any extra wax left in the pot after filling my containers, I will pour the remaining wax into votive or wax melt molds sprayed with vegetable oil. This project yielded enough wax to fill six tea cups and three molds. 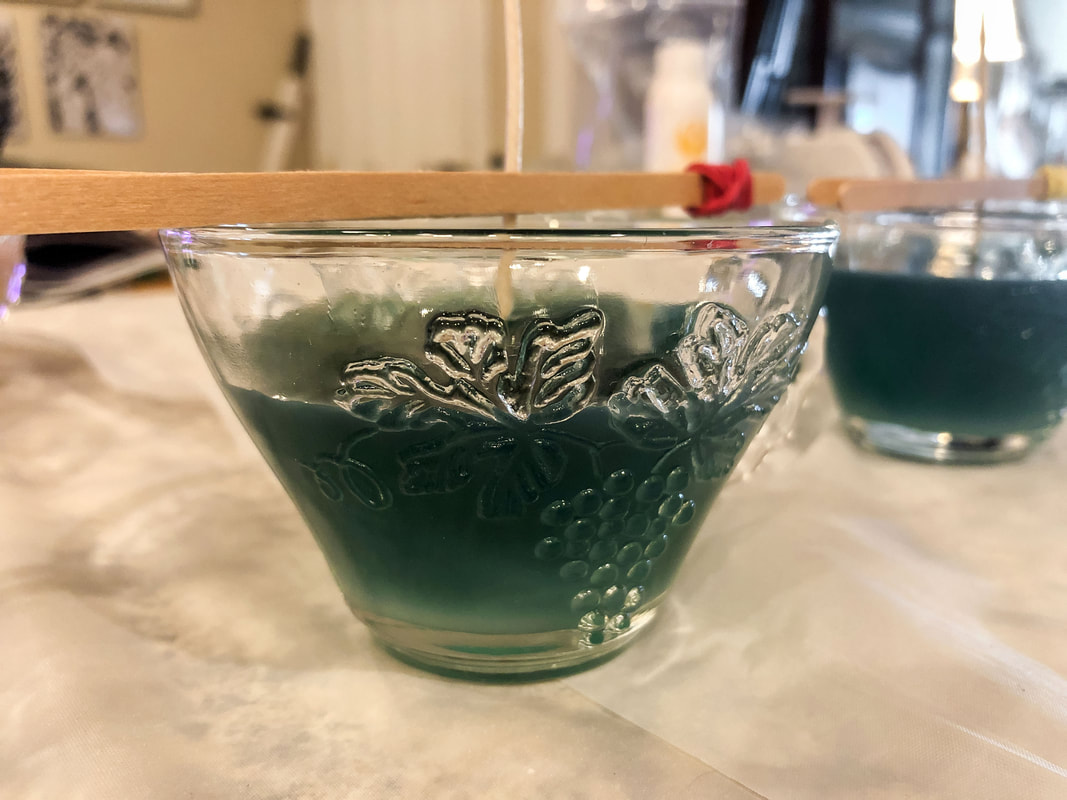 Eucalyptus soy candles just poured. Photo by Diane M. Lilly, 2022. 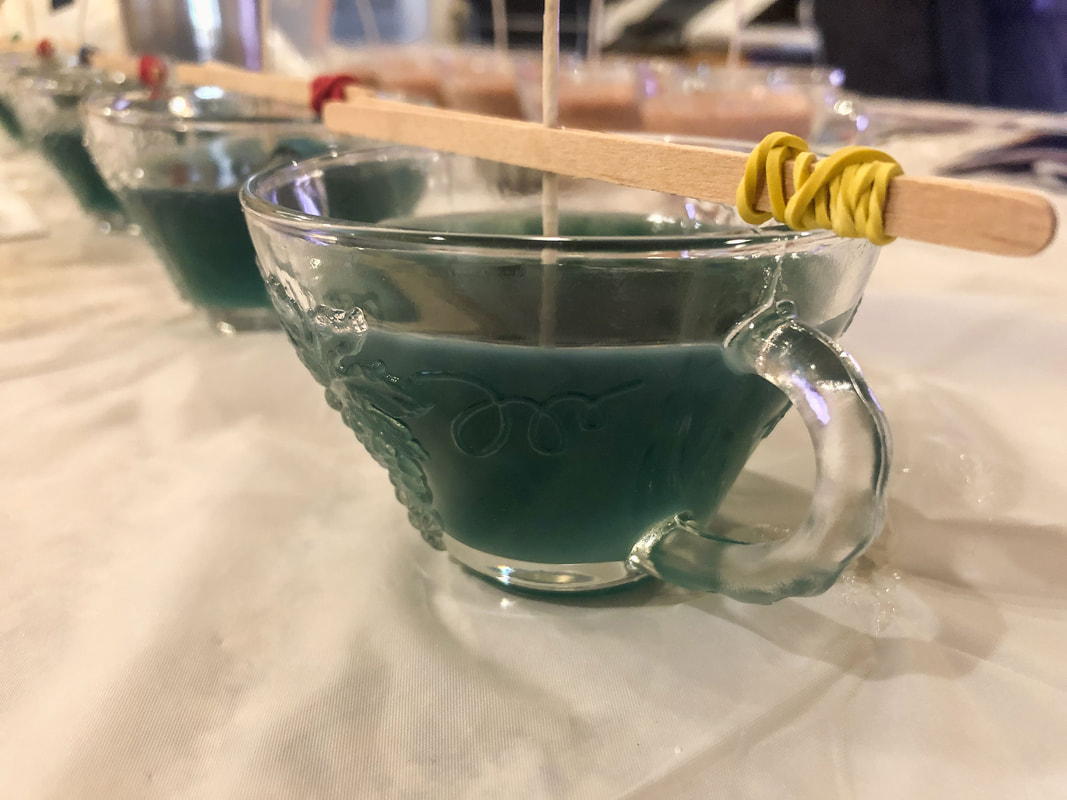 Eucalyptus scented soy candles just poured and setting. Photo by Diane M. Lilly, 2022.  Glass tea cups and metal wax molds just poured. Photo by Diane M. Lilly, 2022. Let your candles cool and cure… Once your candle wax has been poured, leave the candles alone for an hour or so while they cool down and set. When the wax is thoroughly cooled and hardened, you can trim the wicks and store them for 48 hours to two weeks before burning. You will not be able to burn your new candles immediately! The candles need time to cure. The curing time will depend on the type of wax used. You can use this curing time to assess the cold throw—the scent in the room when the candle is not burning. 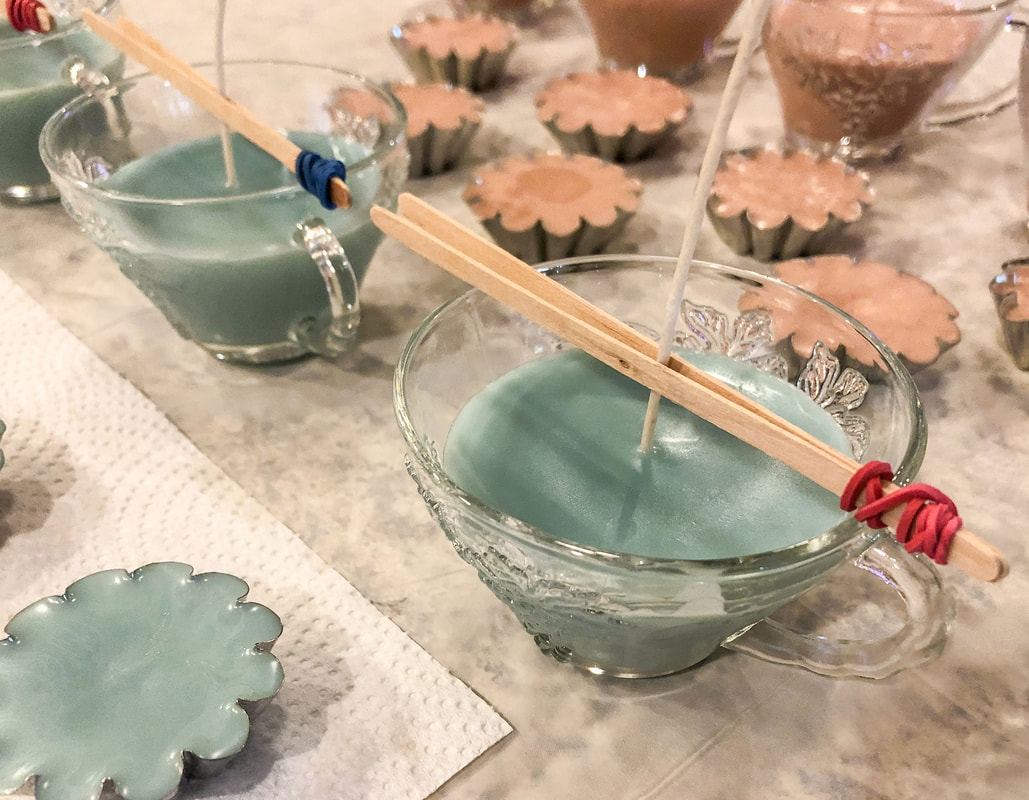 Eucalyptus and Spearmint candles curing alongside Mountain Hazelnut Cafe candles (from another project). Photo by Diane M. Lilly, 2022. 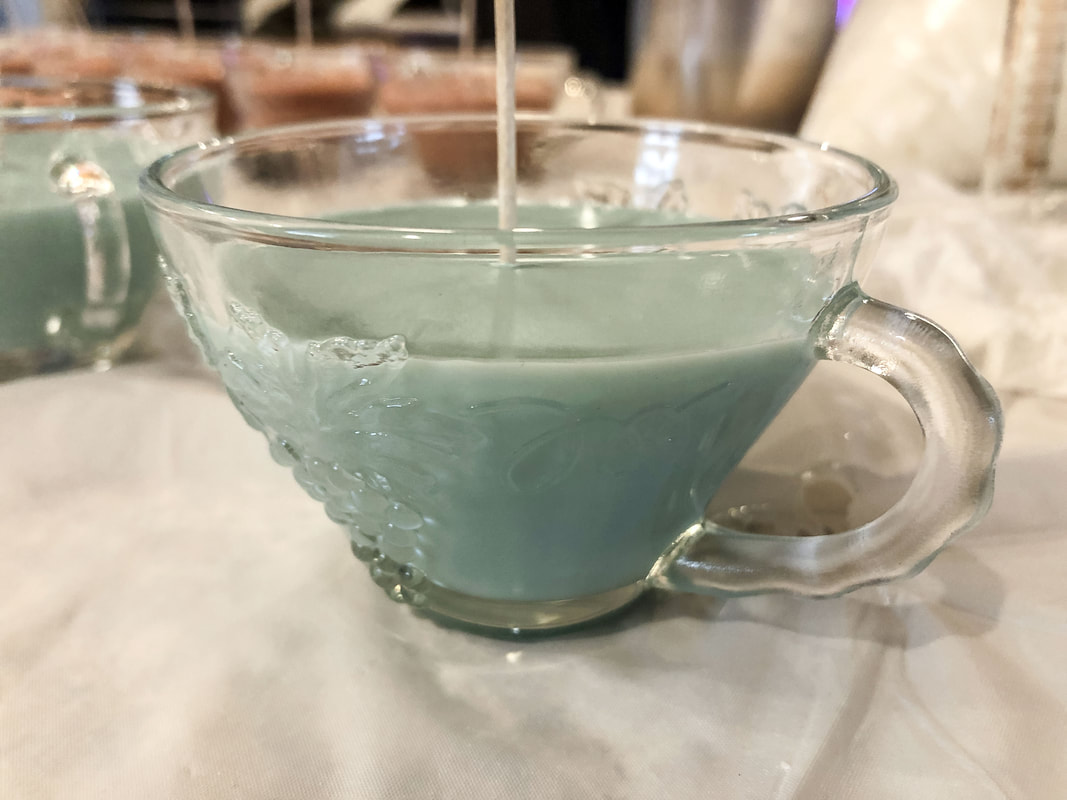 Homemade eucalyptus and spearmint soy candle curing. Photo by Diane M. Lilly, 2022.  Glass tea cups and metal molds filled with homemade soy wax with a eucalyptus scent. Photo by Diane M. Lilly, 2022. Cleanup tips… Be very careful not to dump wax residue down the drain. Wipe pots and utensils with paper towels, rags, or newspaper to remove excess wax. You can rinse all your supplies in soapy water once all the wax is removed. Stubborn wax can be remelted with a hair dryer or heat gun and then wiped down. Wash anything with fragrance oil with soap and water immediately. It may take a few washes to get rid of the scent. As for the candle dye, be very careful with this stuff! It does stain, and the stain is usually permanent. Use soap and hot water to clean anything with candle dye on it. My new homemade eucalyptus and spearmint soy candles… It took an hour to make these eucalyptus and spearmint soy candles! What do you think? Have you made any of your own, and do you have tips to share? Have I inspired you to get in that kitchen and make your candles? Leave a comment below and let me know! 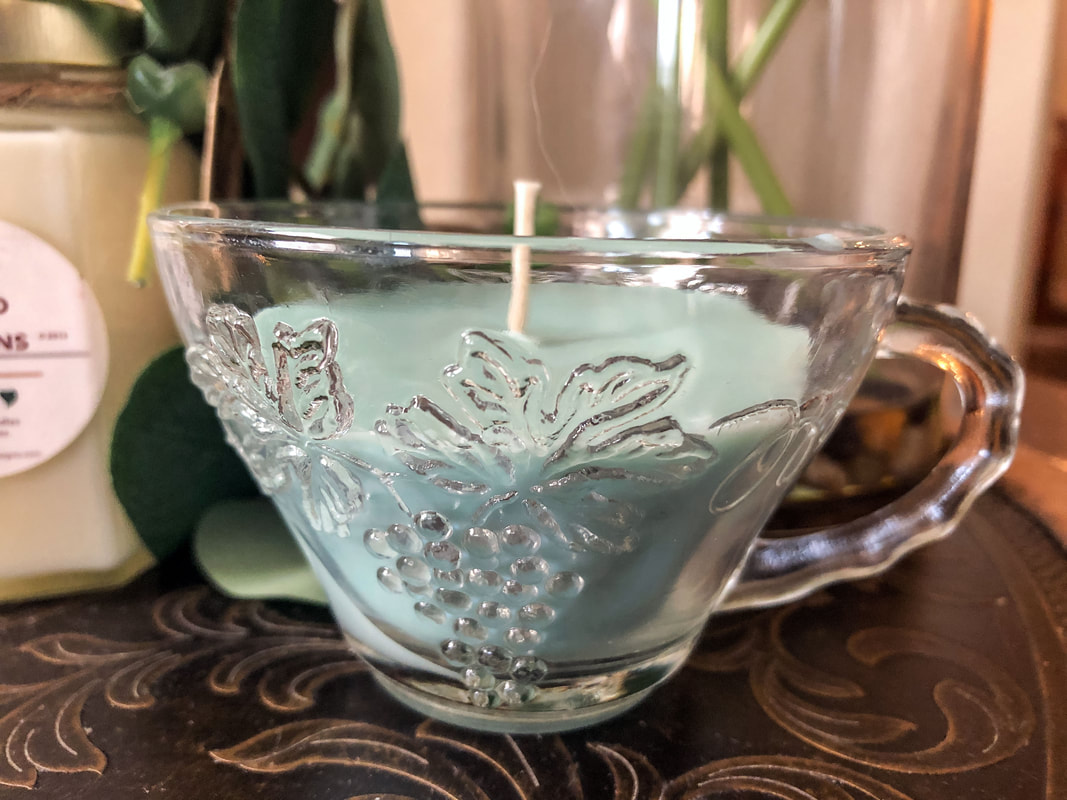 Glass tea cup with eucalyptus scented soy wax curing after a pouring. Photo by Diane M. lilly, 2022. 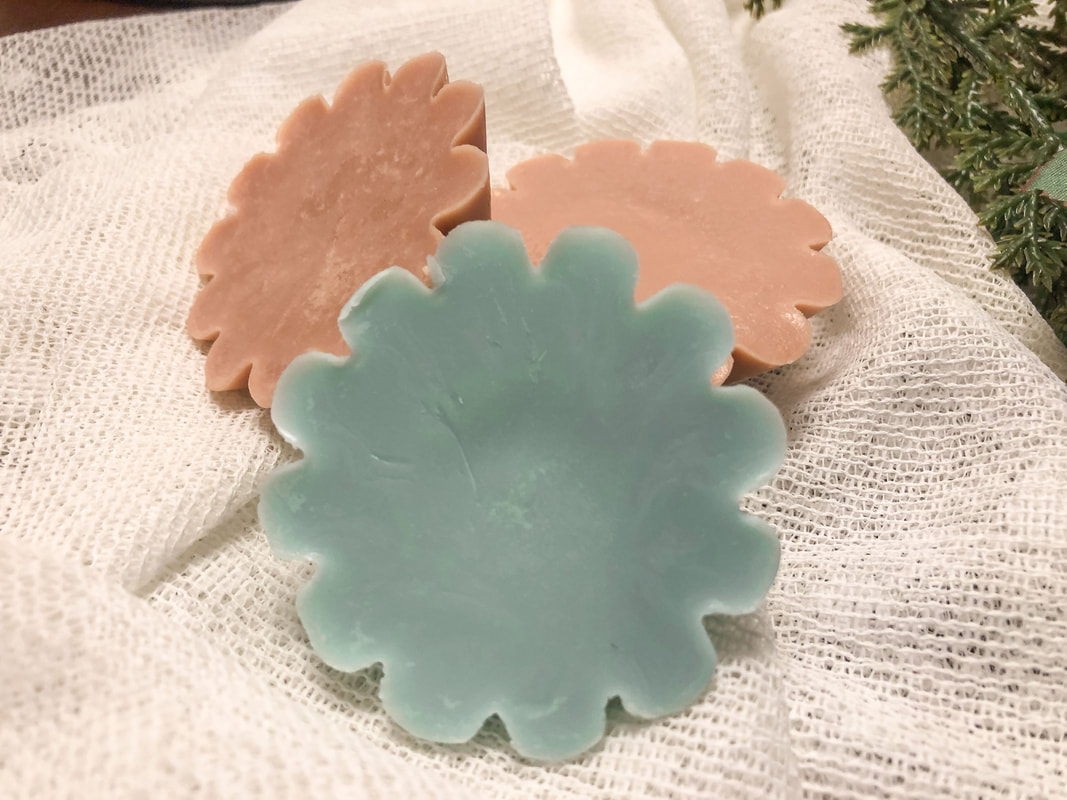 Wax warmers from my homemade soy wax candle projects. Photo by Diane M. Lilly, 2022. 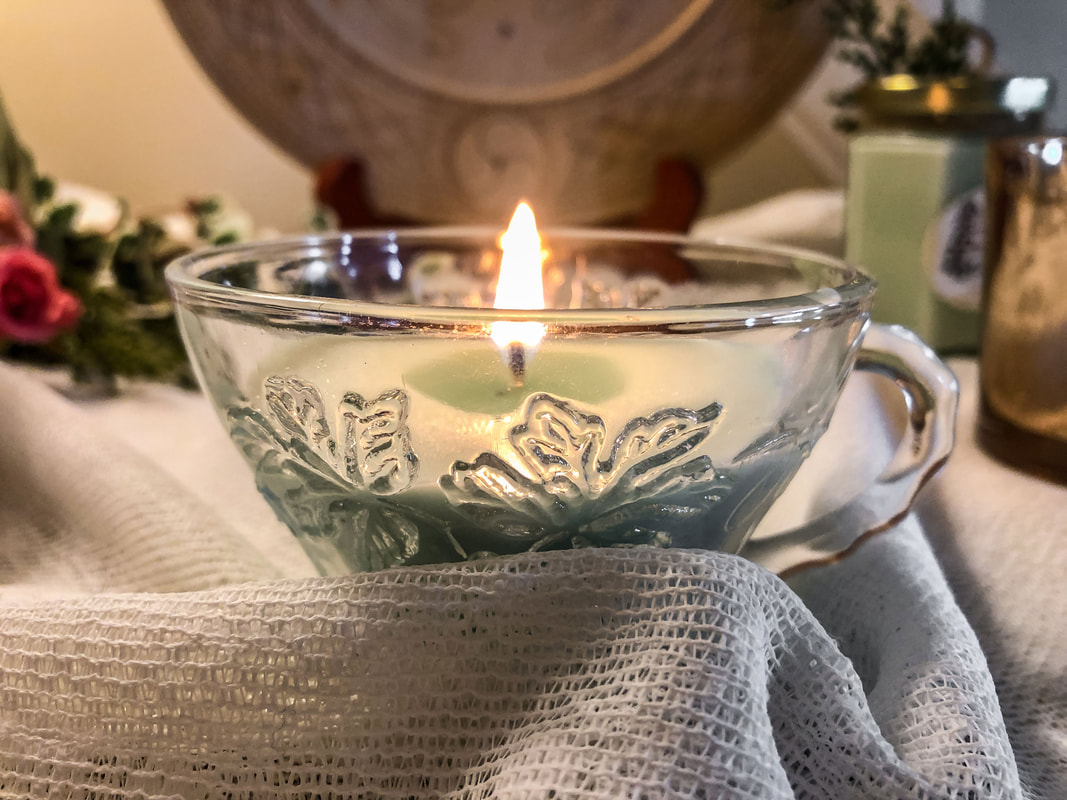 Hand made soy wax candle in a glass teac cup, first burn. Photo by Diane M. Lilly, 2022. 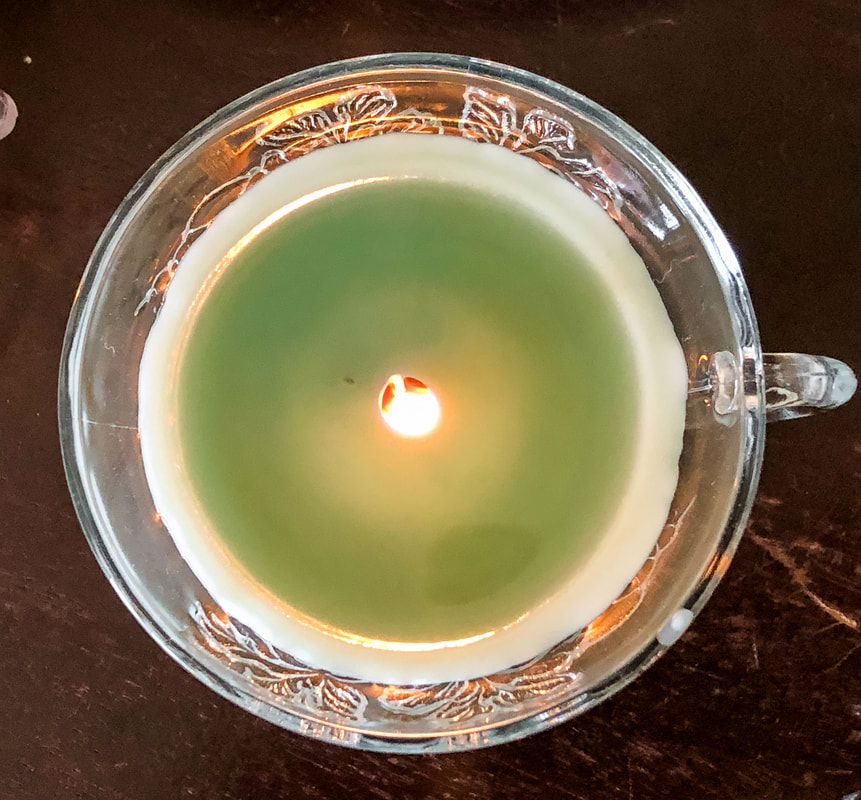 Interesting top-down shot of the eucalyptus soy candle burning. Photo by Diane M. Lilly, 2022. Related blogs you may want to read: Homemade candle recipe with a hazelnut fragrance Winter color palette ideas for your home decor Nine design trends for 2022 Eight ways to create cozy winter interiors after the holiday decor comes down Nine hygge decor ideas This article may contain a few items or commercial mentions, but I only used them for demonstration purposes only. I am not endorsing any particular product or receiving any monetary gain for this blog. 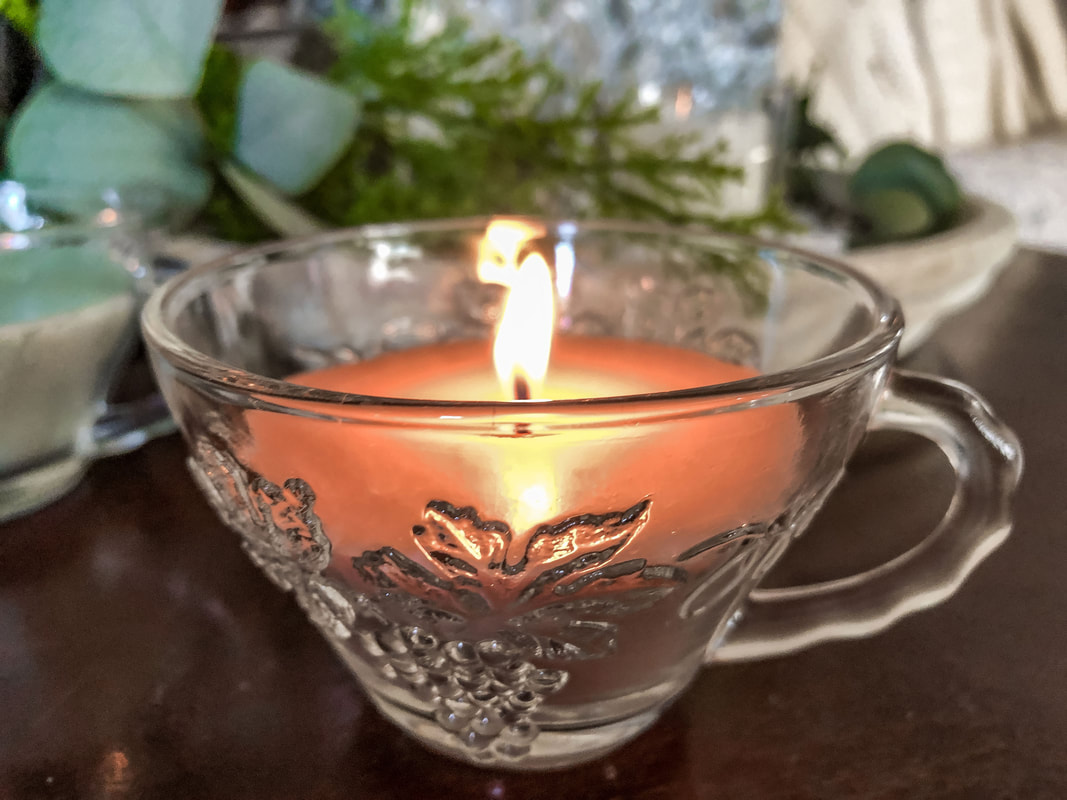 Burning a homemade candle with hazelnut fragrance. Photo by Diane M. Lilly, 2022. It’s cold outside…and I’m on a mission to make the inside of my home feel cozy. If you’ve read any of my recent blogs, you’ll know by now that I am currently embracing a common theme—hygge. Hygge is a Danish concept of finding joy and coziness in your everyday life, and candles are a core part of that life view, especially in winter. And as it turns out…I know how to make my candles! It’s been several years since I’ve made homemade candles, and I’ve been seriously missing the way my whole house used to be filled with beautiful scents for days and days. It’s been so long since I’ve made candles I wasn’t entirely sure I would remember the process, but thankfully, it all came back to me! And—spoiler alert—they turned out amazing! So, for this project, I decided to break the ice with a simply delicious fragrance called Mountain Hazelnut Cafe. I decided to talk you through my process, step by step, so you can follow along and see how homemade candles are made. So here goes… The materials you will need First, you will need a container that is candle-safe. I am using glass tea cups for this project purchased from a local thrift shop. 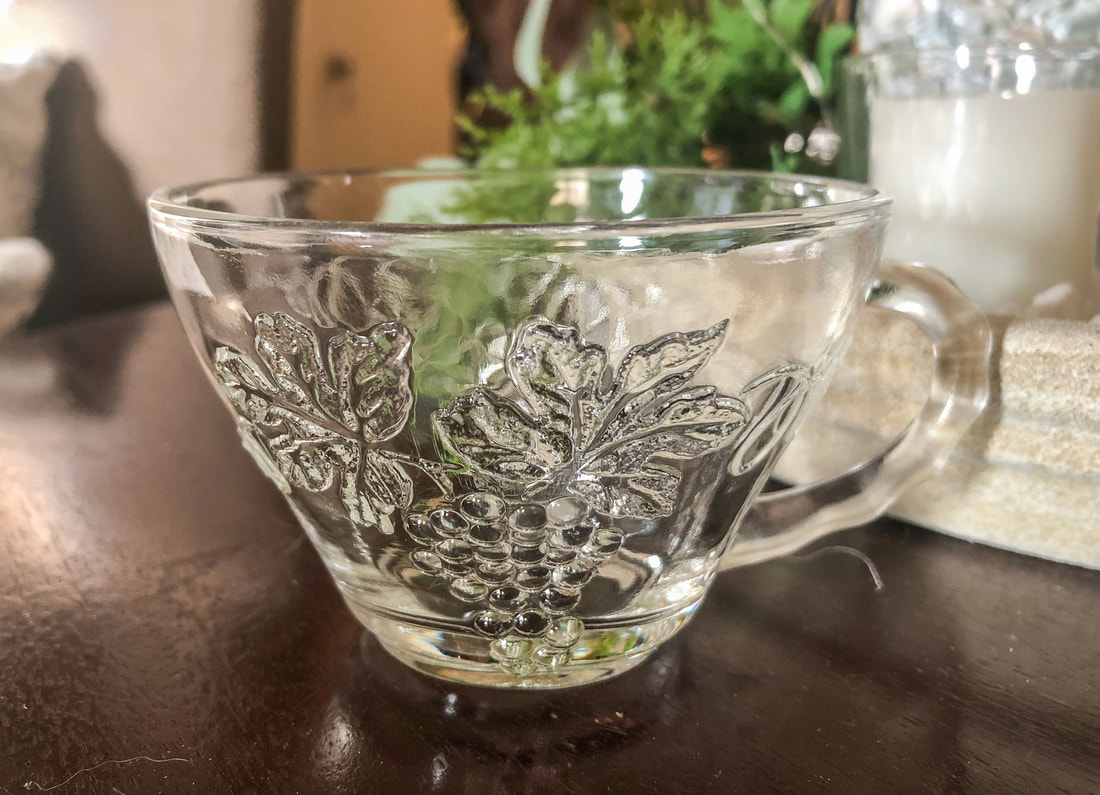 Glass tea cup from a thrift store. Photo by Diane M. Lilly, 2022. You'll also need to purchase candle wax. I use soy wax because it is more environmentally friendly. Candle wax can be bought at places like Michaels, but I purchase most of my candle supplies online from Natures Garden Candles because I love their products. 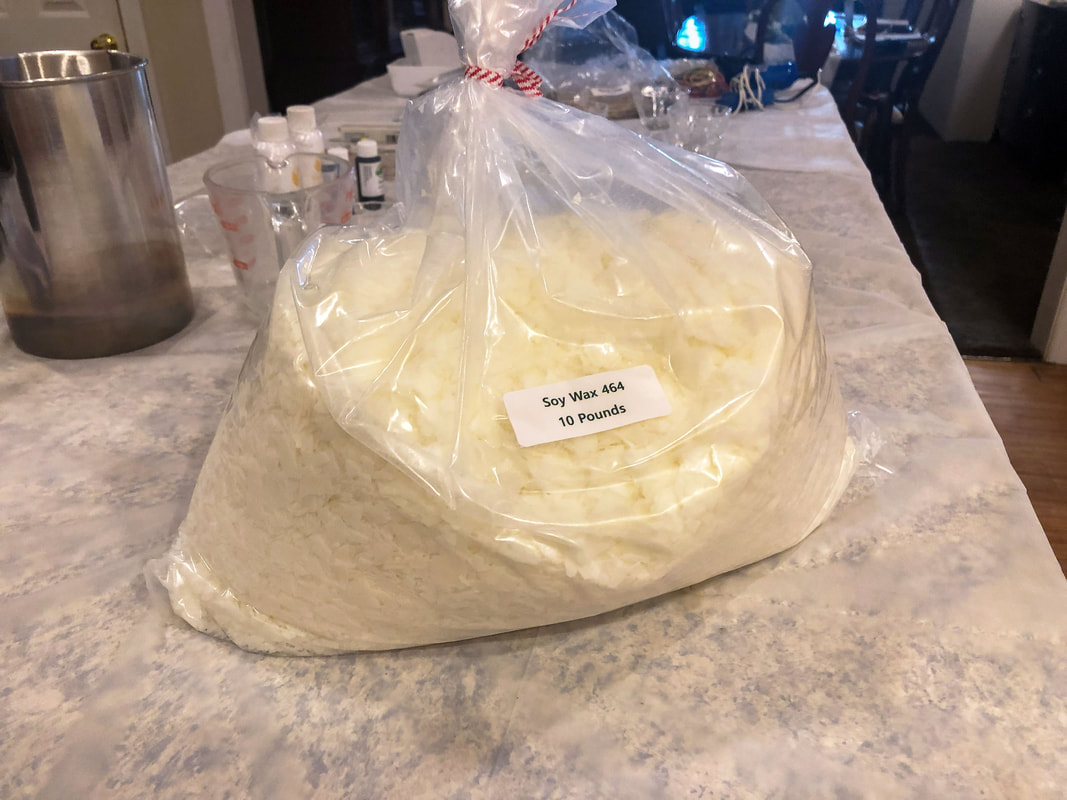 464 wax. Photo by Diane M. Lilly, 2022. You'll need wicks and tabs for a burning candle (as opposed to a wax melt). Michaels sells wicks and tabs, but better quality supplies can be sourced elsewhere. You can buy wicks and tabs separately and assemble them yourself, but I prefer pre-made hemp core wicks with attached tabs from Natures Garden. 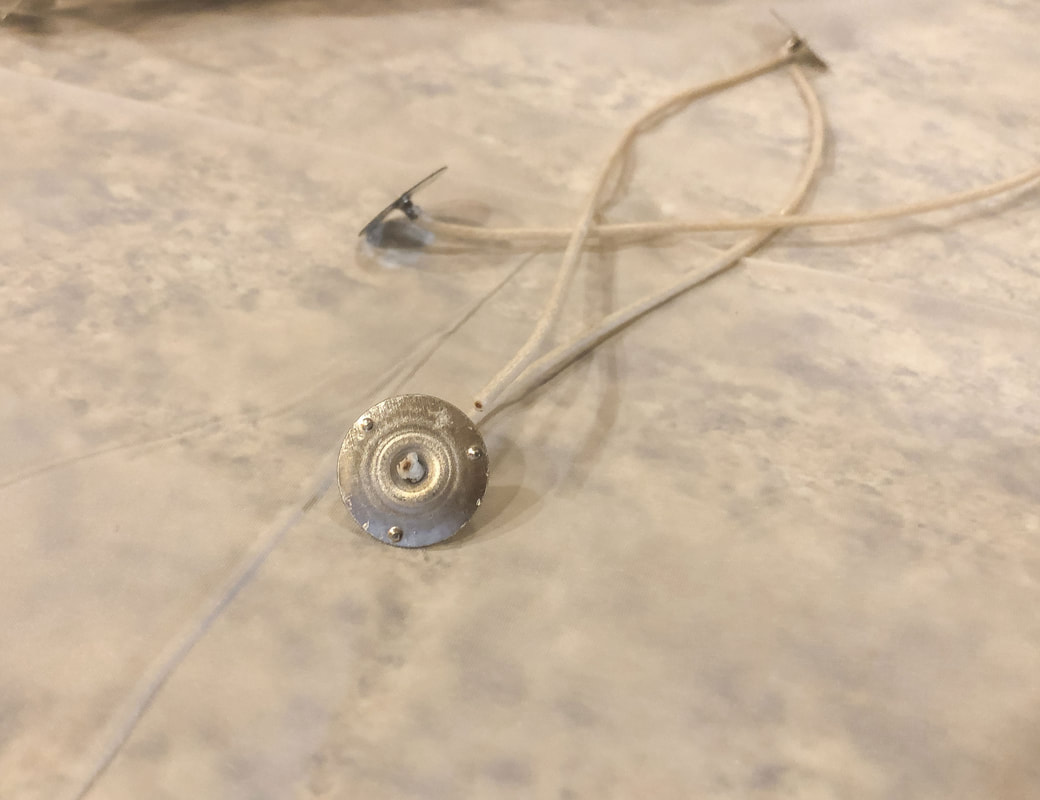 Hemp core wicks. Photo by Diane M. Lilly, 2022. Use fragrance oil and additives specifically for candles. Contrary to what you see on Pinterest, you can't just throw anything into a candle, as it can be a fire hazard. (I learned this the hard way!) 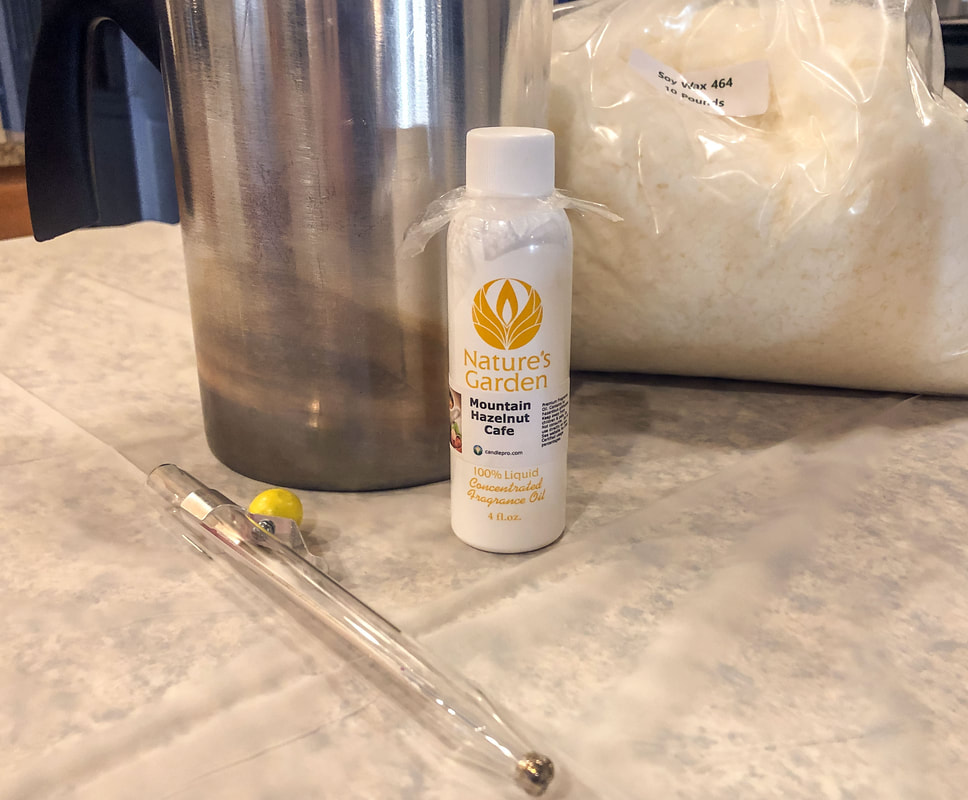 Mountain Hazelnut Cafe Fragrance Oil. Photo by Diane M. Lilly, 2022. 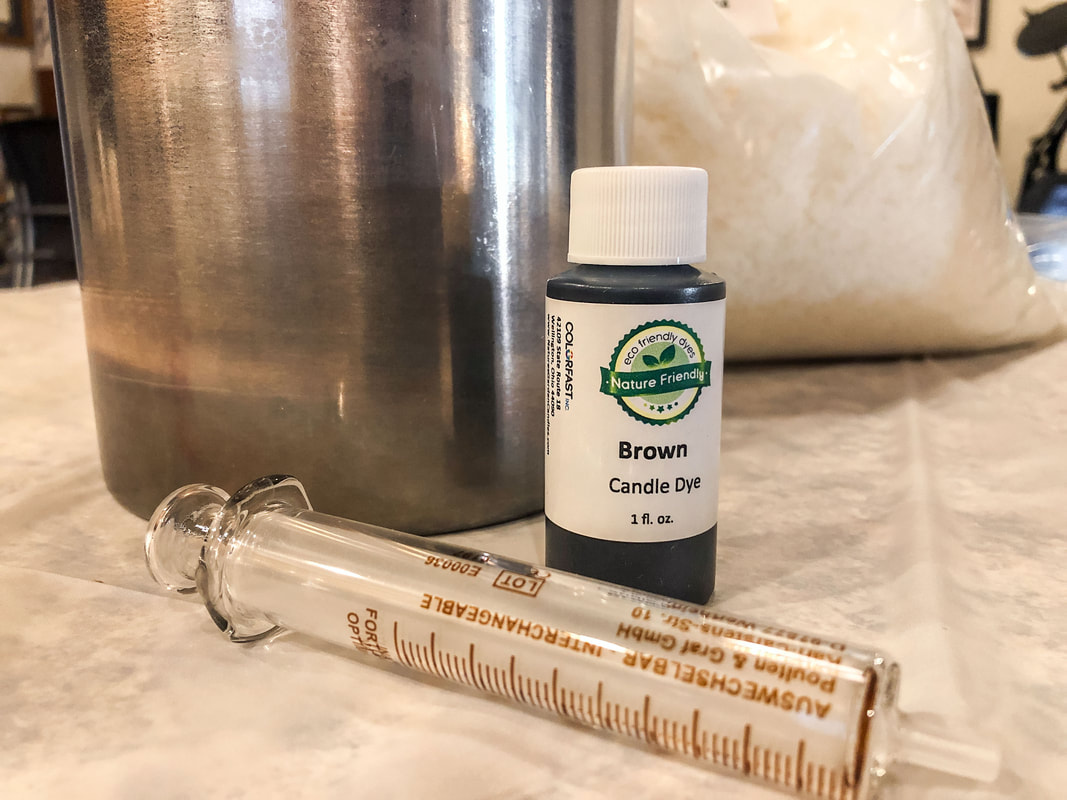 Brown candle dye. Photo by Diane M. Lilly, 2022. Misc. materials needed—Scissors, hot glue gun, syringe (for FO), eye dropper (for dye), candy thermometer, metal pot for hot water, metal pot for cold water, pot for melting wax, stirring sticks, sticks and rubber bands for propping wicks, heat gun or hair dryer, glass bowl or cup to hold FO, paper towels, newspaper, cardboard, plastic tablecloth. 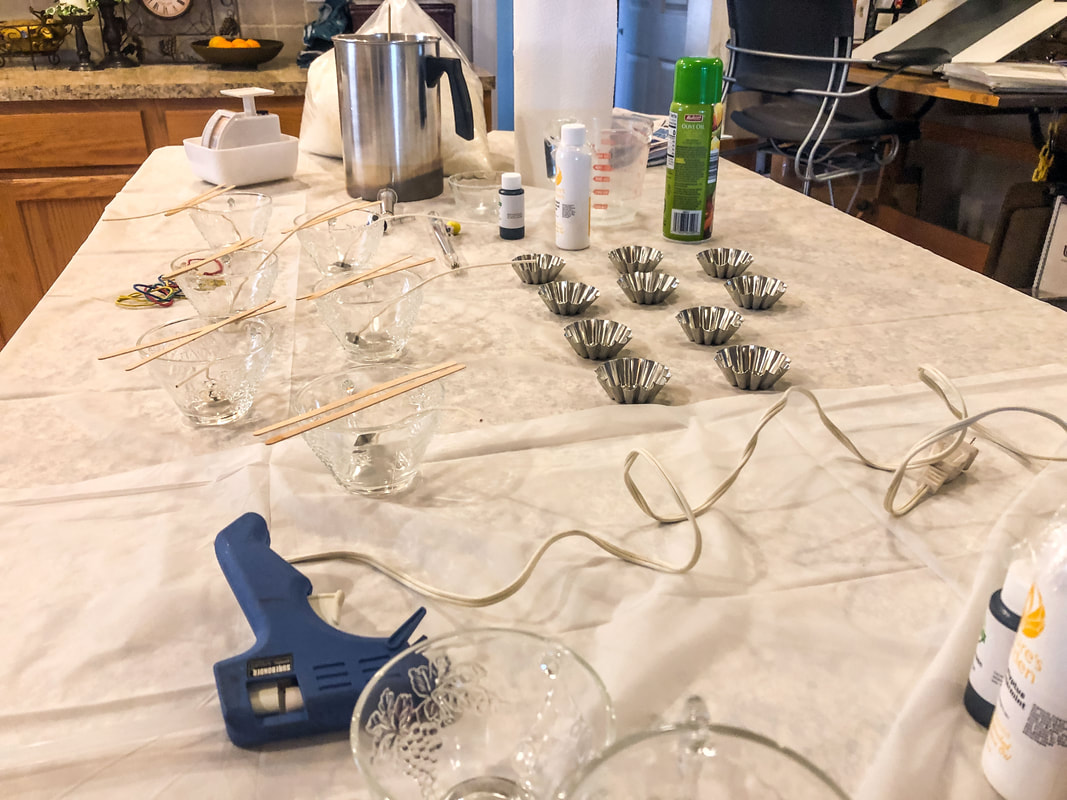 Counter prepped for today's candle making project. Photo by Diane M. Lilly, 2022. Prep your workspace Prep all of the surfaces you will be using for this project! FRAGRANCE OIL IS DIFFICULT TO REMOVE FROM SURFACES, AND CANDLE DYE DOES PERMANENTLY STAIN! Protect your counters and work surfaces with plastic tablecloths, newspaper, and cardboard, and have plenty of paper towels and disposable rags on hand for quick and easy cleanup. Clean any drips or spills immediately with soap and water. Prep your candle containers Start with clean containers that have been washed with soap and water and are at room temperature. Use a hot glue gun to secure wicks to container bottoms. Prop the wicks in place using sticks and rubber bands (or any other technique that works for you). 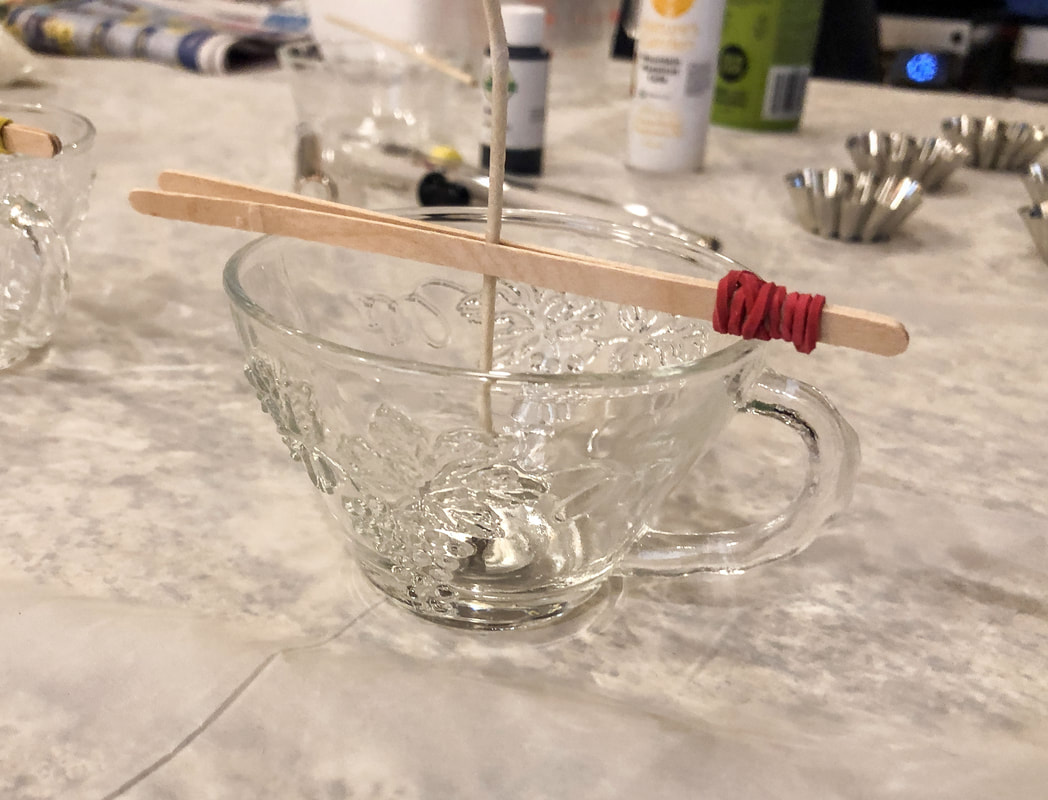 Glass tea cup with wick prepped and propped. Photo by Diane M. Lilly, 2022. About the wax… You can use any desired wax, but I am using 464 soy wax. Each wax (and fragrance oil) has specific temperature criteria, which we’ll talk about in a minute. There are different types of soy wax, but 464 soy sets creamier than, say, 415 soy wax. I used to use 415 but hated the frosting when the candles set. For this project, I used two full measuring cups of dry wax flakes (equal to 1 lb 3 oz). These flakes will melt down to half, or about 18 fl. oz. (The melted wax goes a lot further than it looks!) About the wick… There are many options for candle wicks, and the ones you use will depend on your wax and chosen scent. My wick type is a pre-tabbed 1400 hemp core for use in a 2.5"-3.5" diameter container (my container is 3 1/4” diameter). About the fragrance oil… I used 30 ml (equals 1 fl oz) Mountain Hazelnut Cafe FO for this project. (Always use candle-safe FOs.) This is a strong scent, so I am not exceeding 1 fl. oz. Generally speaking, you should use about 1-1.5 oz of FO (30-40 ml) for each pound of soy wax. The amount of FO you will use for our project will depend on your wax type, the amount of wax used, your candle dye, and the specific properties of your FO. This is not a cut-and-dry process, as each part depends on a combination of factors and often requires trial and error to get it right. Just be careful not to add too much FO due to fire hazards. About the candle dye… My candle dye is Brown Nature Friendly Candle Dye from Natures Garden Candles. I intended to use three drops but accidentally added four or five! But the finished product came out perfect...So, no harm, no foul! The melting process… And now we begin! Fill a large pot halfway with water. Place on the stove. Have a second pot nearby filled with a couple of inches of cold water. Pour your dry wax flakes into your wax melting pot and place this pot right into the large pot on your stove. 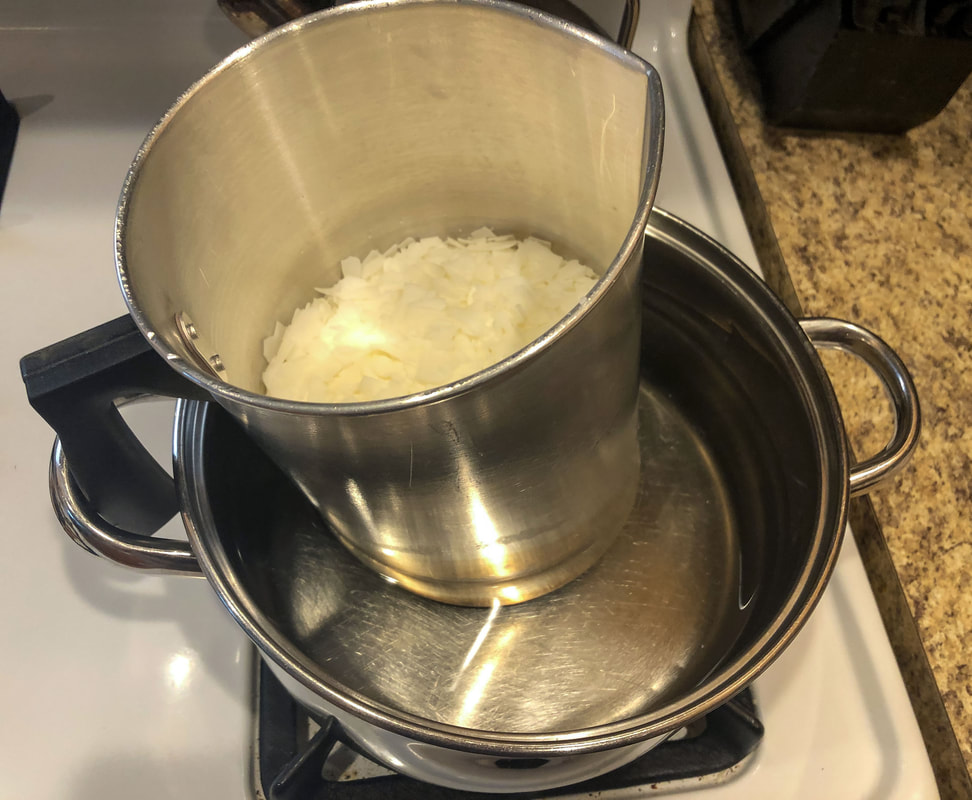 Wax melting pot placed into larger pot partially filled with water. Photo by Diane M. Lilly, 2022. Boil the water until all of the wax melts down to a liquid. 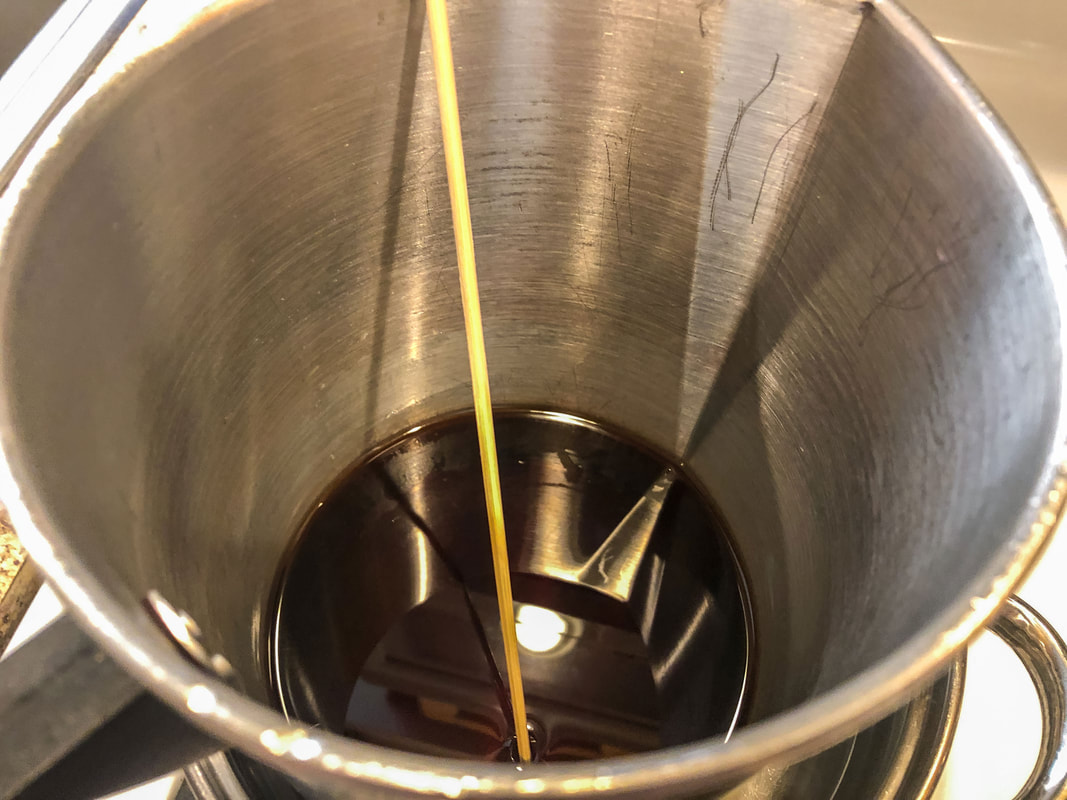 Wax melted down with fragrance oil and colorant added. Photo by Diane M. Lilly, 2022. Use the candy thermometer to monitor the temperature of the melted wax. For this specific wax type and FO, the temperature should reach 185 degrees F. 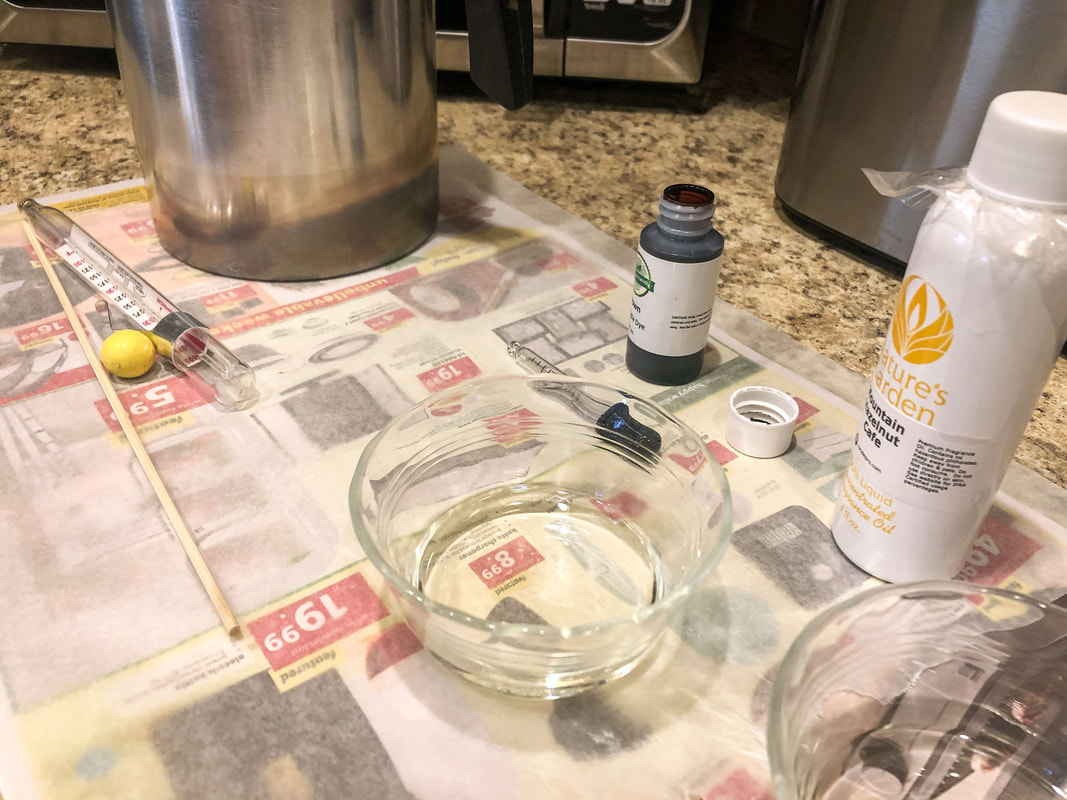 Small glass bowl is handy for measuring out the fragrance oil. Photo by Diane M. Lilly, 2022. NEVER LEAVE MELTING WAX UNATTENDED. Add fragrance oil and mix well, then turn off the burner. You can add the candle dye now and stir well. Let the candle wax cool to 110 degrees F or less—or until slushy—mixing occasionally and monitoring with the thermometer. I use a second pot with cold water (with ice cubes added if necessary) to cool down the wax to an ideal pouring temperature (110 or below, or when it’s like slush) but don’t cool too quickly, or your pouring process may not go well. The pouring process… So take a deep breath and don’t be in a hurry during this step. Pour cooled wax into your containers to the desired height. Pour VERY SLOWLY to prevent cave-ins and air bubbles, keeping an eye on the wicks so they stay centered and don’t move. If the wax starts to set in your pouring pot, quickly dip it into your pot of hot water to remelt and continue pouring. 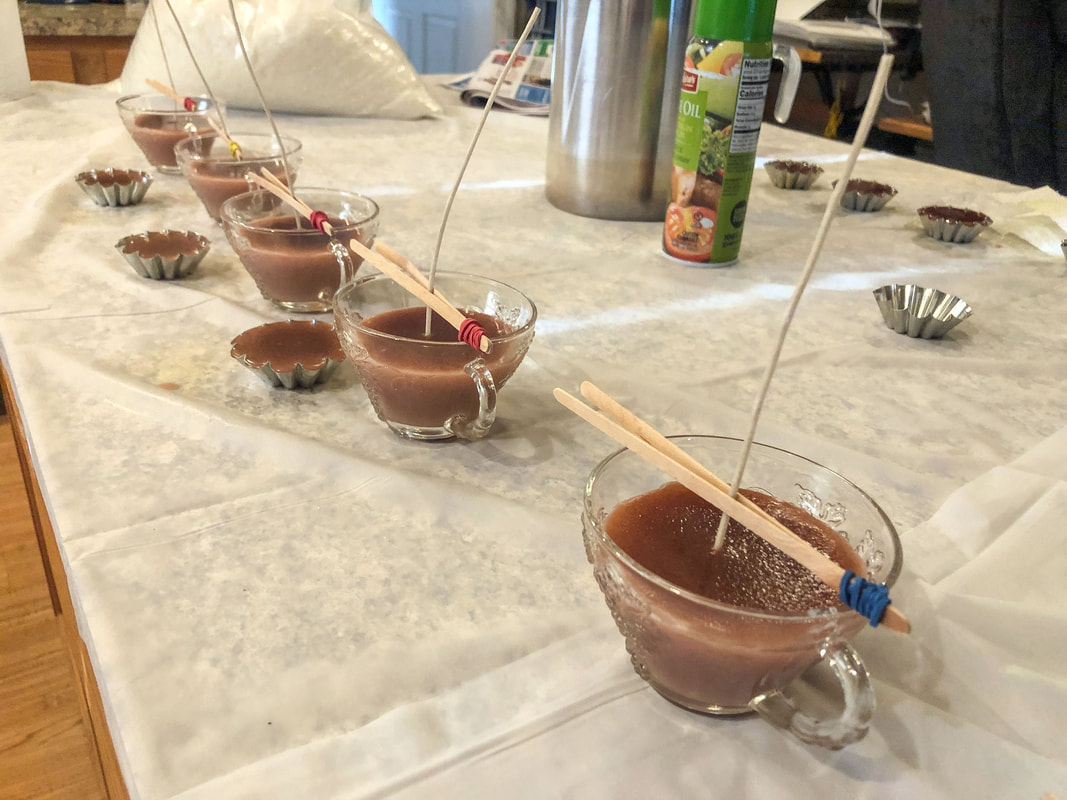 Shortly after pouring, wax is setting and looking good. Photo by Diane M. Lilly, 2022. 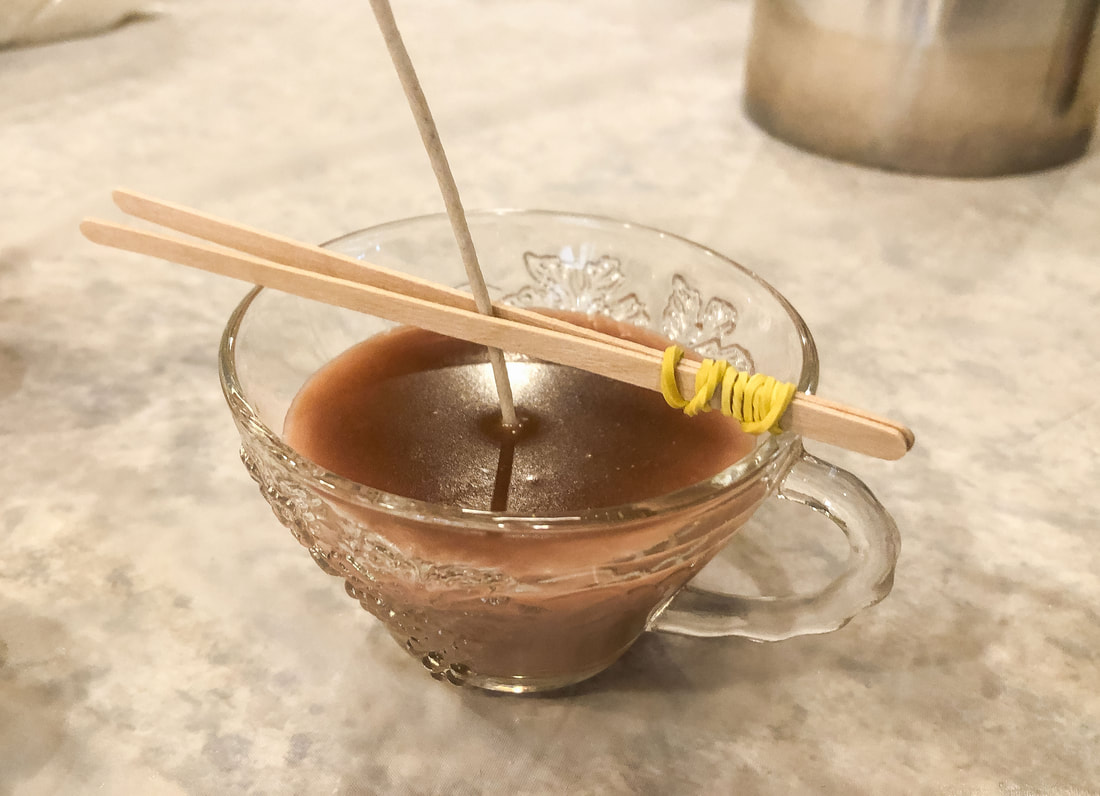 Wax setting in the glass tea cup. Photo by Diane M. Lilly, 2022. I always have a little extra wax after filling my candle containers. This wax gets poured into a few votive holders or wax melt molds sprayed with vegetable oil to prevent sticking. 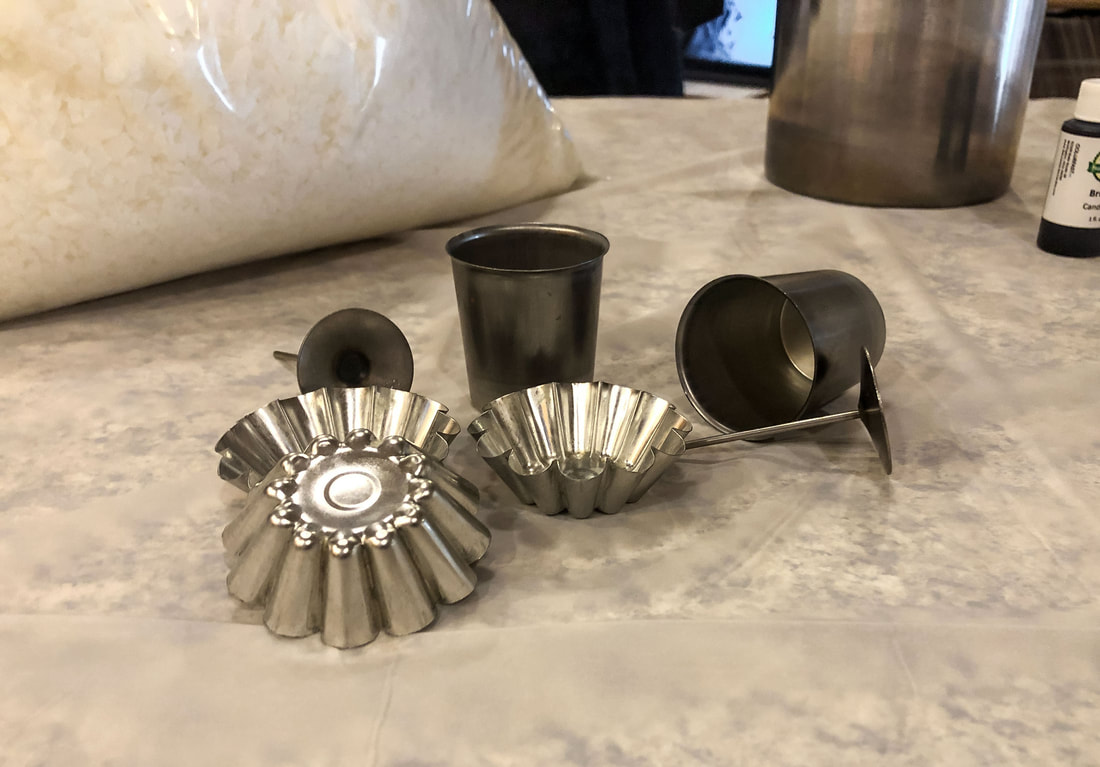 Metal floating candle molds and votive holders for the extra wax. Photo by Diane M. Lilly, 2022. Five tea cups and seven wax melt molds were filled in this project. 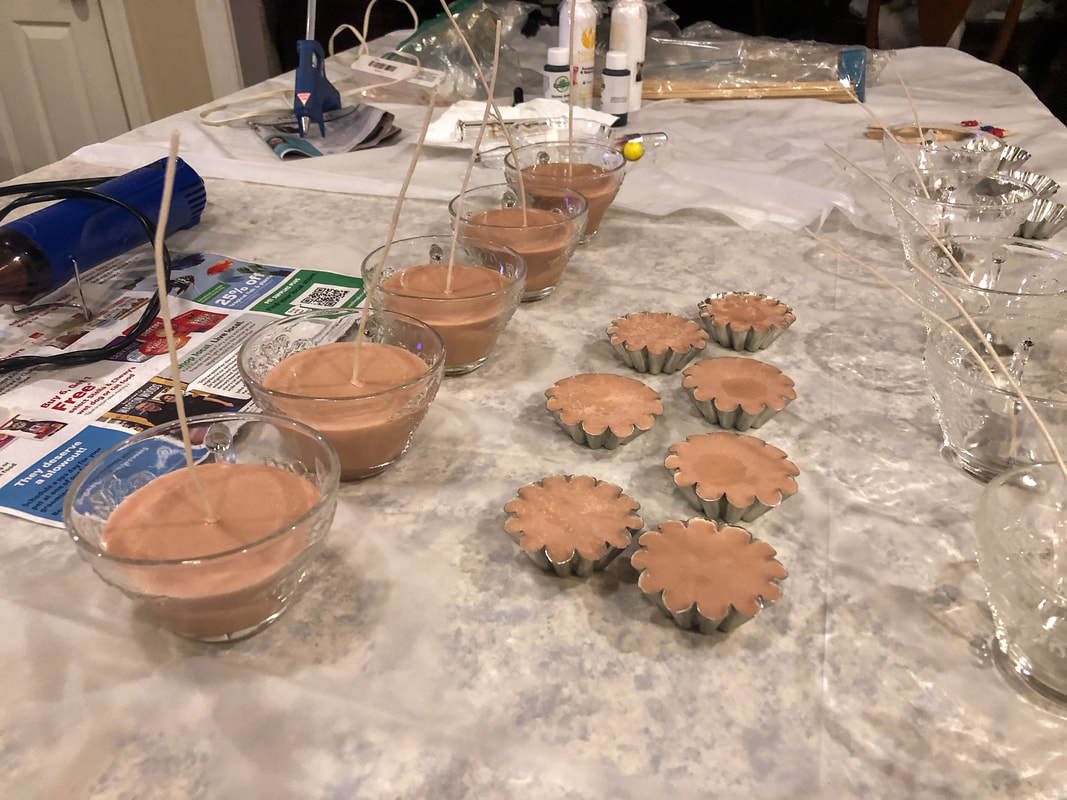 Candles setting about an hour later. Photo by Diane M. Lilly, 2022. If you see holes and cave-ins, you can do a second pour, but a line may show where the second pour began, so it’s always better to do it right the first time! Pour slowly (and at the right temp), and you should be fine. The cooling process and curing It will take a couple of hours for the candles to set enough to be moved, so just let them alone until you see that the candles are pretty much solid, and then you can move them somewhere out of the way to cure for up to a couple of weeks before you burn them. You could try to burn them after 48 hours, but the longer you let them cure, the better they will burn. 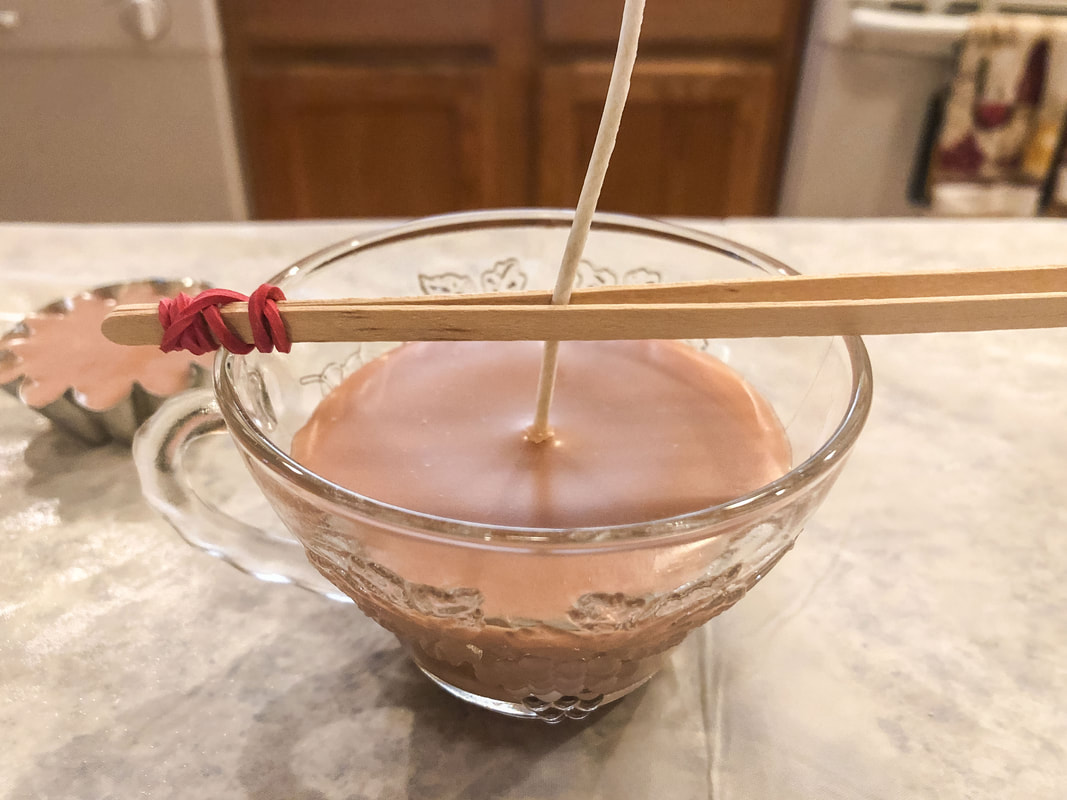 Candle is setting beautifully, with no cave-ins and a nice smooth finish. Photo by Diane M. Lilly, 2022. Once the candles are set well, trim the wicks to 1/4-1/2 inches and clean up any drips around the edges. The cleanup Do not dump wax residue down the drain! Melt the wax (with a hair dryer or heat gun) until it’s manageable enough to wipe off with paper towels or newspaper. Wipe containers until no more wax is on the surface, then rinse in water and towel dry if you like. Wash anything with fragrance oil with soap and water immediately. Use soap and hot water to clean the dropper used for the candle dye. Tip for cleanup…I highly recommend having a hair dryer or heat gun on hand. It is much easier to clean up the wax when it is melted! Final product! So here is my final product… I noticed an issue with adhesion with some of my glass tea cups, where some of the candle looks darker in places through the glass. This is usually because the containers weren’t warm enough when the wax was poured. It doesn’t affect the burn at all, but it messes up the appearance of your pretty candle due to the wax not adhering uniformly. A heat gun can be used to remelt the areas that need more adhesion if the defects bother you. It has been my experience that remelting the wax can sometimes cause frosting and discoloration, so I just left my finished candles alone.  Candle set with a little issue with adhesion to the inside of the glass. Photo by Diane M. Lilly, 2022. 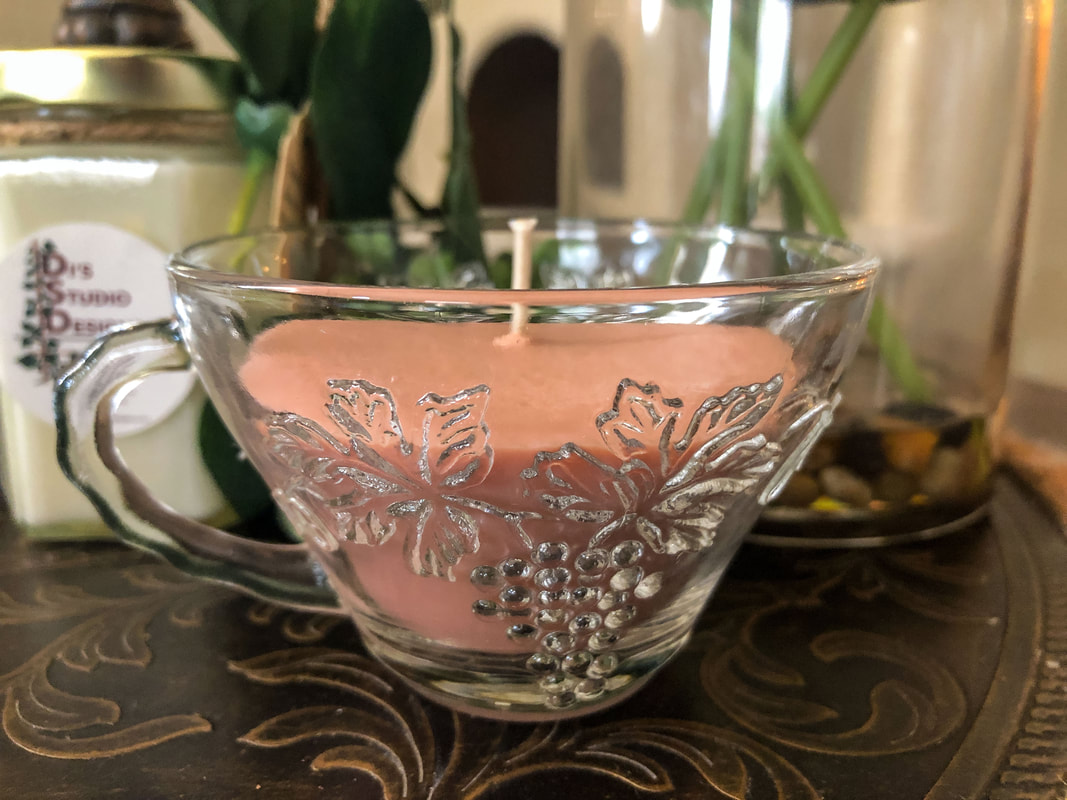 Candle is set, and now waits at least 48 hours to cure. Photo by Diane M. Lilly, 2022. 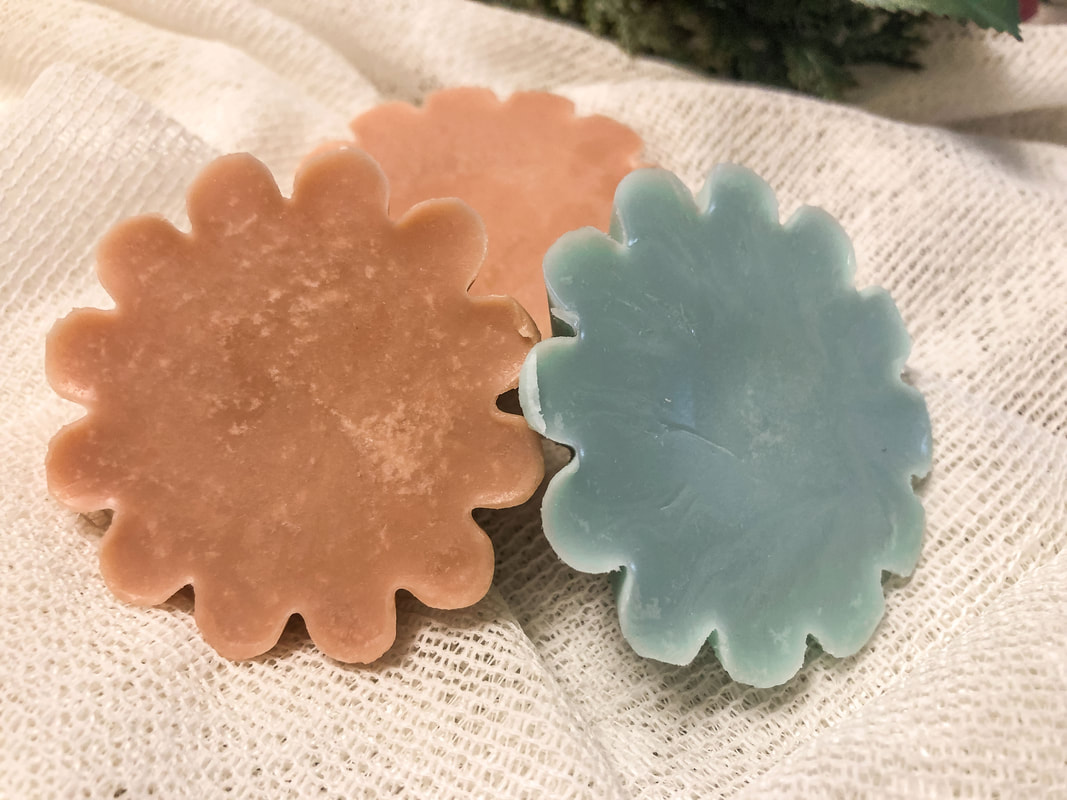 Wax melts are set and curing for at least 48 hours before use in a warmer. Photo by Diane M. Lilly, 2022. 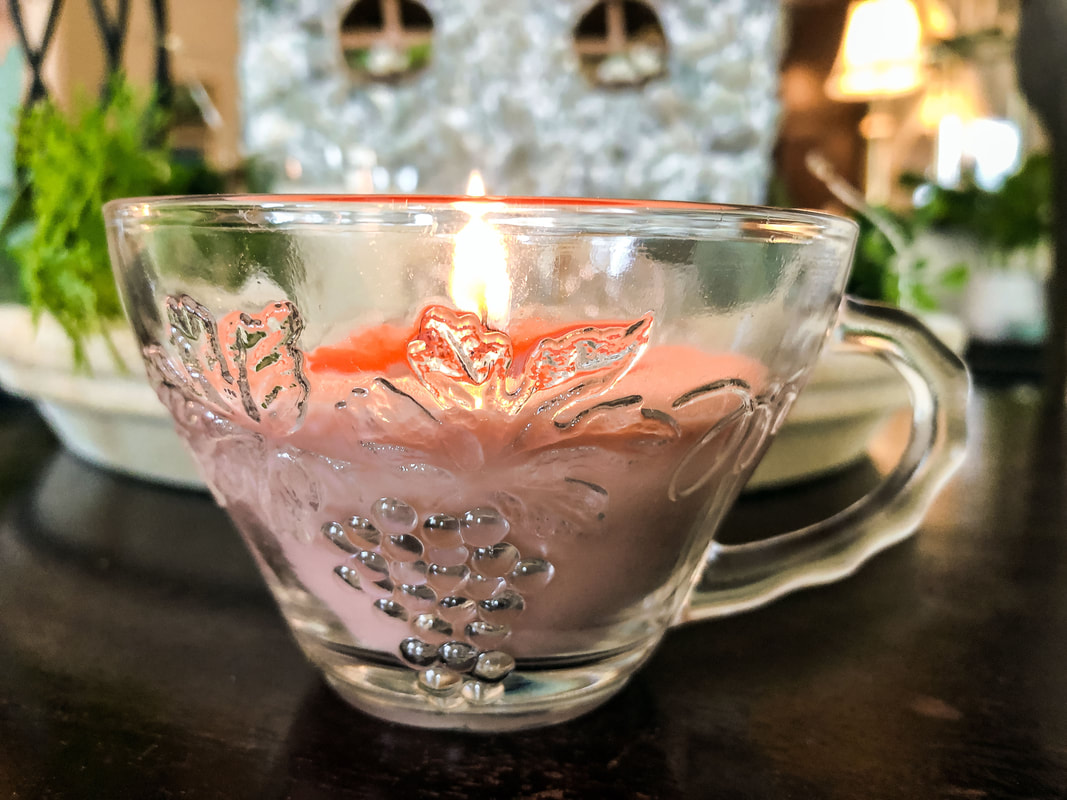 About a week later and the candle is ready to burn. Photo by Diane M. Lilly, 2022. 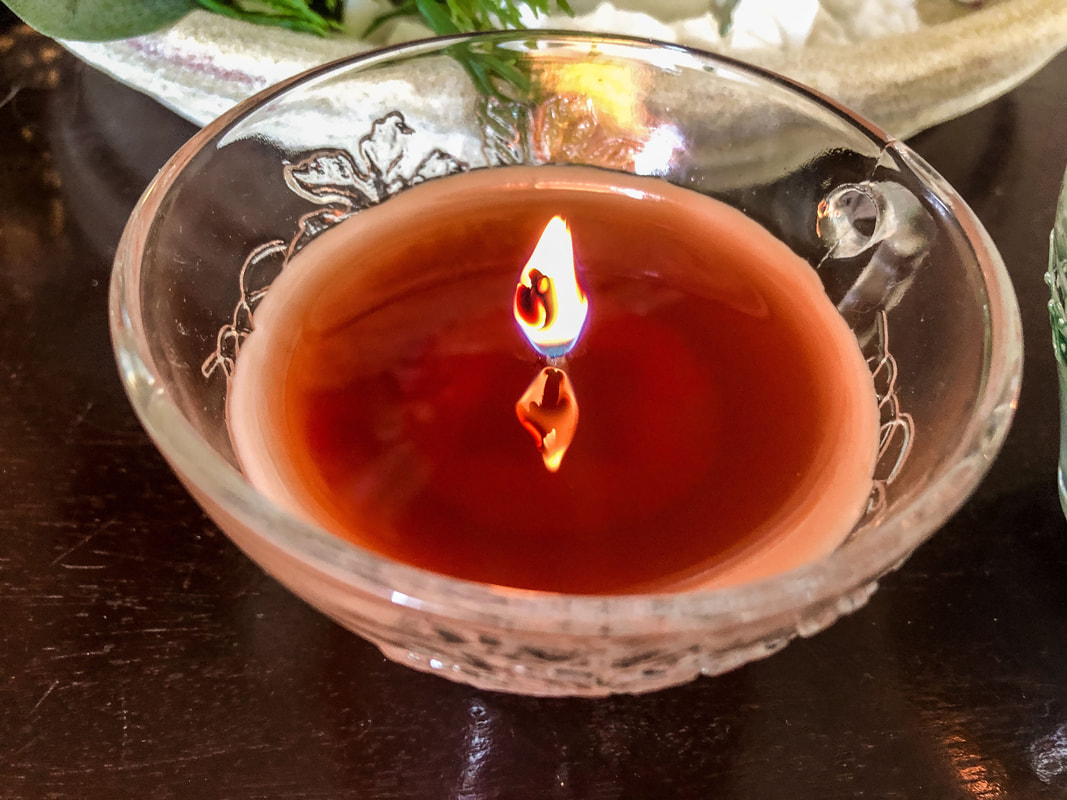 This homemade hazelnut candle has burned beautifully, with a fragrant hot throw, no smoking, and a nice pool. Photo by Diane M. Lilly, 2022. I am so happy with my new candles…And my house smells incredible! Let me know in the comments below if you have ever made candles. Feel free to post any tips or questions about making homemade candles! Related blogs you may want to read: Homemade candle recipe with a eucalyptus fragrance Winter color palette ideas for your home decor Nine design trends for 2022 Eight ways to create cozy winter interiors after the holiday decor comes down Nine hygge decor ideas This article may contain a few items or commercial mentions, but I only used them for demonstration purposes only. I am not endorsing any particular product or receiving any monetary gain for this blog. |
Author
Some of the posts on this site contain affiliate links. This means if you click on the link and purchase the item, I will receive an affiliate commission. 
Categories
All
Archives
April 2024
|