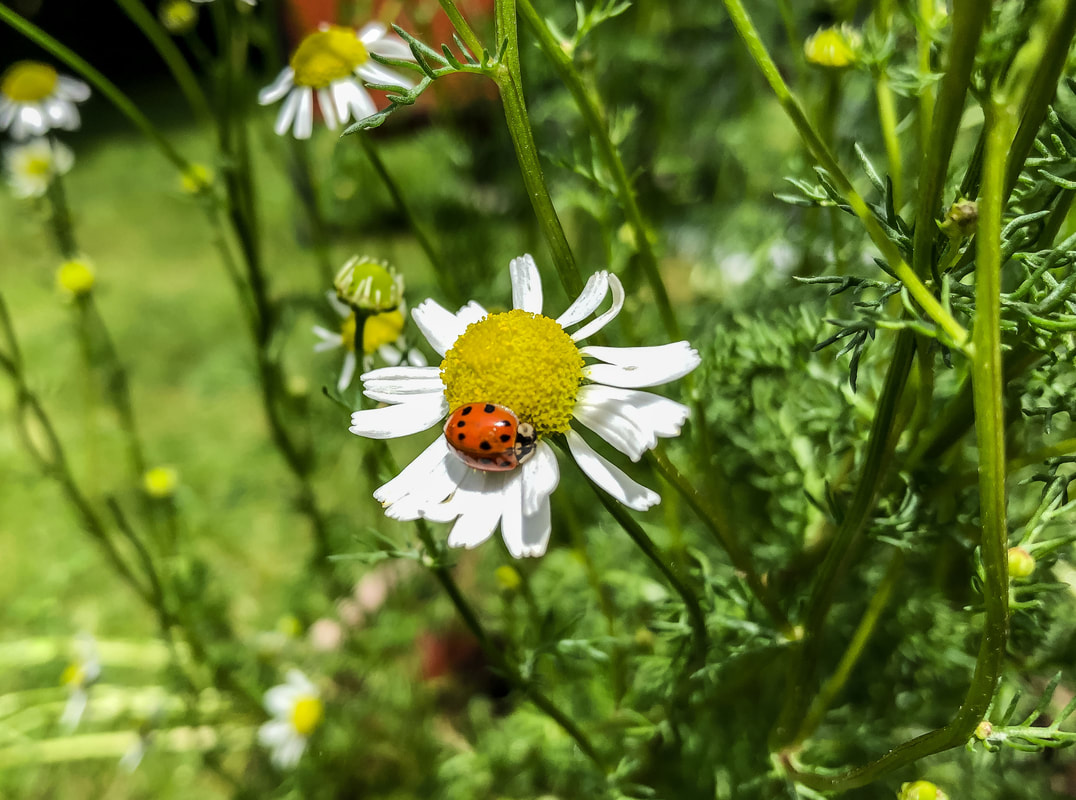
 My chamomile has a ladybug visitor. Photo by Diane M. Lilly, 2022. I’ll let you in on a little secret—chamomile is my favorite herb! I have to tell you, I have developed quite an infatuation with this gorgeous little flower. Two years ago, I planted chamomile in pots that eventually ended up on my back patio. Chamomile is part of the daisy family, as evidenced by the slender white petals stretching out from knobby yellow buds…And this herb is so deliciously fragrant! Typically, chamomile is an annual—meaning it only blooms once and then dies—but this flowery herb is a prolific self-seeder, so it comes back for me every year just like a perennial. There are two main types of chamomile—German chamomile, which grows tall with tiny flowers, and the Roman variety, which grows shorter with slightly larger blooms. Either variety of chamomile will bloom through the entire warm season, which in these parts is from mid-spring to early fall.  Chamomile growing in my garden. Photo by Diane M. Lilly, 2022. So, my big idea was that I wanted to drink homemade tea with my fresh chamomile. (That’s been a mixed bag…but I’ll get to that later.) As I do more research into this aromatic herb, I am discovering more and more possibilities for uses in my home, from using it in recipes to essential oils and so much more. This journey of exploration should be educational! But first, a few tips on how to harvest and store chamomile, and at the end, I’ll discuss my attempts at making that homemade herbal tea… How and when to harvest chamomile… Generally speaking, I harvest throughout the summer, picking the blooms as needed. You do not harvest all the flowers at once, but instead harvest frequently by snipping off only the flower bud itself and only the flowers whose petals are fully open and not drooping. Harvest the chamomile in the morning for the best flavor and to lessen the stress on the plant. 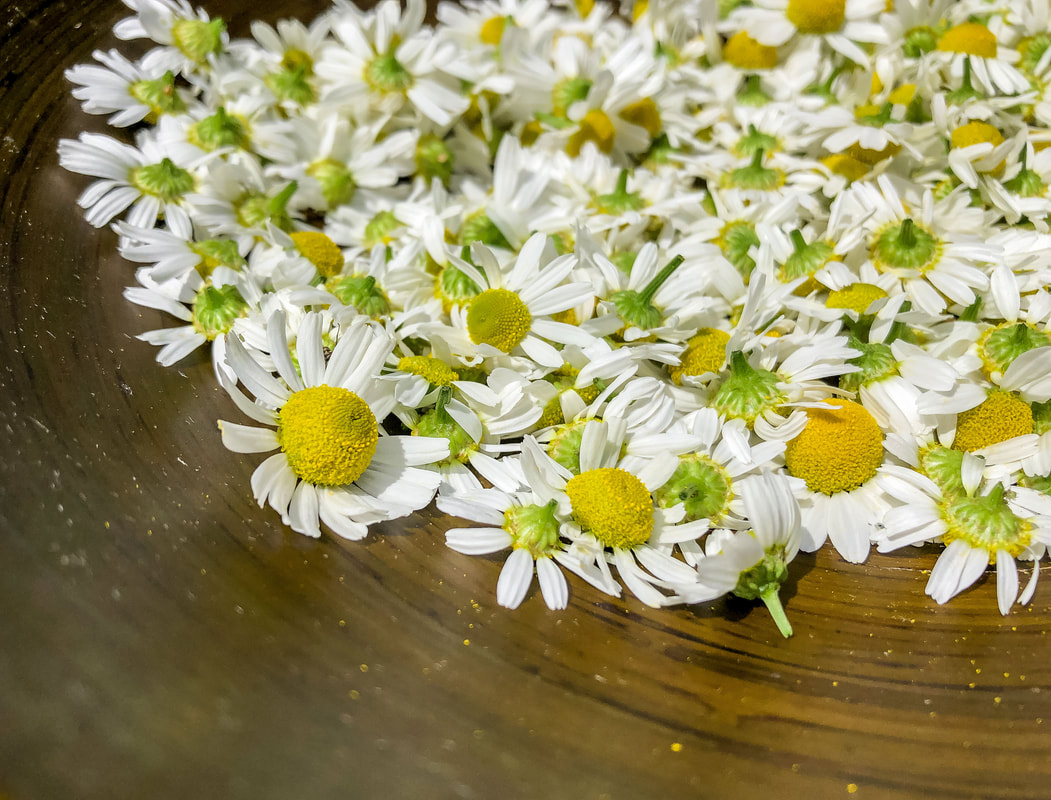 Freshly picked chamomile flowers. Photo by Diane M. Lilly, 2022. How to prep and store chamomile… Chamomile can be used fresh, but, in my experience, the flavor seems better when it is left to dry out first. Dried chamomile can become the seeds for next year’s crop (in case your plant does not self-seed) or can be used in amazing recipes. There are a couple of ways you can dry out the flowers. One way is to spread the flowers on a baking sheet and put them in the oven at a very low temperature (no more than 250˚) for a few minutes. Another way is to lay the buds on a tray and leave them in a dark, dry place for one to two weeks. Some people splurge and buy a dehydrator—which can be purchased for as little as $70—to speed up the drying process. After the chamomile is thoroughly dried out, it is ready to be stored in a glass container. Ensure there is no moisture before sealing in a container--otherwise, mold can develop, and we don’t want that! How to make homemade chamomile tea… According to my research, there are many benefits to drinking chamomile tea. The best option is always to use your homegrown process-free chamomile. Chamomile tea is said to be a calming beverage that can help you get to sleep. I have personally found that this tea relieves the menopausal bloating I’ve been experiencing lately. And it is said that drinking chamomile tea regularly significantly reduces anxiety. I am no doctor (do your own research and draw your own conclusions), but it sounds like this little daisy-like flower is more than just a pretty face! Oh, and did I mention that the same recipe you used for tea can be used as a hair rinse and lightener? The process of making chamomile tea is quite simple…You will need 2-3 tsp dried chamomile to one cup of boiling water for your tea. (If using fresh chamomile, you’ll need 6-8 tsp to one cup boiling water.) Steep the flowers for 3-5 minutes (you can steep for longer if you want a more potent brew), then pour the tea through a strainer to eliminate the heavy particles. So, for my first few attempts at making this herbal tea, I rinsed the flowers off, then spread them out to dry for slightly less than an hour before steeping them in boiling water. I used a coffee filter with a small sieve to separate the heavy particles, which worked well. One of the things I did notice—which I was not thrilled with—was that the tea seemed bitter. On subsequent attempts, I made sure to leave out any stems and leaves and lessened the time the brew steeped (from around ten minutes to more like 5 minutes), which seemed to help reduce the bitterness. 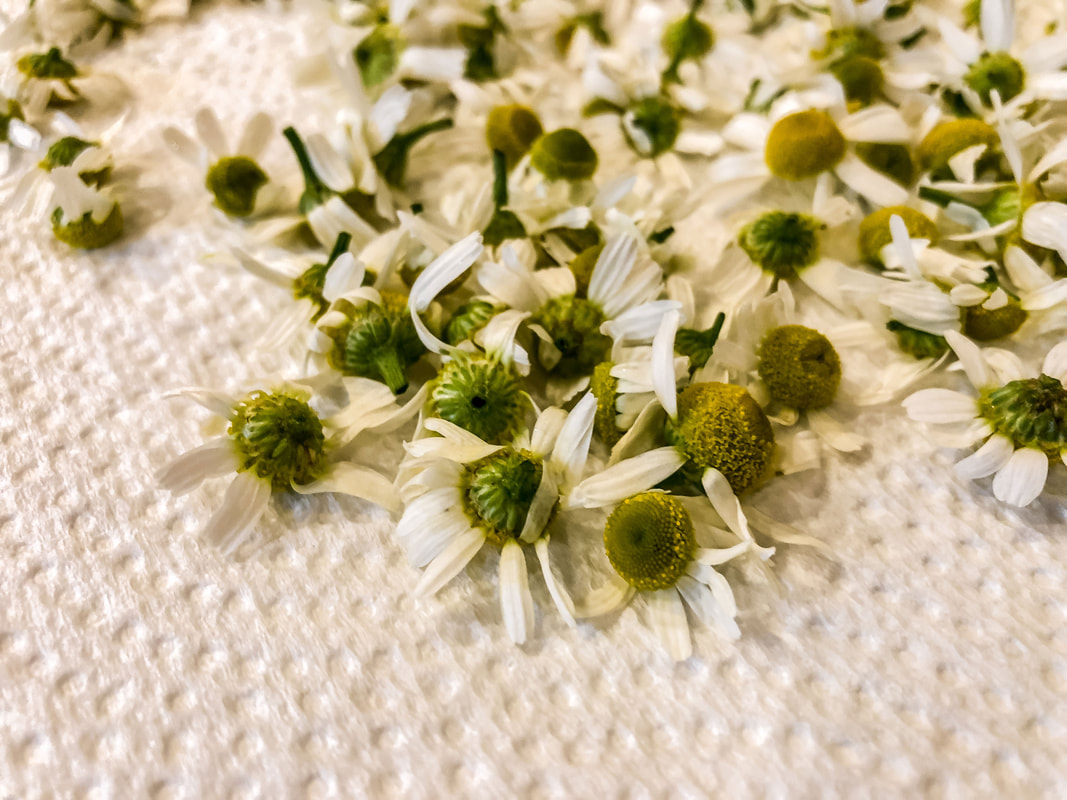 Chamomile flowers drying on a paper towel. Photo by Diane M. Lilly, 2022. 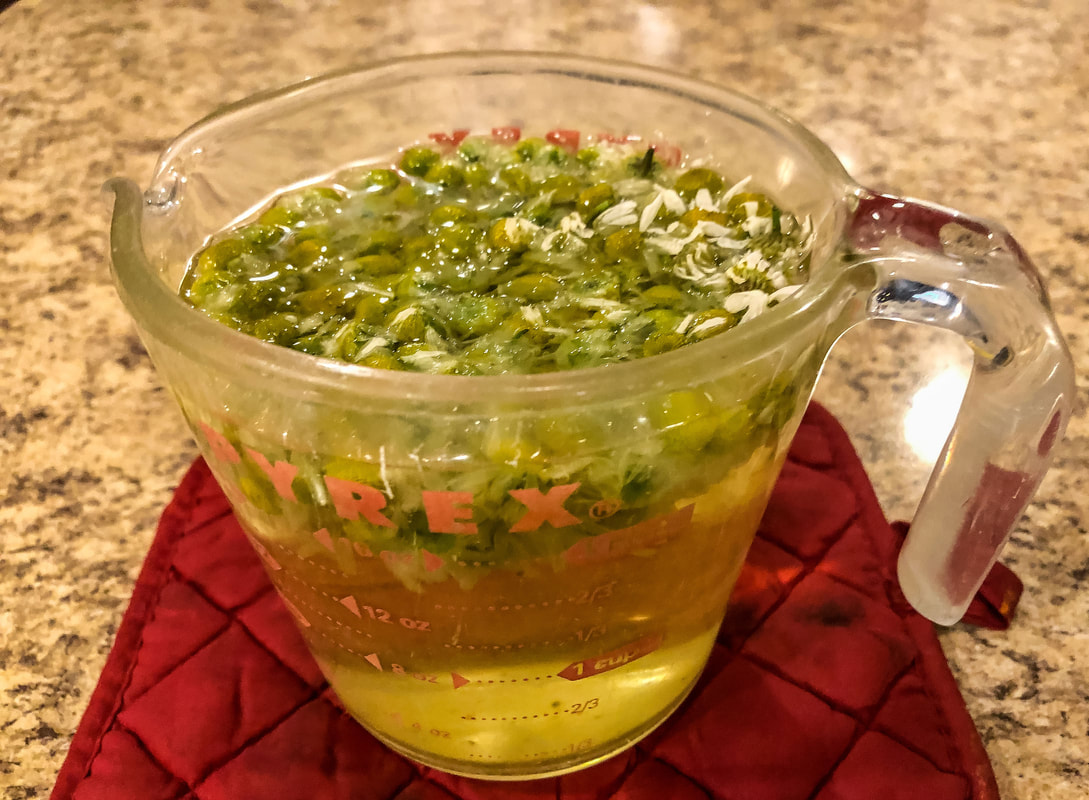 Chamomile seeping in hot water. Photo by Diane M. Lilly, 2022. Through my most recent attempts at making homemade chamomile tea, I have discovered that dried chamomile works much better in terms of taste. This time, the flowers were dried in the oven on low heat (which also helped kill tiny bugs) and left to sit out covered with a paper towel for a day before use. Once the flowers were dried, they were steeped for almost 5 minutes in hot water and then strained. I added a few spritzes of fresh lemon and store-bought honey for additional flavor. I’d say the third time was the charm! The tea tasted just right! The next time I make this homemade tea, I may let it steep for two extra minutes because I want just a smidgen more of the chamomile flavor. But, I must say, this last time, I got much closer to achieving a terrific-tasting homemade chamomile tea! Once I get my recipe down pat, I will share it as a separate blog post, so stay tuned! 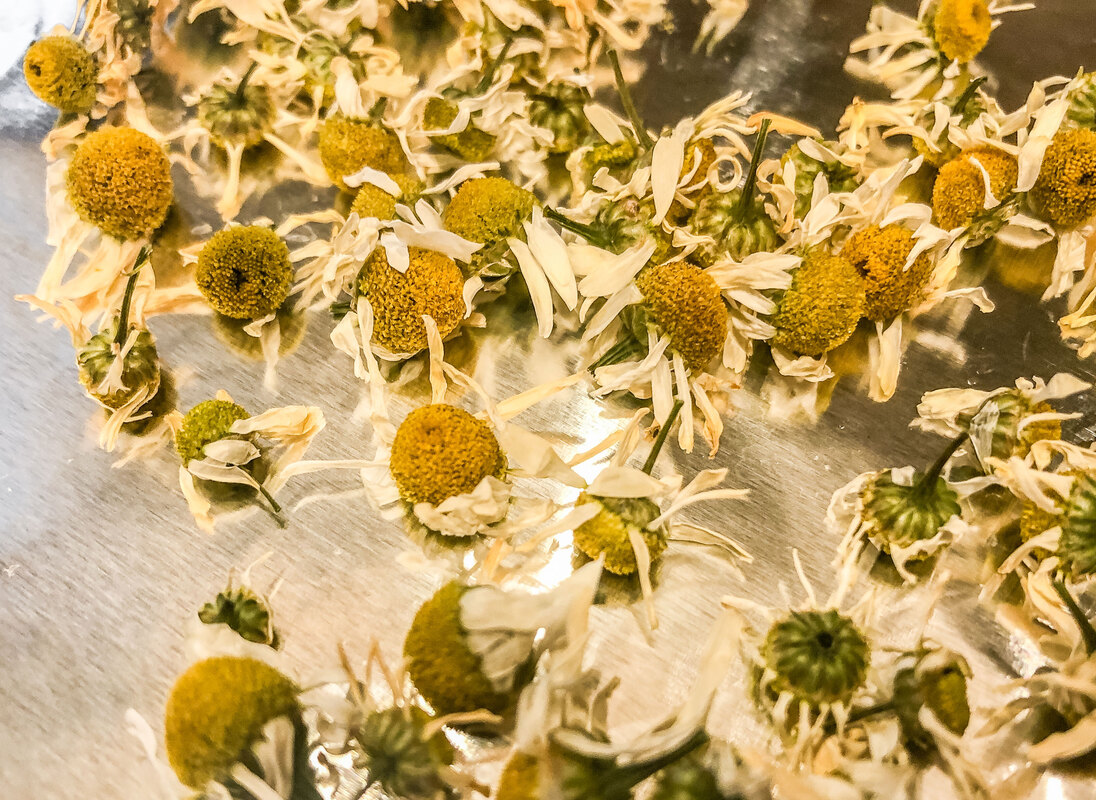 Chamomile on a baking sheet after drying in the oven. Photo by Diane M. Lilly, 2022. 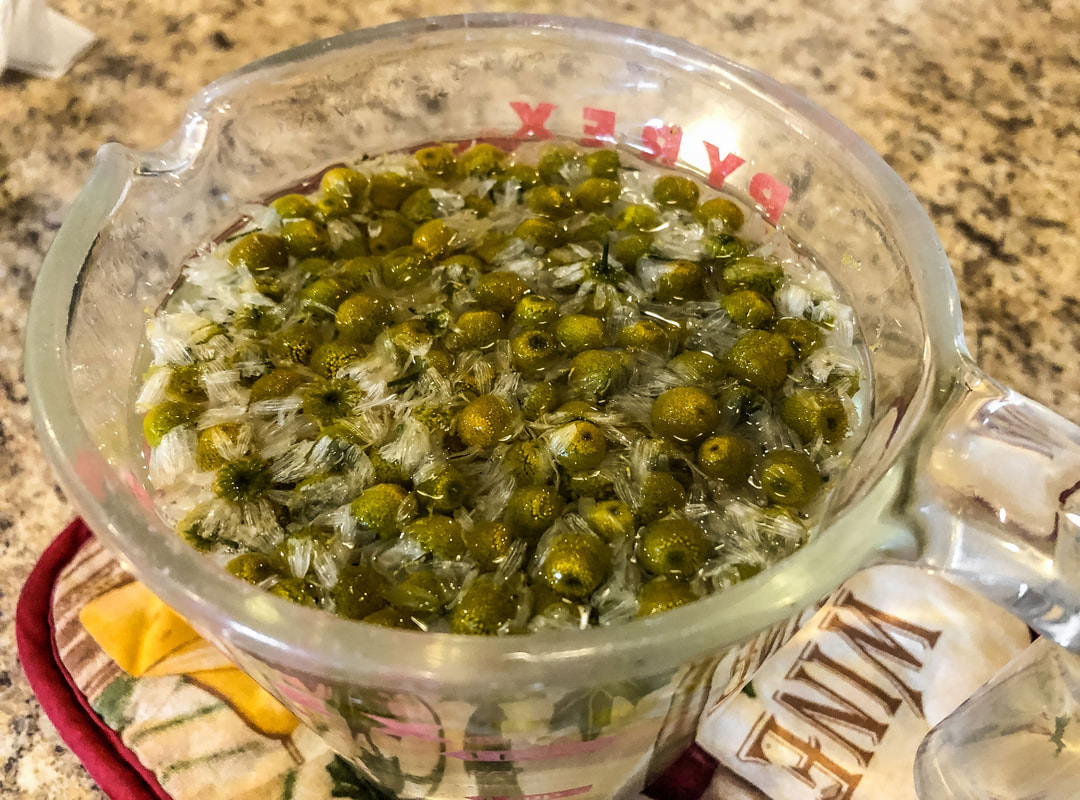 Another batch of chamomile seeping in hot water. Photo by Diane M. Lilly, 2022. 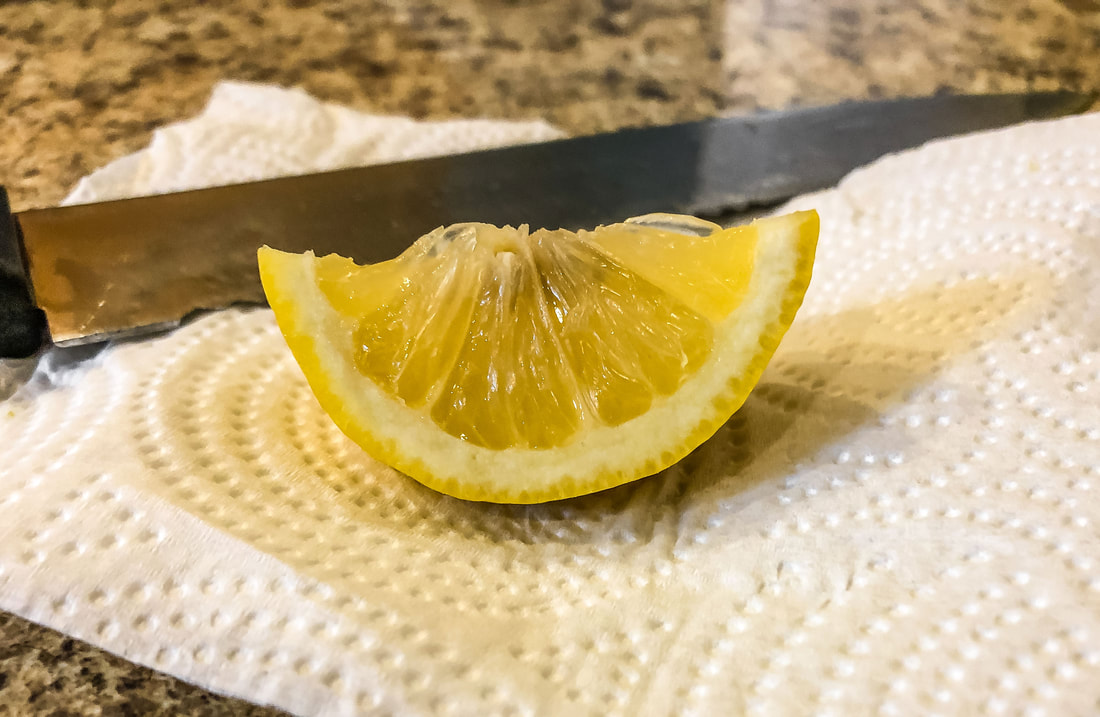 Lemon wedge for my freshly brewed chamomile tea. Photo by Diane M. Lilly, 2022. 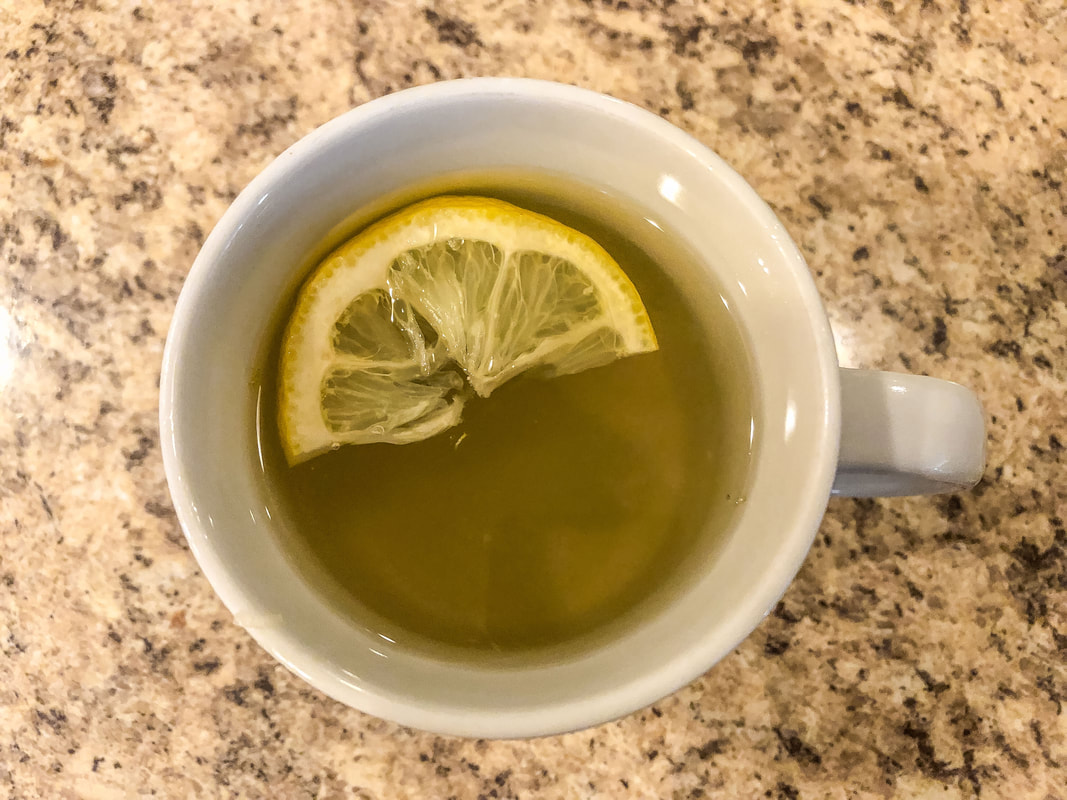 Cup of freshly brewed chamolie tea with a lemon wedge. Photo by Diane M. Lilly, 2022. 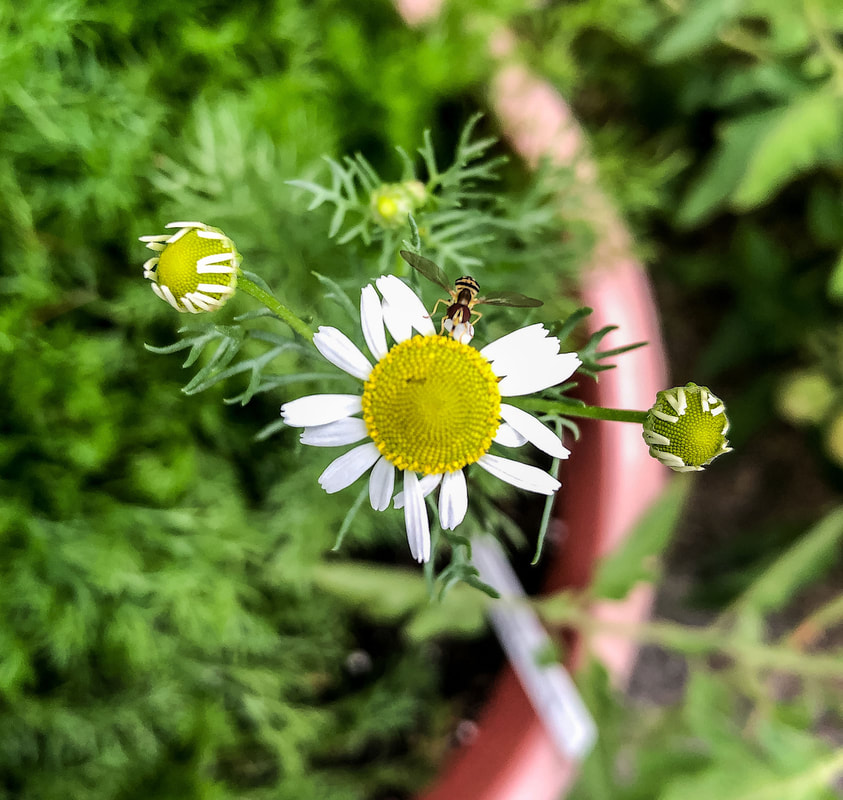 A visitor on my chamomile! Photo by Diane M. Lilly, 2020. Related blogs you may want to read: Learning how to harvest and use fresh mint from the garden Tips for planting seeds indoors How to repot a pothos plant How to propagate bromeliad pups Six herbs I planted indoors Growing tomatoes and cucumbers for my garden It’s planting season again This article may contain a few items or commercial mentions, but I only used them for demonstration purposes only. I am not endorsing any particular product or receiving any monetary gain for this blog.
0 Comments
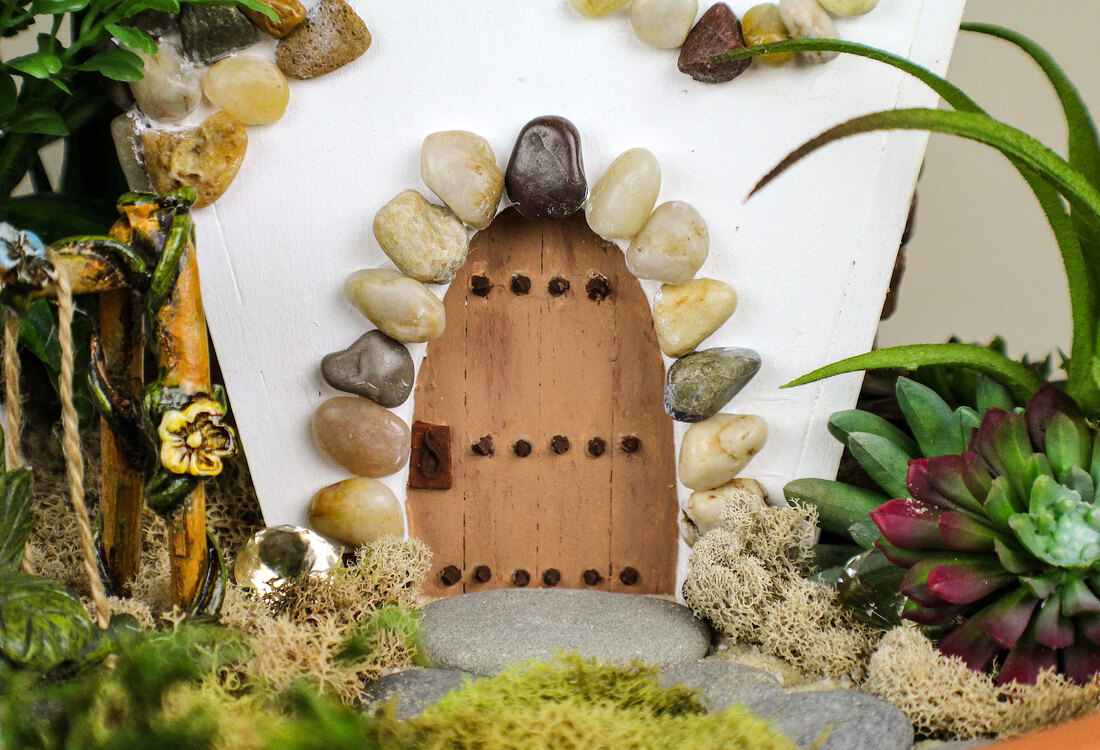 Doorway of my fairy cottage. Photo by Diane M. Lilly, 2019. So, fairy gardens…Where did this charming gardening trend come from? I asked myself this very question as I worked on my annual spring gardening and faux floral projects. For the past few years, I’ve been experimenting with fairy houses and fairy gardens—both for indoor and outdoor use—but until now, it never occurred to me to consider the origins and the meaning behind the miniature garden trend. So I did a little digging (no pun intended), and here’s what I learned… 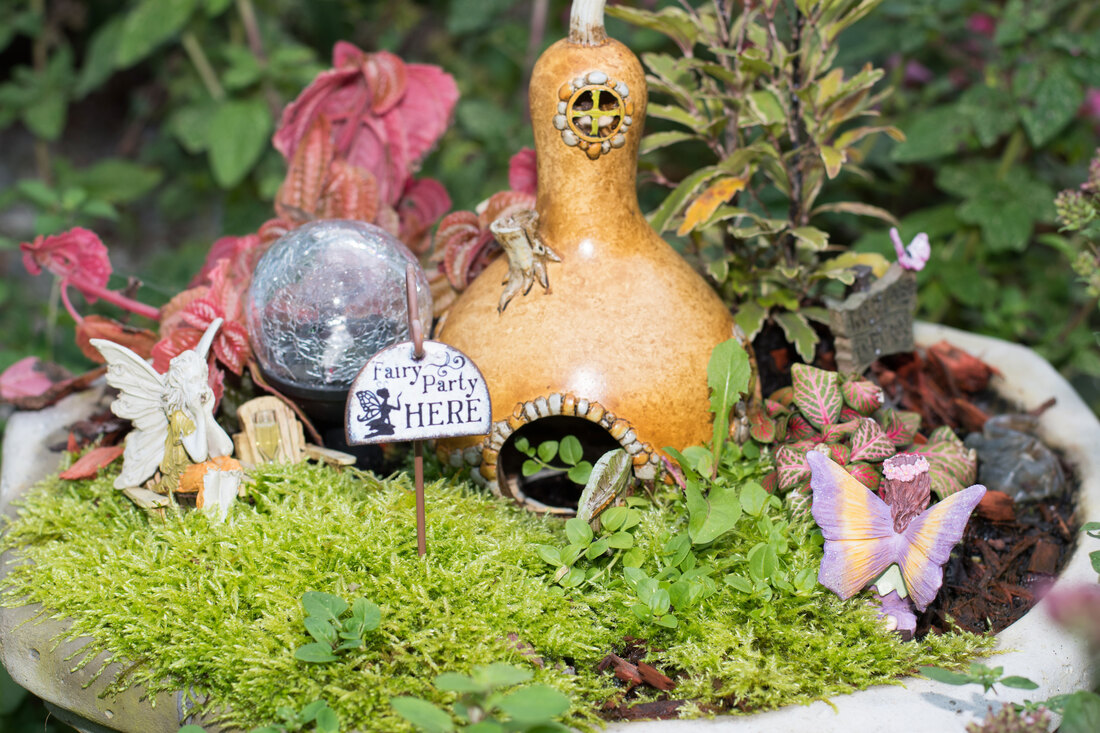 Image by Darwin Carozza from Adobe Stock. Late 19th century garden trends The seeds for the fairy garden idea—at least here in the US—seem to have started sometime in the late 1800s as an offshoot of the Japanese garden tradition of bonsai and miniature trees. The Victorians were fascinated with Japanese art, gardens, and culture and began using Japanese-influenced miniature trees in their garden landscapes. These were not yet what we would consider fairy gardens, but the notion of plants in miniature seems to have fascinated people from that time forward. 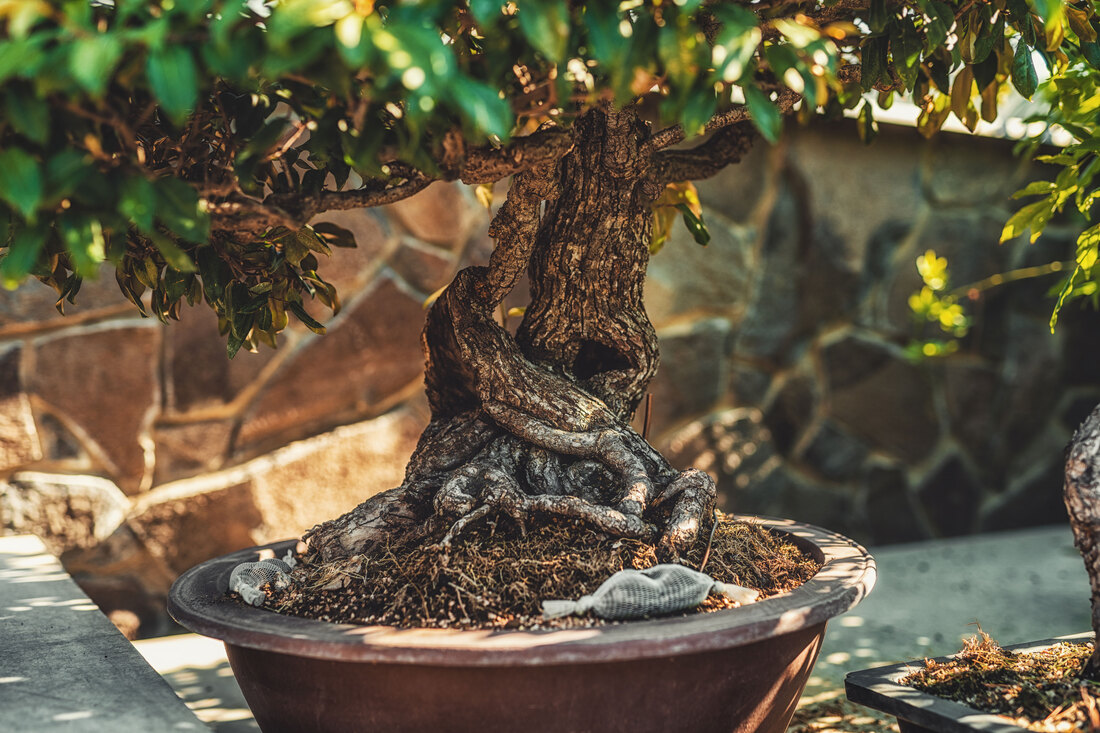 Image by josefklopacka from Adobe Stock. A new garden idea in the mid-20th century Fast forward to the mid-1900s, and a British nursery owner named Anne Ashberry and the fairy garden as we know it today start to take shape. Anne Ashberry’s idea was to create small gardens that could be easily looked after by people who lived in small spaces or by individuals with physical impairments. If you’ve never heard of Ms. Ashberry, read her inspirational story here. She became well known for her miniature gardens and window boxes with tiny landscaped worlds full of carefully researched flowers and soils. I don’t think they were considered fairy gardens just yet. These carefully manicured small-scale versions of our world—filled with miniature houses and formal gardens—were simply magical and sought after by the British royal family. 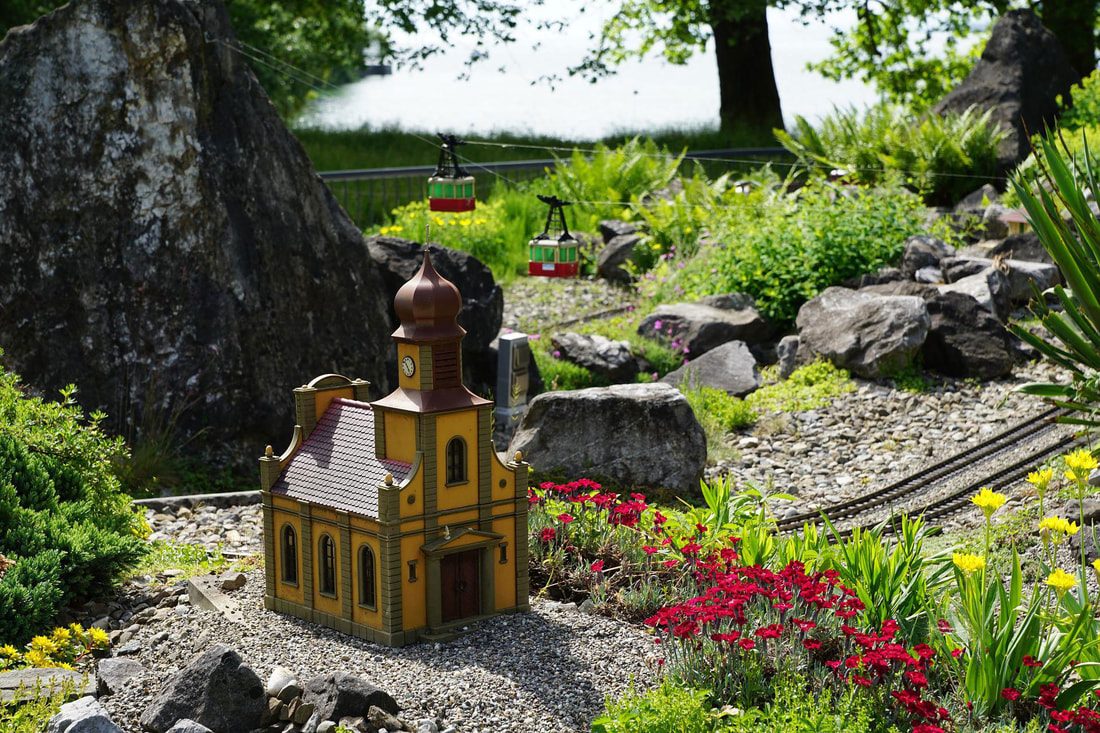 Image by photosforyou on Pixabay. Folkloric influences The current-day fairy theme has cultural ties to Germanic and Celtic (Irish) folklore. The underlying mythical belief is that fairies live in our gardens, and these fairies can either be mischievous or bring good luck, depending on how well they are respected and treated. According to popular belief, if you want to appeal to the fairies in your garden and get into their good graces, you must create an enticing world filled with flowers, comfortable places to live and shelter, and sparkly things. If you do this, fairies will move in, and your garden will thrive. There is also a tradition of placing fairy doors and tiny houses in the woods near trees. This attracts good fairies to the area and creates a sense of magic and wonders for the lucky person who happens to be passing by.  Image by jonnysek from Adobe Stock. 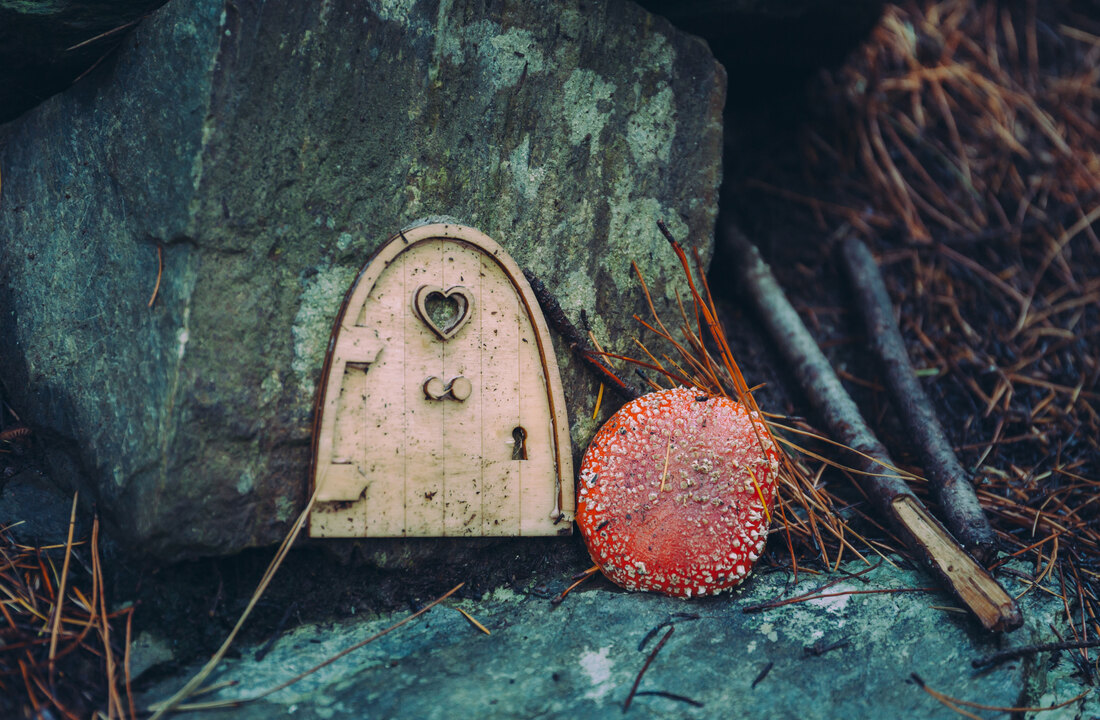 Image by joeycheung from Adobe Stock. Miniature vs fairy We should take a moment to understand the difference between “miniature” and “fairy” gardens. The terms “miniature garden” and “fairy garden” tend to be used interchangeably, and I guess there’s a logic to that, but I believe there is a distinct difference. Fairy gardens—to my way of thinking—are specifically about creating spaces for fairies and have their roots in folklore. Miniature gardens CAN be fairy gardens, but often they are just like model train landscaping—a mirror reflection of our world in miniature, which—in truth—can be just as enchanting!  My outdoor fairy garden featuring my handcrafted Fairy Cottage. Photo by Diane M. Lilly, 2020. 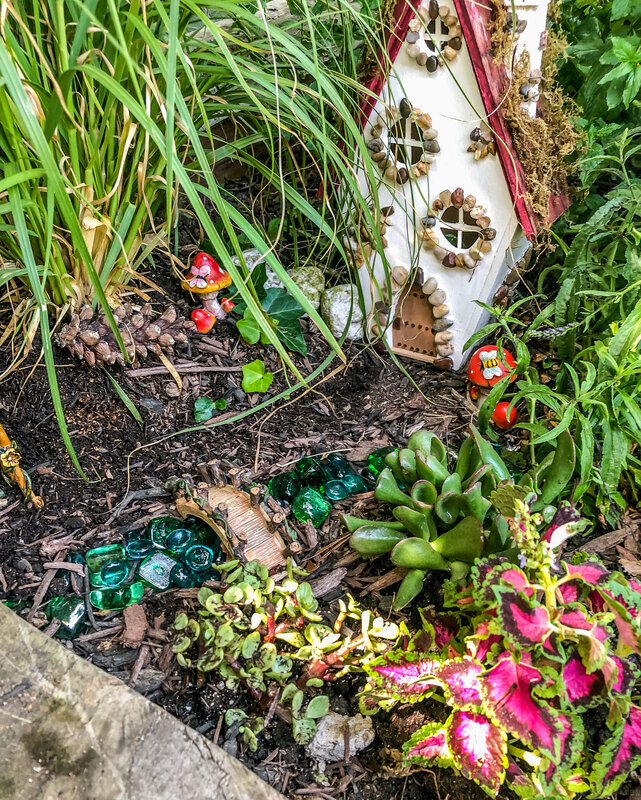 Outdoor fairy garden with bridge featuring my handcrafted Fairy Cottage. Photo by Diane M. Lilly, 2020. Fairy gardens today Today, miniature gardens (and fairy gardens) are often used to give children a place to stretch their imagination, but adults seem to be equally enthralled with them. (Take a look on Facebook if you don’t believe me!) It’s a fun hobby that some people take to incredible levels, creating miniature worlds full of minute details that capture your attention and make you smile. Creating an outdoor fairy garden is a fun way to “play” in the garden. It’s also a way to have a compact garden in small areas. (Remember Anne Ashberry?). You could even use faux plants for all-year use and less maintenance. I have been experimenting with indoor fairy gardens and faux florals to bring the outdoors inside. (I know...According to folklore, you are not supposed to invite fairies inside, but rules are meant to be broken, right?!) The most important thing when dealing with fairy gardens is creativity and imagination. Everything else is just confetti! I am developing some ideas for new handcrafted wooden fairy houses for indoor fairy gardens. For more on this exciting new project, check out my new page on Di’s Studio Design website… https://disstudiodesigns.com/fairy-houses.html 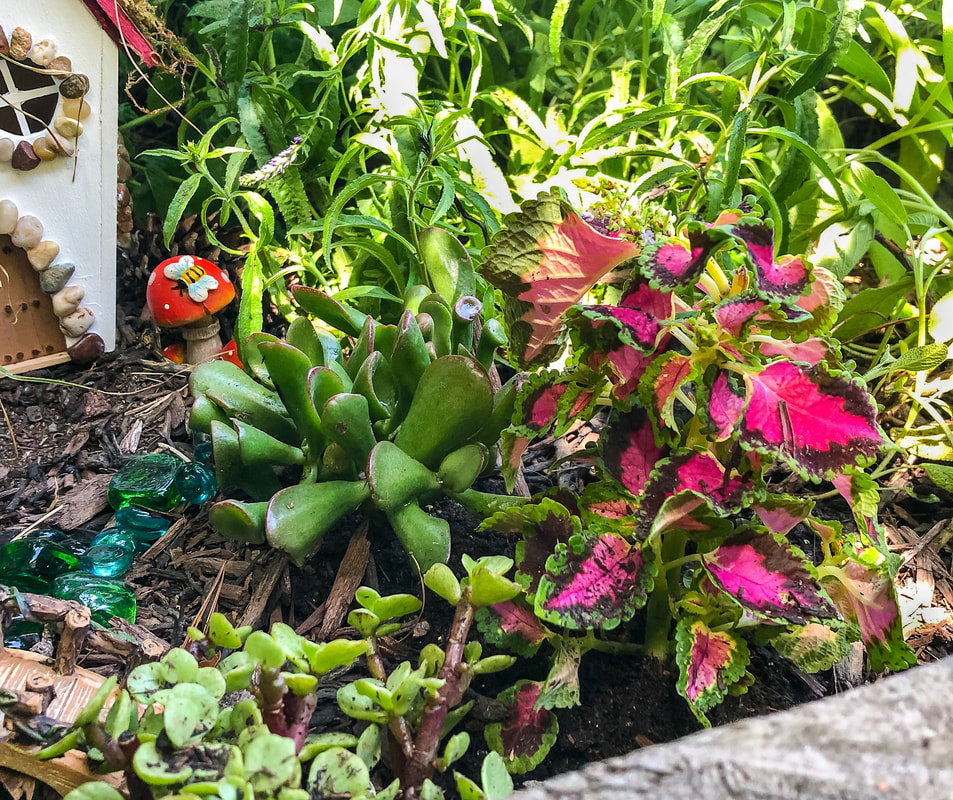 Plants in my outdoor fairy garden. Photo by Diane M. Lilly, 2020. 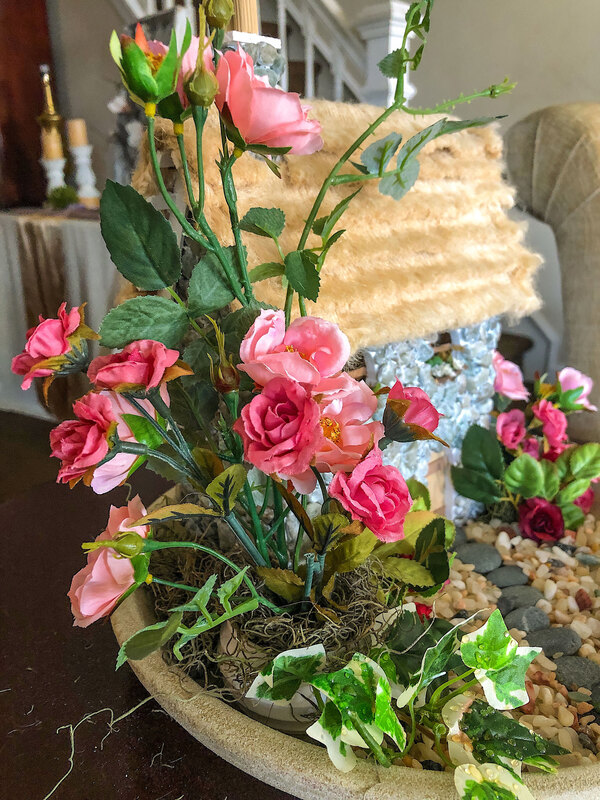 Faux roses in an indoor fairy garden with a handcrafted English Cottage. Photo by Diane M. Lilly, 2021. Related blogs you may want to read: My spring 2022 indoor fairy gardens Spring makeover for my indoor fairy gardens My outdoor fairy garden My fairy house project This article may contain a few items or commercial mentions, but I only used them for demonstration purposes only. I am not endorsing any particular product or receiving any monetary gain for this blog. 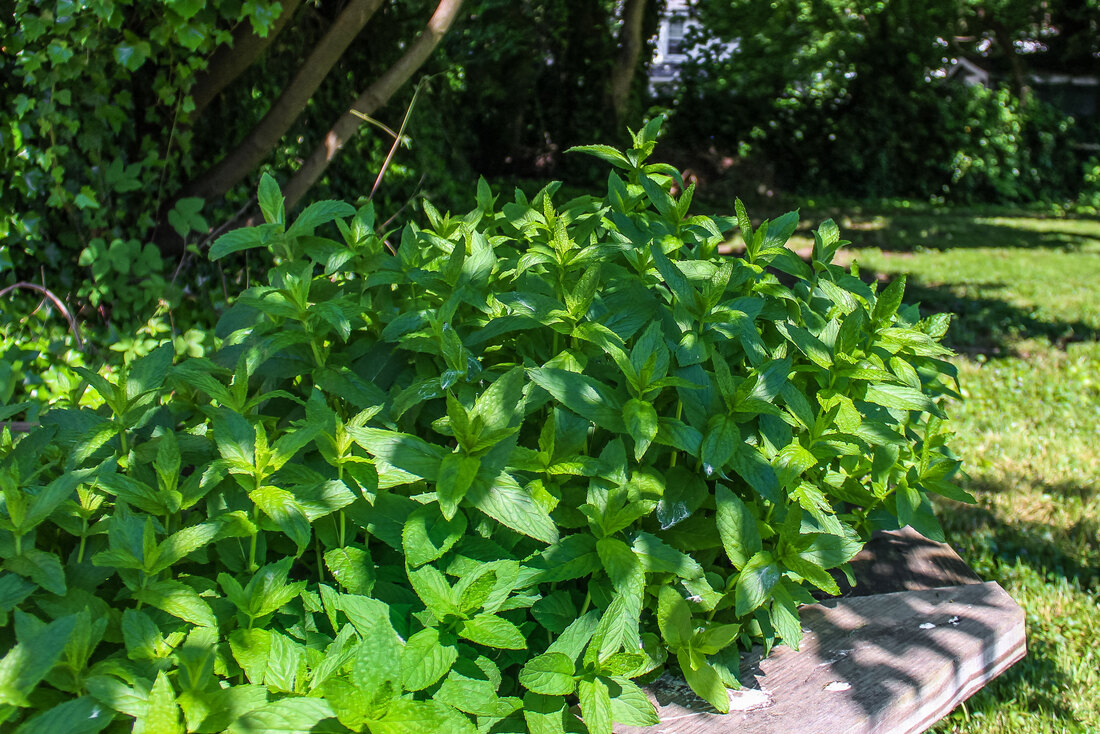 Mint growing in my garden. Photo by Diane M. Lilly, 2021. A few years back, I bought this packet of mint seeds to plant in my yard for fresh mint. Not only did I have no idea how to grow mint, but there was no thought given to how I would use the stuff when it started to grow…and grow it did! So, the first thing you should know is that mint is prolific! No, seriously, you'll have to keep on top of it so this plant doesn’t spread all over your yard. But it needs little care to keep it alive, and you get a lot of it for whatever uses you have in mind. Which brings me to my second point…What can you do with fresh mint? It’s been growing in my yard for a while now, and you’re probably like…how have you not yet figured out how to use this herb? It just comes down to time—as in not enough of it. So, this year, I am committed to learning how to use the plant for something other than pretty photos! 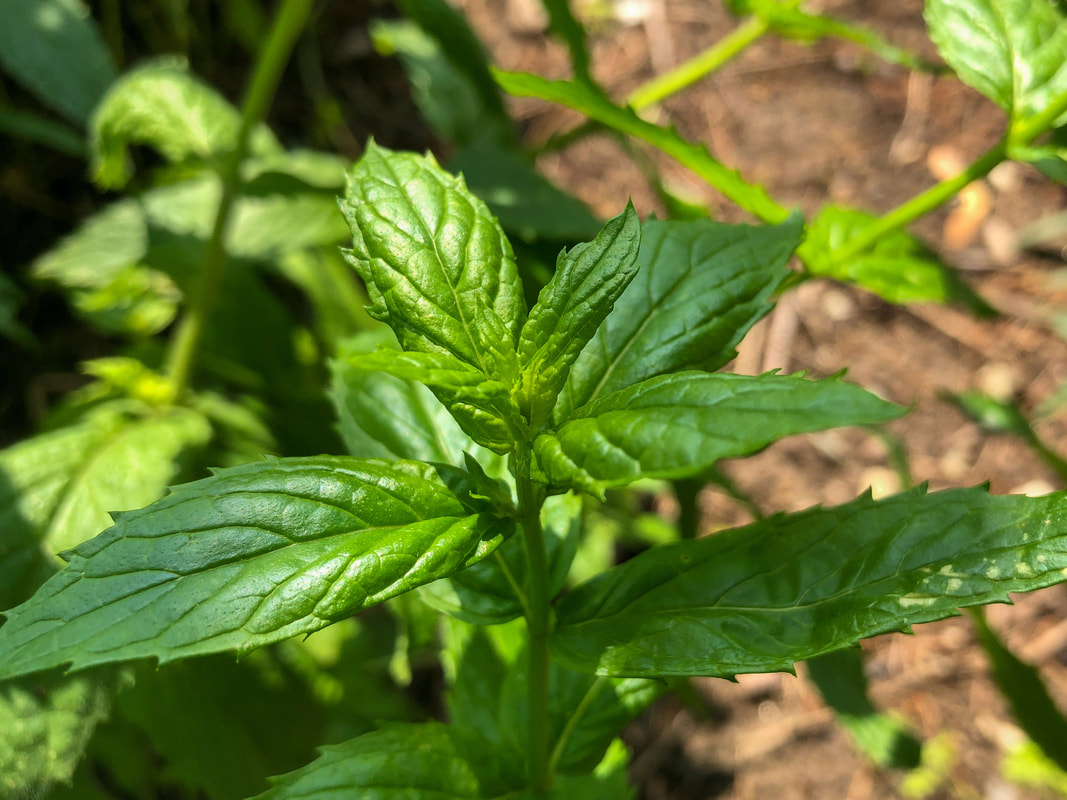 Mint leaves. Photo by Diane M. Lilly, 2021. I’m embarrassed to admit that I had allowed my mint to make itself at home in my yard for so long, not using it for anything, that I had forgotten exactly what type of mint I had grown. So the burning question became, how do I figure out what kind of mint I have? Well, a little research has turned up an answer—give it a taste. If it has a sharp, almost spicy taste, it’s probably peppermint. If the taste is more subtle and sweeter, it’s more likely to be spearmint. So I popped off a leaf and gave it a chew, and—sure enough—it had a sharp, almost peppery flavor! So, I can assume I am growing peppermint. Good to know! Now that I know what type of mint I have and how to grow it, it's time to learn how to harvest and use this leafy green herb. And so this will be the beginning of a continuing journey to delve deeper into how to grow, harvest, and use common herbs like mint. I’m no herbalist, but I like the idea of finding more natural ways of living, and growing herbs plays into that mode of thinking. So let's see if we can get our heads wrapped around a few beginner’s tips… How and when to harvest mint… While the mint plant benefits from frequent harvesting (increasing the yield of new growth), this is also an opportunity to keep the herb in check, pulling runners from spots where you don’t want the mint to grow. The actual act of harvesting is pretty simple—simply clip (with scissors, do not break) the top buds with the younger, more flavorful leaves (cut above the second set of leaves near the bottom), pluck a leaf at a time as needed, or cut large bunches just before the plant blooms (never harvest more than 2/3 of the plant). The mint plant can be harvested any time after maturity, but the best time is before it flowers. After the flowers bloom, the taste of the leaves gets more bitter. Also, as with most other herbs, harvest in the morning for the best concentration and flavor. 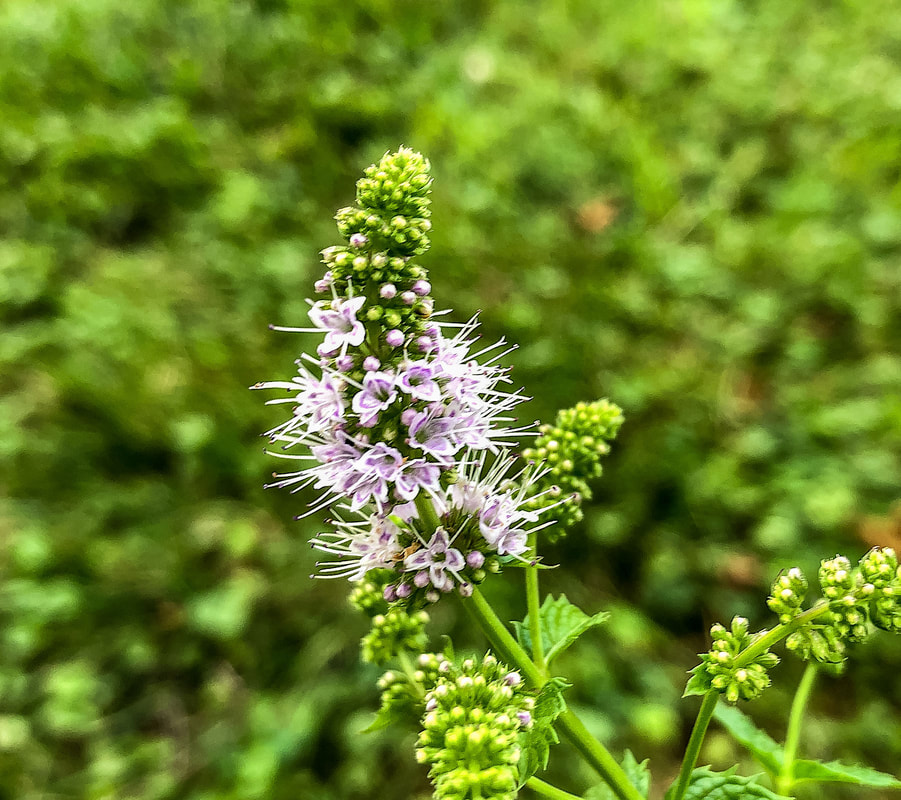 Mint flower. Photo by Diane M. Lilly, 2020. 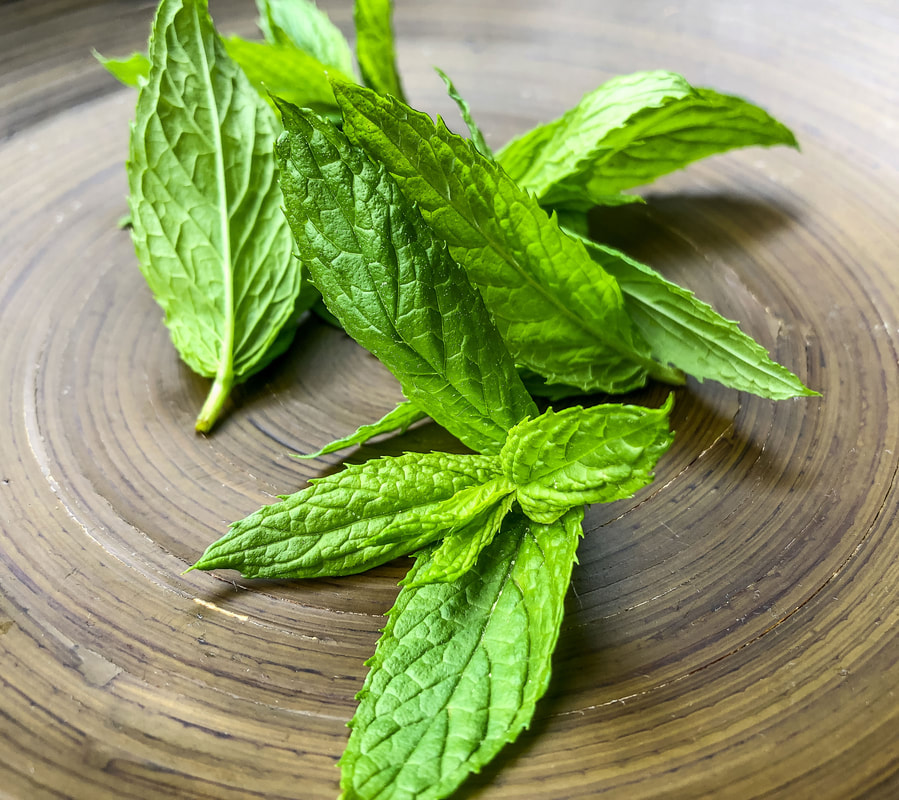 Mint leaves harvested from my garden. Photo by Diane M. Lilly, 2022. How to store mint… Dried mint loses some flavor, so using mint when fresh from the garden is the optimal way to get the most flavor. That being said, there are still benefits to using properly dried mint. The best way to dry out this herb is to tie your cuttings together and hang them in a cool, dry, dark place (do not dry with heat). Store dried mint in a glass container, and make sure no moisture is left that could create mold (you can use absorbing packets). Wrap them in a damp paper towel or place them in a container with water and place them in the fridge for a week to 10 days if using within a few days. Mint leaves can also be frozen in freezer bags (freeze on wax paper first) or chopped up and frozen in ice cubes, ready for your next delicious beverage! Your mint will be kept in the freezer for up to three months. 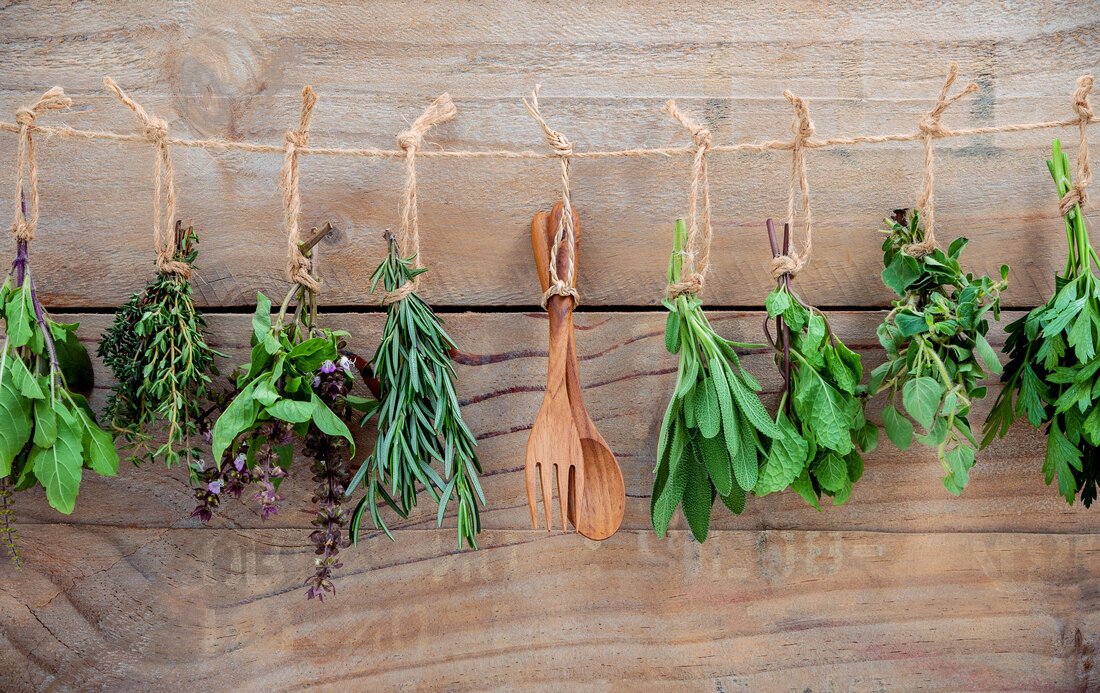 Image by kerdkanno from Adobe Stock. How to use mint… Last year, I decided to try making homemade mint tea with fresh clippings from my yard. The results were somewhat unsatisfactory, but it was--after all--my first attempt! At some point, I’d like to try making mint tea again…but maybe iced tea this time. Once I play around with it a little more, I’ll post another article with the recipe…but in the meantime, I have discovered lemon and mint leaves in water. I started drinking water with lemon slices and some freshly squeezed lemon juice. Then I remembered I have fresh mint in my yard…so, of course, I had to throw in some fresh mint leaves, right?! This is an incredibly refreshing drink that screams summer! I make mine by the glass, but you can find recipes for making a pitcher of this wonderfully light and refreshing beverage. I’ve become seriously addicted to this drink! It’s a perfect excuse to drink more water. 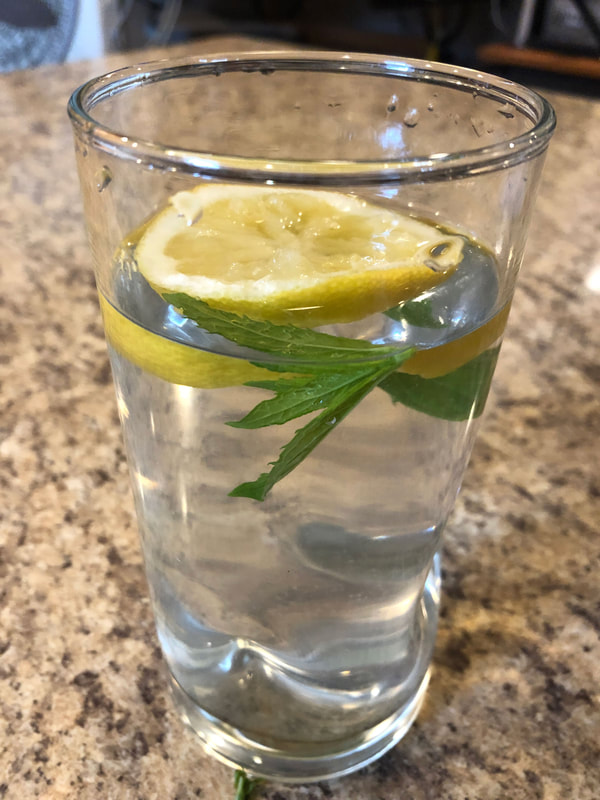 Water with fresh lemon and homegrown mint leaves. Photo by Diane M. Lilly, 2022. 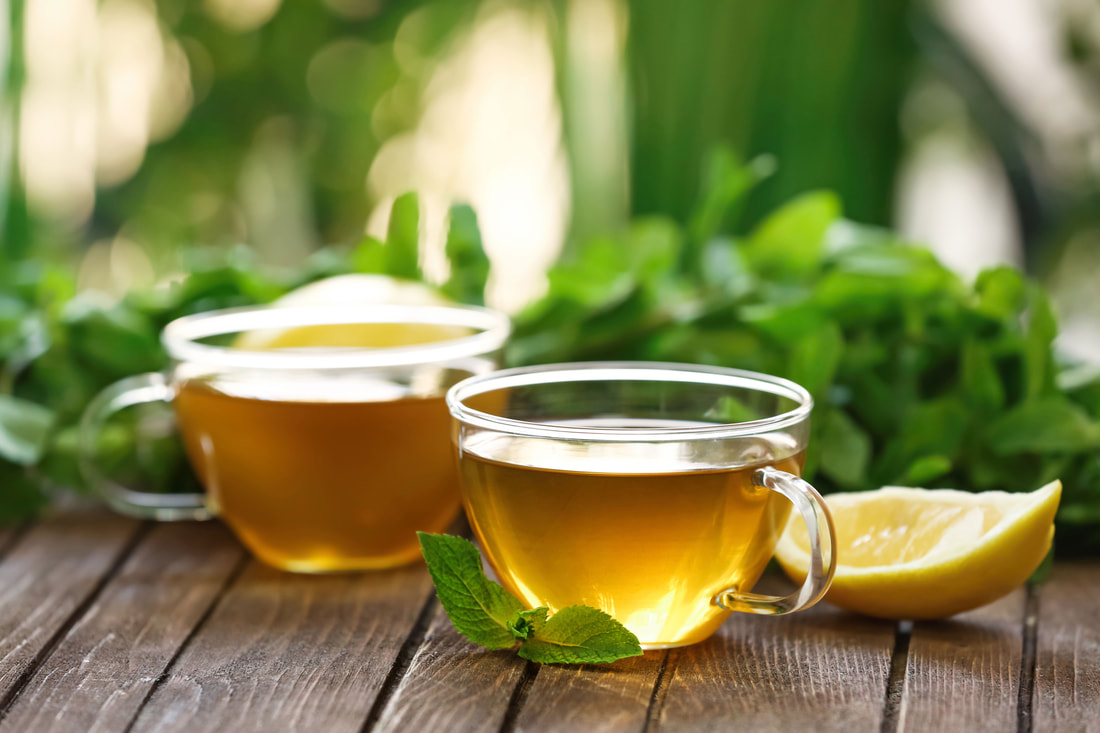 Image by Africa Studio from Adobe Stock. Another delicious way to use fresh mint leaves is in a salad. Today’s lunch consisted of mixed salad greens, celery, cucumber, shredded cheese, fresh chive flowers and stems (from my garden), mint leaves (also from my garden), and balsamic vinaigrette. The peppermint has a sharp flavor that wakes up the rest of the greens and compliments the vinaigrette quite nicely. So that was a darn good lunch! And I will experiment with different kinds of salads during the summer months. If I stumble across something particularly delicious, I will post a blog about it so you can try it out yourself! In the meantime, you can check out this terrific blog post I uncovered during my research that is packed full of uses and benefits for using mint. Let me know if you have tried any recipes using fresh mint. And comment below with any recipe ideas or tips you have learned!  Mixed green salad with freshly picked mint leaves from my garden. Photo by Diane M. Lilly, 2022.  Same mixed salad with mint leaves...with more shredded cheese please! Photo by Diane M. Lilly, 2022. Related blogs you may want to read: Tips for planting seeds indoors How to repot a pothos plant How to propagate bromeliad pups Six herbs I planted indoors Growing tomatoes and cucumbers for my garden It’s planting season again This article may contain a few items or commercial mentions, but I only used them for demonstration purposes only. I am not endorsing any particular product or receiving any monetary gain for this blog. |
Author
Some of the posts on this site contain affiliate links. This means if you click on the link and purchase the item, I will receive an affiliate commission. 
Categories
All
Archives
April 2024
|