 My finished Irish Potato candies. Photo by Diane M. Lilly, 2022. Yep. It’s that time of year again…St. Paddy’s Day. And my family would disown me if I didn’t make my yearly homemade Irish Potatoes! (Well, I certainly hope not!) So what are Irish Potatoes, you may ask? According to Eater, this candy was never actually made in Ireland but originated (probably) somewhere in the Philadelphia area, in the southeastern part of Pennsylvania in the late 1800s. The Irish immigrants of the time seem to have invented this VERY sweet candy that looks like miniature potatoes, hence the name. The recipe I typically use as a reference can be found on AllRecipes.com. I modified this recipe a wee bit and doubled the recipe to satisfy a family of five. Ready to get your hands messy? Here goes… Ingredients: 16 oz cream cheese 1/2 cup softened butter 7 cups confectioners sugar (aka powdered sugar) 4 cups flaked coconut 2-3 TBS cinnamon 2 tsp vanilla extract I softened the cream cheese by putting each slab in the microwave for no more than 30 seconds. The butter was then softened (not melted) in the microwave for no more than 20 seconds. Beat butter and cream cheese together until smooth. (I used a potato masher to mash the cream cheese and butter together, then used a heavy-duty wooden spatula to blend the mixture.) 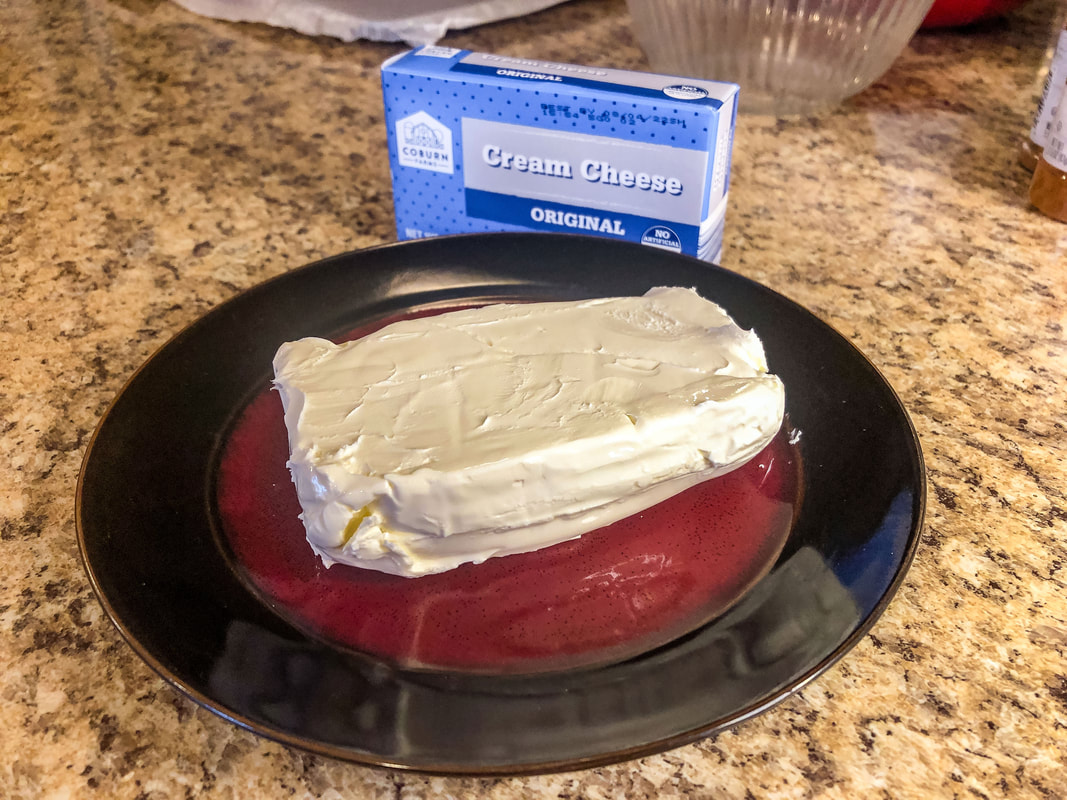 Cream cheese (2 packs). Photo by Diane M. Lilly, 2022. 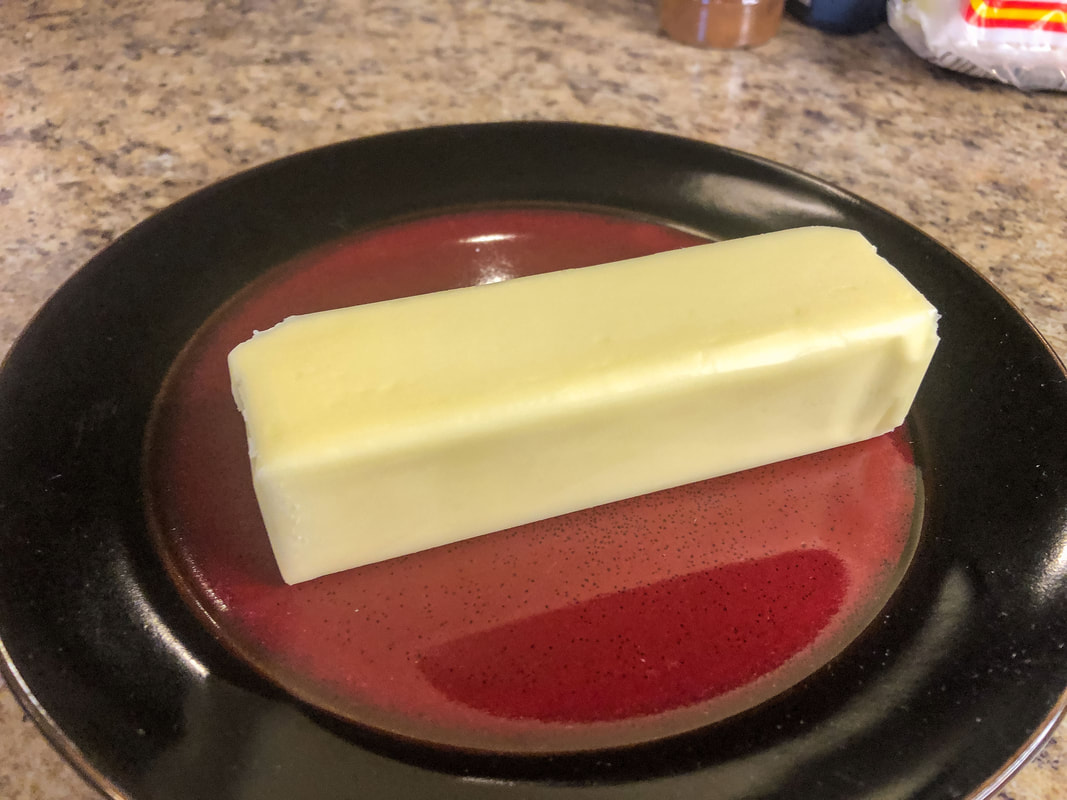 One stick of butter. Photo by Diane M. Lilly, 2022.  Cream cheese and butter mixed with potato masher. Photo by Diane M. Lilly, 2022. 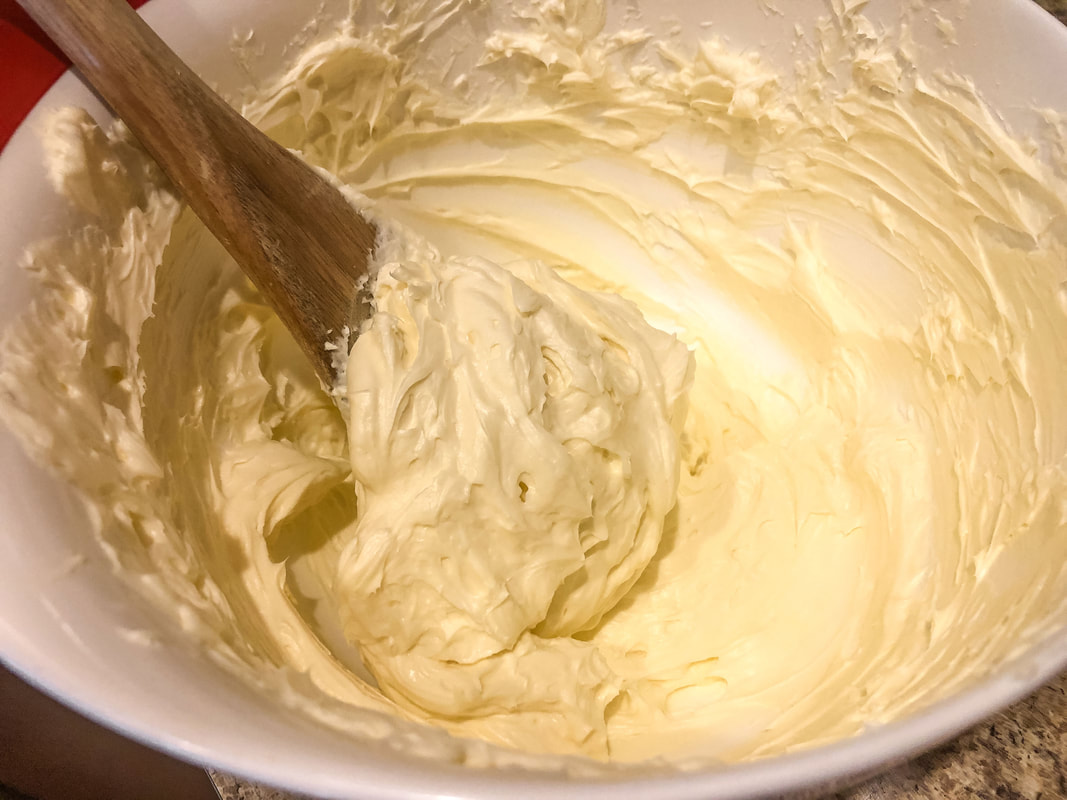 Cream cheese and butter mixed with wooden spatula. Photo by Diane M. Lilly, 2022. Add sugar and vanilla, and beat again until smooth. (I usually use the real vanilla extract, but I only had imitation.) 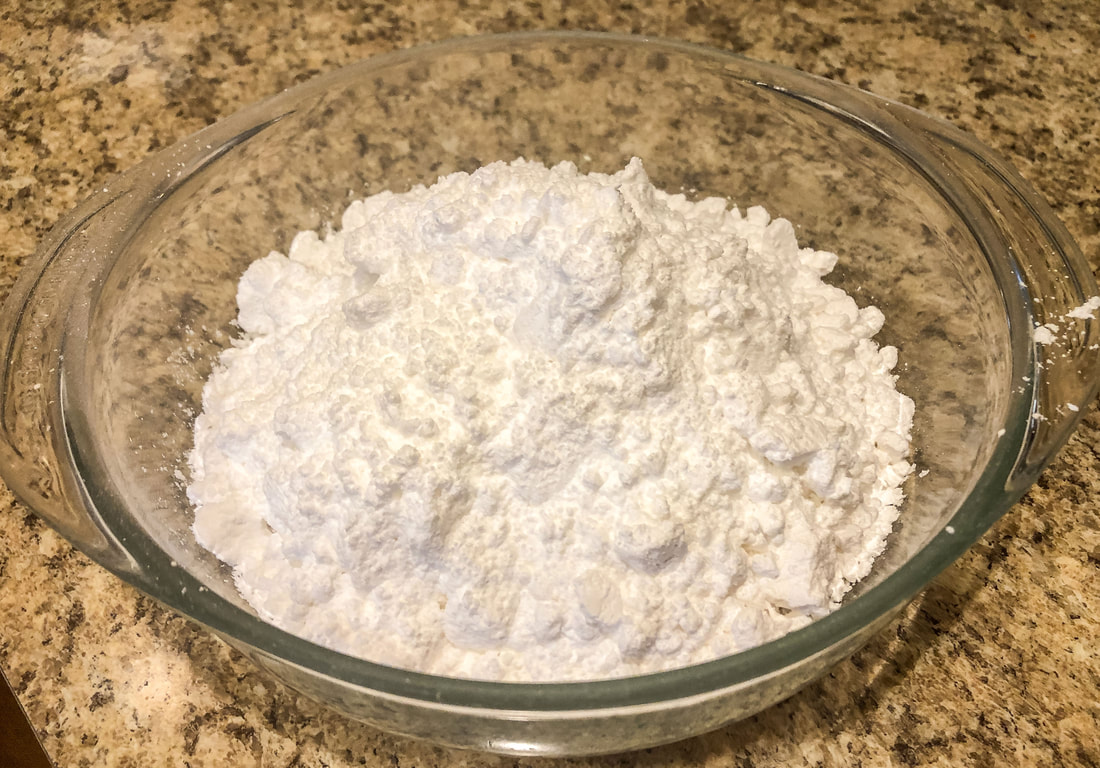 Powdered sugar. Photo by Diane M. Lilly, 2022. 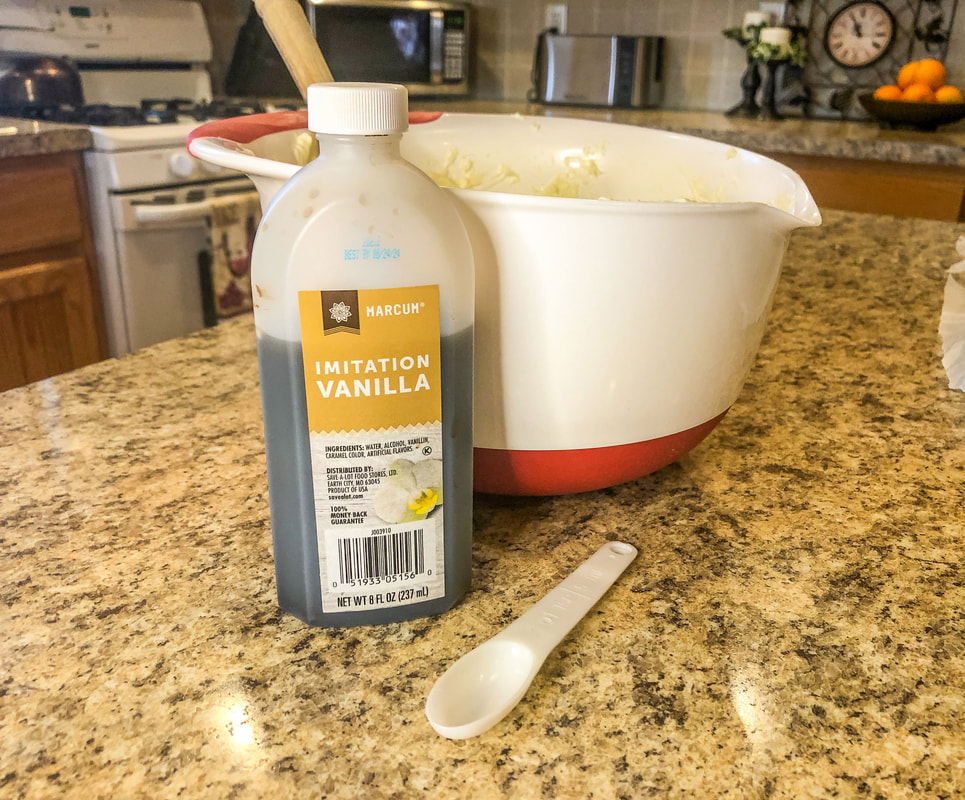 Imitation vanilla. Photo by Diane M. Lilly, 2022. 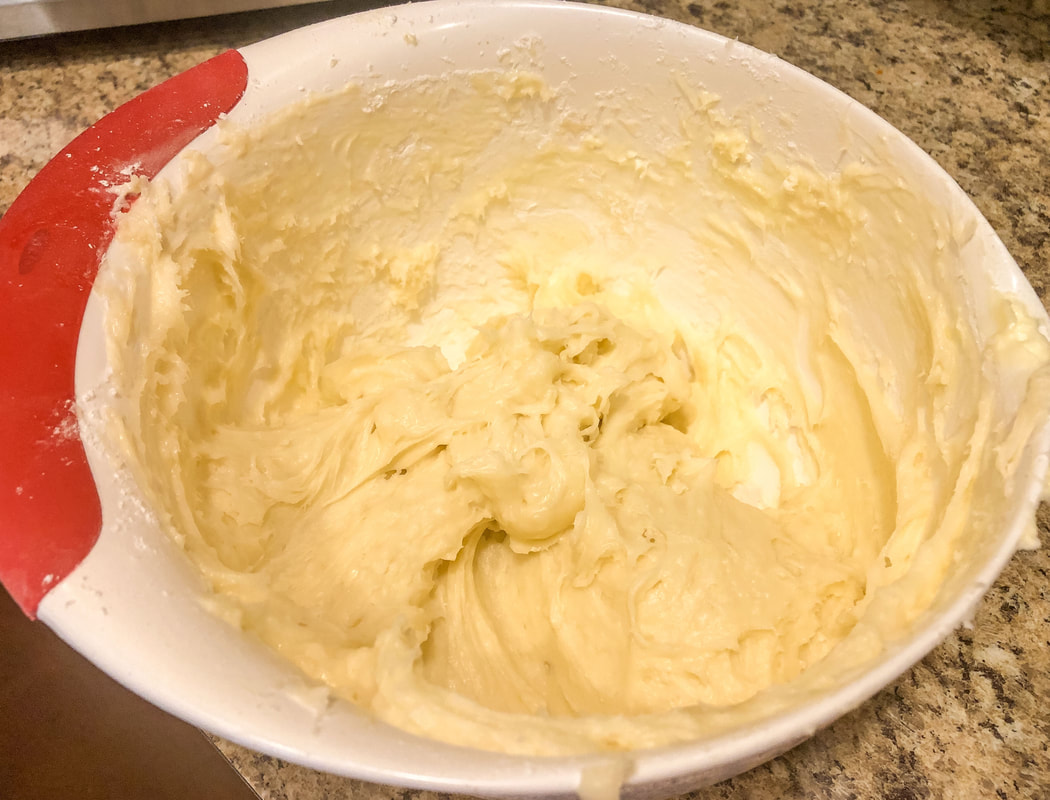 Vanilla mixed in with cream cheese and butter. Photo by Diane M. Lilly, 2022. Mix in the coconut flakes.  Bowl of shredded coconut. Photo by Diane M. Lilly, 2022. 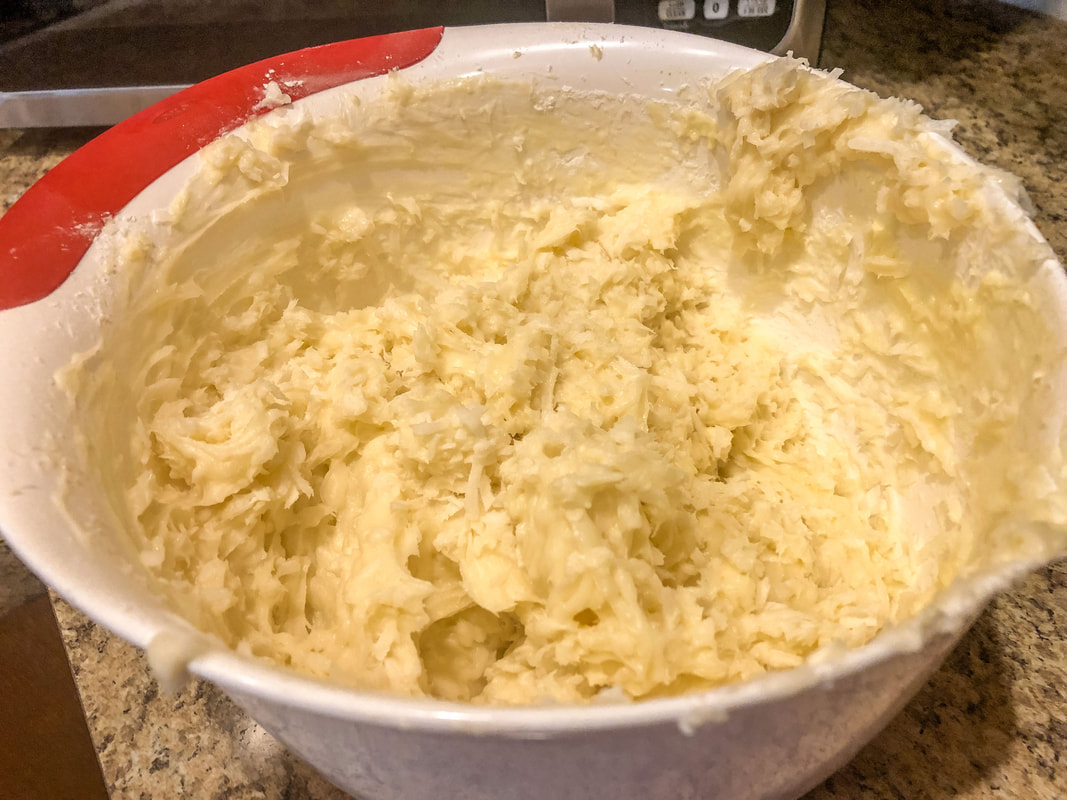 Coconut flakes mixed in with cream cheese mixture. Photo by Diane M. Lilly, 2022. Place in refrigerator for about 30 minutes to get the mixture to harden a little so that it is easier (and less messy) to roll into balls. Prep 2-3 baking sheets lined with wax paper. Pour the cinnamon into a bowl. 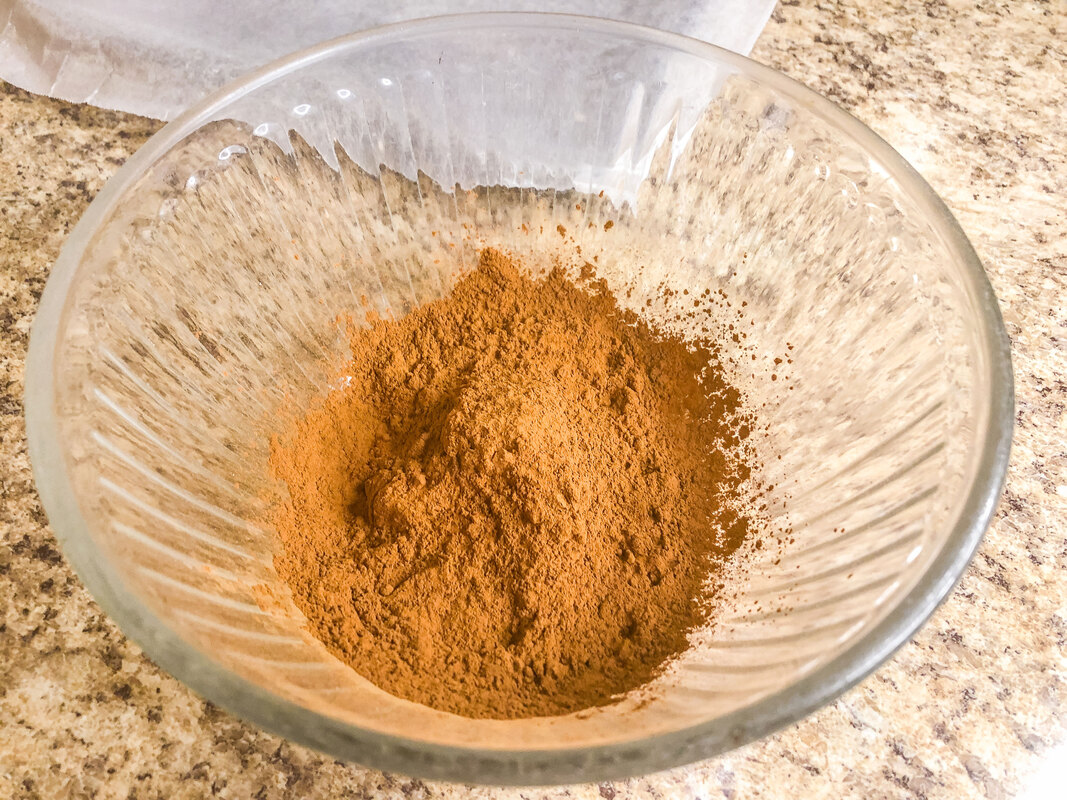 Cinnamon in a bowl. Photo by Diane M. Lilly, 2022. 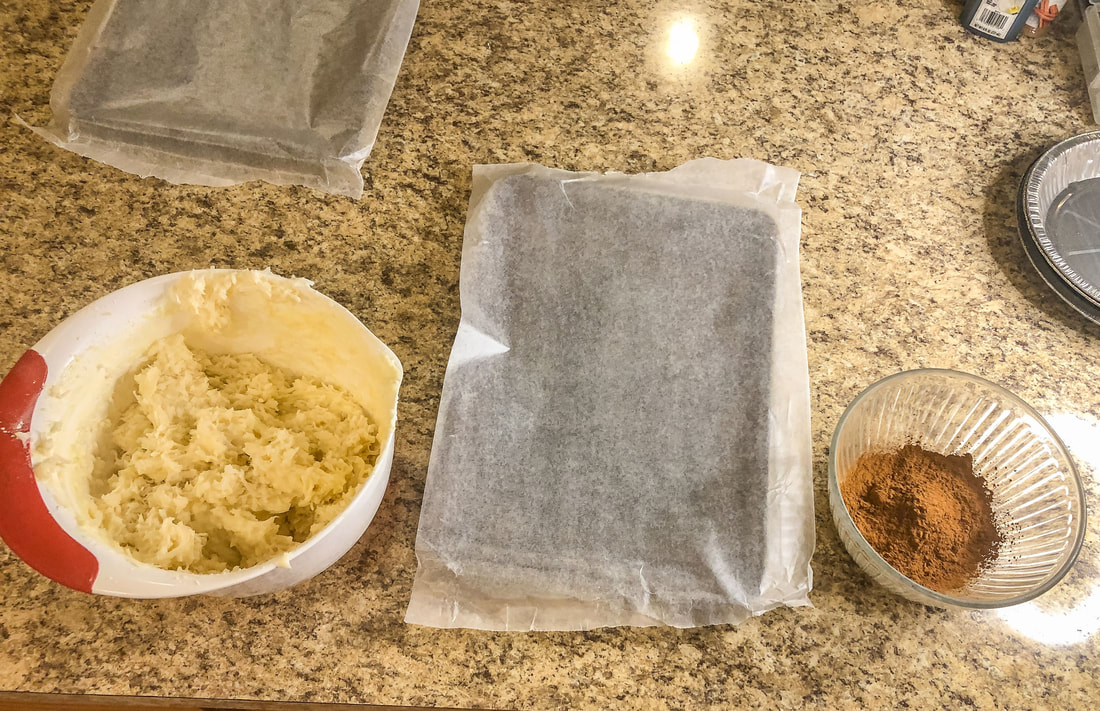 Getting ready for rolling the candies with the cream cheese mixture, wax paper sheet, and cinnamon. Photo by Diane M. Lilly, 2022. Take the cream cheese mixture out of the fridge. Shape the confection mixture into potato-shaped balls slightly larger than a quarter. Roll each sugar ball in the cinnamon until evenly coated. Place on tray. (If your hands get sticky—and they will—rinse them off and keep going!) Place trays in the refrigerator until cream cheese is set again. 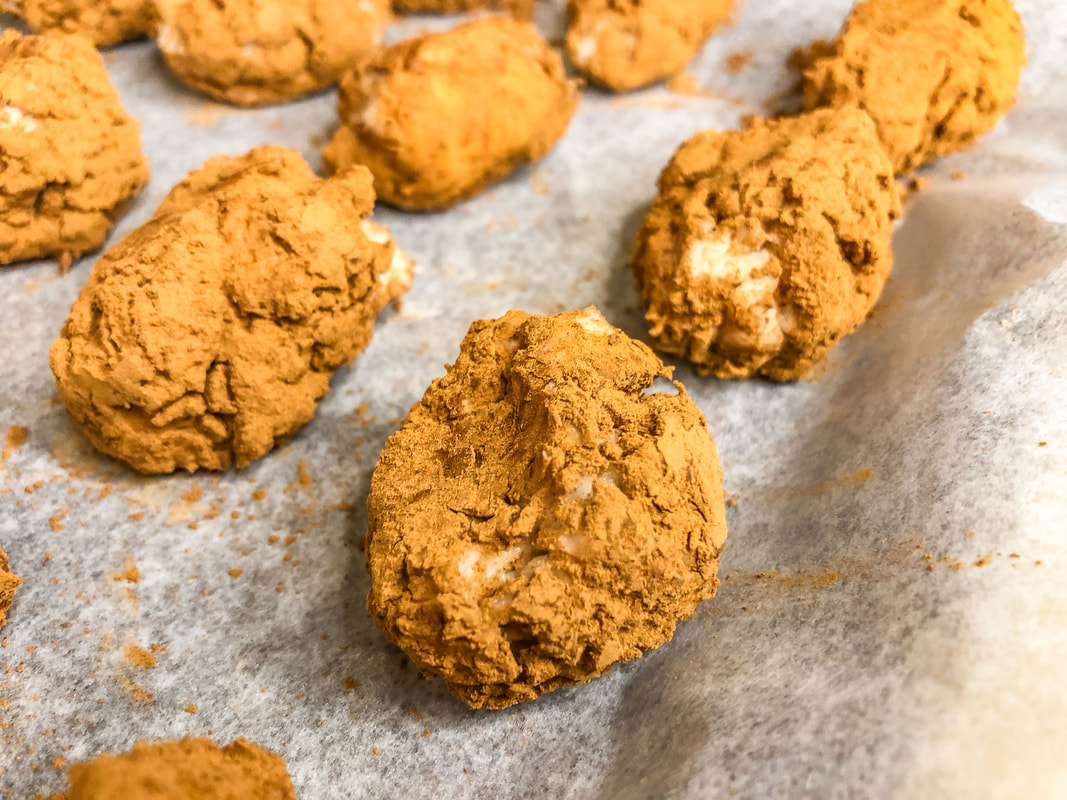 Finished Irish Potato candies on the waxed tray. Photo by Diane M. Lilly, 2022. You can serve as is on the cookie trays, watching the family trample each other to get their “dirty potatoes” (as they are also called), or you can make up a pretty St. Paddy’s Day display or even treat bags. Just remember the cream cheese needs to be refrigerated, so don’t leave the candy potatoes out for long periods. These are so sweet they make your teeth ache just by looking at them, but, man, are they good! Happy St. Paddy’s Day! Original recipe https://www.allrecipes.com/recipe/16520/irish-potato-candy/ Related blogs you may want to read: Homemade chicken noodle soup recipe Banana and raisin bread recipe Potato soup recipe Tuna noodle casserole recipe Chicken vegetable pot pie This article may contain a few items or commercial mentions, but I only used them for demonstration purposes only. I am not endorsing any particular product or receiving any monetary gain for this blog.
0 Comments
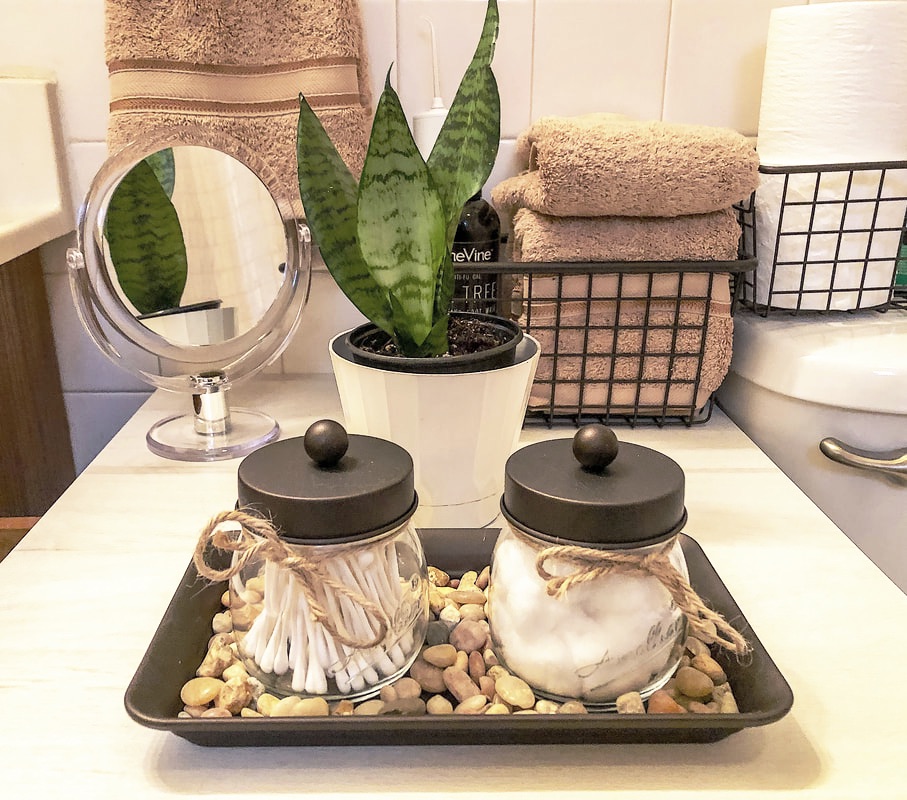 Bathroom vignette with apothecary jars, river rocks, taupe towels, and a snake plant. Photo by Diane M. Lilly, 2022. This month, I decided to give our master bathroom a spring makeover. To say it needed a “refresh” is an understatement. Truthfully, there wasn’t much there to “refresh”! I didn’t take “before” pictures because it was too embarrassing to share, but here’s a quick overview of the design issues I had to address… So this is a small room—5’8” W x 9’9” L—shared by a family of five (four of whom are grown men), plus two cats. The storage consists of one under-sink cabinet with a few drawers and a standard medicine cabinet above the sink. The sink area is only 31” long, most of which is taken up by the sink bowl. So, as you can imagine, this space does not work as-is for our family in terms of storage and workable space for self-care rituals. But it gets worse…Our cats have a litter box in that room, which results in litter all over the floor. The dysfunction and uninspiring look of the room made it difficult for me to have a proper self-care routine. Let’s just say I avoided using that bathroom as much as possible unless I needed to shower or do something where I could be in and out quickly. The design concept for the new look: create a bathroom space with a comfortable, earthy feel with some spa-influenced decorative elements. I wanted the space to be functional, uncluttered, easy to clean, and relaxing. That was my design brief to myself. Oh, and it had to have plants…real plants. The house we live in is a rental, which means no fancy renovations. The walls, sink, towel racks, toilet, tub/shower, medicine cabinet, and lights remain unchanged. Additional design challenges: create more storage in this small space; keep it uncluttered, organized, and easy to clean; incorporate a spa-influenced decor plan; and do not exceed the $250 budget.  The first big purchase was a litter box nightstand enclosure. It took me FOREVER to find something that would fit in that space (21” L x 19” D) that would look like it belonged in the existing room. I needed something to fulfill four functions: it had to blend in, cover the cat box, serve as an extension to my almost non-existent bathroom counter, AND provide a surface for storage or display. This furniture piece also helps minimize the litter stuck to the bottom of our feet... a bonus function! 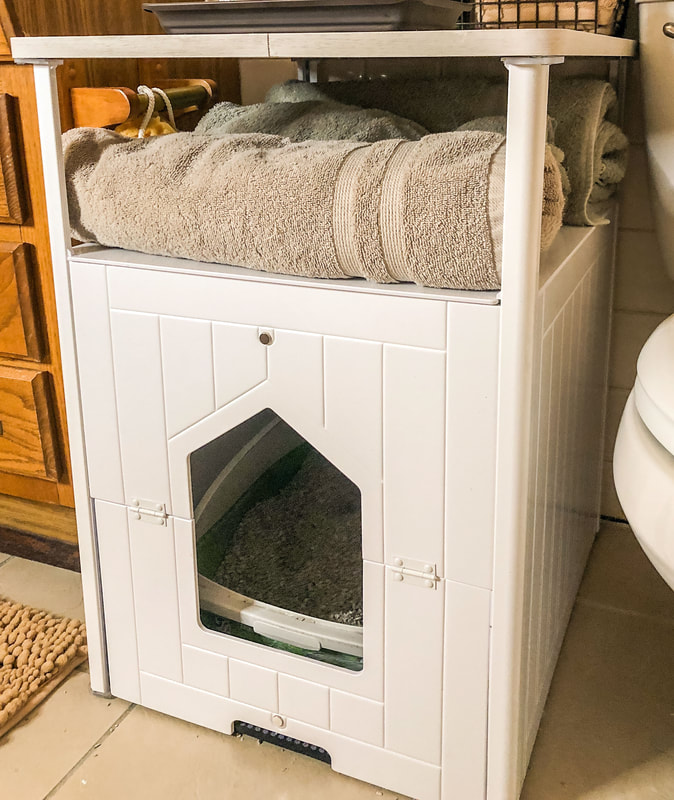 Litter box enclosure for the bathroom. Photo by Diane M. Lilly, 2022. The next big step was to find something that served as extra storage but didn’t take up more than 14” x 14” space as you walked into the room. I had a few options lined up for this piece, but as luck would have it, there was the perfect cabinet (which we got secondhand) just sitting in our basement! All it needed was a good clean…Even the wood color almost perfectly matches the built-in bathroom cabinetry. And I love the florals painted on the panels! This small cabinet provides much-needed out-of-sight storage and just enough horizontal space for something a little decorative to make the bathroom feel inviting. 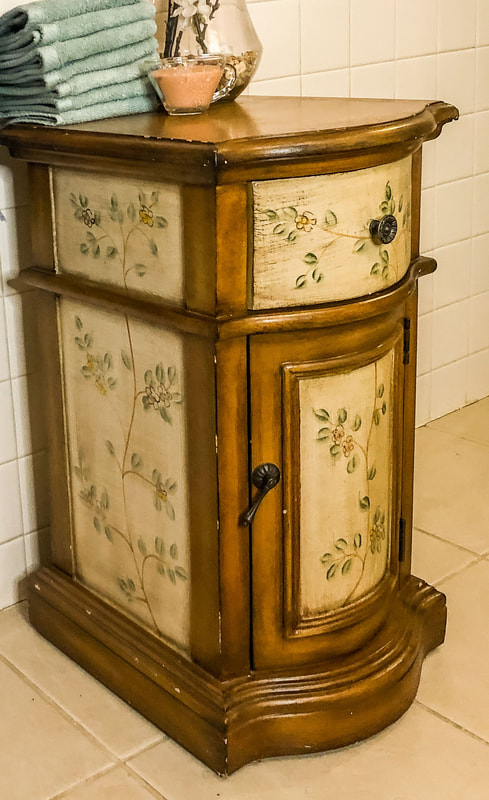 Second hand nightstand repurposed as a small storage cabinet in my bathroom. Photo by Diane M. Lilly, 2022. There were two visual elements that I decided to keep—the shower curtain and a quaint picture with birds and flowers. I searched high and low for a shower curtain I liked (that didn't cost $50), but, in the end, I decided to keep the one I had. I like the textural qualities of the fabric, and the color green is perfect for a relaxing, nature-inspired bathroom. The only things it needed were a new liner and curtain rings. 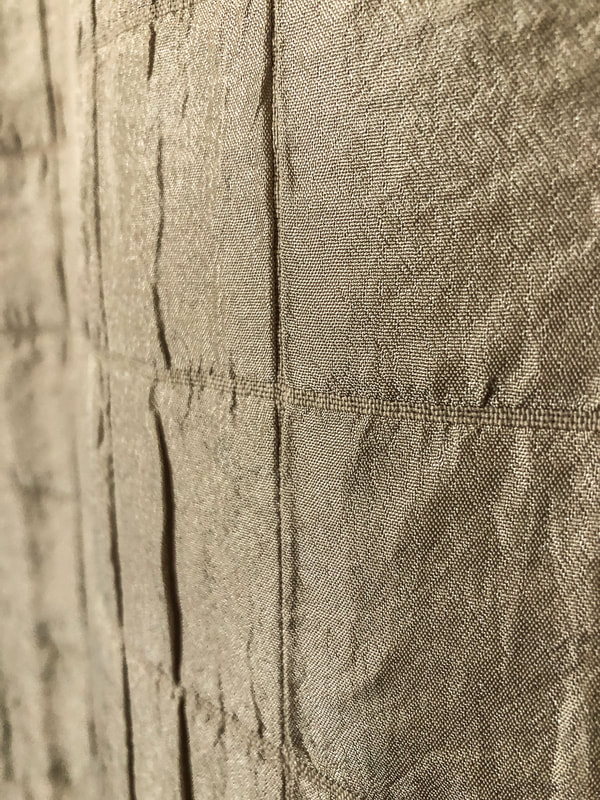 Existing shower curtain in my master bath. Photo by Diane M. Lilly, 2022. 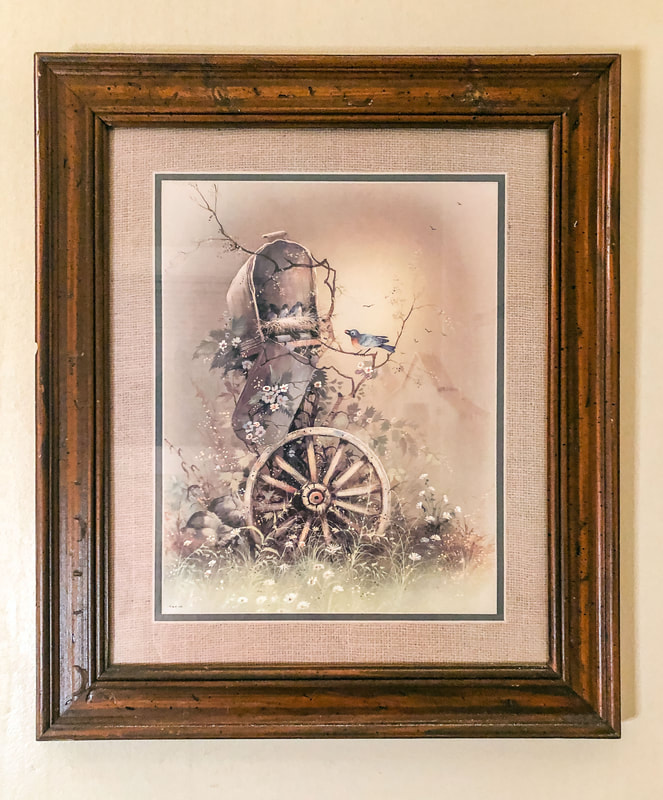 Existing picture hanging on the wall in my bathroom. Photo by Diane M. Lilly, 2022. The towels are still a work in progress…I had mint green rags on hand, and they may look nice displayed, but they do not match the shower curtain, which is more olive green. I did buy taupe rags and hand towels, and they look okay, but I think I would rather have a shade of green. So, at some future point, I will invest in new rags, hand towels, and bath towels. (I think I may want luxurious Egyptian towels). It’s a work in progress! 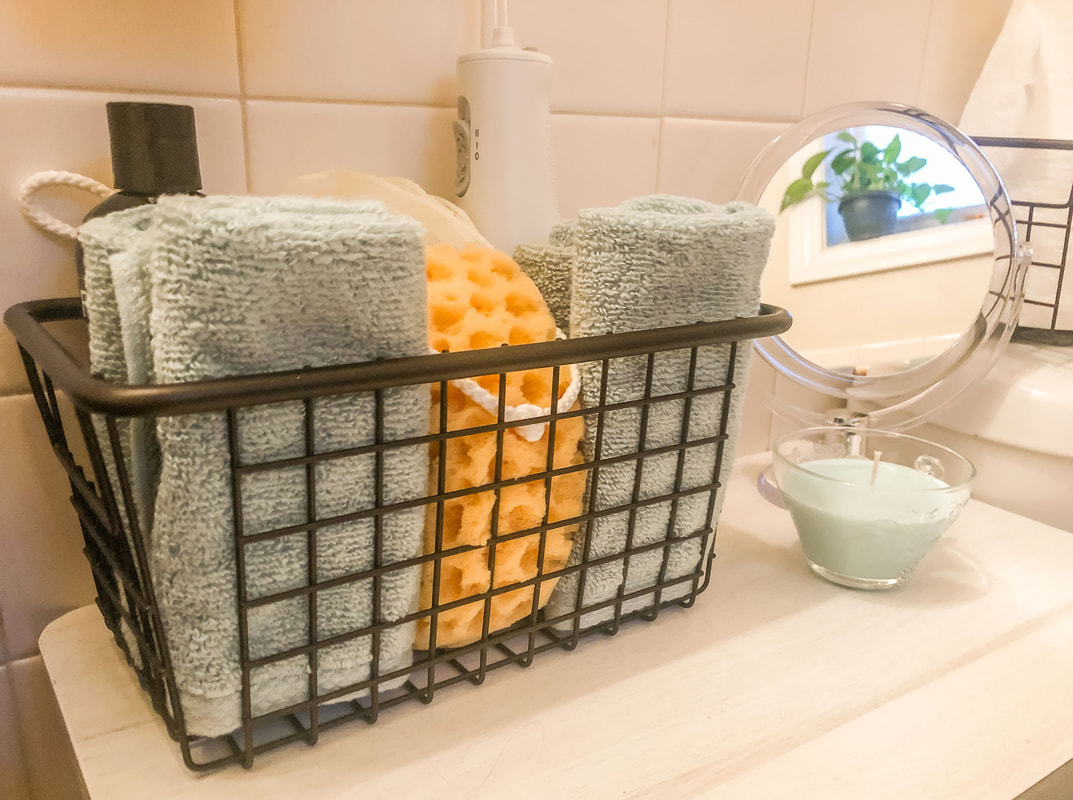 Green rags displayed in a basket in my bathroom. Photo by Diane M. Lilly, 2022. 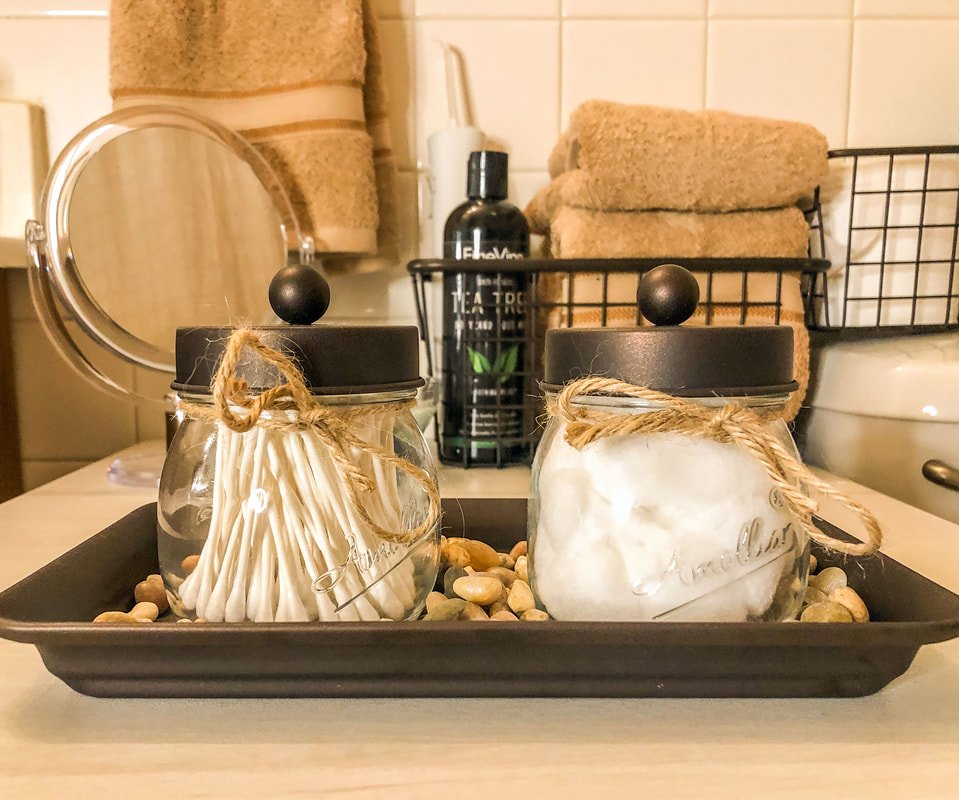 Tauoe hand towels displayed in metal baskets in my bathroom with apothecary jars. Photo by Diane M. Lilly, 2022. The bath mats are another work in progress. I don't love the taupe, but I’ll revisit that situation when I buy new towels. In the meantime, these rugs are microfiber and feel great underfoot! Not only are they plush and soft, but they are also machine washable. My previous mats got moldy quickly, and the rubber underneath fell apart. That’s what you get when you buy cheap bathroom mats! So the new rugs are a vast improvement, but I think I would like bamboo mats instead. 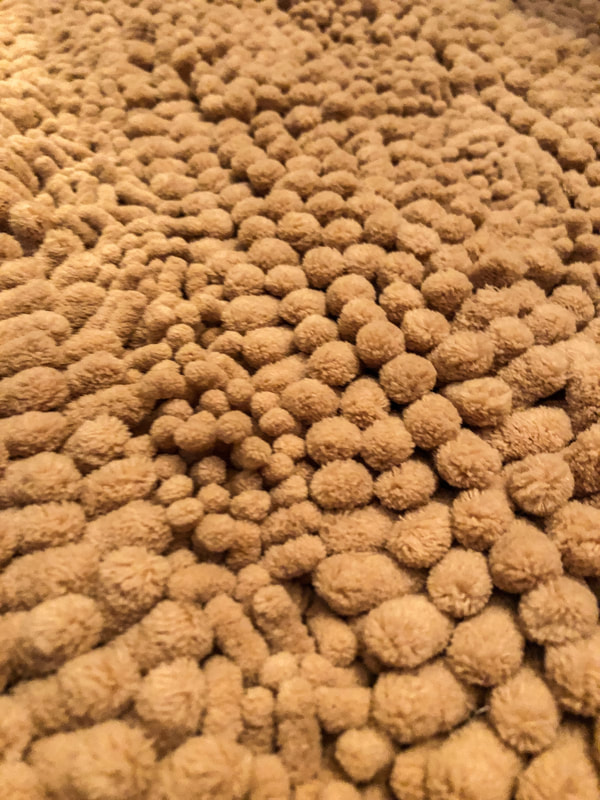 Closeup of my new microfiber bath mat. Photo by Diane M. Lilly, 2022. Bronze metal baskets, a soap dish, shower curtain rings, and apothecary jars were included in my final purchase. These would be used for toothbrushes, hand soap, and other miscellaneous bathroom organizational needs. I wanted a way to store and display bath towels, body scrubbers, bath poufs, body wash, or whatever else I felt would look decorative on the counter to give that “spa” feel. I know this bronze metal decorative decor is more of a Farmhouse style (a style I’m not fond of), but the bronze metal works so well with the rest of the decor. It’s dark enough to provide contrast yet does not have a heavy feel that takes up visual space. Using pieces around the room creates a sense of repetition that pulls the room together as a cohesive whole. I also have dark metal accents throughout the rest of my home, so there is a sense of unity and fluidity. 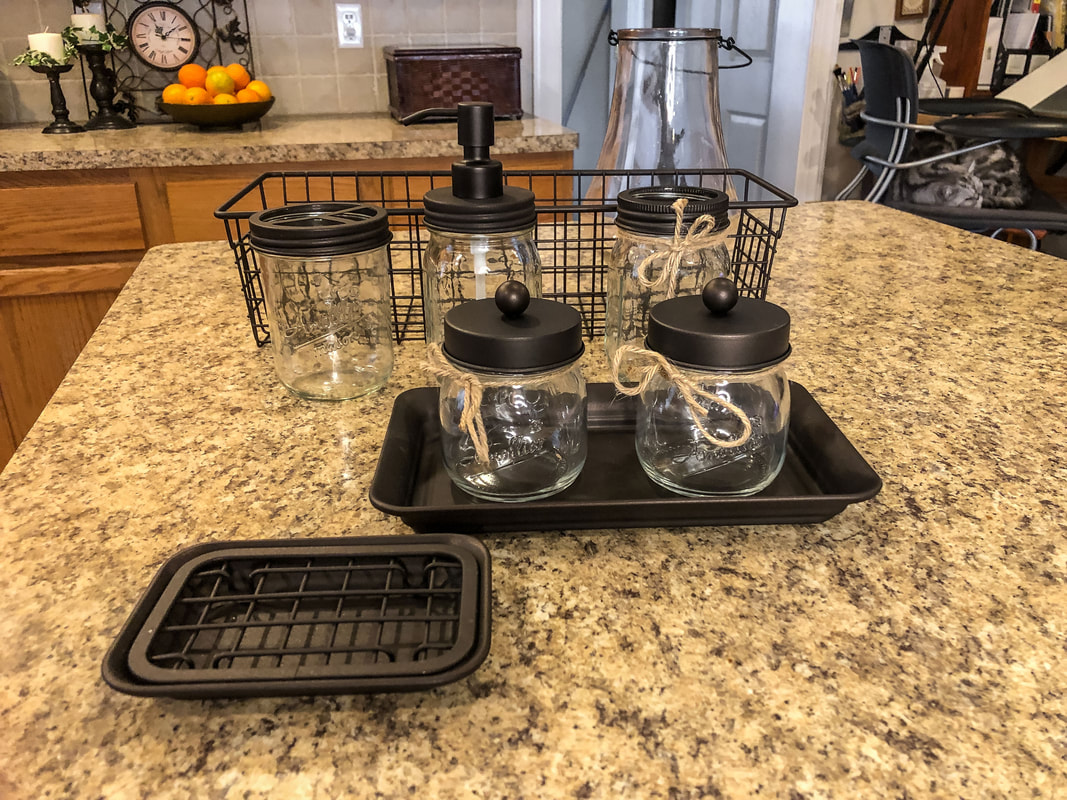 My new bronze metal bathroom accessories and a repurposed second hand glass vase. Photo by Diane M. Lilly, 2022. Am I forgetting anything? Oh yeah, how could I forget my plants! From the beginning, I said I wanted plants in this space. This room gets a decent amount of bright indirect light for much of the day, and with five people taking showers, any plant would be happy soaking up all that humidity! There’s nothing more organic than actual living plants, right? So, my windowsill and counter have become the new home for a few (hopefully) happy green plant babies. (The ones in the photo are a snake plant, a pothos, and a bromeliad.) 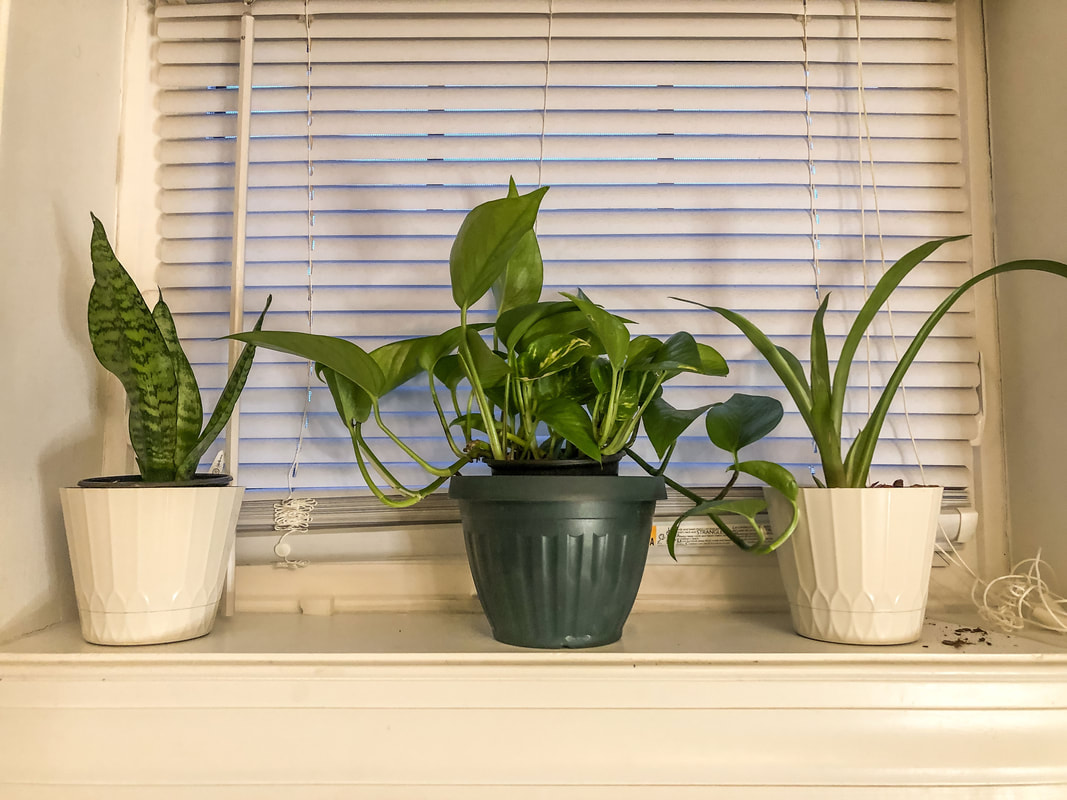 My three new bathroom plants--a snake plant, a Pothos, and a bromeliad. Photo by Diane M. Lilly, 2022. 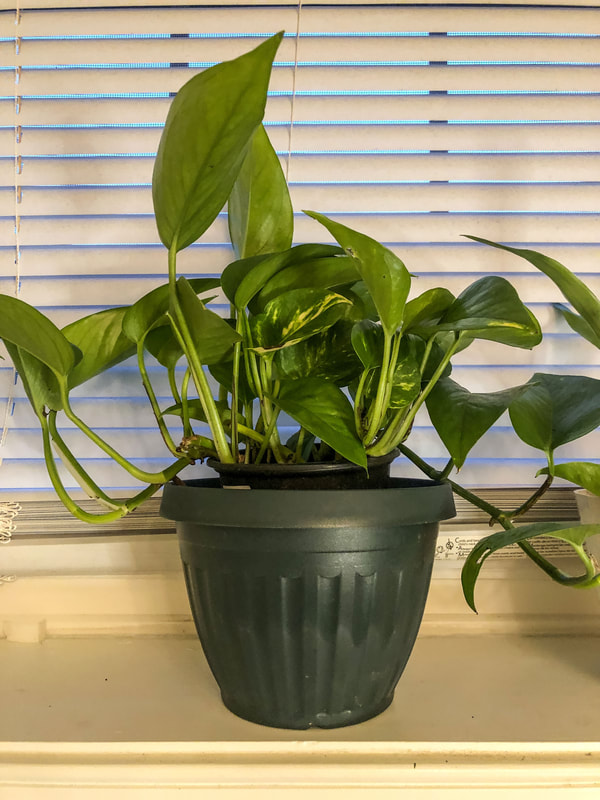 Pothos plant. Photo by Diane M. Lilly, 2022. 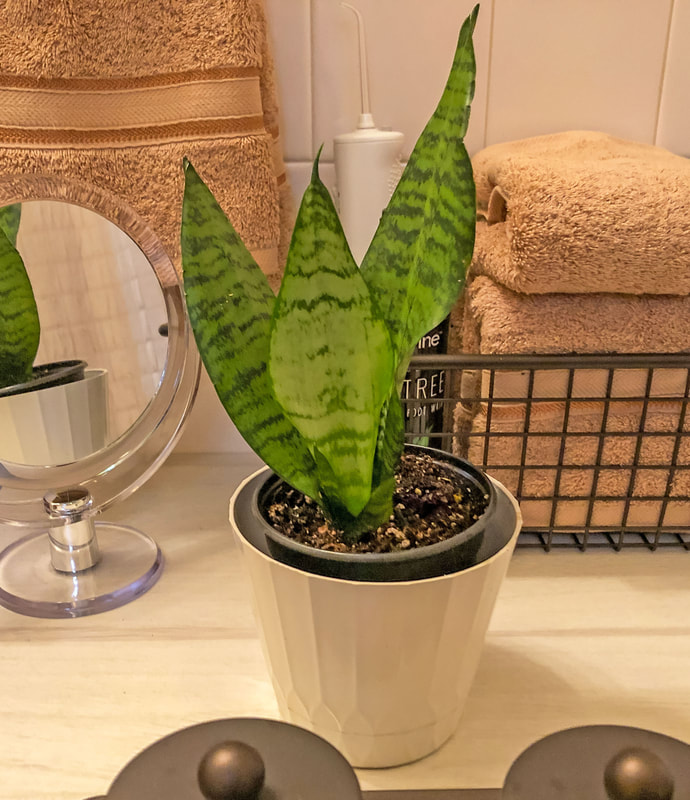 Snake plant. Photo by Diane M. Lilly, 2022. And the finishing touches…River rocks were poured into a tray with two glass apothecary jars. A homemade candle nearby. Across the room, the small cabinet by the door became the perfect place to create a vignette with faux cherry blossoms, a stack of rags, and a homemade candle. Nothing says “spa” like river rocks and candles, right? These little touches added a bit of ambiance to make this space enjoyable. 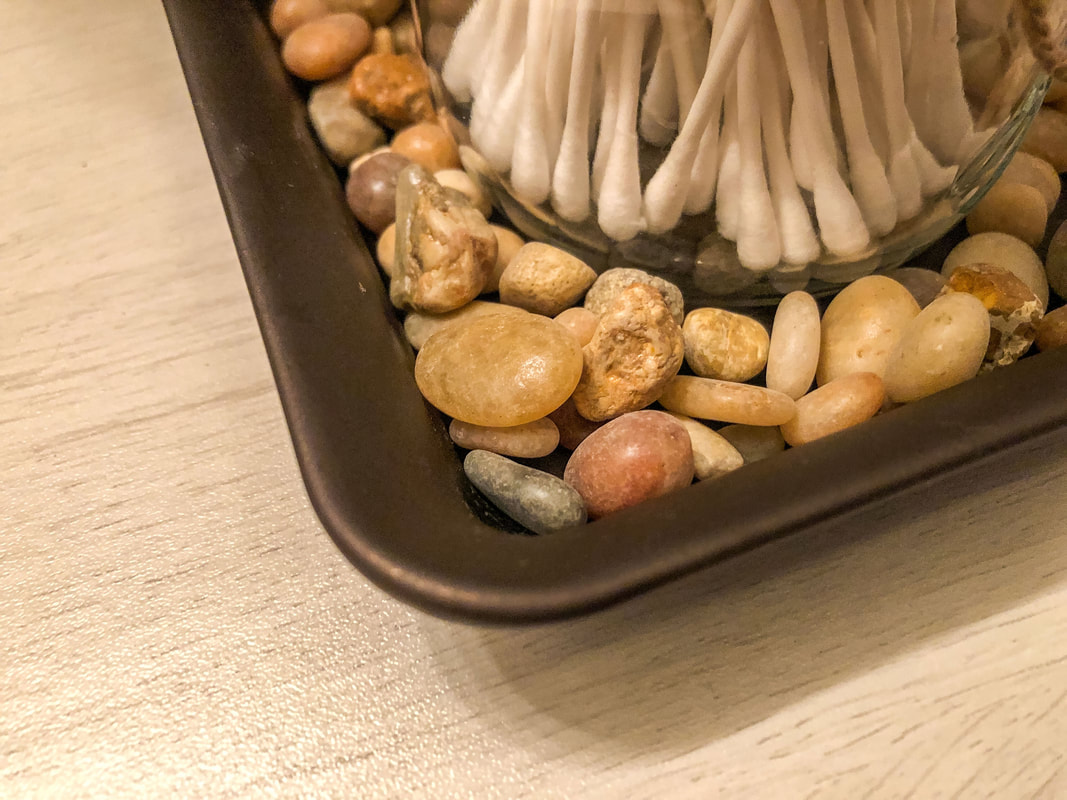 River rocks in a tray. Photo by Diane M. Lilly, 2022. 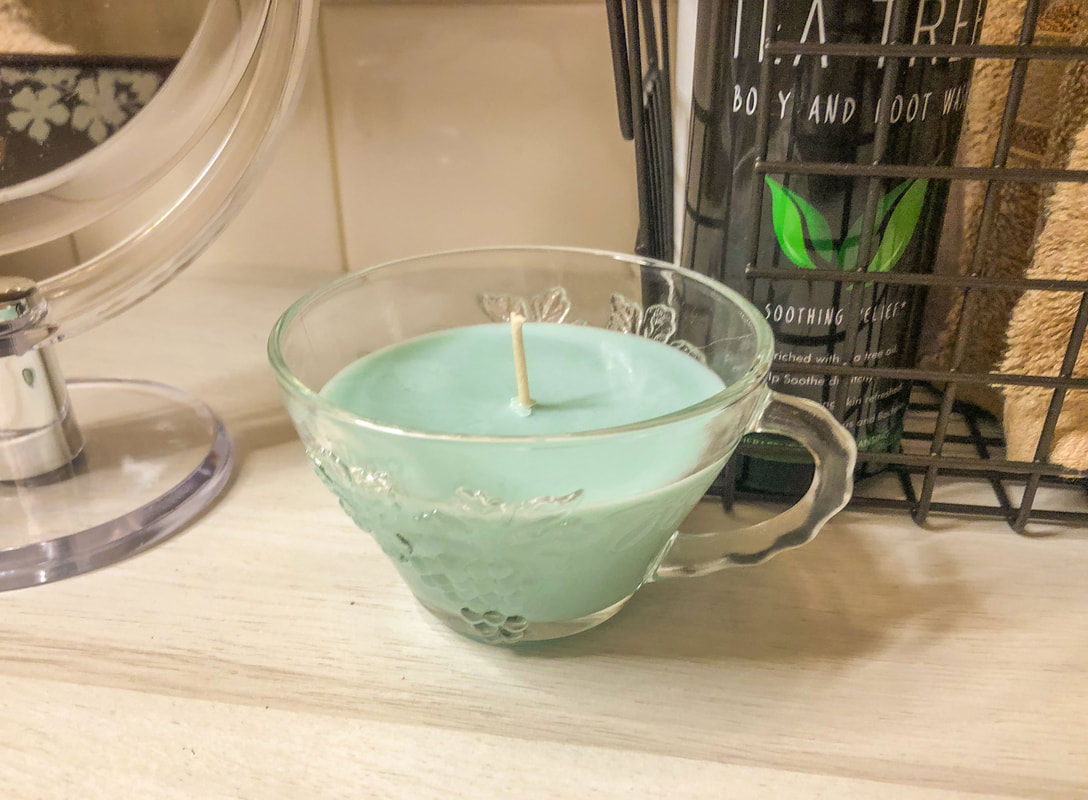 Homemade eucalyptus and spearmint scented candle. Photo by Diane M. Lilly, 2022. 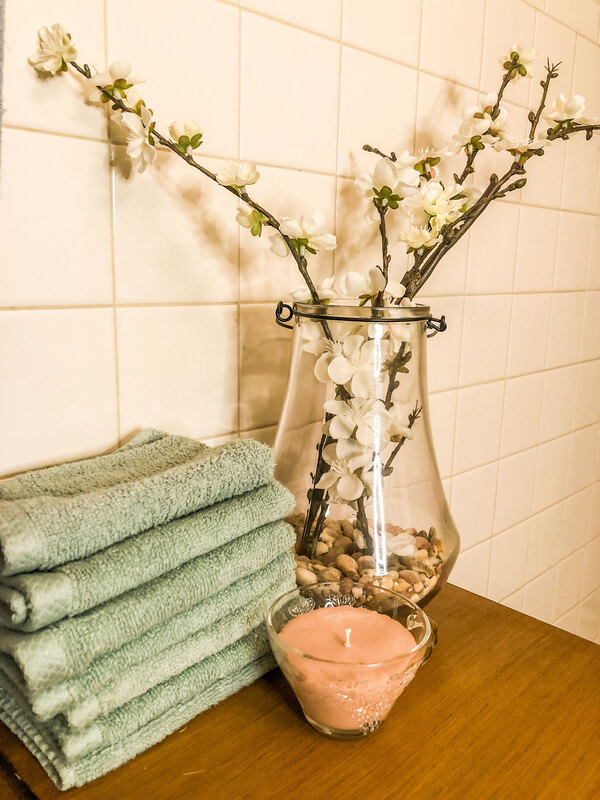 Vignette with green wash rags, faux cherry blossoms stems, and a homemade hazelnut scented candle. Photo by Diane M. Lilly, 2022. I did not have a high-end budget for this project. From the get-go, I knew this would be a work in progress. I had only $250 and needed everything, so I knew this would be a tall order. Much of the budget went towards key items, like the cat box cover, bronze baskets and bathroom accessories, rugs, and towels. Unfortunately, I am not totally in love with the color of the rugs and towels. I don’t hate them--and the room still feels lovely to me--but it’s not exactly what I want. So, how did I do with the budget? Well…I spent about $260.00 and didn’t get everything I wanted for the space. Money doesn’t go very far these days, but that’s okay. This is a work in progress! 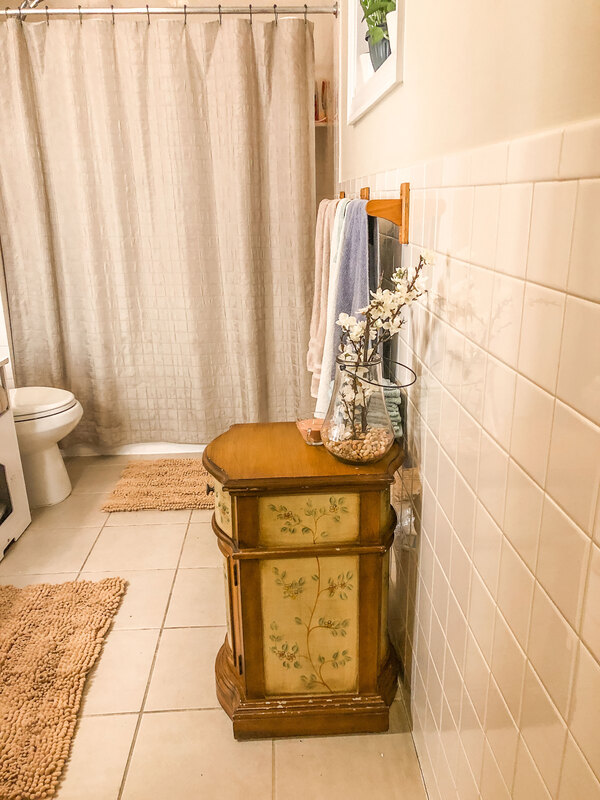 View into my bathroom from doorway. Photo by Diane M. Lilly, 2022. Despite the tight budget--and the fact that I missed the mark with the rugs and towels--the transformation was incredibly positive! The space is very functional now, with plenty of storage for our self-care and personal hygiene needs. There is space for displaying functional and decorative design elements without the room feeling claustrophobic and cluttered. Everything is organized and easy to maintain. I even managed to incorporate a few small touches—like candles, faux florals, river rocks, and stacks of towels—that give the space a sense of being cozy and welcoming with a spa-like vibe. And there are plants! Three new plants have made their way into the space, with more to come! Now I find myself looking for reasons to go in there! I love the vibe and the fact that I can do anything I need to do for self-care in that space. Everything is at my fingertips and well organized. What a difference! 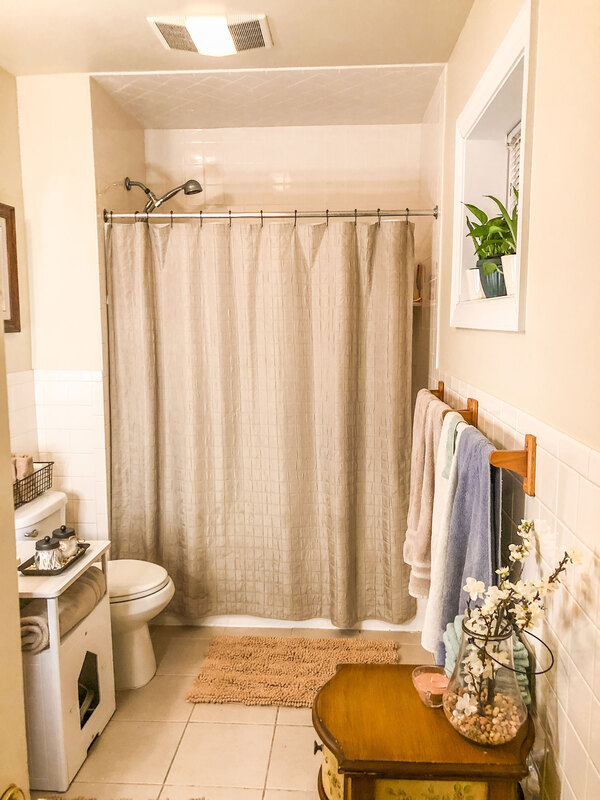 Another view into my bathroom from doorway. Photo by Diane M. Lilly, 2022. The emotional benefits of creating spaces you love—even on a tight budget—cannot be underestimated. This is what I love about interior design and interior decorating. A beautifully and thoughtfully designed space can have a profound effect on those who use the space, and I think many people take this for granted. As women, we often like to “nest” to make a space a home, which is so important. But it is also important to make sure the space is uniquely your own, and that means carefully assessing what is done in the space and how to accommodate everyone’s needs while making the room look good. That can be challenging, but when you get it right, you just know! When you feel joy and ease in your space, you have nailed it! I’m sure I’ll be revising the space at some point in the future, so stay tuned for updates! Do you have a bathroom redecorating project you’d like to tackle? Or maybe you’ve done one recently? Drop a comment below and share your experiences, questions, or tips! Related blogs you may want to read: Small houseplants that love bathroom humidity How to propagate bromeliad pups How to care for faux florals Homemade candle recipe with a eucalyptus fragrance Homemade candle recipe with a hazelnut fragrance How I created a kitchen coffee bar A dining room redesigned as a multi-function space Affiliate Disclosure Some of the posts in this article contain affiliate links. This means if you click on the link and purchase the item, I will receive an affiliate commission at no extra cost to you. I will only recommend products or services I use personally and/or believe will add value to my readers, so there is no conflict of interest. 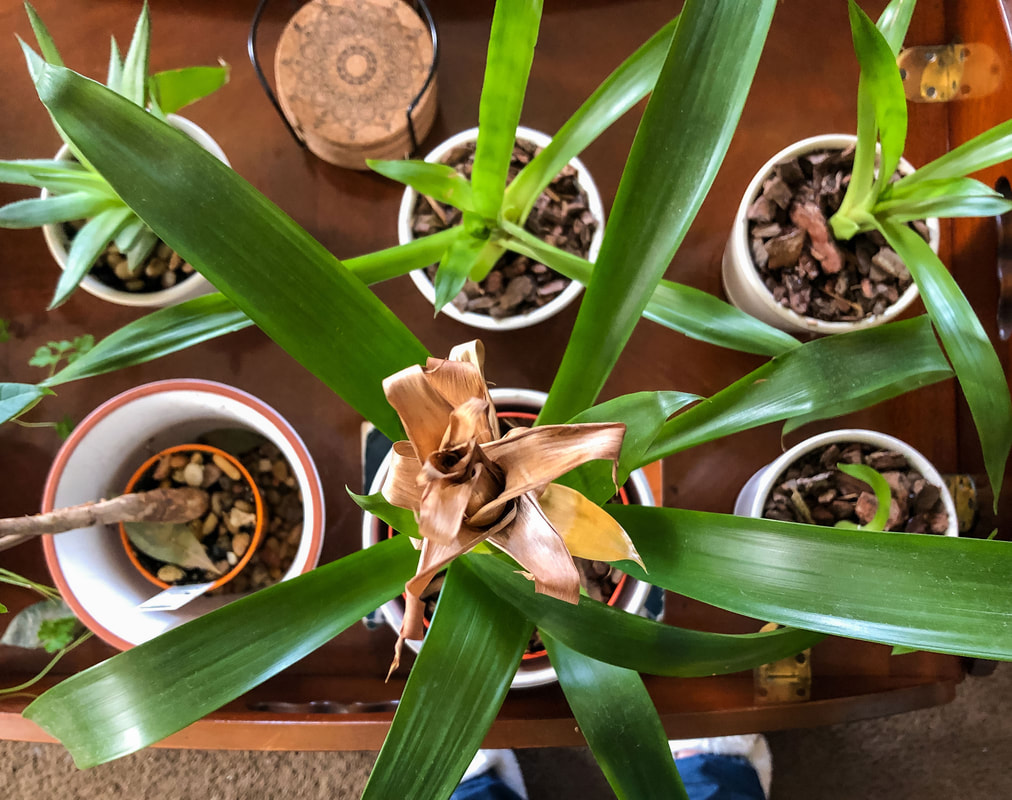 Top down view of my bromeliad mother plant and her newly planted pups. Photo by Diane M. Lilly, 2022. About bromeliads… Without getting too technical, bromeliads are a type of air plant or epiphyte, meaning the plant draws what it needs from the humidity in the air. This plant doesn’t technically need soil, but the soil does provide a way to anchor the plant into a pot and provide an extra boost of nutrients and water. In nature, an epiphyte’s roots attach to trees or other plants, anchoring them to a good place where they catch the best nutrients and humidity from the surrounding air. 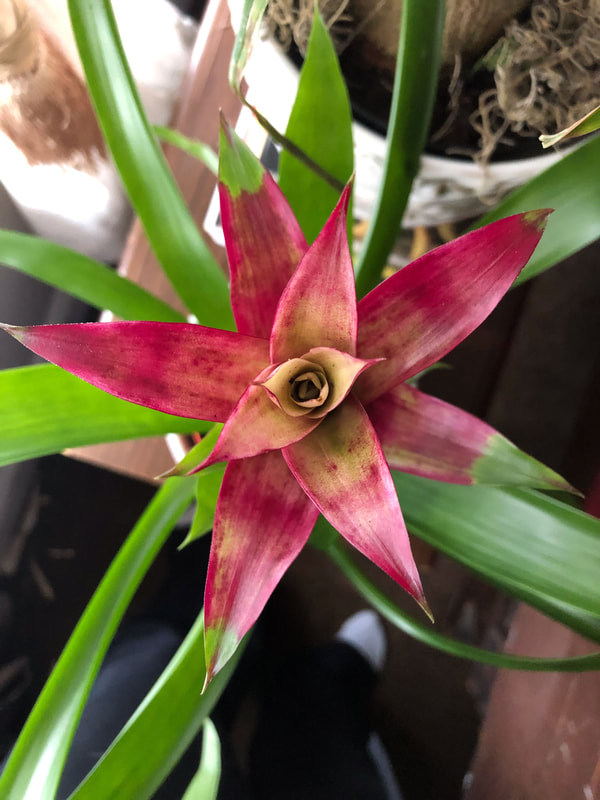 Top down view of bromeliad plant in bloom with its vivid fuchsia leaves. Photo by Diane M. Lilly, 2021. 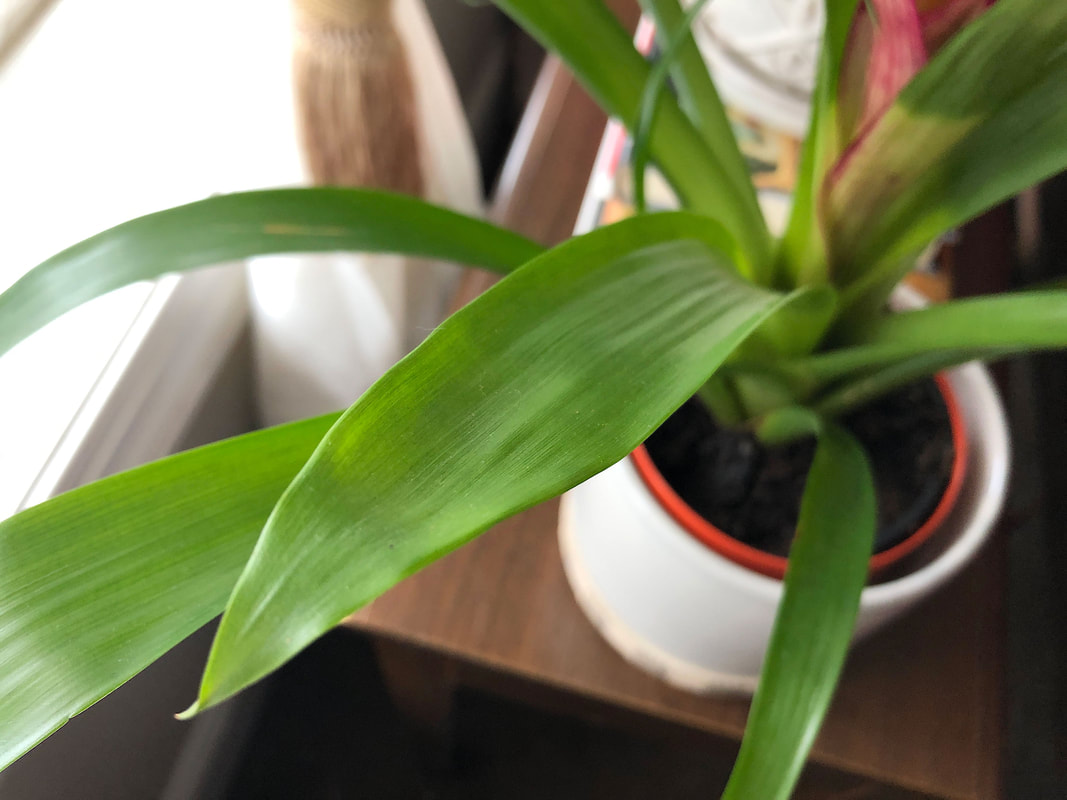 Bromeliad leaves. Photo by Diane M. Lilly, 2021. 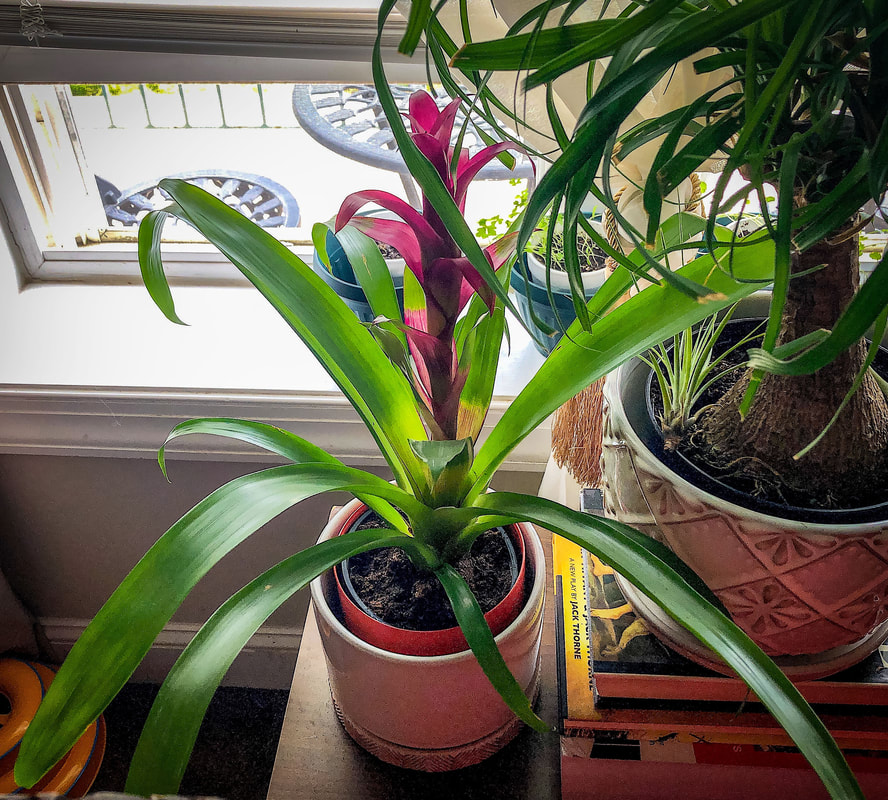 Bromeliad plant in my front window. Photo by Diane M. Lilly, 2021. Some bromeliads are green and leafy plants that will begin to develop vividly colored leaves in the central part of the plant when the plant matures (which takes at least a couple of years). The plant will retain its vibrant color until it gets ready to fade and die. Once that time comes close, the mother plant will shoot out pups from the base of her bottom leaves. These pups will grow and draw nutrients from the mother plant, becoming the next generation of plants. The pups need to be at least a third of the size of the mother plant before they can be pulled apart and transplanted on their own. The longer they stay attached to the mother plant, the stronger they will be, and the sooner they will flower and develop roots. If they are removed when smaller, however, the mother plant will have enough time to put out more pups before she inevitably dies. Last year, I bought a gorgeous bromeliad with vibrant fuchsia leaves in the center. Sadly, she is now faded and dying, but before she goes, she has gifted me with four pups, which will become new plants for my home. And it is now time to transplant each pup into its own pot! 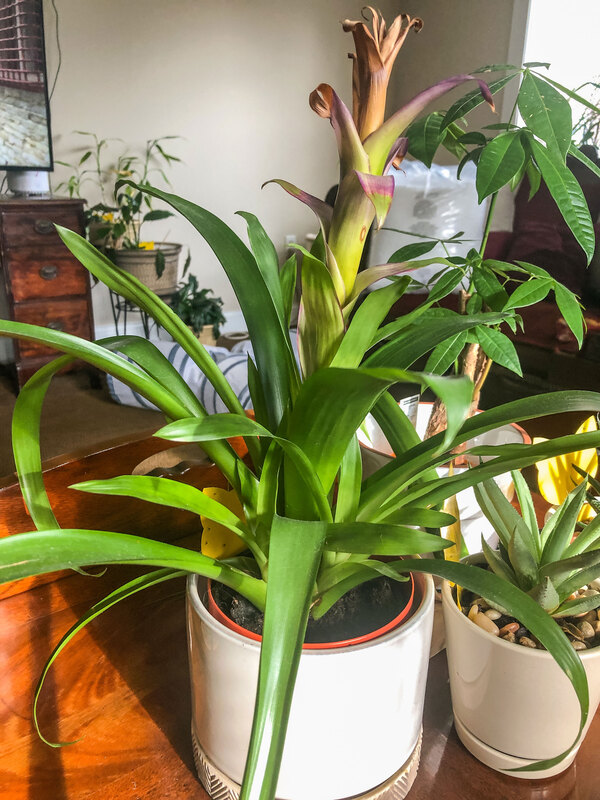 Bromelaid mother plant starting to fade. Photo by Diane M. Lilly, 2022. 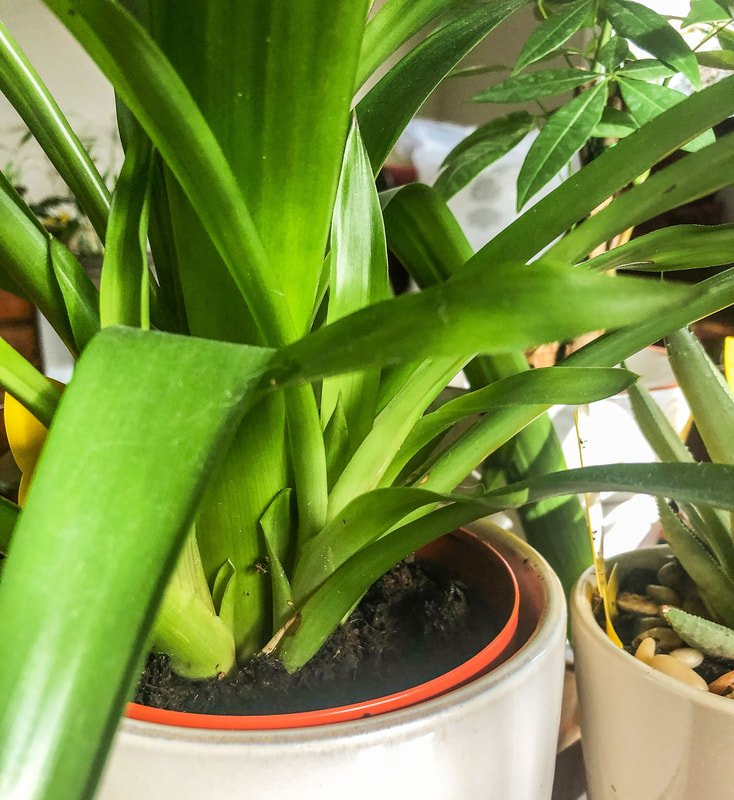 Closeup of pups growing from the base of the bromeliad mother plant. Photo by Diane M. Lilly, 2022. Materials needed for this project: 4 small pots (about 3-4” in diameter) fungicide/rooting hormone sterile knife potting mix peat moss bark bin or container to mix soils 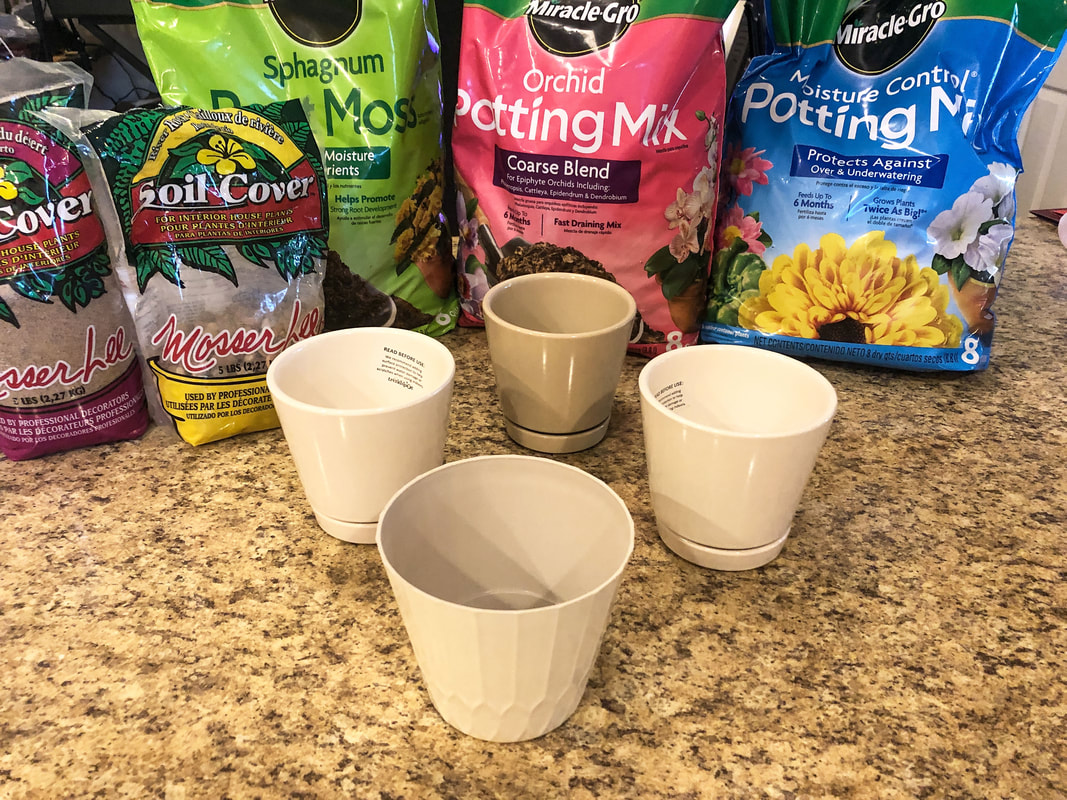 Pots and potting mix. Photo by Diane M. Lilly, 2022. Let’s talk about soil for bromeliads… Choose well-draining soil for bromeliads, as these plants—like most plants—don’t like sitting in soggy soil. Soil mediums like sphagnum peat moss, sand, and orchid bark may work well. Good potting soil with a mixture of bark and sand can also work well with bromeliads. Once your bromeliad is in the proper soil, the plant will not typically need repotting unless you propagate pups. Some soil mixtures suggested by the pros: Simple moist peat mix soil Sand mixed with a good draining potting soil Mix of 1/2 potting soil and 1/2 orchid bark Mix of 1/3 sand and 2/3 peat Soil mix in equal parts of perlite, peat moss, and bark Soil mix of 1/2 potting soil, 1/4 perlite, 1/4 bark The mixture I decided to use was based on what I had on hand. I used 1/2 potting mix, 1/4 sphagnum peat moss, and 1/4 orchid bark. I feel like this mixture will give my pups a good draining soil with just a little boost of nutrients to help them survive the trauma of separation. 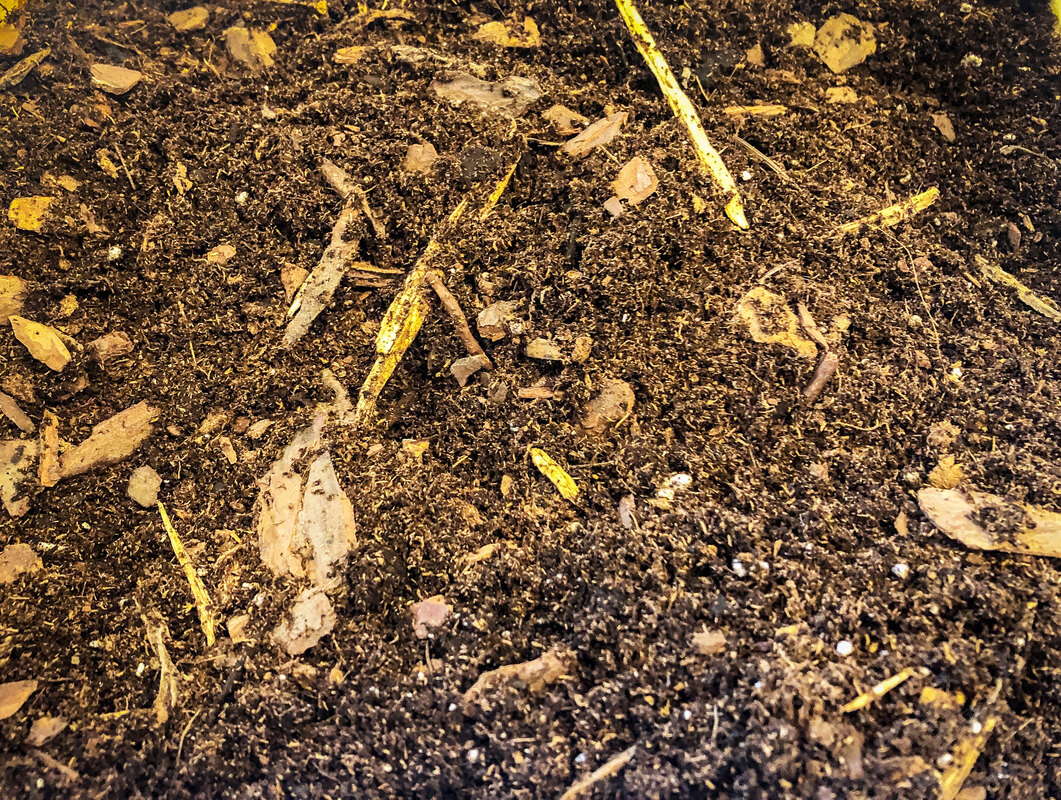 My potting mix--potting soil, sphagnum peat moss, and orchid bark. Photo by Diane M. Lilly, 2022. Removing the pups from the mother plant… Before you start, you may want a sterilized knife for cutting the small plants away from the mother. (Make sure it’s sterilized--you don’t want to introduce any bacteria that could make the fragile plant sick.) First, gently coax the plant out of its pot by turning and squeezing the pot to loosen the soil from the sides. Once the plant is free of the pot, start to loosen the soil a bit by gently massaging around the base of the plant. This will help you find the roots better, see where the plants are connected, and find the shield leaves between the mother plant and pup. I do not cut into the plants unless necessary, so I use my fingers to continue to loosen the soil and gently—and slowly—nudge the pup away from its mother. If you really must, you can use the sterilized knife to cut the two apart, keeping a piece of the mother plant attached to the pup.  Bromeliad plant removed front its pot. Photo by Diane M. Lilly, 2022. The pup may have roots by now, but it may not, and that’s okay. (Only one of three of my pups had a root of its own.) The plant will grow roots once planted in its pot. You should dip the base of the pup in a fungicide and rooting hormone before placing it in the soil to get this process moving. (See below for notes on rooting hormones.) Do not plant the pups deep; prop up top heavy plants with sticks. If the mother plant is not too far gone, she can be placed back in the soil in a pot, and she might grow more pups. Water the plants well and wet the leaves. 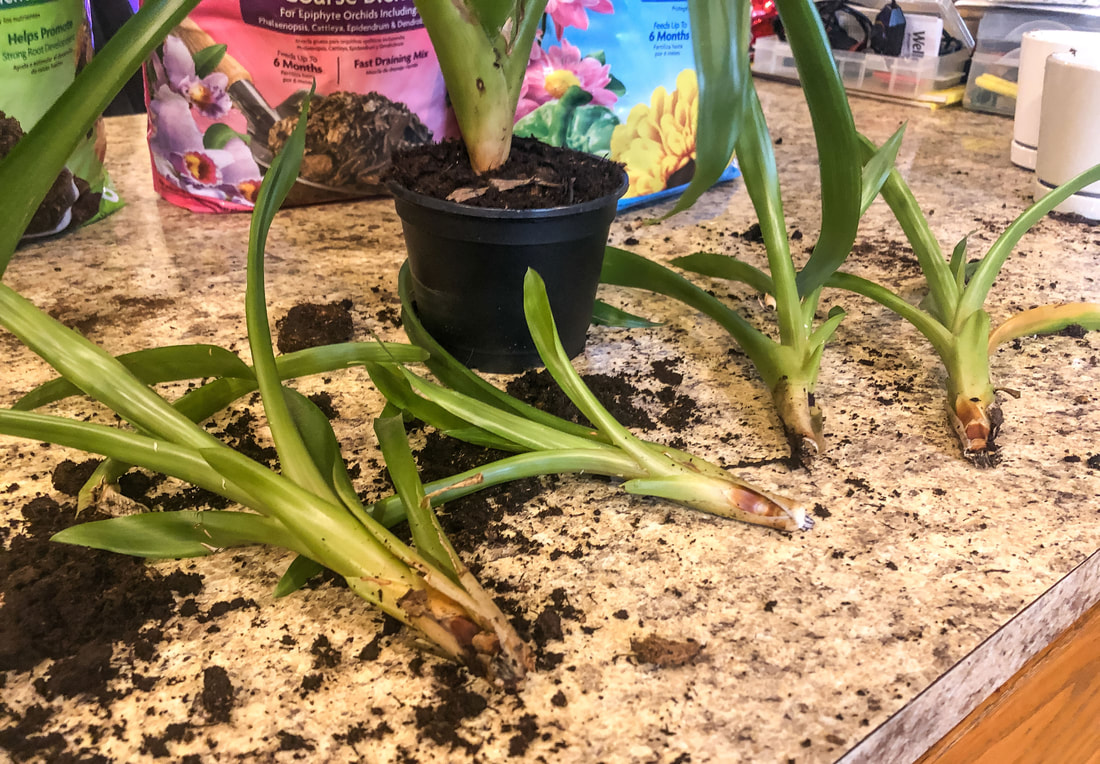 Four bromelaid pups separated from the mother plant. Photo by Diane M. lilly, 2022. Rooting hormone conundrum… So, in my haste, I forgot to buy rooting hormone and fungicide! Many plants need this step to help kill any fungus or bacteria from the cutting/separation process and to help them grow roots. So…I had to do a little quick research on how to make my homemade rooting hormone. Some ideas I found on Gardening Know How for homemade rooting hormone: Apple cider vinegar and water used sparingly. (Apple cider vinegar is used to kill weeds in the garden, so you don’t want to use too much.) Human spit…Ewww! Sounds a little disgusting, but apparently it works! Natural honey, not store-bought. Honey has anti-bacterial benefits, which is good for the new plants. Aspirin dissolved in water. Willow water or willow tea. Cinnamon in powder form to form a coating on the root area. It is an anti-fungal, antibacterial agent, and an insect repellent. Pulp from an aloe vera plant. I used apple cider vinegar and water as a rooting hormone and fungicide for this project, applying a thin coating to the plant base. Then, I popped the pups into the soil mixture and watered all the plants. The rooting hormone problem is solved! 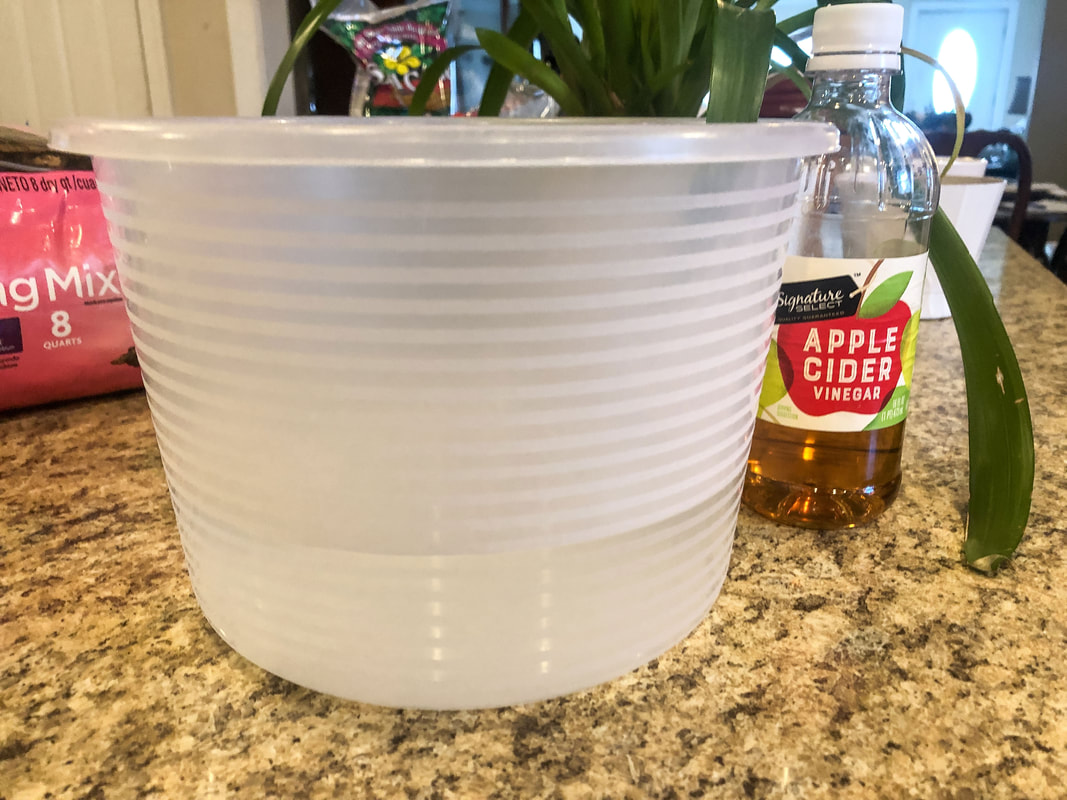 Apple cider vinegar and water, homemade rooting hormone. Photo by Diane M. Lilly, 2022. 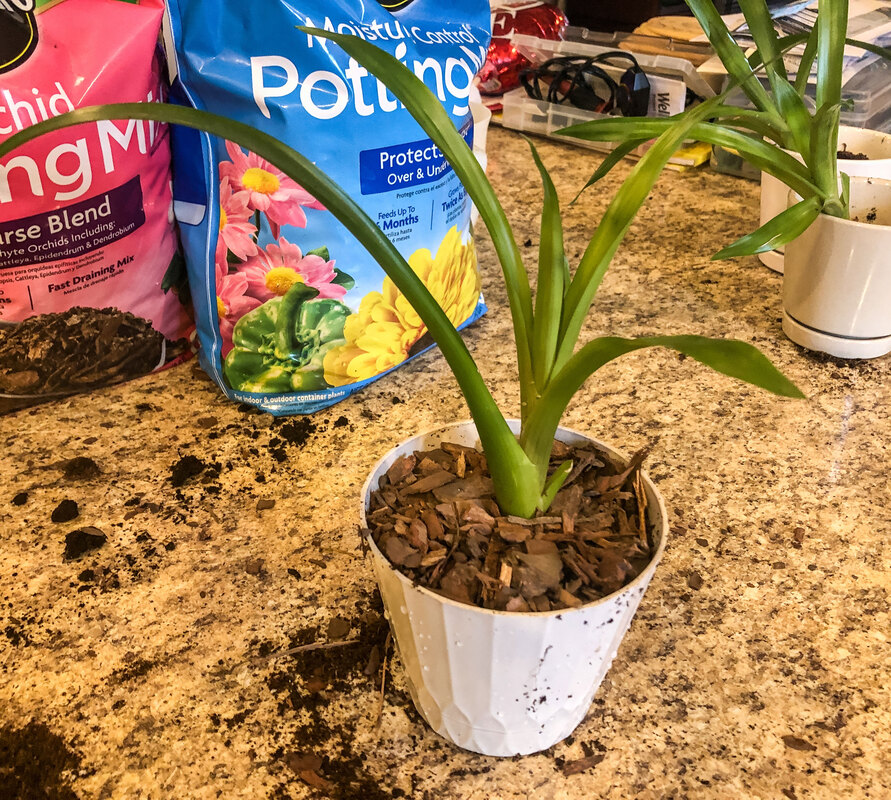 Newly planted bromeliad pup. Photo by Diane M. Lilly, 2022. 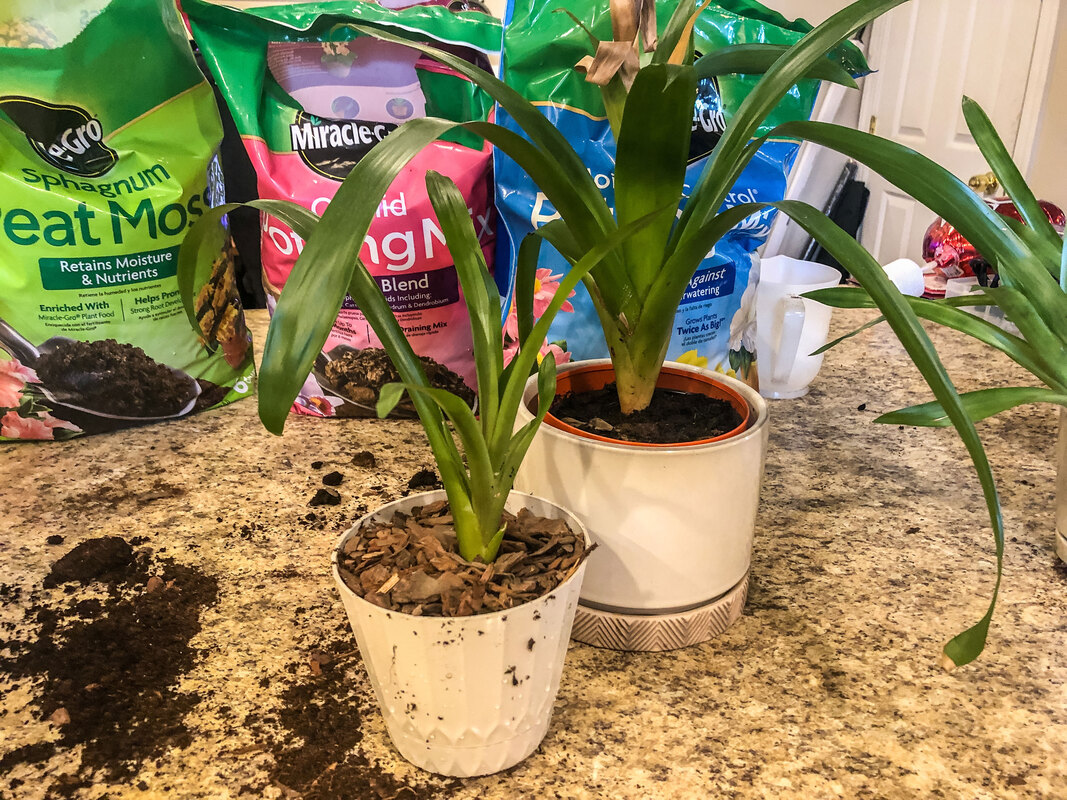 Newly planted bromeliad pup with mother plant. Photo by Diane M. Lilly, 2022. Water & light needs for bromeliads… The bromeliads are watered by pouring water into the cups or spaces between the bottom leaves rather than in the soil. They can be misted as well to create a little more humidity. Water the plants infrequently and only when needed in the winter. This plant does not like sitting in wet soil. It will rot and die! Distilled or purified water is best, but I use tap water that sits for a day or two to let harmful sediments settle to the bottom of the watering can. Bromeliads don’t necessarily need fertilizer, but you can mist the plant with orchid fertilizer in the warmer months (diluted by half). Your new bromeliad plants need bright indirect light and keep newly planted pups out of direct sunlight for a while. 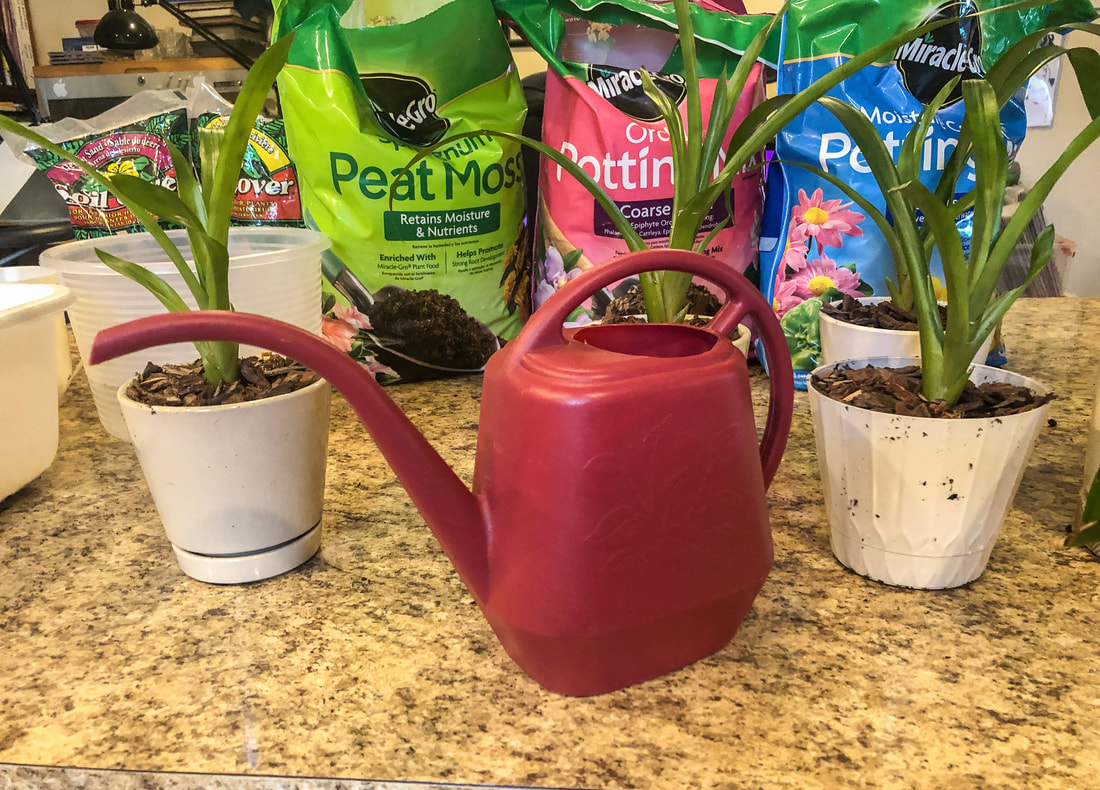 Watering can and newly planted bromeliad pups. Photo by Diane M. lilly, 2022. 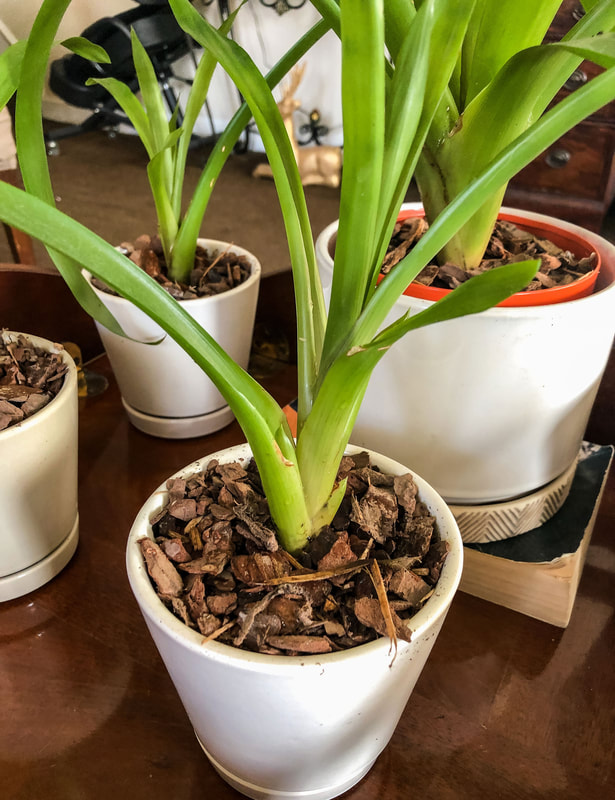 Closeup of newly planted bromeliad pup. Photo by Diane M. Lilly, 2022. 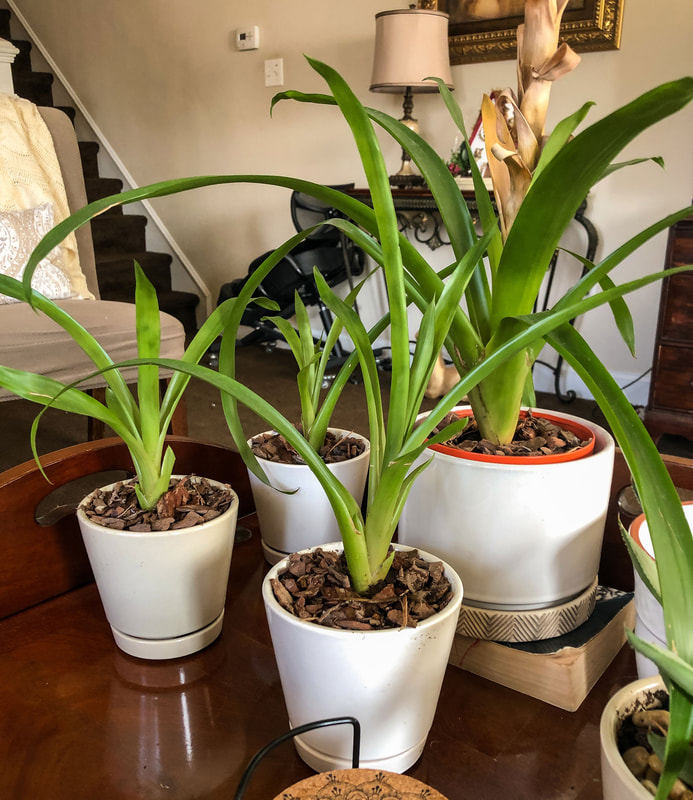 My new bromeliad family--mother plant and her four newly planted pups. Photo by Diane M. Lilly, 2022. Was this helpful to some of you? Drop a comment below with any more tips for handling these gorgeous plants! Related blogs you may want to read: Small houseplants that love bathroom humidity Eight health benefits of decorating with plants Six herbs I planted indoors Let’s talk about houseplants Biophilia in interior design A spring decor makeover for my small rental bathroom This article may contain a few items or commercial mentions, but I only used them for demonstration purposes only. I am not endorsing any particular product or receiving any monetary gain for this blog. 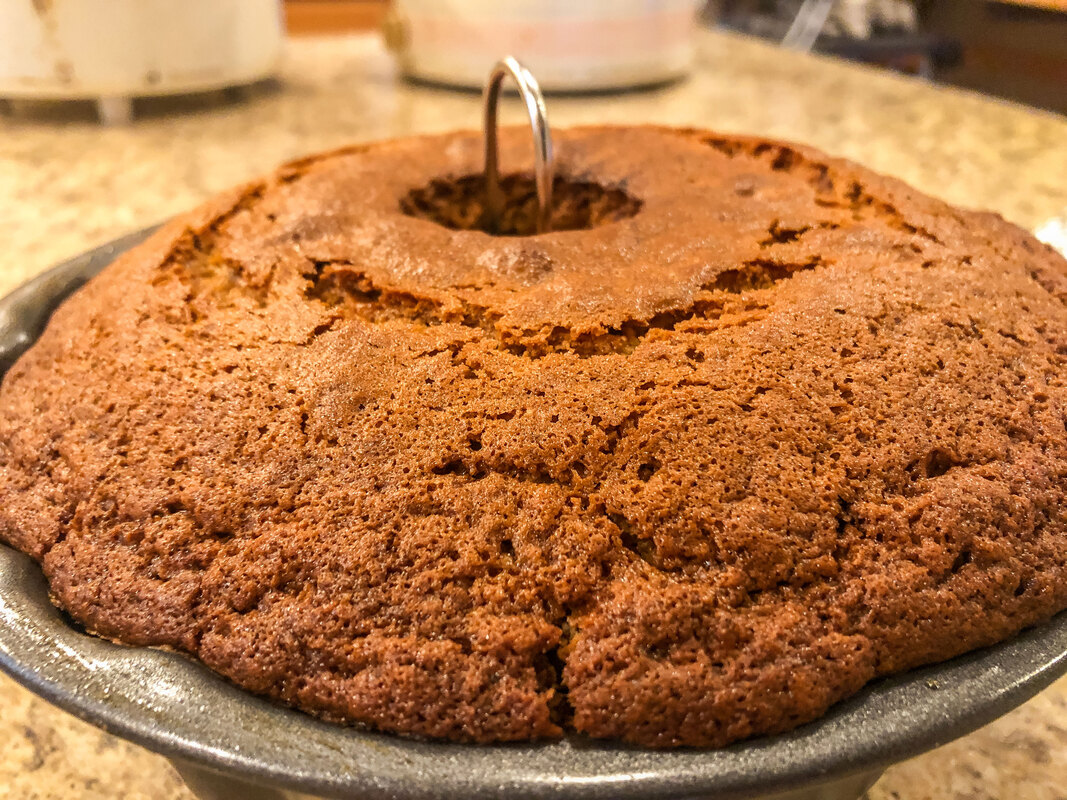 Homemade banana and raisin bread. Photo by Diane M. Lilly, 2022. The end of winter can be so dreary, can’t it? I find myself chomping at the bit with anticipation for the warmer weather that seems like it’s taking its good old time getting here! I’m craving the warmth of the upcoming spring. Maybe something warm and home-baked will help… Every week, we buy a bunch of bananas, and some weeks they get eaten, but many times, I end up with a few bananas that have gone brown…and who wants to eat that?! I feel so wasteful throwing them out! So, sometimes, I dig through my cabinets to find something to compliment the bananas in a bread recipe. Sometimes I find chopped nuts, or coconut, or chocolate chips…This time around, it was raisins. And so the oven was turned on, and the baking began. 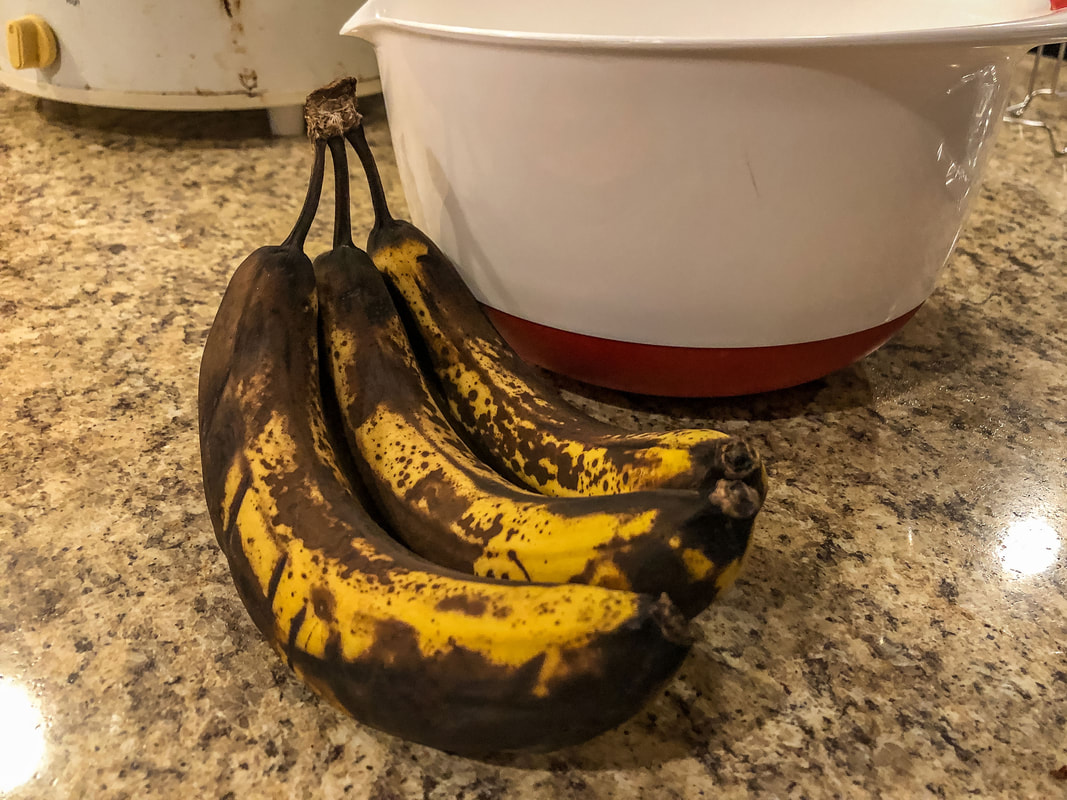 Three ripe bananas. Photo by Diane M. Lilly, 2022. 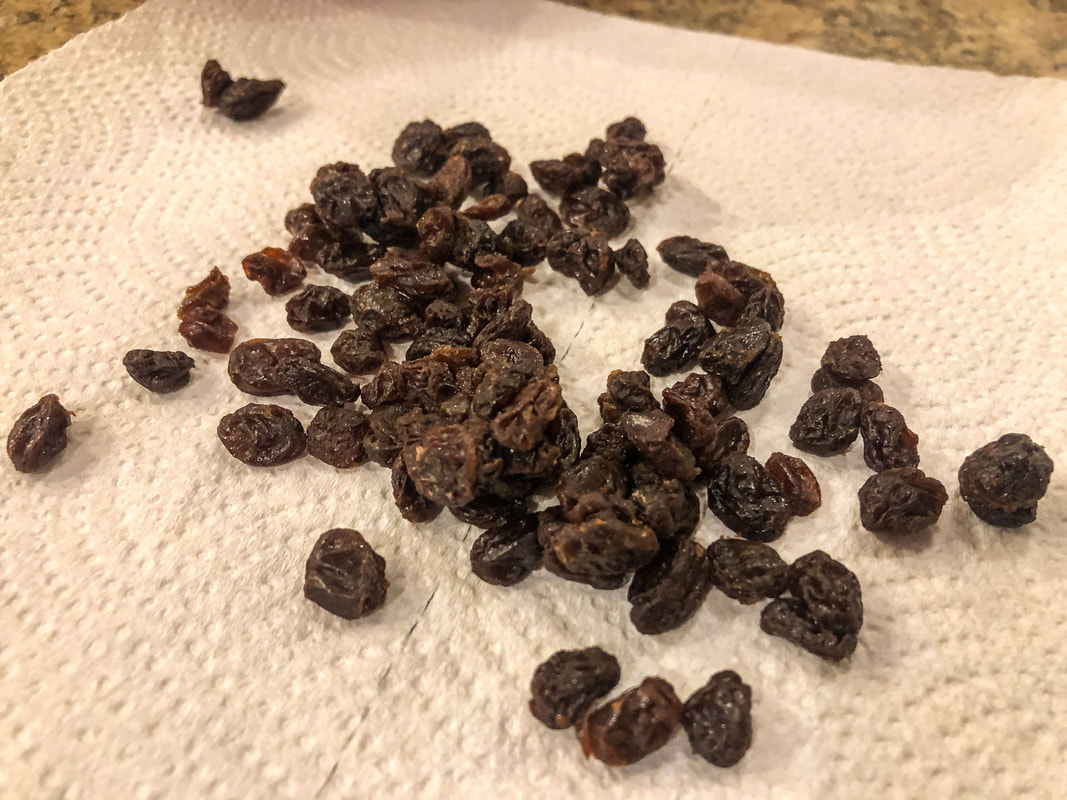 Raisins. Photo by Diane M. Lilly, 2022. Banana bread is not a hard thing to make, and it’s a great way to limit waste and make a special treat for the family…better than store-bought, in my opinion! So here’s today’s version of banana bread with raisins… Ingredients: 2-3 ripe bananas 2 eggs 1/2 stick butter, softened 1/2 cup milk 2 tsp vanilla 1 cup sugar 1/4 cup brown sugar 2 cups flour 1 tsp baking soda 1 tsp salt Nuts, raisins, or chocolate chips (optional) Heat oven to 350 degrees F. Grease the pan. (I used a Bundt pan and a muffin pan for this recipe.) 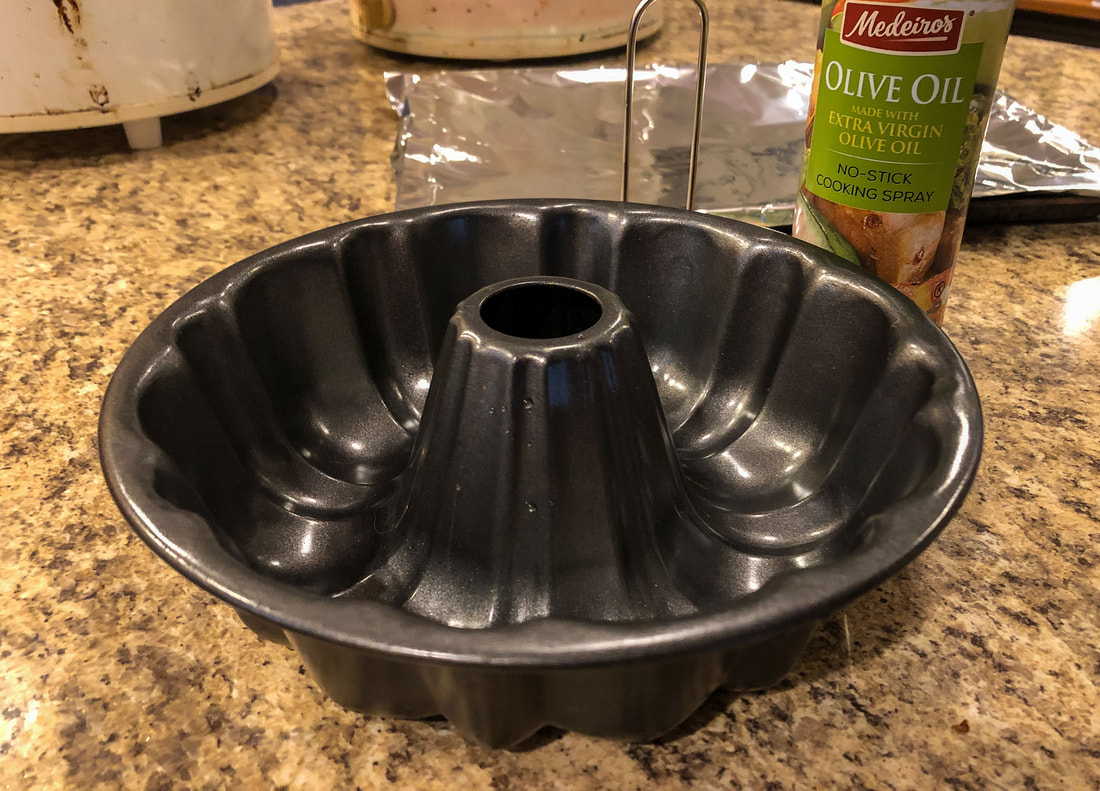 Bundt cake pan greased. Photo by Diane M. Lilly, 2022. Mix the sugars and butter, and stir in eggs. Mix until moist and crumbly. 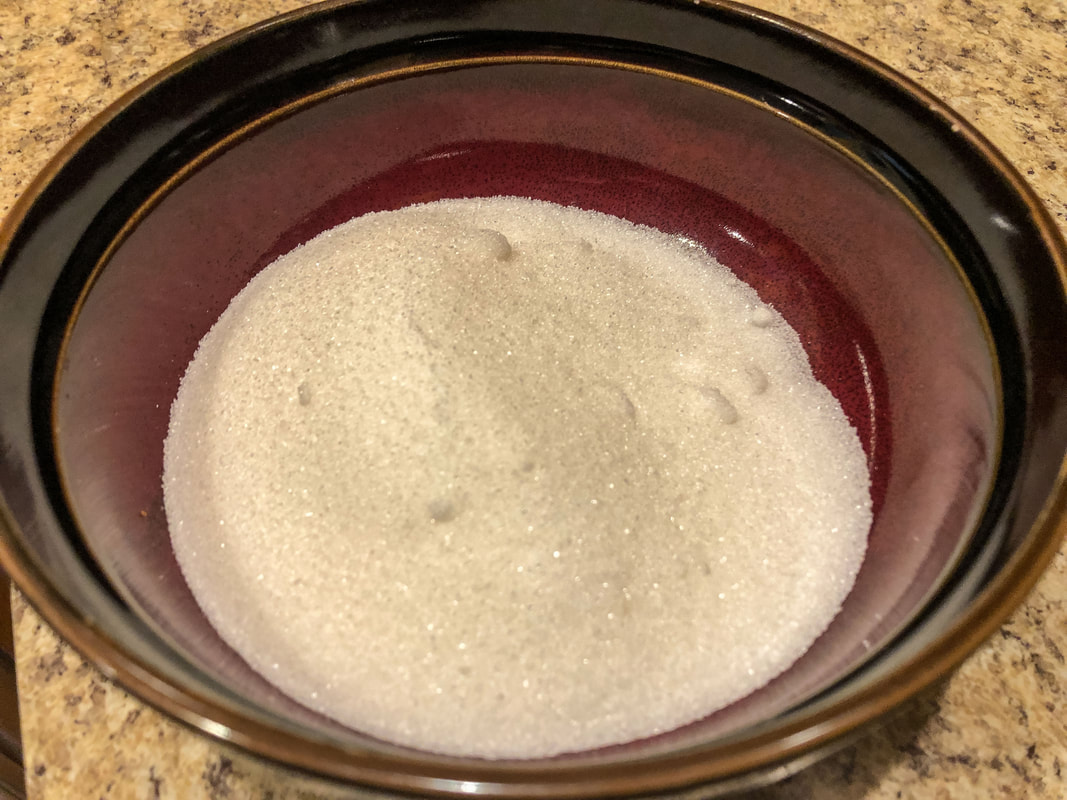 Cup of sugar in a bowl. Photo by Diane M. Lilly, 2022. 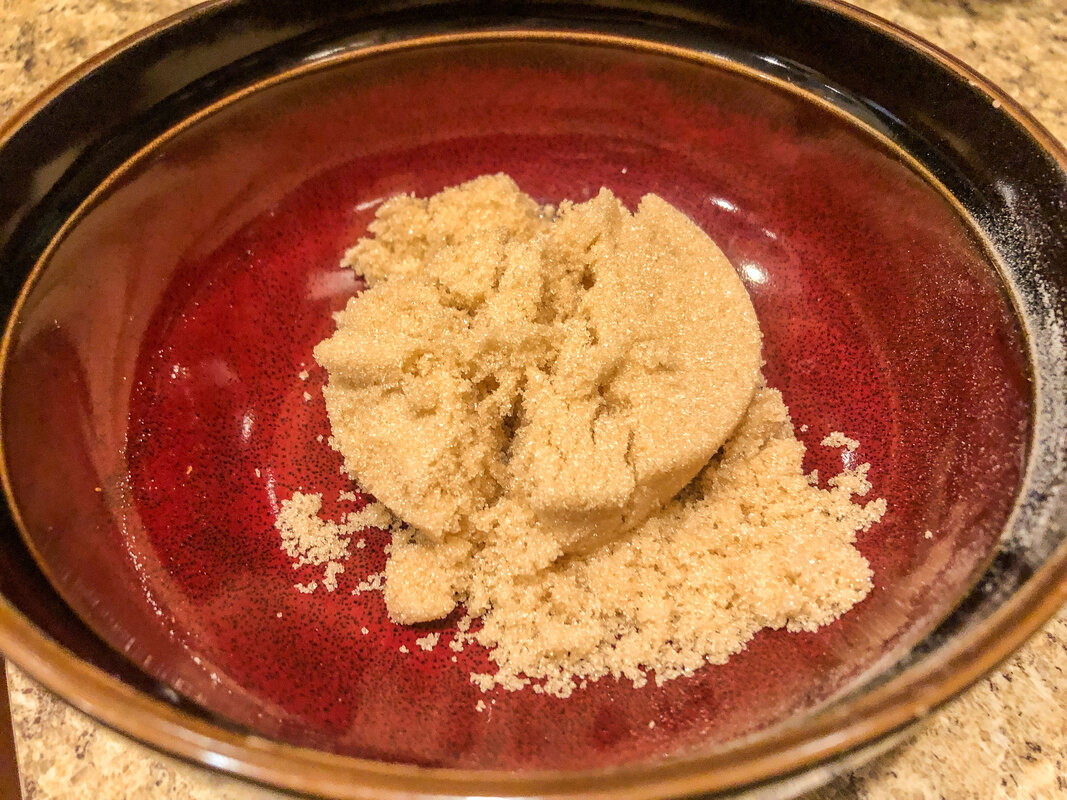 1/4 cup brown sugar. Photo by Diane M. Lilly, 2022. 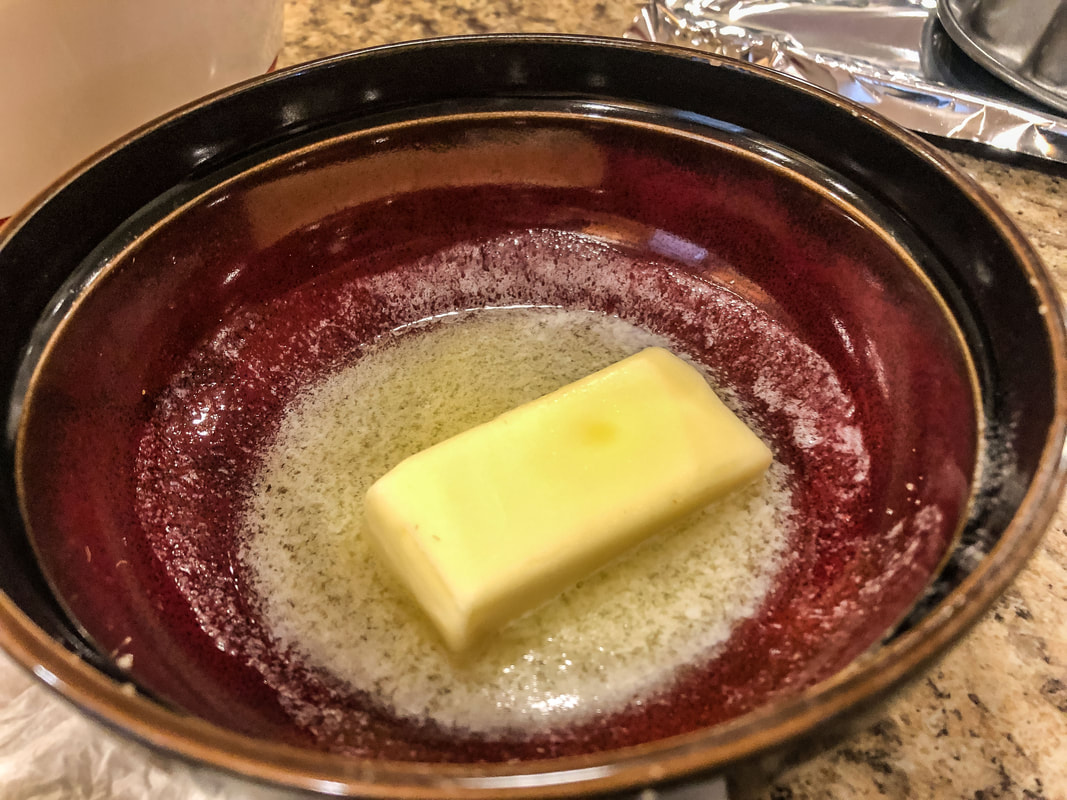 1/2 stick butter melted. Photo by Diane M. Lilly, 2022. Add bananas, milk, and vanilla. Beat until smooth. 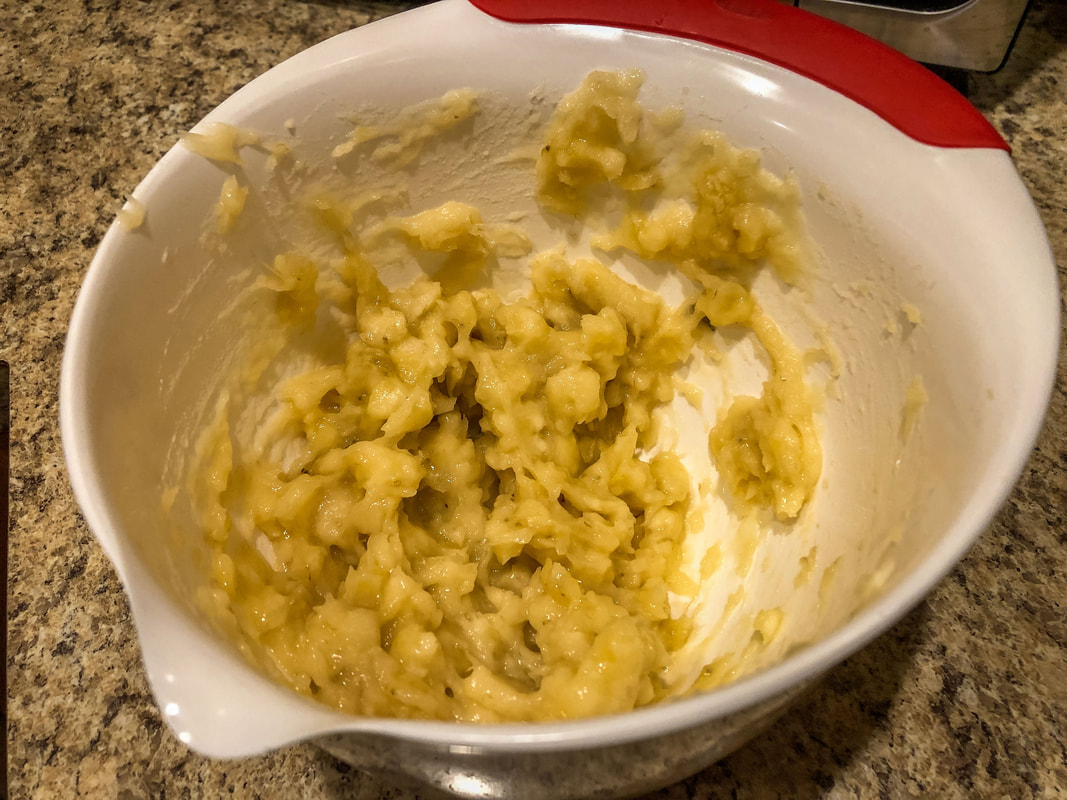 Mashed bananas. Photo by Diane M. Lilly, 2022. 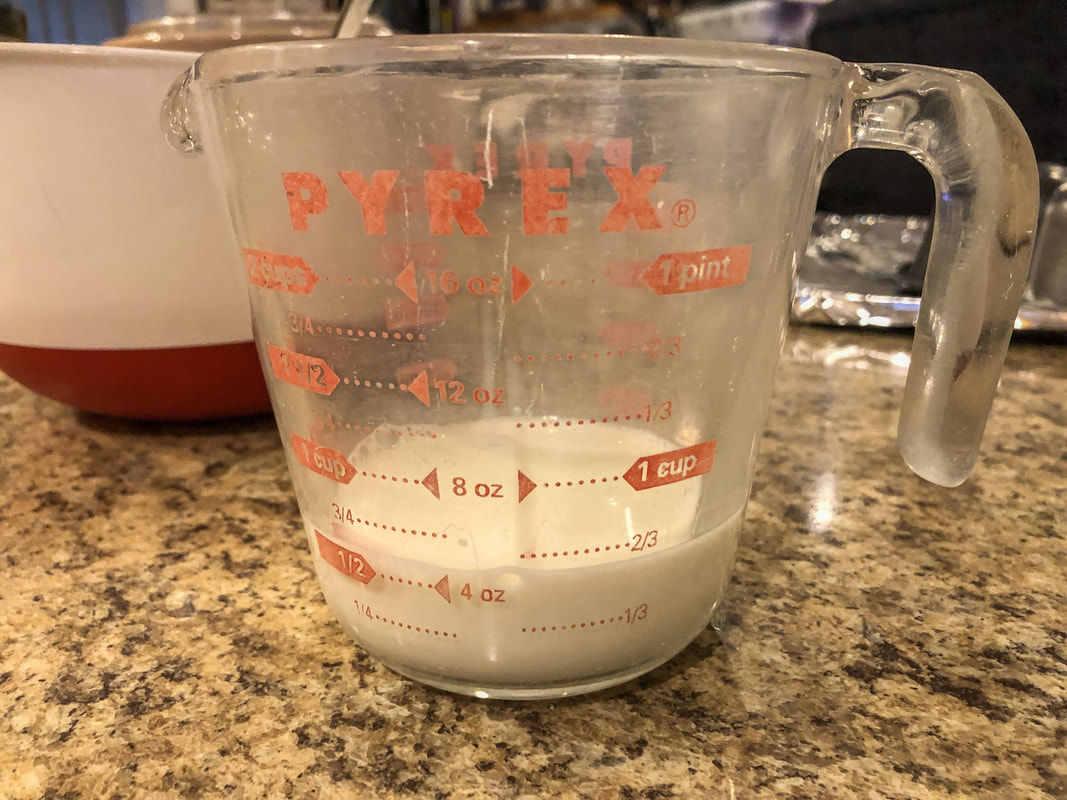 1/2 cup milk. Photo by Diane M. Lilly, 2022. 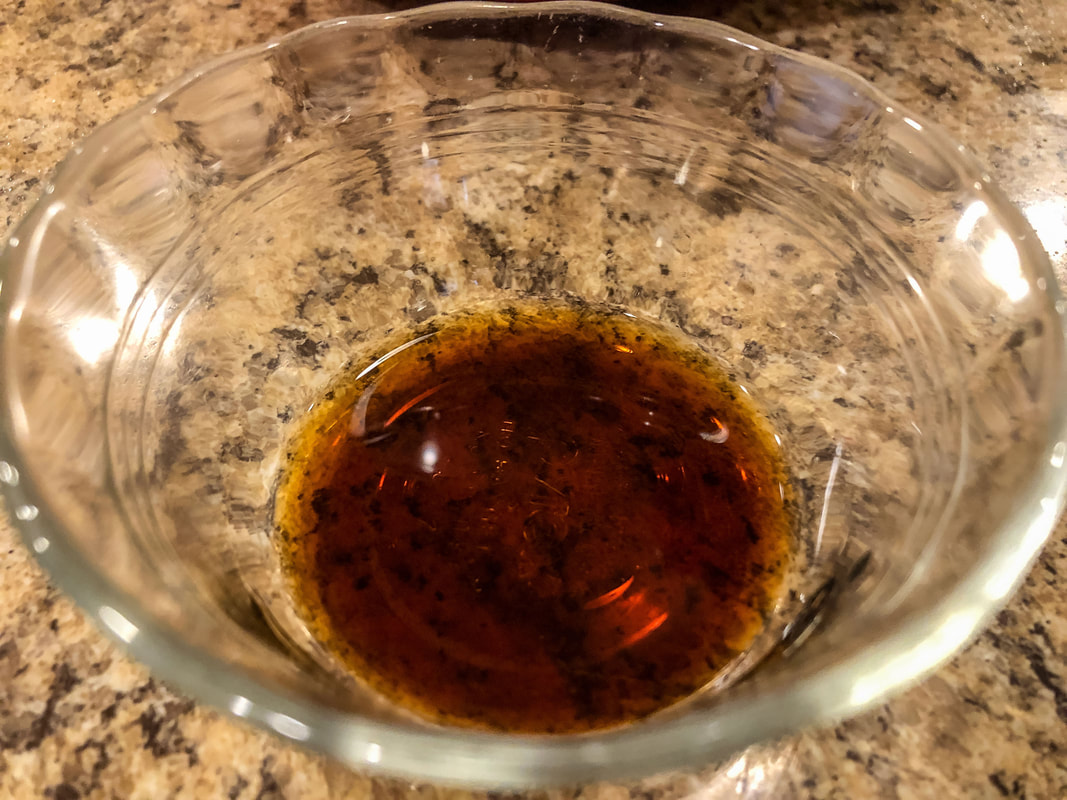 Two teaspoons vanilla. Photo by Diane M. Lilly, 2022. Stir in flour, baking soda, and salt until moistened. 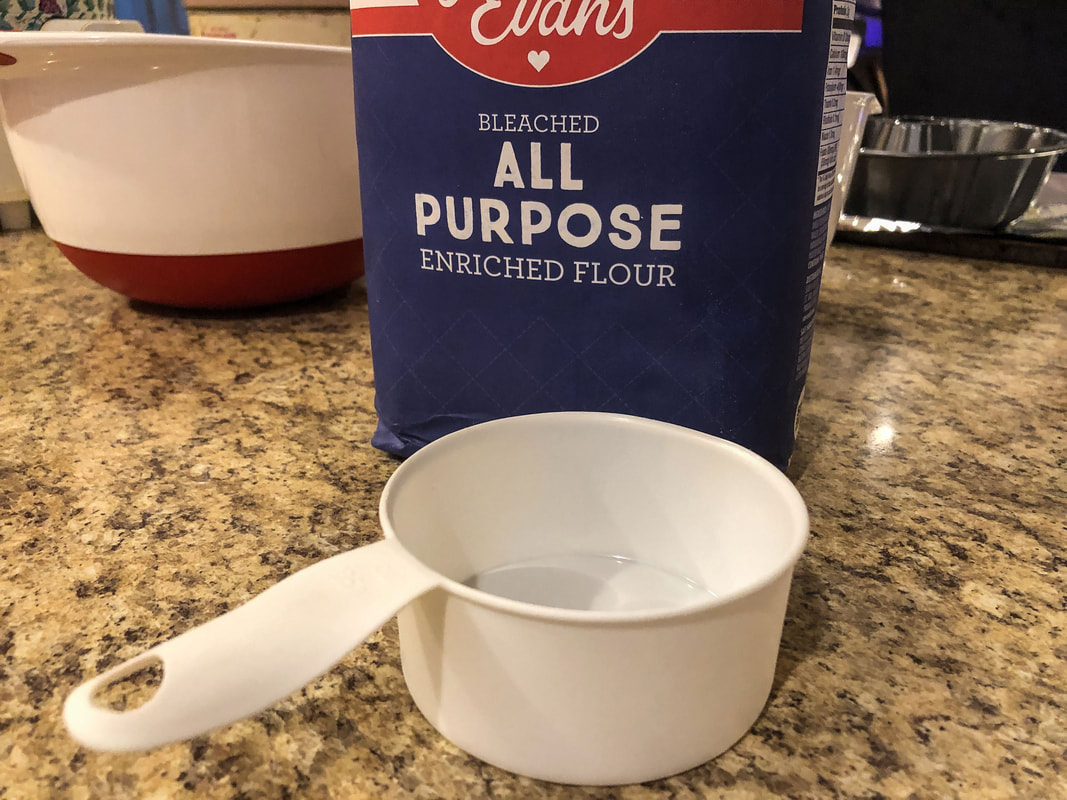 All purpose flour. Photo by Diane M. Lilly, 2022. 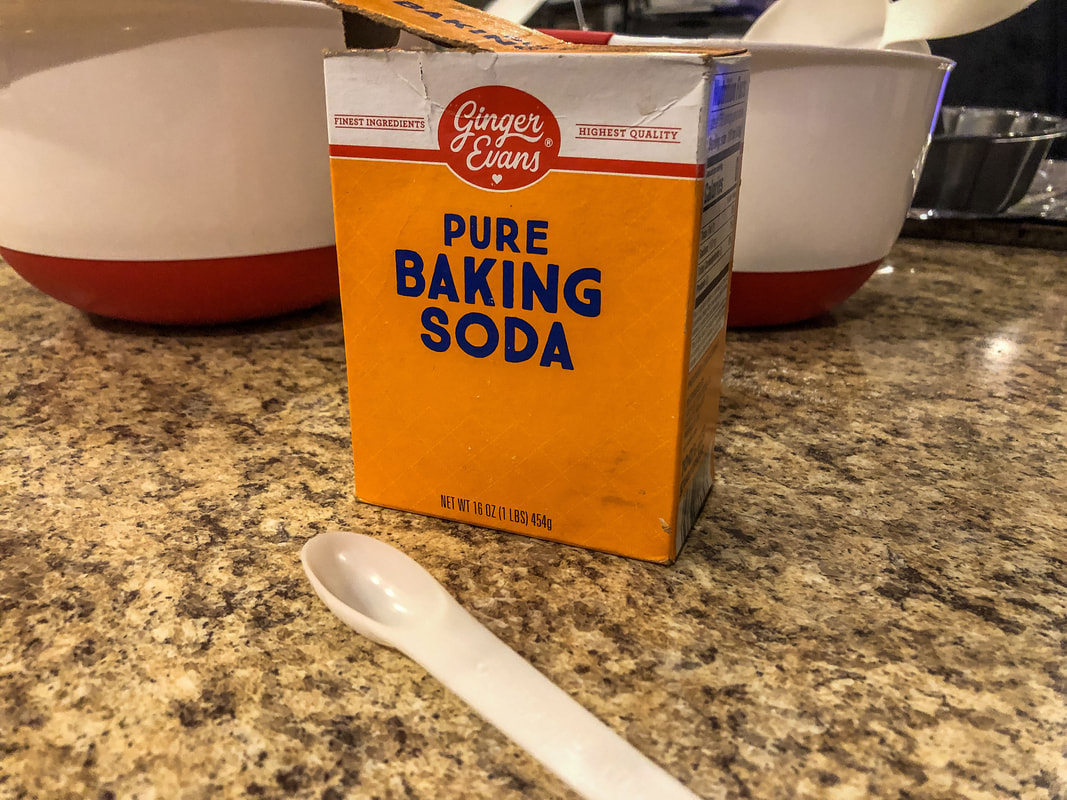 Baking soda. Photo by Diane M. Lilly, 2022. 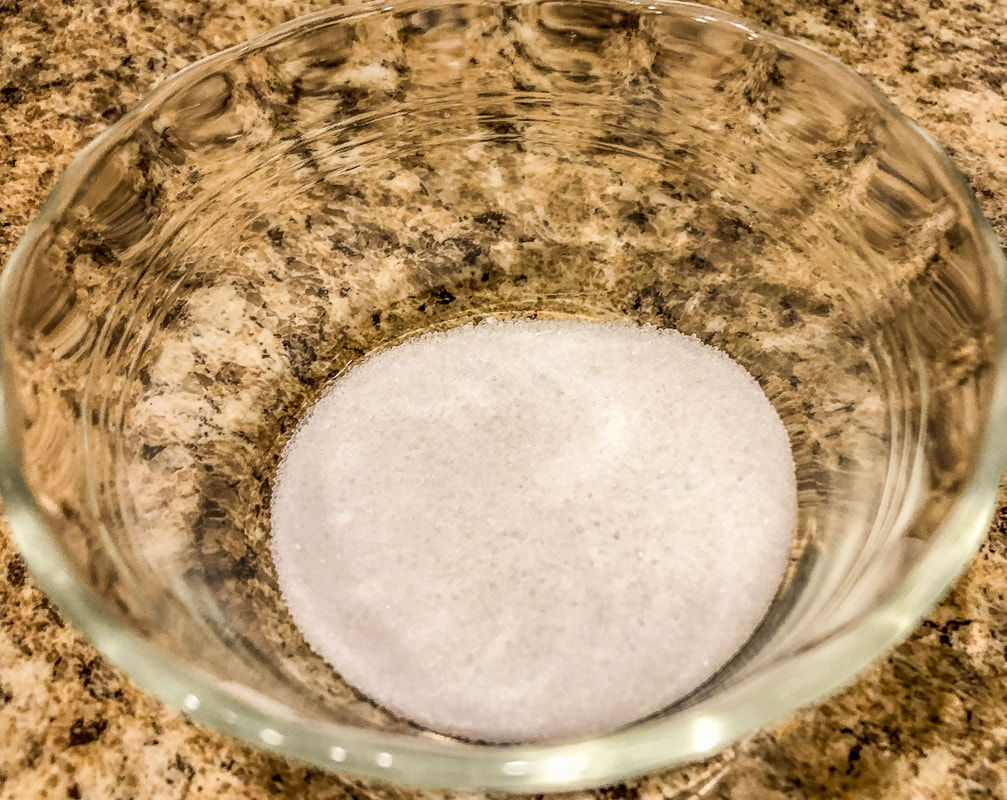 Salt. Photo by Diane M. Lilly, 2022. Stir in nuts, chocolate chips, or raisins. Bake for 1-1 1/4 hours, or until toothpick comes out clean. 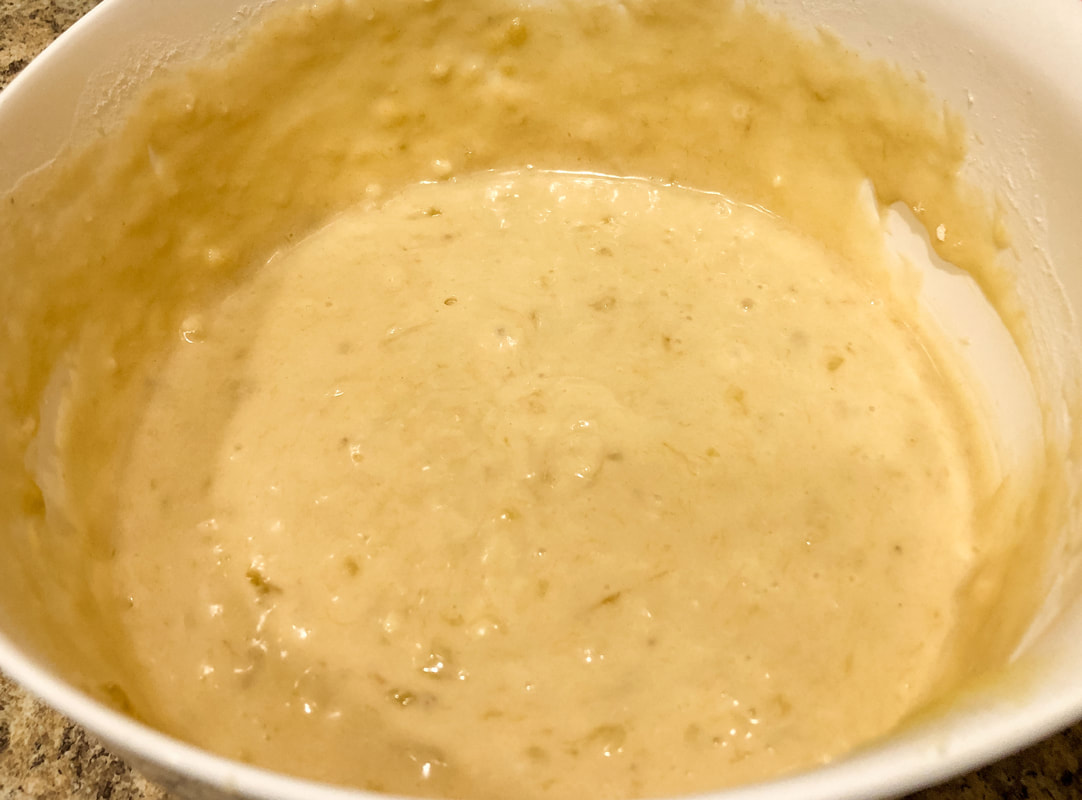 Banana bread batter in bowl. Photo by Diane M. Lilly, 2022. 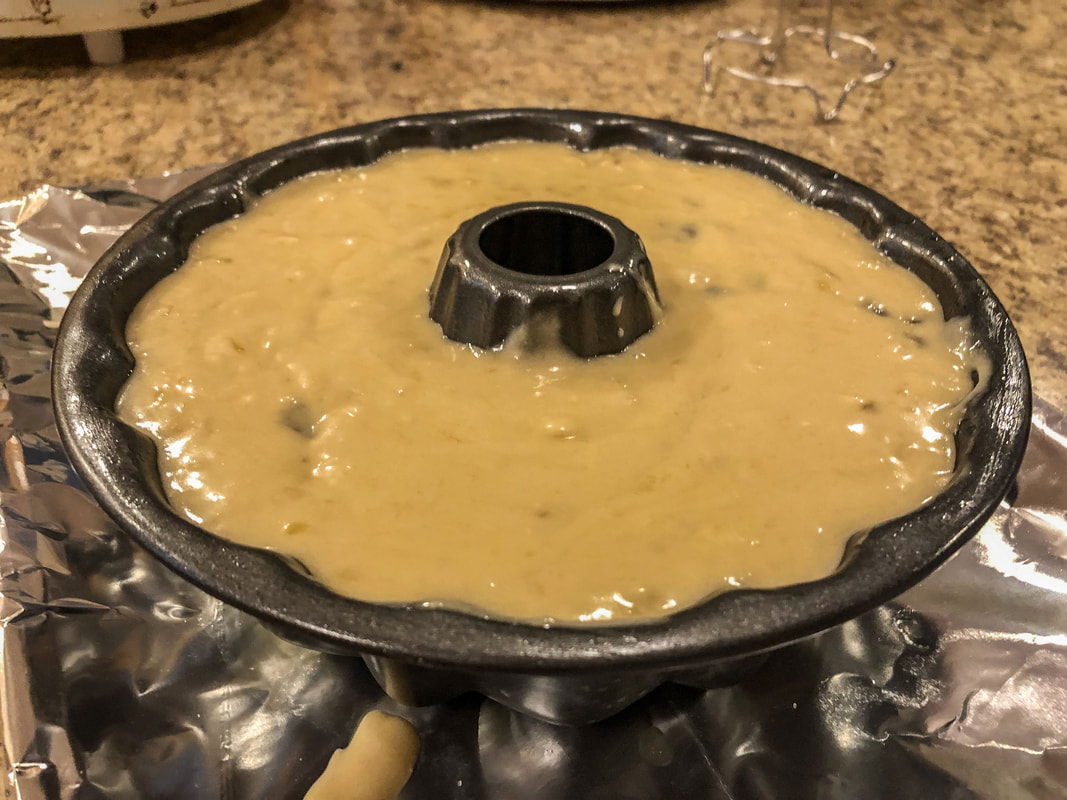 Banana bread batter poured into Bundt pan. Photo by Diane M. Lilly, 2022. I have a round cake pan that I love to use for banana bread, but I also have a muffin tray for the excess…because there is ALWAYS excess! Sometimes, I take the time to make a creamy buttery icing to glaze the tops for a little extra “sweet” on my treats! (I think I’ll save that for another blog, but let me know in the comments below if you’d like me to post some options for icing.)  Banana bread finished baking and cooling on the counter. Photo by Diane M. Lilly, 2022. 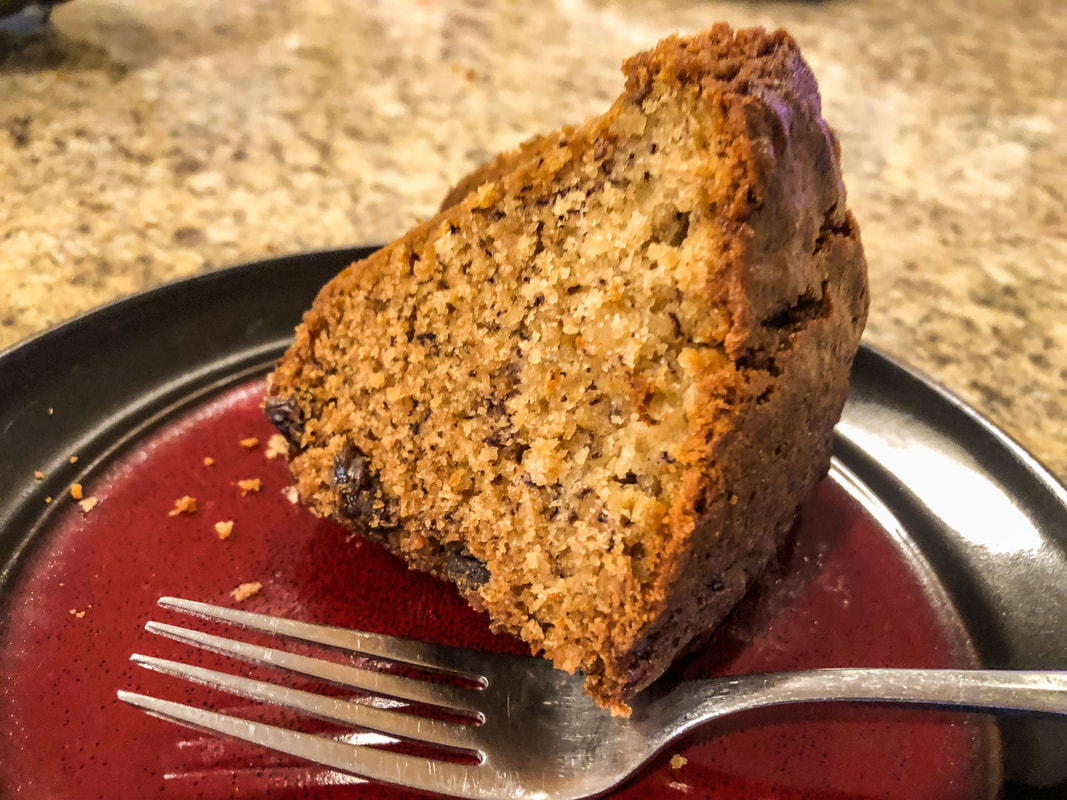 Banana and raisin bread on a plate, ready to be eaten! Photo by Diane M. Lilly, 2022. Bon Appetit! Related blogs you may want to read: Homemade chicken noodle soup recipe Potato soup recipe Tuna noodle casserole recipe Chicken vegetable pot pie recipe This article may contain a few items or commercial mentions, but I only used them for demonstration purposes only. I am not endorsing any particular product or receiving any monetary gain for this blog. 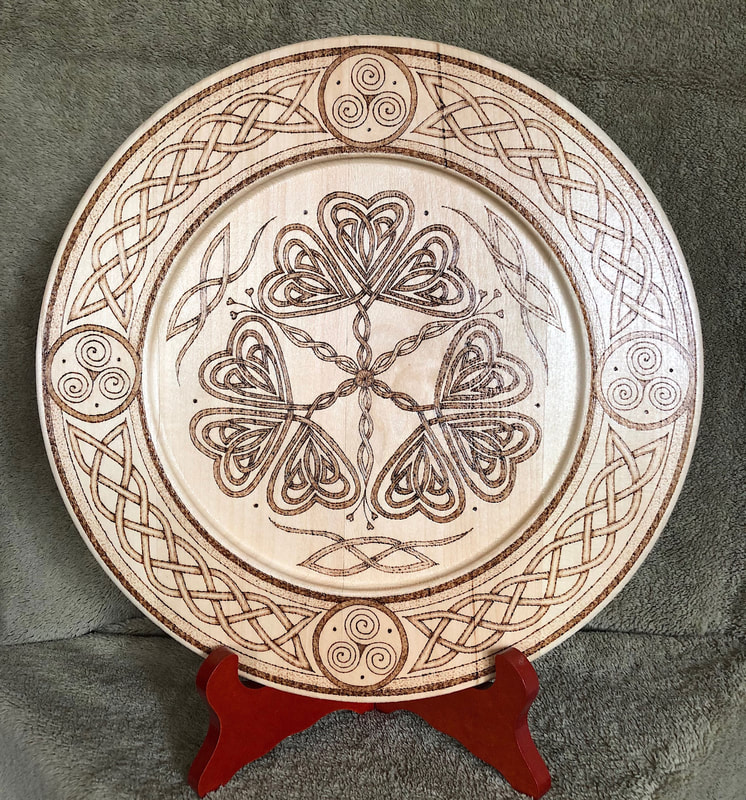 Celtic Shamrocks Wood Burned Decorative Plate by Di's Studio Designs. Photo by Diane M. Lilly, 2019. The legend of the shamrock is closely tied to St. Patrick—a man who was born in Roman Britain, lived as a slave in Ireland as a youth, escaped his bondage, and then spent some time back in England, where he seems to have become a Christian missionary or priest.  Image by GerDukes on Pixabay. St. Patrick—described by Irish Central as landing back in Ireland sometime around 431 AD—used the shamrock (the three-leaf clover) to teach the native Celtic peoples about the Holy Trinity (Catholics will know this as the Father, the Son, and the Holy Ghost). St. Patrick later became the patron saint of Ireland, and the shamrock became an emblem of the Irish and Ireland and a symbol of good luck.  Image by Leonid Adronov on Adobe Stock. Whether or not this legend is a true story is up for debate, but Irish “history” and myth often meld together, blurring the distinction between the two. The story of the shamrock doesn’t seem to have been widely recorded until the 1600s. St. Patrick was never formally canonized by the Roman Catholic Church, further complicating the story. But we celebrate his feast day on the day of his death, March 17th. Do not confuse the four-leaf clover with the shamrock! I have childhood memories of lying in the grass, combing through clover patches, looking for the rare four-leaf clover. And I did manage to find a couple! The three-leaf variety was sadly overlooked. Back then, I didn't appreciate the deeper meaning.  Image by Africa Studio on Adobe Stock. The traditional shamrock—seamrog in Irish Gaelic—is the three-leaf version. This may have to do with the fact that the number three has had special relevance in ancient Ireland and was important to the Celts, who were the native people of Ireland. According to Irish Around the World, the goddess Anu had a close association with the shamrock, with the three petals symbolizing the three stages of a woman—the maiden, the mother, and the crone. This is just one example of the strong association with the number three with sacred beliefs. 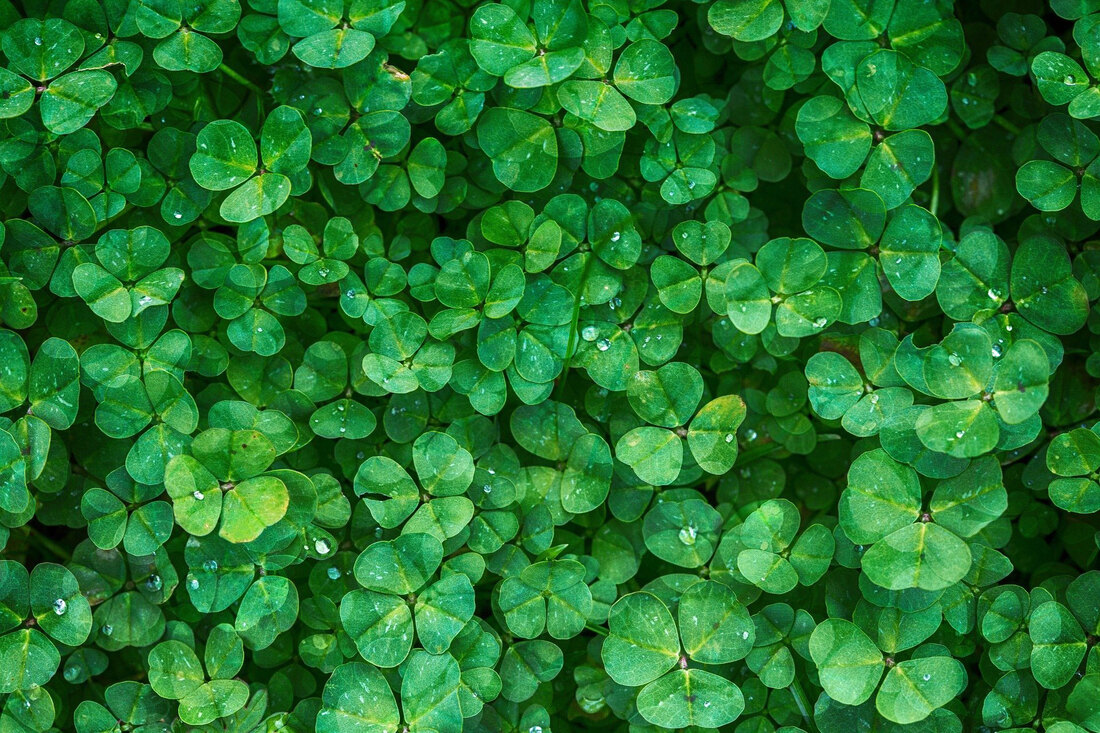 Image by damesophie on Pixabay. According to an article on shamrockgift.com (which takes a deep dive into this subject), during the 1500s and 1600s, the English used the shamrock as a derogatory way to symbolize the Irish, citing shamrocks as a popular food for which the Irish were said to forage. Even before the famines of the 1800s and the troubled relationship between the English and Irish during the twentieth century, the English regarded the Irish as backward, wild, and savage—uncivilized, one might say. And the shamrock became associated with them. 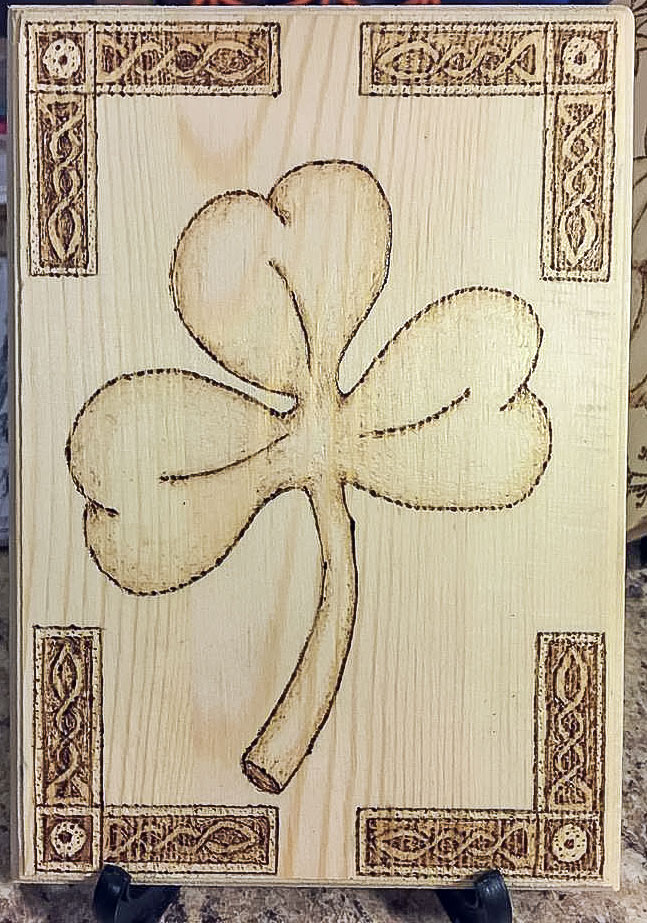 Shamrock wood burned on a small wood plaque with a Celtic knot border by Di's Studio Designs. Photo by Diane M. Lilly, 2018. In the coming centuries, the Irish took that negative connotation and made it their own by using it as emblems for various resistance groups. It came to symbolize the Irish fight against their oppressors and eventually became the national flower, if you will, of Ireland and the Irish people. It showed up in poetry and music, art and symbols. Its popularity in art and culture continues to grow.  Image by JillWellington on Pixabay. As the Irish emigrated to other countries in recent centuries, their beloved shamrock and collective memory of St. Patrick traveled with them. In their native land, the shamrock was formally recognized as the national flower of Ireland and trademarked in the 1980s (according to Irish Around the World). Along with the national symbol of the harp, the shamrock can be found on flags and art globally.  image by Grafvision on Adobe Stock. And finally, the proper abbreviation for St. Patrick’s Day is St. Paddy’s Day…NOT St. Patty’s Day. Patrick in the Irish language is Padraig, hence the shortened version, Paddy. (Just a little tidbit of information for those who care!)  Graphic by Chorna L. on Adobe Stock. So Happy St. Paddy’s Day! Erin go Bragh! Related blogs you may want to read: Celtic Tree of life The Celtic Motherhood Knot, a symbol of love Basic Celtic knot tutorial Pt 1 Celtic knot tutorial part 2 Celebrating Irish Celtic art for St. Patrick’s Day A fun DIY project with paint and a thrifted mirror Part 2  Pothos plant just misted. Photo by Diane M. Lilly, 2022. I have been refreshing the decor in my master bathroom and decided to add some greenery to the mix. Adding plants in a bathroom is a win-win for everybody. The plant gets plenty of humidity (which many tropical plants love), and we get a sense of healing and calm. If you’re using your shower regularly (which I hope you are!), your plants will benefit from the humidity in the air. If you have a window for natural light, that’s even better. Typically, tropical plants are the best for bathrooms or areas with high humidity. So, while redecorating my bathroom, I explored options for houseplants in that space. This is a small space that cannot accommodate large plants. The goal was to find two or three “smallish” plants that could sit on a small windowsill and possibly on the counter. I wanted one of those plants to be a vine. This bathroom gets some light but nothing direct. It is on a northeast axis, so the brightest light is in the morning hours. 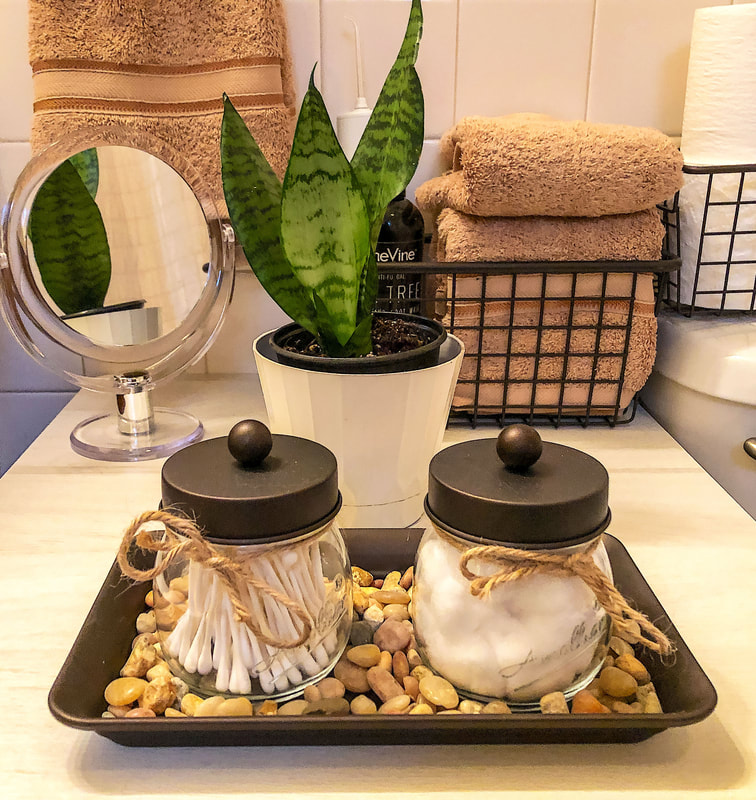 Snake plant in my bathroom. Photo by Diane M. Lilly, 2022. Do your homework before incorporating plants into your space. Take the time to learn what type of plants will thrive in the intended environment. A happy, healthy plant should occupy a space that is more or less suited to the environment they might find in their native environment. This means you will need to learn a thing or two about plant care to help your plant babies thrive! Below are 15 humidity-loving plants I considered for use in my bathroom, and I’ll tell you at the end which ones I chose… Air Plant (Tillandsia, aka Tilly)—This plant is an epiphyte, or air plant, that pulls its moisture from the air (they don’t need soil). These little plants need to be soaked in water once a week so they don’t dry out. This plant likes bright indirect light. 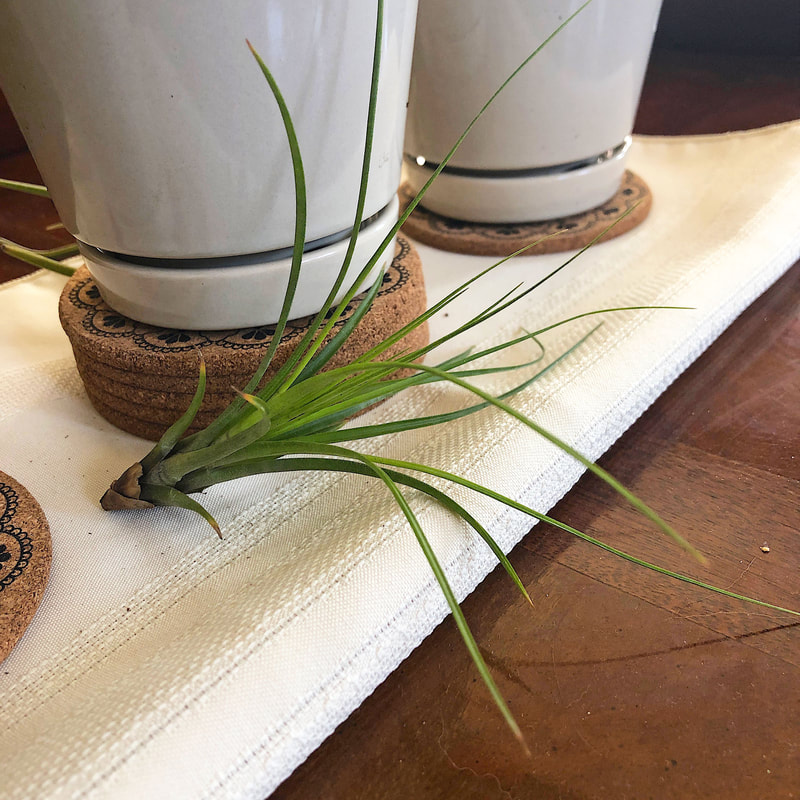 Air plant on coffee table. Photo by Diane M. Lilly, 2021. Aloe Vera—Aloe is a type of succulent that thrives in bright light. It may even flower if in direct light. This plant does not need a lot of water. It tolerates a little neglect but will appreciate the humidity just the same. As a bonus, the extract from leaves heals sunburn and other skin issues! 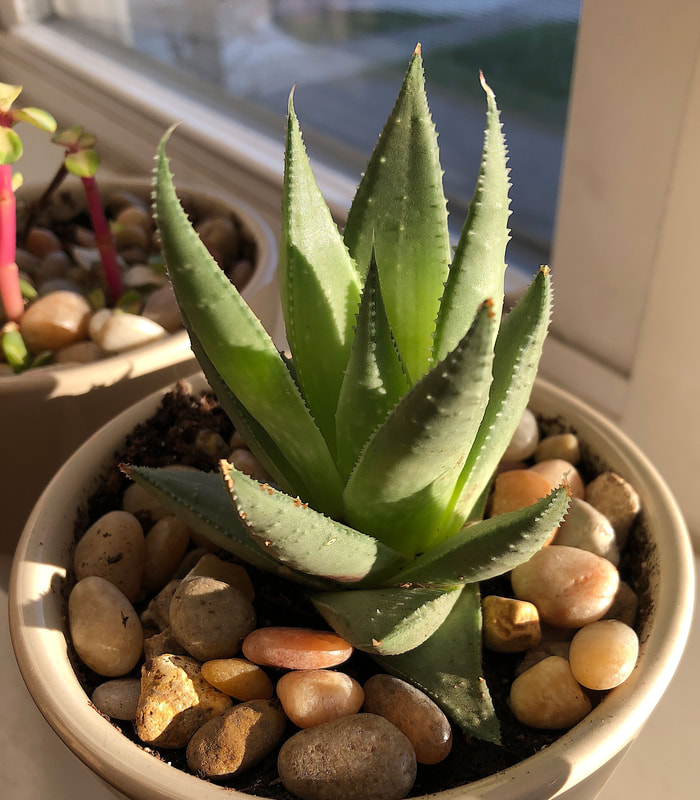 Aloe vera plant on my windowsill. Photo by Diane M. Lilly, 2021. Bromeliad—This very tropical-looking plant is related to pineapples and likes medium to bright indirect light. It’s perfect for the bathroom because it likes humidity, so don’t let it dry out. It’s not a plant that needs a lot of care or watering. To water it, fill the cups formed at the leaf base. (The soil does not need water, as the plant is an air plant and does not need soil to survive.) 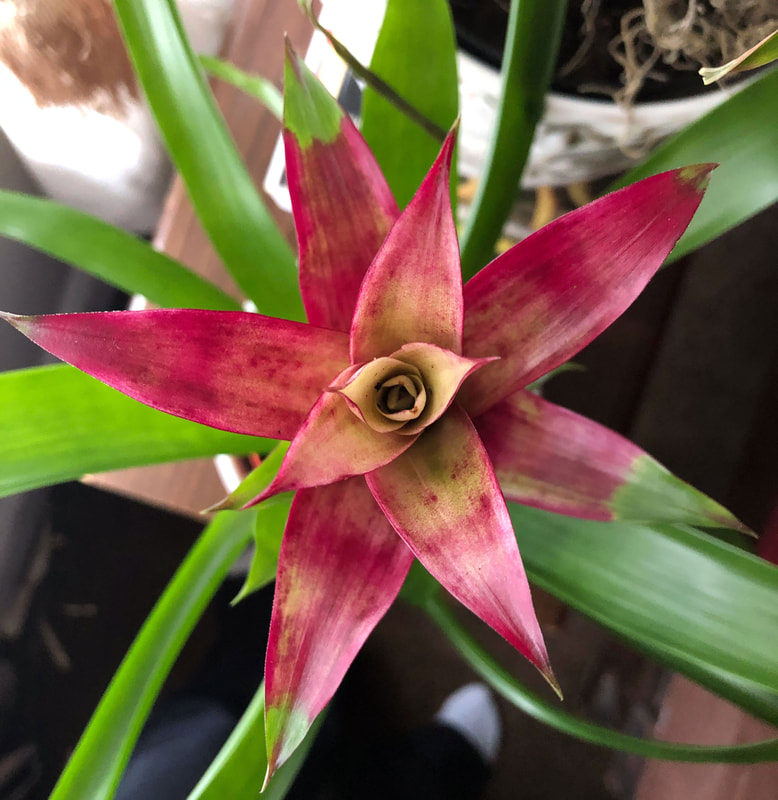 Bromeliad bloom in vivid fuchsia. Photo by Diane M. Lilly, 2021. Calathea—This leafy plant needs a lot of humidity and likes moderate indirect light, making it a good option for most bathrooms. 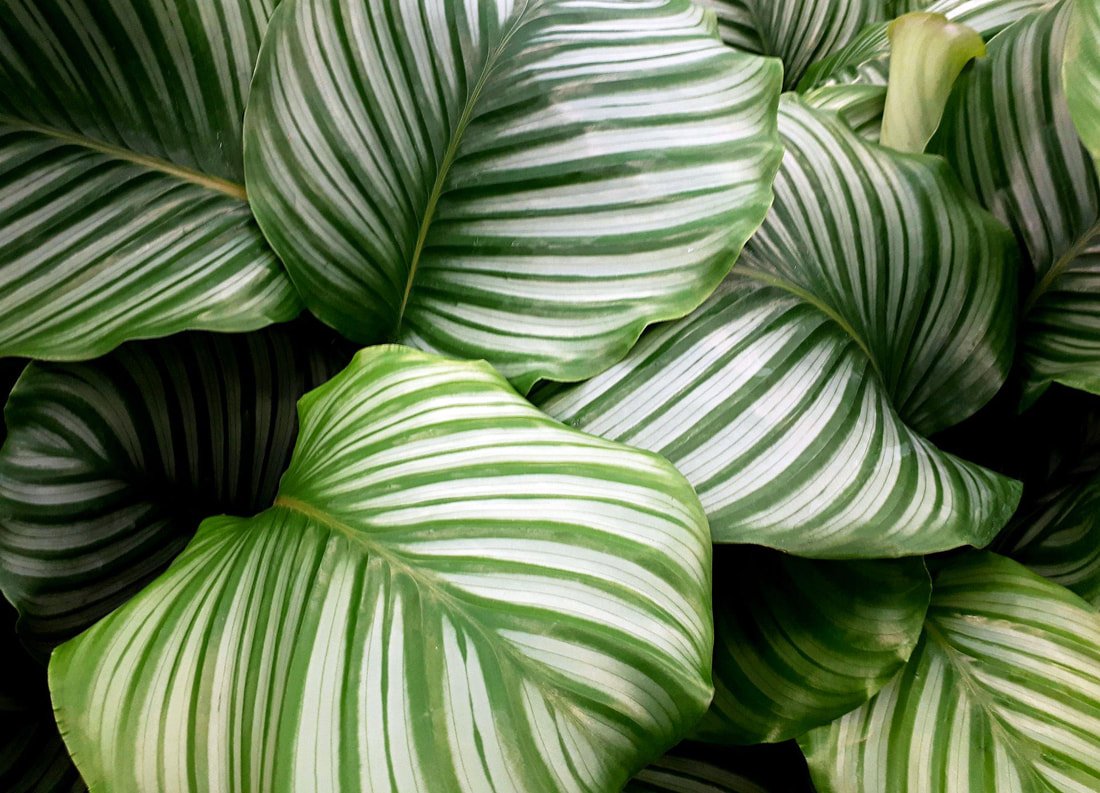 Image by Christina Dahl on Pixabay. English Ivy—Ivy is such a dangly, viny plant! It is a resilient plant that can grow in many environments but prefers medium light and humidity. 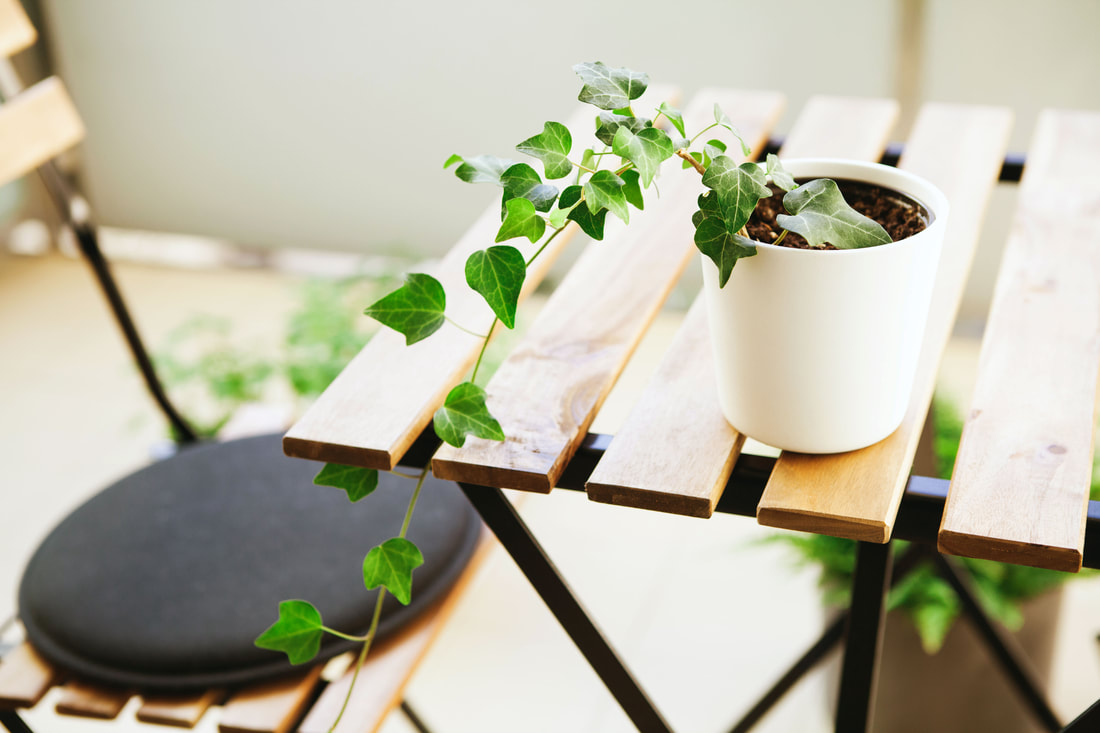 Image by veera on Adobe Stock. Eternity Plant (aka ZZ Plant)—This plant is easy to care for and can tolerate a little neglect. It is ok in low light, prefers bright indirect light, but leaves curl if it gets too much light. Don’t overwater, just water when the soil dries out. Be aware this plant is toxic for pets. 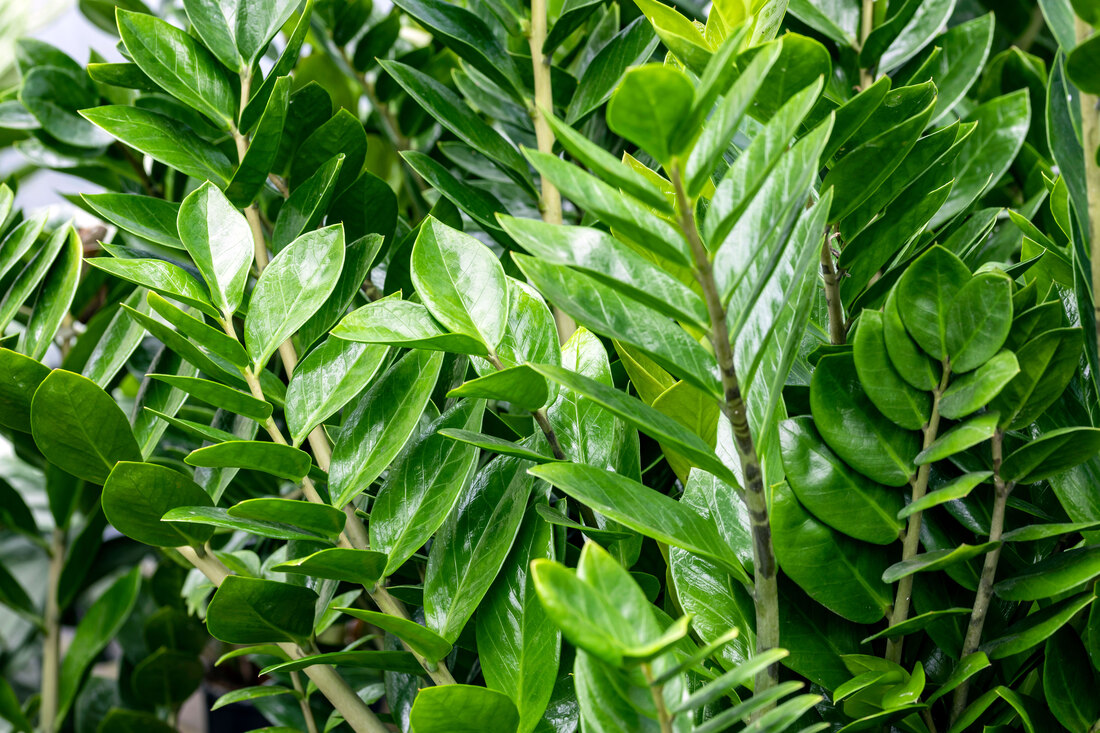 Image by fabrizio on Adobe Stock. Fern—Ferns love humidity and indirect light. They are an easy plant to care for and will thrive in many environments. Mist them and keep them in moist loamy soil. They are also nontoxic to cats. 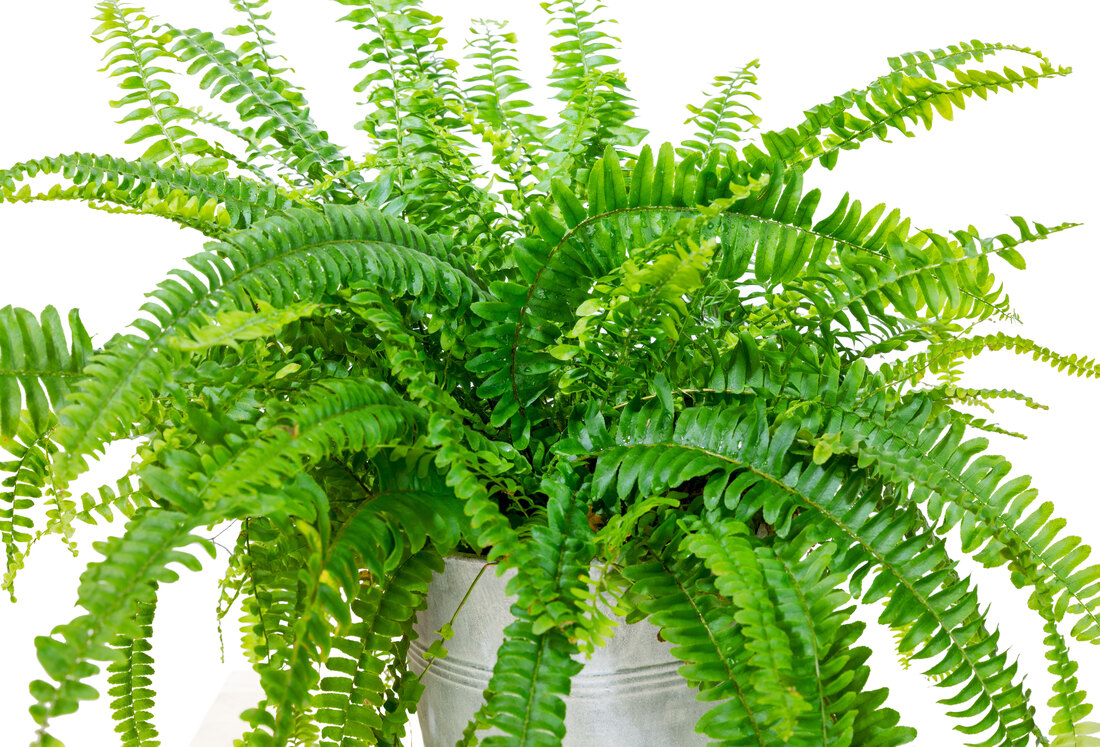 Image by Bruchex Benoit on Adobe Stock. Haworthia—Like the aloe, this is a type of succulent. It needs bright light and can tolerate humidity in the bathroom. 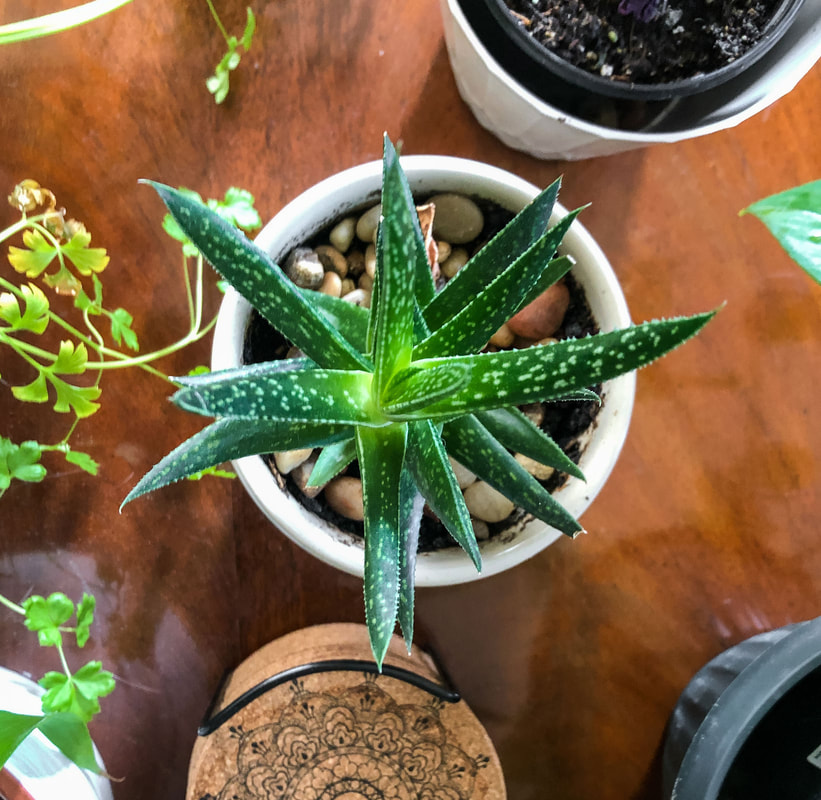 Top down view of my Haworthia plant. Photo by Diane M. Lilly, 2022. Lucky Bamboo—This plant is not bamboo but a type of dracaena. It can grow in soil or water and is a very low-maintenance plant. It can grow in low light, but like any plant, it will do better in medium to bright indirect light (although not direct sunlight). This plant does like a little humidity, and the leaves will brown when not consistently watered. Lucky Bamboo is toxic to pets and children. (Ferns N Petals has an interesting article on the symbolism and history of this tall leafy plant.) 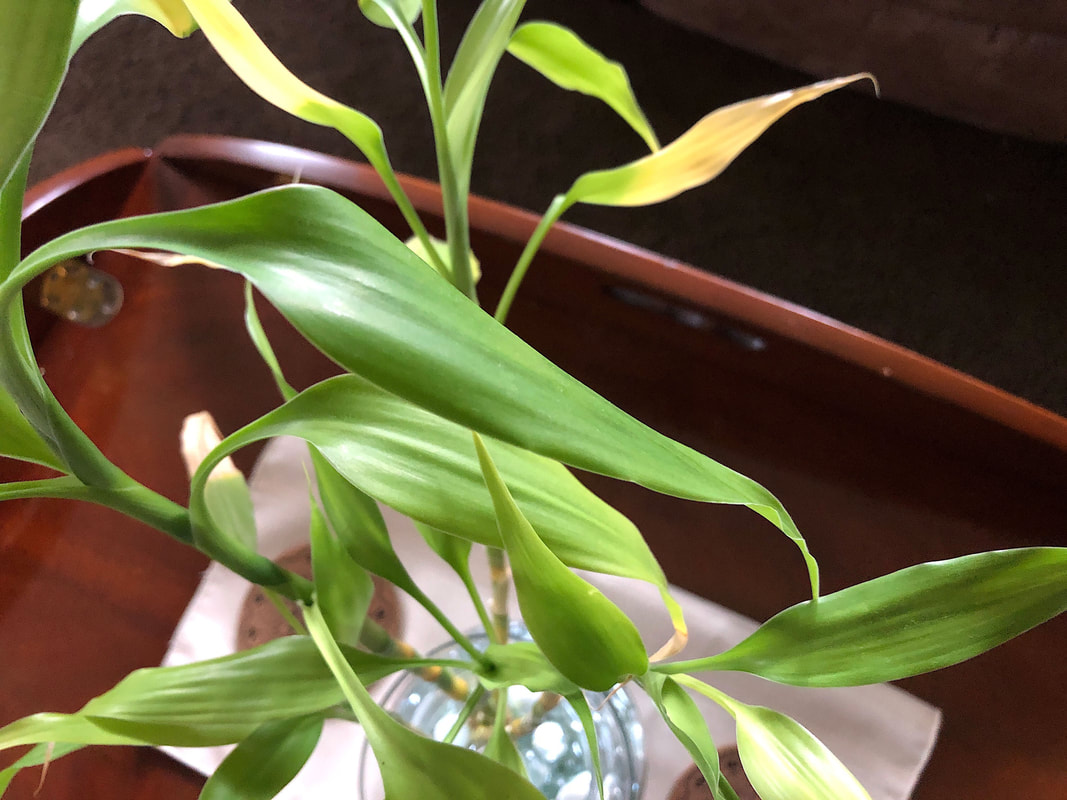 Leaves on the Lucky Bamboo plant sitting on my coffee table. Photo by Diane M. Lilly, 2021. Peace Lily—This leafy dark green plant flowers when healthy (about two times a year) and has good bright indirect light. It is a tropical evergreen plant that likes humidity and being in moist—but not soaked—soil. This plant will tell you when it wants water—its leaves droop when the soil is too dry. Just give it a deep watering, then let the soil dry out before watering again. Peace lilies like shade and indirect light, and the leaves curl when exposed to too much direct light. This is another plant that is toxic to pets and children. 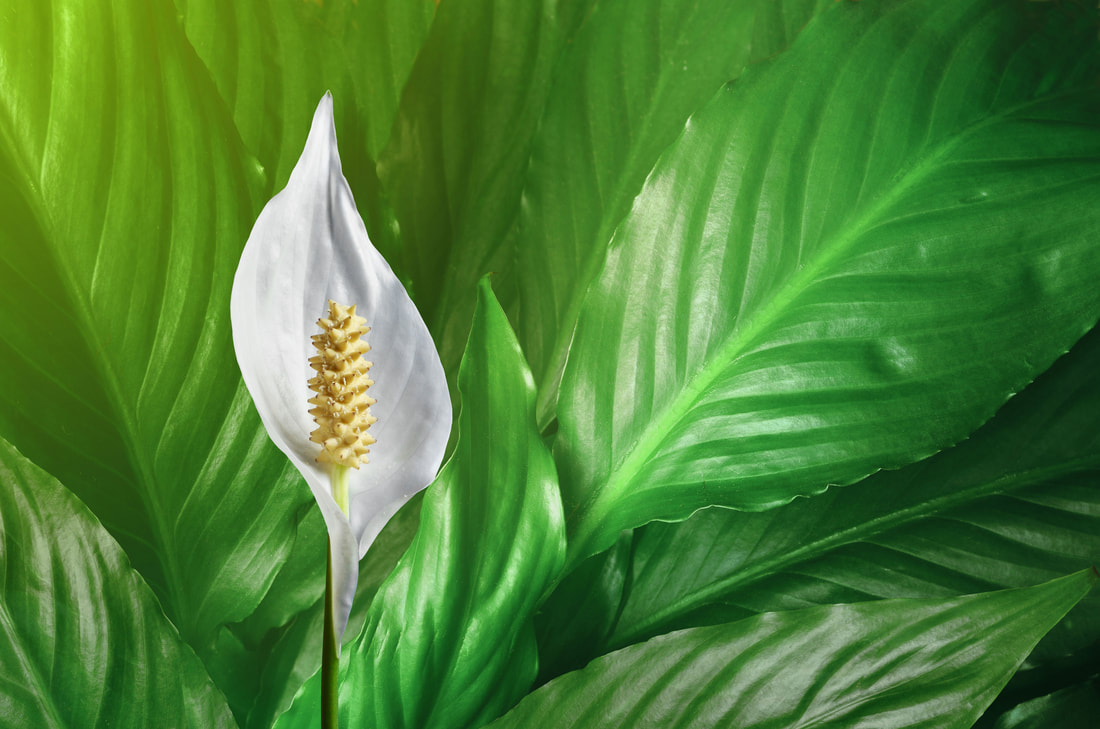 Image by Belight on Adobe Stock. Peperomia—This is a tropical plant that likes bright to indirect light. The humidity in the bathroom will appeal to it for sure. 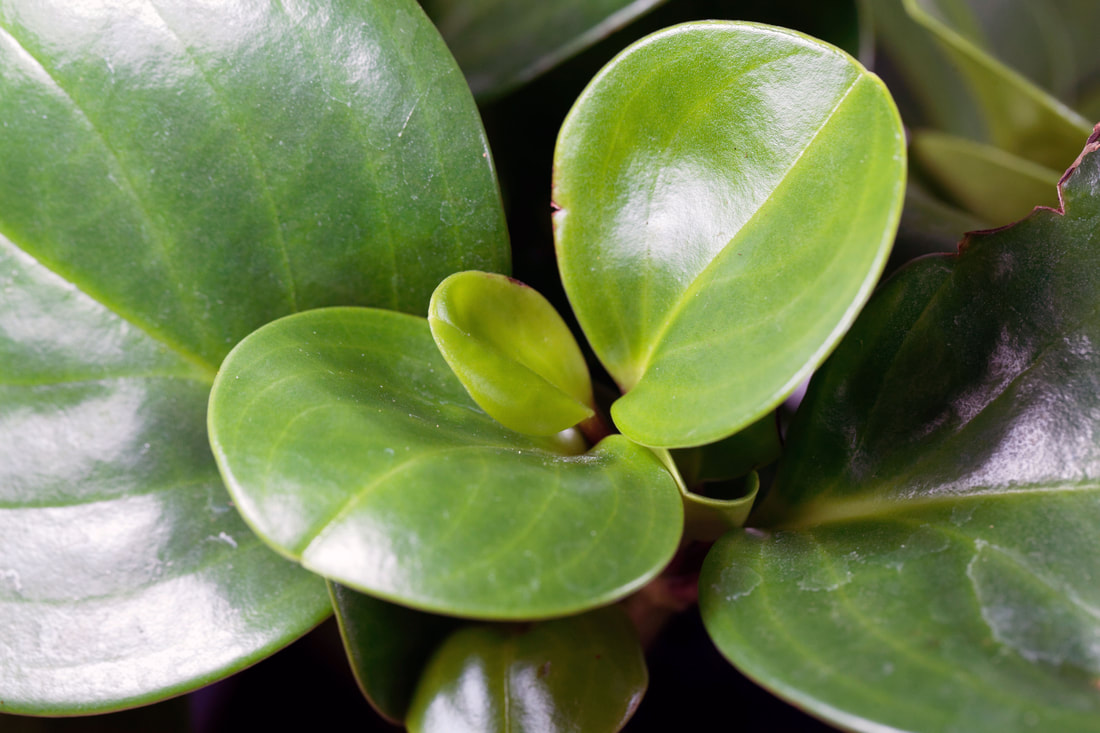 Image by ChrWeiss on Adobe Stock. Philodendron—This vine plant is easy to care for, likes humidity, and will tolerate neglect and sporadic watering. 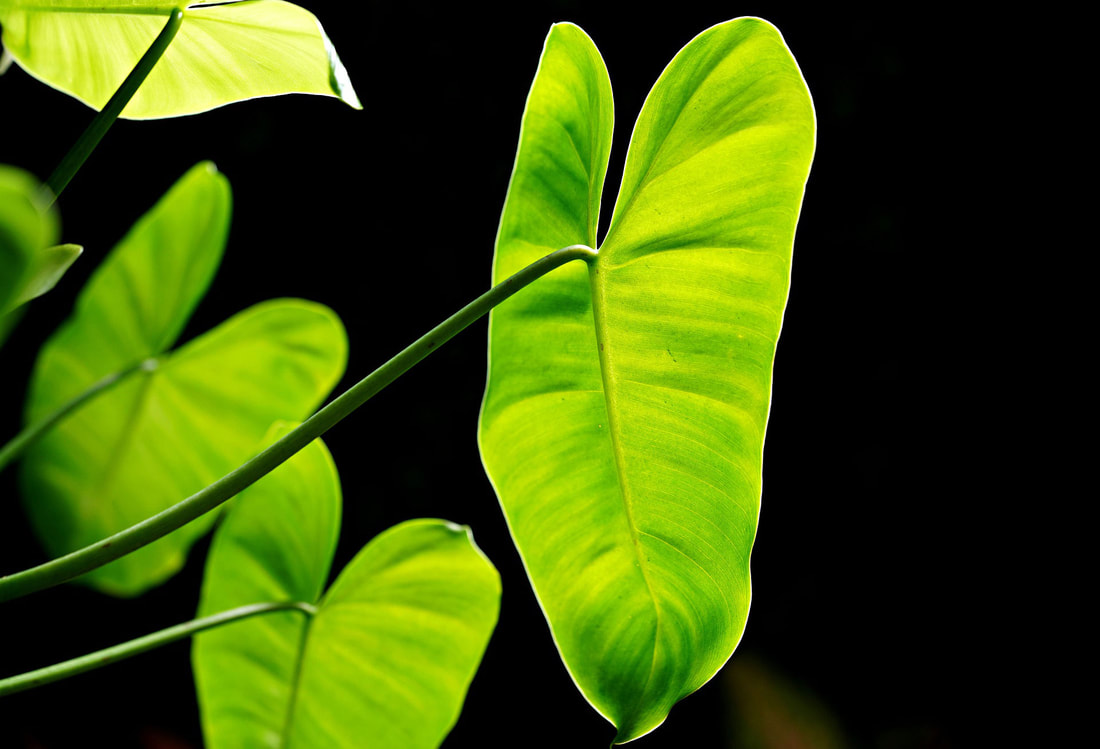 Image by hartono subagio on Pixabay. Pothos (aka Devil’s Ivy)—Another vine plant, this green tropical baby is easy to care for and does well in low to bright indirect sunlight. It needs humidity to keep the tips of its leaves from drying out, so a bathroom is a good home for it. Just water when the plant dries out (when the plant leaves droop). This one is also toxic to pets and children. 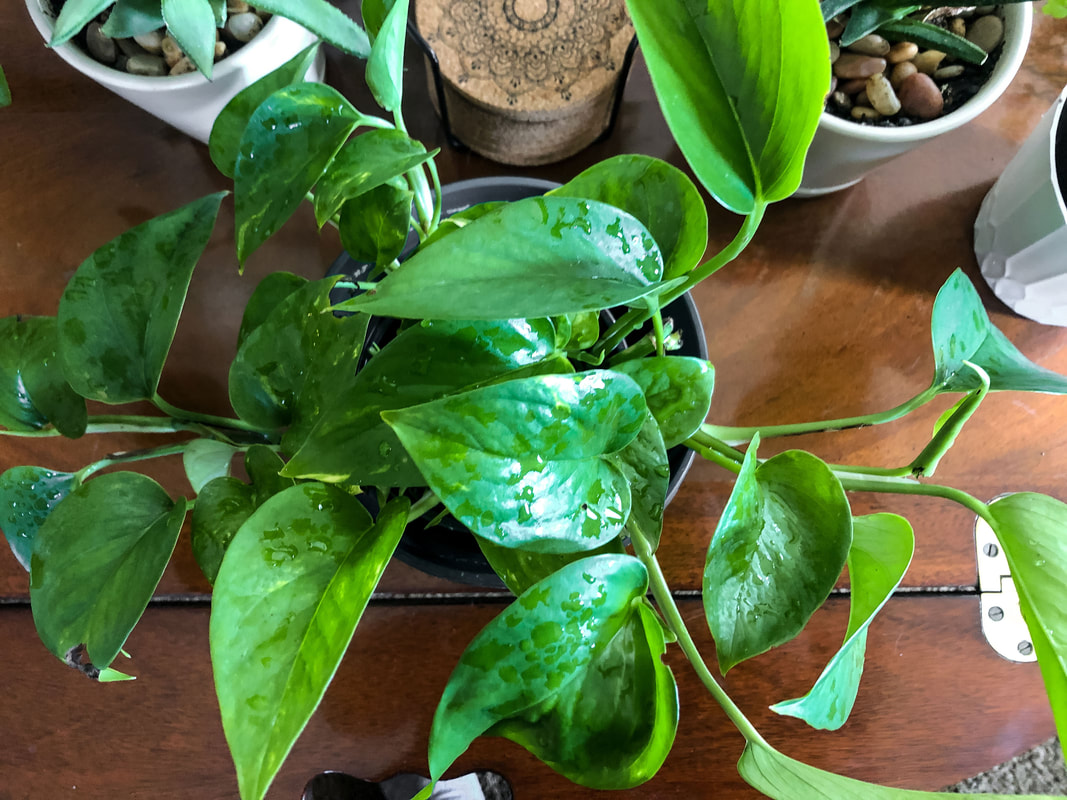 Pothos plant on my coffee table. Photo by Diane M. Lilly, 2022. Snake Plant (aka mother-in-law’s tongue)—A succulent that stores water in its leaves. It is a very hardy plant and easy to care for, good in most environments, and will thrive in a bathroom with humidity. Water once every couple of weeks when the plant dries out. Snake plants like low to bright indirect light and will flower if the conditions are right. Toxic to pets and children.  My new snake plant at home in my bathroom. Photo by Diane M. Lilly, 2022. Spider Plant—These fun plants can grow in low light but thrive more in bright light, although they burn in direct light. Spider plants are versatile and can grow in any environment but will thrive with humidity. This plant will put out babies—or spiderettes. Water well when dry. Spider plants are also non-toxic to pets. 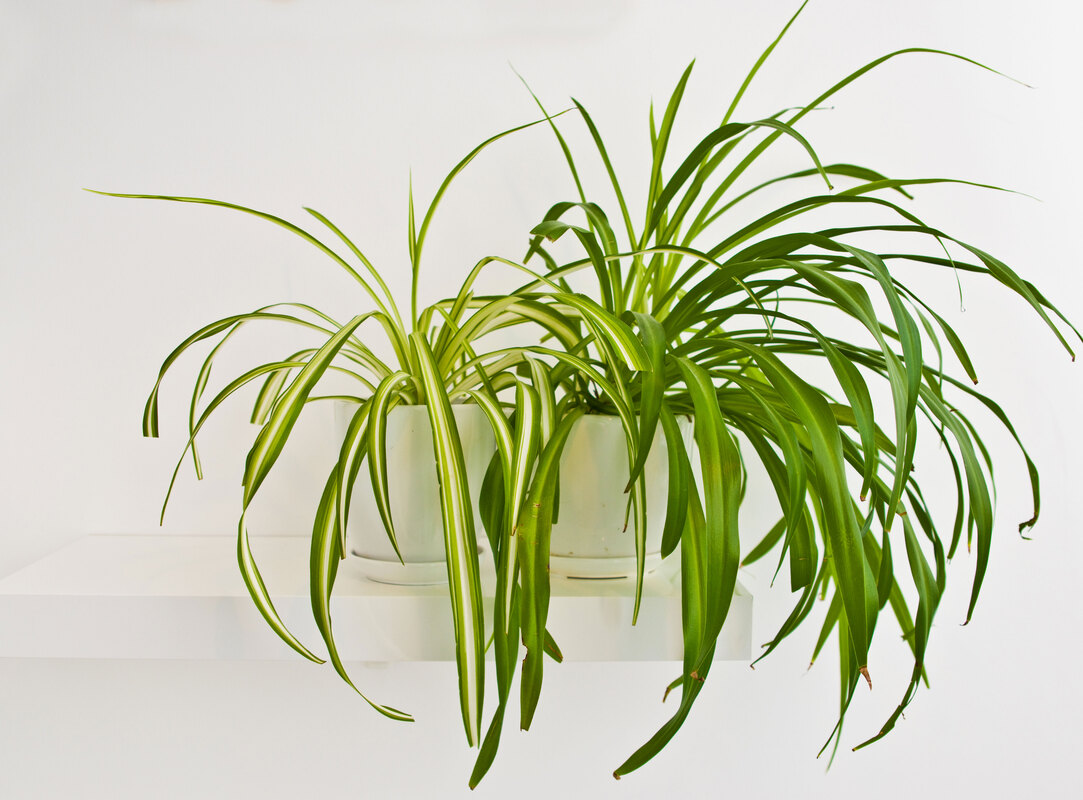 Image by AHatmaker on Adobe Stock. So, which ones did I choose for my project? I wanted to use as many plants already in my possession as possible for this project to save money. I already had a Bromeliad, a Tillandsia, peace lilies, Lucky Bamboo, a Haworthia plant, and an aloe plant. I decided the Peace Lilies and Lucky Bamboo were too big for the space and were not a good option for my bathroom needs. I did have a Bromeliad plant with four “pups” to be propagated, so I decided one of those pups would go in the bathroom. And the little Tillandsia plant—which struggles in my living room—will love sitting with its plant buddies on my windowsill, soaking up the humidity!  Top down view of bromeliad plant that has lost its bloom. Photo by Diane M. Lilly, 2022. I found a snake plant at my local garden store that perfectly fit my windowsill. And while I was there, I discovered my vine plant—a pothos. I’ve heard pothos are easy for even the blackest thumb, but this plant is supposed to love the humid conditions in bathrooms, so it checked off two boxes for me. And that’s my bathroom redecorating project done! 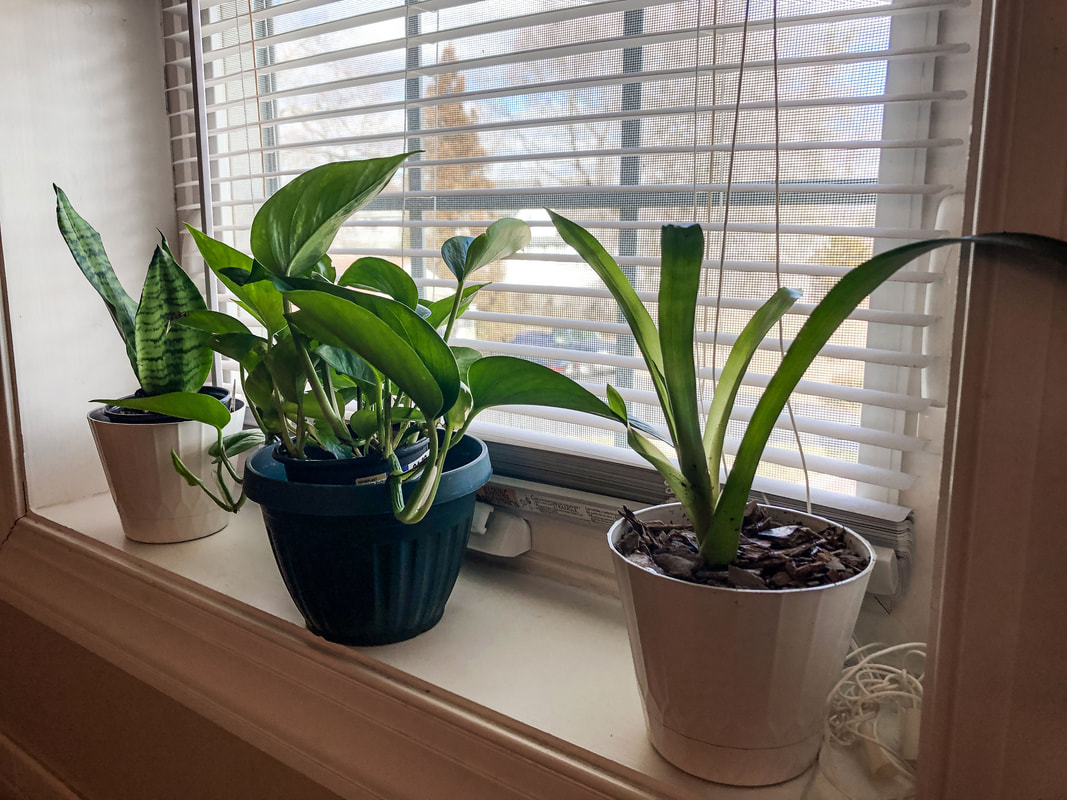 Snake plant, pothos, and bromeliad sitting on my bathroom windowsill. Photo by Diane M. Lilly, 2022. Are you thinking of incorporating plants into your bathroom decor? Or do you already enjoy plants in that space? Leave a comment below and let me know… Related blogs you may want to read: How to propagate bromeliad pups A spring decor makeover for my small rental bathroom Eight health benefits of decorating with plants Six herbs I planted indoors Let’s talk about houseplants Biophilia in interior design This article may contain a few items or commercial mentions, but I only used them for demonstration purposes only. I am not endorsing any particular product or receiving any monetary gain for this blog. I love having real houseplants in my home. There’s something simple and nurturing about puttering in plants. I realize not everyone has a green thumb...Even I kill a plant or two sometimes! There is also the issue of proper lighting. Plants need natural light to grow, and most will die if they don’t get enough. So what to do if you want greenery and plants in your home without the maintenance or lighting worries? Get creative with artificial flowers and faux greenery! 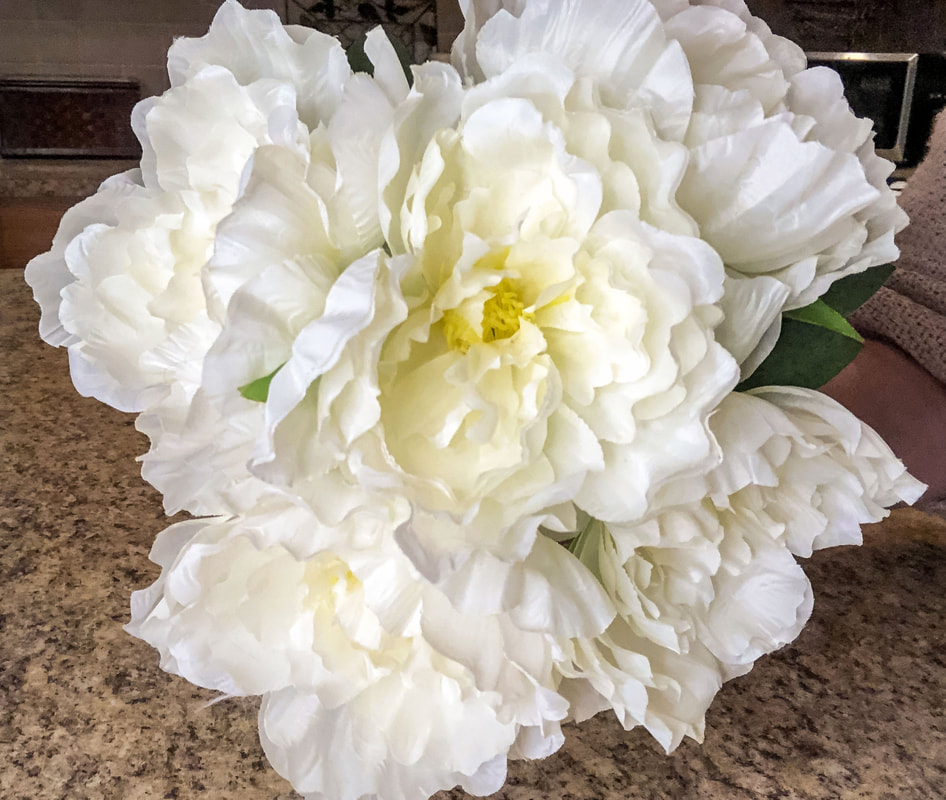 White faux floral bouquet. Photo by Diane M. Lilly, 2022. I shouldn’t say NO maintenance because you do have to clean and care for faux florals. Thankfully, there are some simple methods for cleaning your artificial plant decor. Whether you are using silk, real-touch, or plastic artificial flowers, there is a cleaning method for you! Exposure to elements: First, check labels (if possible) to see if they are outdoor safe or will fade in direct sun. If no label is available, assume they are indoor-only decor and keep them out of the sun. And certainly don’t leave fabric florals outside in the rain or damp, humid areas like bathrooms. Storing faux florals: Faux florals can last for years, so you will inevitably be packing them away sometimes. Pack well to protect your florals from the elements. Keep stored florals away from humidity and heat, and use an airtight container where necessary. You can also seal in cloth or plastic bags. Wrap each floral piece separately to prevent entanglements and damage from other florals. Make sure to clean before packing. When unpacking, you’ll need to fluff the flattened florals. Tips for cleaning faux florals: Clean often, maybe when you dust and clean other furniture and decor. Dust can settle into nooks, crannies, and fabric fibers if left too long, making it harder to clean later. 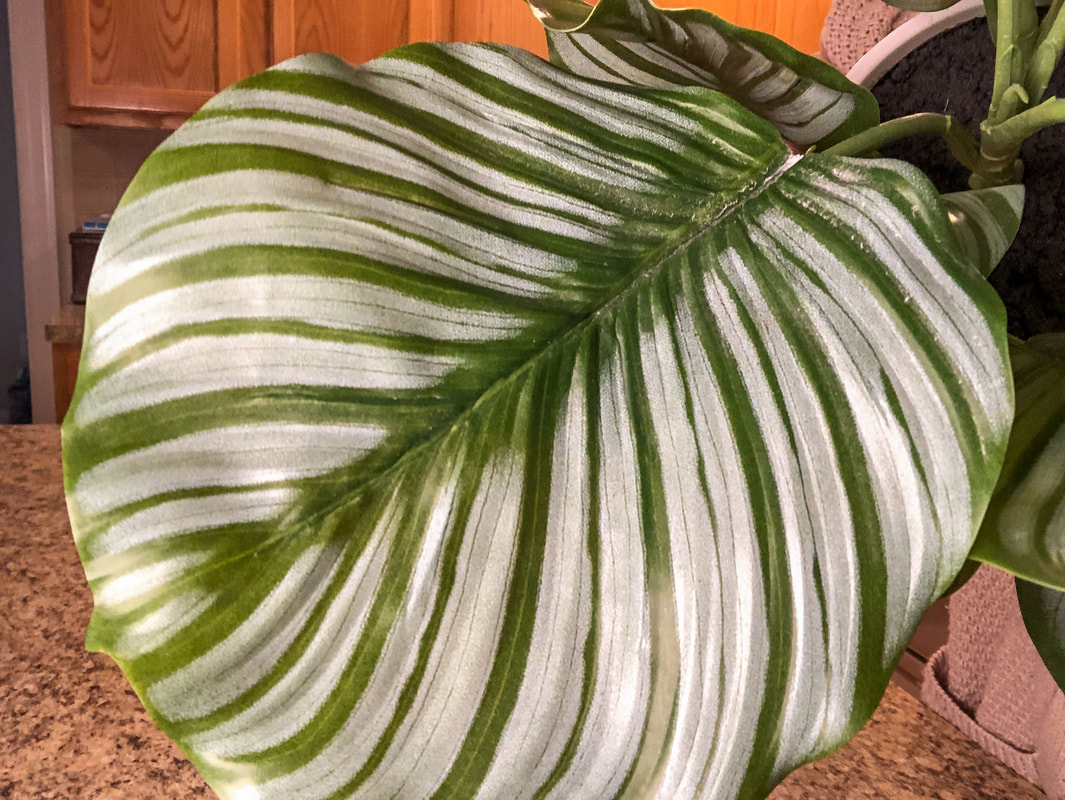 Faux Calathea leaf that needs cleaning. Photo by Diane M. Lilly, 2022. Use a microfiber cloth. To get into crannies or hard-to-reach areas, wrap a microfiber cloth around something long and thin with a point (but not too sharp). 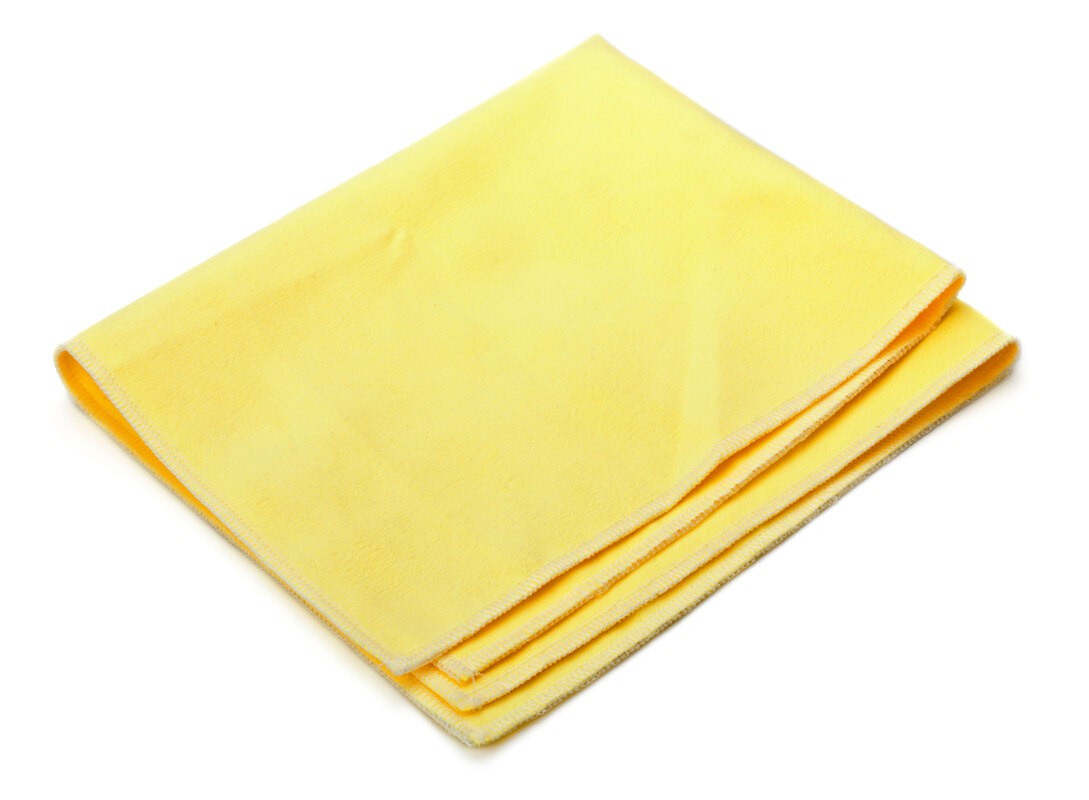 Image by Peter Malyshev on Adobe Stock. Depending on the type of material on the florals, you may be able to clean them with a damp cloth. Wipe each stem and leaf, top and underneath. Plastic flowers can be wiped or rinsed with water, provided there is no risk of color or dye running. Protect elements easily damaged by water by wrapping them in plastic and tying them off. Clean with vinegar for set-in grime. You’ll need 1/2 vinegar and 1/2 water in a spray bottle. Spray florals, let set for a few minutes, then wipe with a damp cloth. Hard-to-reach places can be cleaned with Q-tips (although the cotton does get stuck on things). 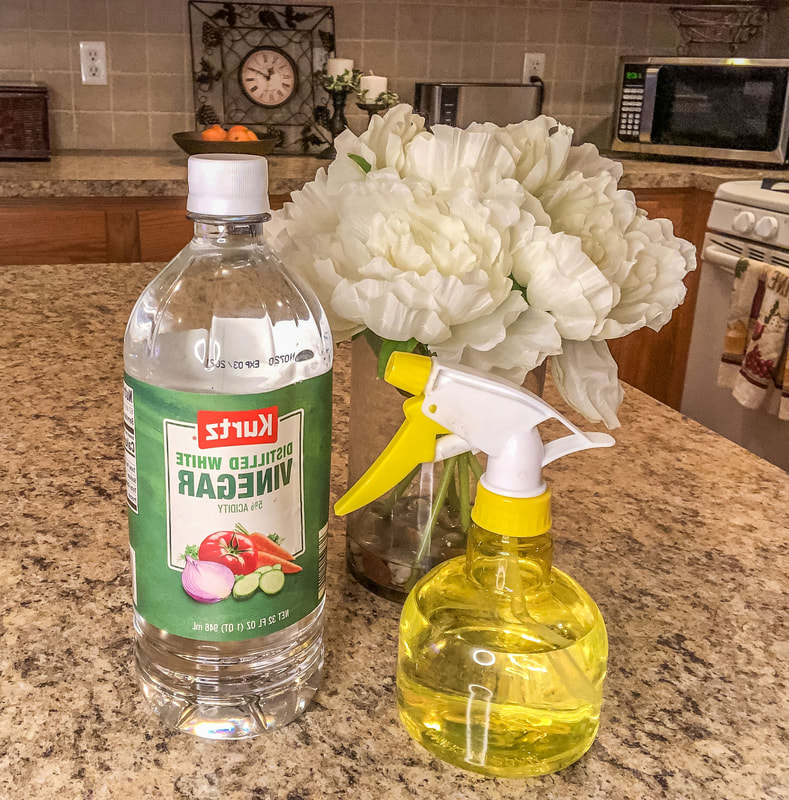 Vinegar and water to clean faux florals. Photo by Diane M. Lilly, 2022. You can do the same thing with rubbing alcohol. 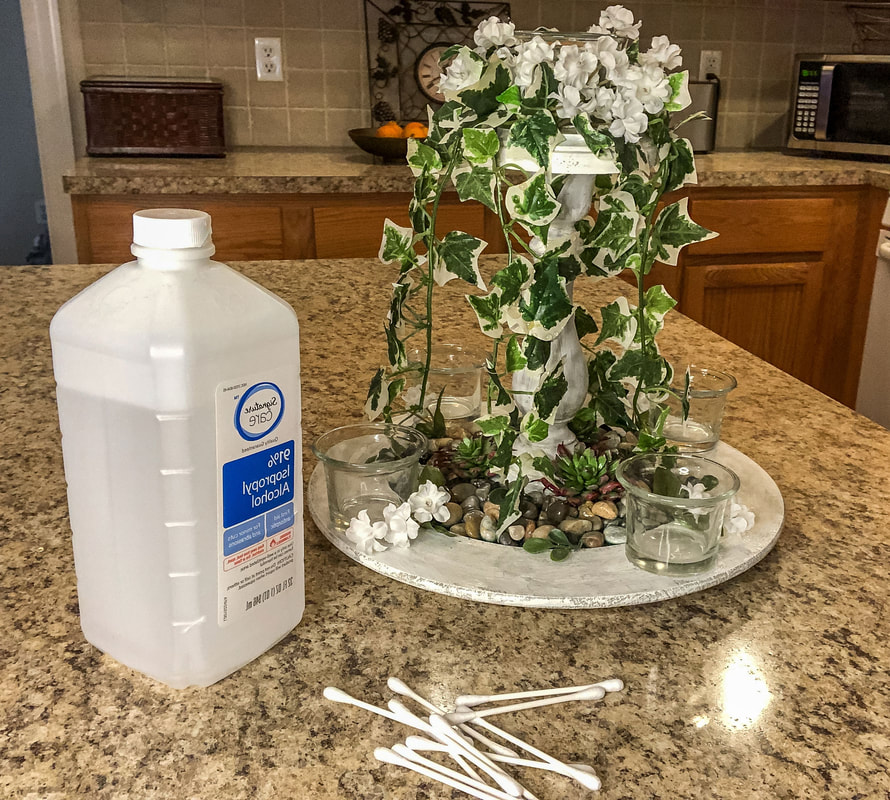 Rubbing alcohol to clean faux florals. Photo by Diane M. Lilly, 2022. Spraying lemon juice on the plants can also cut through the grime. Rinse with cool water, or wipe with a damp cloth to clean. 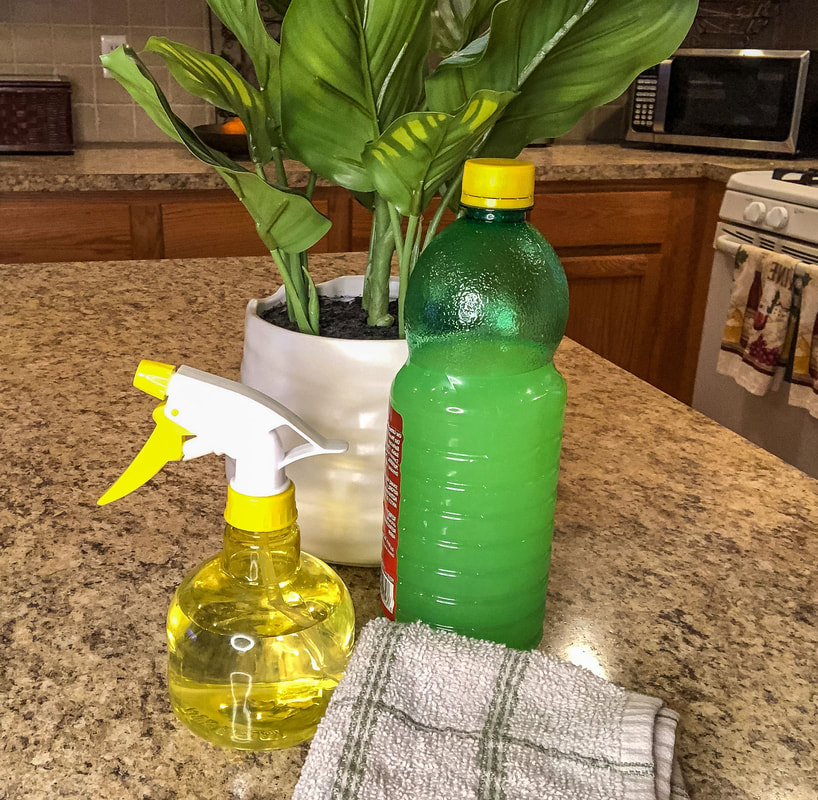 Lemon juice, water, and a damp towel to clean faux florals. Photo by Diane M. Lilly, 2022. Use a silk plant cleaner to clean and provide a shine. Some can be sprayed with hairspray and then shaken. Remember--when using any wet method of cleaning--to spot test first or inspect the whole display for any materials that could be damaged. Some silk flowers can be cleaned with 1/2 cup of salt (or cornmeal) in a bag. Put salt and flowers in a bag, gently shake, then remove the florals and shake off the salt. Use a hair dryer in a cool setting to clean off the remaining salt. (Silks Are Forever has some great care tips for silk flowers.)  Image by mkupiec7 on Pixabay. You can also use compressed air—like the one you use on your computer keyboard—to blow the dust from your florals. Hold 6-8 inches from florals to avoid damage. 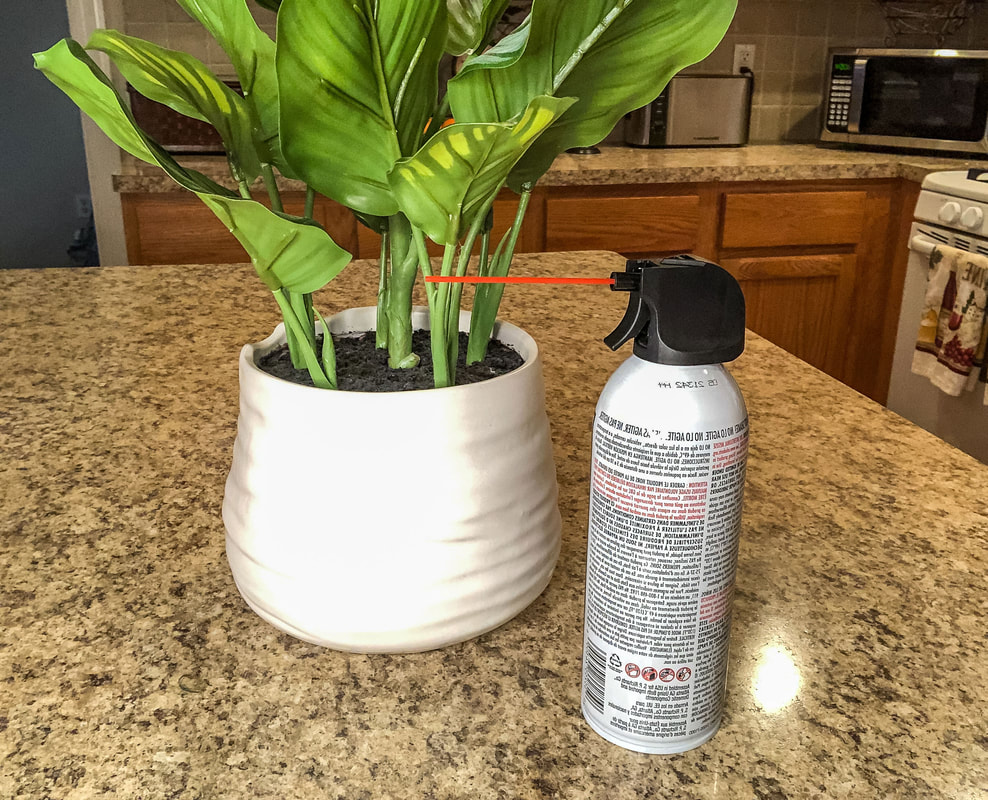 Compressed air to clean faux florals. Photo by Diane M. Lilly, 2022. A hairdryer on a cool setting (never hot) will blow off dust as well. Image by Pixel-Shot on Adobe Stock. A dustbrush or soft-bristled paintbrush will carefully whisk away the dust from leaves and clean out nooks and crannies. 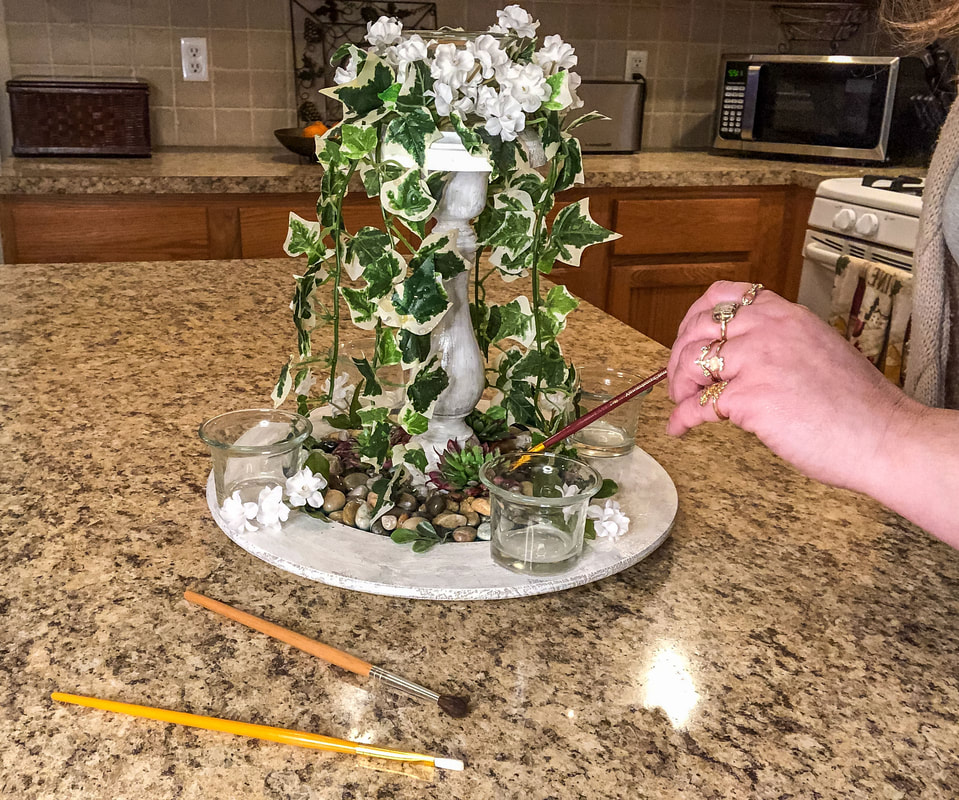 Small soft bristle brushes to clean nooks and crannies in faux florals. Photo by Diane M. Lilly, 2022. A traditional feather duster may also work well for dusting your delicate floral decor. 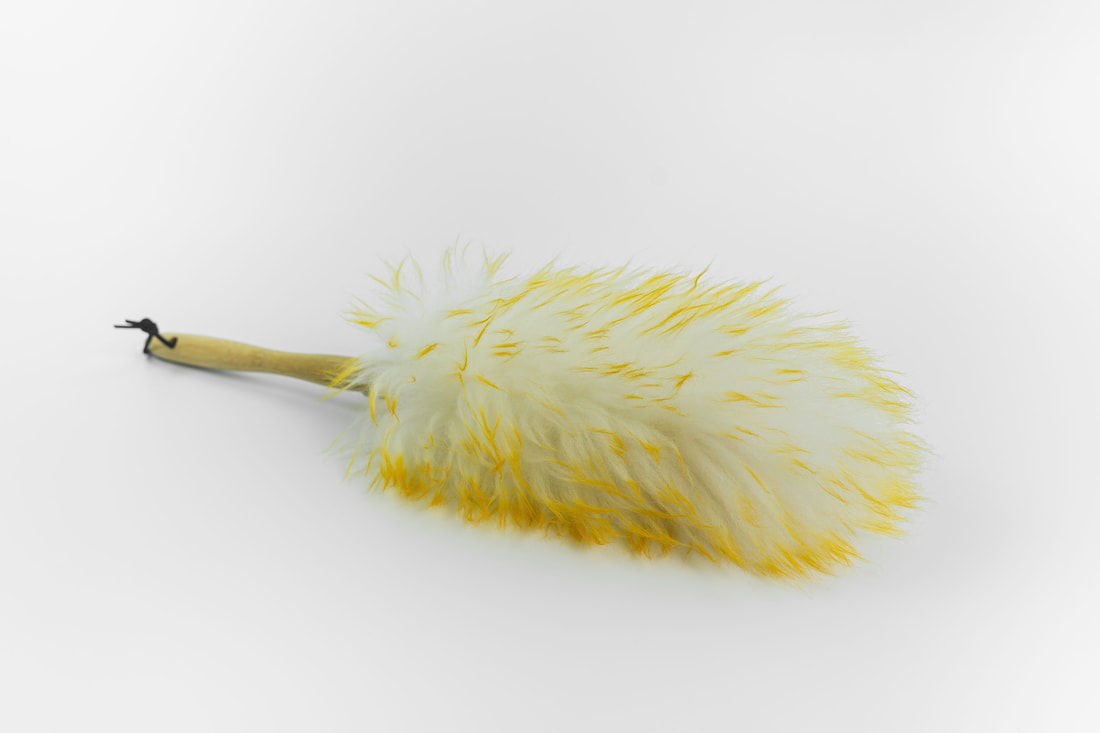 Image by Woraphon on Adobe Stock. Dust faux florals outside, whenever possible, to reduce the spreading of dust indoors. Whichever method you choose, you’ll be able to keep faux florals and greenery looking fresh for many years. As much as I love live plants, artificial flowers, and faux greens are so much more versatile, especially when dealing with interior spaces that don’t get the right quality or amount of light (like in my home). Personally, I tend to make the best of both worlds, using real plants in areas near my windows and faux florals in spaces that don’t get much in the way of natural light. 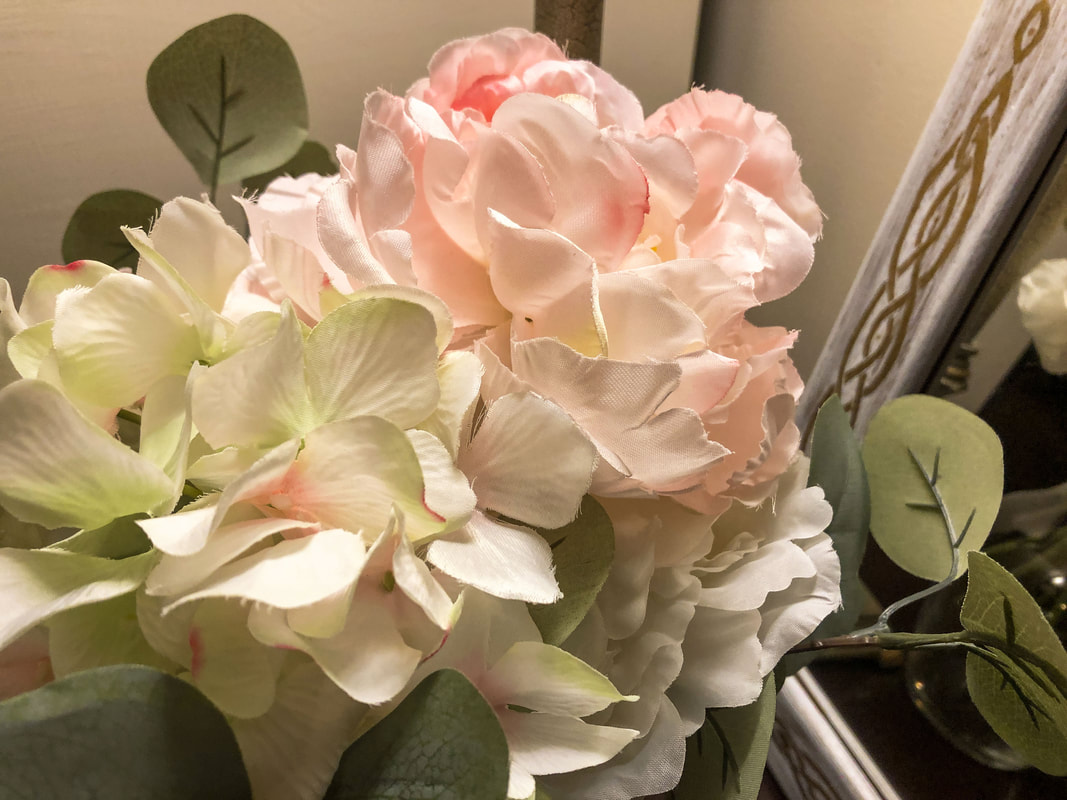 Faux floral arrangement with artificial eucalyptus. Photo by Diane M. Lilly, 2022. What do you think of faux florals? For those of you who remember the 70s, how far have faux plants come these past few decades? Leave a comment below! Related blogs you may want to read: Spring makeover for my indoor fairy gardens Enhancing interior decor with fairy lights and LEDs New decorative lanterns by Di’s Studio Designs Tropical themed projects with repurposed dessert cups Strawberry themed projects with repurposed dessert cups DIY with faux florals birds and repurposed thrift store finds This article may contain a few items or commercial mentions, but I only used them for demonstration purposes only. I am not endorsing any particular product or receiving any monetary gain for this blog. A recent trip to the family doctor reminded me that I need to eat healthier! So I thought I’d kick off March with one of my favorite healthy meals— homemade chicken soup. This soup is a slight variation of a family recipe passed down from my great-grandmother—a little Ukrainian woman who could make a paper bag taste good! I have fond memories of helping her peel and chop vegetables and making this soup takes me right back there to that tiny faux marble kitchen table all those years ago.  Chicken soup cooking in a pot. Photo by Diane M. Lilly, 2022. There’s nothing complicated about making chicken soup. It takes a little time and prep work, but the extra effort gets you a meal that lasts several days. And it’s so good for you! According to Healthline, chicken is a good source of protein, vitamin B, and selenium (for the immune system and thyroid). Celery contains vitamins A, K, and C and is an anti-inflammatory that aids digestion while decreasing the occurrence of ulcers. Carrots are known for eye health since they contain vitamin A, beta carotene, and potassium. WebMD even describes carrots as beneficial for lowering cholesterol and fighting cancer, arthritis, and heart disease. In other words, chicken soup is just good for whatever ails you! Ingredients: Whole chicken 5- 6 celery stalks 5-6 carrots 2 onions 2 cups chicken stock or broth 2 chicken bouillon cubes 4 cups water 2 tsp salt Pepper, to taste Parsley, to taste Wide egg noodles (optional)  Whole chicken. Photo by Diane M. Lilly, 2022. 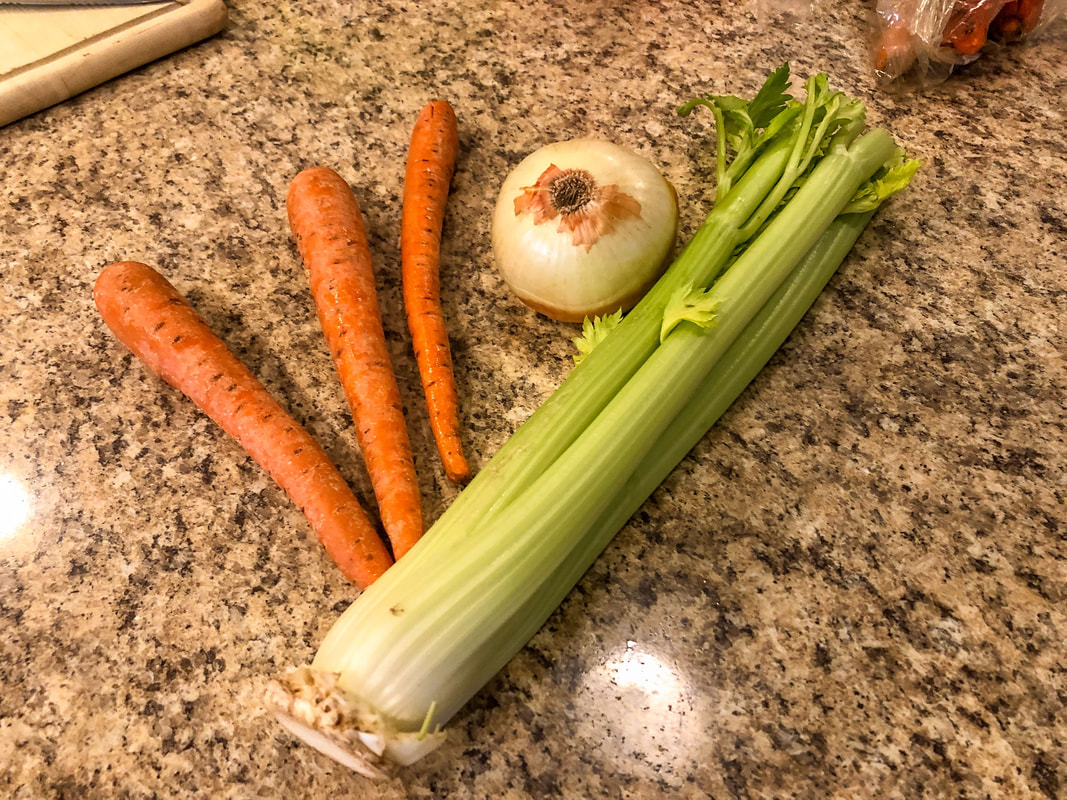 Carrots, onion and celery to be prepped. Photo by Diane M. Lilly, 2022. 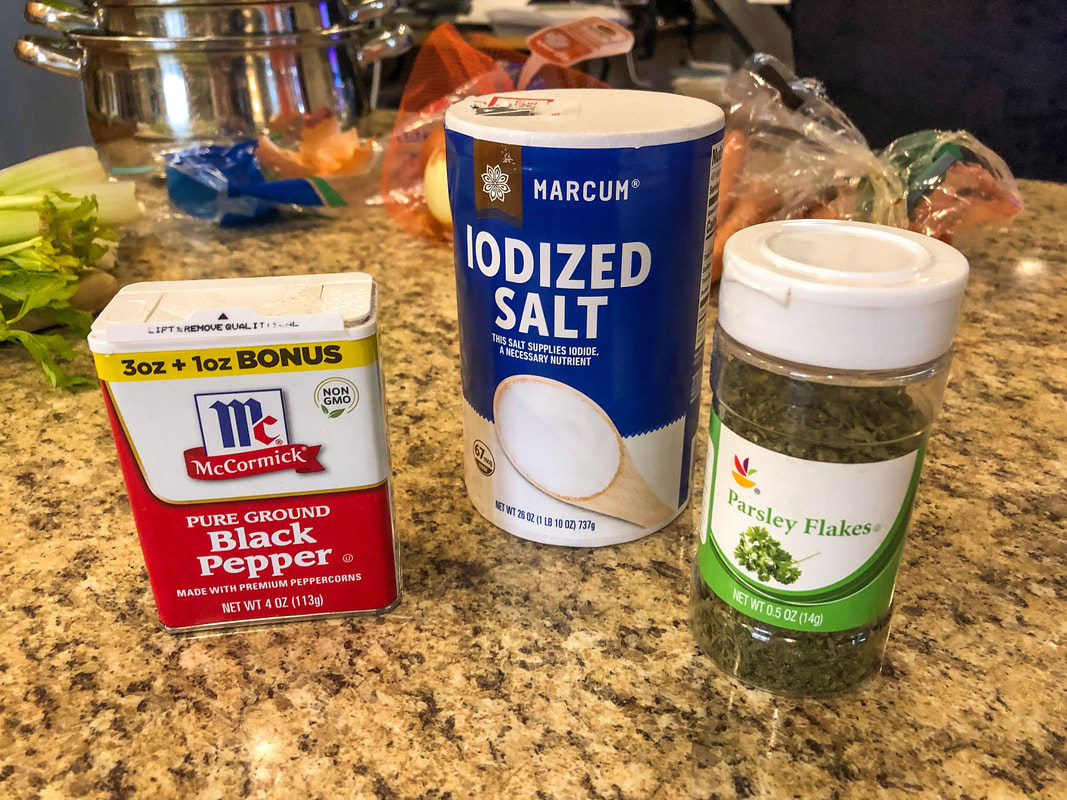 Pepper, salt and parsley to be used in soup. Photo by Diane M. Lilly, 2022. 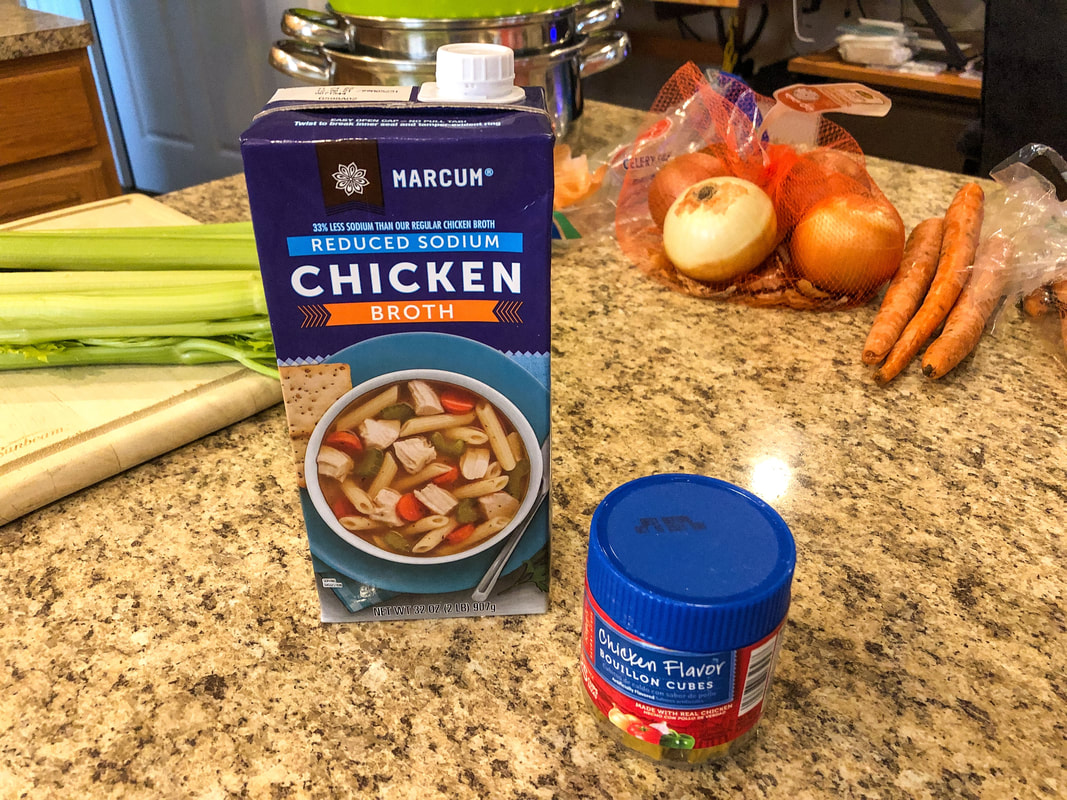 Chicken broth and bouillon to be used in soup. Photo by Diane M. Lilly, 2022. Place whole chicken in a large pot and cover with water. Chop up two celery stalks, two carrots, and one onion in large chunks (these are just to make the stock and will not be eaten) and add to the pot. Add one tsp salt, two chicken bouillon cubes, parsley, and pepper. Cook chicken and veggies on medium-high heat for approximately 45 minutes or until carrots and chicken are cooked. Remove the chicken from the pot, and place it on a plate to cool.  Cooked chicken, waiting to cool before shredding. Photo by Diane M. Lilly, 2022. Drain the liquid stock into another pot, discarding only the cooked vegetables. Add four cups of water and two cups of store-bought chicken stock to liquid, then re-season with pepper, parsley, and one tsp salt. Add in fresh chopped celery (2-4 stalks), carrots (3-4), and an onion. 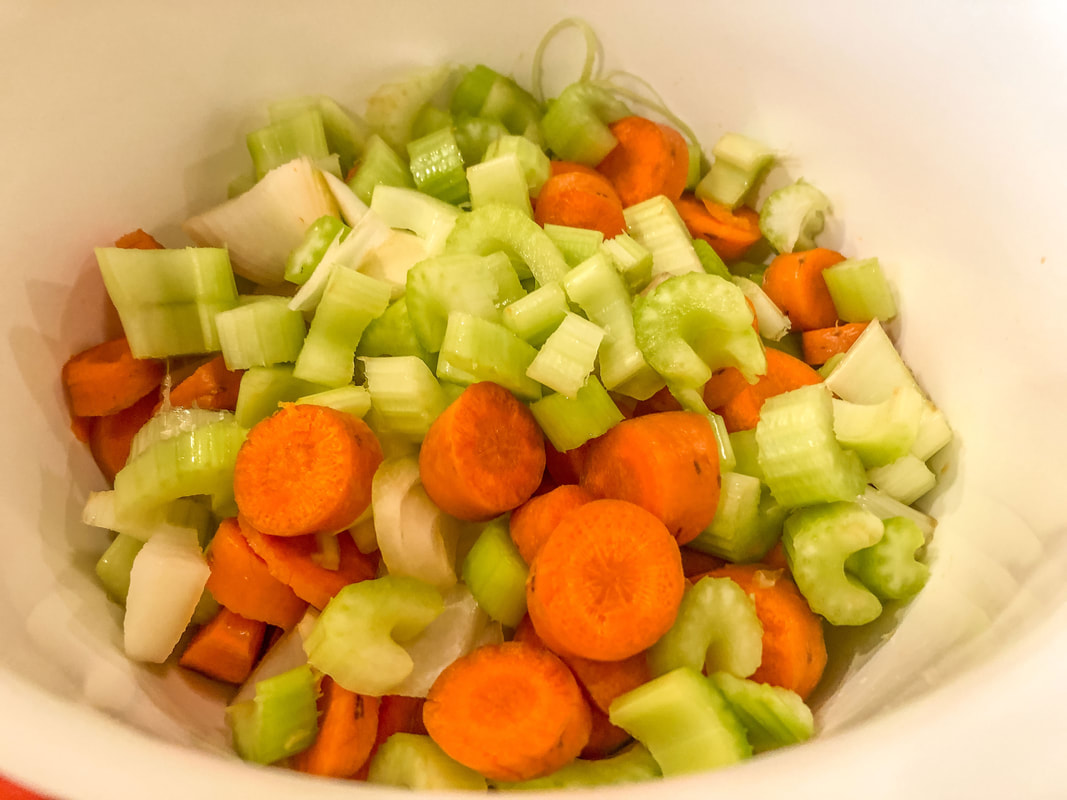 Fresh chopped carrots, celery and onion for the chicken soup. Photo by Diane M. Lilly, 2022. 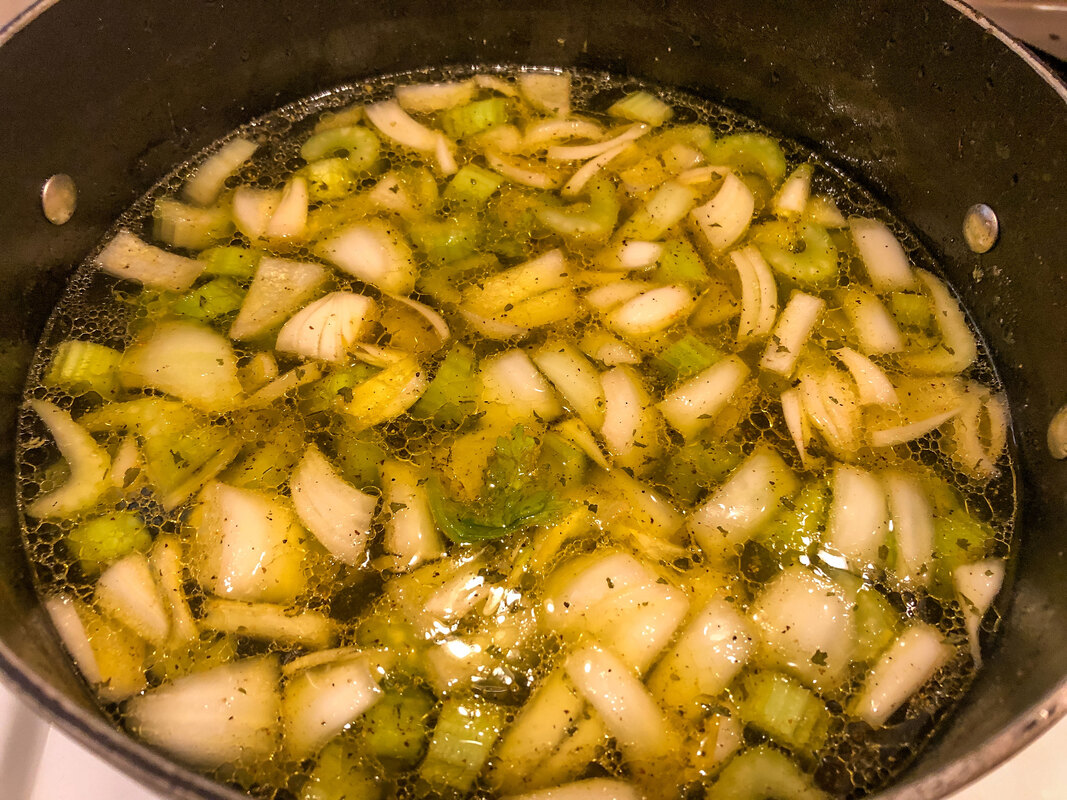 Celery, onions, and carrots for the chicken soup cooking. Photo by Diane M. Lilly, 2022. Cut or shred the cooked chicken into small pieces and add it to the new chicken stock mix.  Cooked and shredded chicken. Photo by Diane M. Lilly, 2022. Cook on medium heat for an additional 30 minutes, or until the carrots are cooked. Cook the noodles according to directions. 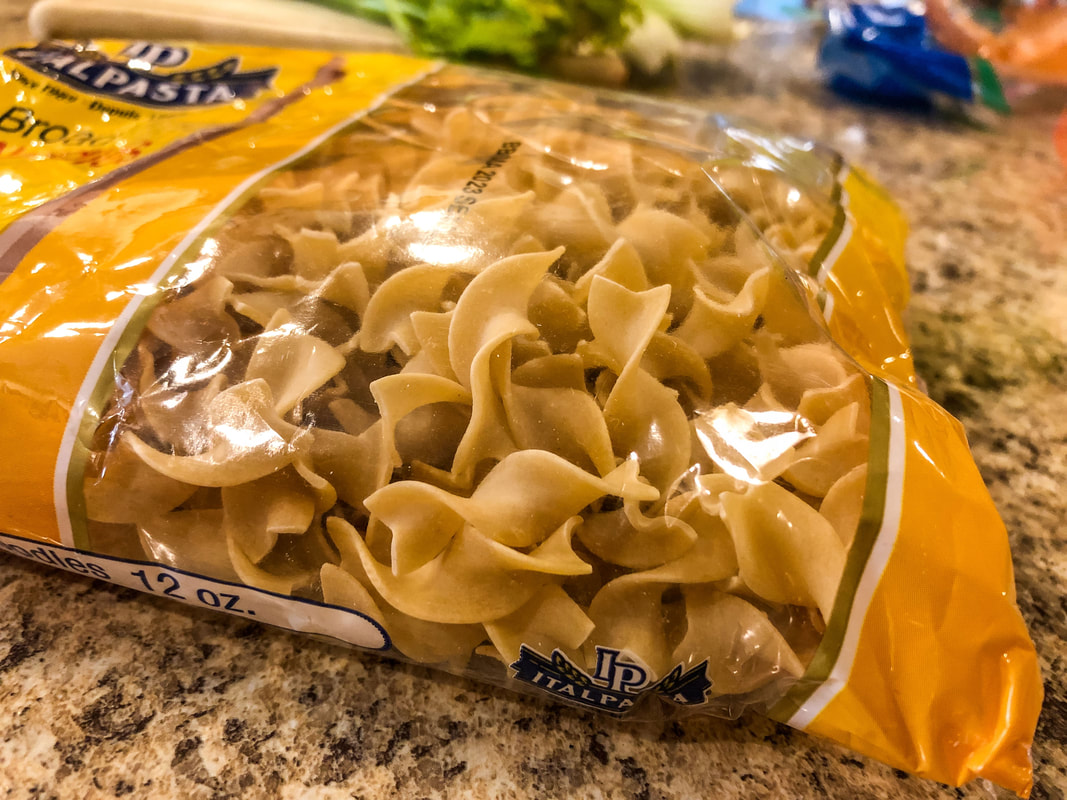 Wide egg noodles for the chicken soup. Photo by Diane M. Lilly, 2022. Serve with cooked noodles and buttered bread.  Cooked homemade chicken soup in a bowl. Photo by Diane M. Lilly, 2022. Do you make homemade soup? I’d love to hear about your fond memories and healthy soup recipes, so feel free to share them in the comments below! Related blogs you may want to read: Banana bread and raisin recipe Potato soup recipe Tuna noodle casserole recipe Chicken vegetable pot pie recipe This article may contain a few items or commercial mentions, but I only used them for demonstration purposes only. I am not endorsing any particular product or receiving any monetary gain for this blog. |
Author
Some of the posts on this site contain affiliate links. This means if you click on the link and purchase the item, I will receive an affiliate commission. 
Categories
All
Archives
April 2024
|