|
Take a look at my top 17 picks from Blick Art Materials! 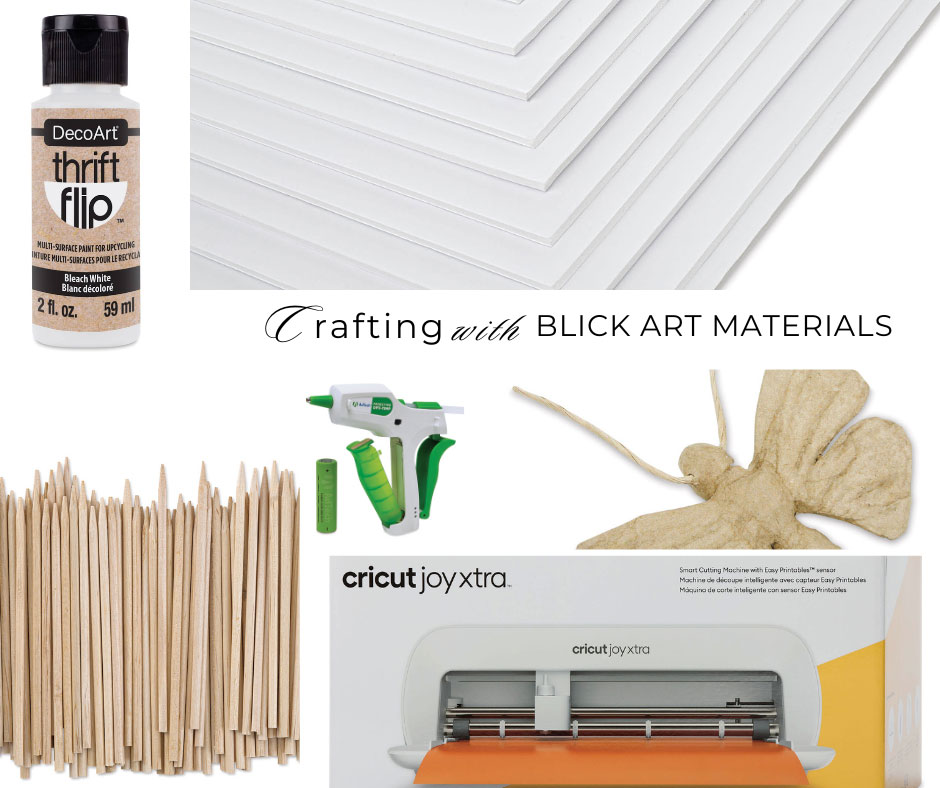 Images from Dickblick.com. Click the links below to view or purchase. Some of the posts in this article contain affiliate links. If you click on the link and purchase the item, I will receive an affiliate commission at no extra cost to you. I will only recommend products or services I use personally and/or believe will add value to my readers, so there is no conflict of interest. Spring is around the corner…and that means new craft projects! But you’ll get nowhere fast without the proper materials! This is the time of year when I plan out the projects for the next few months and take stock of my arts and crafts supplies. The most frustrating situation is when I am working on a craft and realize I have run out of something vital. Everything stops…including the creative roll. This is the life of a creative, right? In the spirit of starting this year off on the right foot, I scoured Blick Art Materials’ website to see what’s new in their spring catalog. I collated 17 handy items for your crafty spring DIY projects. Item 1—Cricut Joy Xtra Many of you are using Cricut for your craft projects, so this machine could be a worthwhile investment in future DIY projects!  Item 2--Cricut Transparent Printable Vinyl 12-pack To get you started, I found a pack of 12 printable vinyl sheets to help you reproduce those crafty images.  Item 3—Cricut Writable Vinyl Sheets 3-pack Make adorable labels for products or gifts with this three-pack of writable vinyl sheets.  Item 4—Pacon Ucreate White Foam Boards 10-pack White foam board is one of those supplies you don’t know you need until you need it, right? So stock up on these white foam boards from Blick’s new arrivals.  Item 5—Fiskars Everyday Softgrip Non-Stick Titanium Scissors If you need a new pair of durable scissors that can cut through sticky things like tape, try these with stainless steel blades.  Item 6—AdTech Project Pro Cordless Mini Hot Glue Gun Sometimes, the cord gets in the way when you’re working on craft projects, so this cordless hot glue gun might just come in handy!  Item 7—DAP RapidFuse Super Glue Gel Adhesive A fast-setting, secure glue is a must-have supply for any crafter! This glue sets quickly and can be used on a variety of materials.  Item 8—Envirotex Lite Kit Need to seal your favorite artwork? Try this epoxy resin product!  Item 9—Craft Medley Gemstones Gemstones…Because you never know when you might need a little bling for your projects!  Item 10—Creativity Street Natural Wood Sticks 100-pack Wood sticks are one of those supplies that may slip your mind until you realize you need them!  Item 11—DecoPatch Small Paper Mache Butterfly Paper mache projects are a creative way to pass an afternoon or a fun project to keep the grandkids busy for a few hours.  Item 12—Hands Craft DIY Miniature House Kit Do you have a miniature house fetish? You can build a little library with this kit!  Item 13—Sculpey Clay Crafts Ultimate DIY Kit If your passion is clay crafts, this DIY kit is for you!  Item 14—Perler Bead D.I.Y. Butterfly Activity Kit Bead kits are so popular right now! This kit features a butterfly—perfect for a child’s bedroom!  Item 15—DecoArt DecoEarth Premium Reclaimed Acrylic Paint Make your contribution to a better environment with eco-friendly craft paint!  Item 16—DecoArt Thrift Flip Multi-Surface Paint Did you know DecoArt has multi-surface craft paint? Try this paint on your next up-cycled decor project!  Item 17—Krylon Chalky Finish Spray Paint If you want the chalk finish on your up-cycled furniture but don’t want the hassle of using a brush, try this spray chalk paint from Krylon.  Do you like drawing tutorials and DIYs? Follow me on YouTube here! My channel has Celtic art drawing tutorials, faux floral videos, and crafty DIY projects. Visit my website to see my online shop, where you will find handcrafted faux floral designs, candleholders, wooden fairy houses, and wood-burned Celtic art. Related blogs you may want to read: Drawing supply gift ideas for the artist in the family
0 Comments
Christmas gifts and stocking stuffer ideas from Blick Art Materials 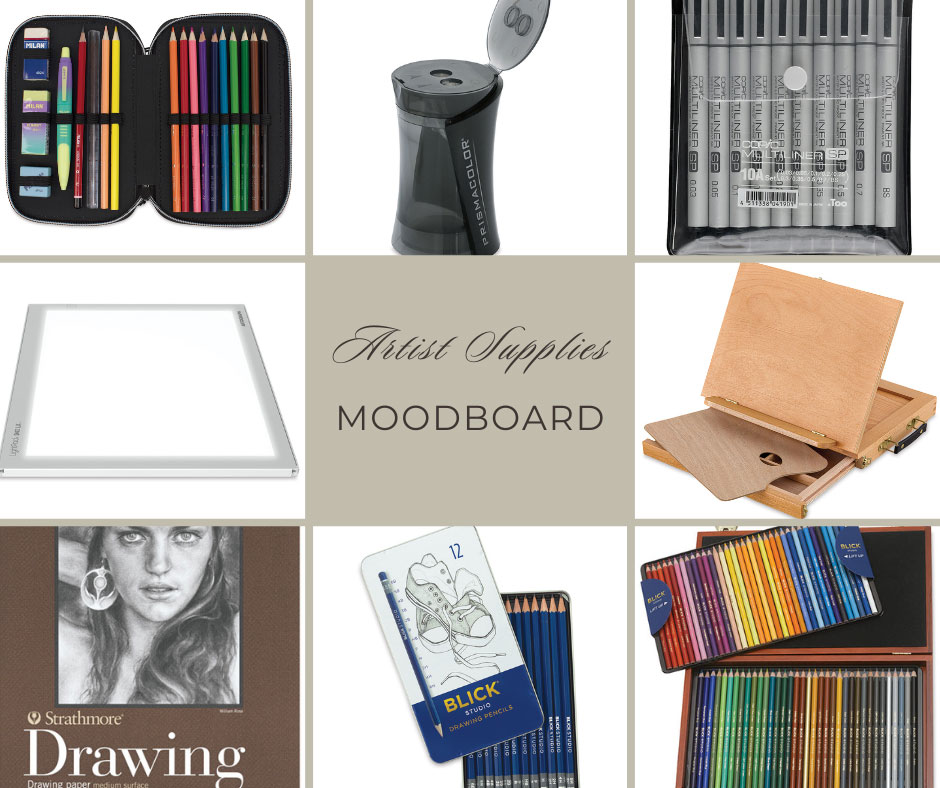 Images from Dickblick.com. Click the links below to view or purchase. Some of the posts in this article contain affiliate links. If you click on the link and purchase the item, I will receive an affiliate commission at no extra cost to you. I will only recommend products or services I use personally and/or believe will add value to my readers, so there is no conflict of interest. Can you believe the holidays are almost here? Where the heck did this year go?! With only a few weeks left for holiday gift buying, the pressure is on to find something for the creatives in your life. I scoured Blick Art Supplies for some of the most practical drawing supplies for my artistic readers and YouTube followers! Some of the items below are supplies I own or have purchased for one of the creatives in my household. (We’re all creative souls here!) So, without further ado, here are some of my best picks for drawing supply gift ideas for the artist in your life…  Item 1— Milan Sunset Series Double Decker Pencil Case with Supplies 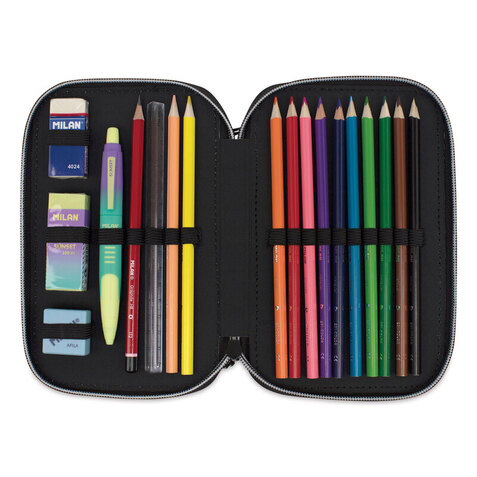 Item 2— artPOP! Sketchbox Easel  Item 3— Prismacolor Pencil Sharpener  Item 4— Blick Studio Artists’ Colored Pencils  Item 5— Blick Studio Drawing Pencils  Item 6— Strathmore 300 Series Drawing Pads  Item 7— Strathmore 400 Series Drawing Paper Pads  Item 8— Bienfang Mixed Media Pad  Item 9— Manuscript Modern Calligraphy Dip Pen Sets  Item 10— Prismacolor Premier Dual-Ended Chisel Tip Markers  Item 11— Copic Sketch Markers 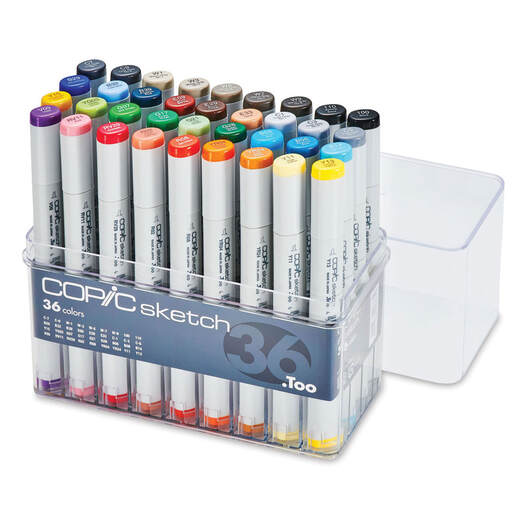 Item 12— Copic Multiliner SP Pens 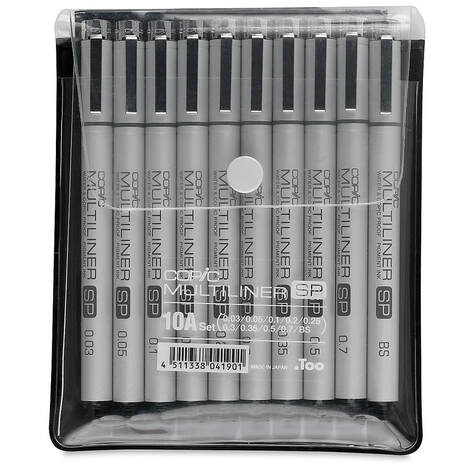 Item 13— Faber-Castell Pitt Artist Pen Set - Black Wallet Set, Set of 4, Assorted Nibs 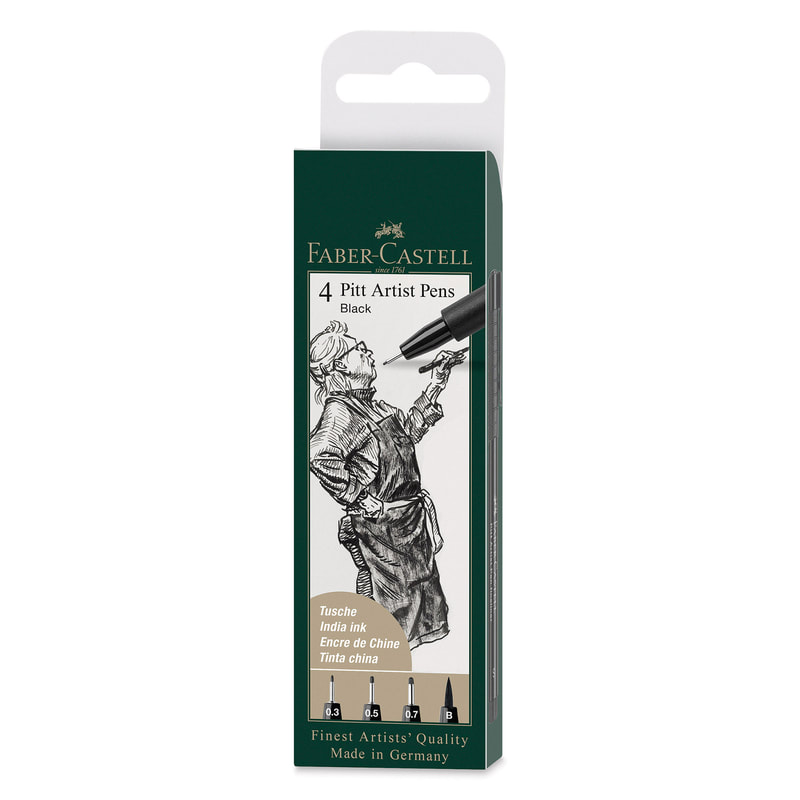 Item 14— Artograph LightPad LX LED Light Box 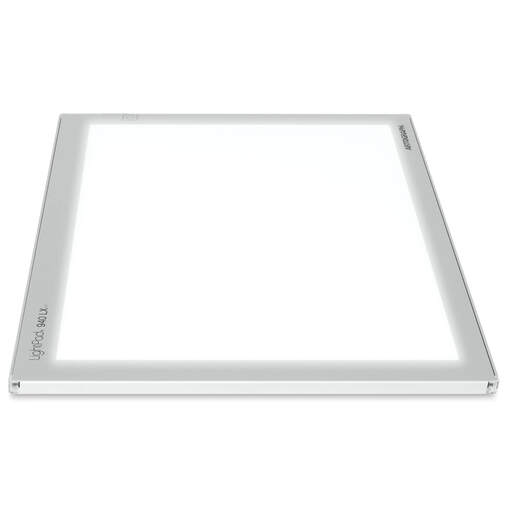 Item 15— Blick Studio Series Softside Portfolios  Item 16— Itoya I-Series Art Profolios  Do you like drawing tutorials and DIYs? Follow me on YouTube here! My channel has Celtic art drawing tutorials, faux floral videos, and DIY projects. You can also find many Celtic art drawing tutorials on my blog page here. https://www.disstudiodesigns.com/blog/category/celtic-inspired  Faux roses and florals for new spring decor. Photo by Diane M. Lilly, 2023. I feel like I’m a little late to the party…It’s already March, and I’m only just now updating you on what’s on tap this year at DSD. I don’t know what happened to January and February…I guess they just got away from me! Honestly, I’ve been keeping my head down and staying busy. Quite a lot is happening, and a lot of projects are either in the works or are slated to get done within the next few months. My goal this year is to fill my online shop with beautiful items for you and pump out all new blog material about some of my (and your) favorite topics. This year I am full on embracing faux florals, fairy decor, and Celtic inspired art. If you like fairies, knotwork, castles, and nature inspired faux floral designs, you’re in for a treat New blog articles are coming! In addition to the usual DIY, how-to, and recipe blogs, I will be introducing some new topics with Celtic and fairy themes. This spring we are celebrating the magic of fairies and the beauty of Celtic art!  Jewelry box with hand painted Celtic knot design. Photo by Diane M. Lilly, 2023. New fairy houses Did I mention you will be seeing more fairy themed stuff?! Fairy houses will be making more of an appearance this year, with a couple new designs that are in the pipeline. The intention is to marry two of my deepest passions—fairy tales and miniature houses. I can’t wait to show you my new designs! But you’ll have to be patient! These things take a bit of time! 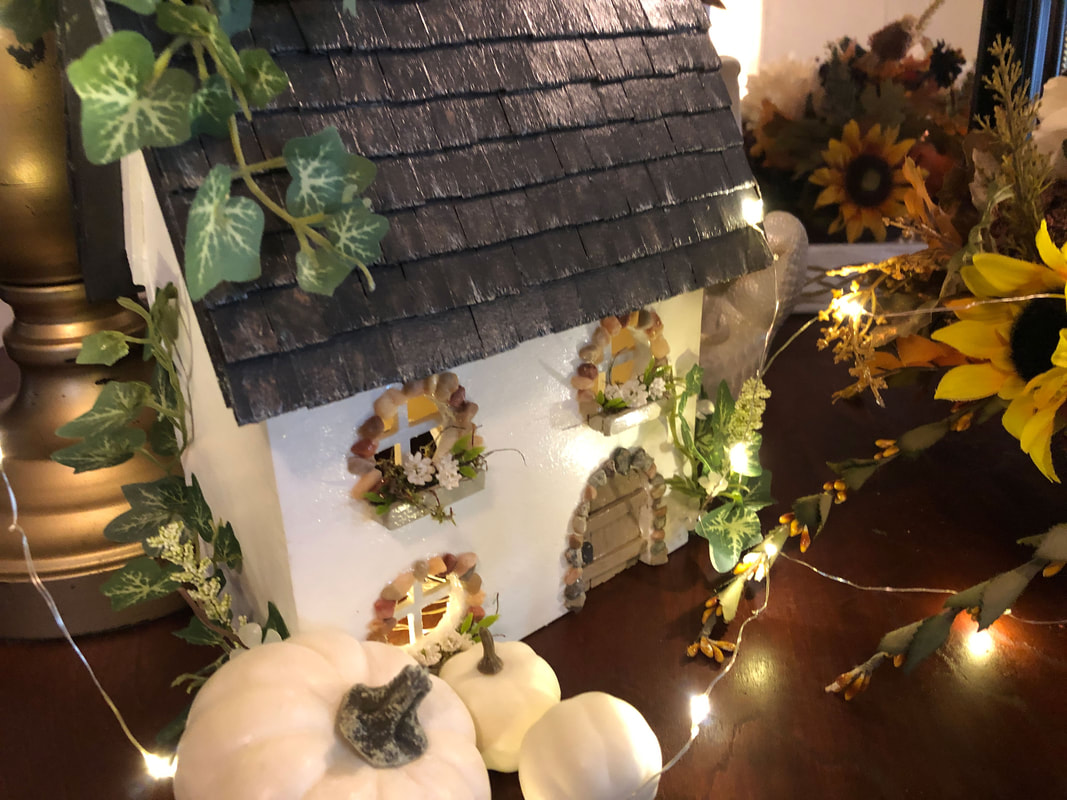 English Cottage miniature fairy house by Di's Studio Designs. Photo by Diane M. Lilly, 2022.  New designs for a miniature fairy shop in the works. Photo by Diane M. Lilly, 2022.  New designs for miniature fairy castle are also in the works. Photo by Diane M. Lilly, 2022. Home decor with a Celtic flair Celtic inspired art is making an appearance on new home decor designs in the form of painted knotwork borders. These are still a work in progress, but I can tell you they already look like they are right out of a fairy tale!  Hand painted wood trays with gold painted Celtic knot work borders. Photo by Diane M. Lilly, 2023.  Some of the new projects that are currently in progress. Photo by Diane M. Lilly, 2023. New faux floral designs This year will see not only new nature inspired candleholders, but also spring faux floral arrangements. These new designs are going to be a breath of fresh air in my shop, just in time for spring…or at least April!  Some of the faux florals for this spring's new projects. Photo by Diane M. Lilly, 2023.  Sneak peak at one of the upcoming new faux floral designs. Photo by Diane M. Lilly, 2023.  Hand painted jewelry box with gold Celtic knotwork, and some of the faux florals that are going inside. Photo by Diane M. Lilly, 2023. New candleholders And yes, there will be a few new candleholder designs this year, along with a few tweaks on some older designs. Everything is getting a much needed update for the 2023 spring season!  Smaller candleholder designs are currently in progress. Photo by Diane M. Lilly, 2023.  Handcrafted fairy themed spring candleholder by Di's Studio Designs. Photo by Diane M. Lilly, 2022. More wood burned art Sadly, my poor Celtic shop has been neglected. I’ve sold several pieces and have not had the time to make more wood burned art…But that is about to change! The goal this spring is to build up my Celtic art shop, so I have set aside time to finally finish the many pieces that were started last year (and the year before, so sorry). I can’t wait to get back to doing some artwork again! 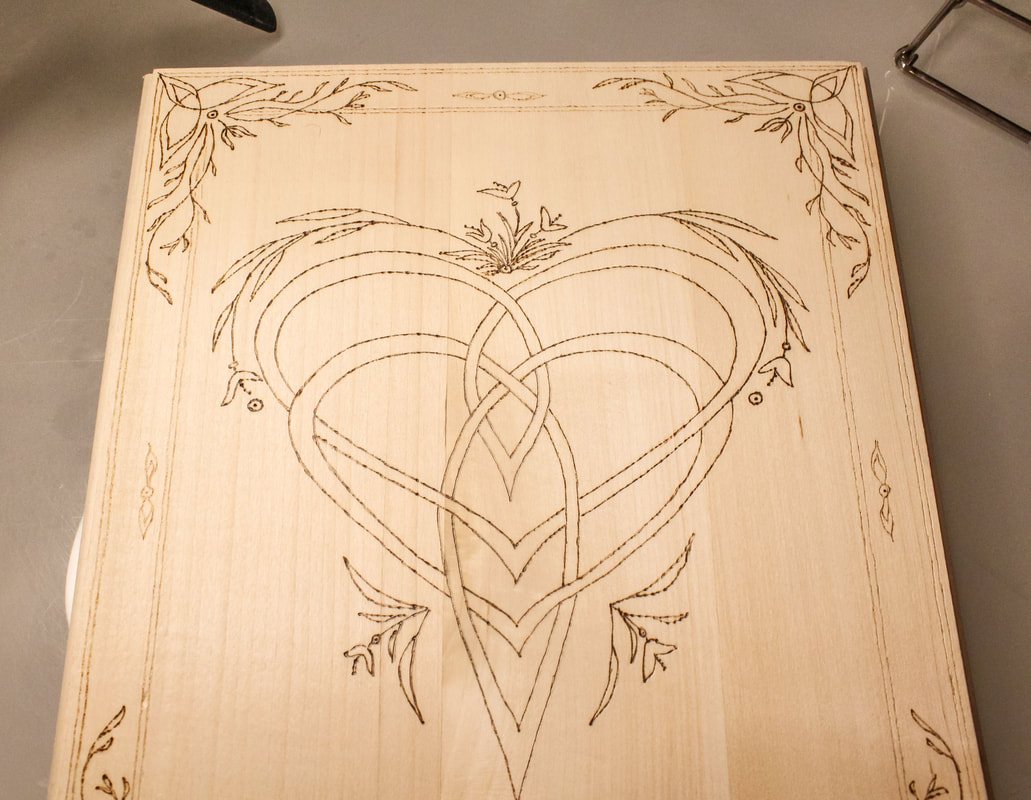 Custom designed wood burned Celtic Mother's Knot currently a work in progress. Photo by Diane M. Lilly, 2022. 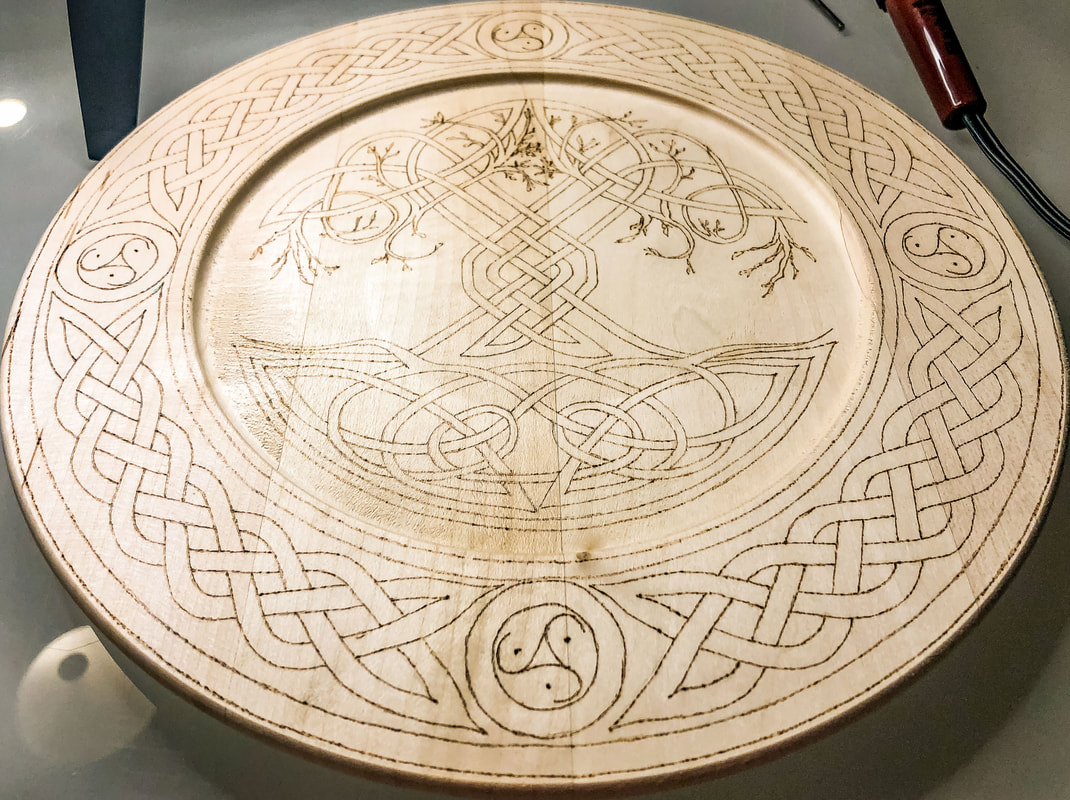 Custom designed Celtic Tree of Life wood burned plate also currently a work in progress. Photo by Diane M. Lilly, 2022. 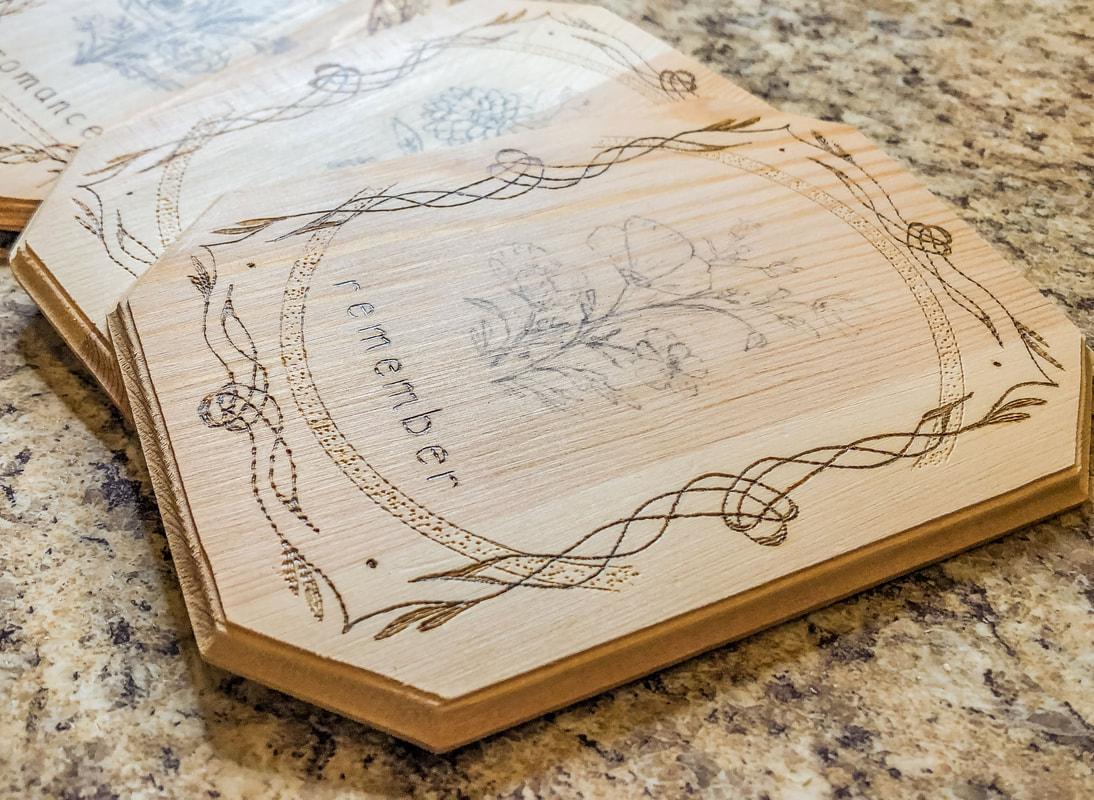 Small Celtic inspired wood burned plaques are a work in progress. Photo by Diane M. Lilly, 2022. A Youtube channel Wait…what?! Yes a Youtube channel! So this is not set in stone, but I’m thinking of finally embracing the video age! The intention is to create some short videos of my designs and processes to share with you on a Youtube channel, and maybe grow a community. But I’m getting ahead of myself…I just want to make some videos showing you some of my works in progress and maybe some DIY projects, and whatever else might be interesting for you to watch. I’ll drop a link to the page in my social media and on my web site if this should come to fruition. OR… Would you prefer joining a Patreon page, where you could potentially have access to more private and exclusive stuff…for a monthly fee, of course (probably only $5)! Let me know in the comments.  Another sneak peak at a wedding themed spring faux floral design by Di's Studio Designs. Photo by Diane M. Lilly, 2023. So that’s what’s in the works. I have a very ambitious schedule, so things may change a bit here and there, and it might take me longer than I planned to get certain things done, but I would really like to see most of these things rolled out before summer. So, as always, stay tuned and follow me on social media for updates and my latest shenanigans. And don’t forget to share, comment, like, follow…all that good stuff…so I can continue to build this up and create more beautiful things for you guys! Related blogs you may want to read: DIY chalk painted tray with Celtic border 10 essential elements for a magical outdoor fairy garden A brief history of the origins of fairy gardens Tips for creating a faux floral spring wreath My spring 2022 indoor fairy gardens How to care for faux florals The Celtic Motherhood Knot, a symbol of love Spring makeover for my indoor fairy gardens  Corner closeup of finished stool. Photo by Diane M. Lilly, 2021. A few years back I bought a beat up second hand vintage foot stool with the idea that I would reupholster it and give it a new lease on life. Once it was taken apart, however, I came up with another idea… It was 2018, and I was toying with an idea of wrapping jute twine around the horizontal rails of this second hand foot stool to create a plant stand. For the life of me, I can’t remember from where the idea came, but somehow the universe inspired me to try out something a little “boho” (which is not my usual style, which leans more toward the Traditional end of the style spectrum). The “vision” was to create a plant stand with a weave effect using durable jute twine. The finished stool made for a perfect plant stand for my living room! As time went by though, the twine became stained from careless watering (shame on me)…  Finished stool from 2018. Photo by Diane M. Lilly. Fast forward to now (2021)…It was high time that stool got some love, right?! I bought some fresh jute twine (about 4 skeins) from Amazon and got to work giving this stool a facelift. Previous experience showed me just how monotonous and repetitive this type of project can be. The ultimate effect looks great, but—like most things creative—it’s not fun in the moment! My work area became my living room floor, conveniently situated in front of the television so I could be entertained while I wrapped…and wrapped…and wrapped…and wrapped. And my fur babies were equally entertained! They got excited, thinking I was making them a new toy, silly kitties! Try doing anything with string around cats…Shit gets interesting!  My two fur babies playing with my twine. Photo by Diane M. Lilly, 2021.  My fur baby trying to eat the twine! Photo by Diane M. Lilly, 2021. Anyway, after wasting time amusing myself watching my cats be amused, I steeled myself for the inevitably tedious task of wrapping, pulling, pushing threads tightly together, and looping around again, over and over and over. I started with the longest side first, pulling the twine taut to prevent sag when sat on or when something with weight is placed on it.  Starting to wrap twine along the long axis. Photo by Diane M. Lilly, 2021.  The long axis of the stool finished being wrapped in twine. Photo by Diane M. Lilly, 2021. For the short side, I simply wrapped the twine over top of the long side, creating just a simple double layer. This reincarnation was to be a stool for us to sit on when we are putting on or taking off our shoes at the back door, so it didn’t need to be fancy, just functional. There was no need to do the weave effect like last time (which, incidentally, was incredibly laborious), saving me time and sanity.  Starting to wrap the short axis of my stool. Photo by Diane M. Lilly, 2021. After several hours of wrapping I finally had my finished stool! The jute twine seat is definitely sturdy enough to hold our weight when we sit on it (and we’re not little people anymore!). This second hand stool just keeps getting resurrected! I wonder what the next rendition will be?! 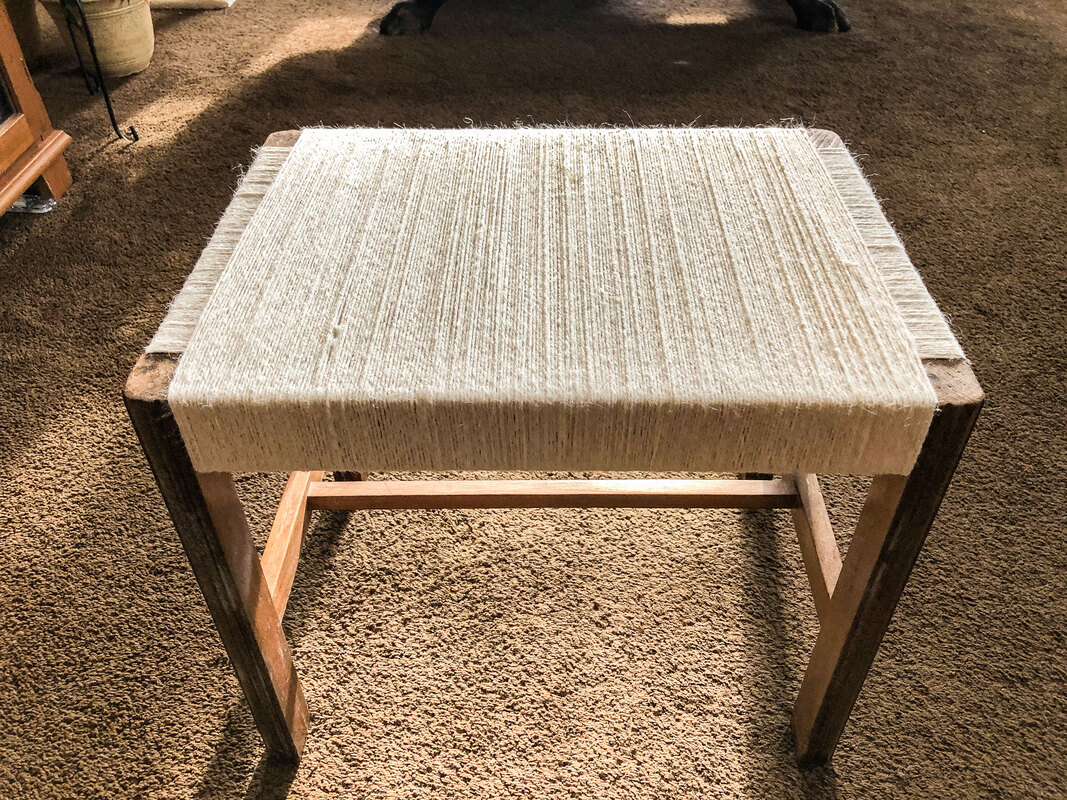 Finished stool for 2021. Photo by Diane M. Lilly, 2021. 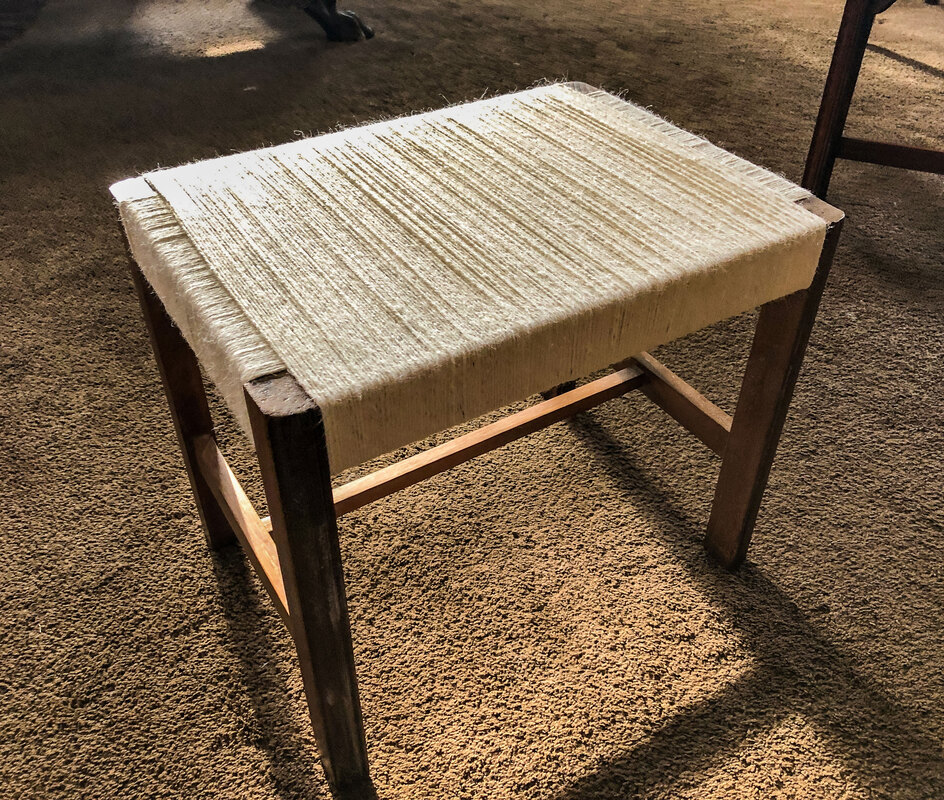 Another pic of the finished stool. Photo by Diane M. Lilly, 2021. I know I complained about how “tedious” and “monotonous” and “repetitive” this project was, but to be honest, it was rather therapeutic. You are not just mindlessly looping…It takes care and close attention to make sure the threads are packed together tightly and pulled taut enough that the finished piece has the strength needed to function properly. There is something strangely satisfying in seeing it all finished! So let me know what you think of my little project in the comments below, and feel free to drop a line about any similar projects of your own! If you’d like to be notified of new blog posts or merchandise sales you can sign up for my monthly newsletter (coming soon) on my contact page. And if you’d like to see what I’m up to on social media, click on the links below! This article may contain a few items or commercial mentions, but I only used them for demonstration purposes only. I am not endorsing any particular product or receiving any monetary gain for this blog. Related blogs you may want to read: On a mission to recycle this neglected vintage stool The stain stripping stage of rescuing my vintage stool Staining my vintage stool with brewed tea My tattered vintage stool transformed into a beautiful plant stand How to replace a clock mechanism How to rewire thrift buy lamps Creating a kitchen coffee bar In Part 1 of this project blog I repainted a frame from a mirror I bought at a local thrift shop for dirt cheap. My original intention was to paint a base coat for the reddish undertones I wanted to show through a crackled gold top coat. The end result looked ok…for a different room. The almost solid gold color just looked gaudy in my dining room, even though I have a lot of decorative things with gold accents. This mirror, unfortunately, was just too over-the-top gold. The end result was me painting over it with a new layer of crackle and white craft paint.  Painted frame from the previous DIY project. Photo by Diane M. Lilly, 2021. And this is where I left off in Part 1 of this project…My task now was to find a way to fix this mirror and make it work in my dining room. So I’m standing there—several hours of work and layers of paint later—wondering why this frame does not work. It just didn’t feel finished. I kept looking at it and trying to visualize how to get a more ornate look with gold accents. And then it hit me…This mirror needs a gold Celtic knot! I brainstormed and created templates of straight border knots that I would eventually trace onto the frame. I drew ideas on a sketchpad until I got a design I liked. This was a challenge—I knew I wanted to accentuate the corners and midpoints along the frame, so my border has broken to create visual interest, but I admit it took me some time to get the design right! Once I finally got the design I wanted, the pattern was redrawn at full scale on grid paper. The idea was to create a template that I would trace onto the frame so that it could be painted in…wait for it…GOLD! 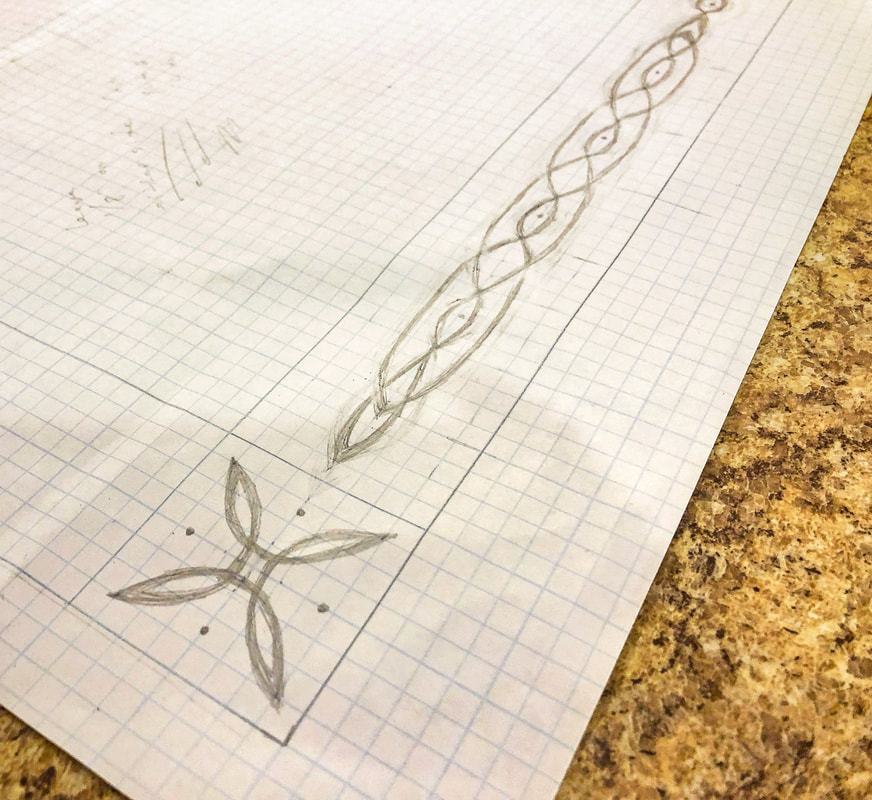 Basic lifework for my new Celtic border. Photo by Diane M. Lilly, 2021. 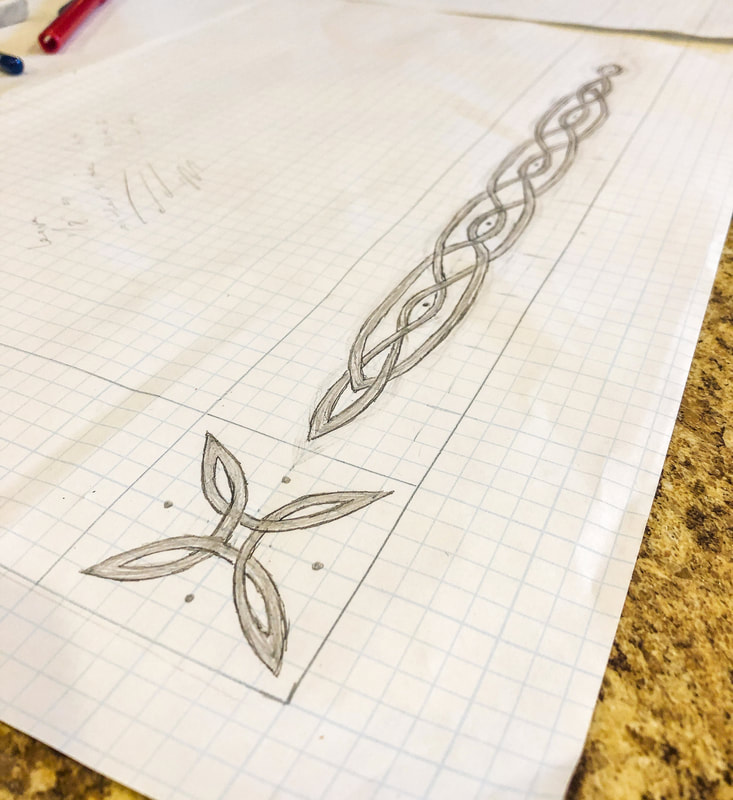 Finished knot work for template of the Celtic border. Photo by Diane M. Lilly, 2021. The template I made only needed the top and left sides with three corners, so some of the work could be simplified. Once the top and left side were traced, I could flip the paper over and retrace the design on the bottom and top. Using a very dark pencil, I traced the finished design on the back side of the paper, turned it over, and then lined it up on the frame. The paper was carefully taped down, and I painstakingly traced my knot design onto the two-inch wide wood frame. With the design template drawn onto the frame, it was time to paint! 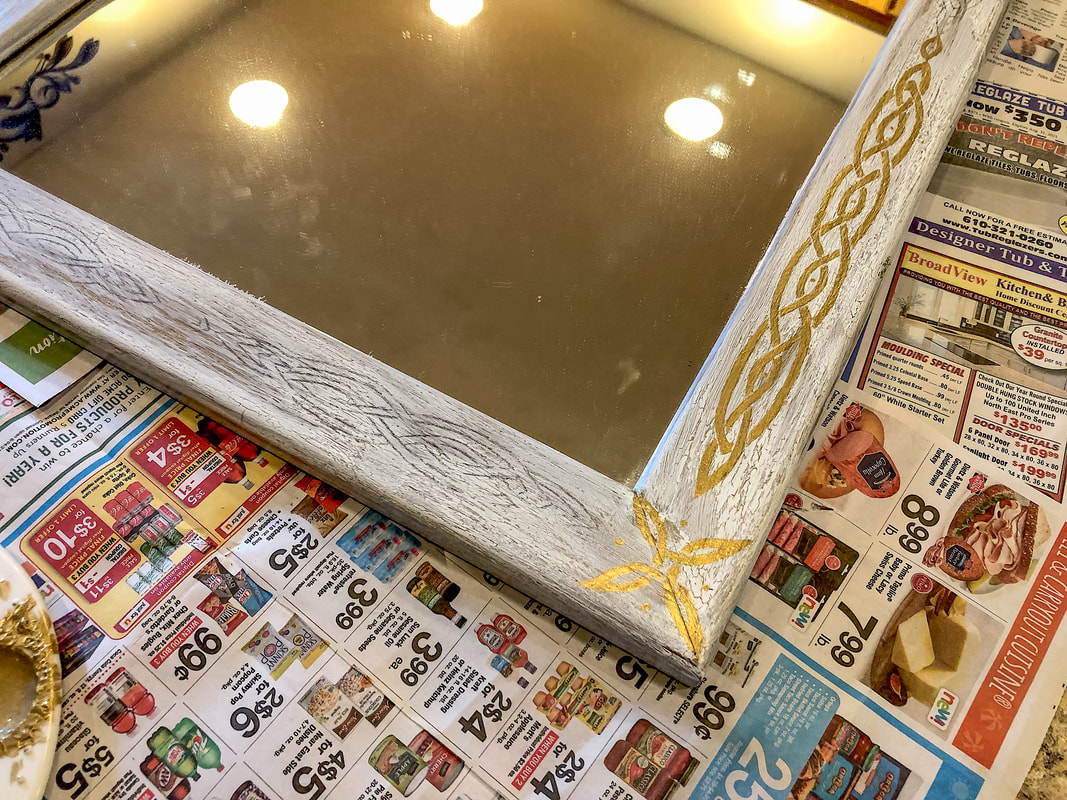 View of template on frame and some of it painted gold. Photo by Diane M. Lilly, 2021. The brush used was a very fine brush with bristles that came to a point, so that my very shaky hands could control the brush strokes! It took two very carefully applied paint layers to finish the gold knotwork, but this design element was the perfect touch and made all the difference in the world! I now have a work of art and a mirror that fits in well with all the other understatedly classy pieces of decor in that space. I love this piece, and it is versatile enough to use elsewhere should I decide to move it. But for now, it stands in pride of place above my new office drawers (which are in my dining room, but that’s another blog post!).  Finished painted knot work on frame corner. Photo by Diane M. Lilly, 2021. 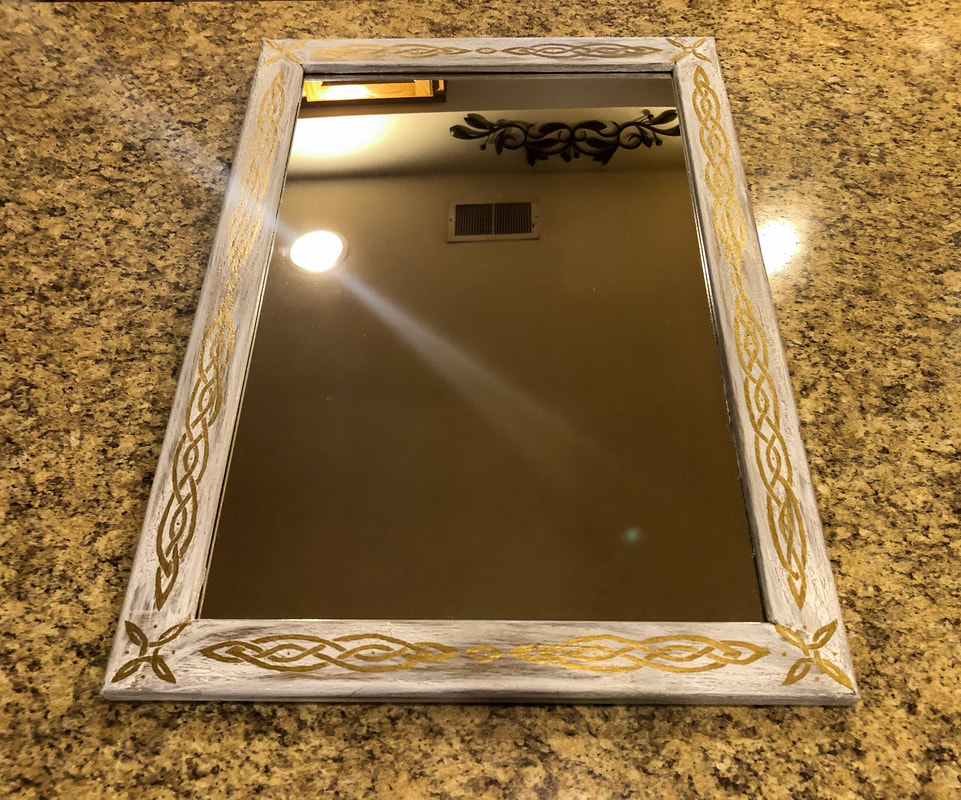 View of the frame and mirror with gold painted Celtic knot work border. Photo by Diane M. Lilly, 2021. 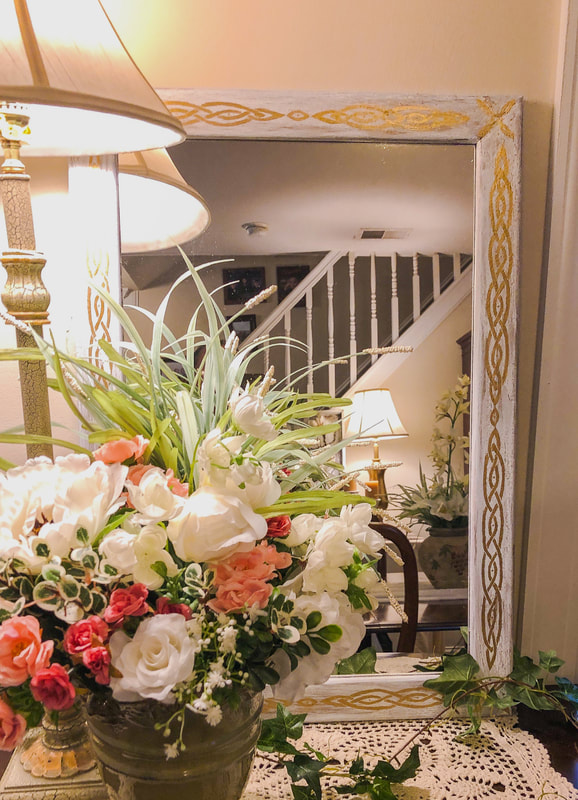 Finished mirror in a dining room vignette. Photo by Diane M. Lilly, 2021. 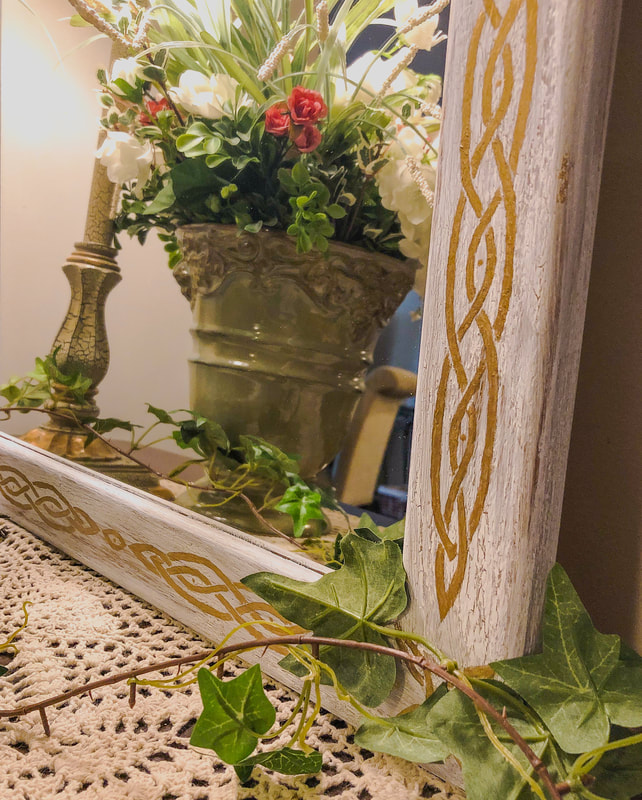 Closeup of finished gold painted Celtic knot work border. Photo by Diane M. Lilly, 2021. Let me know your thoughts on this project in the comments below, and don’t forget to read Part 1 to see how this whole thing started! Let me know if you’d like to see more of this type of project in the future. If you’d like to be notified of new blog posts or merchandise sales, you can sign up for my monthly newsletter (coming soon) on my contact page. And if you’d like to see what I’m up to on social media, click the links below! Related blogs you may want to read: Part 1 of this project My top thrift finds this year How to replace a clock mechanism How to frame small canvas art How to rewire thrift buy lamps DIY Fall/Winter decorative branch box Creating a kitchen coffee bar My dining room redesigned as a multi-functional space DIY refurbishment of a dining room cabinet 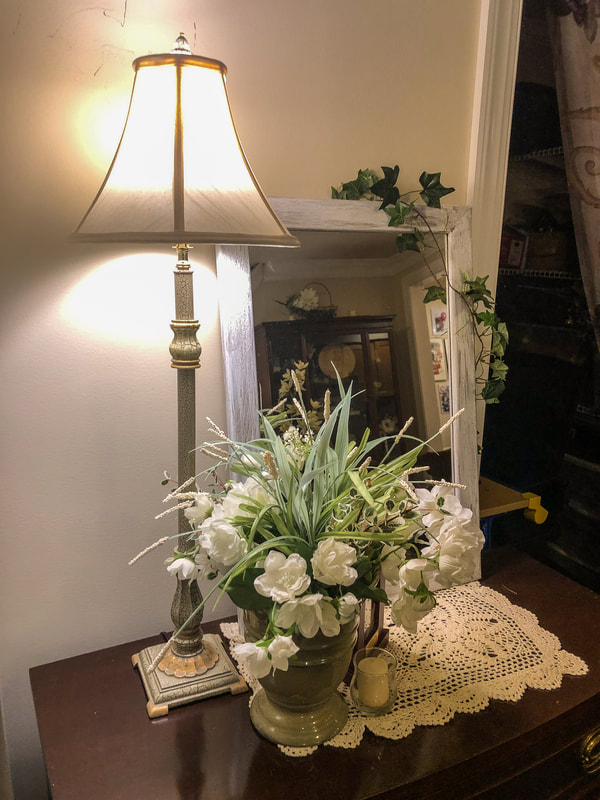 Finished painted mirror in dining room vignette. Photo by Diane M. Lilly, 2021. During a recent trip to my local Goodwill, I found this really sturdy second hand mirror with a nice wood frame. The mirror was marked 9.99, but I think I only paid 4.99 for it, which is quite a steal because mirrors this size (26” x 18”) go for close to $100 or more brand new. There was just one issue—it was the wrong color for my dining room! But no worries…That’s what paint is for! 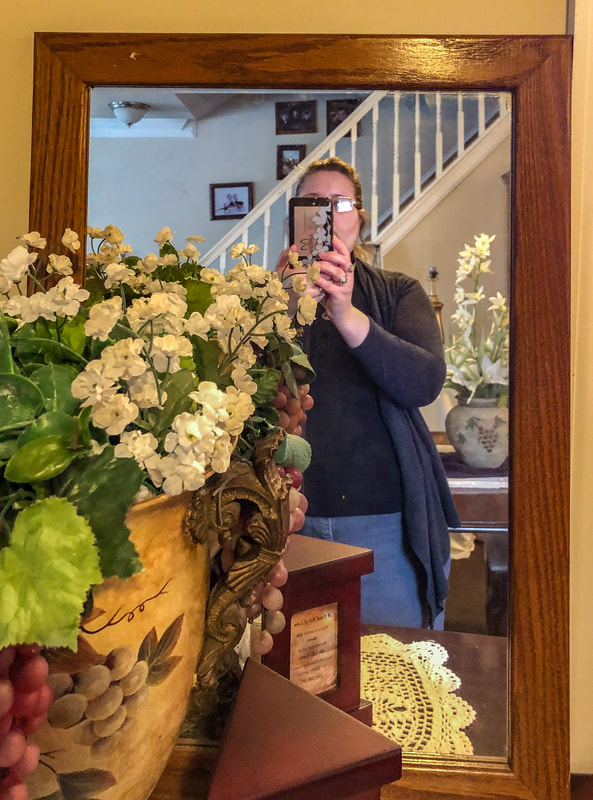 Original frame before painting. Photo by Diane M. Lilly, 2021. I spent a few weeks thinking things over, trying to decide the right look for this mirror to help it blend into the decor style and color scheme of my space. Do I make it a white or cream? Would chalk paint work on this piece? Or do I paint it a dark reddish brown to match my furniture? Ultimately I thought that a cream would be too “samey” (since I’m already working on other pieces that are cream) and the dark brown would be too dark, so an aged gold look sounded perfect. 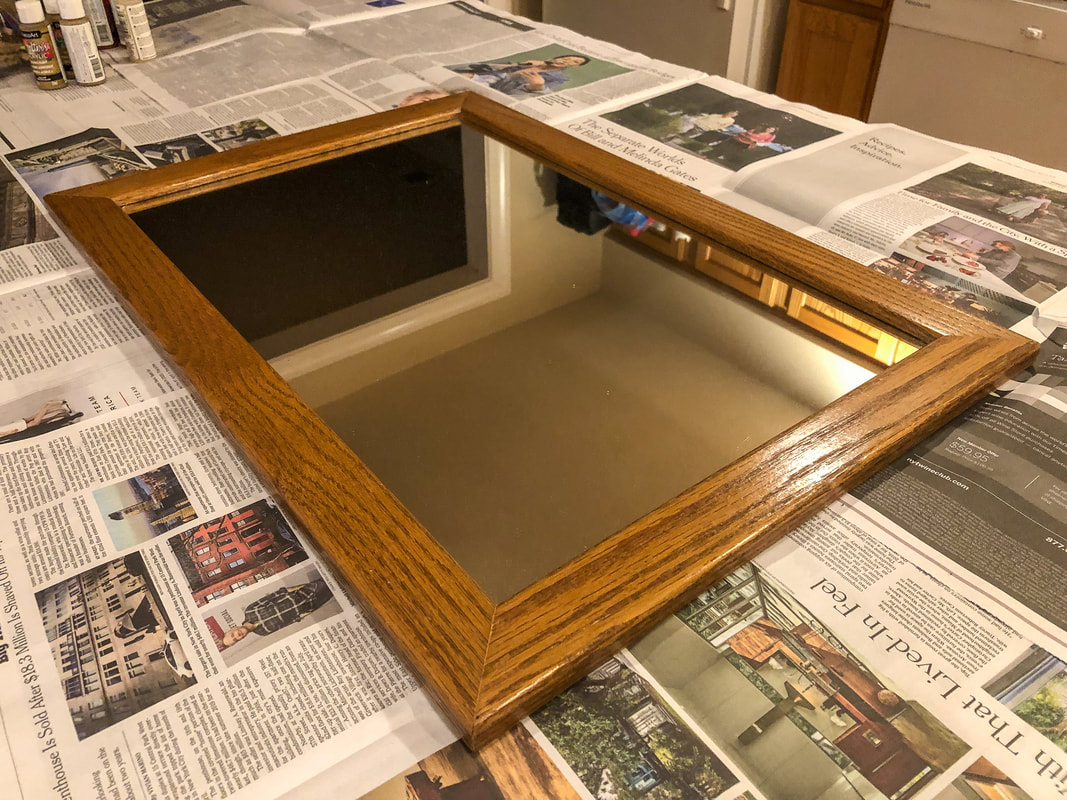 Frame ready to be prepped for painting. Photo by Diane M. Lilly, 2021. For this small project I experimented with a craft crackle medium called “Weathered Wood”—a medium I hadn’t used in (literally) years, so this project became a bit of a crap shoot, if you’ll excuse the expression. So let me walk you through my process… Step 1: Prep the frame for painting The screws, backboard, cardboard, and mirror were removed and put aside.  Removing the screws from the back to take out the mirror. Photo by Diane M. Lilly, 2021.  Mirror screws being stored in a plastic zip lock bag for safe keeping. Photo by Diane M. Lilly, 2021. I then lightly sanded the shiny finish with 100 grit sandpaper. (I didn’t need to sand off all the color because I didn’t necessarily mind if some of the darker aspects came through.) Step 2: Apply the base coat The first coat of paint was a reddish brown “primer” coat (it’s not technically a primer, but it’s more like the under color for the aged gold and copper effect I wanted to achieve.) One coat of that was sufficient. 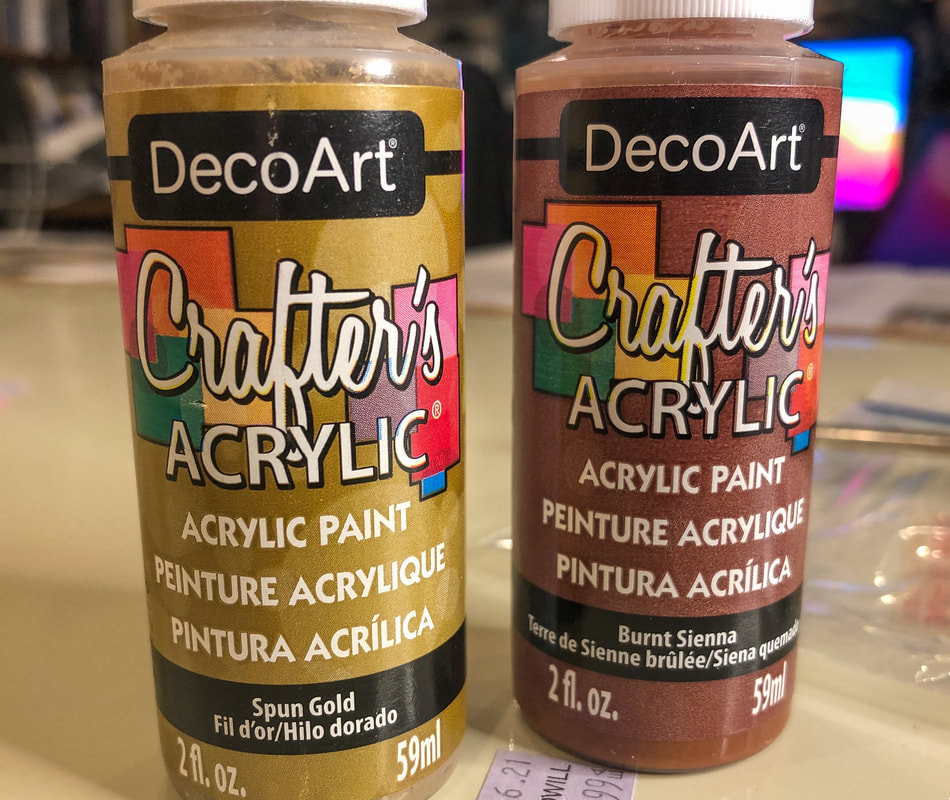 The base colors for my frame. Photo by Diane M. Lilly, 2021. 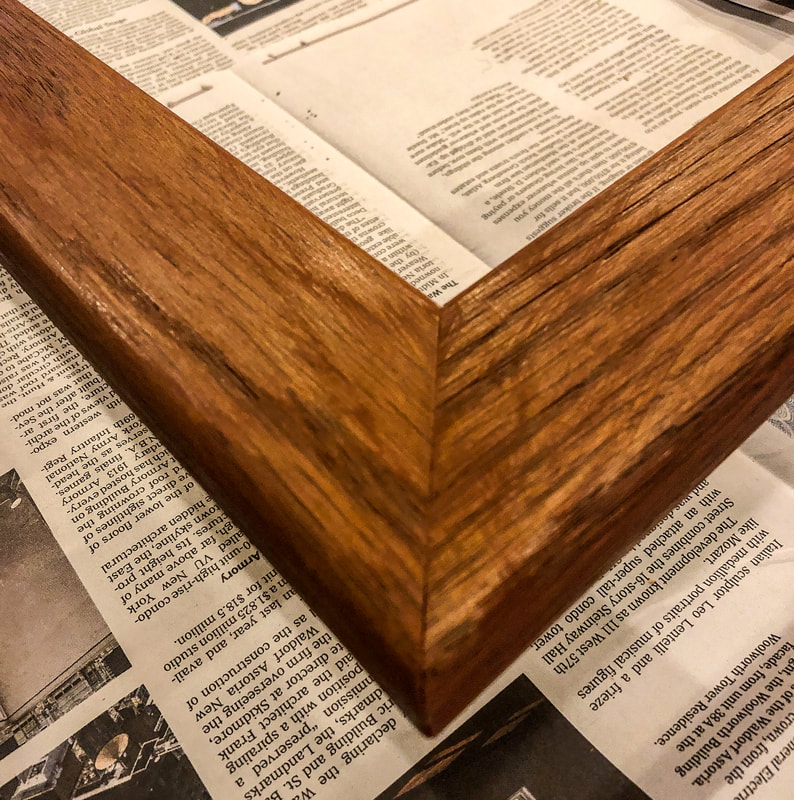 Frame with a base coat of reddish paint. Photo by Diane M. Lilly, 2021. Step 3: Apply the crackle medium The next step was to apply a thin layer of the weathered wood crackle glaze. I usually use Elmer’s glue to create a crackle effect in my painting projects, but I wanted to try something different this time, so I pulled out this crackle medium that’s been sitting in my closet. The crackle medium took about an hour and a half to dry. 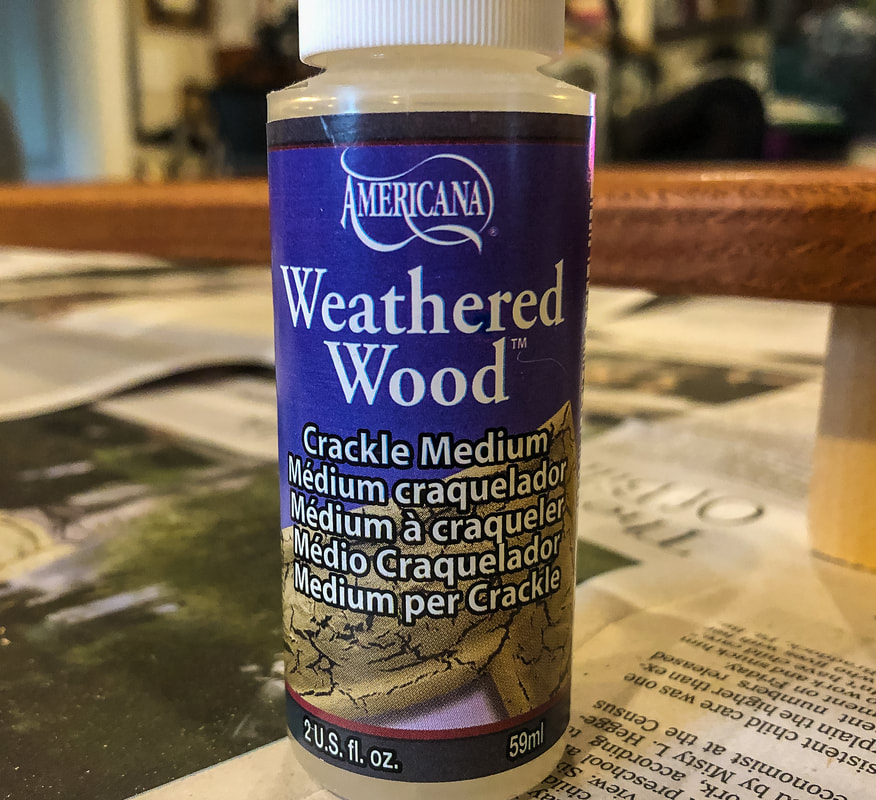 Weathered Wood crackle medium. Photo by Diane M. Lilly, 2021. 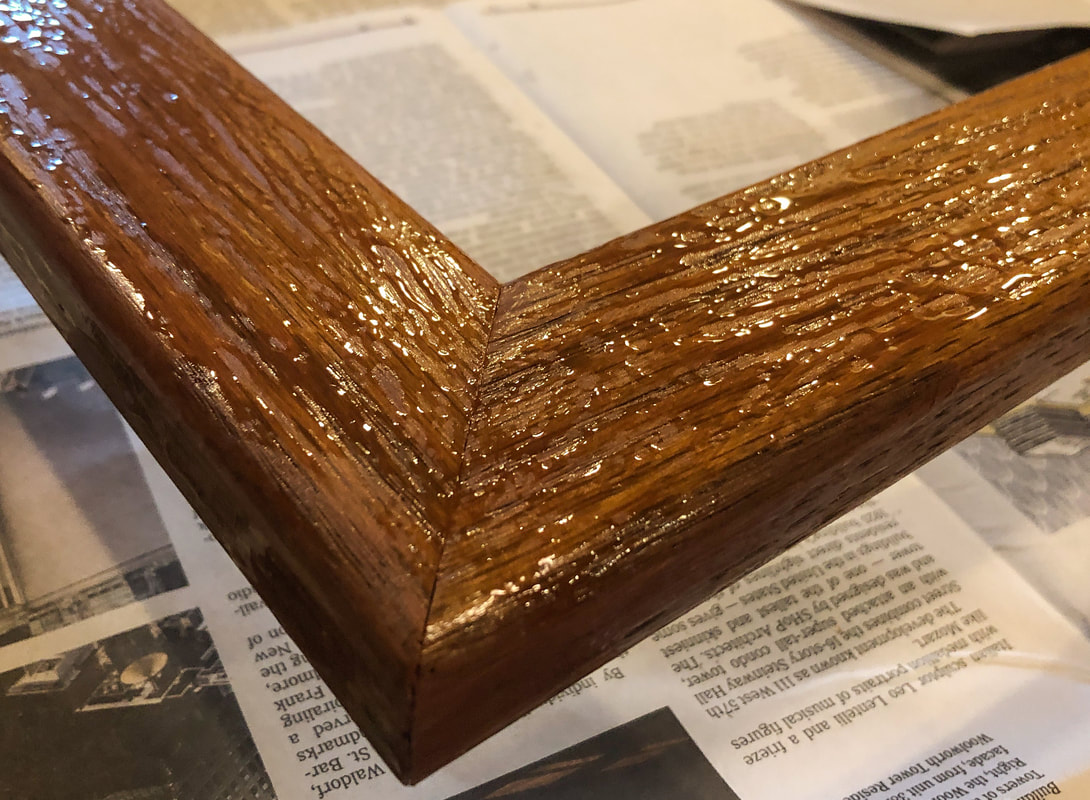 Crackle medium apply to frame. Photo by Diane M. Lilly, 2021. Step 4: Apply the gold paint I applied a “thin layer” of paint, as per the instructions on the bottle. As it was drying I really didn’t like the dark reddish color underneath that seemed to dominate the frame. I had been hoping for more of a gold hue, so I decided to apply a second coat of gold paint once the first coat had dried. 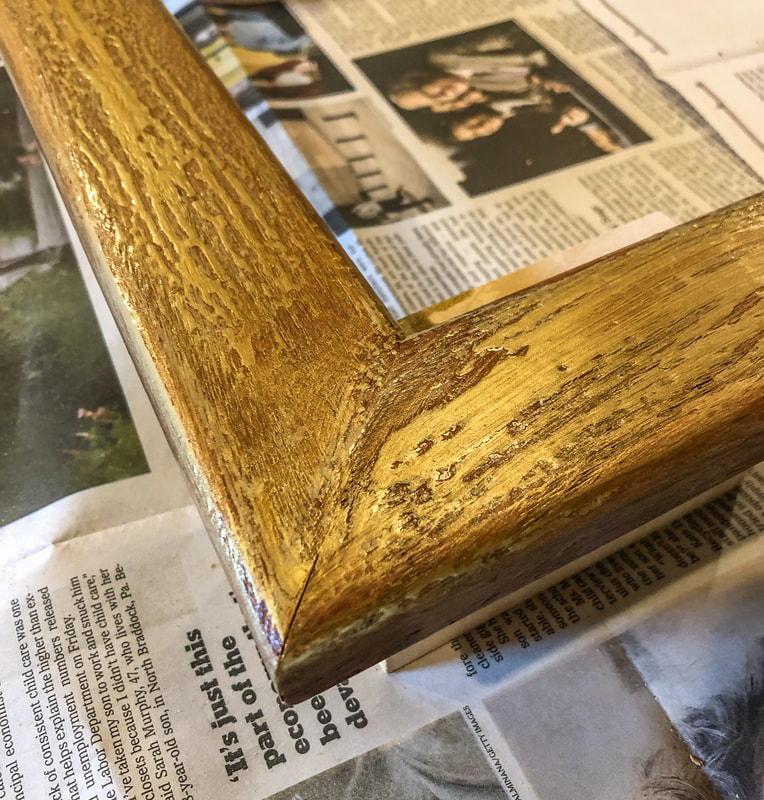 First coat of gold paint on frame. Photo by Diane M. Lilly, 2021. I like the crackle effect--and it is much easier (and more effective) than glue--but not the reddish-brown base color. In hindsight, I should’ve left the wood the original color and added crackle and gold paint. Thankfully, the second coat of gold paint did not ruin the crackle effect, and it did improve the color, but the reddish brown was still a bit too much for my liking. I applied a third—and last—coat of gold paint (sparingly) to bend out more of that copper color, and I did lose much of the crackle effect, but at that point it was more important to get the right color than to worry about the crackle effect. 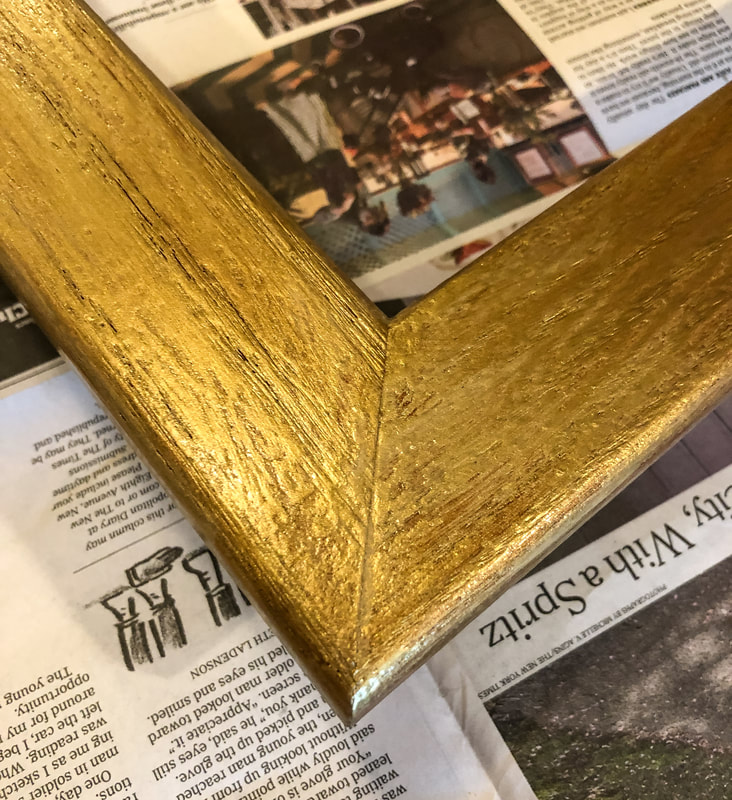 Second coat of gold paint. Photo by Diane M. Lilly, 2021. Step 5: Re-assemble the mirror The mirror, cardboard, and backboard were put back in place and screwed in. Gave the mirror a good clean…And decided I hated it! It looked way too gold and gaudy… I hated the look so much I couldn’t leave it a DAY in my dining room! So I slapped on another coat of crackle medium, let that dry, then used some white craft paint as the top coat. To be honest, I still don’t love it, but I think it looks way better than the gold color. 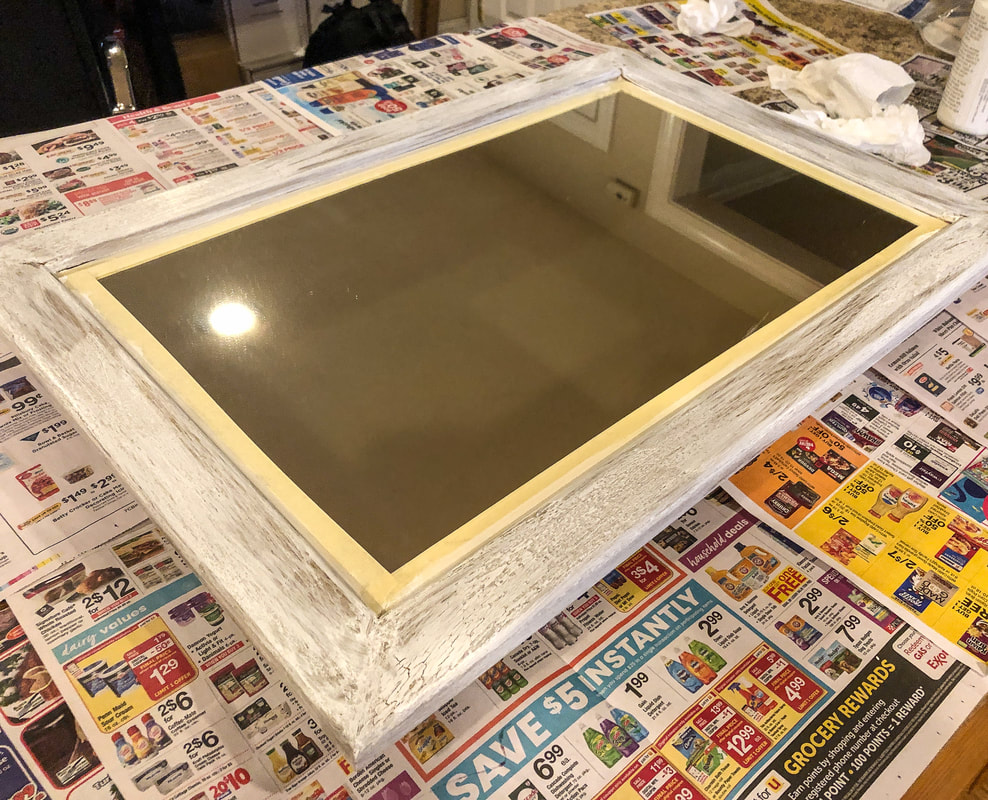 Final coat of white paint on mirror. Photo by Diane M. Lilly, 2021. 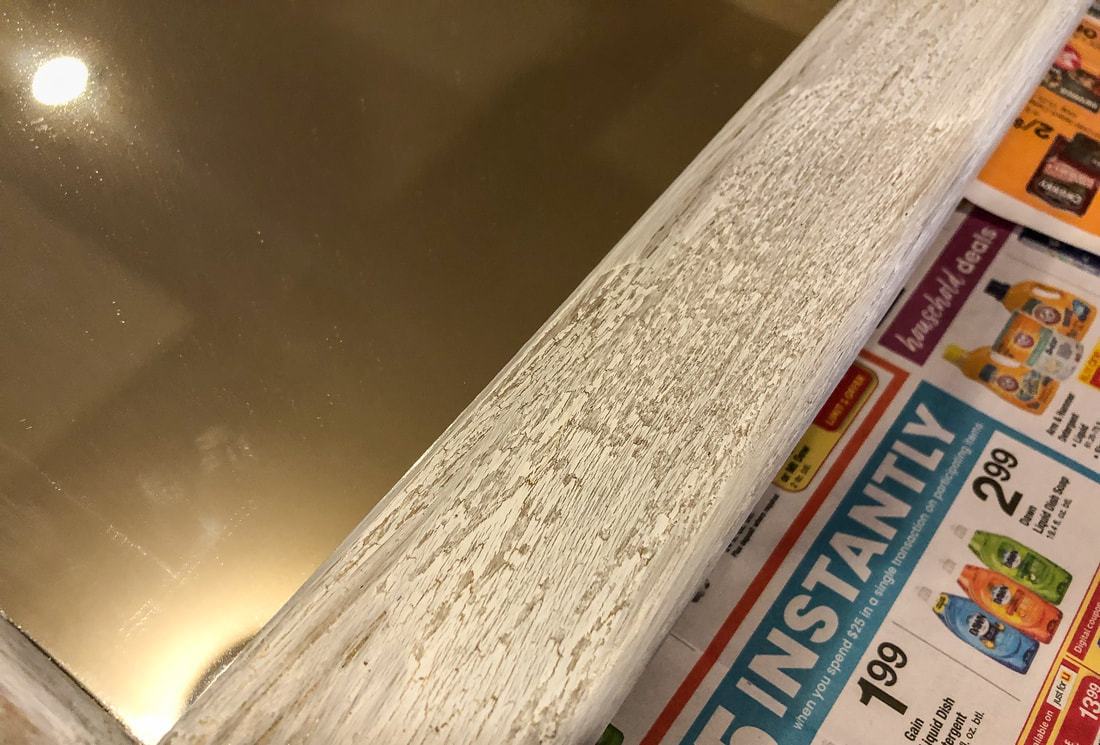 Closeup of white crackled paint on frame. Photo by Diane M. Lilly, 2021. 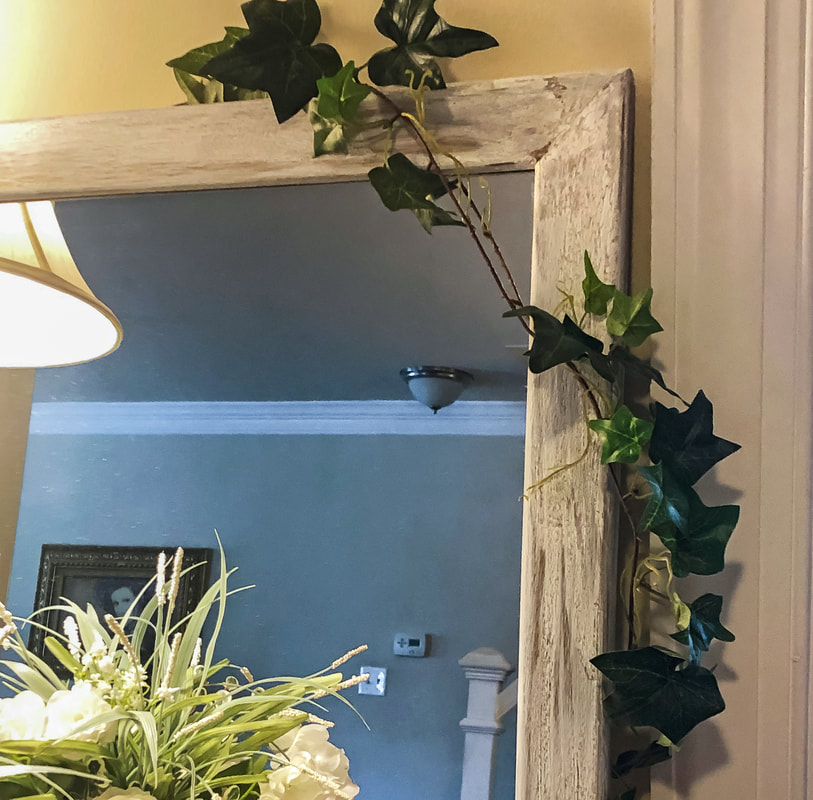 Mirror with newly painted frame. Photo by Diane M. Lilly, 2021. I think this project took about six hours fro beginning to end. If I had to do anything differently, I would’ve skipped the reddish brown base color and saved myself probably at least an hour. I wasn’t super precious about this project, because you can always paint over what you don’t like, right? It was a nice chance to experiment a little just to see what would happen. So what do you think about this project? Do you have any tips to share? Did you find this article useful? Let me know in the comments below and let’s see if we can get a conversation going! Just as an update…As it turned out, I had a Eureka moment a couple weeks later…What if I designed a Celtic knot border to paint on this frame? So I did! And what a difference that one idea made to this entire project! The end effect was beautiful and helped this mirror fit right in to the overall style of the room. You can read all about it in Part 2 of this project blog! If you’d like to be notified of new blog posts or merchandise sales, you can sign up for my monthly newsletter (coming soon) on my contact page. And if you’d like to see what I’m up to on social media, click the links below! There are some product images and links used in this blog article purely as examples. I am not being compensated for any particular products mentioned in this article. Related blogs you may want to read: Part 2 of this project with a Celtic knot border My top thrift shops finds this year How to replace a clock mechanism How to frame small canvas art How to rewire thrift buy lamps DIY Fall/Winter decorative branch box Creating a kitchen coffee bar My dining room redesigned as a multi-functional space DIY refurbishment of a dining room cabinet I love my coffee. It is the nectar of the Gods! You know what I don’t love? The mess! So I decided to jump on the proverbial bandwagon and create a proper coffee bar for my kitchen counter… 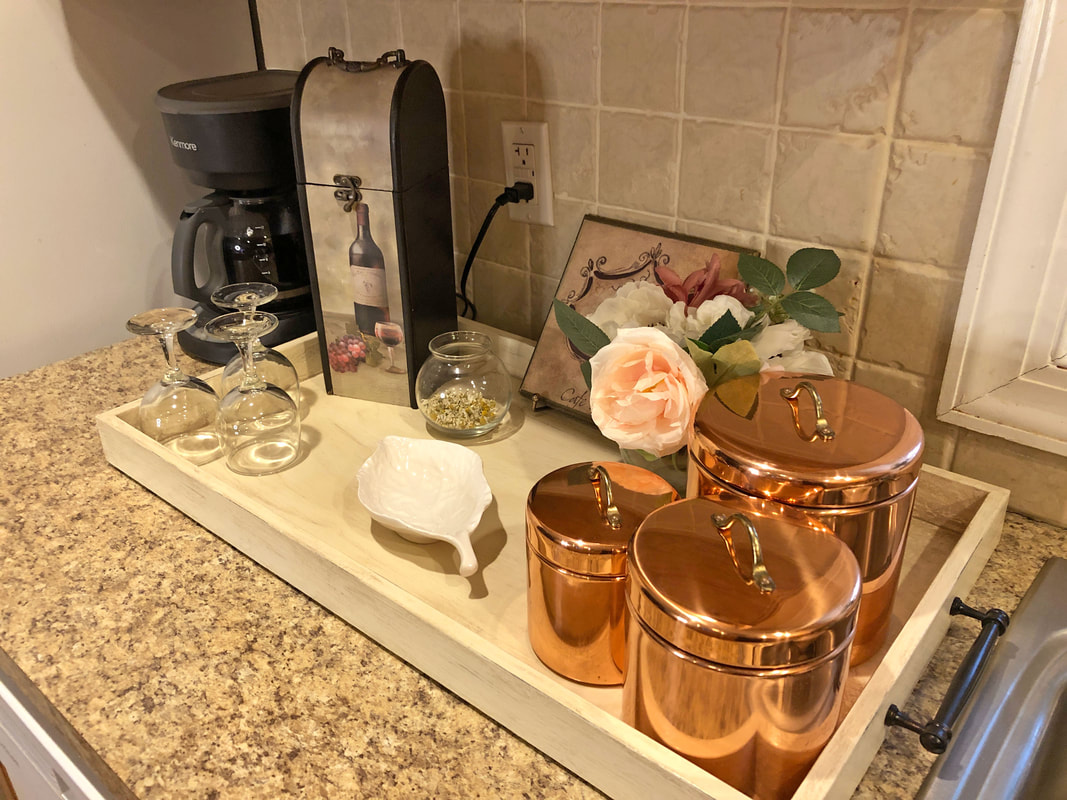 DIY kitchen counter coffee bar. Photo by Diane M. Lilly, 2021. A few neglected jewelry trays (which I had gotten from a previous employer) were collecting dust and cobwebs in my basement, so I thought this would be a great opportunity to get creative! Some textured paint and a couple of decorative handles, and I would have myself a tray that I could use on my counter as a coffee bar…So here’s how I did it… My coffee bar decor Let’s start with the decor…A few of the pieces pictured in the (above) image came from a recent haul of gorgeous decorative items picked up from a local thrift store. Thrift stores are amazing! If you are willing to be patient and trust the universe, you can come home with some really special finds that make your house look more like a home. Old things have character and a story, and that’s so important when you are creating vignettes. So of course my coffee bar had to have a few thrifted items. I mixed those items with some things I had laying around—or things I stole from somewhere else in the house—to create a tray that looks attractive on my counter, corals the mess, and has a function that fits my lifestyle. You’ll see that I have my little spot for wine, with a few wine glasses and a Tuscan style wine box and I have three copper canisters for my sugar, tea bags, and powdered creamer. A tiny vase of faux florals (for now) give the tray an organic feel and make it feel more engaging. 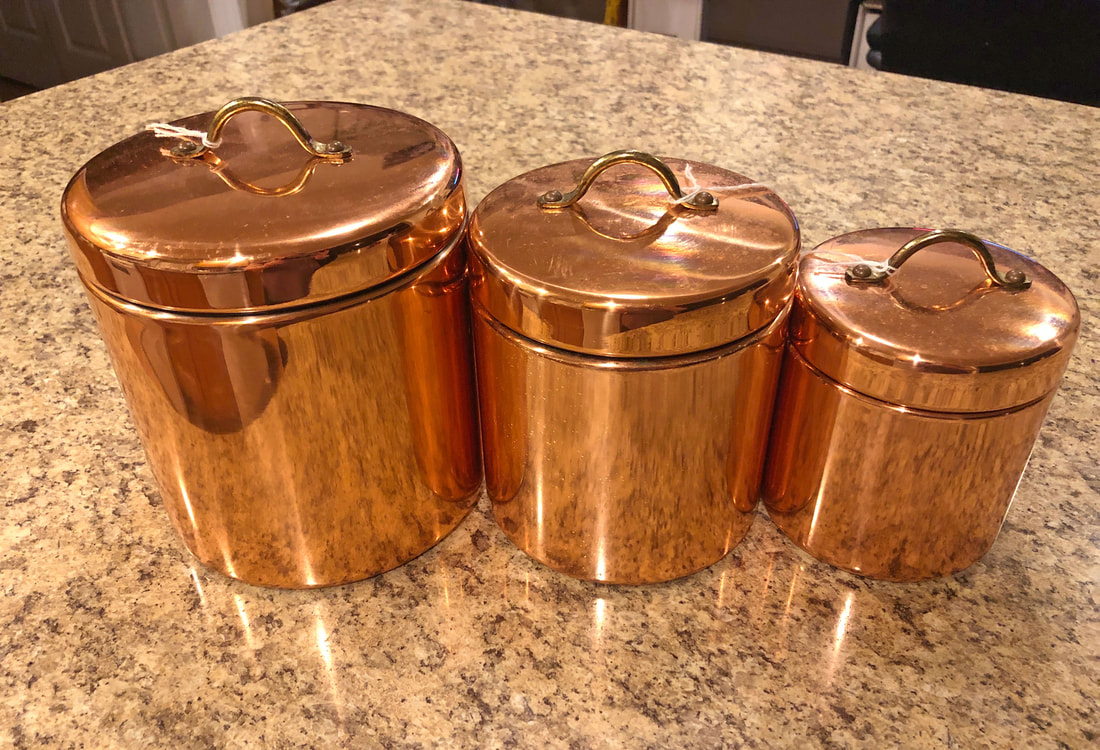 Thrifted copper canisters. Photo by Diane M. Lilly, 2021.  Thrifted Paris cafe plaque. Photo by Diane M. Lilly, 2021. 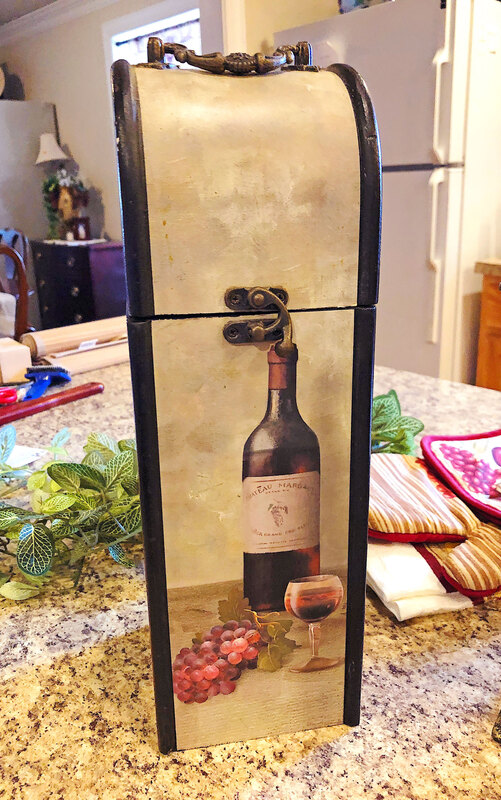 Thrifted wine box. Photo by Diane M. Lilly, 2021. Now here’s how I made this tray… Chalk painting a coffee bar tray I started off with a terrifyingly black jewelry tray that I knew was not going to just take the paint without some prep work. Yes, I know chalk paint is touted as not requiring a primer, but trust me—it does sometimes! Generally speaking you don’t need to prime surfaces when you use chalk paint (so they say), but since this tray is so jet black, I wanted to make sure I didn’t end up with really black areas coming through, so I painted it white first. My later self thanked me for thinking to “prime” this piece first, even if it was just with a thin coat of white craft paint. That thin layer of white craft paint was followed by three coats of Chiffon Cream chalk paint. Even with painting the tray white first, it still took three layers of chalk paint to get rid of the blackness underneath.  Black jewelry tray from my basement. Photo by Diane M. Lilly, 2021. 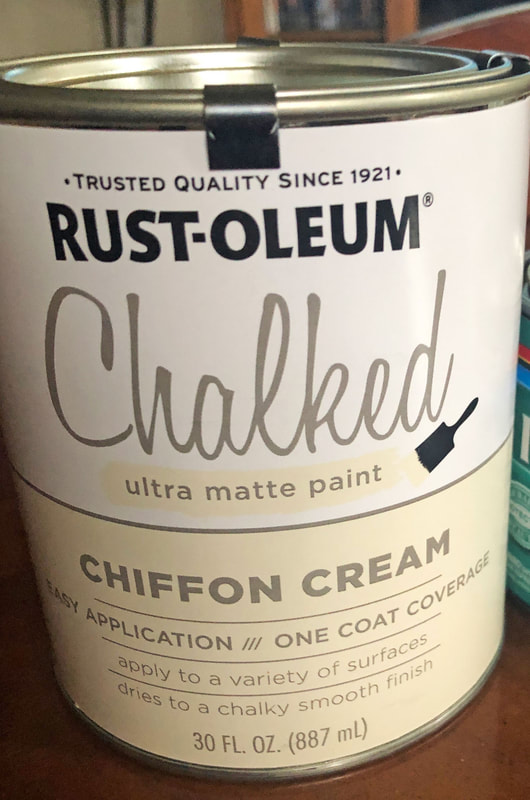 Chiffon Cream chalk paint (by Rust-oleum) for my project. Photo by Diane M. Lilly, 2021.  Tray after one coat of chalk paint. Photo by Diane M. Lilly, 2021. The next step I took was to use glue to create a crackled finish, but to be honest I wasn’t particularly happy with the results. It did create a lot of interesting crevices, though, so I thought I’d apply some brown wax to the surface to see what interesting textural effect I could create. But before I could apply the wax I wanted to do a little distressing and lighten up the finish. So I sanded the surface with 100 medium grit sand paper and distressed corners and edges to let a little of the black to come through. Then a brown finishing wax was applied to the tray…Let me tell you, when it first went on I panicked! It was brown wax, so I don’t have to say what it looked like smudged on my tray…that I had just worked SOOO hard on! I let it dry and then sanded the surface again, this time with 220 fine grit sand paper. And, oh my God, it was gorgeous!!! Talk about a sigh of relief!  Tray after three coats of chalk paint. Photo by Diane M. Lilly, 2021.  Tray after brown wax application. Photo by Diane M. Lilly, 2021.  Closeup of tray before sanding before final finish. Photo by Diane M. Lilly, 2021.  Tray after sanding and varnish. Photo by Diane M. Lilly, 2021. Now it was time for the finishing touches…Two coats of varnish was applied to the finished tray, then large felt pads were attached to the bottom to keep it up off the counter. I made a trip to my local Home Depot and bought decorative handles and a different color of screws (I didn’t like the silver ones that came with the handles), and a few days later the handles were attached.  Decorative handle attached to finished DIY tray. Photo by Diane M. Lilly, 2021. All that was left to do was gather my decor and create my vignette! Putting it all together… Even my hubby likes this new coffee bar…Truthfully I thought he’d be annoyed! As I was thinking about what I’d like on this tray, I made sure to address what this tray needed to do. What was its function? What functional items needed to be on the tray? And then how can I dress it up to make it aesthetically pleasing for my kitchen counter? I now have my handy wine area, with a few glasses that I can quickly grab, along with a decorative box for that extra bottle of wine. Also on the tray are the three copper canisters I rescued from a basement bin and cleaned up. Those canisters—that I tried to sell at a yard sale a few years before—now house my sugar, tea bags, and powdered creamer, which is so convenient in the mornings when I make coffee. I even put a little glass jar on the counter for my dried chamomile (which I grow in my yard) for when I want to make chamomile tea!  Finished counter coffee bar setup. Photo by Diane M. Lilly, 2021.  Closeup of wine section of tray. Photo by Diane M. Lilly, 2021.  Closeup of copper canisters on tray. Photo by Diane M. Lilly, 2021. This was a tough projects in some ways, but it was rewarding…and now I have a beautiful—and functional—coffee bar to dress up what used to be a very disgusting looking area of my kitchen! So what do you think? Do you have a coffee bar in your kitchen? If not, did this inspire you to create one? If you’ve already created a coffee bar, feel free to share you comments and experiences below! I’d love to hear about them! If you’d like to hear about my new blog posts, merchandise sales, new items, social media or there events, please feel free to sign up for my monthly newsletter (coming soon) here. And you can follow me on my social media links below! This article may contain a few items or commercial mentions, but I only used them for demonstration purposes only. I am not endorsing any particular product or receiving any monetary gain for this blog. Related blog posts you may want to read: My top thrift shop finds this year How to replace a clock mechanism How to frame small canvas art How to rewire thrift buy lamps DIY Fall/Winter decorative branch box Comparing DIY upholstery cleaning methods DIY refurbishment of a dining room cabinet  A few of my "found" decor pieces...Photos by Diane M. Lilly, 2021. I love shopping at thrift and consignment stores. I always find such interesting pieces with which to decorate. Using pre-owned pieces brings an element of surprise and interest to a space. A space filled with all brand new stuff lacks a sense of character, of past stories waiting to be told. And buying pre-owned, antique, or vintage pieces saves a whole lot of money! Sometimes it takes a bit of elbow grease to bring things back to life (as I found out with my thrift store lamps), but when you resurrect an old piece you give it a new lease on life and a chance to tell a new story. And did I mention it saves money?! So far this year I have collected soooo many decor items from my local consignment and thrift shops, and I am just dying to share them with you! I’ll break them down by room, to make it easier for me to keep them straight… Repurposed/upcycled items in my dining room First of all, shout out to Consign & Design in Broomall! My lovely dining room set—a two leaf table with six chairs, a small chest of drawers, and a china cabinet—came from there. The whole set cost be around $700! You can’t beat that! Last year I bought a small side table and two side chairs from there, and I love them!  My dining room table with 2 leaves and six chairs. Photo by Diane M. Lilly, 2021.  My new china cabinet, with Di's Studio Designs merchandise displayed. Photo by Diane M. Lilly, 2021.  Chest of drawers sourced from a consignment shop. Photo by Diane M. Lilly, 2021. And while we’re in the dining room, I have to share these two lamps I bought from a Goodwill. They needed to be rewired (check out that how-to blog here) but now they look beautiful in my space. I think I paid $7 a piece for them, plus $17 each for lamp kits to rewire them. And one lamp needed a lamp shade, which cost me $60 (Sheesh! Lamp shades are not cheap!), but I still made out well in terms of overall cost.  Thrifted lamp, rewired and used in my dining room. Photo by Diane M. Lilly, 2021.  A second thrifted lamp used in my dining room. Photo by Diane M. Lilly, 2021. A couple other pieces are a mirror (the frame will be painted to match the room in a future DIY project), a pair of brass candle sticks (that look lovely on my dining room table), and this intriguing goblet from Germany that someone used as a candleholder and now the bottom is cracked. It doesn’t bother me because it tells a story. At least I like it! All together I think these pieces cost me maybe $20.  Mirror I found at a local thrift shop. Photo by Diane M. Lilly, 2021.  Aged gold candlesticks from a thrift shop. Photo by Diane M. Lilly, 2021.  An interesting goblet found at a thrift shop. Photo by Diane M. Lilly, 2021. If you would like to see my finished dining room, migrate on over to my blog post My Dining Room Redesigned as a Multifunctional Space (after you finish reading THIS blog that is!). Everything came together in such a beautiful way…I’m over the moon! Repurposed/upcycled items in my living room Moving on to my living room, the vase seen below adds the perfect touch for the faux floral arrangement this vignette. I think I paid $3 or $4 for it, and it just fits in so well with the rest of my decor.  Vase found at a thrift shop, shown with my handcrafted Fairy Cottage designed by Di's Studio Designs. Photo by Diane M. Lilly, 2021. And look at the table and chairs I bought from Consign & Design last year…(This was a “last year” purchase, but I snuck in a couple bonus pieces for you! A living room redesign is coming soon, so you’ll be hearing more about these pieces in that blog post.)  Side chairs and small round table found at a local consignment shop. Photo by Diane M. Lilly, 2021. Repurposed/upcycled items in my kitchen And here we are in my kitchen. My kitchen counter needed some real love (and a good clean), so I picked up several pieces from local thrift and consignment stores to help me declutter and add a bit of style to the space. On one counter I grouped a second hand decorative clock (see tutorial for changing the clock mechanism here), thrifted candleholders, and a bowl I had in my cabinet that I am using for fruit. I also repurposed an old sewing box for my hubby’s “work junk” (keys, paperwork, change) to keep my counter free from clutter. (Check out my Instagram video here to see the finished space!)  Thrift shop finds, including a clock and candlesticks, in my new countertop vignette. Photo by Diane M. Lilly, 2021.  Sewing box from a thrift shop. Photo by Diane M. Lilly, 2021. On the other counter I created a coffee bar with an old jewelry tray I had gotten years back from a place I worked. In the tray I displayed the wine box with some of my wine glasses, a decorative plaque, a vase I already had filled with faux florals, a ceramic leaf from a local store, and three copper canisters I had hidden away in the basement.  Repurposed and refinished tray with thrift shop finds and decor items shopped from my own home to make a coffee bar. Photo by Diane M. Lilly, 2021. And…finally…on my kitchen island I placed a second hand wire basket ($1.99 at Goodwill) that I filled with filler (for now) until I find something better to put inside.  Metal basket found at a thrift store. Photo by Diane M. Lilly, 2021. I honestly can’t remember exactly how much all of the “new” second hand pieces cost me, but most of them were part of one haul from a local Goodwill where I only spent about $24! So those are my thrift and consignment store finds so far this year. I just wish there were more stores near me that sell consignment items. Or maybe it’s a good thing there aren’t…The idea is to SAVE money, right? I’ll be doing more projects as I move through my house room by room, and I’m sure I’ll write a blog post about it, so stayed tuned for more material coming soon. If you’d like to stay informed of my latest blog posts, social media events, merchandise sales, or other interesting activities I might get up to, you can sign up here for my monthly newsletters (coming soon). And please feel free to comment below if you love thrift shopping! (Just fro fun, tell us about your favorite thrift store find and how you used it in your space.) This blog post is not sponsored by any company mentioned, and I am not receiving financial compensation for the mentions. Related blog posts you may want to read: My dining room redesigned as a multi-function space How to replace a clock mechanism How to frame small canvas art How to rewire thrift buy lamps Creating a kitchen coffee bar Comparing DIY upholstery cleaning methods Have you ever come across a really amazing old clock that you had to take home with you, but it wasn’t exactly in working condition? I’m not talking about the ones with all the complex gears, but a simple modern battery operated clock that you can sit on your counter or hang on a wall. As it turns out, the mechanisms on these types of clocks are ridiculously easy to replace! So let’s back up a little bit and let me give you the back story on the beautiful clock (seen below) that I found at a local thrift store…  My new kitchen vignette. Photo by Diane M. Lilly, 2021. I walked into a thrift store one day—just after a doctor appointment across the street—not expecting to find much of interest. At the time I was in the process of redesigning and redecorating my dining room and kitchen and in need of some affordable decorative items to bring my look together. As I strolled to the back of the store (just out of curiosity, why are the home decor items always in the BACK of the store?) I started to feel a good vibe coming on. In a moment of what I can only define as serendipity, my eyes alighted on several beautiful items that were absolutely PERFECT for my new look, the clock being one of them. I walked out of that store a happy woman with both arms full of gorgeous decorative finds for my latest projects! Upon closer inspection at home, I realized the clock was not telling time and so put a new battery in it and it worked a charm…Until someone knocked into it before I had a chance to set it in place and broke the mechanism on the back… Which leads me to how I changed the mechanism for this clock… The first thing I did was take the hands off the front of the clock. There is a central pin that can be turned to loosen and then pulled out.  Old clock hands removed. Photo by Diane M. Lilly, 2021. With the hands removed I then flipped the clock over to inspect the mechanism attached to the back of the clock. In this case, the clock mechanism was held in place by two brackets on either side of the black box that contains the mechanics and the battery, so it was easy to just pop out. So far so good…  View of back with old clock mechanism. Photo by Diane M. Lilly, 2021.  View of back with old clock mechanism removed. Photo by Diane M. Lilly, 2021. BUT…Nothing is ever easy, is it?! So I tried to put the new clock mechanism back into the slot between the two brackets, only to realize that the new one was just a smidgen too big to fit between the two brackets. After unsuccessfully trying to insert this new box, I broke one of the brackets! After some language not fit for even a mature audience, I pulled myself together and tried to brainstorm a way to fix this situation. Eventually I decided to just glue the new box and washer in place with e6000 glue and—while not ideal—it definitely solved the problem. With a sigh of relief I then moved on to the next phase of this process…  View of back of clock with bracket broken. Photo by Diane M. Lilly, 2021.  View of back of clock with new clock mechanism in place. Photo by Diane M. Lilly, 2021. The process of changing out the mechanisms created yet another issue—the cardboard face for the clock shifted by about a sixteenth of an inch to one side, creating a trouble point where the gears would get stuck as they moved, so I had to use a sharp blade to clear the cardboard away from the central shaft (without destroying the decorative clock face!) so that the clock hands could rotate unimpeded. Now I was ready to replace the washers, nuts, and hands on the clock face…  View of clock front with no hands. Photo by Diane M. Lilly, 2021. BUT…Like everything else with this project, nothing was simple! I was excited when I got to this point because the hard part was over—I could finally put the decorative touches on this beautiful clock and watch it work its magic. And then, as I started putting on the new hands I realized they were too big for the clock face! Taking another look at the old hands, my assessment was that if I could get some of the subtle bends out of the clock hands they could still be used, and so I put the old hands back on and everything seemed in good condition.  View of clock front--new hands don't fit! Photo by Diane M. Lilly, 2021.  View of clock front with old hands installed. Photo by Diane M. Lilly, 2021.  Clock face with hands finally working. Photo by Diane M. Lilly, 2021. I popped a battery into the back and the clock started working! It kept time for a while but then stopped…I mean, really?! What the heck with this clock already! But I noticed that the second hand was still bent in a way that caused it to get caught on something as it rotated, and once that issue was fixed the clock started working again…And several weeks later, it’s STILL working!!!!  Another view of my new kitchen vignette with clock. Photo by Diane M. Lilly, 2021. So it is very easy to change out these simple cock mechanisms, but—as with any project (unless it’s just me)—there will always be unexpected challenges along the way. The key is to problem solve and make it happen! I now have a clock for my kitchen counter that somehow seamlessly blends in with the decor in the rest of my home and adds a bit of style to what had previously been a pretty sad area. So what do you think? If you’d like to share your own experiences or have any questions for me, drop a comment below. If you’d like to subscribe to my monthly newsletter (coming soon) so you can be notified of new blog postings, special sales, social media events, or other happenings for Di’s Studio Designs, you can click here and fill out your info on my contact page. You can also follow me on the social media links below! Related blog posts you may want to read: How to frame small canvas art How to rewire thrift buy lamps Creating a kitchen coffee bar DIY refurbishment of a dining room cabinet  My indoor herb pots on the windowsill. Photo by Diane M. Lilly, 2021. This year was the year I decided to take the leap and grow some of my herbs indoors. In the past I planted a few herbs (like chives, mint, sage, chamomile, parsley, cilantro, and rosemary) outside in the garden, but having some herb plants indoors would be so much more convenient when cooking and would provide the opportunity to appreciate the beauty of the plants as they grow throughout the year. So the question that needed to be answered was what to grow and why? In addition to the obvious reasons, the herbs needed to provide a natural fragrance to the home. It would also be nice if some of the plant stems could be used in vases, either alone or in a floral arrangement. Ultimately, the decision was made to plant rosemary, dill, parsley, catnip, cilantro, and thyme. I wanted to grow lavender indoors as well, but research indicates that lavender can be harmful to cats (and I have two fur babies), so those seeds were planted outside. The seeds were planted (with the exception of the lavender) in styrofoam cups and covered with plastic wrap. When the plants sprouted tall enough the plastic was removed. Each plant was watered with a tablespoon every couple of days, just enough to keep the soil moist without drowning the poor things! Once they got a little hardier I watered deeper, making sure the soil had drainage. In a few weeks each plant will be repotted into their “forever” pots…But that’s a whole other post!  Dill seedlings. Photo by Diane M. Lilly, 2021.  Parsley seedlings. Photo by Diane M. Lilly, 2021.  Catnip seedlings. Diane M. Lilly, 2021.  Cilantro seedlings. Photo by Diane M. Lilly, 2021.  Thyme seedlings. Photo by Diane M. Lilly, 2021. As we are all easing into this growing season, I thought I’d share a few tips for planting and using these six common herbs, starting with one of my favorites—rosemary! Rosemary Rosemary is a fragrant evergreen shrub that has blue flowers in the summer. It’s also an amazing herb to cook with, especially when paired with honey and lemon! I personally use it quite a lot on chicken, and I hear it is tasty with potatoes (and you know I’ll be trying THAT out!) Rosemary likes full southern sun and will grow tall and bushy, so put it in a big sturdy pot in a nice sunny location. This herb is notoriously difficult to grow from seed. I’ve tried four or five times, and even when I get it to sprout, it dies on me within a couple of weeks. I’m trying again this year, but if this endeavor fails I will just go buy a plant! For those intrepid enough to try growing this herb from seed, here are a few tips: Plant the seeds 1/4” deep (don’t “bury” them) and cover with plastic. Water a tablespoon or so a day until the seeds start to sprout, in about 15-25 days. Use soil that drains well (like sandy soil, or premium potting mix) with ph levels ranging between 6.0 and 7.0, or slightly acidic to neutral. Water this plant well then let dry out before watering again.  Rosemary plant. Pixabay image.  Rosemary. Pixabay image. Dill I love garnishing fish with fresh fragrant dill, and I often use this herb with homemade cucumber salads, because it just adds that little extra bit of zest. Dill can also be used as a garnish on deviled eggs (yessss!). This plant has multiple uses in cooking—dill leaves can be used as herbs and the flowers seeds can be used as a spice—and this beautiful feathery herb is apparently good for your health too (it is said to freshen breath and help with digestion)! If you’re looking to grow dill, here are some tips: Dill likes full sun and when it matures it will grow tall and/or long (“leggy”). Plant seeds in a pot about 12” deep, because this plant develops a taproot which will require space under the plant for the root system. (This herb does not like its roots disturbed so don’t transplant it. I do transplant it but it doesn’t always like me for it!) This herb likes well drained or sandy soil and doesn’t like to be overwatered. The seeds will sprout in 7-14 days and the plant will mature in about 90 days, sprouting yellow flowers in the mid summer.  My dill plant. Photo by Diane M. Lilly, 2021.  Dill leaf closeup. Photo by Diane M. Lilly, 2021. Parsley Parsley is amazing in soups and salads! I use it whenever I make homemade chicken soup, roasted potatoes, and in marinades. My research has uncovered a variety of health benefits to using parsley, including freshening breath, improvement to the digestive system, improved urinary tract health, and anti-inflammatory properties. Here are some tips for you for planting parsley: Soak seeds in room temp water, then plant them 1/4-1/2” deep in well draining soil, and you will see your parsley seeds sprout in 21-28 days. Parsley likes full sun, so plant them in a spot that gets plenty of sun during the day, or put them in pots on a sunny patio. If growing indoors, put them in a south facing window and they’ll be happy!  Parsley stems. Photo by Diane M. Lilly, 2021.  My parsley plant. Photo by Diane M. Lilly, 2021. Catnip My cats are gonna love me this summer—or they’ll just attack the plant…Either way it should be interesting! If there’s anything left, maybe I’ll try making a tea. Yes, you heard right… People can use catnip too! Apparently catnip can be used in teas to help sooth anxiety, aid insomnia, and help with digestive issues. And it is useful in the garden as well…Plant it in between your plants as an insect repellent. Just beware of neighborhood cats! If you want fresh catnip for your own kitties, here are a few tips for planting: Catnip needs well draining soil and plenty of sun. Bury seeds 1/4” deep in good potting soil and water with a tablespoon until it sprouts in about 7-10 days. Keep soil moist but never soggy. Once the plant starts maturing, only water when the soil is dry. Harvest catnip once it starts to flower, then cut the flowers to keep the plant producing more leaves.  Catnip. Pixabay image. Cilantro I have to be honest, I have had little luck growing cilantro, but I am determined! This year I think I got a plant that is growing okay…so far. I’d love to be able to use fresh cilantro in homemade salsas and pico de Gallo, so my fingers are crossed this plant doesn’t die on me! I’d also love to experiment with salad, fish, and soup recipes with cilantro. Oh, and the cilantro leaves are just part of the fun…The plant will produce seeds (coriander) that can be used in additional recipes as a spice—so double the fun! This plant can be used as an anti-inflammatory and for a variety of other health issues related to eyes, skin, diabetes, etc. Cilantro likes full sun and needs soil with good drainage. Water this plant only when semi-dry—don’t overwater but don’t let dry out completely. Plant seeds in their “forever” pot (it does not like to be transplanted, which might be why mine keep dying?!) 1/4” deep, and wait for it to sprout in about 7-10 days.  My cilantro plant. Photo by Diane M. Lilly, 2021. Thyme I have heard good things about thyme, so I thought I’d give it go this year. Typically it is used outside as a fragrant ground cover, but there are varieties that do well in pots. I actually forget which type was planted, but I’m pretty sure I did my homework and purchased seeds that do well in pots (hopefully). If not, there will be nice ground cover for an empty spot in the garden! As for other uses, it is said to help with sore throats, so it might come in handy during cough and cold season. Tips for planting thyme: Plant seeds less than 1/4” deep or sprinkle on soil then mist to water. They should sprout in 8-20 days. When planting outside, plant in full sun about 8” apart in well drained soil. Some varieties of thyme can grow 8-12” tall and work well as attractive and fragrant ground cover. Plants can be harvested in 80-85 days, cutting older leaves to allow younger leaves and new growth to develop.  Thyme. Pixabay image. So there’s my herb project for this spring! Well, I’m not quite done. I still have other things to plant and I’m trying to make up my mind which ones to plant next. Recently someone from Happy DIY Home reached out to me with a blog article on a plant called Sorrel—a plant that I have admittedly never heard of before, but it sounds like an interesting leafy plant to grow in my outdoor garden (or maybe even in a pot indoors) for some future salad or other recipes. I hope you found this little article informative, and if you’d like to share your own experiences and comments down below, please feel free! I’d love to hear other people’s stories, triumphs and failures. I’m working on newsletters to start rolling out in a couple of months to allow my subscribers access to all my latest blog posts, merchandise sales, DIY projects, and social media posts, so if you’d like to subscribe to my email list, you can do so here! 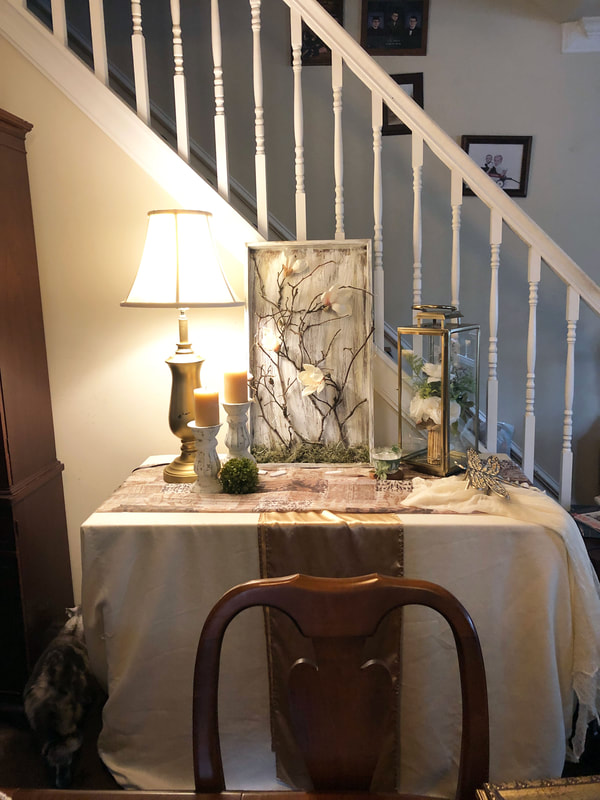 "New" thrift lamp, rehabbed and staged. Photo by Diane M. Lilly, 2021. While casually strolling through a local thrift shop, I happened to spy these two gorgeous lamp bases. I knew they were just perfect for my dining room vignettes, but they needed a little work first. One was missing the lamp shade and harp components, while the other just needed some TLC. Both lamps needed to be completely rewired to replace the cords that were older than grandma. Don’t need any electrical fires here! So today’s project will be to replace the lamp cord for each lamp.  Candlestick lamp purchased at Goodwill. Photo by Diane M. Lilly, 2021.  Base of a gold lamp purchased from Goodwill. Photo by Diane M. Lilly, 2021. Two lamp kits from my local Home Depot cost me about $17 each. They have three way switches, so that I can adjust the light…Perfect! Saving energy already! I also needed to purchase a new harp and lamp shade for the gold lamp base, which was the most expensive part of this project by far! So I have my two lamp bases and the lamp kits and shades...  Lamp kits purchased from Home Depot. Photo by Diane M. Lilly, 2021.  Harp for lamp shade. Photo by Diane M. Lilly, 2021.  New lamp shade. Photo by Diane M. Lilly, 2021.  Existing lampshade from candlestick lamp to be cleaned. Photo by Diane M. Lilly, 2021. All I need to do now is take out the old wiring and put in the new and improved wiring, but first let’s sort out the basic anatomy of a lamp and its electrical fittings… 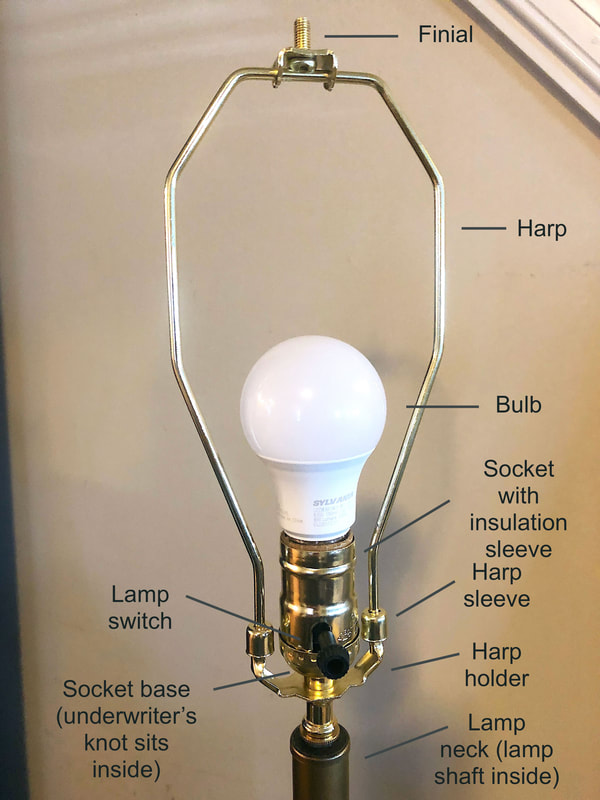 Lamp anatomy. Photo & diagram by Diane M. Lilly, 2021. You may need to refer back to this diagram from time to time during the process, so that’s why I thought this diagram would be useful! After all, it’s not like any of us replace lamp cords every day, right? Taking out the old wiring… First…please, please, unplug the lamp first! Never, ever do electrical work when an appliance is plugged in! You can start with something easy—unscrewing the decorative top finial (if there is one) from the harp (see diagram). Remove the harp by lifting the sleeves that hold it in place, pushing the ends of the harp towards each other. You can remove the felt base of the lamp (if there is one) to access the cord and cut at the bottom. Remove the top part of the socket and insulator. (Try squeezing it to get it out. There may also be a screw that will require removal on the socket base, so if it doesn’t come off look around for that screw.) Unscrew the wires from either side of the socket. (May have two different color screws corresponding to the positive and negative wires.) Unscrew the base of the socket. Untie the knot (underwriters knot) in the cord that holds it in place and pull the cord out. 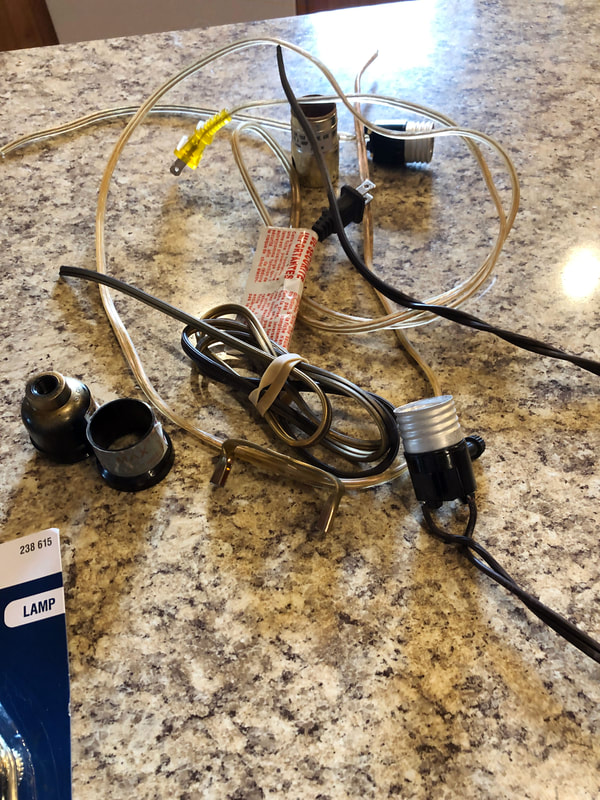 Old wiring taken out of thrift lamps. Photo by Diane M. Lilly, 2021. And putting in the new wiring… Take the new cord and twist the two separated ends together (if they are not together already) so you can feed the cord through the bottom of the lamp and up through the shaft. Once the cord is all the way through you can put the new base cap back on, screw it down, tighten set screw (if it has one). Separate the two strands of wire to give enough wire needed to tie a knot and wrap around the screws. Tie an underwriter’s knot…Loop one wire end in front of the cord (like half a bow), loop the second wire end around the back of the main cord shaft and push it through the first loop, now take the end of the first loop and push it through the second loop, then pull both ends to create a knot. After you tie the knot, pull the cord through the lamp shaft to tighten the slack. Now it’s time to attach the wires to the socket. Take the new socket apart to find the part where the wires are attached. Note about the cardboard insulator inside the socket…You must have it because it is the insulation and is a safety mechanism for the the electrical components. Do not throw it away! It’s supposed to be there, so leave it in place. Look for the brass and silver screws—these create the polarization. Brass is hot, silver is neutral and these screws correspond to the plug at the other end of the cord, with the wide side being neutral and small side being hot. When you look at you lamp cord, one side of the wire is smooth (for the hot screw) and one is ribbed (for the neutral screw). So match up the brass screw with the smooth wire (sometimes wire will have a black tip) and the silver screw with ribbed wire (sometimes wire will have a silver tip). This part is really important for electrical safety and lamp function. Loosen two screws and wind the corresponding wire to the appropriate screw, using needle nose pliers to create a clockwise turn with the wire around the screw. Once the wires are connected—and double checked for safety—put the socket pieces back together by pushing down until everything goes into place. All that’s left is to attach the harp and shade, and screw in the lightbulb! 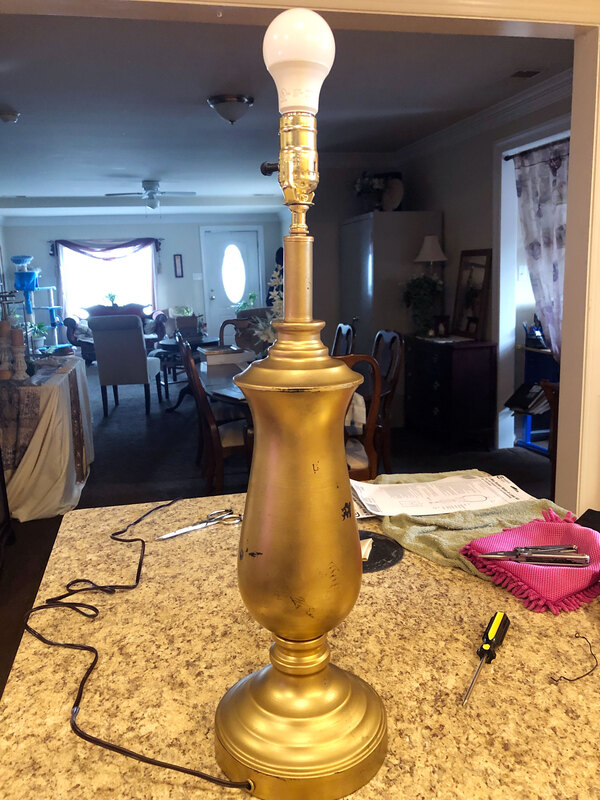 Gold lamp rewired and lit. Photo by Diane M. Lilly, 2021. 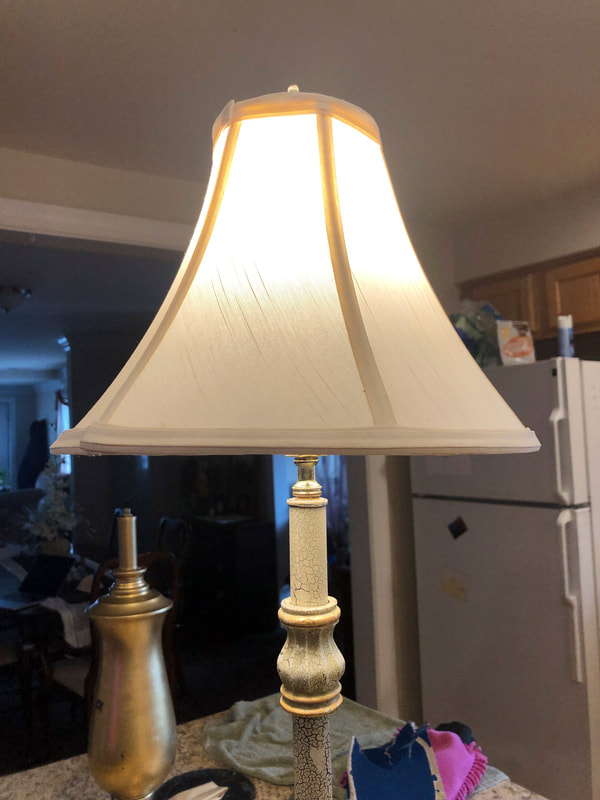 Candlestick lamp rewired and lit. Photo by Diane M. Lilly, 2021. A couple of real life situations… Ok, so now that I’ve shared the steps required for taking apart and re-assembling a lamp to rewire it, let me share with you my ACTUAL experiences with the two lamps I recently rehabbed.  Two lamp bases before rewiring. Photo by Diane M. Lilly, 2021. Lamp #1…My new candlestick lamp Whoever owned this lamp before me not only re-assembled the socket crooked, they glued the top and bottom of the lamp shaft. Long story short, it took my son and I—and several tries with a variety of wrenches and tools—to pry this baby apart. We had to untighten the shaft from the lamp base so that we could get the top bit out to get a handle on the crooked socket base and glued in washer and harp seat. This lamp gave us such a problem! What should’ve take no more than maybe 15 minutes to do, took us almost an hour. Once we were able to sort that mess out though, it was smooth sailing! We just followed the instructions on the package (which are essentially the same as the ones listed above) and had my salvaged lamp wired and lit up in no time. Oh and I almost forgot to mention—I had to clean the filthy shade with soapy water and thankfully I didn’t ruin it!  Candlestick lamp base after the socket base was removed. Photo by Diane M. Lilly, 2021.  Candlestick lamp finished and staged in my dining room. Photo by Diane M. Lilly, 2021. Lamp #2…My new gold lamp This one was much easier, but sort of had the opposite problem. Unlike the candlestick lamp—where the shaft was all one piece—the gold lamp’s shaft was in three pieces, and loose, and when I tried to fish the new wire through it just got stuck. So we had to take the whole lamp apart and fish the wire through bit by bit, then re-assemble and tighten the whole ensemble. Then it was smooth sailing…again.  Gold lamp after socket base was removed. Photo by Diane M. Lilly, 2021.  Gold lamp rewired and staged in my dining room. Photo by Diane M. Lilly, 2021. The moral of the story is when you are dealing with thrift lamps, expect the unexpected! It probably will not be as easy as you hoped, so leave a little time to figure it out. Unlike Youtube videos—which make it look and sound soooo easy—the real thing can be tricky, but with a little perseverance and elbow grease it will be well worth it to rehab an interesting old lamp! Even with all of the problems I encountered with these lamps, I love the special character they each bring to the room and the vignettes in which the were placed! Please feel free to add your own comments and experiences below. And, as always, you can to add your name to my email list to start receiving monthly notifications for new blog posts, new items, sales, and other exciting stuff from Di’s Studio Designs. This article contains external links for demonstration purposes only, and I am not being financially compensated for specific products or brands. Related blog posts you may want to read: My dining room redesigned as a multi-function space How to replace a clock mechanism How to frame small canvas art Creating a kitchen coffee bar Comparing DIY upholstery cleaning methods DIY refurbishment of a dining room cabinet  Bromeliad. Photo by Diane M. Lilly, 2021. We’ve all been there…You take down all the festive holiday and winter decor and you’re left looking at a cold empty chasm whose soul left the building! This year I tried—in vain—to decorate and make things look nice, but I needed more. I needed my space to feel alive. I needed something organic and living (besides my cats) in my “living” room. I don’t know why I never bothered to get a lot of houseplants before. I like plants. I like poking at them and watching them grow. I do have a few of them already—they have become sad and neglected, but still alive (well, mostly!). Sure I kill a few here and there, but overall we have a symbiotic relationship. This year—of all years—I decided I had to make a major change. This year I wanted to buy some beautiful houseplants and become a proud plant mom. (Yeah, that sounds weird even to me!) Sounds simple enough, right? But these are not inanimate objects you are bringing into your home. Unlike a sofa or chair, a plant will wither and die if the conditions are not right—trust me, I know—and there is soooo much to learn about plants! Once I started down that road, I realized other people are probably in the same boat, wanting to bring real plants home but feeling overwhelmed with all of the new information and responsibility that would come with having plants. After going through my own experience, I thought it would be helpful to share my thoughts on that process and maybe provide you out there with aspirations of being houseplant moms (or dads) some helpful tips I learned to successfully bring more greenery into your own spaces. There’s a lot to consider from budget to safety to lighting and care, and it pays dividends to learn as much as possible up front BEFORE you go shopping for plants. So let me walk you through my experience… Budget: Yeah, so let’s talk about budget. As with any new design, you should always have a budget, but expect to go over that budget! There will always be aspects of the project that cost more than you had guesstimated, and there will always be unforeseen expenses you had not even thought of (like maybe potting soil, plant stands, decorative pots, and plant food). My budget was about $200.00…Yep, I blew it! I ended up spending $330.00 at Home Depot, and I’m still not really done yet. I discovered that I need a few more things, like Neem Oil (for pesky gnats), more potting soil, specialized potting soil (for my succulents) and a few more pots. (I also have to replace a couple plants that tragically didn’t make it!  My succulents. Photo by Diane M. Lilly, 2021. Safety, health, & maintenance needs: One of the most important things I researched before I bought any houseplants was plant toxicity. I have two beautiful kitties, and it would absolutely devastate me if they got sick from munching on a toxic plant I was responsible for bringing into the house! My cats have never really bothered any of my existing peace lilies—which are not said to be good for cats—but they don’t bother them, so I think these are safe to keep.  My two kitties, watching me garden. Photo by Diane M. Lilly, 2018.  Peace lily. Photo by Diane M. Lilly, 2021. In addition to safety, any plants I bought needed to be low maintenance, because me and finicky plants don’t get along. So when it comes to constant watering and pruning and feeding…Nope. I just don’t have the time. My Dieffenbachia can go for a few weeks without watering, as can Ponytail palms, succulents, and the Money Tree. My Ficus does not like to dry out completely, but equally doesn’t like to be soggy, and so it requires slightly more attention than the plants just mentioned. On the other end of the spectrum are my Bromeliad and Tillandsia (air plants). The air plants (which are part of the Bromeliad family) require frequent misting and soaking. The Bromeliad (which technically does not require soil) needs humidity—which it gets from the air in nature—and so requires more attention than some of my other plants, but all of the bromeliads are so intriguing to me that I’m willing to exert the effort!  Dieffenbachia. Photo by Diane M. Lilly, 2021.  Ponytail palm. Photo by Diane M. Lilly, 2021.  Money Tree with a Peace lily. Photo by Diane M. Lilly, 2021.  Bonsai Ficus. Photo by Diane M. Lilly, 2021.  Bromeliad in my window. Photo by Diane M. Lilly, 2021.  Tillandsia (a.k.a. air plants). Photo by Diane M. Lilly, 2021. Another “must” on my list for preferences are plants that filter the air, because I am really big on indoor air quality and doing things naturally, if possible or feasible. Peace lilies are good to buy if you want plants that help filter the bad stuff out of the air in your home. (They can be especially useful in bedrooms, as they will remove the toxins from the air as you sleep.) With three Peace lilies my indoor air quality should be superb!  Peace lily just transplanted. Photo by Diane M. Lilly, 2021. Spatial considerations: A helpful activity you should do before picking out plants is to think about WHERE your plant will live. Not just the room or general area, but on which table or windowsill. Or do you want a floor plant? Do you have a plant stand or other space you want to fill? How much actual space do you have to give up for plants? The tabletop plants you choose will probably need to be small or medium size or maybe tall in stature. When I was assessing my own space I decided that I could comfortably accommodate plants in five, maybe six, spots in my living room. Of those spaces, I had two windowsills at my disposal that could fit small pots. Which brings me on to my next point, lighting.  My floor plant grouping. Photo by Diane M. Lilly, 2021. Lighting needs: If you remember nothing else, remember that lighting is almost the most important thing you need to sort out for your plants (besides watering). Too much light can kill some plants, and too little light can stunt the growth or even kill others. I almost killed a Parlor palm and Lucky bamboo that were left sitting in a window, forgotten, for far too long. (I’m so sorry!!) Below I have photos of my two plants—now separated (they were in the same pot) and in the rehab stage. The Lucky Bamboo is getting its darker green color back, but the palm does not look like it’s going to make it. But there’s still hope!  My Parlor palm rehabbing. Photo by Diane M. Lilly, 2021.  My Lucky bamboo growing roots in water. Photo by Diane M. Lilly, 2021. Know your plant, know its lighting needs before you bring it home. Southern facing windows will always get the most direct bright light (unless you have awnings or some other obstacle that blocks the light). North facing windows will get light, but not the bright direct light that you get from the south. This is really important for plants. In my situation, my living room windows are southeast and southwest facing. This is good for most plants, but some plants may need to come away from the window a little bit to avoid some of the really direct light that is hot enough to burn the leaves of sensitive plants. My Peace lilies got a few crispy leaves from being in my front window, and I will have to move my Bromeliad when the hot summer sun starts to beat through the window. Conversely, if the only natural light you have is a north facing window, you’ll need a plant that does not require full sun or bright direct light. Any plant that needs quite a lot of light that is put in a place without adequate light generally won’t do well at all.  My happy window plant grouping. Photo by Diane M. Lilly, 2021. There is so much more information to digest—and I’m just really scratching the surface—but these are a few of the primary or basic considerations you will need to assess before buying real houseplants for your home. Inevitably, some plants just won’t survive, and sometimes that just comes down to either the plant being sick when you bought it, the shock of being moved, or just not having the right environment for the poor thing. When in doubt, buy one plant. Try one plant that you find fascinating, research it, and try to figure out how to help it thrive (and survive!). Once you figure out how to keep one plant alive, you will find yourself wanting more plant babies…’cause one is just not enough! Plants are so fascinating! And they really bring an empty inanimate space alive! I hope you found this article useful! If you did please share it and help my community grow. And please feel free to add your own thoughts and experiences below…Let’s get a conversation started! Feel free to add your name to my email list if you would like to start receiving monthly notifications for new blog posts, new items, sales, and other exciting stuff from Di’s Studio Designs. This article contains external links for demonstration purposes only, and I am not being financially compensated for specific products or brands. Related blog posts you may want to read: Six herbs I planted indoors It's planting season again  My finished redesigned dining room. Photo by Diane M. Lilly, 2021. For too many years, my family has been living paycheck to paycheck. My husband and I were busy raising children and dealing with mundane day-to-day “stuff”. The years flew by and we “collected” furniture that was cheap, hand-me-down, and functional. Nothing was precious because we had three growing boys—and I’m the only female in a house full of males. (Seriously—even the cats are male!) I always meant to “pretty the place up”, but it just never happened, either due to time constraints or because the money just was not there for extra niceties. Recently, however, our situation has changed somewhat. Our three boys are grown (our youngest is in high school) and we are a smidgen better off financially. As the years have gone by I kind of got used to just using whatever space was available while working at my little home based business (Di’s Studio Designs). I’m not one of those lucky people who have a designated office space in my home…You may know what I’m talking about—one of those places where you can set up a proper work space and close the door for quiet and privacy? I was so deprived I almost had to grab a dictionary and look up the definition of “home office”. That’s how bad my situation was! I still don’t have a room to escape to and close the door…but I do have enough interior design knowledge to design a space where I can work! And so I found myself in a situation that required a serious thought process about multi-functional spaces and creative storage. My dining room has now become my “office”, but it also needs to be a place for me to showcase my finished pieces, a place for me to store art materials and decor, a mini art studio for my youngest son, storage for my son’s art supplies, AND a proper dining room. Sounds like a tall order, doesn’t it? This project definitely challenged me and forced me to really think about function, furniture, and space planning. So here’s my journey, step by step—into hell! (No, I’m kidding. It was actually really fun!) Measure the room and create at least a basic floor plan… Okay, so first things first…I had to get some basic measurements of my dining room. So I measured the length and width of the space and the doorway openings. This info gave me what I needed to create a basic hand drawn sketch of my space, which I translated into a simple floor plan in SketchUp (just to be fancy!), but really any type of sketch will do. The idea is to assess how much space there is for things like tables and chairs and cabinets, allowing for traffic flow and clearance as well. In my case, it also helped me “visualize” how to create a sense of balance in my dining room. 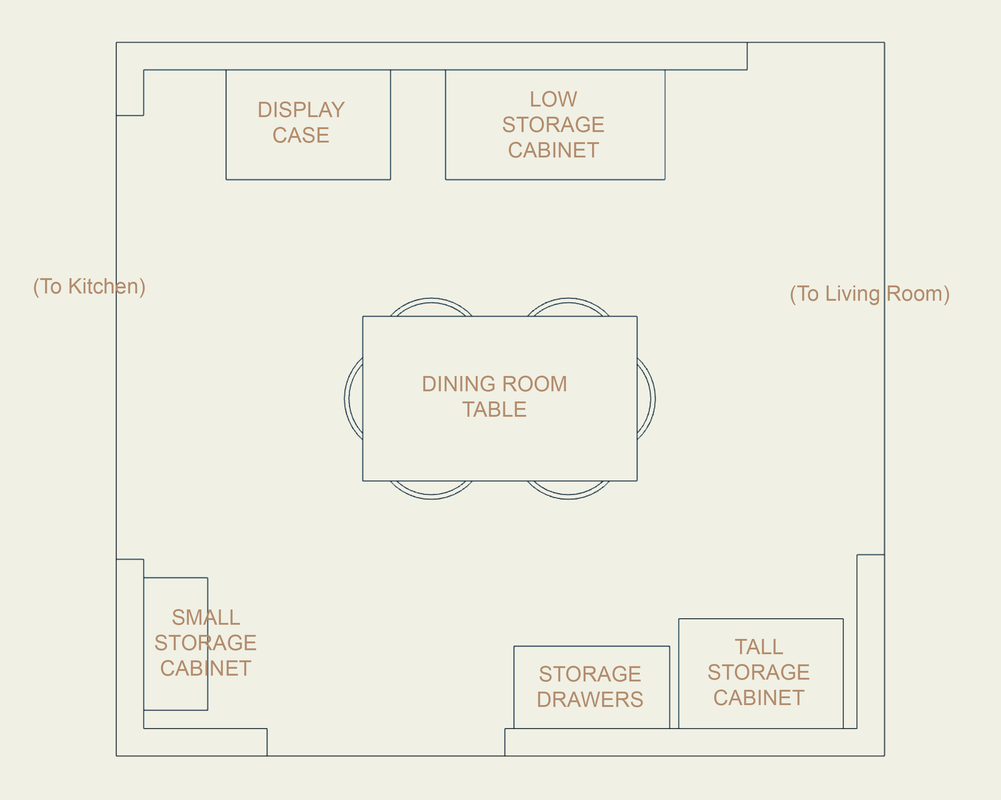 Measure existing furniture that will stay… After bit of thought, I decided that three existing pieces were valuable to me and needed to stay in the space, so I took measurements of these pieces (which I plugged into my floor plan). Understanding their true dimensions helped me assess where (or whether) to move each piece. In the end, two out of three moved to different locations in the room. Even though the dining room table and chairs were not staying (good riddance!), I still needed to know their dimensions so I could buy a table in a similar size. 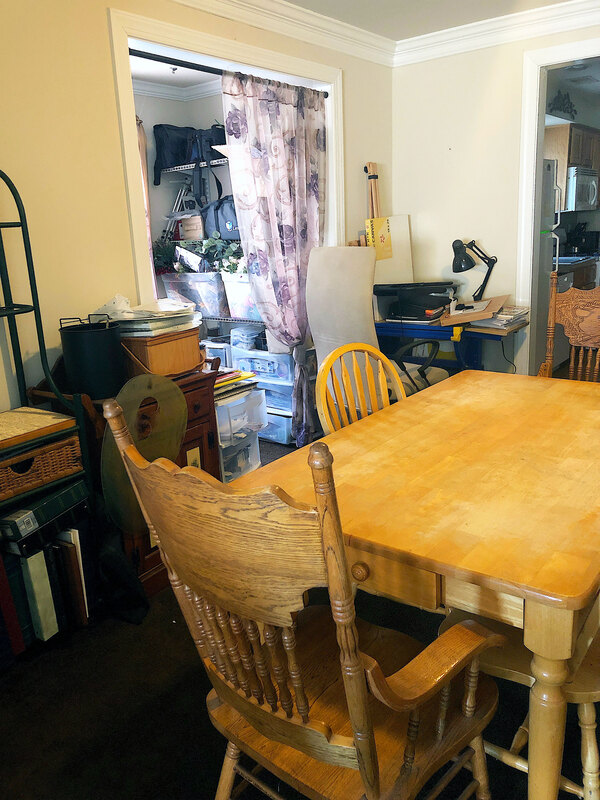 My previous dining room table. Photo by Diane M. Lilly, 2021. 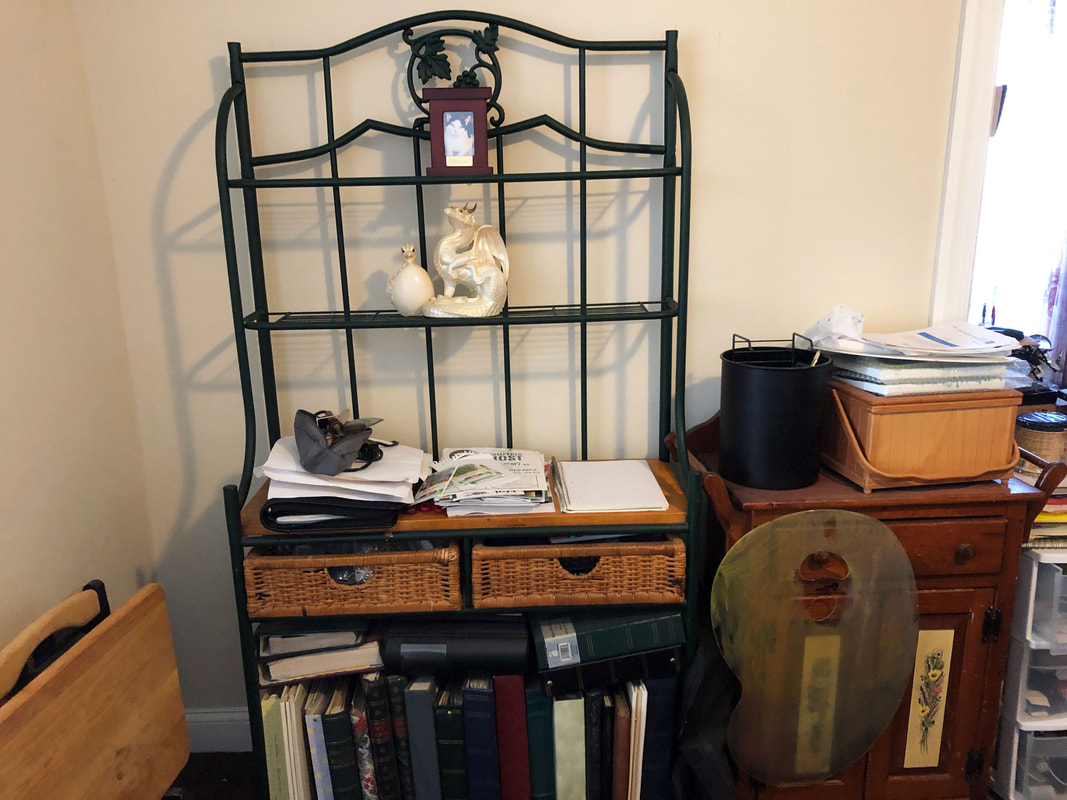 My old bakers rack and a whole lot of mess that needs storage. Photo by Diane M. Lilly, 2021. 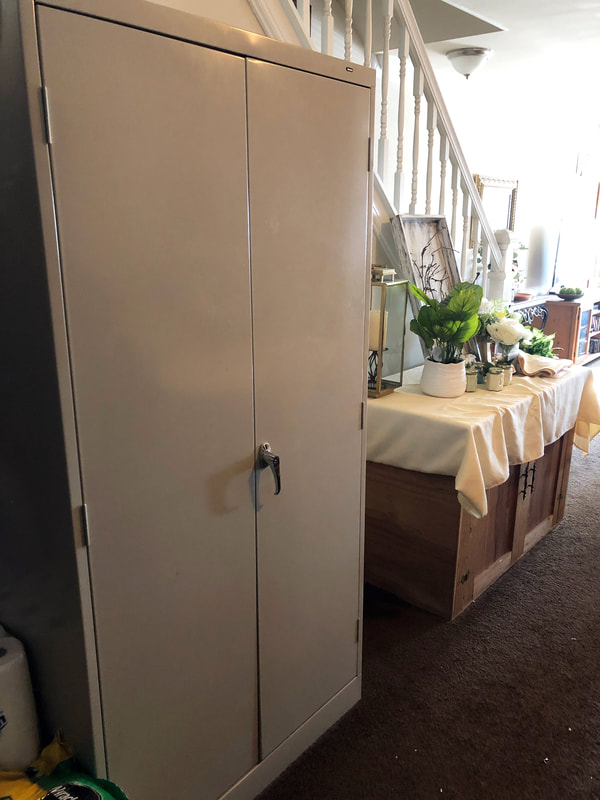 My storage cabinets that need to be refinished. Photo by Diane M. Lilly, 2021. Assess the state of existing furniture that will stay… In one of the pictures above you can see a very large metal cabinet (hard to miss) that I really, really needed to keep, because it contains storage real estate I just can’t afford to lose. I have decided that it will be moved to the opposite side of the room and painted a cream color to help it “disappear” into the background. (I’m planning on doing a chalk paint DIY sometime soon. Stay tuned!) Another piece of furniture I can’t afford to lose is the larger wood cabinet (now covered in fabric) that houses much of my decor and some finished pieces. This piece has potential, and hubby and I will try to refurbish it and add footings and a top. I love creating vignettes on this cabinet as well (see below), so this piece is staying! The third piece of furniture that is staying is the small cabinet with the floral panels. This belongs to my son, and it is part of the storage he needs for his art supplies. I thought it would be nice to kill two birds with one stone—showcase his artwork and provide something decorative in an otherwise dingy corner of my dining room. So this small cabinet and the artwork above it are both functional and decorative! Shop around for the right style and fit for the room… Okay so before I go any further…a HUGE shout out to Consign & Design in Broomall, PA! I love thrift shopping and consignment stores. I’m always on the lookout for interesting things that have character that don’t break the bank. And I have bought a few things from this particular consignment shop before. I have to say, every time I go in there I come out with something beautiful AND affordable! Seriously, I’m not being paid to say this…they have great stuff! So for this particular excursion, I bought three new items for my dining room—a table and chairs set, a china cabinet (for displaying my finished pieces), and a chest of drawers (which had the drawer space I needed for storing “office” stuff). I made sure each one fit the measurements I needed for the space, but I also looked for a style that helped me create a “flow” from my living room, since the space is open plan. I love the darker wood (sorry Farmhouse lovers!), but dark wood furniture can be visually “heavy”. In this case, however, the lighter line and form, the sleekness of the chairs and table legs makes this set not as heavy while still providing me with that traditional style I had in mind.  My new chest of drawers before decorating stage. Photo by Diane M. Lilly, 2021.  My new dining room table and chairs before decorating. Photo by Diane M. Lilly, 2021.  My new china cabinet. Photo by Diane M. Lilly, 2021. And—finally—dress it up! This part of the design process did take a little longer than anticipated, but I got there in the end. I scoured thrift shops and other stores nearby until I got pieces I thought had character and fit in with the overall style in the dining room. This room now sings with a delightful mixture of my own finished pieces (from my home decor business, Di’s Studio Designs), some existing decor, a couple of DIY project pieces, a few consignment buys, and a couple of decor items from local shops. I was in vignette heaven!  My new china cabinet filled with items from Di's Studio Designs store. Photo by Diane M. Lilly, 2021.  A little vignette atop my metal cabinet. Photo by Diane M. Lilly, 2021.  My new lamps and decor with my DIY lighted branch box. Photo by Diane M. Lilly, 2021.  My new lamp and mirror. Photo by Diane M. Lilly, 2021. So what do you think? For less than $1000, I now have a beautifully stylized dining room where people can eat (when we are able to have people over again!), a beautiful and organized space for me to work out of as an office (yay!), a place to display my DSD creations, various places for storage, and a small art studio for my son. That’s a lot to pack into one space, but I did it!!  My son's storage cabinet and newly framed artwork. Photo by Diane M. Lilly, 2021.  My son's new mini art studio. Photo by Diane M. Lilly, 2021.  Another view of my son's new mini art studio space. Photo by Diane M. Lilly, 2021. Seriously, I rarely design anything just for myself, so this project was immensely satisfying. It was an amazing trip to go through the entire design process with myself as my own client. And what I love best about this entire process is that the finished space is a space I actually “designed”, and not just threw together. I’m over the moon! Every need I had has been checked off! What a difference in this space and the way I FEEL in it! I love working here, my son loves his mini art studio, and we all enjoy eating in this space…What more could you ask for?! I will probably be doing another blog post that specifically talks about individual pieces of decor and where they were purchased. Much of what you see is a conglomeration of DIY projects, lucky finds, and thrift store items, all pulled together to create a stylish traditional ambiance. You really can pull together a great look on a limited budget!  A view of my new storage cabinets. Photo by Diane M. Lilly, 2021. Please feel free to leave any thoughts or comments below! And please share to friends…Let’s get a conversation started and grow this community! I am in the process of pulling together a monthly newsletter starting in a couple of months, so if you’d like to be on the mailing list please subscribe to my email list. And—as always—have a great day! This article contains external links for demonstration purposes only, and I am not being financially compensated for specific products or brands. Related blog posts you may want to read: How to replace a clock mechanism How to frame small canvas art How to rewire thrift buy lamps Creating a kitchen coffee bar Comparing DIY upholstery cleaning methods DIY refurbishment of a dining room cabinet Wow! Here we are on the cusp of February…Where has the month of January gone? It seems to have disappeared in a wisp of smoke—thankfully! I had lofty ideas about jumping head-first into 2021. I was going to take on the world and get shit done! How naive I was! In my defense, quite a lot happened in January. Some circumstances were unavoidable and physically constrained my time, while other issues hampered my mental capacity to think, let alone “get shit done”. But I am nothing if not determined. Soooo… I’ve finally pushed past the desire to hibernate under warm blankets and rediscovered the need to accomplish something. Disassociation turned out to be a fickle friend, and now I’m craving the light again (which is a far healthier relationship overall). Phase One of my new plans for this year is to (literally) get my house in order. The empty chasm that is my house (now that the joyful, festive Christmas decor is gone) is just screaming out for a new look, and momma’s got plans to play with this clean slate! I have a vision…I want to be surrounded by greenery and my creative decor. The “vision” requires a little thinking on my part. I want a mix of live and faux greenery to add to florals as Spring approaches, with my fairy houses, Celtic art plates, and candleholders playing leading roles in my new Spring look. My newly decorated dining and living rooms will be “nature-inspired”, transformed into much-needed healing spaces.  Faux eucalyptus. Photo by Diane M. Lilly, 2021. My husband and I inherited an antique settee that is in desperate need of some love and care. Repairs are needed to the wood work in places, but it’s doable, and further inspection has shown that this grand old girl has seen many a repair in her long life! Perhaps the biggest obstacle to her recovery is the upholstery. It became obvious (during a cursory inspection) that the current upholstery was not original to the piece, but some original padding is still there, so all is not lost! This means I can have a little fun with the fabric, choosing something that is eye-catching and complimentary to the current styles in the room. (I say “styles” plural because I have such eclectic taste!) Do I have experience with upholstery? Absolutely not! Am I going to do it anyway? Absolutely…because this Grand Dame deserves it! The more I look at this piece, the more in love I fall! Let the torture games begin…  Antique settee in need of some restoration. Photo by Diane M. Lilly, 2021. Another item we inherited is a beautiful painting (painted by my husband’s grandfather) with a canvas covered in grime and surrounded by a frame that needs to be cleaned, stripped, and re-stained. My initial instinct is it needs a matte to crop the painting to cover the dirty-looking white part of the canvas. The frame would look beautiful as a medium reddish complimentary brown, making the blue paint stand out as a focal point. It’ll look striking when it’s done—a proper heirloom!  Painting by family member, with grimy wood frame. Photo by Diane M. Lilly, 2021. I have ambitious plans to get my house in order. Those plans include a desperately needed dining room redesign. My dining room—sadly—has ceased to be a proper dining room by any stretch of the imagination. Over time, it has slowly become a dumping ground for my art and craft supplies, inventory storage, and my son’s art supplies. It doesn’t feel comfortable or inviting as a space to eat, let alone a space to work. Once upon a time, this was a comfortable space, but somehow it got away from me! My new “vision” is a space that has multiple functions. The space has to be a dining room (obviously), but it also needs to be an office space, display area, and work area for Di’s Studio Designs and a small artist studio for my youngest son. The search is on for the right furniture pieces—including a display cabinet, storage unit with drawers, and a new dining room set—to give this neglected space a heart and soul again. The small cubby area will (hopefully) be ideal for my son for his supplies and small art table. There are currently two storage cabinets in the space, but the truth is, they are very functional but absolute eyesores to look at and will require some work to bring them up to snuff. So, yah me…even more projects!  Dining room, "before" shot. Photo by Diane M. Lilly, 2021. Of course, this long “to-do” list also includes projects for Di’s Studio Designs… Two Celtic art plates have been sitting off to the side for months (I’m so ashamed!), and they are still not done yet! I’ve been working on woodburning them for what feels like years…(But we’ll say since August.) It’s really about time they were finished! So, that is on February’s list of projects that need to be checked off as completed. 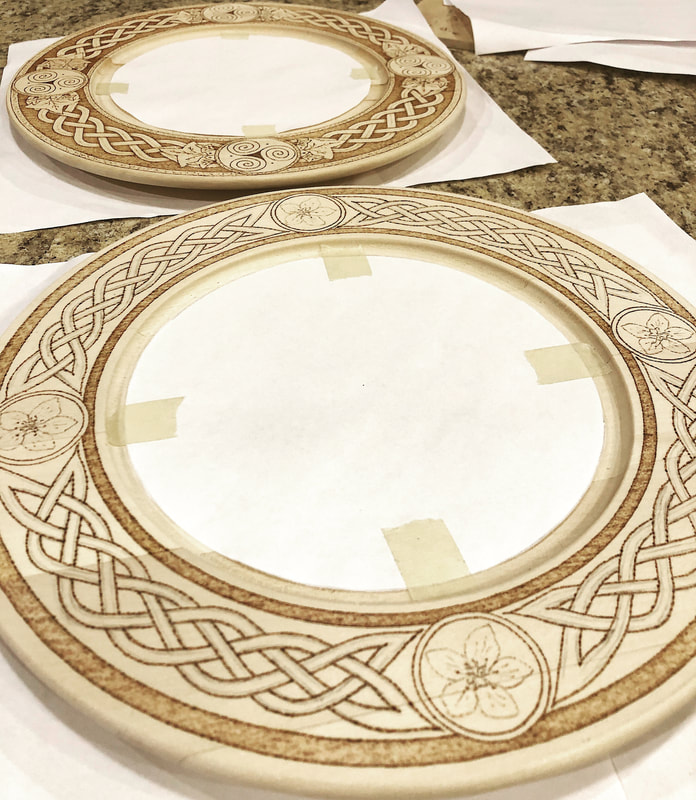 Current Celtic art wood burned plate projects. Photo by Diane M. Lilly, 2021. Another round of lanterns will also be in the works soon (probably closer to March). The materials for new spring-themed lanterns have been bought, and all that is required is a few weeks of my time and space to breathe to get them hand-cut, assembled, painted, and decked out with florals. This project was supposed to be started at the beginning of January before I fell into a black hole! Just as long as I get them done by Spring… 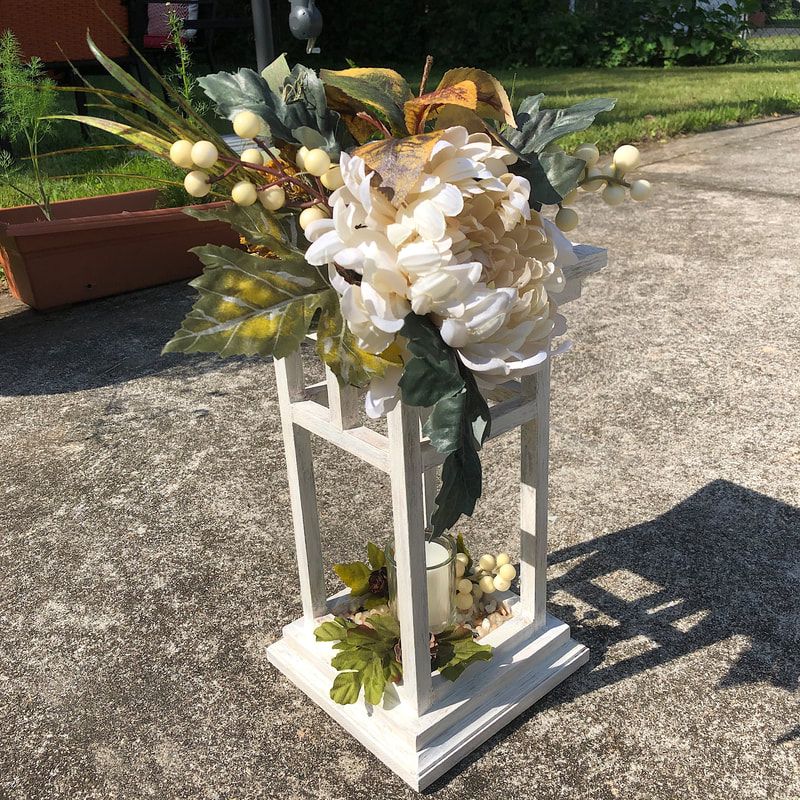 Handcrafted Decorative Wood Lantern Candleholder, September Vibes. Photo by Diane M. Lilly, 2020. And last—but most definitely not least—I have decided to sit myself down (sometime soon?) and bang out a couple of new designs for fairy houses. I loved doing the previous prototypes so much that I have this inkling that I need to create more designs. (This time around, I’m looking into some new tools to make my life easier!) I would love to be able to add these precious gems to my inventory. I think customers would love them as much as I do! 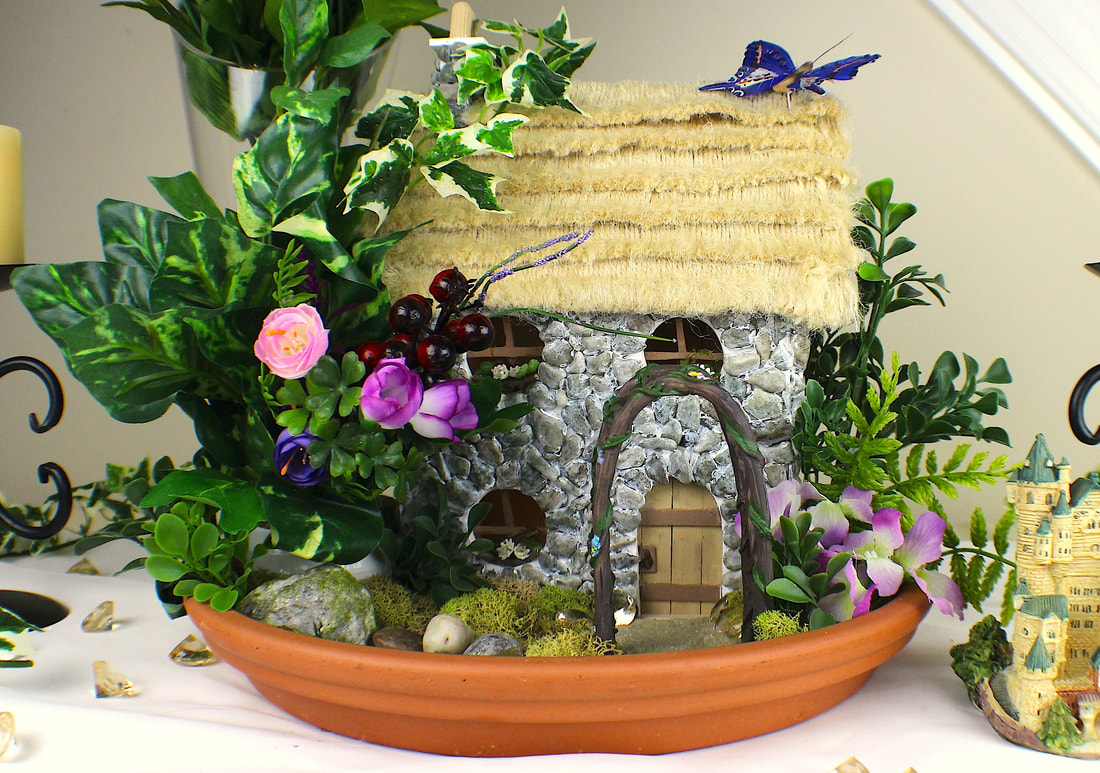 English Cottage handcrafted fairy house. Photo by Diane M. Lilly, 2020. So there is my absolutely monstrous set of goals for the beginning of 2021…It’s insane, but I’ll get through it…one step at a time. Gotta have goals, right?! What are some of your goals for this year? Leave your comment below, and let’s start a fun conversation (if only to keep ourselves honest)! Related blog posts you may want to read: My dining room redesigned as a multi-function space Spring makeover for my indoor fairy gardens 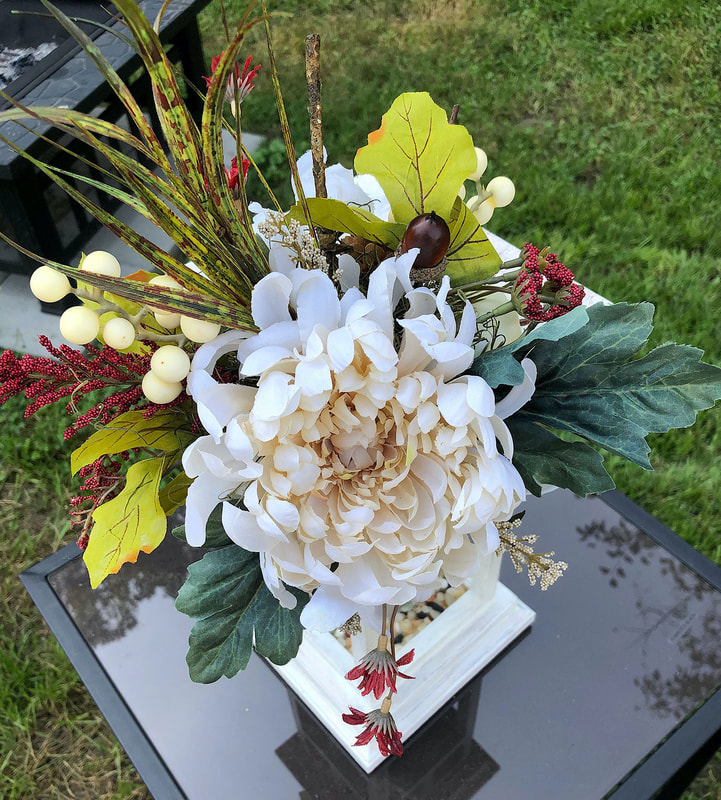 Fall Foliage Decorative Lantern by Di's Studio Designs. Di’s Studio Designs has added something new to the line of handcrafted decorative candleholders—wooden lanterns! I’ve wanted to create lanterns for quite a while, but so many other projects and priorities cropped up that I just had to file the idea in the back of my mind to try later. The idea came to me a few years ago when I made an Asian-themed wood decor table tray. I just fixated on the lanterns and thought…“That could be a stand-alone design!”.  Asian Tea Party hand crafted wood decor by Di's Studio Designs. Somewhere in the deepest recesses of my mind, I started visualizing what I wanted my lanterns to look like once I finally got around to the project. The simple lines remind me of Japanese design (which I have an affinity for), and lanterns—with their intrinsic relationship to gardens—are perfect for use with faux florals.  Image from Pixabay, 2020. Lanterns of all shapes and sizes are making their appearance in weddings…And what goes hand in hand with weddings? Flowers! 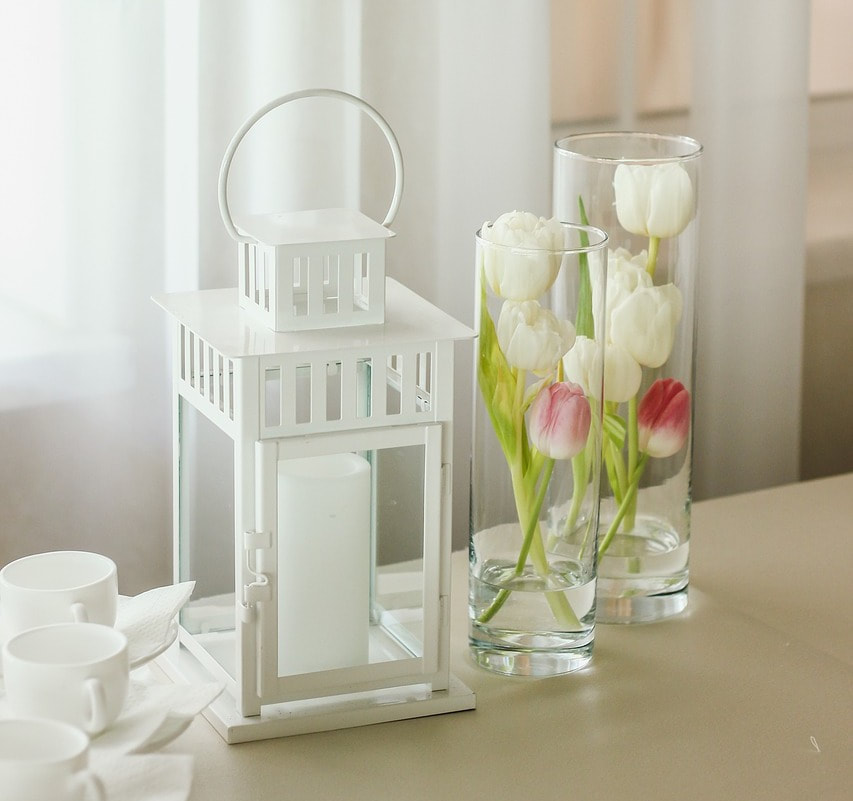 Image from Pixabay, 2020. While exploring Pinterest for Fall wedding themes (as part of my research into the latest trends), I found some striking fall floral color schemes and lantern ideas. Then, I got to work on the floral designs for my lanterns, inspired by my previous Asian Tea Party project. As usual, I bought wood from Balsa Wood Inc., florals from Michaels and Factory Direct Craft, and votive holders and LED candles from Michaels. All my wood pieces are hand-cut (except for the base and top, which I bought pre-cut from FDC) and assembled using wood glue and nails. 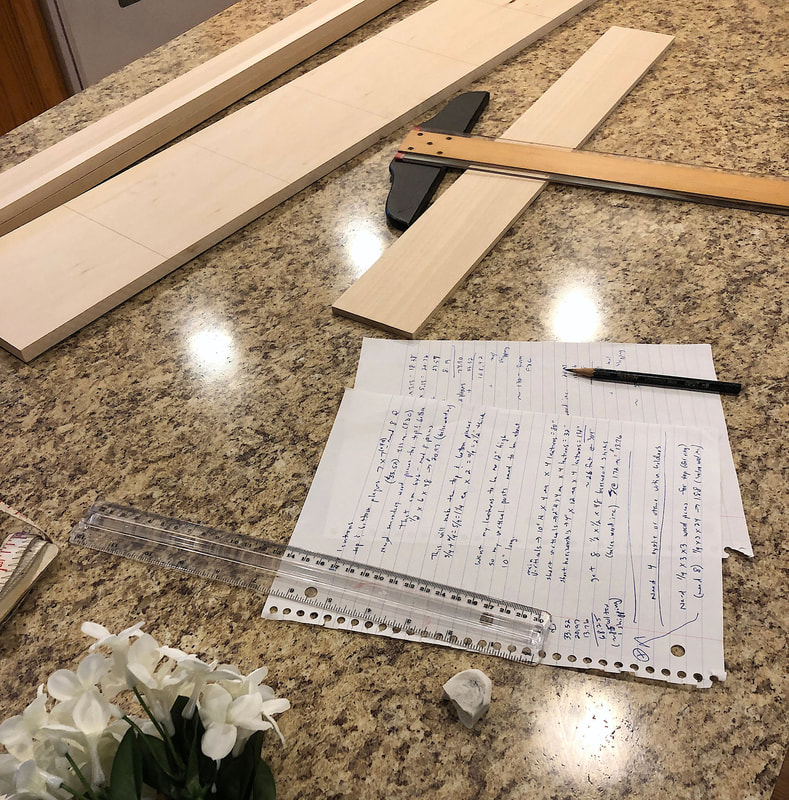   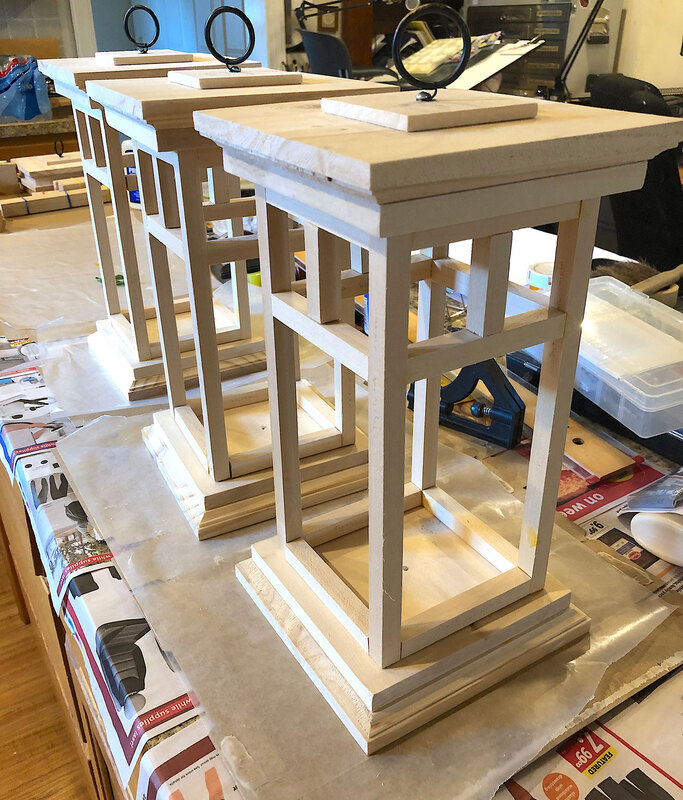 Next, the bare wood is painted, painstakingly building up several layers of paint in a technique that creates a weathered wood effect. All my finished wood pieces are then protected with varnish and felt pads, making them durable and long-lasting. 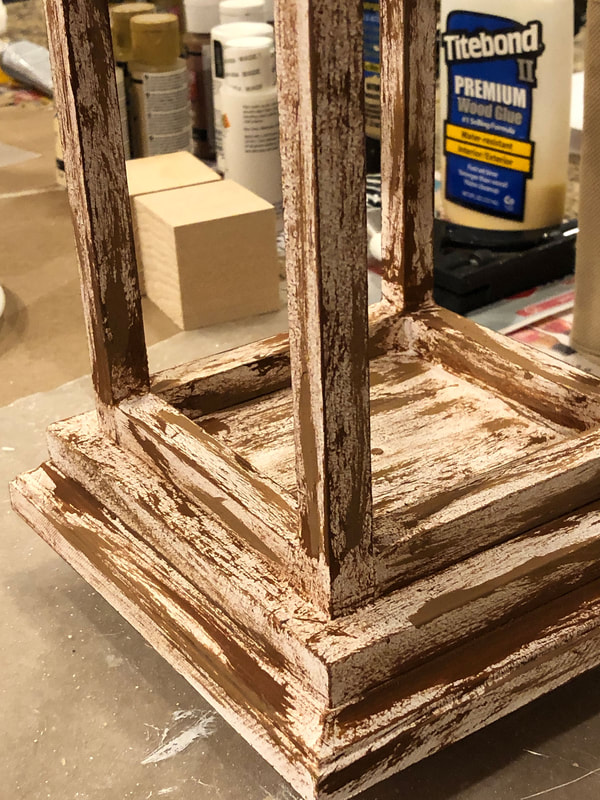 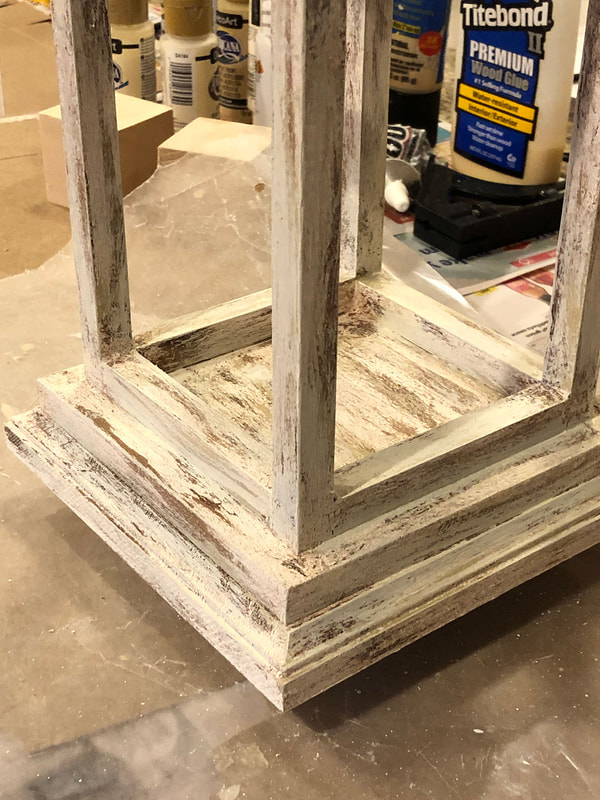 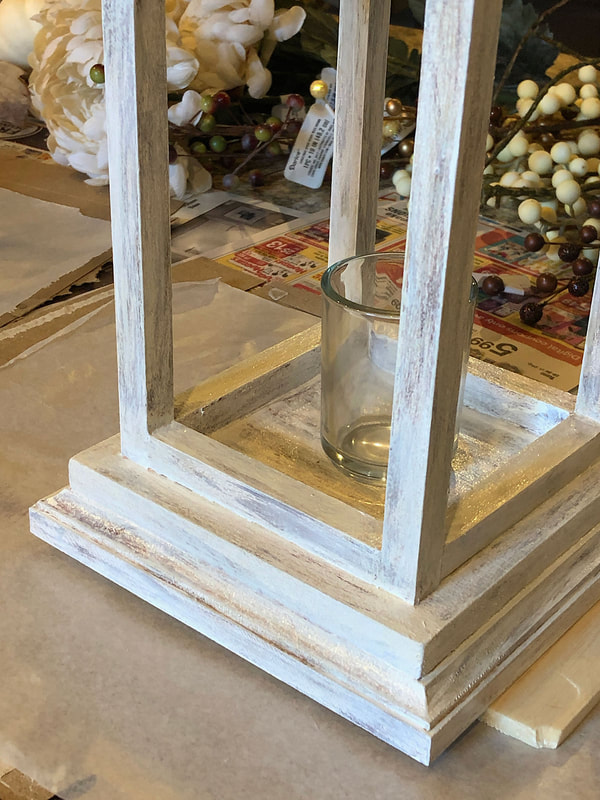 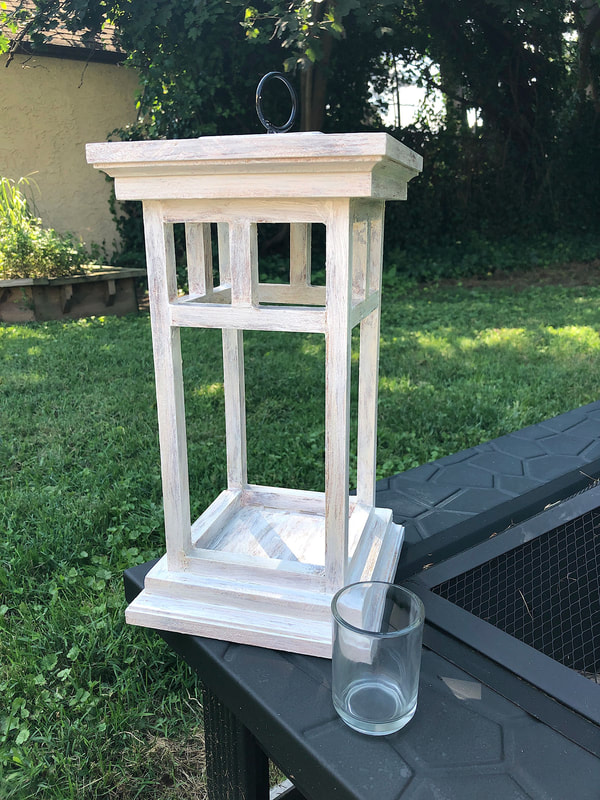 The florals and decor are all specially chosen for each project. Once the “vision” becomes clear, I start carefully attaching each decorative element to the lanterns using heavy-duty e6000 glue, which is incredibly strong! For this fall season, I decided to make two different floral designs. The first one I call September Vibes, and this one plays with a color palette of green and golden yellow, reminiscent of the types of tree colors usually seen in September or early October. 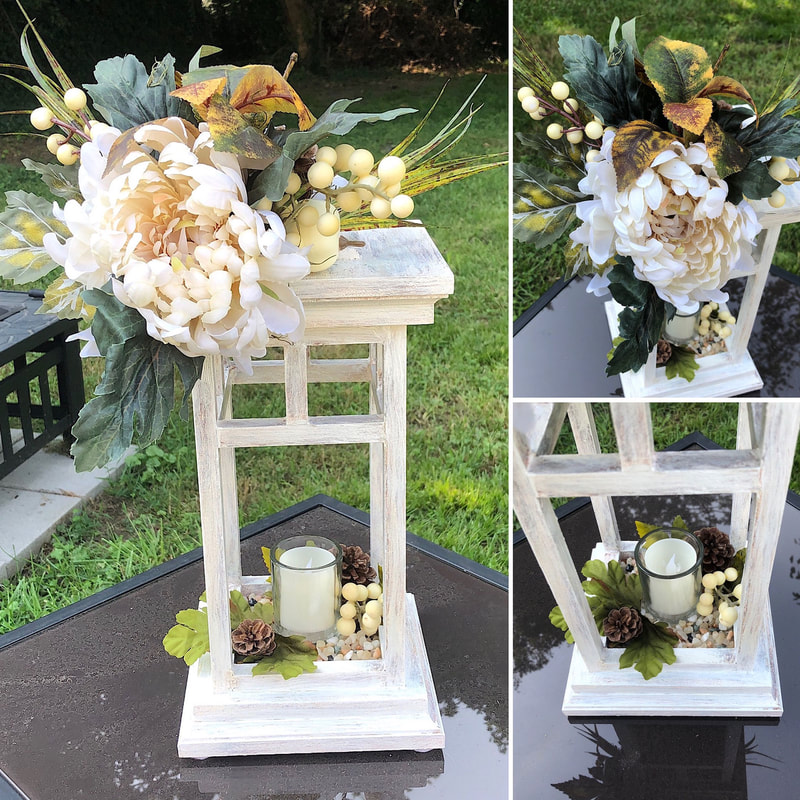 September Vibes Decorative Lantern Candleholder by Di's Studio Designs, 2020. The second floral design is called Fall Foliage. This version incorporates more of the deep red or wine tones that start to make an appearance in October through November. 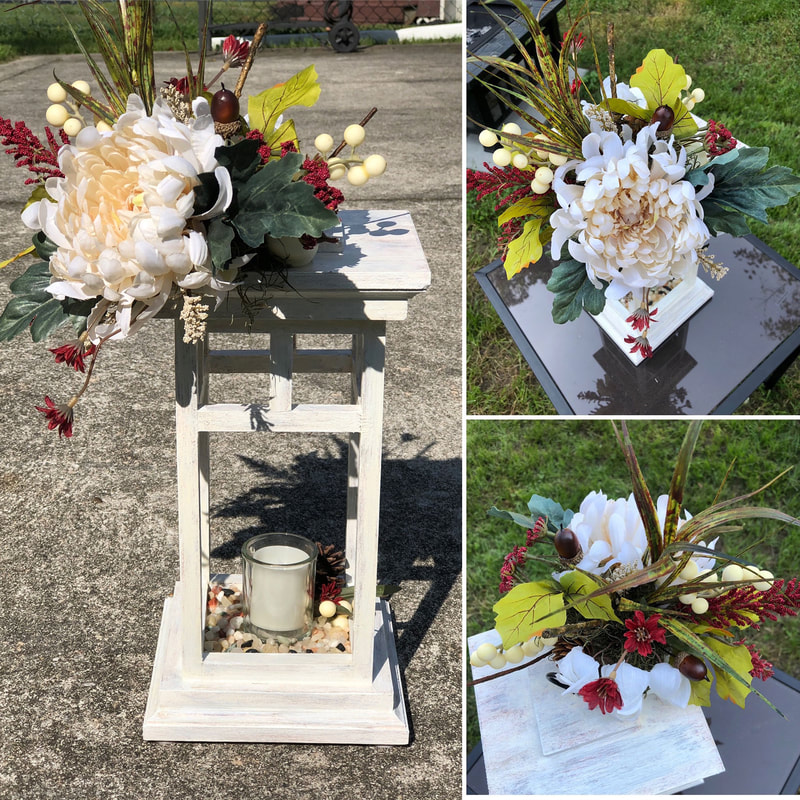 Fall Foliage Decorative Lantern Candleholder by Di's Studio Designs, 2020. My lanterns (and all of my hand-crafted decorative candleholders) are not made for the outdoors and are not recommended for use with open-flame candles. They are made with LED candles in mind (which I usually buy from Amazon or Michaels), which makes them charming, safe, and simple to operate. These new lantern projects were so much fun that I plan to create more floral designs for the Spring/Summer. The supplies are already purchased and waiting, and work may begin as soon as December…but more probably January! (I have a couple of Celtic art pieces to finish first!) Visit http://disstudiodesigns.com/decorative-candleholders.html for these and more seasonal decorative candleholders by Di’s Studio Designs. Please feel free to comment, message, or email me with any requests or questions! This article contains external links for demonstration purposes only, and are not endorsements for specific products or brands. Related blog posts you may want to read: DIY Fall/Winter decorative lighted branch box Finding creative inspiration from nothing Art imitates nature Creation of a centerpiece This week, I thought I’d share the inside scoop on a project I just completed. The project is called Forest--and I just put the finishing touches on it this morning! It has been a long and arduous road to get to the finish line! There were many roadblocks and logistical problems along the way, but I kept at it and stayed true to my original vision. The inspiration behind this design was to create a unique candleholder that would be a semi-abstract form of a group of forest trees. Images such as those below kept me focused and reminded me of what I was trying to achieve.
 Kentuck Knob, Dunbar, Pennsylvania. Photo by Diane M. Lilly, 2013. My original design concept was a primitive and abstract form with very linear geometric shapes to create the illusion of tree trunks and a canopy set into a bed of stones. The only embellishments were small bushes in the tray bed and the votive candles in the canopy. I used hand renderings and SketchUp models to sharpen my vision and tweak the preliminary design, drew out full-scale schematics for my candleholder, and then took my ideas into AutoCAD to create cleaner scaled schematics from each angle.
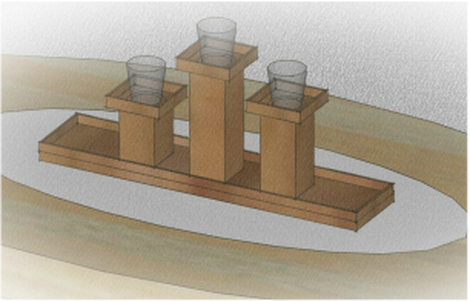 It was time to gather all the materials needed to bring this design to fruition. A wooden base and small canopy trays—made from basswood—were cut out and assembled according to my schematics and attached to pillars of varying heights. The trees' pillars were then attached to the base. The whole piece received a round of sanding, followed by three gradients of brown paint to achieve the look of weathered tree bark. 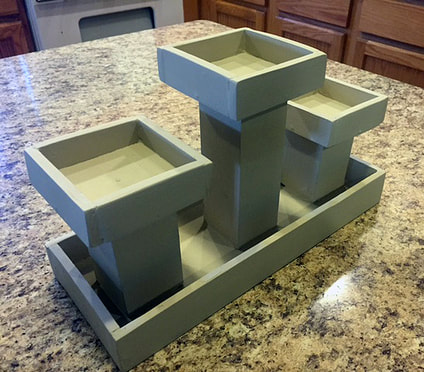 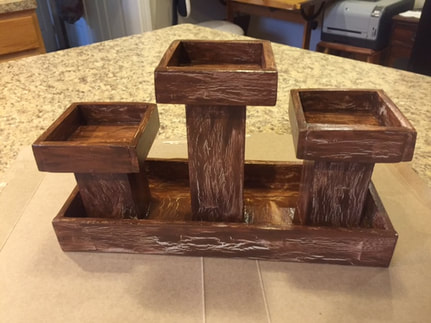 The only difference between the original design concept and the finished product is the inclusion of tree branches. I purchased juniper sprays, which would add an incredible organic feel to the piece. So, the final design was not as abstract as I had in mind at the start, but I am definitely in love with the results! This decorative candle holder will make a beautiful addition to someone’s table, that’s for sure! 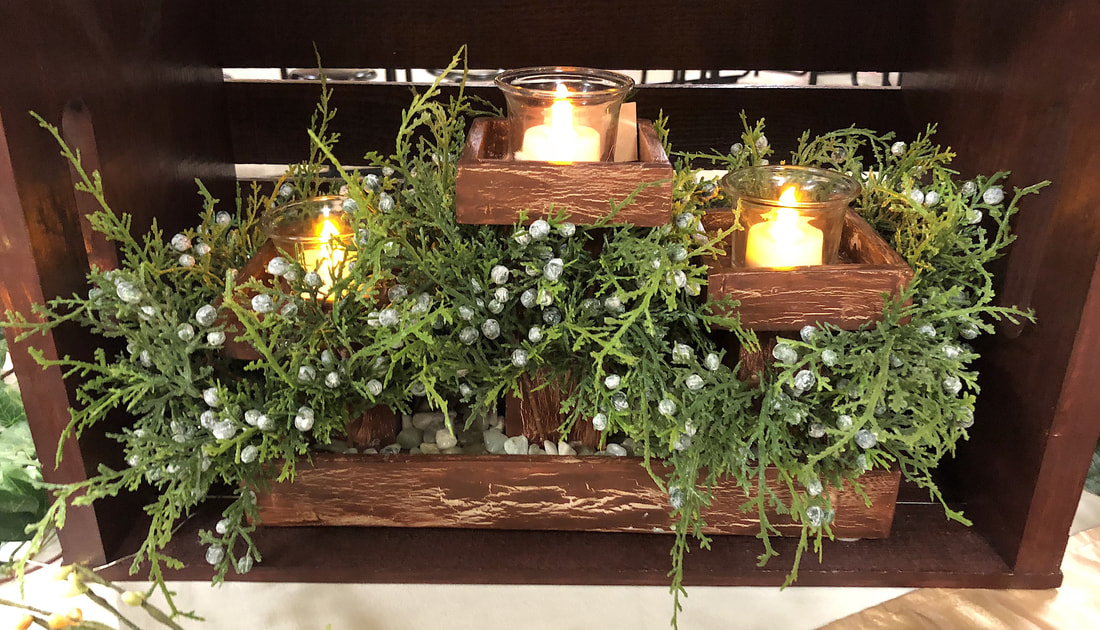 "Forest" Decorative Candleholder by Di's Studio Designs Shop for handcrafted nature-inspired decorative candleholders by Di's Studio Designs here! Related blog posts you may want to read: Finding creative inspiration from nothing Nature and well-being Art imitates nature Inspiration New decorative lanterns by Di's Studio Designs Browsing through my website, you will see certain items that combine the simple geometry of hand-cut painted (or stained) wood pieces with organic and decorative elements. One of these beautiful creations is a decorative candleholder centerpiece I named Waterfall. This week, I thought I’d share an inside look at the process of creating this piece. As with all my creations, this design has a story: a story of inspiration, design modification, and hard work. The project started as a vision of a candleholder centerpiece that tiers downward like a small rocky stream in some secluded forest. I drew some quick thumbnails and idea sketches before settling on a design like the rendering below.  I sat down with a pencil, some large pieces of paper, and a ruler and recreated my ideas in full-scale schematic versions of the top and side views. Once I was satisfied that my measurements would work, I went into AutoCAD (an architectural and design rendering software) to create preliminary digital schematics to help iron out any kinks in the design. 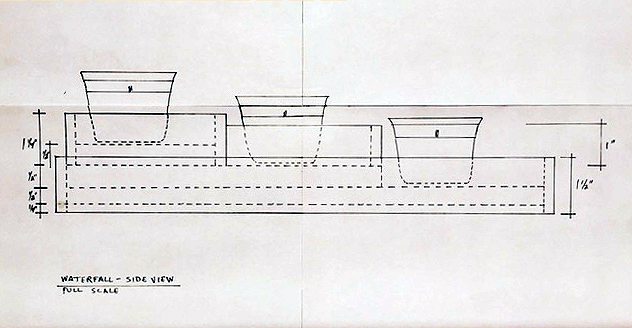 Once the concept stage was finished, it was time to dig in and create this piece. Basswood was used to create the finished piece, as the design required a material sturdier than balsa wood. While measuring out and cutting the wood pieces, some changes were made to the original design to simplify the process, but overall, the basic design remains the same. The wood pieces were hand-sanded, then glued and nailed together to form the tiered tray. Cracks were sealed with wood putty and then sanded carefully for a smooth, even surface. The next phase was to apply the paint. Black and white paint were mixed to create a medium grey tone to paint onto the wood structure as a base coat. Next, a thin layer of glue was applied and allowed to dry to a tacky texture. A lighter grey was painted on top for contrast and a weathered look. The finished wood piece was then varnished and allowed to dry overnight. 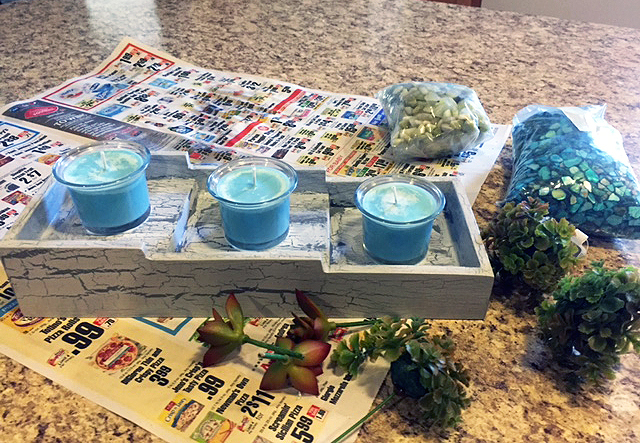 Small clear glass votive holders were then glued into place on the wooden structure, one on each of the three tiers. Natural and blue-colored stones were scattered on the tray bottoms and glued in place, along with artificial shrubbery. At this time, I decided that I wanted a slightly “wetter” look, so I purchased Realistic Water and Water Effects from Scenic Woodlands (a company that sells products for modeling) and applied these elements to the base of the tray to add a bit more of the desired water effect. This application also aided in keeping all the small pieces gelled together. The finishing touch was the application of artificial moss along the edges of the wood base. 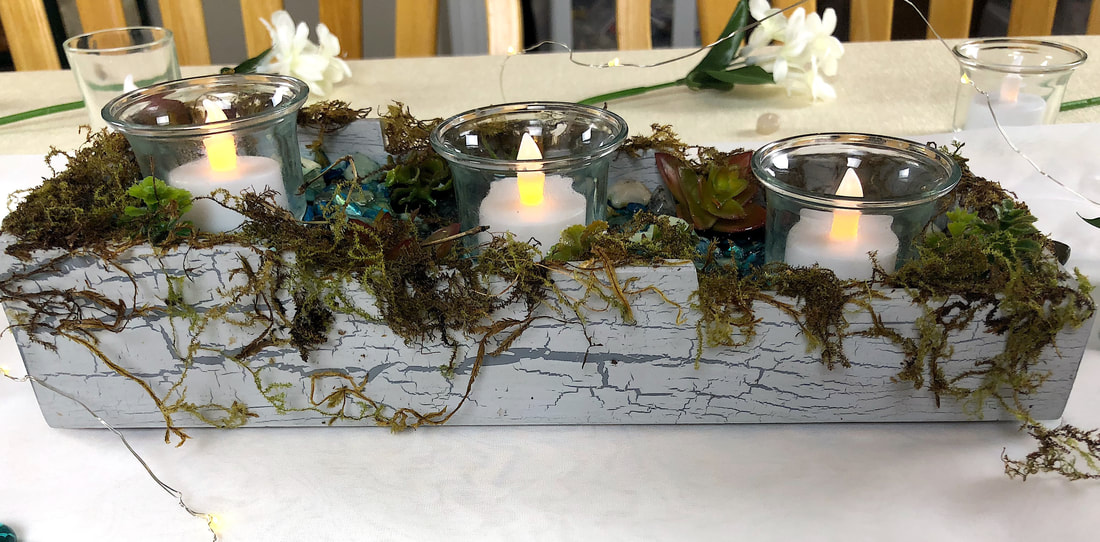 Waterfall Decorative Candleholder by Di's Studio Designs I have to say, this project was incredibly labor-intensive, but it was a labor of love, and I enjoyed creating a finished design piece that represents things that are most dear to my heart—water and nature. The idea of using abstract designs as a base for organic finished centerpieces and decor is endlessly fascinating to me, so I will certainly be creating more pieces like this in the future to add to my Di’s Studio Designs collection—and I already have some thumbnails to get me started. Stay tuned! Shop for handcrafted nature-inspired decorative candleholders by Di's Studio Designs here! Related blog posts you may want to read: Finding creative inspiration from nothing Creation of a centerpiece Nature and well being Inspiration New decorative lanterns by Di's Studio Designs Last week, I talked a bit about my creative journey and my views on the role of creativity in our lives. This week, I thought I’d expound on that topic by sharing an example of a specific project—my Autumn Bonfire candle piece—and the ups and downs I experienced making this unique Fall decor item. The Process: Well, this candle project had an interesting beginning. I had a vague idea of what I wanted to achieve but nothing concrete. Here’s how the whole creative journey unfolded… One day, while shopping at a local thrift store, I came across a box with three sets of very unusual yellow glass candles and votive holders. I opened the box, loved it instantly, and knew something beautiful could be created with these golden treasures. And that’s all I had…Just an inkling of something in the back of my mind. 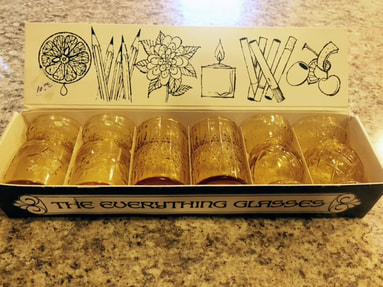 Well, the box sat in my cupboard for months. I’d take the box out occasionally and look at the votive holders, pondering and brainstorming. I’d show them to people and energetically chat about my ideas…and then put the box back in the cabinet for another few weeks. Finally, enough was enough, and I had to do something with at least some of these pieces. It was my favorite time of year—Autumn—and I was inspired. I had just made some candles using a wonderfully spicy Autumn Magic scent, so I put one of my finished votive candles inside a votive holder and thought for a bit. “This would look amazing lit,” I thought, “Almost like a glowing flame.” From this epiphany, the gears in my mind started to turn, and I envisioned this little votive holder sitting on top of a wood pile. My thoughts turned to my favorite architect--Frank Lloyd Wright (a subject for another day)—and I could see cantilevered wooden shapes in my head. But I could not visualize something that clicked. So I sat down and played—like a three-year-old child—with a box full of balsa wood pieces, absentmindedly stacking different size wood pieces in various directions, knocking them down, then stacking other pieces…until finally something magically appeared out of the fog! There it was—the image of wood stacked in an alternating pattern and my pretty little yellow candle on top. 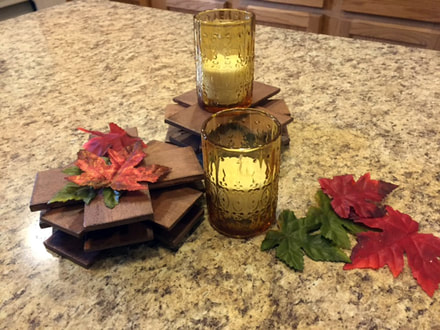 It’s one thing to know how you want an art piece to look and quite another to figure out exactly how this is supposed to happen realistically. Designers can and do envision all kinds of creative things, but only a portion will be safe and functional. Not only did my finished piece have to be visually attractive, but it had to be stable. So now I had the idea and a direction to follow…now the fun could begin. Now, we figure out how to make this idea functional. Once I started work on this project, the ideas came fast and furious, and the problem-solving skills mixed with my creative imaginings, and the whole thing just took on a life of its own. The first thing I needed was a flat base for my wood pile. In my mind, I could see the two-part base made up of a wooden tray with a lip. On top of this tray would be a wood pile with alternating strips. A wood square plank was cut, along with thin strips of balsa wood, which were then nailed along the perimeter of the plank. This tray piece was then sanded, stained with craft wood stain, and sealed with varnish. The top portion (the wood pile) was built with a series of balsa wood strips set in alternating X design to create the illusion of a pile of wood stacked for a fire. Each wood strip (7 or 8 for each candle) was sanded, stained, and sealed. Next, all the strips were nailed and glued together. The finished wood pile piece was attached to the bottom tray. Now that the basic construction was finished, it was time to add in the decorative elements. My wood pile needed the look of earth or stone to finish off my abstract idea of a bonfire. To this end, naturally colored decorative stones were spread around the bottom tray and glued in place. These stones added visual quality to the piece and much-needed weight to the tray so that the finished item would not be too light or easy to knock over. Faux fall leaves were glued on top of the wood pile in an alternating pattern to create the illusion of a flame. The yellow glass votive holders were then glued to the leaf piles for the final touch. When all the pieces of this project came together, the effect was of a miniature fire pit, complete with stones, stacked firewood, and flames. I couldn’t help myself—I smiled and thought, “This will look magical once the candle is lit.” I fell in love with the overall design! I’m already thinking of some variations in the design to make it more versatile. 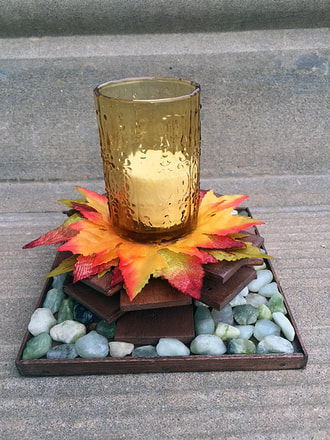 Autumn Bonfire. Designed by Diane M. Lilly, 2015. After months of hoarding these precious yellow votive holders and knocking around various ideas, I finally had a finished product I loved. A nondescript, vague notion turned into something real and tangible. Out of chaos came order! And that is the epitome of the creative process, is it not?! Shop for handcrafted nature-inspired decorative candleholders and faux floral centerpieces by Di's Studio Designs here! Related blog posts you may want to read: Creation of a centerpiece Nature and well being Art imitates nature Inspiration |
Author
Some of the posts on this site contain affiliate links. This means if you click on the link and purchase the item, I will receive an affiliate commission. 
Categories
All
Archives
April 2024
|