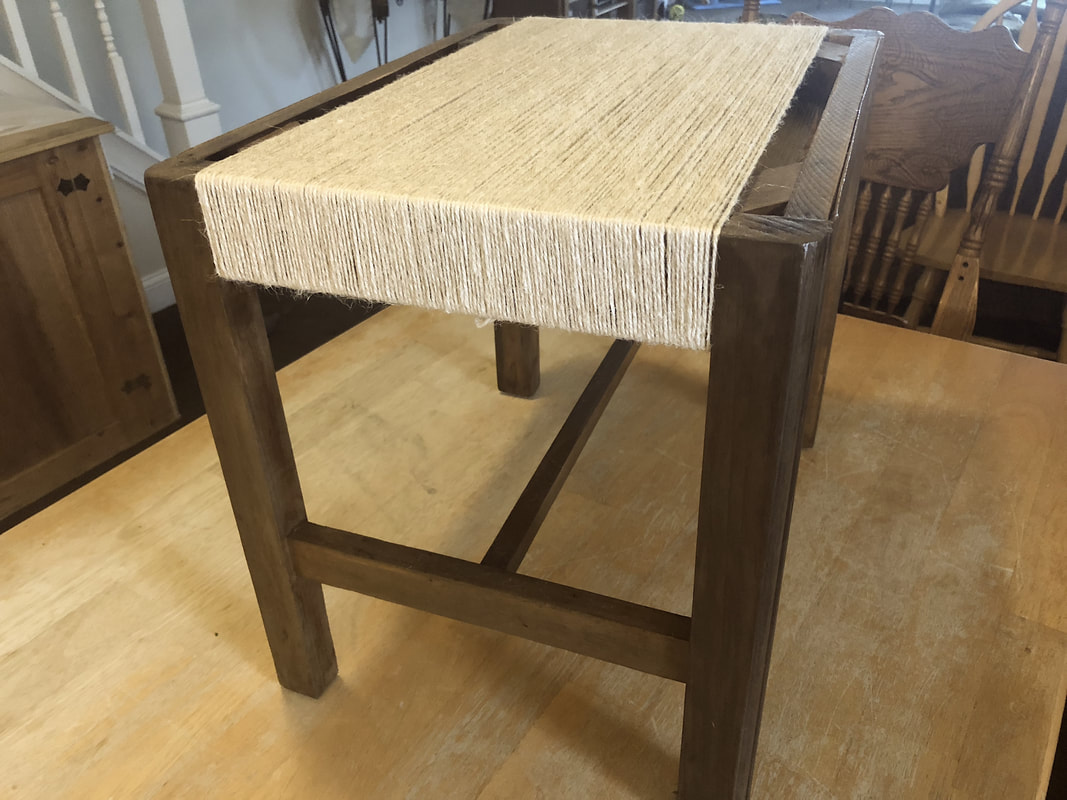
 Photo by Diane M. Lilly, 2018. Oh, how this tiny little piece of furniture challenged and frustrated me!!!! I spent many more hours on this project than I had planned, and each stage of the process brought fresh vexations and doubts! Let’s just say this stool almost ended up in the trash more than a few times during the refinishing process! But I persevered…and I’m glad I did! I found myself at the varnishing stage and wondered whether or not the effort would be worth it. I had managed to survive the paint stripping and staining phases of this project but was not feeling very confident about the look of the wood. Taking a deep breath, I moved forward with the varnish step, hoping that the result would look nice...even if it wasn’t quite what I had envisioned at the start. It was quite a pleasant surprise that the stool only needed one good coat of varnish plus one very light coat on the legs and lower rails and was finished and dry in less than two and a half hours. And—to my complete surprise—the varnish made the wood a darker color! I finally saw the color I had wanted all along, and all it took was the varnish to deepen the stain. 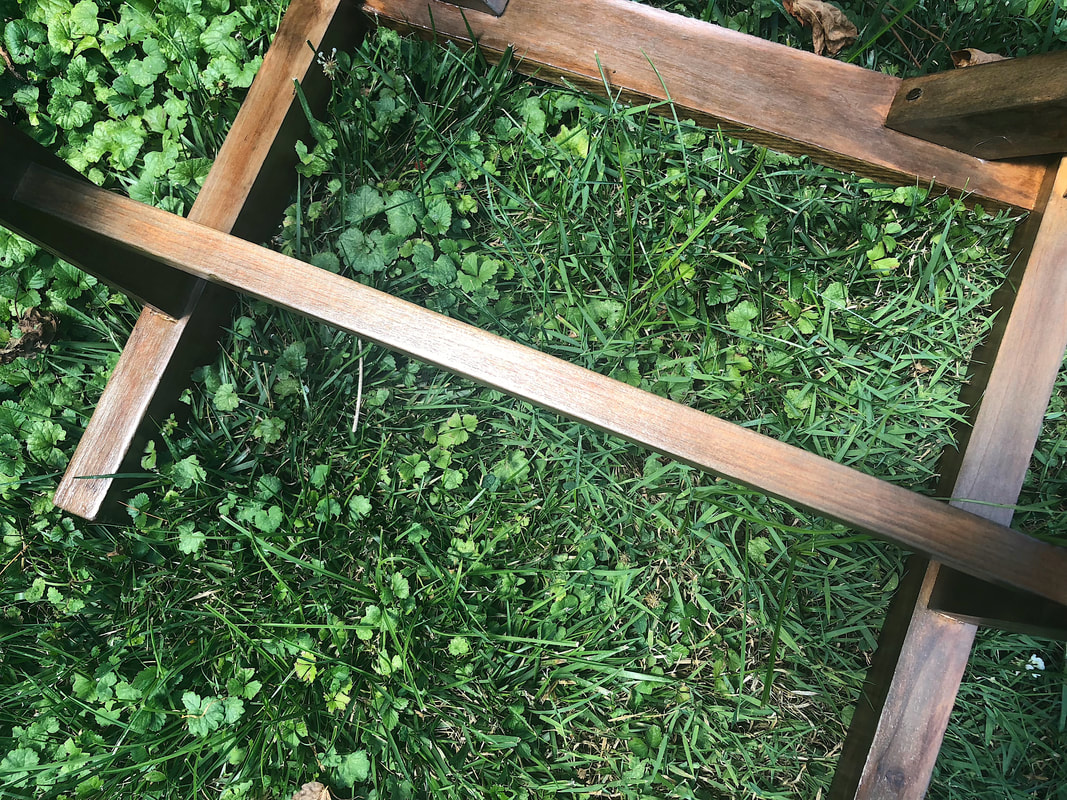 Photo by Diane M. Lilly, 2018. Fueled by success with the varnish, I started the jute twine application. I started wrapping the twine long ways around the seat part of the stool and stopped to evaluate the effect part way through…And oh my! I was blown away! My instinct to use an ivory-colored jute twine paid off, creating a beautiful contrast in color and texture between the twine and the wood. I kept going, wrapping along the long axis, then wrapped the two short ends until I ran out of twine. The plan—after purchasing more twine—was to wrap the center section, winding the twine underneath the long axis in order to give the whole application a feeling of depth while still sticking with the weave concept. The plan was to create a very intricate weave with individual strands. But I realized very quickly that would be a huge pain in the ass! So, I went with the chunkier weave effect instead.
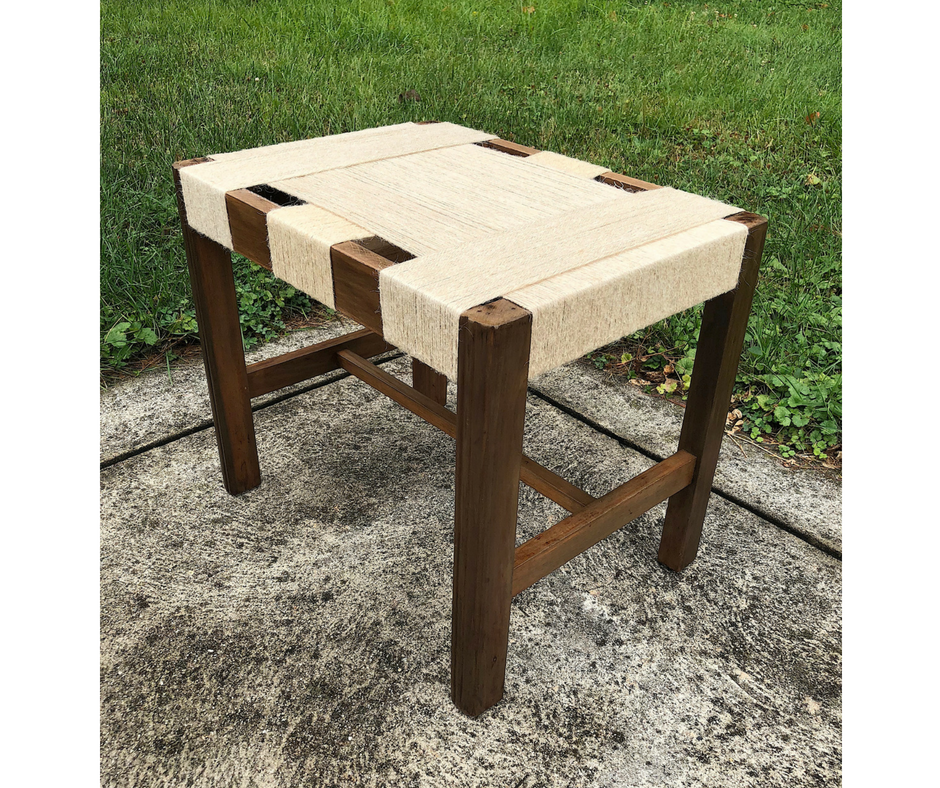
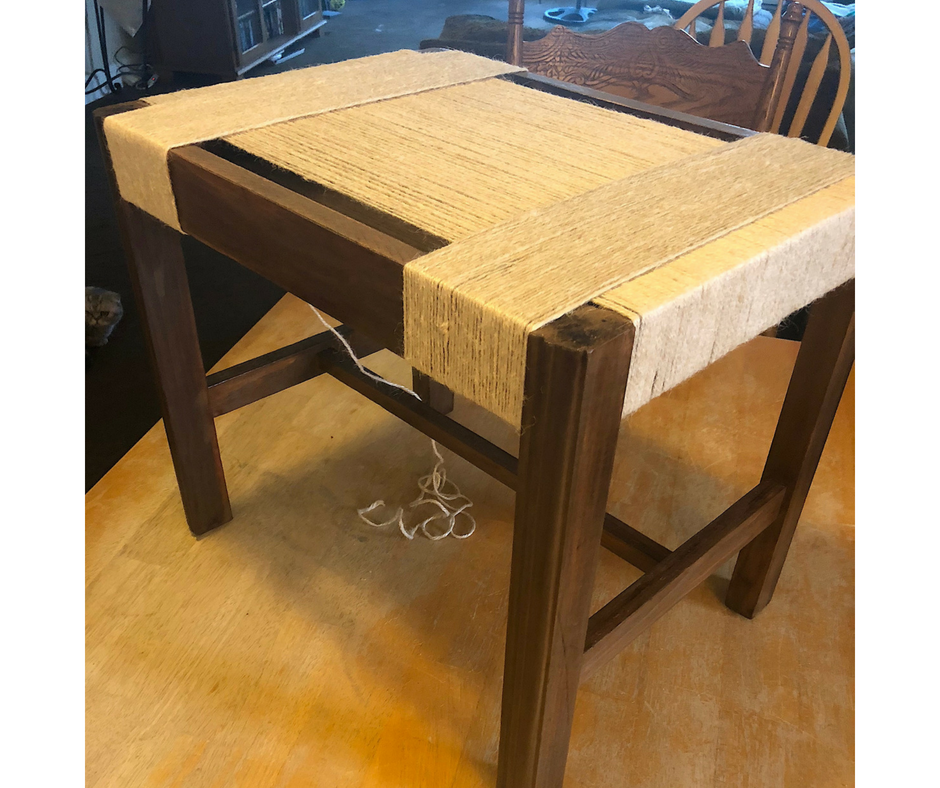 Photo by Diane M. Lilly, 2018. More drama at the end…While I was trying to weave the center portion with twine, I accidentally snapped some of the veneer. So, out came the E6000 glue and a few clamps to fix the issue. Eventually, I finished the weaving process and breathed a sigh of relief! It was now that I realized and appreciated that all my hard work paid off. 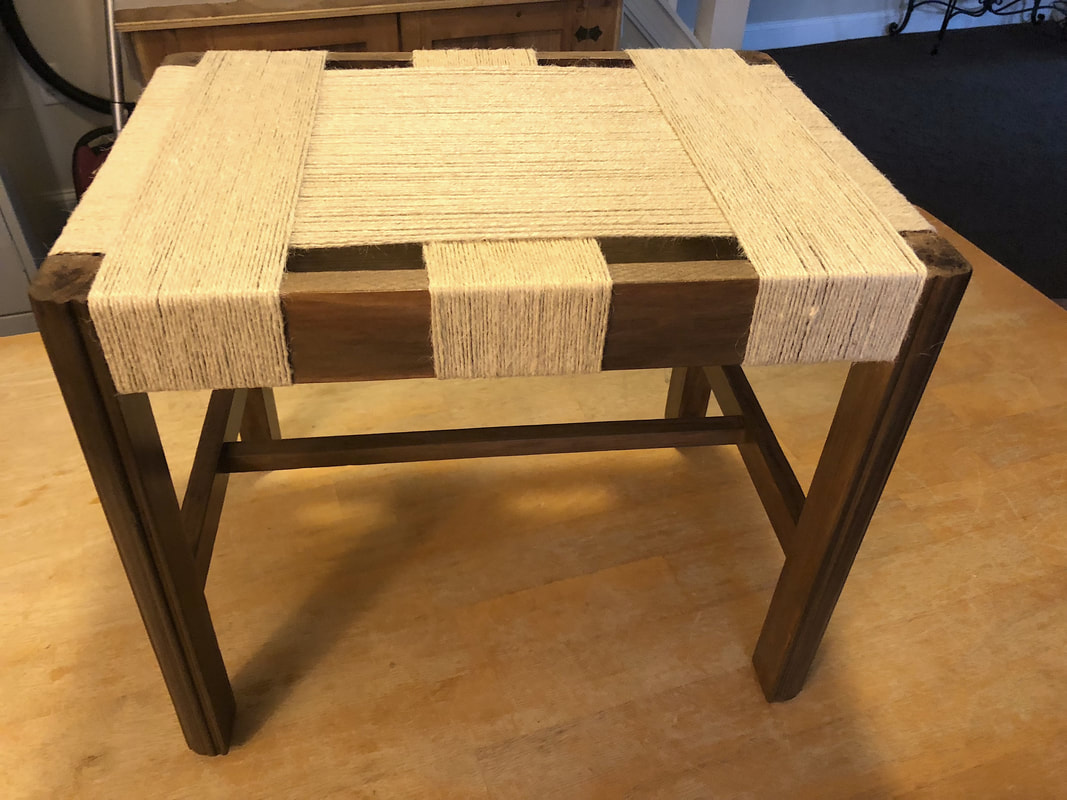 Photo by Diane M. Lilly, 2018. I am so glad I stuck it out til the end. I knew—I hoped—that this final stage would be the point where this piece came alive, and boy, was I right! The color is a rich semi-weathered brown that looks right at home in my living room, and the jute twine weave gives this vintage piece a respectable look that is not out of step with the linear design. It’s beautiful…After all of the heartache and doubt, it does look quite nice. A look back at the process… As I write this blog post, I reflect on where I started and what it took to get here. My original plan was to have a piece of furniture using jute twine and tea stain that would look nice in my living room as a plant stand. I wanted to give this little stool the dignity it deserved, striving to create a final design that complimented the linear Mid-century wood details. This second-hand stool from a junk shop transformed from torn, tattered, and water-damaged to a classy yet rustic plant stand that will last for many years. I faced challenges during the stripping and staining stages, and the veneer along the sides continued to be a problem right to the bitter end. The process took me WAY longer than anticipated, and I learned that patience is a virtue when dealing with natural materials. I got there in the end, but it was a tough slog! But I am proud of my persistence and am feeling a tremendous sense of accomplishment. And after all of the ups and downs, I now have a piece of furniture that looks lovely in my house! 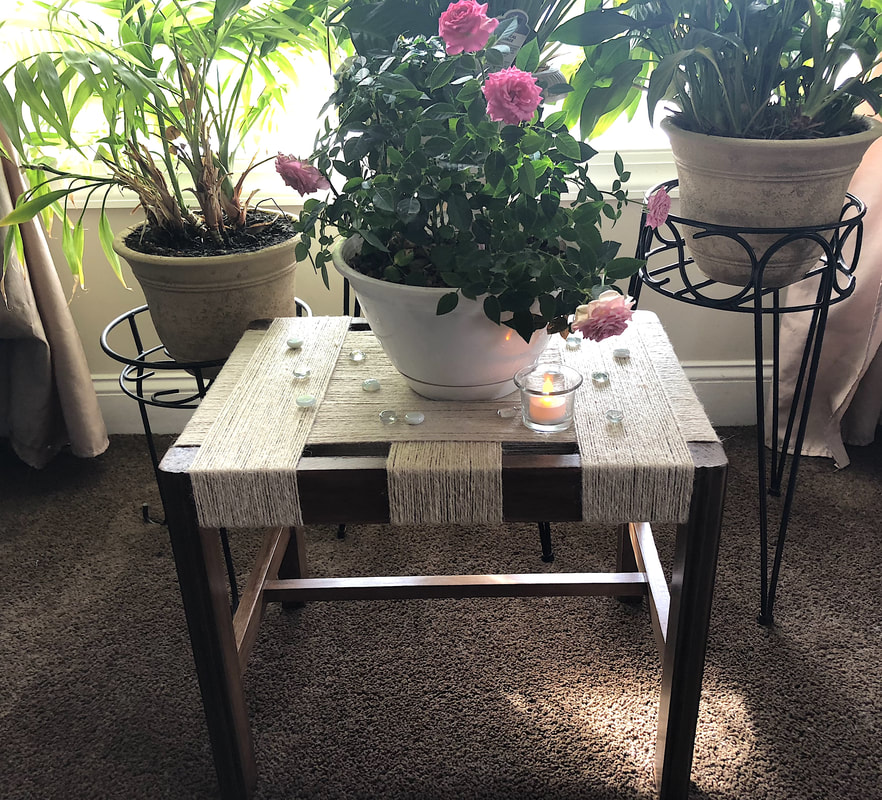 Photo by Diane M. Lilly, 2018. In case you missed the blog posts from the previous stages of this project, I have the links listed in order below. Feel free to comment or share your own experiences, struggles, and triumphs with your wood projects! The original vintage stool The paint stripping stage Staining the piece with tea
0 Comments
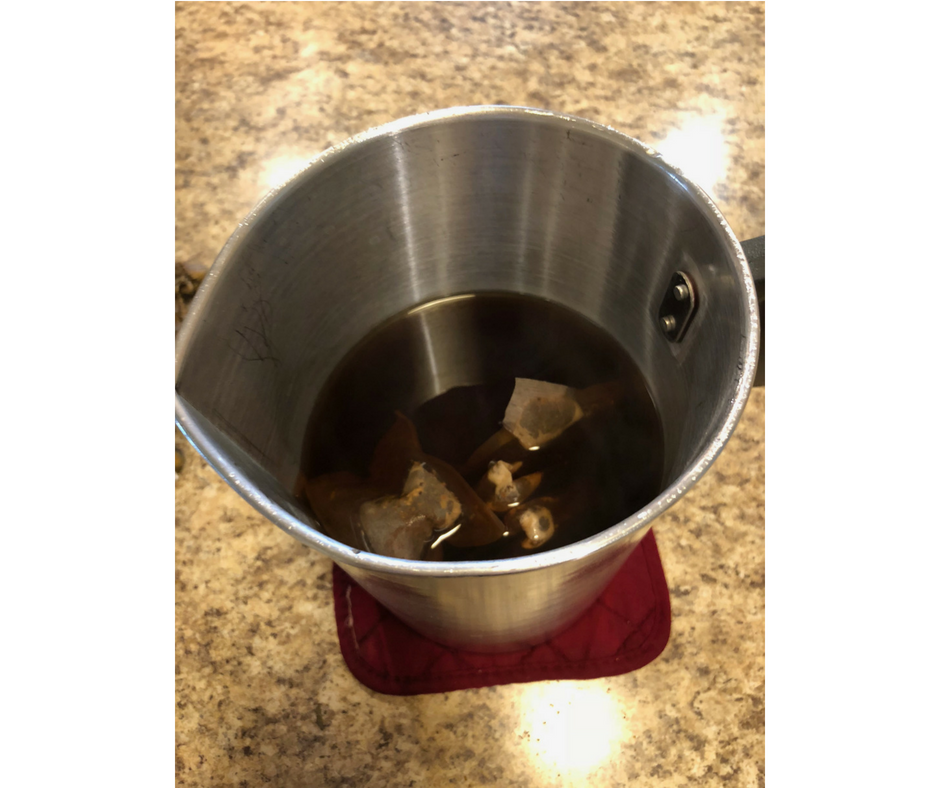 Photo by Diane M. Lilly, 2018. If you’ve been following my latest blog posts, you already know the battle I went through during the stripping stage of this project! Needless to say, I was glad to have that chore behind me! I was looking forward to having a pleasant day trying out this tea-staining technique I found online. Anything all-natural is right down my alley! The technique also calls for using steel wool and vinegar as a weathering agent, but I was short on time and couldn’t find regular steel wool at either of the two local supermarkets I visited. So—out of time and patience—I just used the steel wool soap pads for this project. I didn’t want the blue dye, so I rinsed two halves of a pad until the water ran clear, then threw them into a glass container filled with a generous amount of distilled white vinegar. 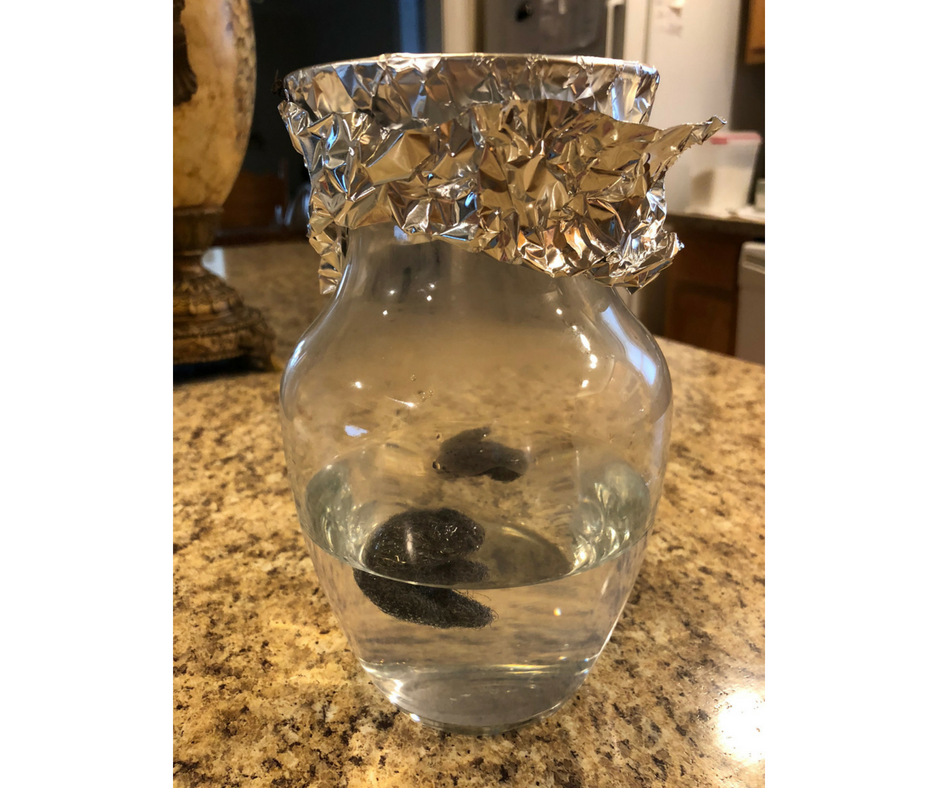 Photo by Diane M. Lilly, 2018. Then I boiled some water and seeped three black cherry berry tea bags in the water. After a few minutes, I tested the color by pouring a teaspoon of the liquid onto a white paper towel. I decided it wasn’t dark enough, so two tea bags of Vanilla Chai Black Tea were added to the mix. The next morning, I noticed that the vinegar concoction did not turn a rusty brown color like in the descriptions I found online, so this had me a bit worried about whether or not this mixture would age the wood. This type of situation has been typical of this project—nothing has been going to plan! The first coat of tea stain was applied to the wood, but—surprise, surprise—it came out much lighter than I had expected. It looked like such a luscious, rich color while wet, but as the stain dried, the color lightened up quite a bit. In fact, it almost disappeared! So I realized that this was going to be like any other staining project, requiring several coats of stain to build up the final color. The instructions I was following suggested using coffee grounds to darken the tea stain, but at this point, I didn’t want to deal with potentially having to remove bits of coffee grounds from my piece, so I skipped that step—for the time being.  Photo by Diane M. Lilly, 2018. While working outside with this tea stain, I noticed ants roaming around my work area and was worried that ants would be a problem. As time passed, I saw the ants weren't sticking around. I could (thankfully) continue working…for the time being. The second coat of this natural wood stain went on a little darker than before but was nowhere near as dark and as “cherry” colored as I had hoped. At this point, I added some coffee grounds to the tea in preparation for the third coat of stain. The third coat did look just a touch darker, but the color was still too light for what I had in mind. My tea stain was disappointingly not as dark as the stain pictured in the tutorials. 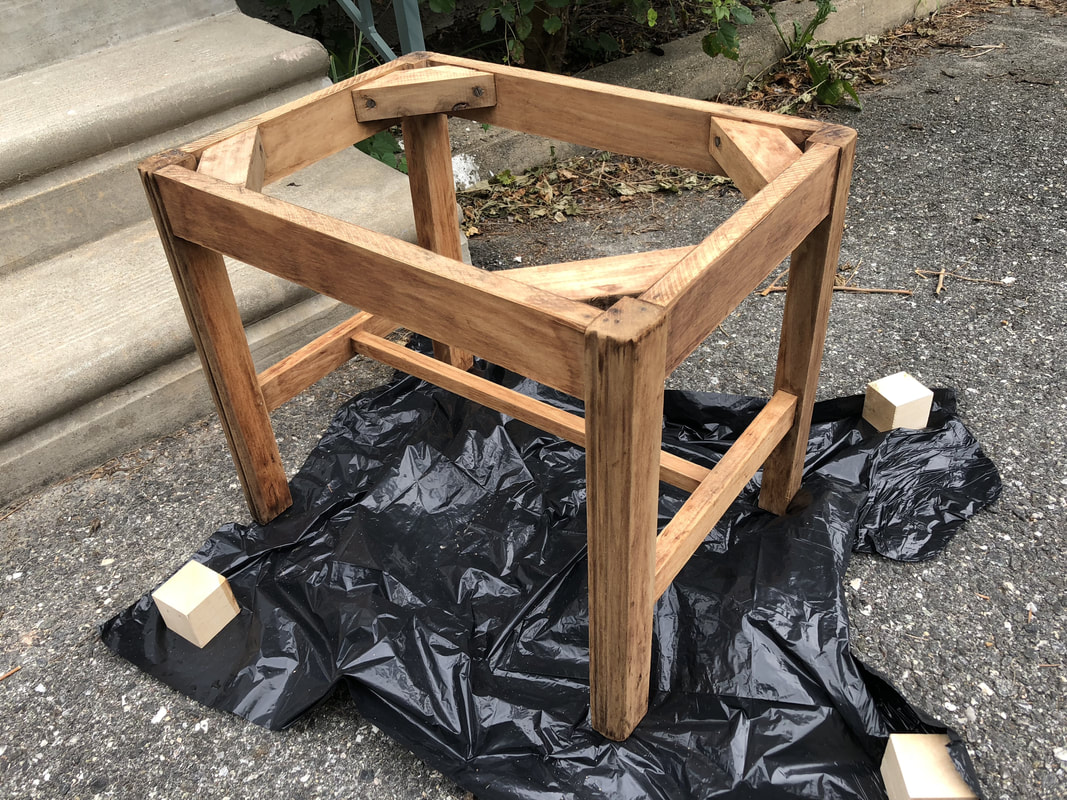 Photo by Diane M. Lilly, 2018. 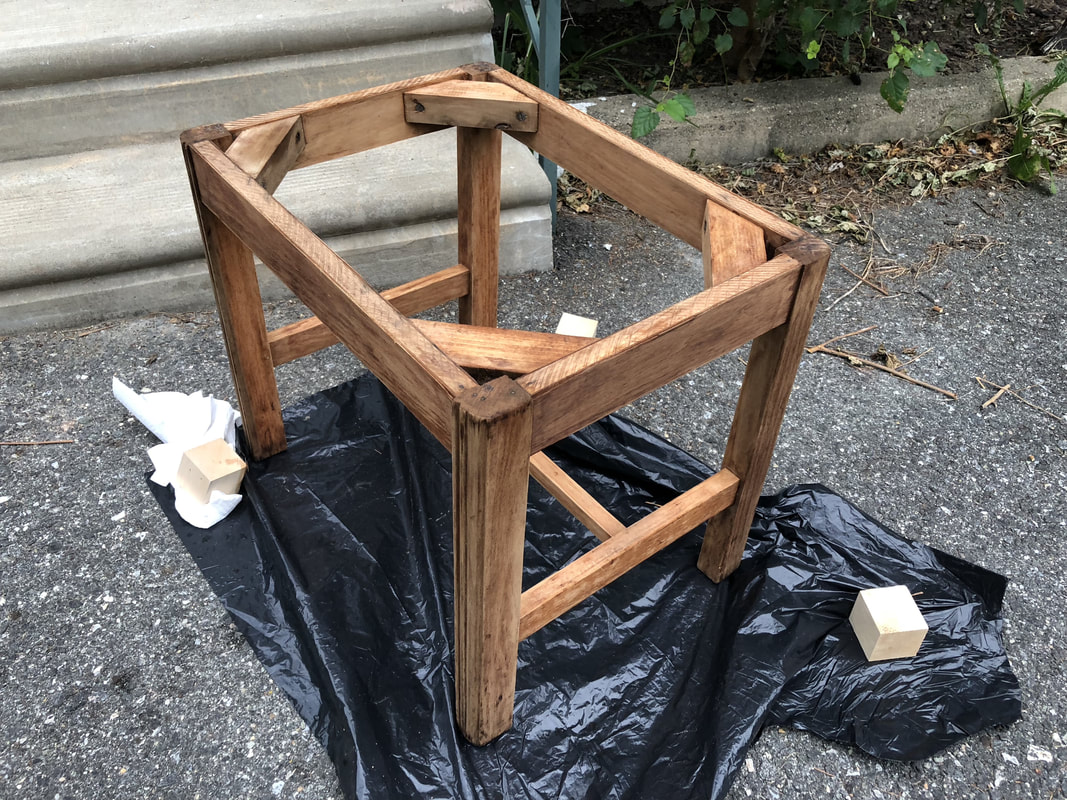 Photo by Diane M. Lilly, 2018. To make matters worse, the sky darkened, and rain moved in, so the entire setup had to be moved indoors out of the inclement weather. Long story short, my little stool took five coats of tea stain and all day to apply. I had only planned on spending a few hours working on the stain! And I still had to apply the final vinegar mixture to create a weathered look to the wood. Hubby brought up a valid point—using natural materials may be better for the environment but requires much more energy and time. The strong stuff may be worse for your health and the environment, but it takes far less time and energy! It’s a tradeoff… So, after an entire day of applying stain and finally the vinegar mixture, I was exhausted and a bit let down over the way the color looked. I wasn’t loving the look after the staining was complete, but the following morning brought a fresh perspective. The wood ended up nicely weathered, with a rustic grey hue. It’s hard to see it in the photos, but the color was darker but not as dark as I had planned. And the vinegar and steel wool added a grey touch to make the wood look old. So the vinegar mixture—even though it never turned a ruddy brown in the jar—did its job just fine! I was very disappointed, however, in the fact that this staining technique—after hours and hours of hard work—didn’t make the stool as dark as I would have liked. After the varnish goes on, the color will get a bit deeper and will end up at least close to what I had in mind at the start of this project. 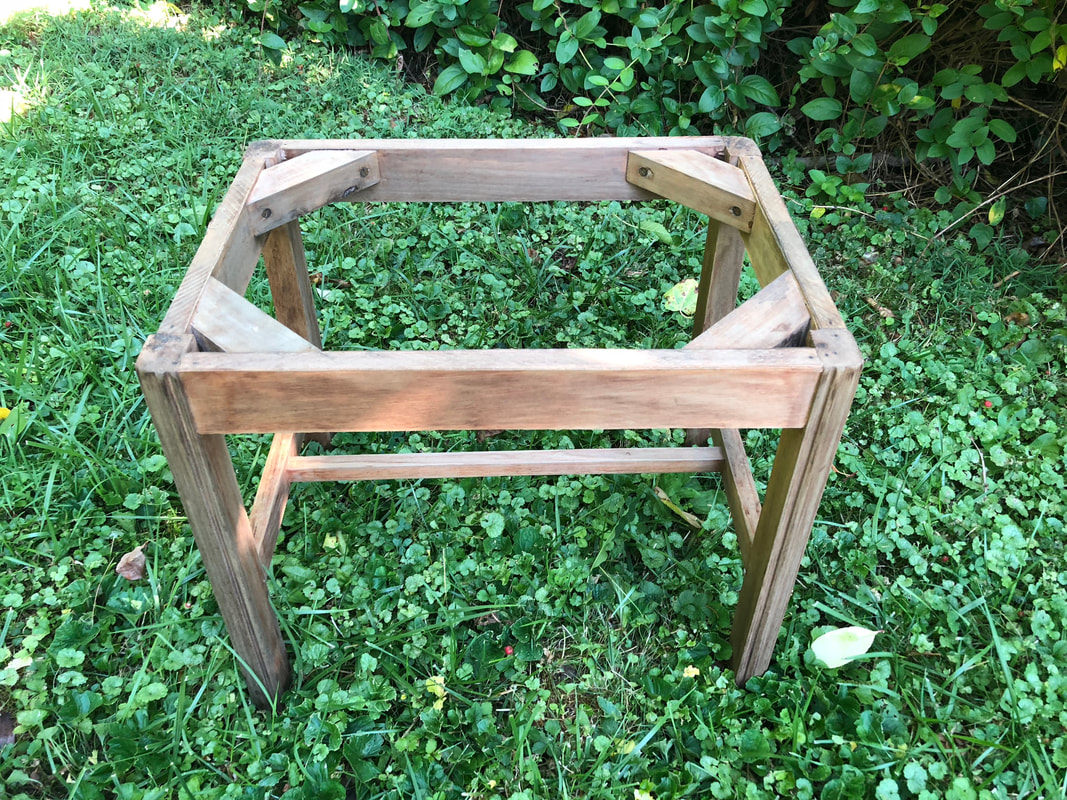 Photo by Diane M. Lilly, 2018. So, the next step is to varnish and add finishing touches with jute twine! Stay tuned for the last blog article in this series! Click on the links below to follow my journey through the stages of this project… The original vintage stool The paint stripping stage The final touches and finished piece 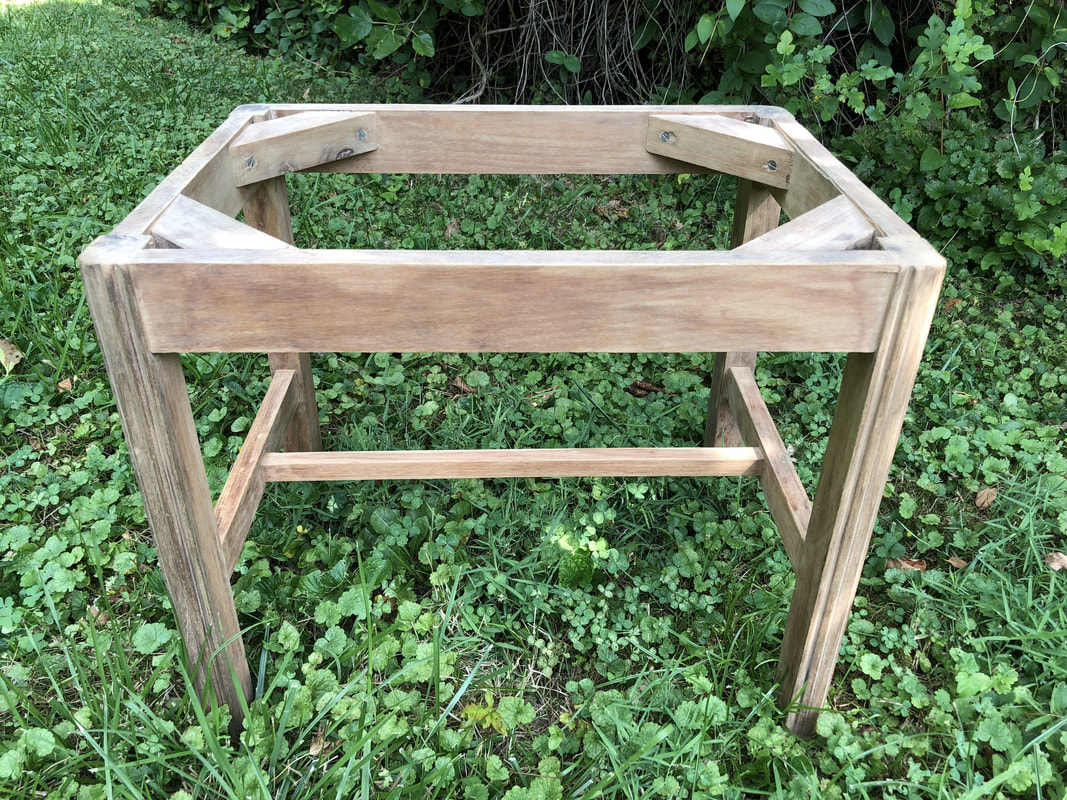 Photo by Diane M. Lilly, 2018. In the previous blog article in this series, I showed “before” photos of a tattered vintage footstool I purchased a few years back. Over the past few weeks, I managed to strip, clean, and sand this decrepit little stool in preparation for a fresh new stain and finish. Here’s how I did it… Materials used… For the stripping phase of this project, I used Citristrip gel stripper, industrial grade disposable gloves, a natural bristle paintbrush, a plastic scraper, an old glass bowl I didn’t mind parting with (since I didn’t have a metal container on hand), an old toothbrush (for those hard to reach nooks and crannies), and several plastic trash bags to catch the mess and for cleanup. For the cleaning phase, I used mineral spirits, an old toothbrush, an old soft scrub brush (soft so the wood doesn’t get scratched up), a disposable plastic container to hold the mineral spirits, and (again) several plastic trash bags to capture all the mess. Finally, for the sanding phase, I used 100-grit sandpaper, 220-grit sandpaper, and some paper towels to do the final wipe-down. Applying the stripper… A couple of words about safety…This process can make a mighty mess! The stripper can also be harmful to your skin, your lungs, and the environment—depending on what type of stripper you are using. Using plastic trash bags underneath my workpiece kept the mess contained, and then I gathered up the trash bag when it was time to clean up. I chose to use Citristrip gel, which is much safer than many other strippers on the market, but you still have to be aware that it can be harmful if you get it on your skin. I didn’t have any reactions when it got on my skin, but I did use industrial-grade gloves some of the time just in case. Also, stuff splatters when you are stripping furniture! So wear old clothes and eye protection! Good ventilation is necessary as well. I took my small stool outside and worked in my driveway and yard.  Photo by Diane M. Lilly, 2018. At the start of the day, I tentatively applied a thin coat of gel stripper to my stool, not realizing that you need to slather it on for it to be effective. When I checked on the progress forty-five minutes later, nothing had happened, so I decided to put on a second, much thicker coat. And so I confidently went back to check on the paint stripper again an hour later, expecting a different result…and nothing had happened! This is where the real lesson begins! So I was standing there looking at this stool with a paint stripper that didn’t seem to be working, and I was confused and devastated! This was NOT how I wanted to start my day! I took a coffee break, checked out a couple of YouTube videos, and learned that the surface should look white, blotchy, or bubbly when ready to be scraped. I have to say, the piece in the video became white and blotchy within 10-15 minutes, but I went out to check my stool after 20 minutes, and it was still not looking ready to scrape—like at all. I have learned through this process that you don’t know how long the stripper will take to work or how well it will ultimately work until you are in it. Sometimes chemistry works fast and does a good job, and sometimes it goes slow and not so well. Some finishes don’t react well to the stripper, or at least don’t work as fast as you would like. At this point, I have to point out that I deliberately chose a more environmentally friendly paint stripper—because that is important to me—but environmentally-friendly strippers may take longer to work and may not be strong enough for the particular job at hand, requiring a hell of a lot more elbow grease to get the job done (as I found out during this arduous process).  Photo by Diane M. Lilly, 2018. So an hour and a half goes by, and I check on the progress—again. At first, I didn’t see a difference and was ready to give up and just scrape off the stripper I had applied, clean the stool up with mineral spirits, and just sand the whole damn thing. But when I took another look from a different angle, I thought I saw the telltale white streaks that showed that the stripper was starting to work on the finish and stain…At least that’s what I thought. 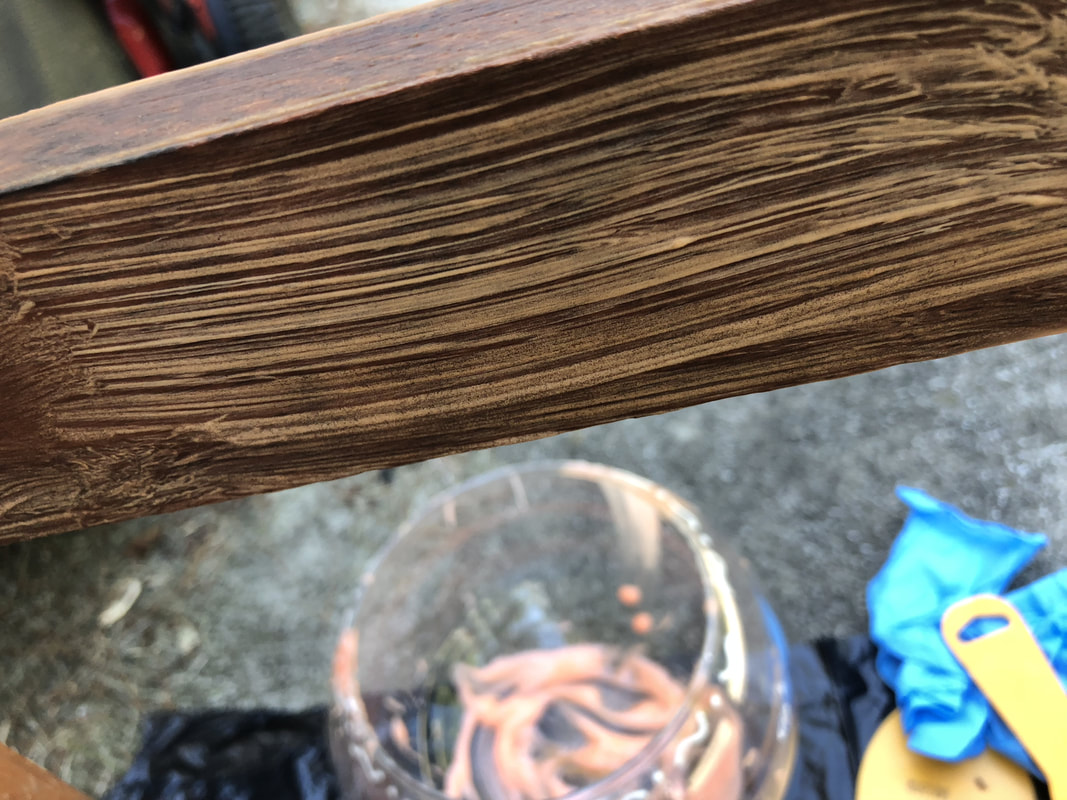 Photo by Diane M. Lilly, 2018. Thinking that there was finally progress—after hours of trying to figure out why this whole process did not seem to be working for me—I let the stool sit for a while so the stripper could do its job so I could cook dinner. Fast forward three hours…I went back to check on the progress and realized—to my horror—that the stripper had dried on to the point where I couldn’t even scrape it off. The sun had shifted while I was in the house, and the stripper had baked into the wood! But that was only part of the problem…I also realized that the stripper only removed the top layers of varnish and only some of the stain. I was so aggravated at this point, but I had some difficult decisions to make. Do I try yet another coat of stripper to see whether it takes off the remaining stubborn stain? Do I skip the stripper on the rest of the stool and sand the whole piece? Do I continue to strip what’s left of the stool and try to go with the stain that remained behind in the wood? Do I trash the piece because it is now more work than I wanted to do on this project? Here’s a little trick that I wish I had done before I just dove into this stripping process with the eagerness of a four-year-old…I should’ve done a test spot first. You should test a small, inconspicuous spot to see how the wood will react to the stripper and then go from there. I wish I had done that little trick because there I was—hours later, frustrated and pissed—staring at a hideous-looking stool that was 1/3 of the way stripped and not looking good. So, after licking my wounds for a bit, I decided to keep going—because I am stubborn and will not be defeated by something as trivial as an uncooperative stool! I grudgingly added yet another coat of stripper to rewet the baked-on stuff so I could scrape it off. I took a deep breath, muttered a few choice words, and then diligently applied stripper to the rest of the stool. I was resigned that this would be a difficult process. The good news is, after an ENTIRE day of whining, complaining, forcing myself through the disappointing results, and almost giving up (several times), I did manage to get this aggravating little stool stripped. But let’s just say I was less than pleased with this project and the results so far… 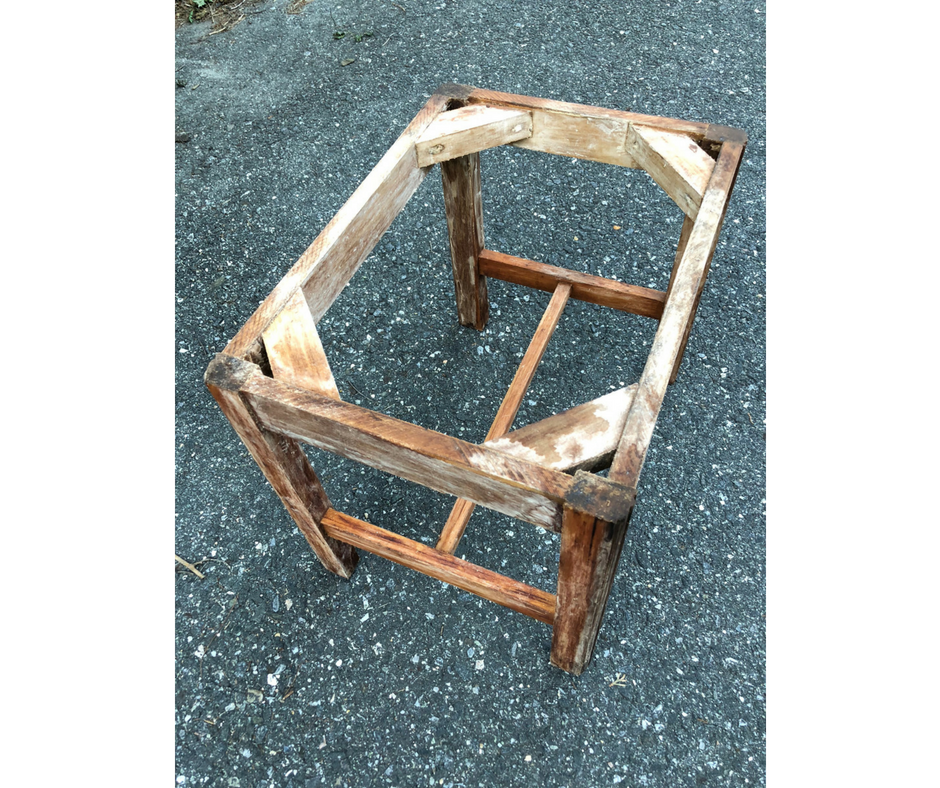 Photo by Diane M. Lilly, 2018. Cleaning up with mineral spirits… I let a few days go by before cleaning the wood with mineral spirits—partly because I didn’t have much time but mainly because I was disgusted and didn’t want to look at it yet. But I finally decided to take stock of the situation so that I could make some decisions about how to proceed. First, I noticed that the stripping and cleaning process did quite a lot of damage to the veneer around the seat rail. The wetness loosened the veneer and softened it to the point where it started cracking and chipping off. I’m not too worried since almost none of the seat rails will be seen after I apply the jute twine to the top, covering those areas completely. But I am still not happy that the damage occurred. 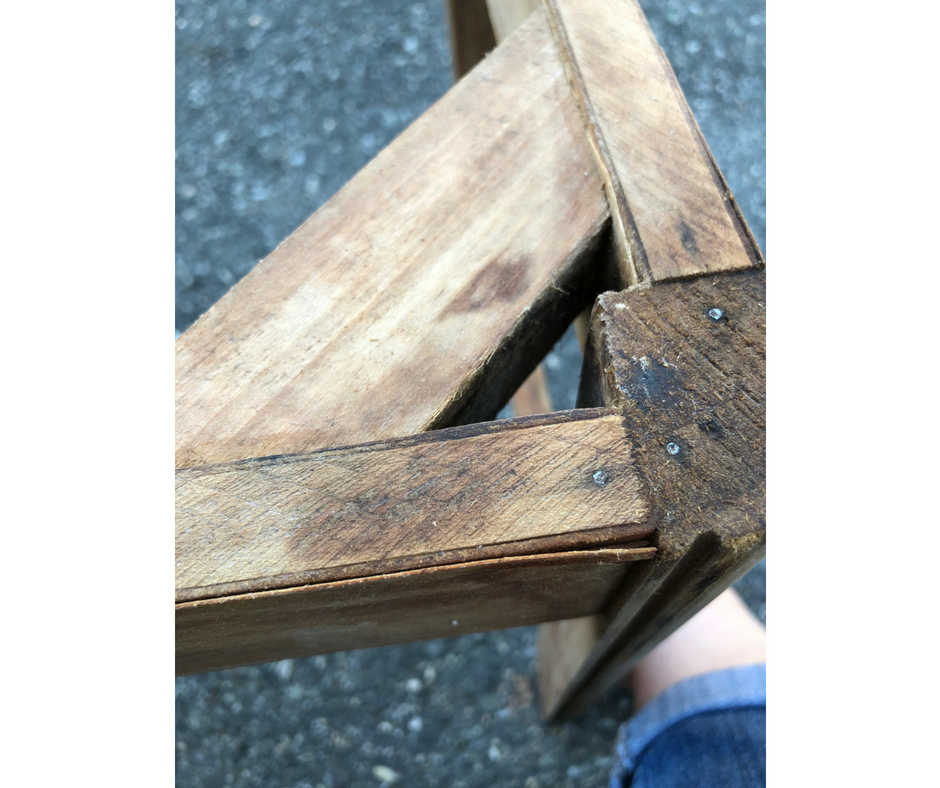 Photo by Diane M. Lilly, 2018. And then I looked at the awful state of the wood and all the stain still left behind—despite hours of hard work and two or three coats of stripper. All I could do at this point was to hope that I could clean it up with mineral spirits and sandpaper. And so I prepped my workspace in my driveway and dug in, fueled by coffee and a stubborn streak. 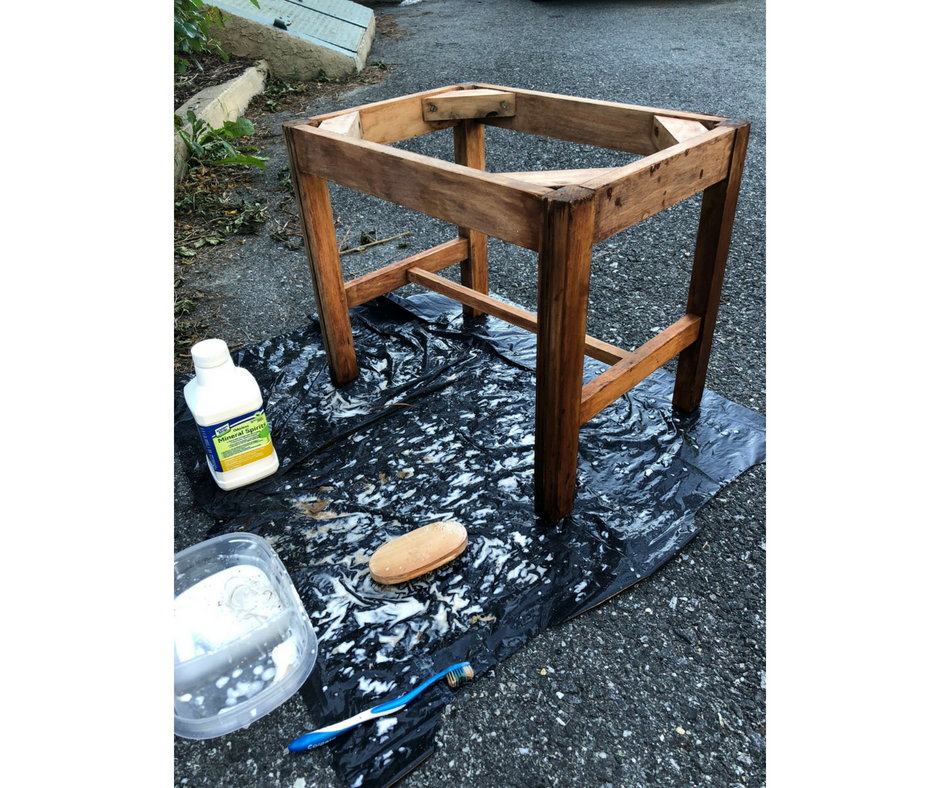 Photo by Diane M. Lilly, 2018. I spent an hour cleaning the stool with mineral spirits and then let it dry outside. A little while later, I went to check on it, and—to my astonishment—much of the dark stain was gone! At this point, I realized that I was still in the game. There was still a chance I could pull this off and create a beautiful, weathered plant stand for my living room…All I needed to do now was to sand it a bit… 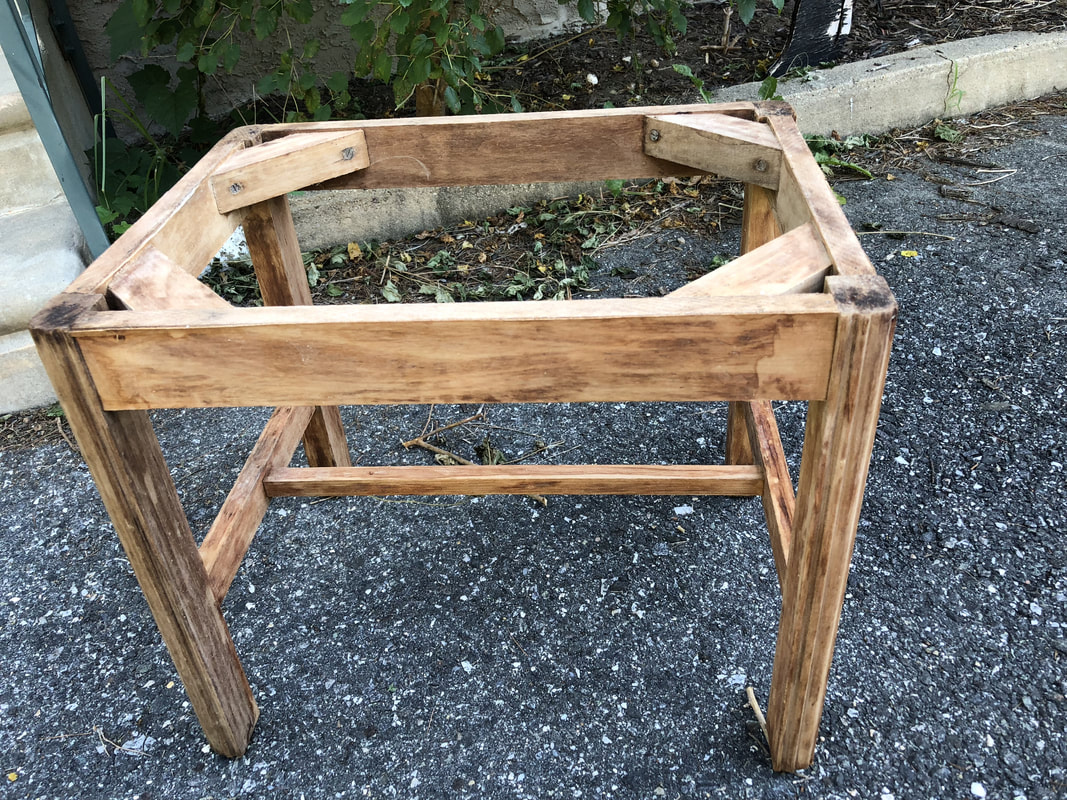 Photo by Diane M. Lilly, 2018. Sanding the piece in preparation for stain… The sanding was a relatively easy process—considering I was sanding by hand—that only took me an hour and a half to complete. I hit it first with 100-grit medium sandpaper, then 220-grit fine sandpaper. This cleaned off any residue from the stripping and cleaning process and lightened the leftover stain just enough to make the wood more or less even in tone. I feel confident that the tea stain I plan to use will work well with the coloration still left on the wood. The more I look at it, the more I think the leftover stain will work to my advantage and play into my vision of a weathered finish for my new plant stand. 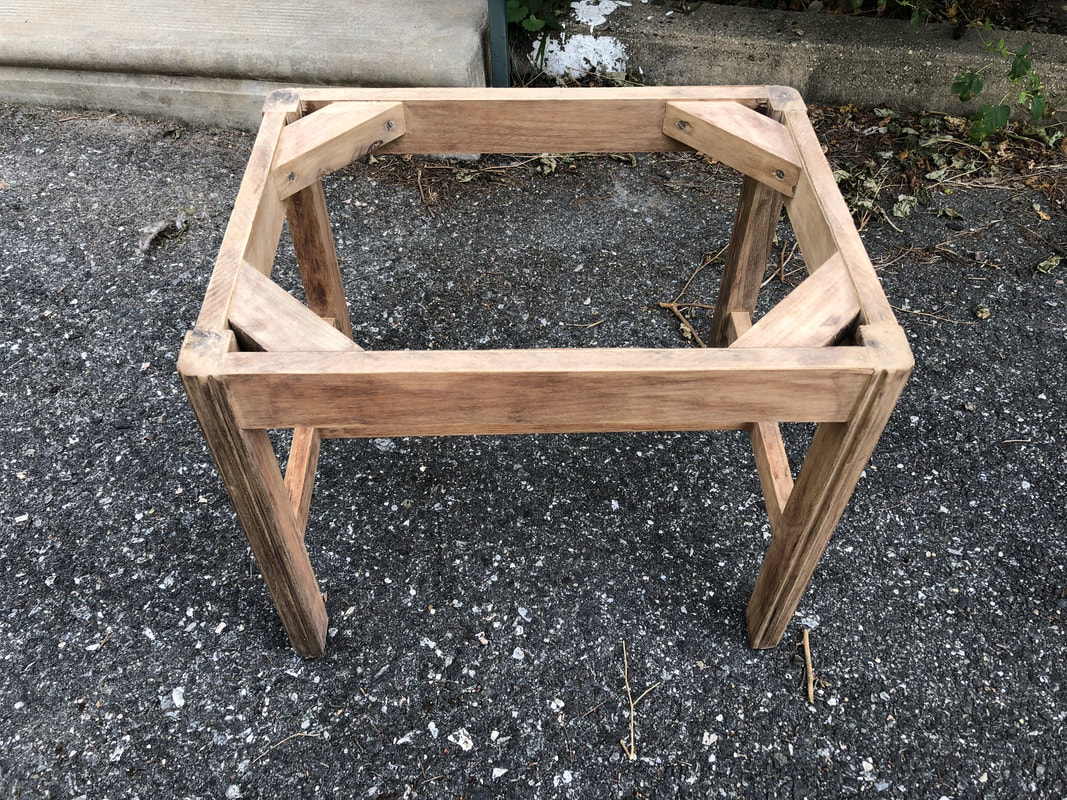 Photo by Diane M. Lilly, 2018. I will create and apply a homemade, non-toxic tea stain next. It should be exciting…I hope! Click on the links below to follow my journey through the stages of this project… The original vintage stool Staining the piece with tea The final touches and finished piece |
Author
Some of the posts on this site contain affiliate links. This means if you click on the link and purchase the item, I will receive an affiliate commission. 
Categories
All
Archives
April 2024
|