|
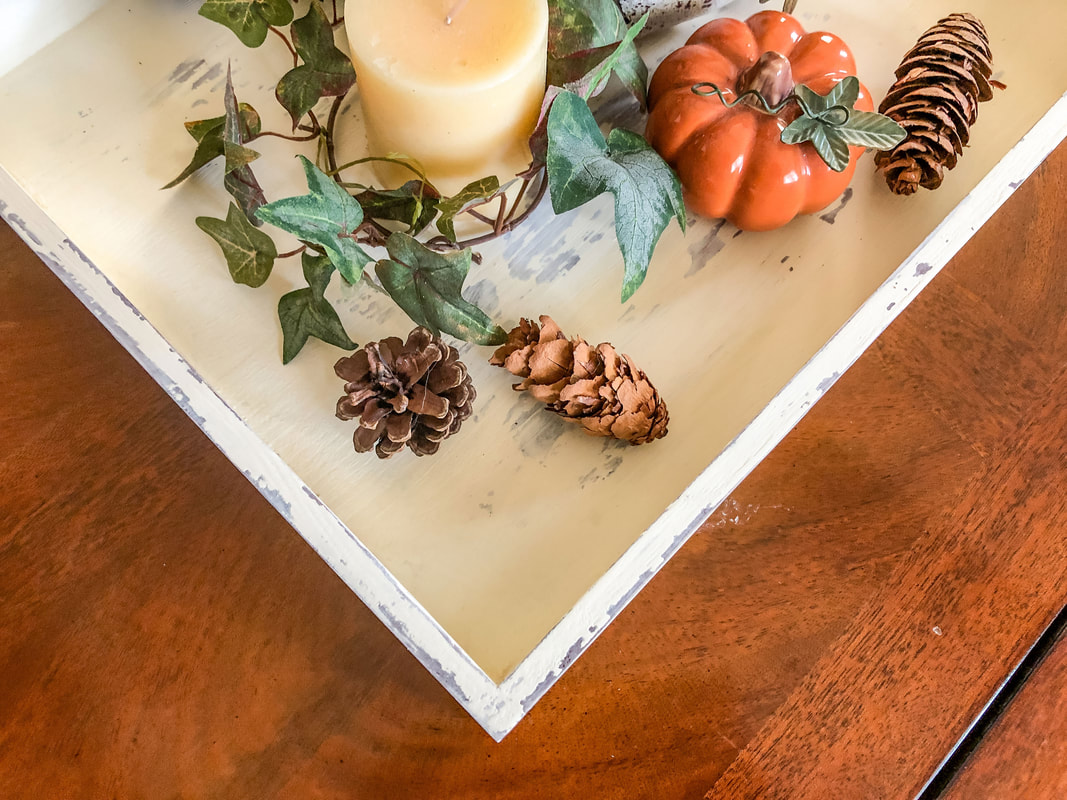
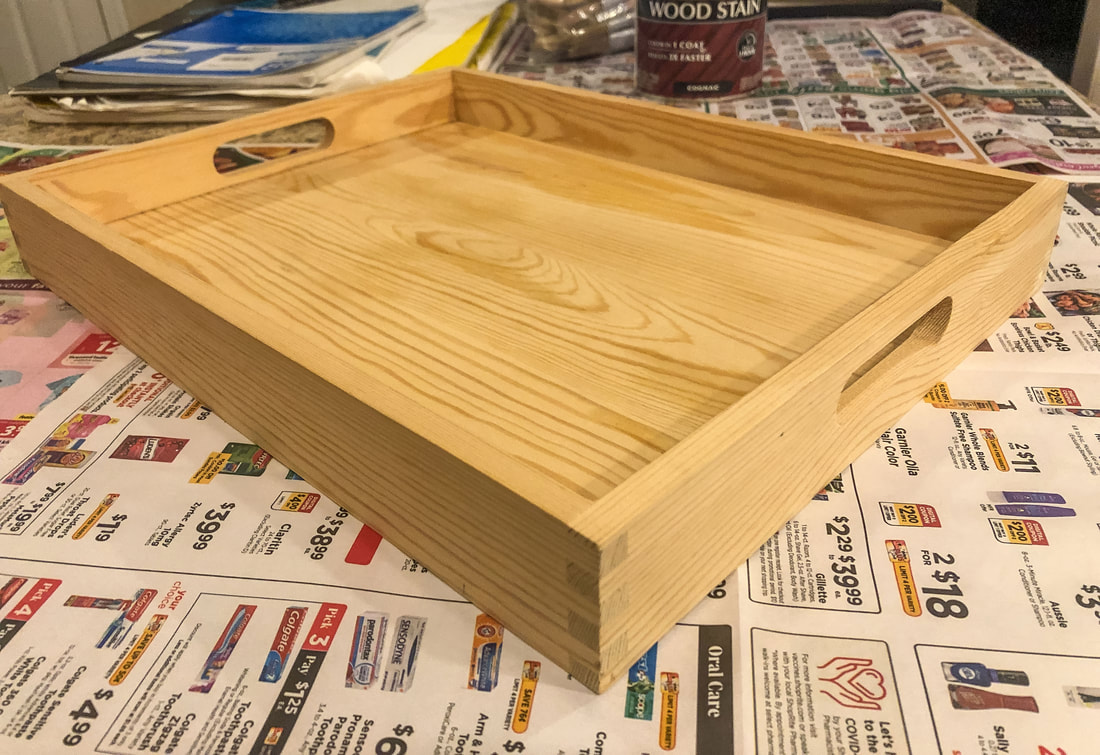
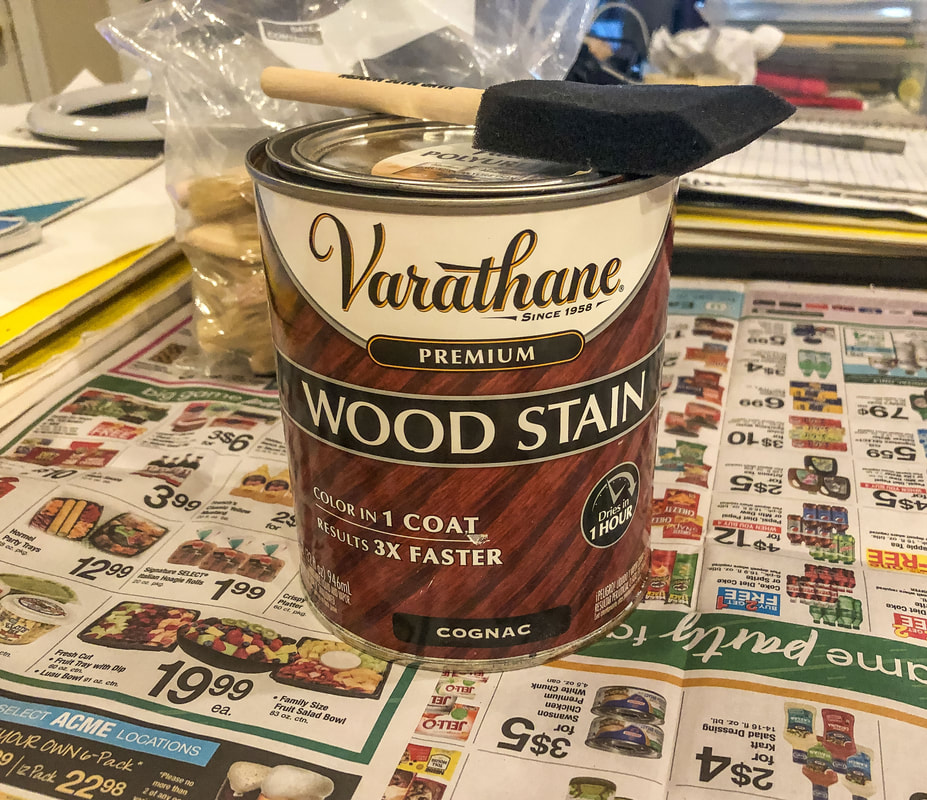
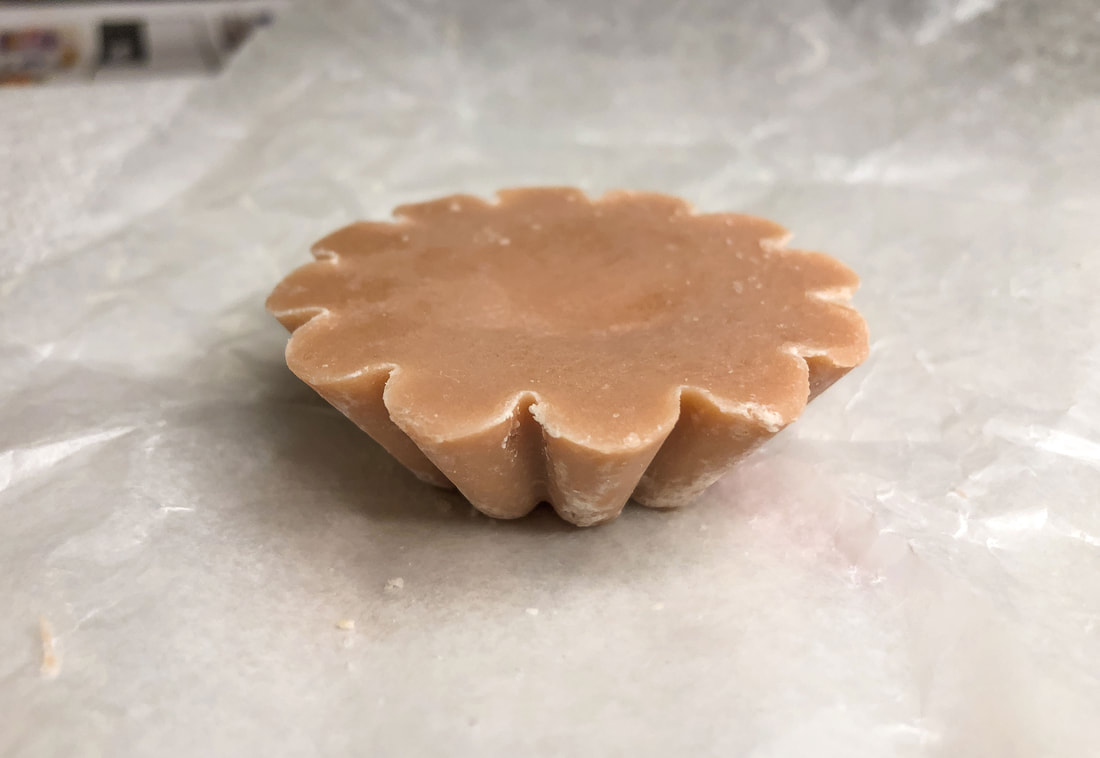
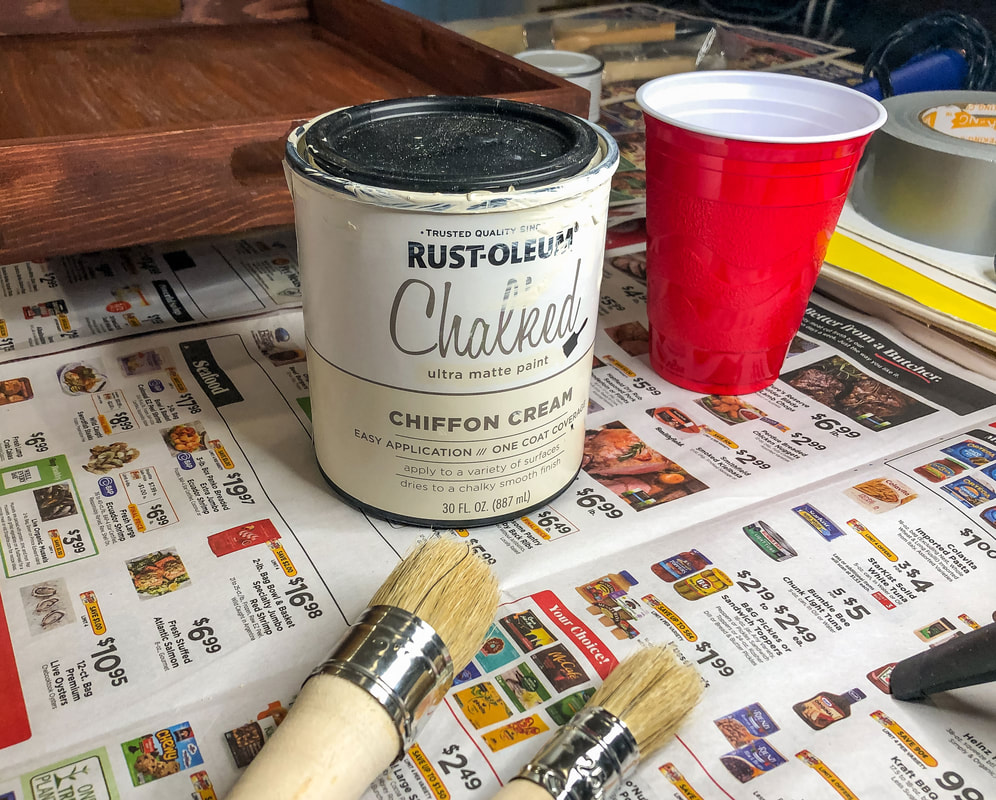
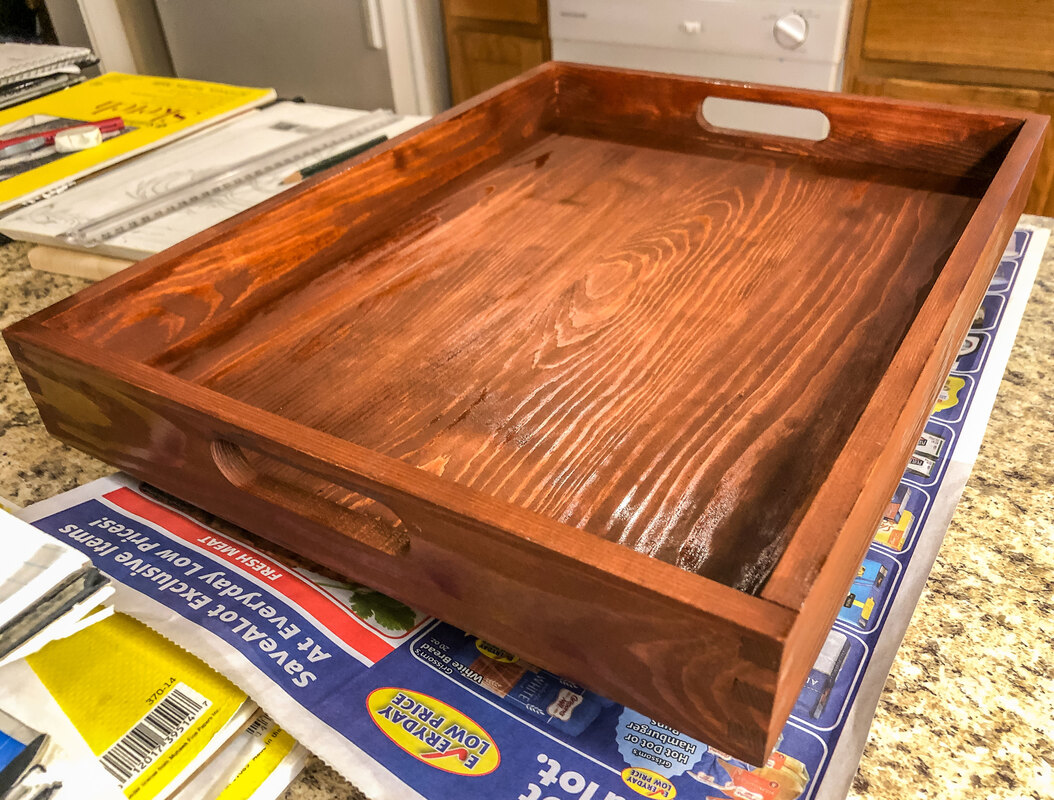
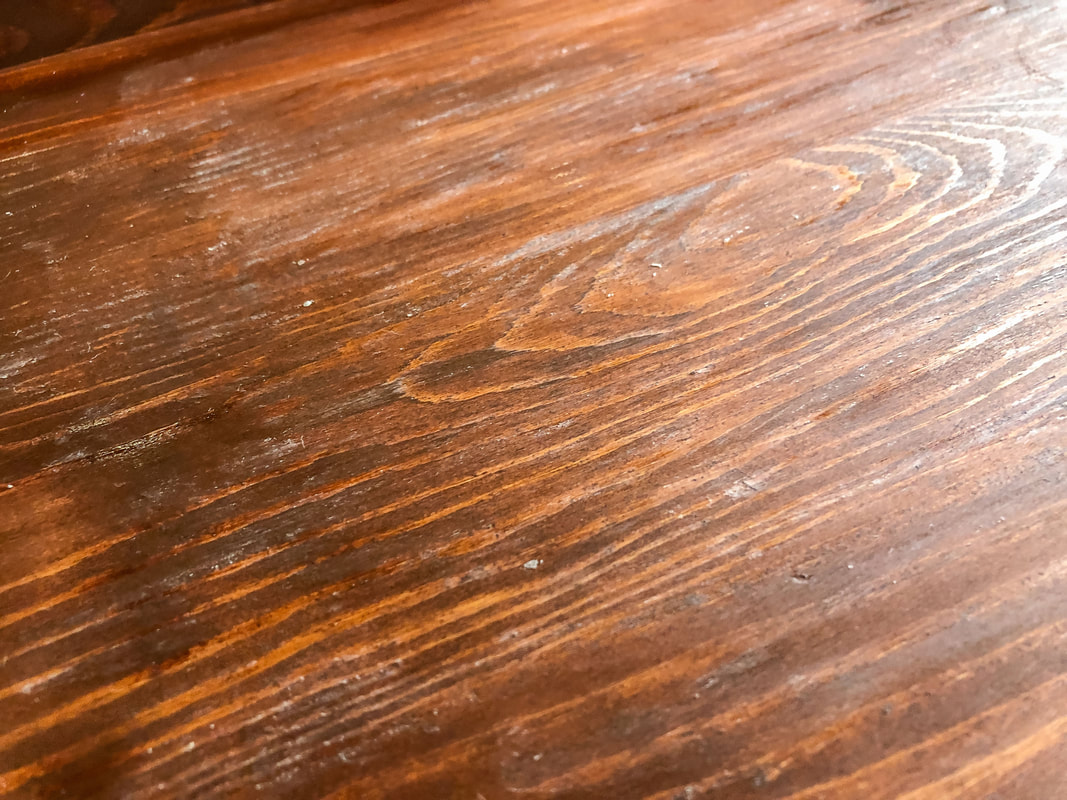
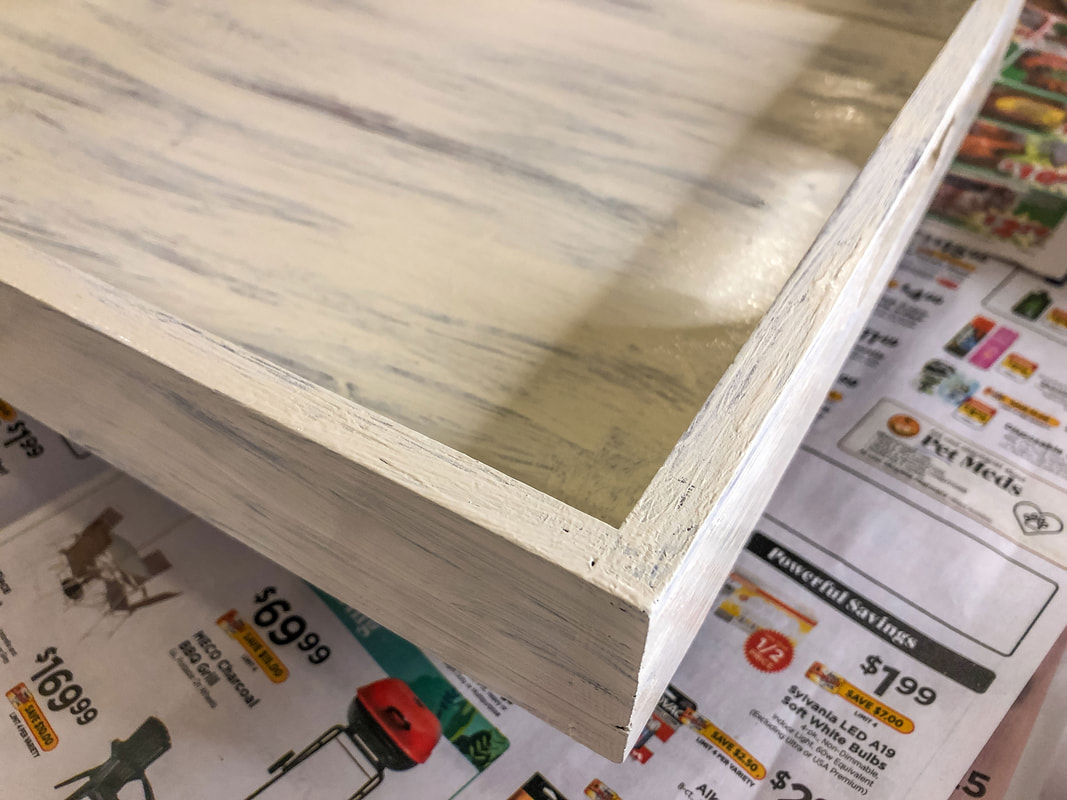
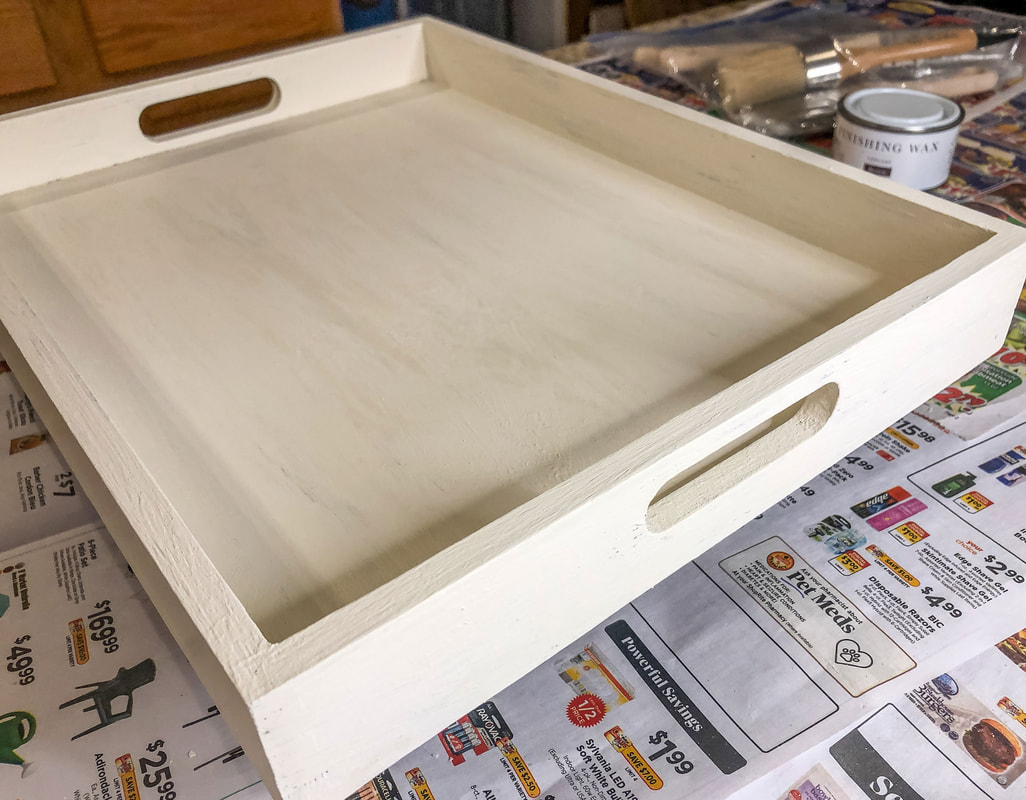
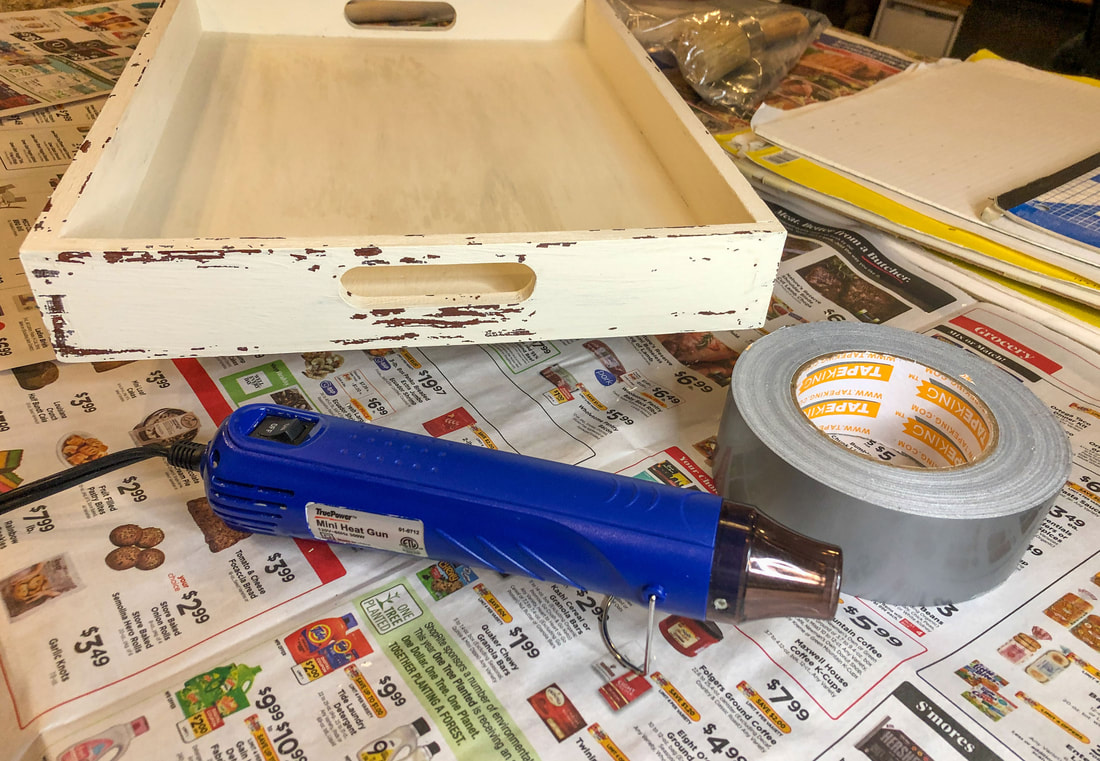
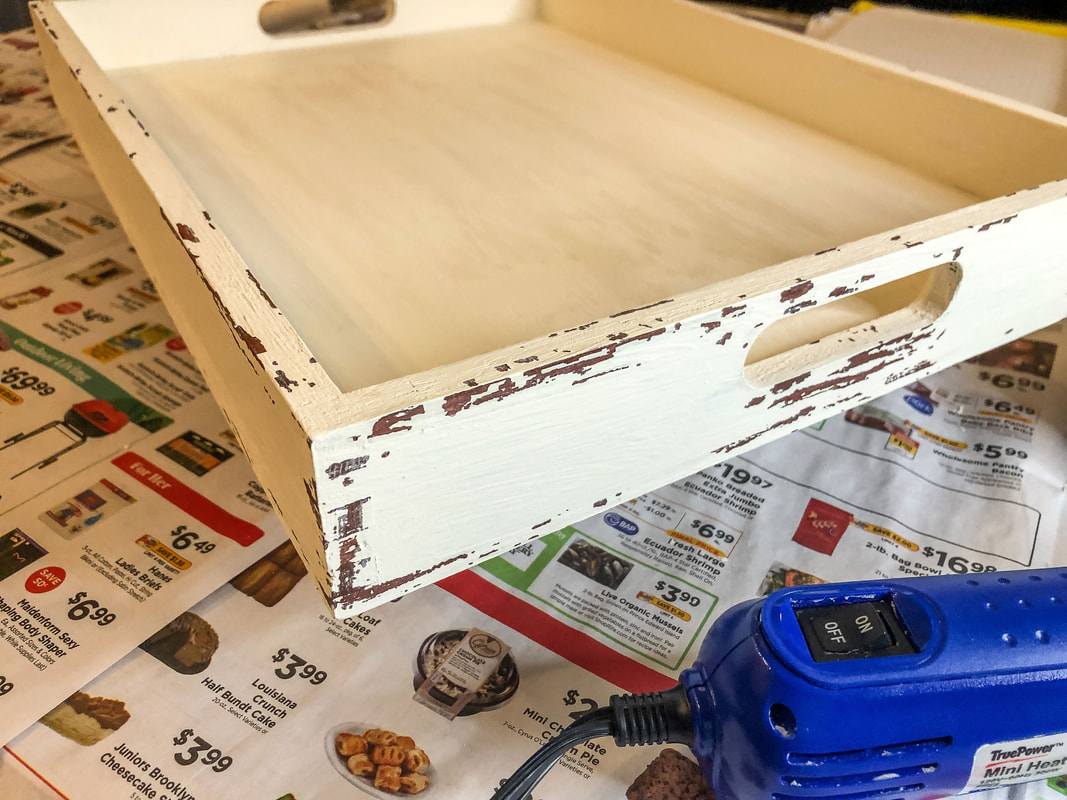
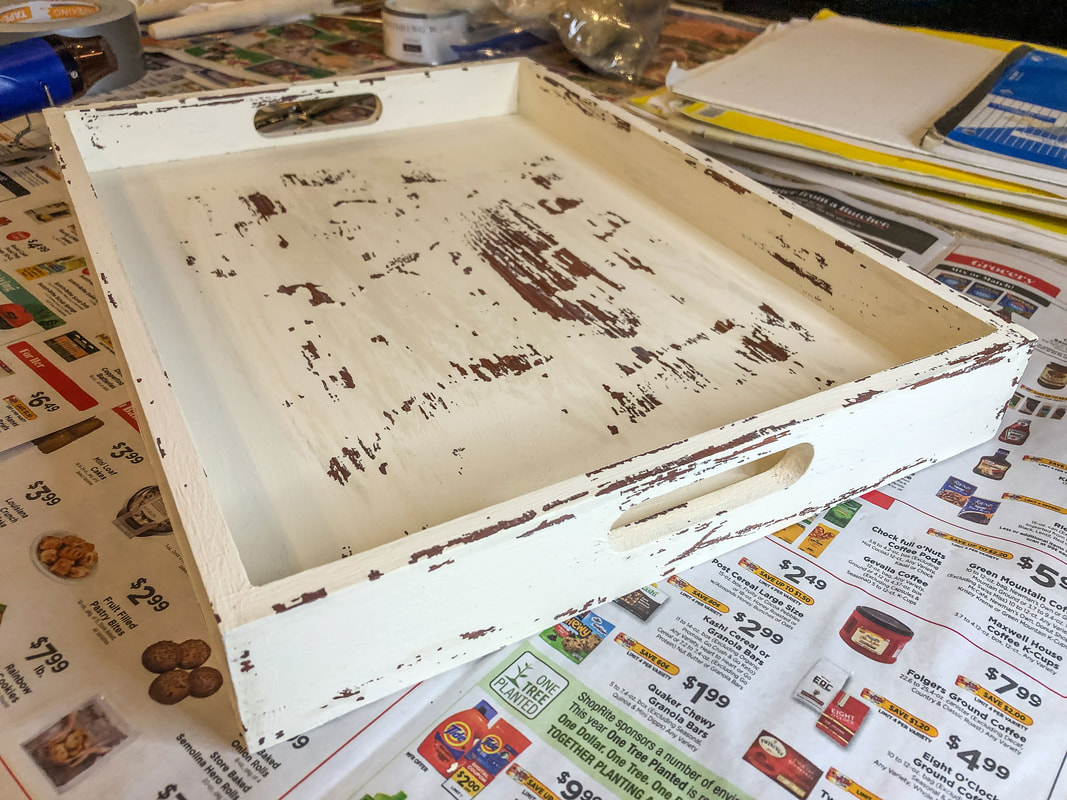
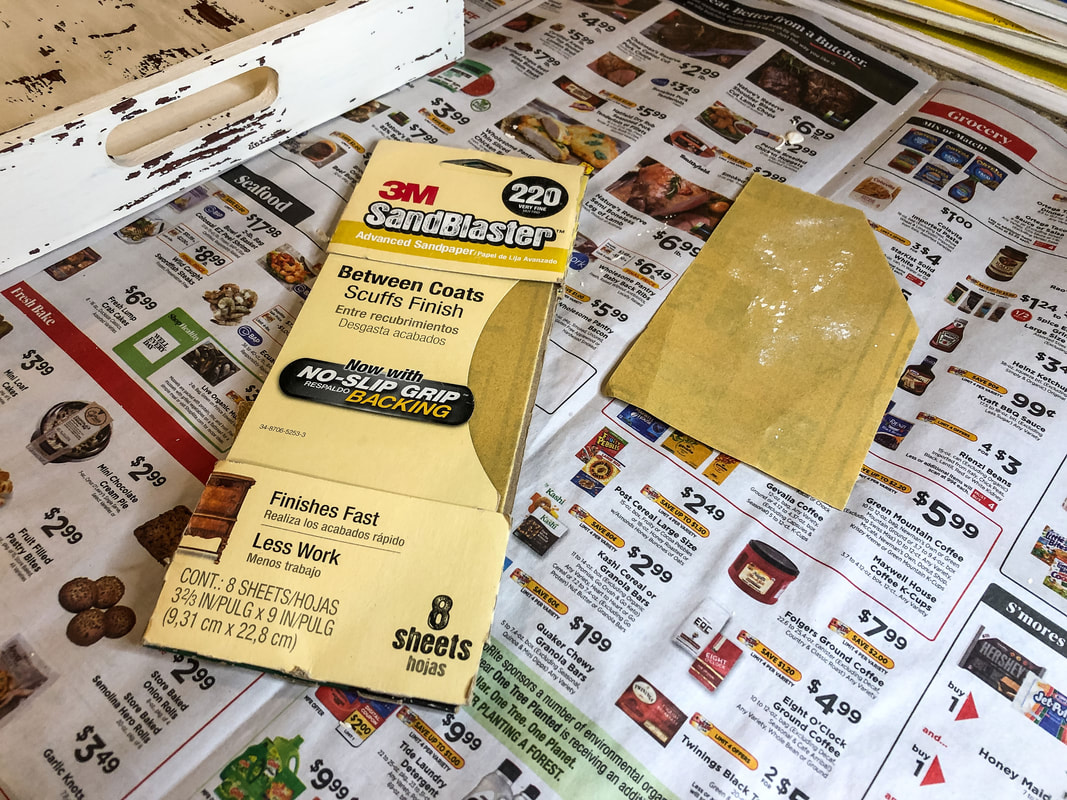
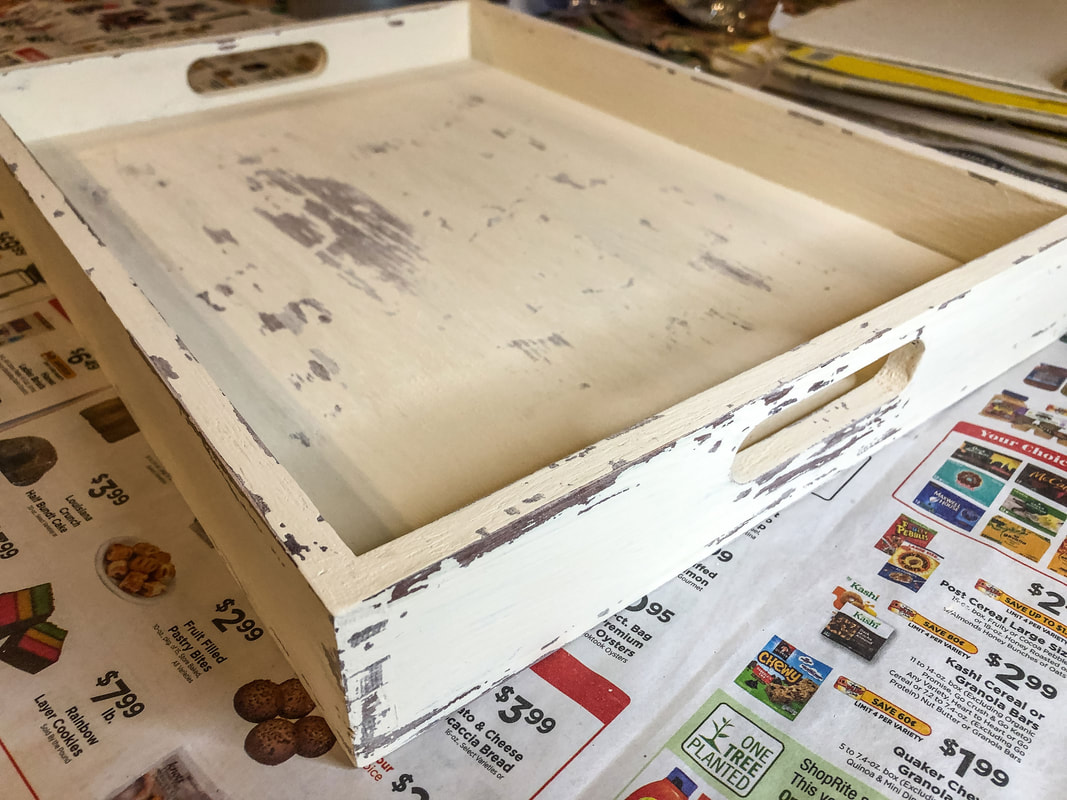
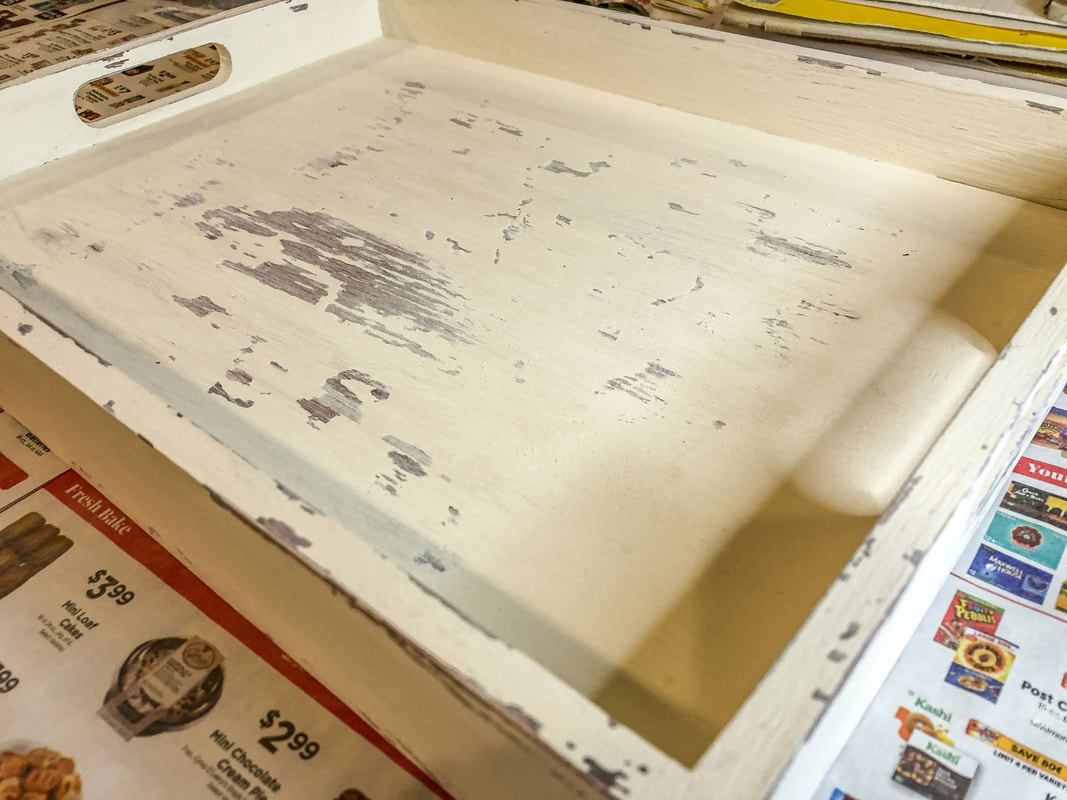
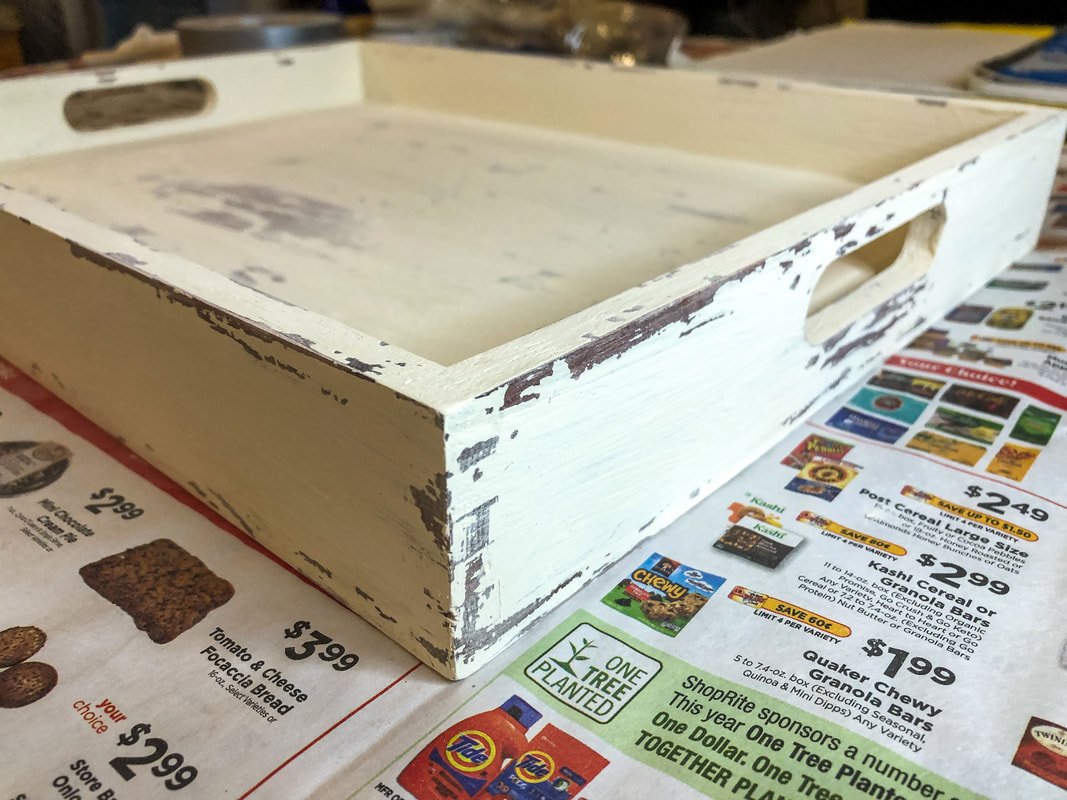
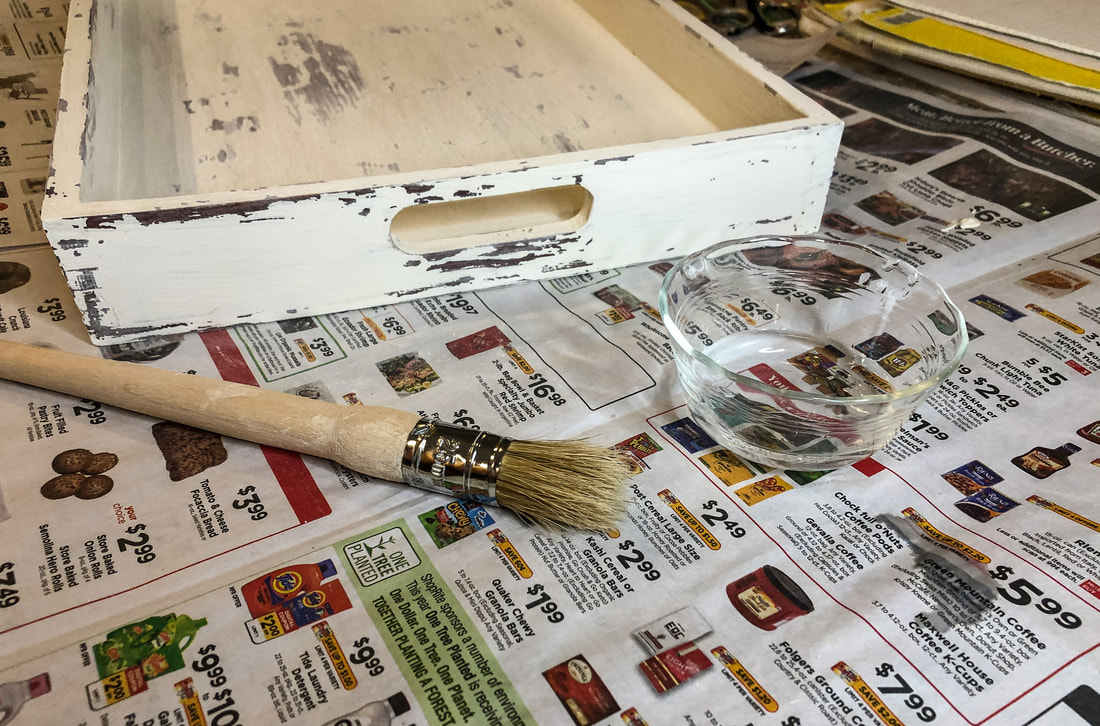
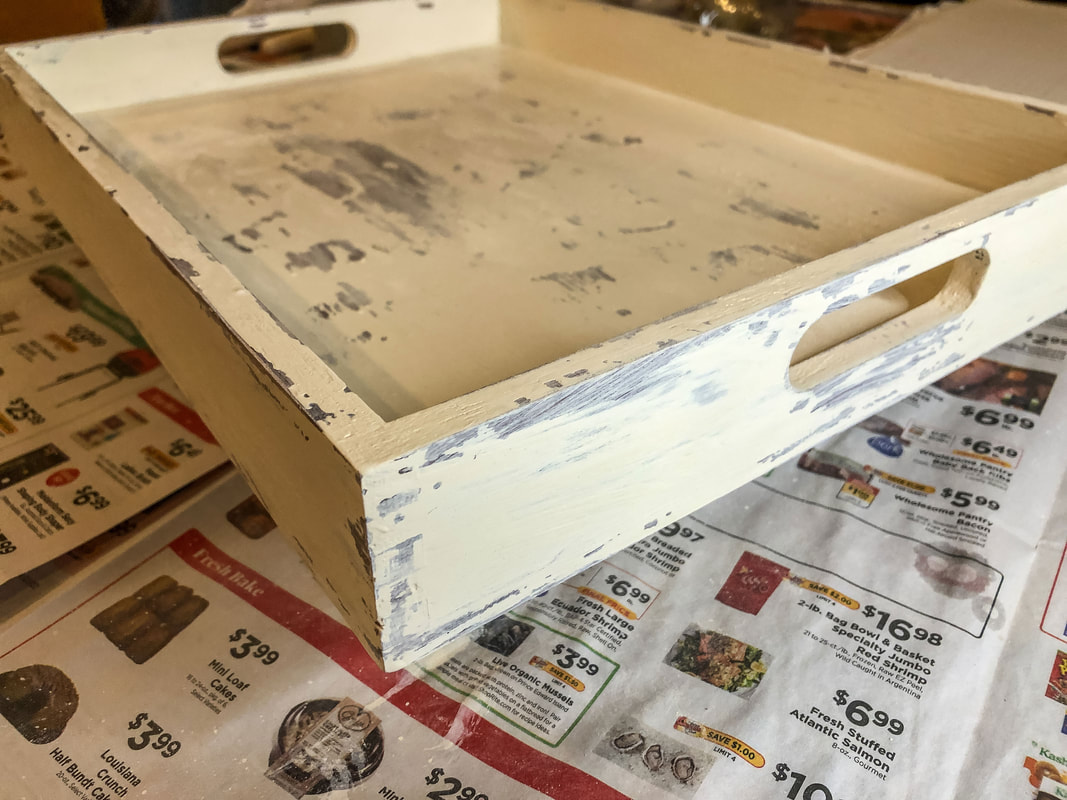
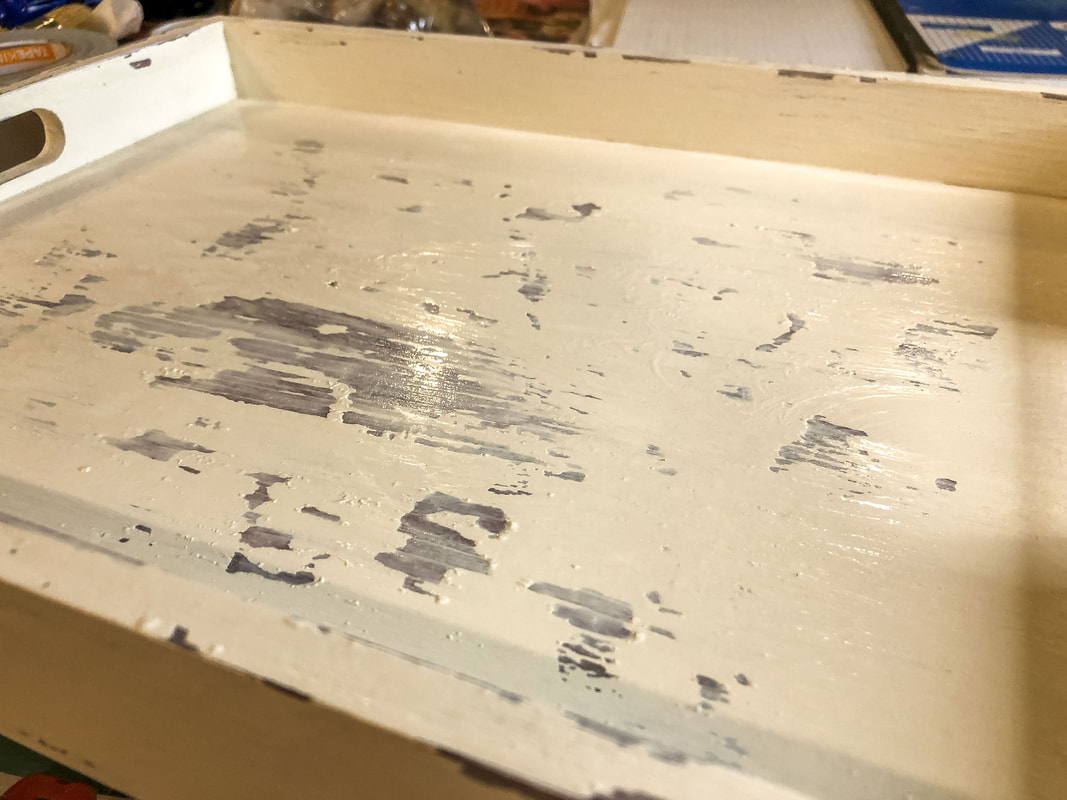
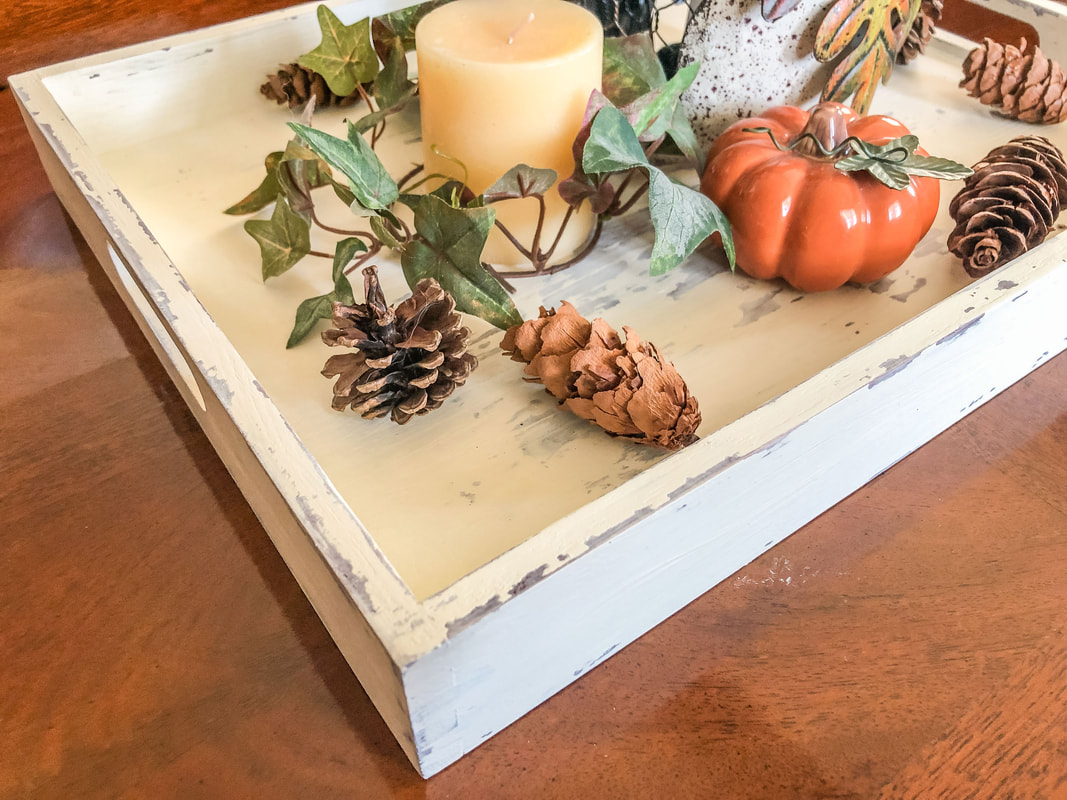
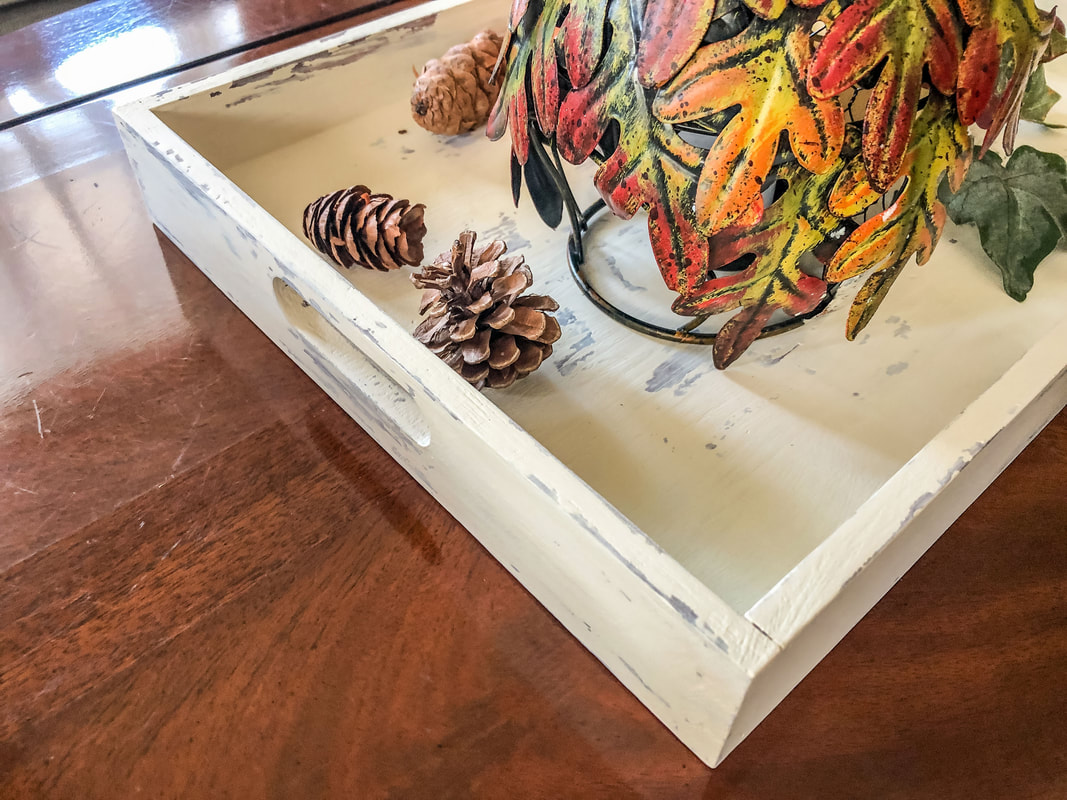
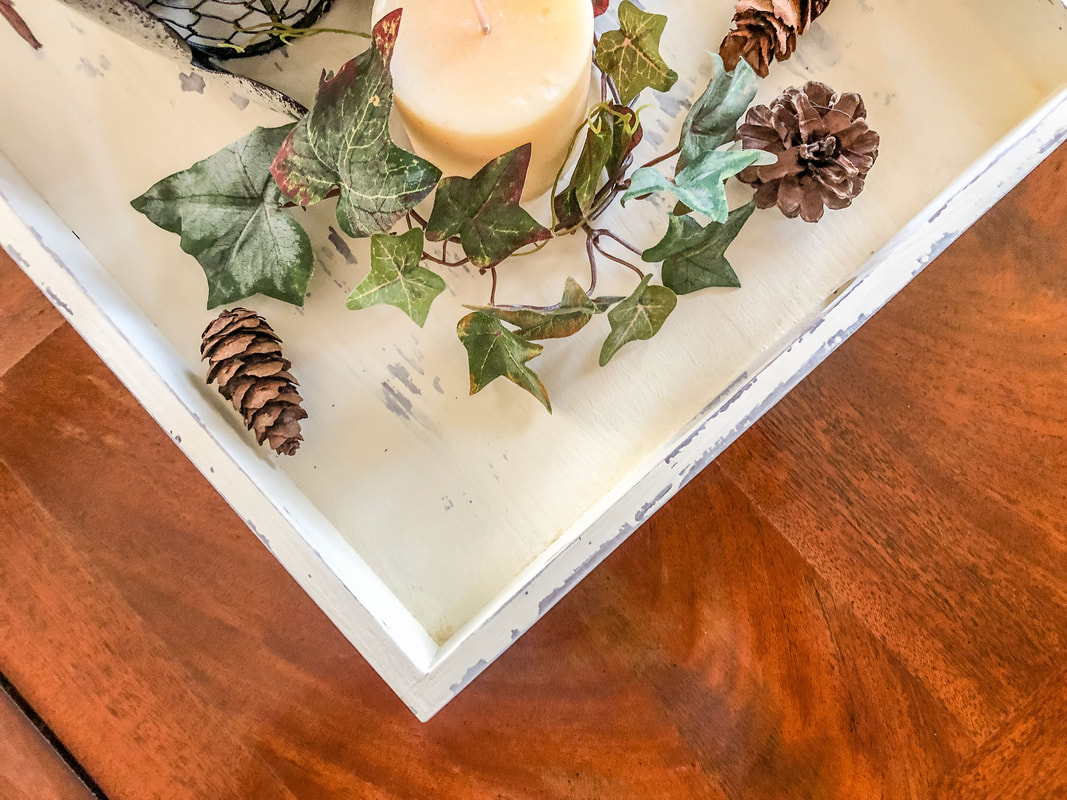
This month, I tackled a simple DIY project using an unfinished wooden tray, furniture stain, and chalk paint. The tray was one of those items that kept getting moved from cabinet to cabinet…because "someday" I would come up with an idea for a DIY project! Well, the time has finally come. The stars have finally aligned, allowing me the time to take my idea and make it happen! And speaking of time, my time is limited, so any DIY project HAS to be simple…and inexpensive. The inspiration for today’s DIY project came from a technique I found on The Country Cottage that I thought I’d try. I’ll modify the materials to fit my project, and we’ll see how it turns out! This tray project has two parts…The weathered paint technique will be covered in this blog (which I am calling “part 1”), and the second part will be a “part 2” blog on how to create a Celtic border on the sides of the tray. But first, let’s tackle part 1… All that is needed for part one of this project is a dark coat of paint (I used Varathane Cognac wood stain), some candle wax (I used my homemade soy candles), and some light-colored chalk paint (I used Rust-oleum Chiffon Cream Ultra Matte chalk paint). The idea for this project is to create a worn look to this tray as if this was something found in an old dusty attic or picked up from a flea market. I want it to look aged but not too beat up. And not too much like Farmhouse, although the result could work well in a Farmhouse decor scheme. In other words, I want it chippy but not TOO chippy, if that makes any sense! Materials needed: dark base paint or stain paint brushes or sponges candle wax chalk paint chalk paint brushes heat gun duct tape water sandpaper, 220 grit Step 1—Sand the tray Prep the bare wood for paint (or stain) with a light sanding. This cleans up any dirt and helps rough up the surface to help with stain or paint absorption. If I’m being honest, I forgot to do this step, but it all worked out okay anyway! Step 2—Apply the dark base coat The tray needed to blend in with my existing decor, so I chose a base color previously used in a DIY project in my dining room. I used the same stain and chalk paint from a dining room cabinet I painted last year. When you apply stain, you usually let it sit for some time (depending on how dark you want the color) and then wipe off the excess. This time--instead of wiping it off--I let it dry at full strength to achieve a rich, dark color. You’ll do whatever works best for your specific project. Make sure everything is dried completely before moving on to the next step. Step 3—Rub the wood with wax Once my stain was fully dry (the next day), I rubbed some of my homemade soy candle wax in areas I’d like to weather. I chose spots that would see wear and tear, like inside the tray and the edges and corners. Step 4—Apply the chalk paint top coats In the next step, I applied two coats of chalk paint over the wax and then the stain. There’s nothing complicated with this step--just slather it on! Step 5—Heat and remove paint Using a heat gun (you can also use a hair dryer), I heated the areas where I wanted the paint chipped. It didn’t take much, just a few seconds. Now, here’s the tricky part…The directions say to take a small piece of duct tape and LIGHTLY apply it to the area, removing it immediately. I cannot stress enough that you must do this quickly and lightly, or you will remove too much top paint! The tape has to lightly stick and remove only small bits of the chalk paint top coat. I did pretty well until I got to the tray bottom, where I took off bit more than planned…but the look grew on me, and now I think it looks like it’s supposed to be that worn. Step 6—Lightly sand So here’s where I diverged from the original technique…I liked the chippy effect that this technique created, but it was just way too much like Farmhouse for my taste. (Sorry Farmhouse lovers!) For this tray to fit in with my decor style, I needed the “chippiness” (I just made up that word!) toned down a bit. I used 220 grit sandpaper to lighten the areas where the paint was chipped away, and that improved the situation somewhat…but it still needed to be lightened up even more. Step 7—Blend with a damp brush To lighten the chipped paint effect even further, I took a slightly wet paintbrush and blended the chalk paint over the areas where the paint had been chipped off. Chalk paint is ideal because you can dampen the paint and rework or blend any trouble spots.) I loved the result! I feel like this tray now has the look of something old and worn without being too chippy. So that’s the end of the painting phase of this project. The technique was simple and quick, taking only two days to complete. What I learned, however, was that—as fun as it was to use wax, heat, and duct tape to create a chippy appearance—you don’t need to do that step. Later in the process (in “part 2”)—while taping border templates onto my tray sides—I accidentally removed more chips of paint from my top coat, which leads me to believe that you could probably skip the wax and use tape to remove areas of the top coat. I don’t know how well this would work if the base coat was also painted (since I used stain), so I don’t know how much paint would be removed, but a little trial and error and a lighter touch might yield good results. All in all, this was a fun project, and I’m pleased with the outcome. But—as always—my sadistic side kicked in, and I had to take things up a notch! So, I had this crazy idea to paint a Celtic knot border around the exterior sides. Part two of this blog will take you through the basic steps needed to create a knotwork design for the sides of this tray. But you can also create any design of your own…vines, flowers, leaves, or any decorative motif you like to spruce up your tray! So what do you think? Have you done any similar projects with chalk paint? Do you have any tips or tricks for weathering paint effects you’d like to share? Feel free to drop a comment below! And don’t forget to read part two here, where I torture myself with a hand-drawn and painted Celtic knot border. Related blogs you may want to read: DIY chalk painted tray with Celtic border A little project with jute twine and an old foot stool DIY refurbishment of a dining room cabinet A fun DIY project with paint and a thrifted mirror part 1 A fun DIY project with paint and a thrifted mirror part 2 Creating a kitchen coffee bar On a mission to recycle this neglected vintage stool The stain stripping stage of rescuing my vintage stool Staining my vintage stool with brewed tea My tattered vintage stool transformed into a beautiful plant stand Homemade candle recipe with a eucalyptus fragrance Homemade candle recipe with a hazelnut fragrance Affiliate Disclosure Some of the posts in this article contain affiliate links. This means if you click on the link and purchase the item, I will receive an affiliate commission at no extra cost to you. I will only recommend products or services I use personally and/or believe will add value to my readers, so there is no conflict of interest.
0 Comments
Leave a Reply. |
Author
Some of the posts on this site contain affiliate links. This means if you click on the link and purchase the item, I will receive an affiliate commission. Categories
All
Archives
October 2025
|


 RSS Feed
