|
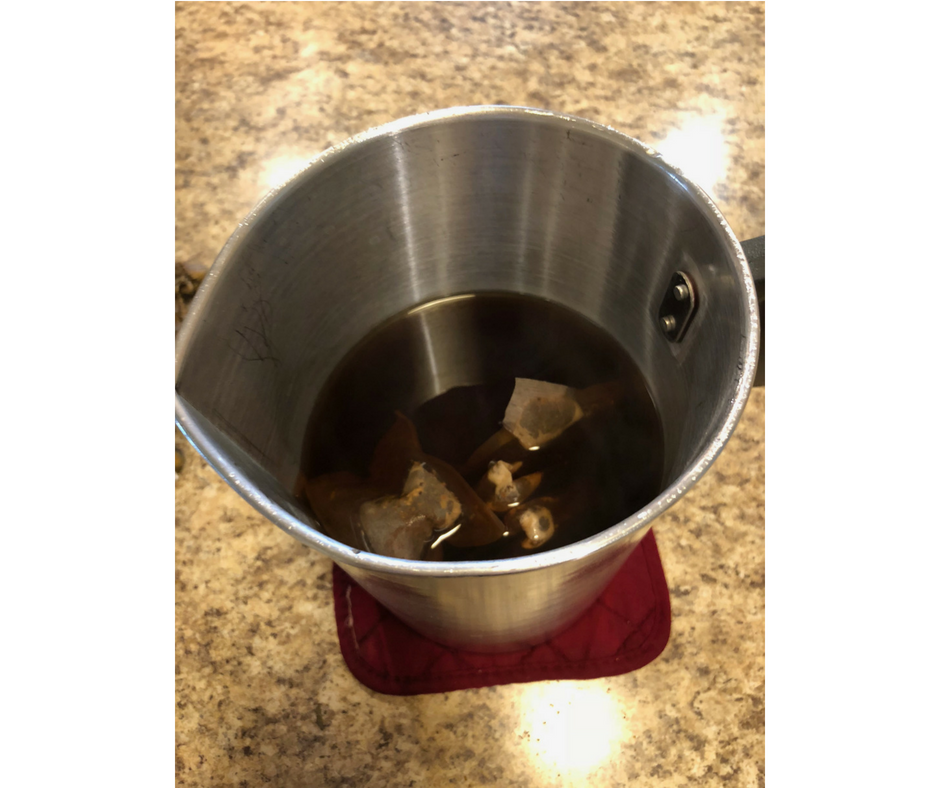
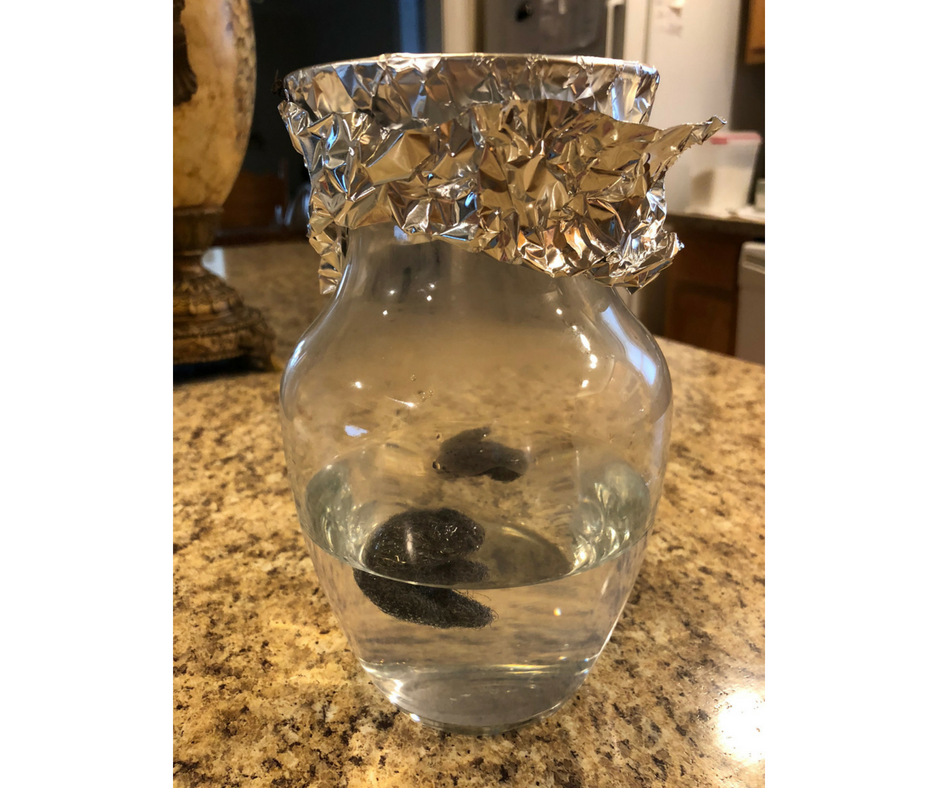
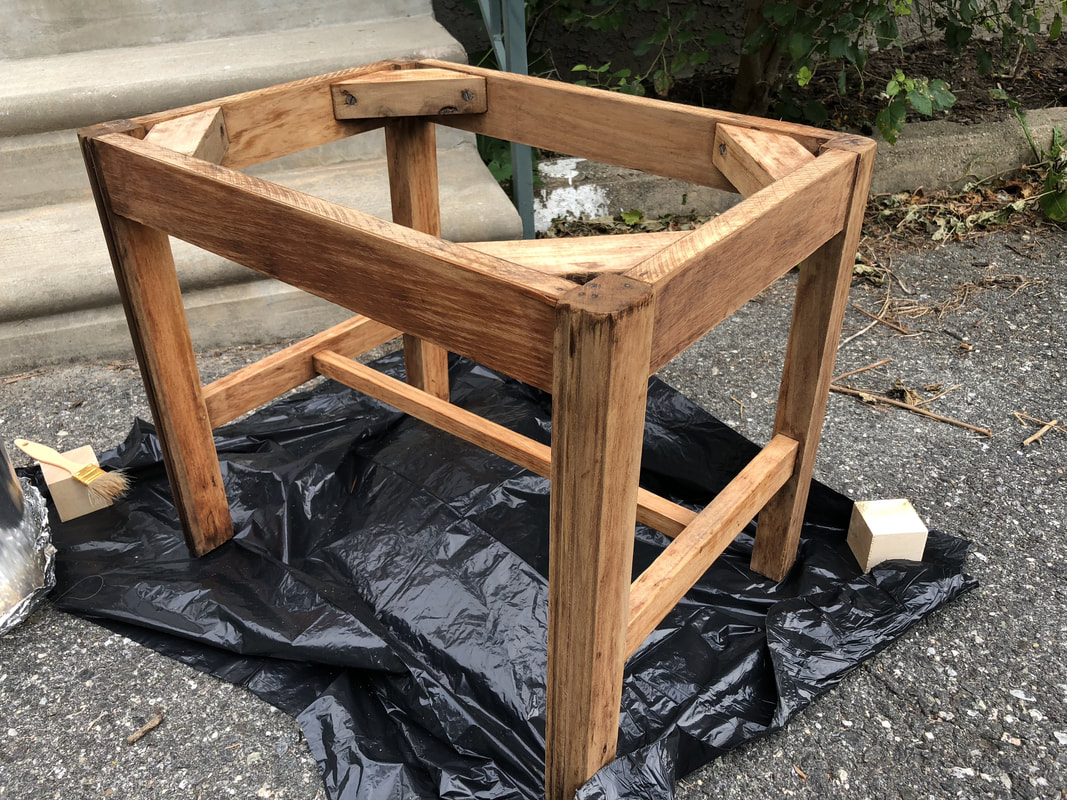
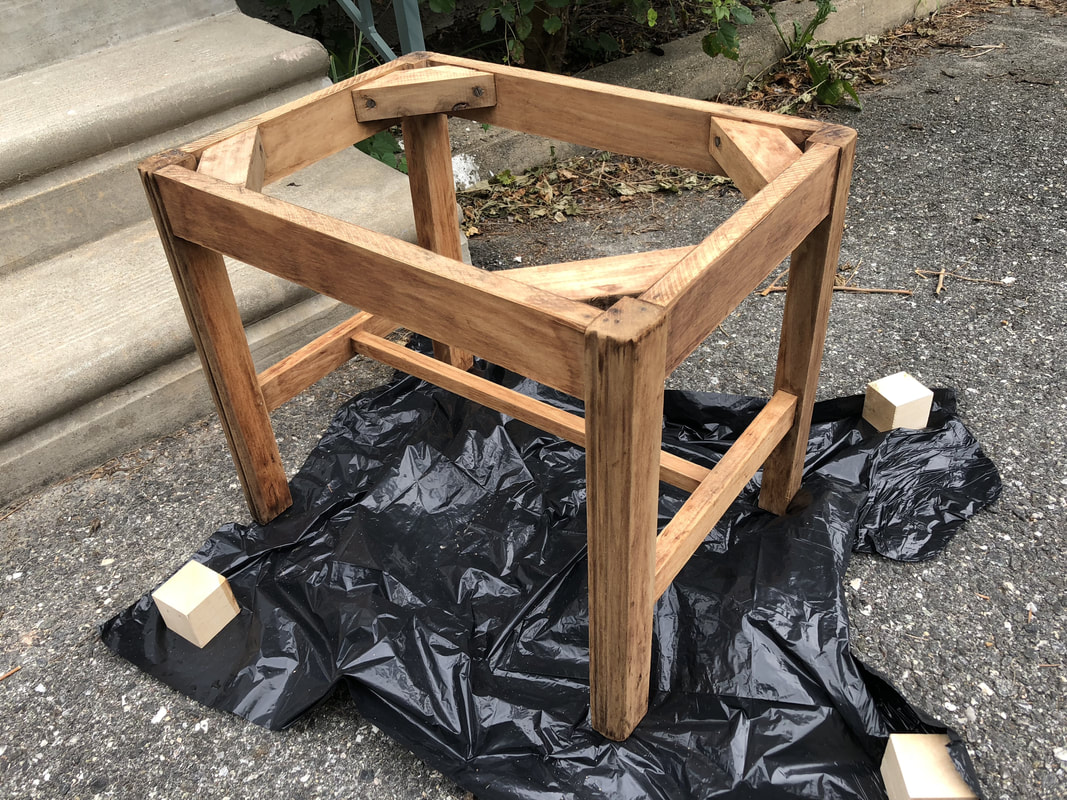
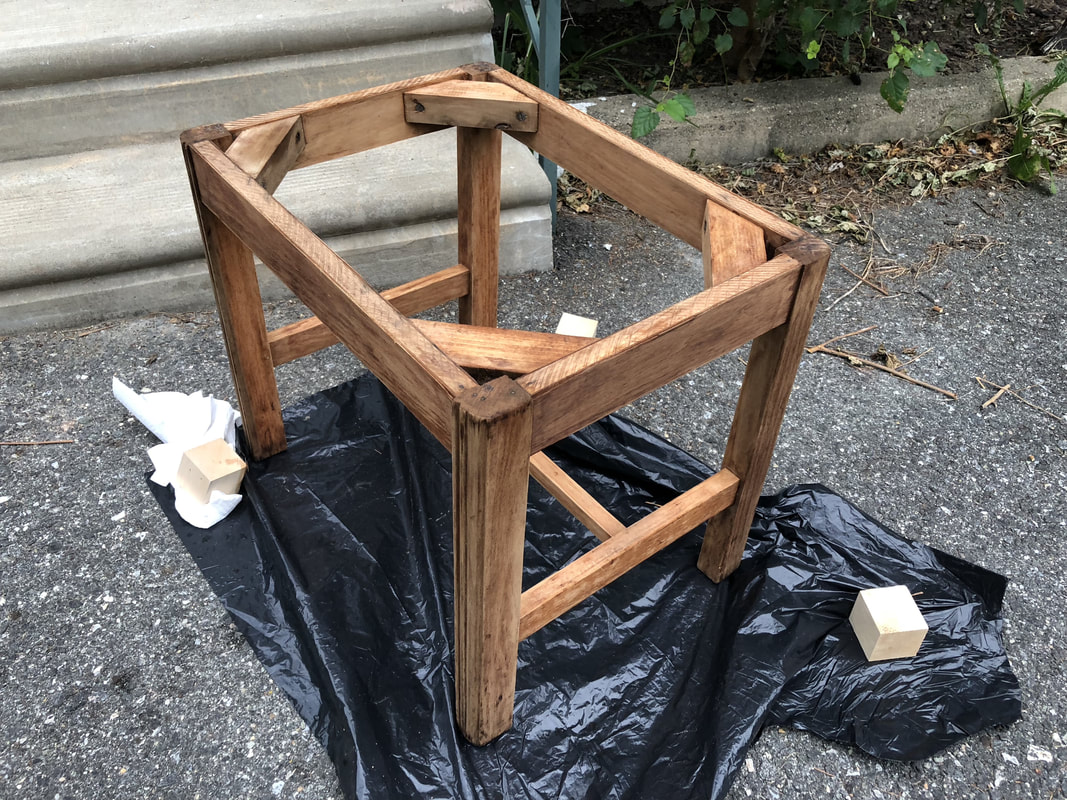
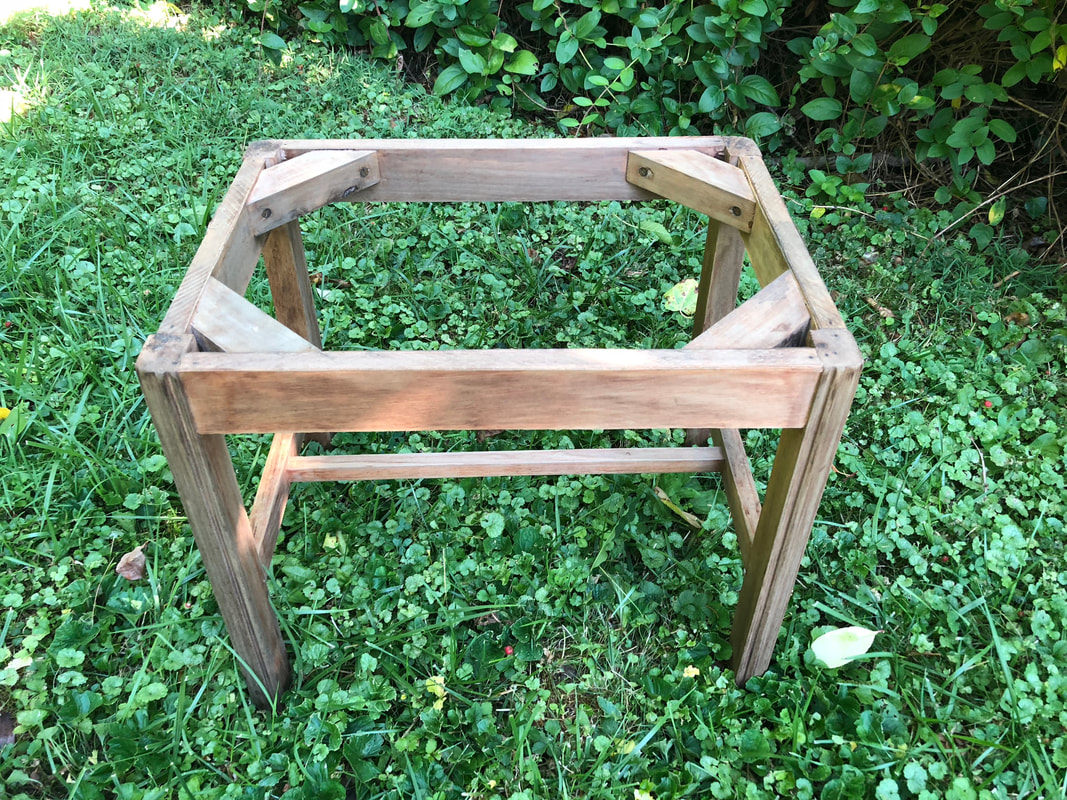
If you’ve been following my latest blog posts, you already know the battle I went through during the stripping stage of this project! Needless to say, I was glad to have that chore behind me! I was looking forward to having a pleasant day trying out this tea-staining technique I found online. Anything all-natural is right down my alley! The technique also calls for using steel wool and vinegar as a weathering agent, but I was short on time and couldn’t find regular steel wool at either of the two local supermarkets I visited. So—out of time and patience—I just used the steel wool soap pads for this project. I didn’t want the blue dye, so I rinsed two halves of a pad until the water ran clear, then threw them into a glass container filled with a generous amount of distilled white vinegar. Then I boiled some water and seeped three black cherry berry tea bags in the water. After a few minutes, I tested the color by pouring a teaspoon of the liquid onto a white paper towel. I decided it wasn’t dark enough, so two tea bags of Vanilla Chai Black Tea were added to the mix. The next morning, I noticed that the vinegar concoction did not turn a rusty brown color like in the descriptions I found online, so this had me a bit worried about whether or not this mixture would age the wood. This type of situation has been typical of this project—nothing has been going to plan! The first coat of tea stain was applied to the wood, but—surprise, surprise—it came out much lighter than I had expected. It looked like such a luscious, rich color while wet, but as the stain dried, the color lightened up quite a bit. In fact, it almost disappeared! So I realized that this was going to be like any other staining project, requiring several coats of stain to build up the final color. The instructions I was following suggested using coffee grounds to darken the tea stain, but at this point, I didn’t want to deal with potentially having to remove bits of coffee grounds from my piece, so I skipped that step—for the time being. While working outside with this tea stain, I noticed ants roaming around my work area and was worried that ants would be a problem. As time passed, I saw the ants weren't sticking around. I could (thankfully) continue working…for the time being. The second coat of this natural wood stain went on a little darker than before but was nowhere near as dark and as “cherry” colored as I had hoped. At this point, I added some coffee grounds to the tea in preparation for the third coat of stain. The third coat did look just a touch darker, but the color was still too light for what I had in mind. My tea stain was disappointingly not as dark as the stain pictured in the tutorials. To make matters worse, the sky darkened, and rain moved in, so the entire setup had to be moved indoors out of the inclement weather. Long story short, my little stool took five coats of tea stain and all day to apply. I had only planned on spending a few hours working on the stain! And I still had to apply the final vinegar mixture to create a weathered look to the wood. Hubby brought up a valid point—using natural materials may be better for the environment but requires much more energy and time. The strong stuff may be worse for your health and the environment, but it takes far less time and energy! It’s a tradeoff… So, after an entire day of applying stain and finally the vinegar mixture, I was exhausted and a bit let down over the way the color looked. I wasn’t loving the look after the staining was complete, but the following morning brought a fresh perspective. The wood ended up nicely weathered, with a rustic grey hue. It’s hard to see it in the photos, but the color was darker but not as dark as I had planned. And the vinegar and steel wool added a grey touch to make the wood look old. So the vinegar mixture—even though it never turned a ruddy brown in the jar—did its job just fine! I was very disappointed, however, in the fact that this staining technique—after hours and hours of hard work—didn’t make the stool as dark as I would have liked. After the varnish goes on, the color will get a bit deeper and will end up at least close to what I had in mind at the start of this project. So, the next step is to varnish and add finishing touches with jute twine! Stay tuned for the last blog article in this series! Click on the links below to follow my journey through the stages of this project…
The original vintage stool The paint stripping stage The final touches and finished piece
0 Comments
Leave a Reply. |
Author
Some of the posts on this site contain affiliate links. This means if you click on the link and purchase the item, I will receive an affiliate commission. Categories
All
Archives
October 2025
|


 RSS Feed
