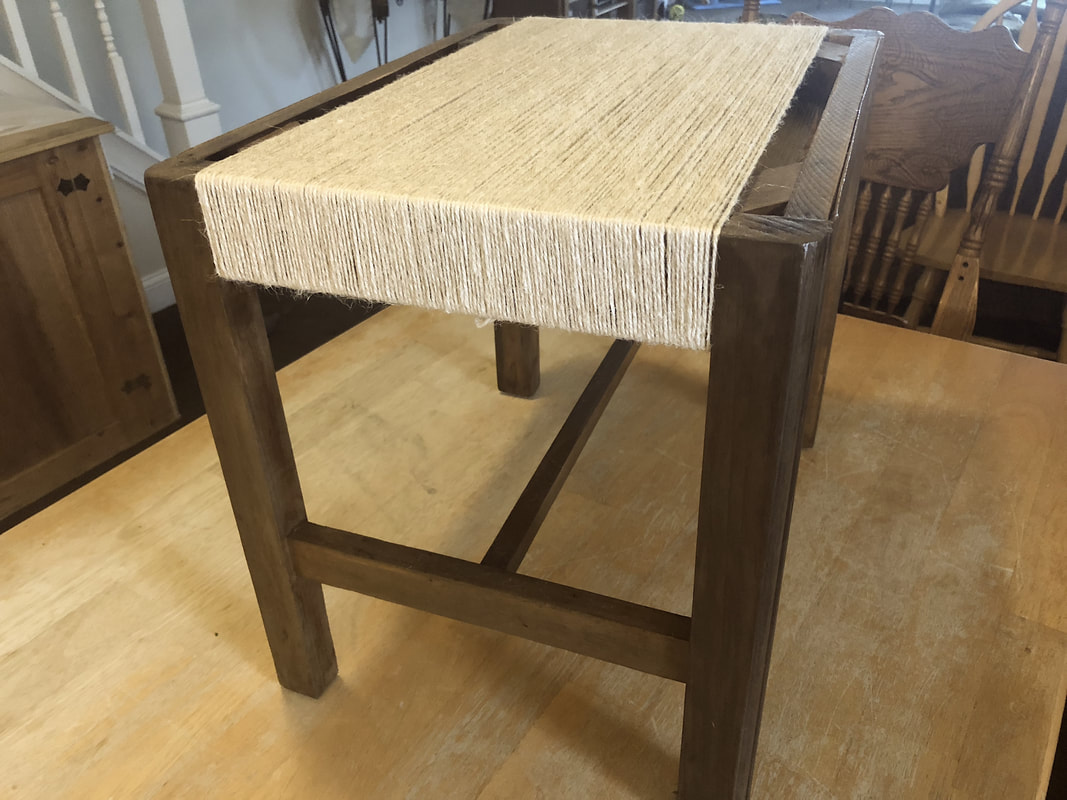
 Photo by Diane M. Lilly, 2018. Oh, how this tiny little piece of furniture challenged and frustrated me!!!! I spent many more hours on this project than I had planned, and each stage of the process brought fresh vexations and doubts! Let’s just say this stool almost ended up in the trash more than a few times during the refinishing process! But I persevered…and I’m glad I did! I found myself at the varnishing stage and wondered whether or not the effort would be worth it. I had managed to survive the paint stripping and staining phases of this project but was not feeling very confident about the look of the wood. Taking a deep breath, I moved forward with the varnish step, hoping that the result would look nice...even if it wasn’t quite what I had envisioned at the start. It was quite a pleasant surprise that the stool only needed one good coat of varnish plus one very light coat on the legs and lower rails and was finished and dry in less than two and a half hours. And—to my complete surprise—the varnish made the wood a darker color! I finally saw the color I had wanted all along, and all it took was the varnish to deepen the stain. 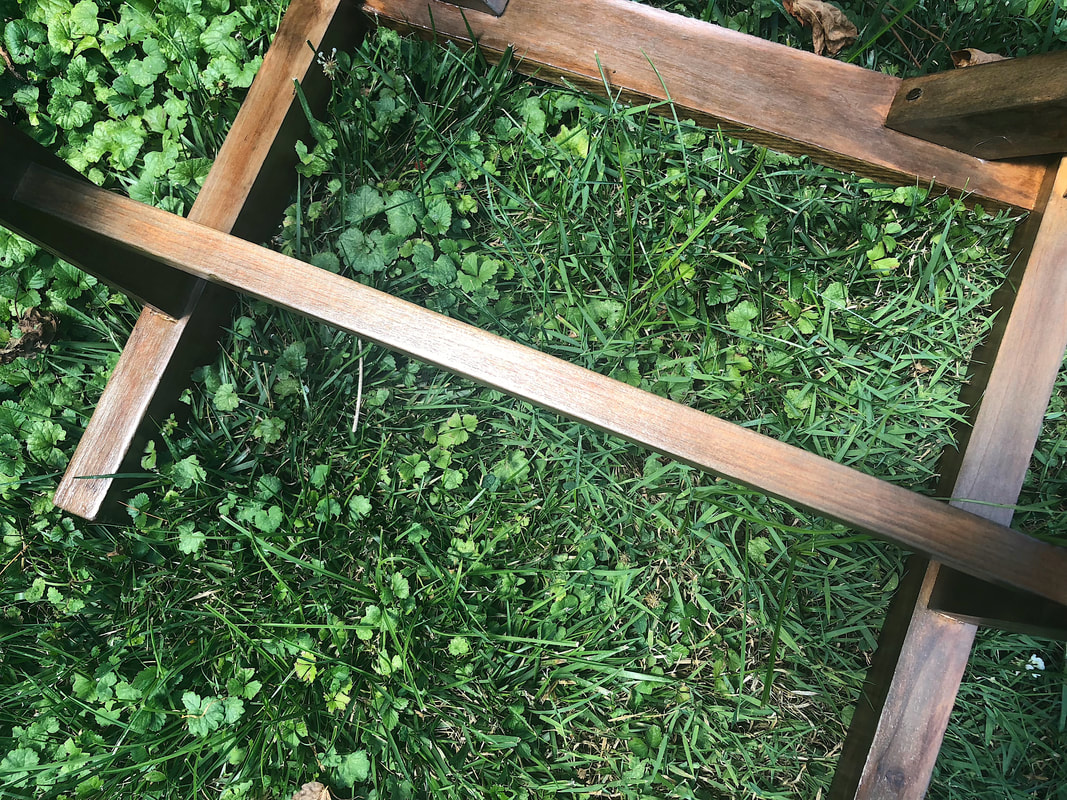 Photo by Diane M. Lilly, 2018. Fueled by success with the varnish, I started the jute twine application. I started wrapping the twine long ways around the seat part of the stool and stopped to evaluate the effect part way through…And oh my! I was blown away! My instinct to use an ivory-colored jute twine paid off, creating a beautiful contrast in color and texture between the twine and the wood. I kept going, wrapping along the long axis, then wrapped the two short ends until I ran out of twine. The plan—after purchasing more twine—was to wrap the center section, winding the twine underneath the long axis in order to give the whole application a feeling of depth while still sticking with the weave concept. The plan was to create a very intricate weave with individual strands. But I realized very quickly that would be a huge pain in the ass! So, I went with the chunkier weave effect instead.
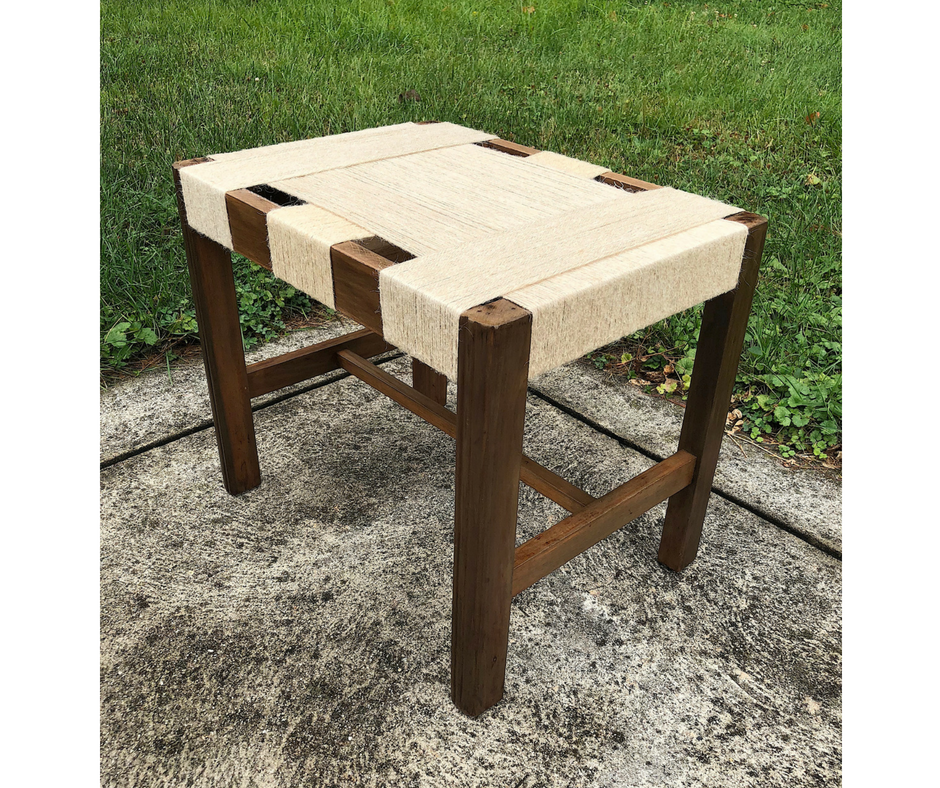
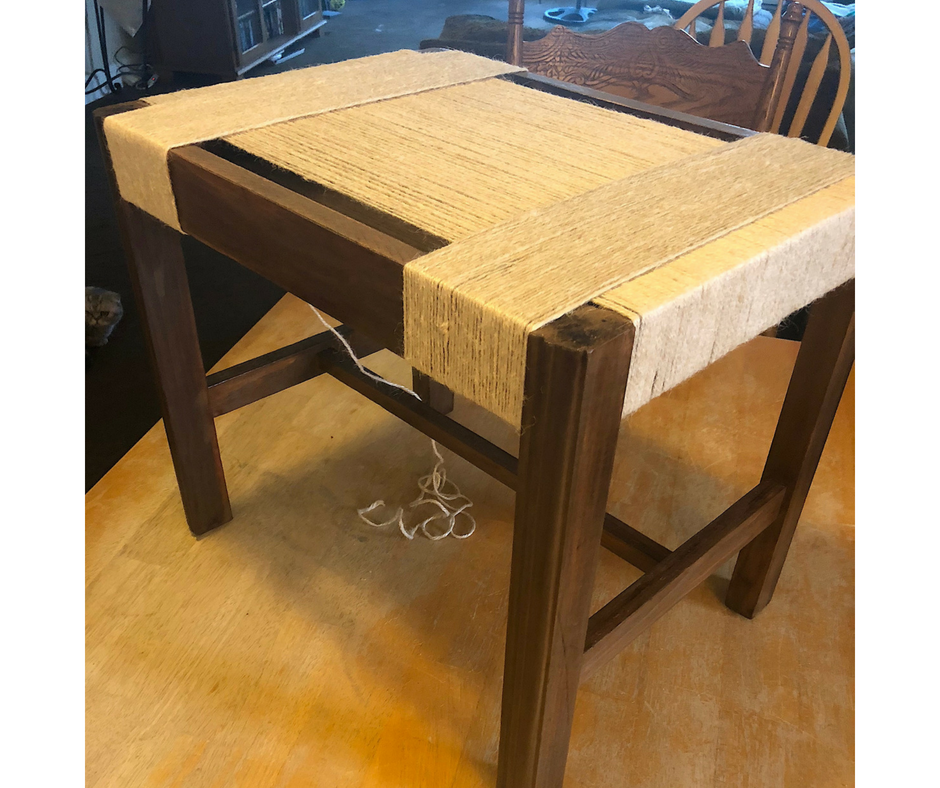 Photo by Diane M. Lilly, 2018. More drama at the end…While I was trying to weave the center portion with twine, I accidentally snapped some of the veneer. So, out came the E6000 glue and a few clamps to fix the issue. Eventually, I finished the weaving process and breathed a sigh of relief! It was now that I realized and appreciated that all my hard work paid off. 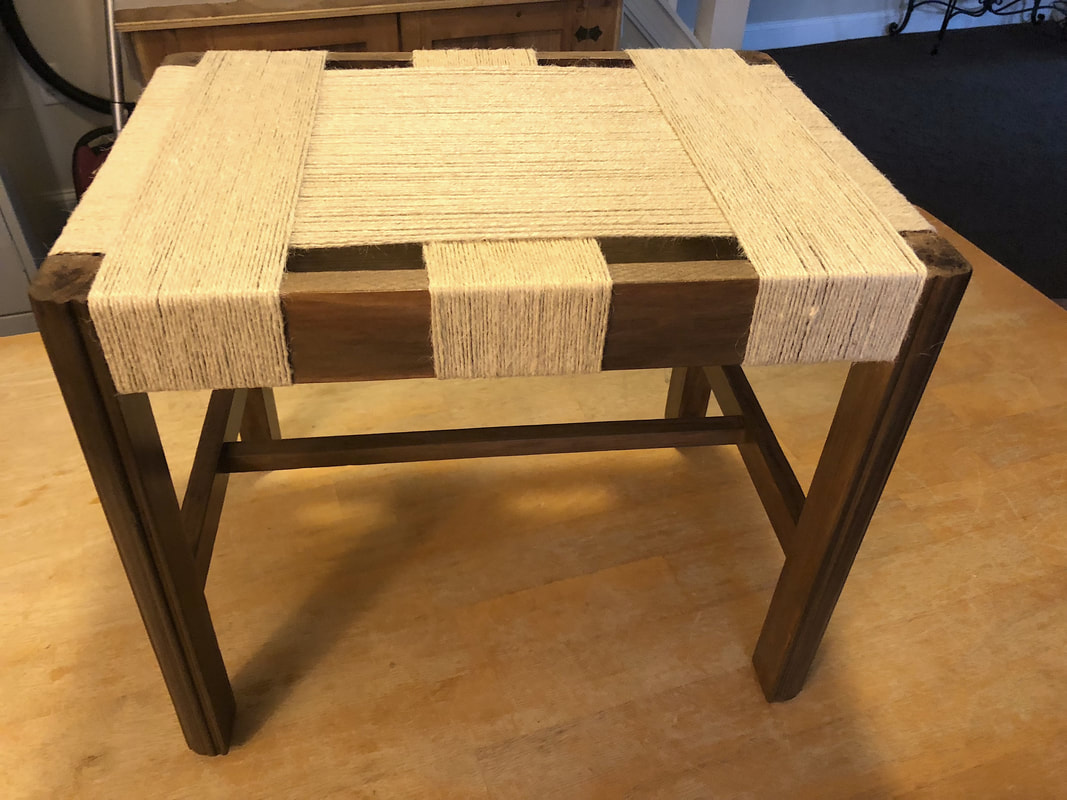 Photo by Diane M. Lilly, 2018. I am so glad I stuck it out til the end. I knew—I hoped—that this final stage would be the point where this piece came alive, and boy, was I right! The color is a rich semi-weathered brown that looks right at home in my living room, and the jute twine weave gives this vintage piece a respectable look that is not out of step with the linear design. It’s beautiful…After all of the heartache and doubt, it does look quite nice. A look back at the process… As I write this blog post, I reflect on where I started and what it took to get here. My original plan was to have a piece of furniture using jute twine and tea stain that would look nice in my living room as a plant stand. I wanted to give this little stool the dignity it deserved, striving to create a final design that complimented the linear Mid-century wood details. This second-hand stool from a junk shop transformed from torn, tattered, and water-damaged to a classy yet rustic plant stand that will last for many years. I faced challenges during the stripping and staining stages, and the veneer along the sides continued to be a problem right to the bitter end. The process took me WAY longer than anticipated, and I learned that patience is a virtue when dealing with natural materials. I got there in the end, but it was a tough slog! But I am proud of my persistence and am feeling a tremendous sense of accomplishment. And after all of the ups and downs, I now have a piece of furniture that looks lovely in my house! 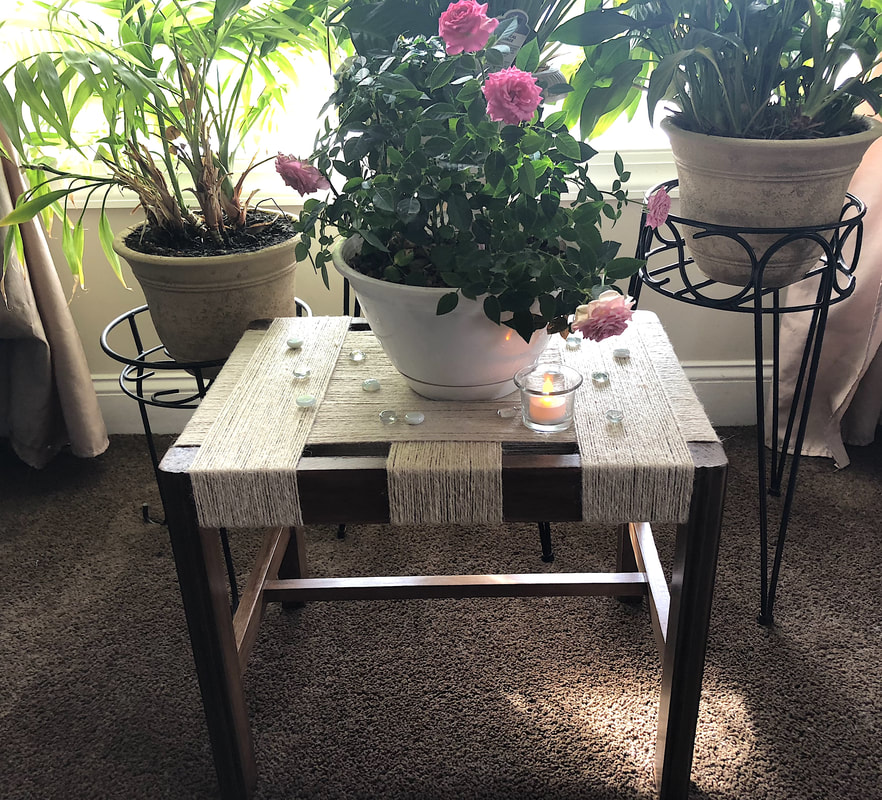 Photo by Diane M. Lilly, 2018. In case you missed the blog posts from the previous stages of this project, I have the links listed in order below. Feel free to comment or share your own experiences, struggles, and triumphs with your wood projects! The original vintage stool The paint stripping stage Staining the piece with tea
0 Comments
Leave a Reply. |

Author
Some of the posts on this site contain affiliate links. This means if you click on the link and purchase the item, I will receive an affiliate commission. 
Categories
All
Archives
October 2025
|
 RSS Feed
|
|
Major credit cards accepted through Square. Apple Pay option available. This site also accepts PayPal payments for better online security, and it's free to sign up! Gift cards are now available for purchase!
Copyright 2025 |