|
I love my coffee. It is the nectar of the Gods! You know what I don’t love? The mess! So I decided to jump on the proverbial bandwagon and create a proper coffee bar for my kitchen counter… 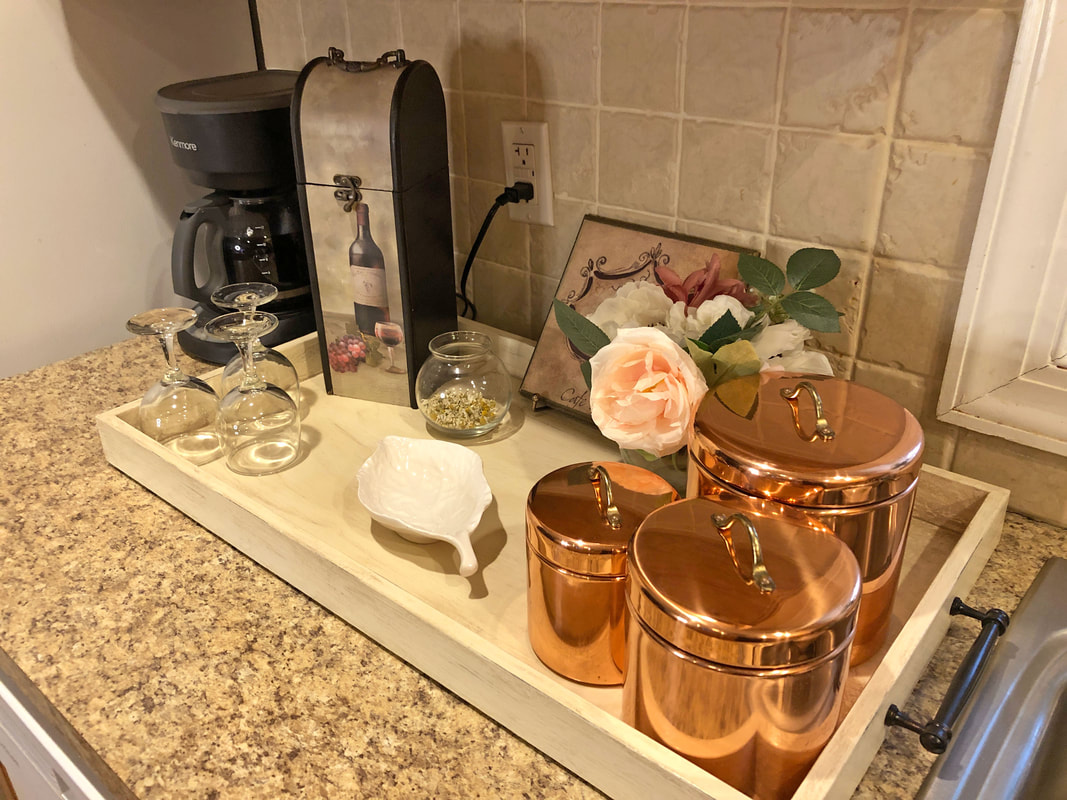 DIY kitchen counter coffee bar. Photo by Diane M. Lilly, 2021. A few neglected jewelry trays (which I had gotten from a previous employer) were collecting dust and cobwebs in my basement, so I thought this would be a great opportunity to get creative! Some textured paint and a couple of decorative handles, and I would have myself a tray that I could use on my counter as a coffee bar…So here’s how I did it… My coffee bar decor Let’s start with the decor…A few of the pieces pictured in the (above) image came from a recent haul of gorgeous decorative items picked up from a local thrift store. Thrift stores are amazing! If you are willing to be patient and trust the universe, you can come home with some really special finds that make your house look more like a home. Old things have character and a story, and that’s so important when you are creating vignettes. So of course my coffee bar had to have a few thrifted items. I mixed those items with some things I had laying around—or things I stole from somewhere else in the house—to create a tray that looks attractive on my counter, corals the mess, and has a function that fits my lifestyle. You’ll see that I have my little spot for wine, with a few wine glasses and a Tuscan style wine box and I have three copper canisters for my sugar, tea bags, and powdered creamer. A tiny vase of faux florals (for now) give the tray an organic feel and make it feel more engaging. 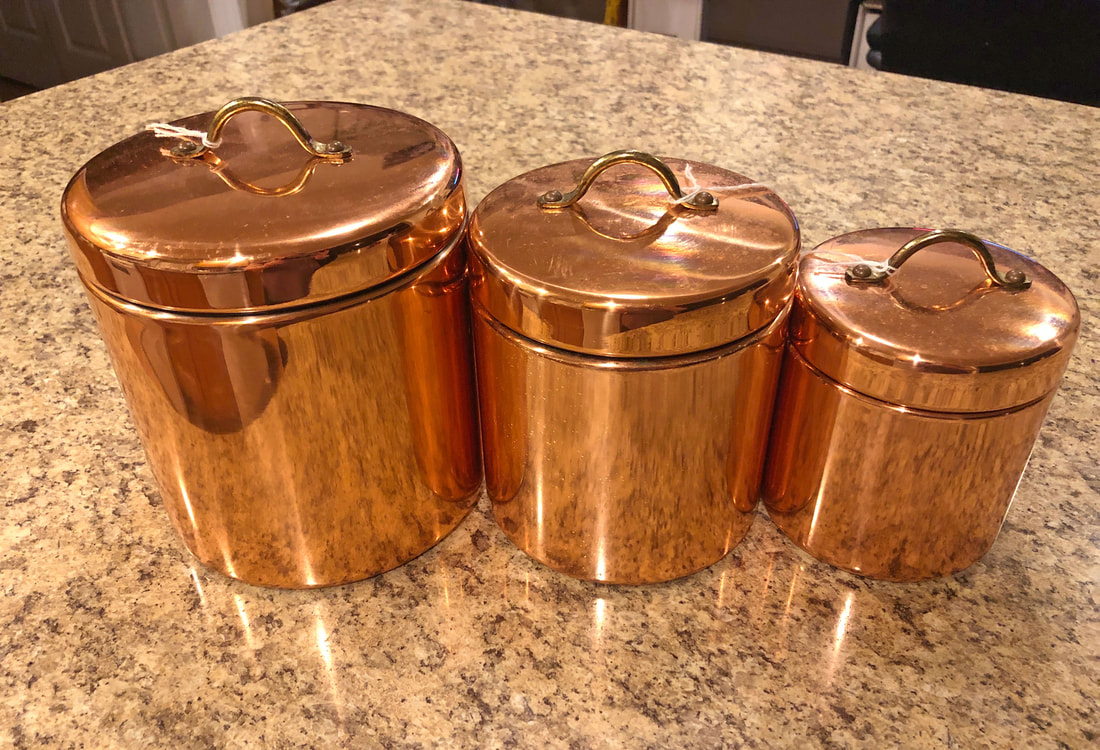 Thrifted copper canisters. Photo by Diane M. Lilly, 2021.  Thrifted Paris cafe plaque. Photo by Diane M. Lilly, 2021. 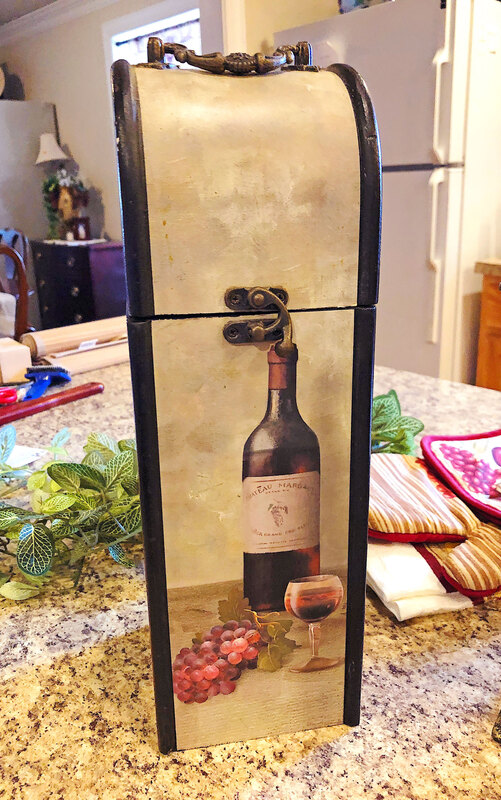 Thrifted wine box. Photo by Diane M. Lilly, 2021. Now here’s how I made this tray… Chalk painting a coffee bar tray I started off with a terrifyingly black jewelry tray that I knew was not going to just take the paint without some prep work. Yes, I know chalk paint is touted as not requiring a primer, but trust me—it does sometimes! Generally speaking you don’t need to prime surfaces when you use chalk paint (so they say), but since this tray is so jet black, I wanted to make sure I didn’t end up with really black areas coming through, so I painted it white first. My later self thanked me for thinking to “prime” this piece first, even if it was just with a thin coat of white craft paint. That thin layer of white craft paint was followed by three coats of Chiffon Cream chalk paint. Even with painting the tray white first, it still took three layers of chalk paint to get rid of the blackness underneath.  Black jewelry tray from my basement. Photo by Diane M. Lilly, 2021. 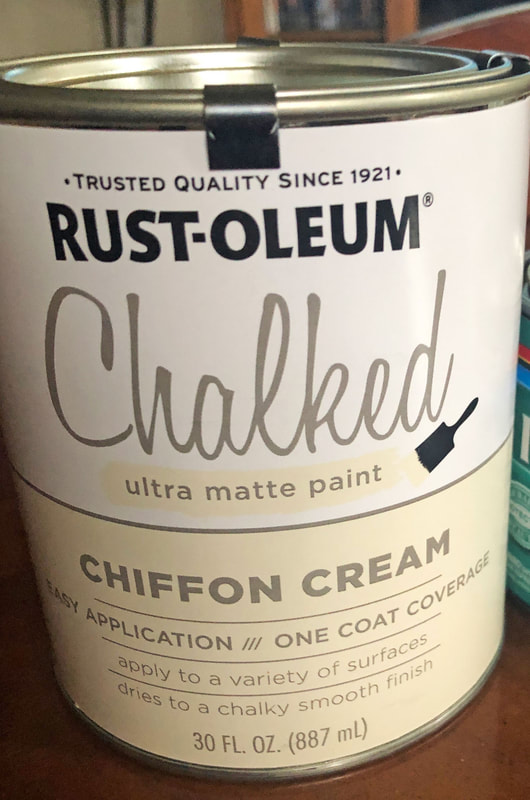 Chiffon Cream chalk paint (by Rust-oleum) for my project. Photo by Diane M. Lilly, 2021. 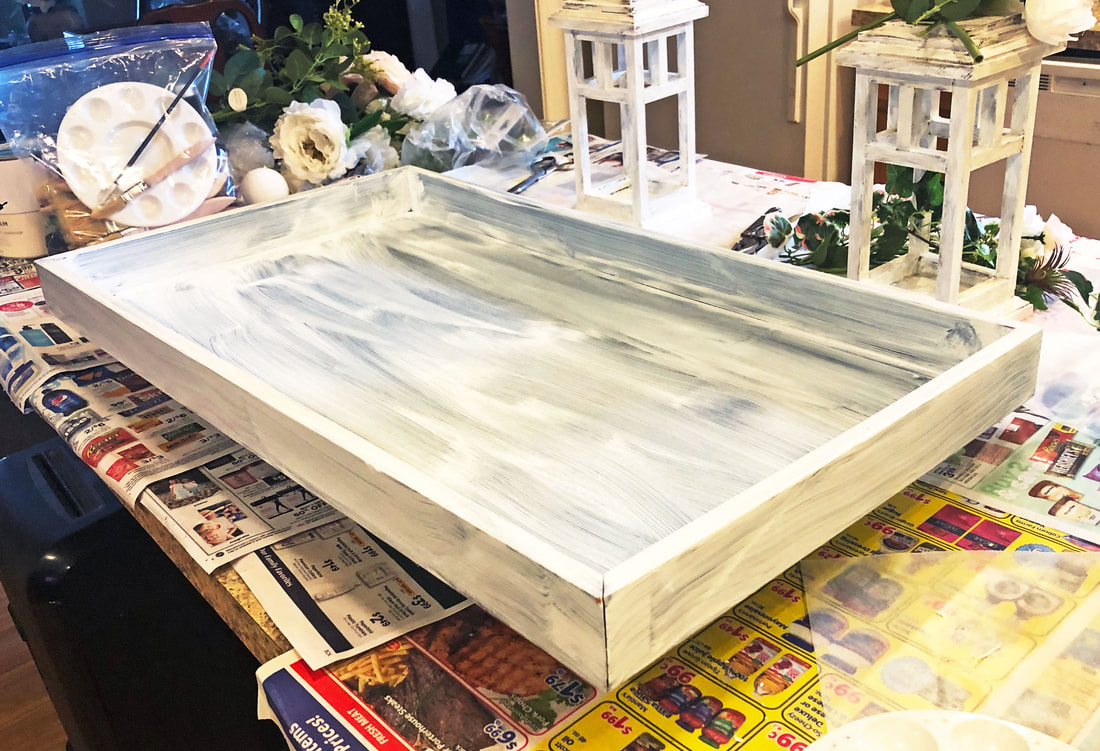 Tray after one coat of chalk paint. Photo by Diane M. Lilly, 2021. The next step I took was to use glue to create a crackled finish, but to be honest I wasn’t particularly happy with the results. It did create a lot of interesting crevices, though, so I thought I’d apply some brown wax to the surface to see what interesting textural effect I could create. But before I could apply the wax I wanted to do a little distressing and lighten up the finish. So I sanded the surface with 100 medium grit sand paper and distressed corners and edges to let a little of the black to come through. Then a brown finishing wax was applied to the tray…Let me tell you, when it first went on I panicked! It was brown wax, so I don’t have to say what it looked like smudged on my tray…that I had just worked SOOO hard on! I let it dry and then sanded the surface again, this time with 220 fine grit sand paper. And, oh my God, it was gorgeous!!! Talk about a sigh of relief! 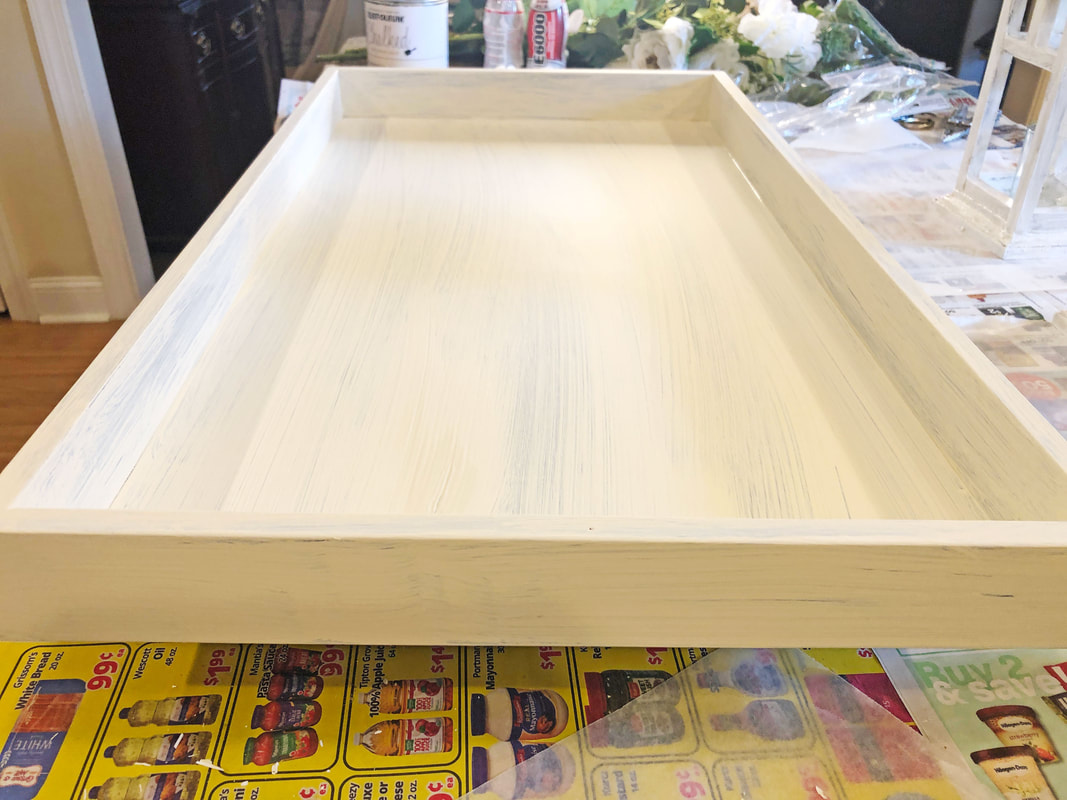 Tray after three coats of chalk paint. Photo by Diane M. Lilly, 2021.  Tray after brown wax application. Photo by Diane M. Lilly, 2021. 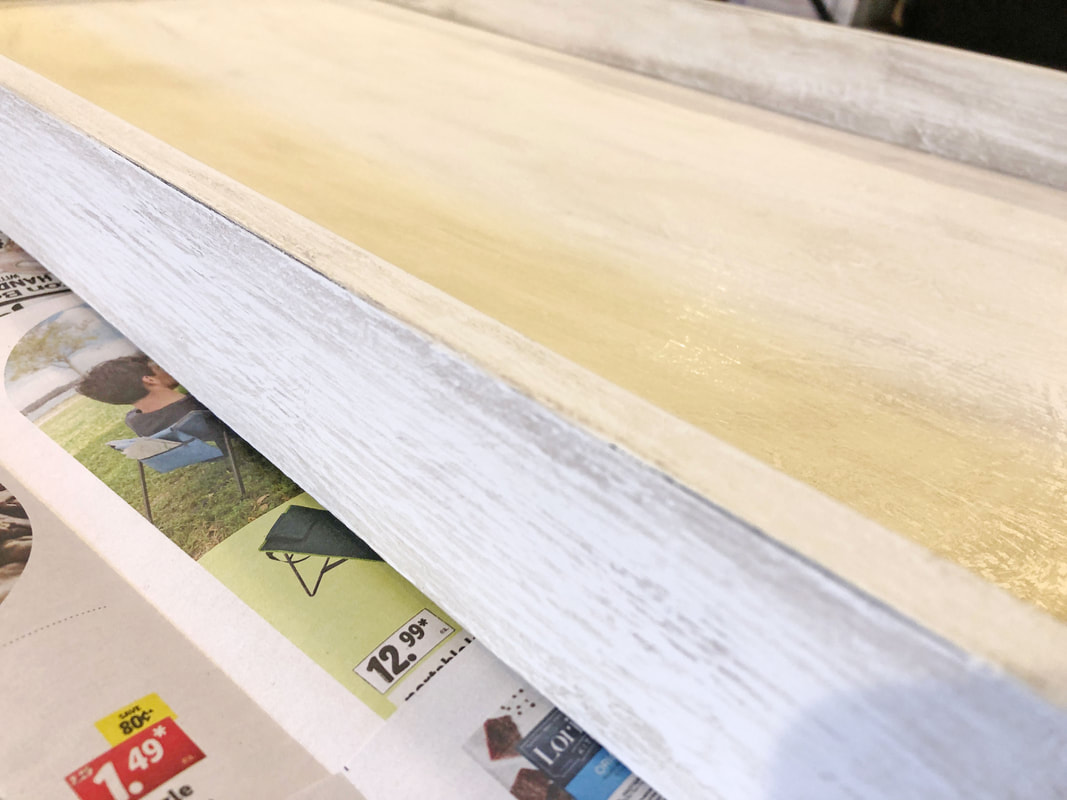 Closeup of tray before sanding before final finish. Photo by Diane M. Lilly, 2021. 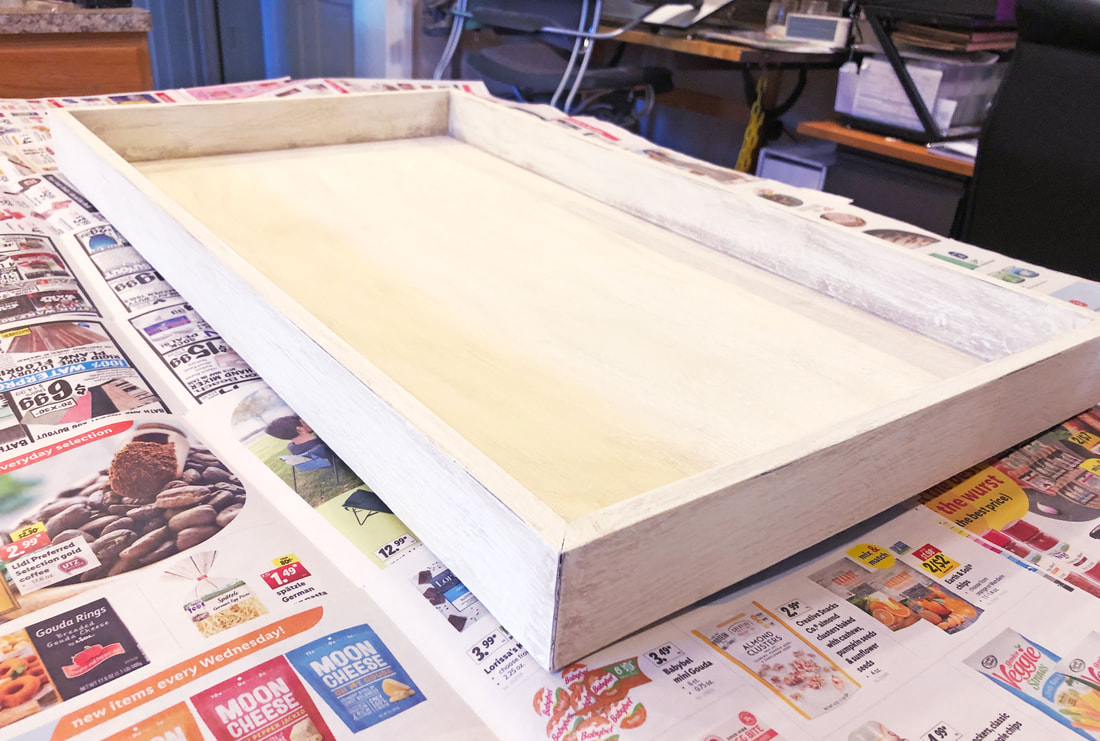 Tray after sanding and varnish. Photo by Diane M. Lilly, 2021. Now it was time for the finishing touches…Two coats of varnish was applied to the finished tray, then large felt pads were attached to the bottom to keep it up off the counter. I made a trip to my local Home Depot and bought decorative handles and a different color of screws (I didn’t like the silver ones that came with the handles), and a few days later the handles were attached. 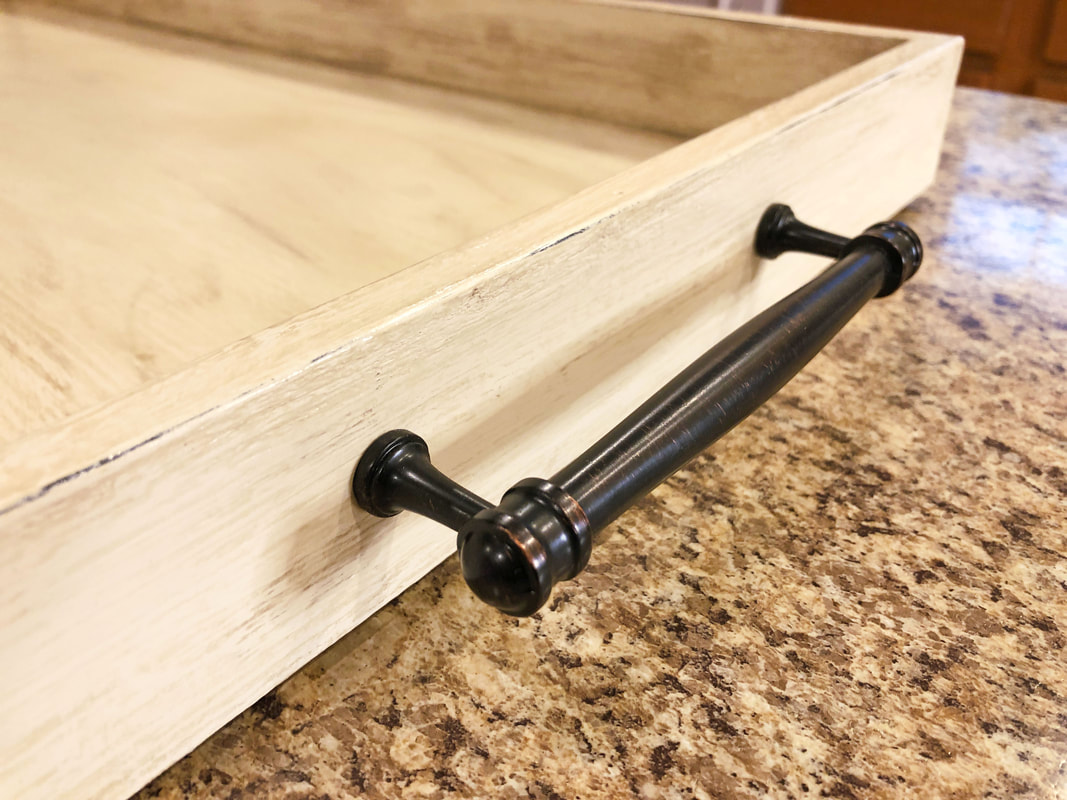 Decorative handle attached to finished DIY tray. Photo by Diane M. Lilly, 2021. All that was left to do was gather my decor and create my vignette! Putting it all together… Even my hubby likes this new coffee bar…Truthfully I thought he’d be annoyed! As I was thinking about what I’d like on this tray, I made sure to address what this tray needed to do. What was its function? What functional items needed to be on the tray? And then how can I dress it up to make it aesthetically pleasing for my kitchen counter? I now have my handy wine area, with a few glasses that I can quickly grab, along with a decorative box for that extra bottle of wine. Also on the tray are the three copper canisters I rescued from a basement bin and cleaned up. Those canisters—that I tried to sell at a yard sale a few years before—now house my sugar, tea bags, and powdered creamer, which is so convenient in the mornings when I make coffee. I even put a little glass jar on the counter for my dried chamomile (which I grow in my yard) for when I want to make chamomile tea! 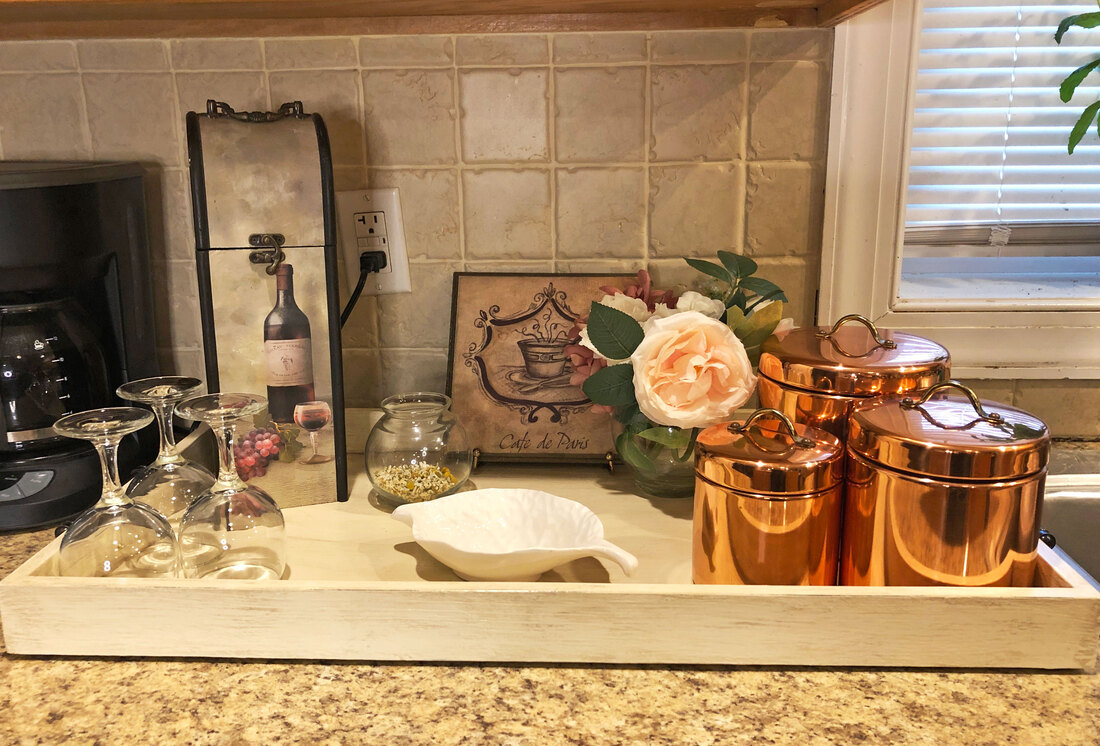 Finished counter coffee bar setup. Photo by Diane M. Lilly, 2021. 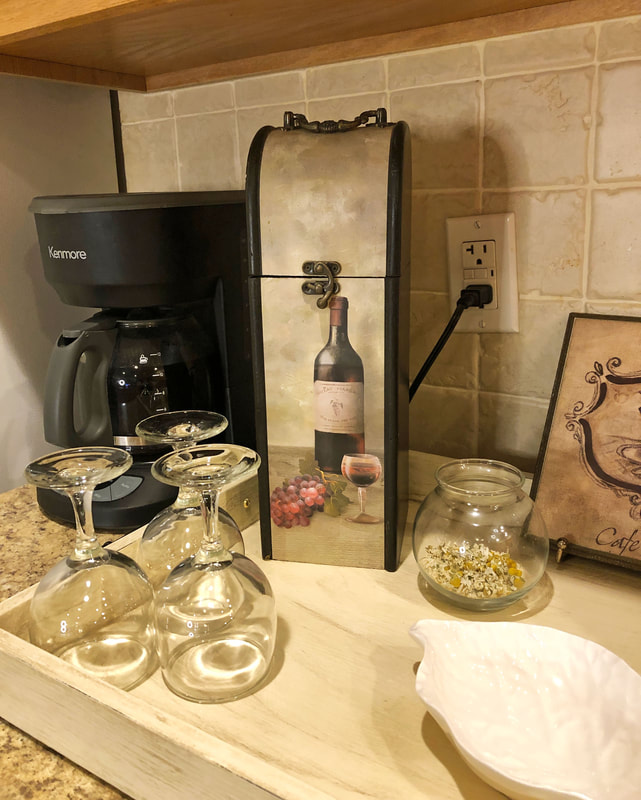 Closeup of wine section of tray. Photo by Diane M. Lilly, 2021. 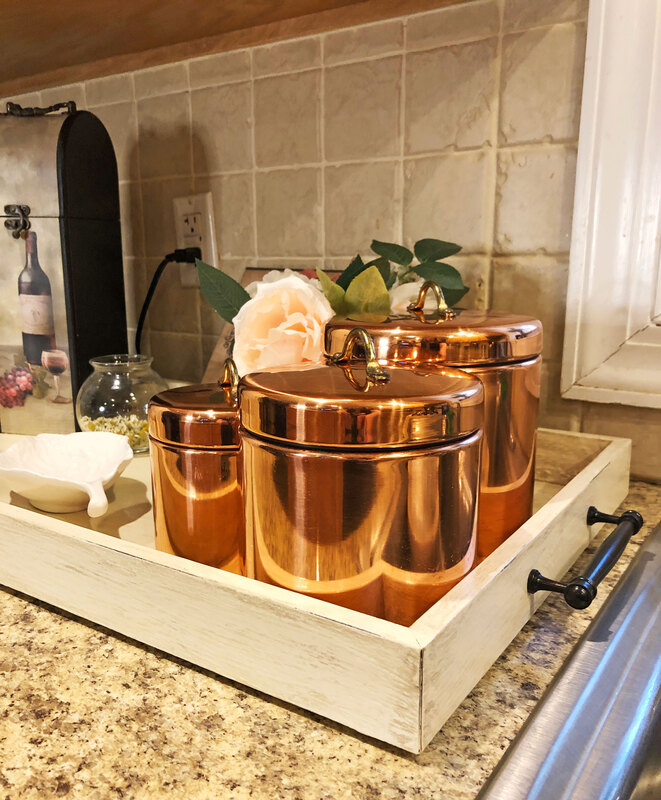 Closeup of copper canisters on tray. Photo by Diane M. Lilly, 2021. This was a tough projects in some ways, but it was rewarding…and now I have a beautiful—and functional—coffee bar to dress up what used to be a very disgusting looking area of my kitchen! So what do you think? Do you have a coffee bar in your kitchen? If not, did this inspire you to create one? If you’ve already created a coffee bar, feel free to share you comments and experiences below! I’d love to hear about them! If you’d like to hear about my new blog posts, merchandise sales, new items, social media or there events, please feel free to sign up for my monthly newsletter (coming soon) here. And you can follow me on my social media links below! I am an Amazon affiliate so some of the posts in this article may contain affiliate links. If you click on the link and purchase the item, I will receive an affiliate commission at no extra cost to you. I will only recommend products or services I use personally and/or believe will add value to my readers, so there is no conflict of interest. Related blog posts you may want to read: My top thrift shop finds this year How to replace a clock mechanism How to frame small canvas art How to rewire thrift buy lamps DIY Fall/Winter decorative branch box Comparing DIY upholstery cleaning methods DIY refurbishment of a dining room cabinet
2 Comments
1/10/2022 08:53:25 am
Good morning Ella! Thank you so much for your kind words and I'm so glad you were inspired to try your own project! I love these kinds of creative projects that make our homes unique while at the same time solving a "need". I will be doing plenty more of these projects myself, and blogging about them...so stay tuned for more creative ideas! Hope you are having a terrific day! Leave a Reply. |

Author
Some of the posts on this site contain affiliate links. This means if you click on the link and purchase the item, I will receive an affiliate commission. 
Categories
All
Archives
October 2025
|
 RSS Feed
|
|
Major credit cards accepted through Square. Apple Pay option available. This site also accepts PayPal payments for better online security, and it's free to sign up! Gift cards are now available for purchase!
Copyright 2025 |