|
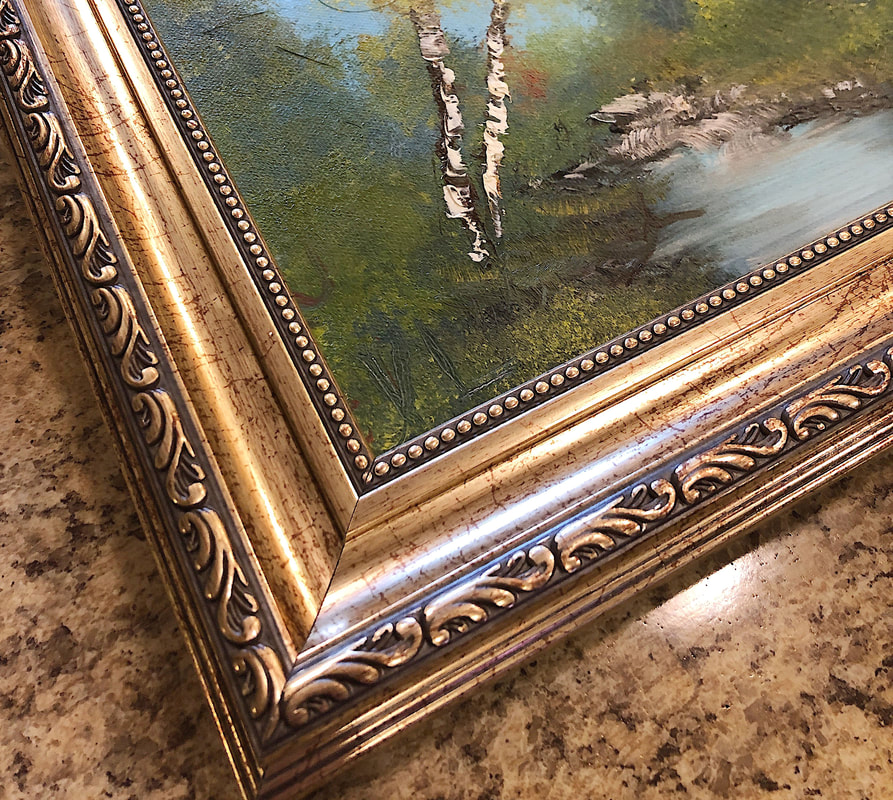
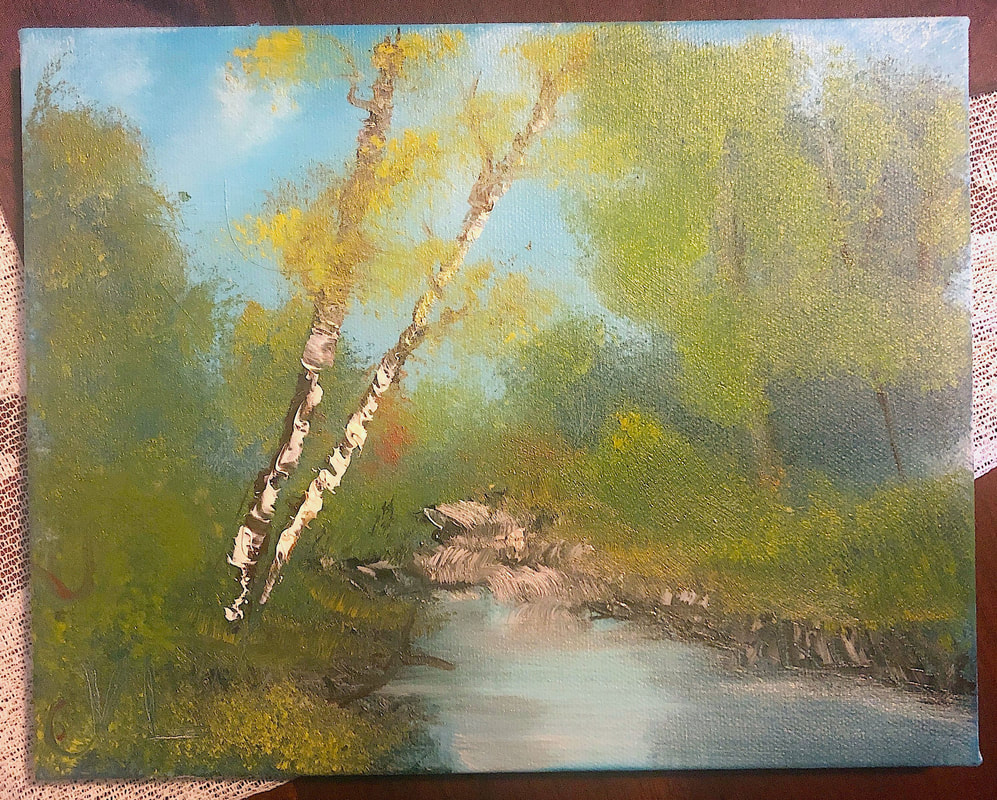
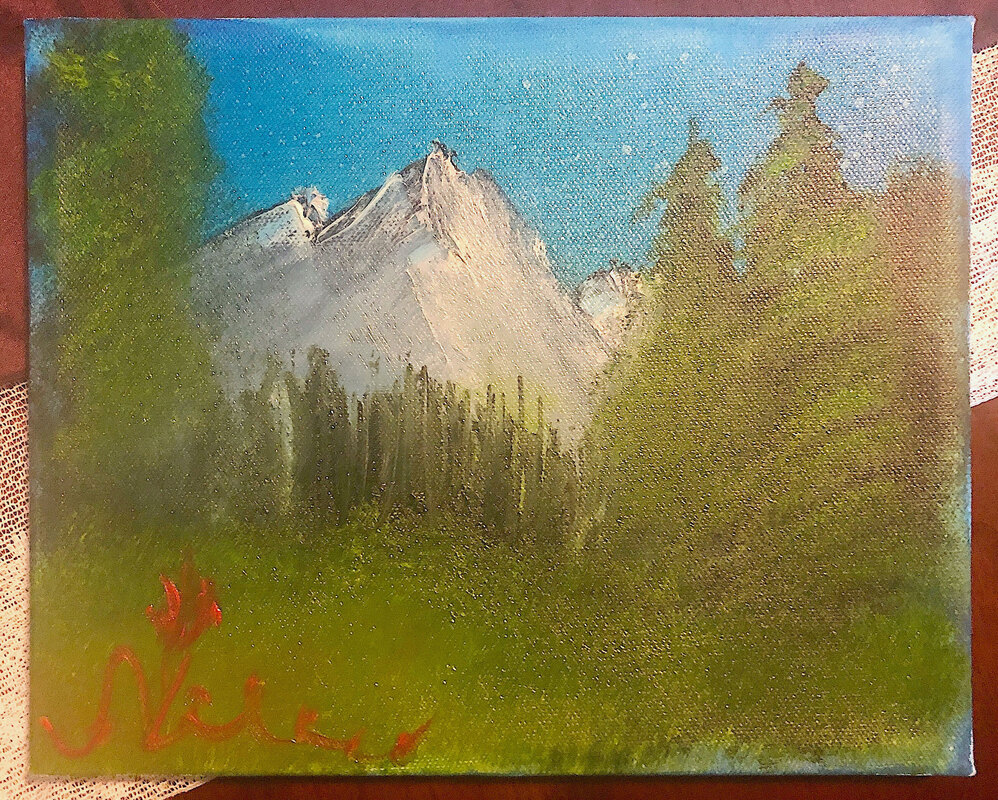
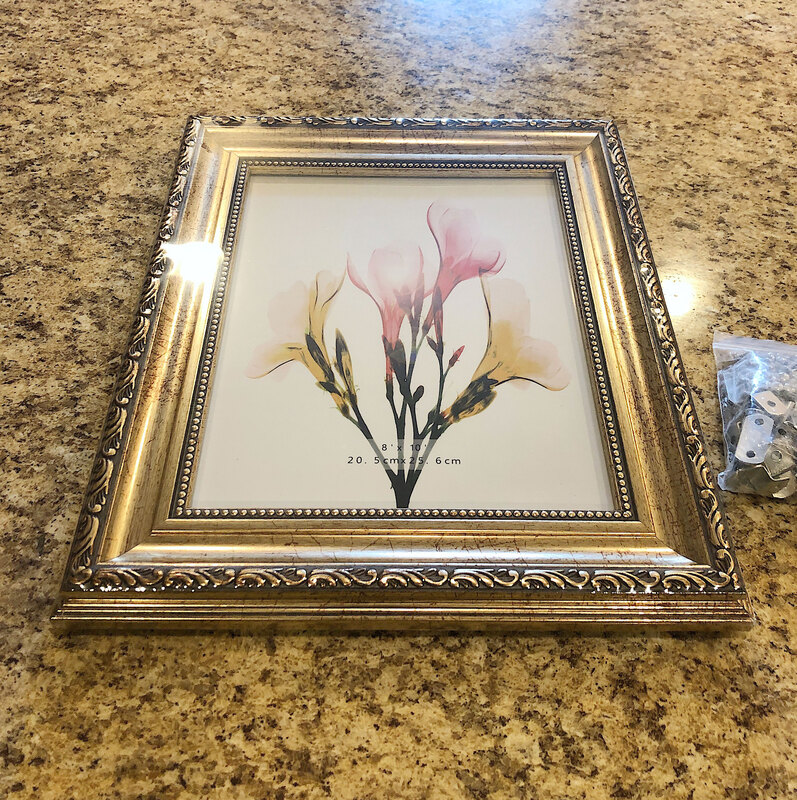
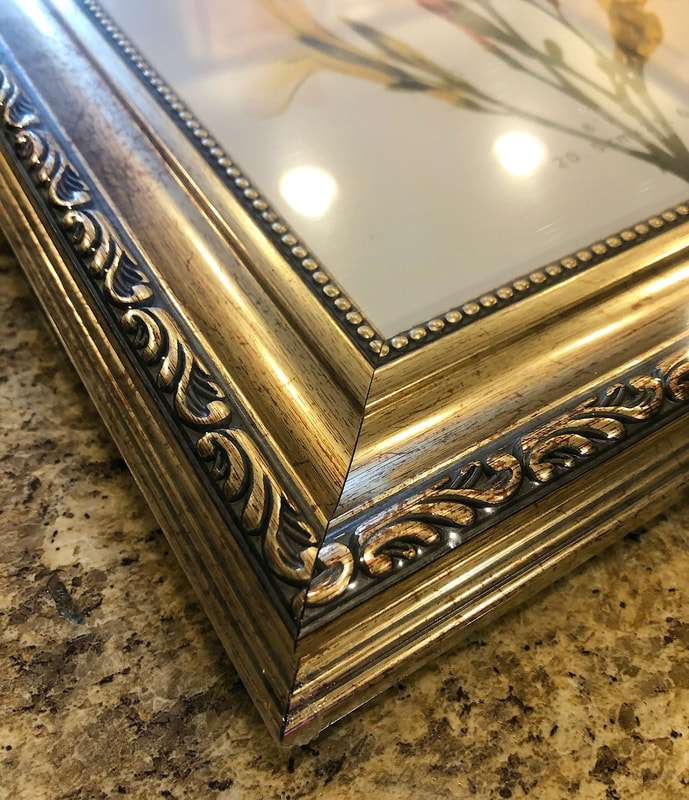
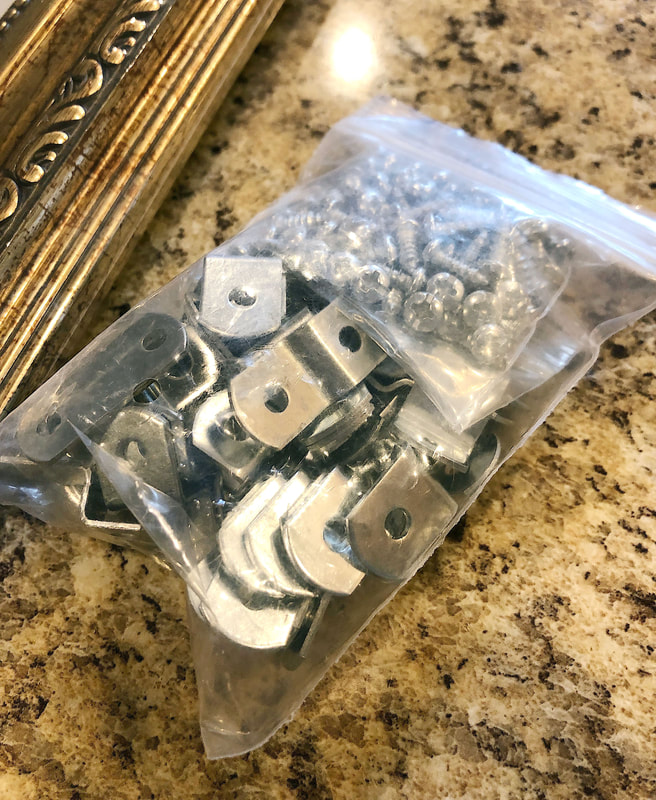
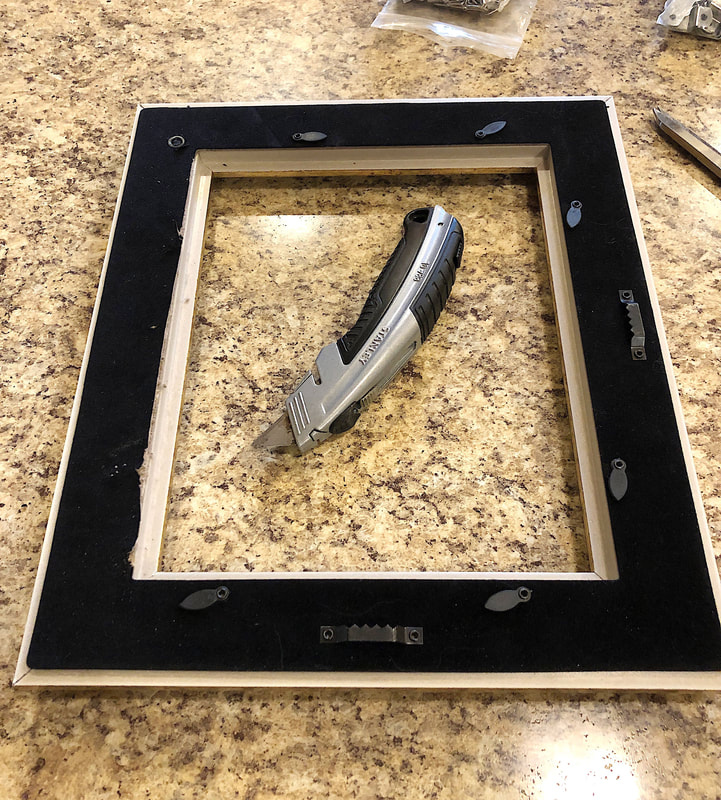
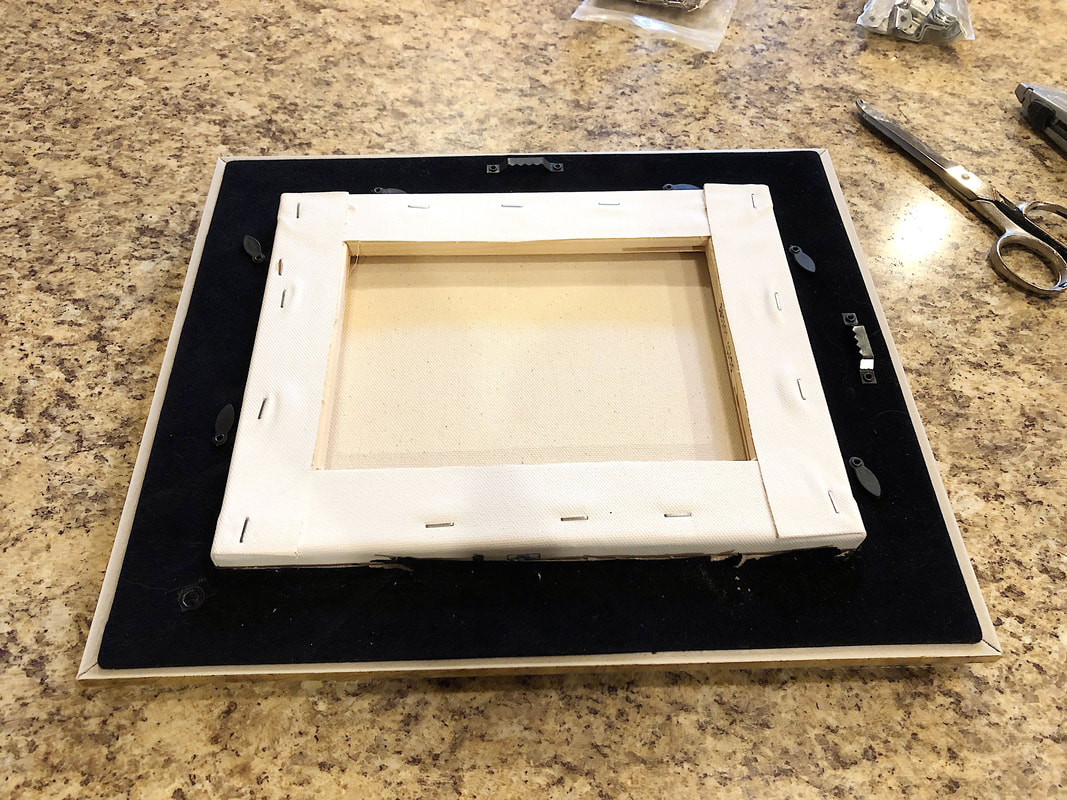
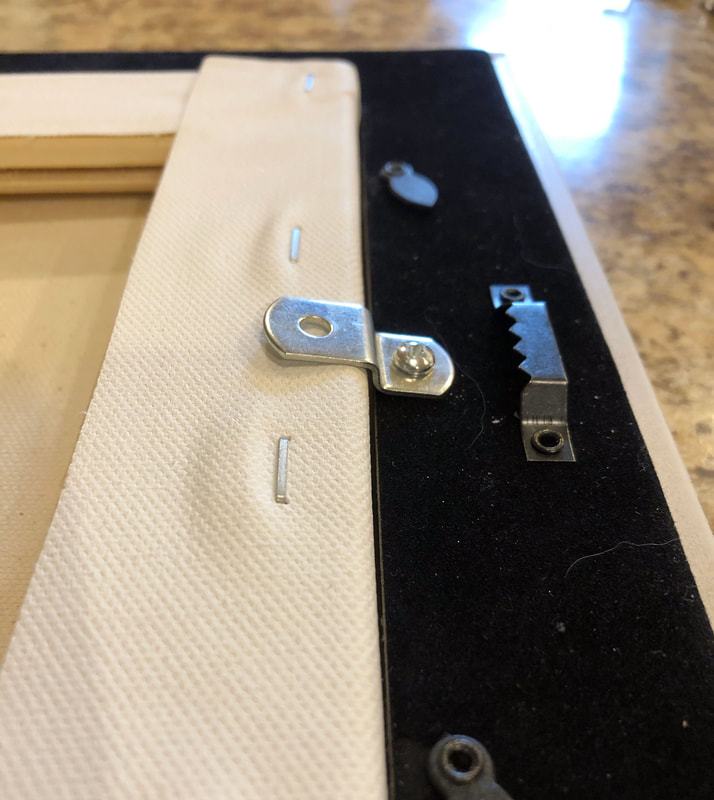
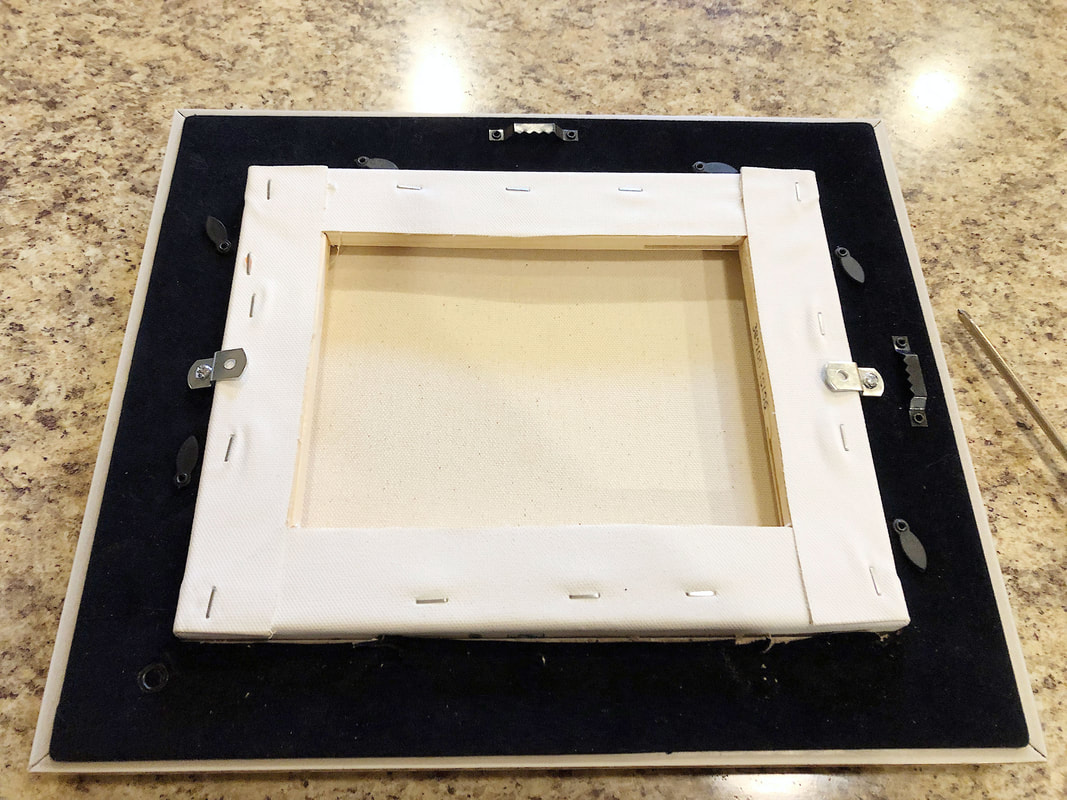
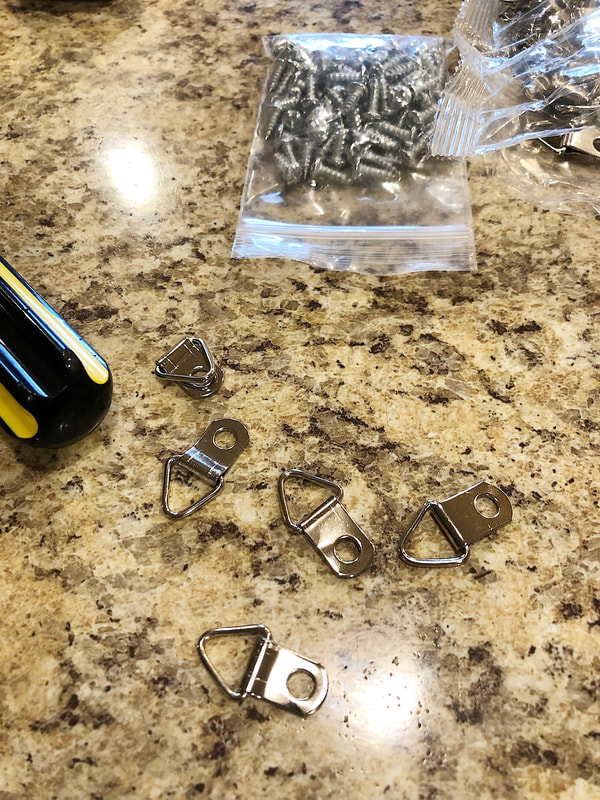
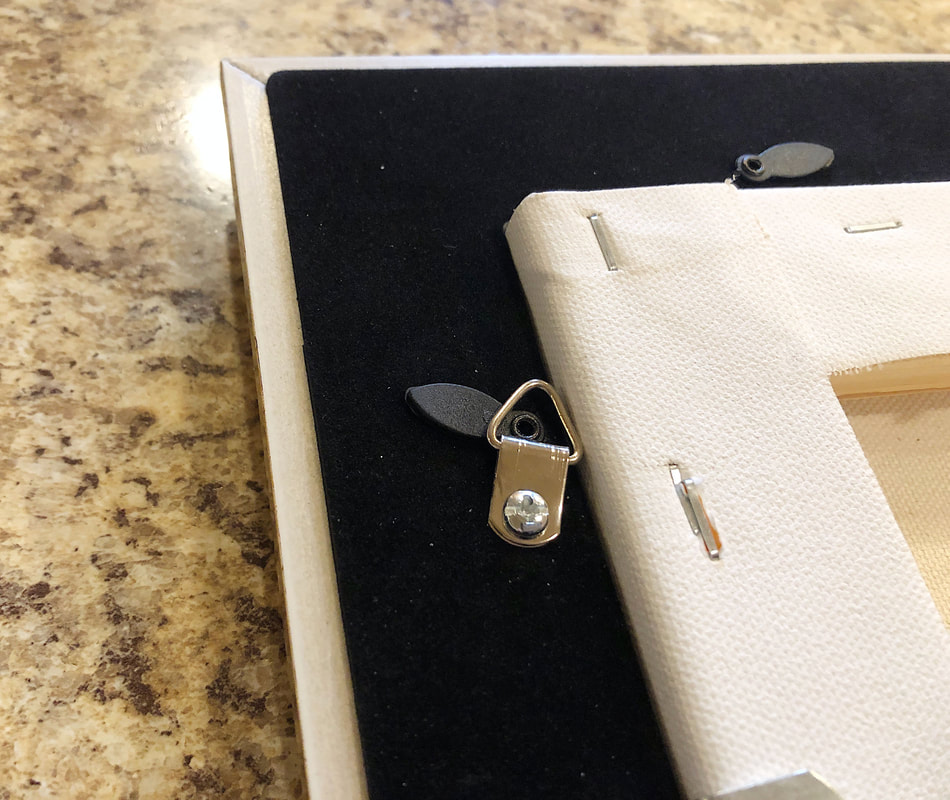
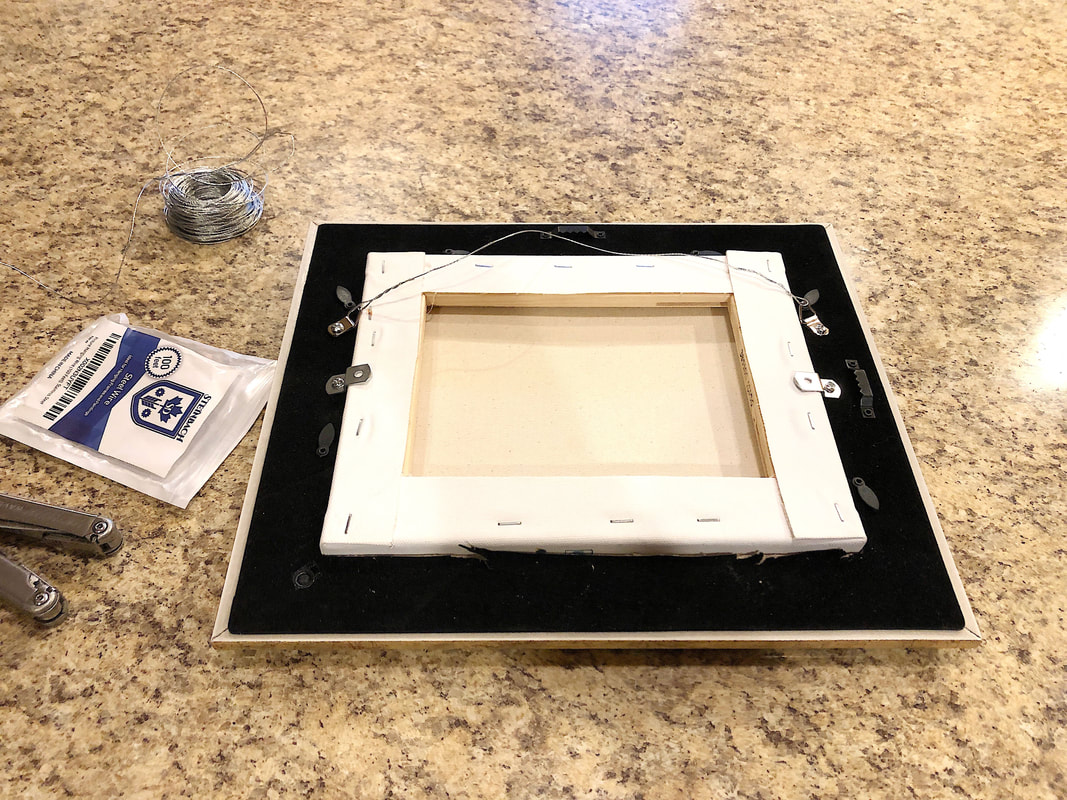
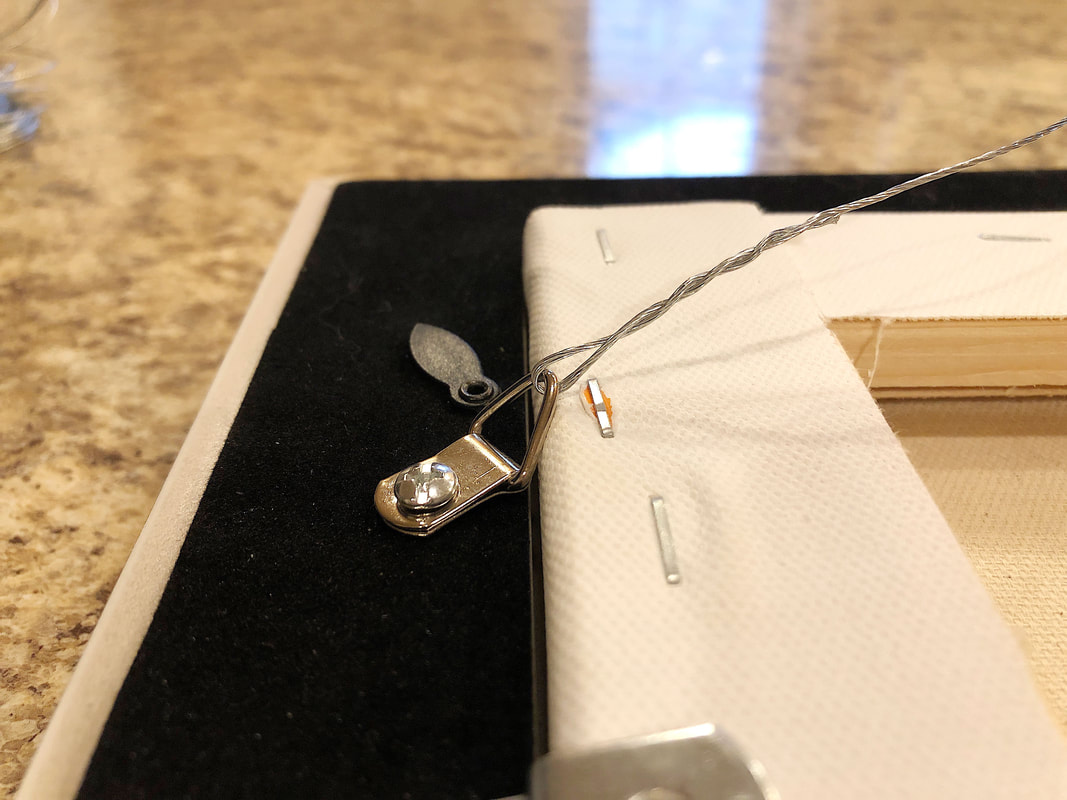
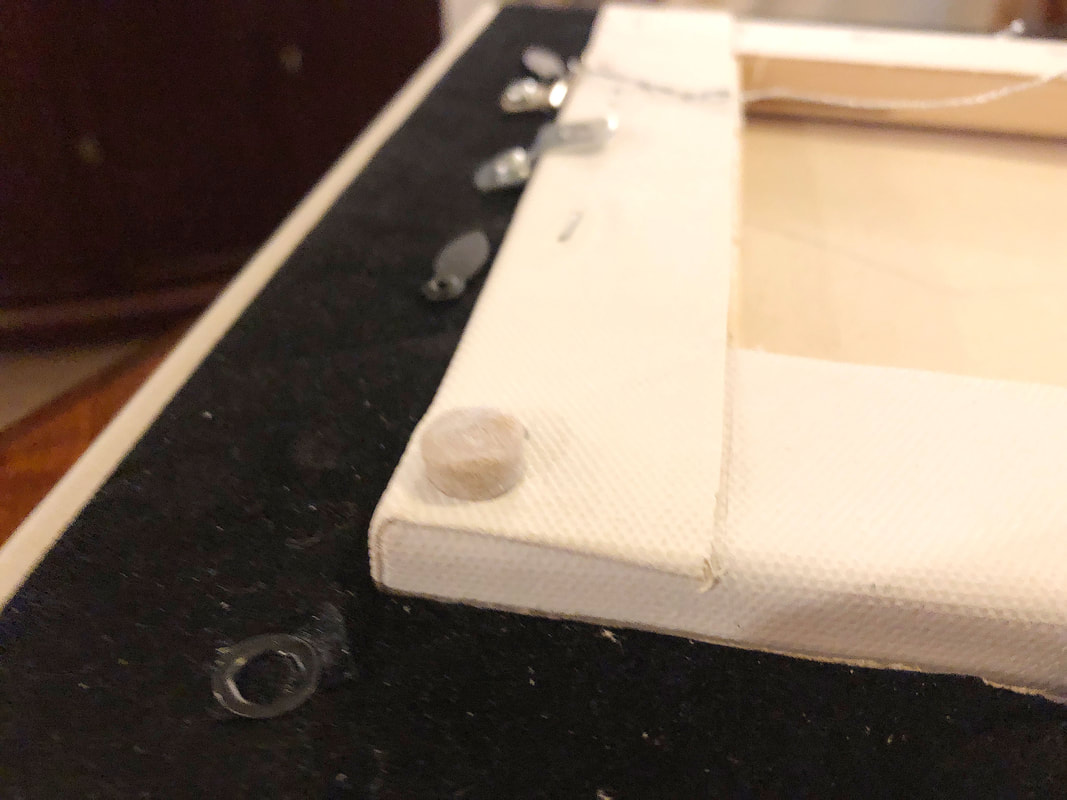
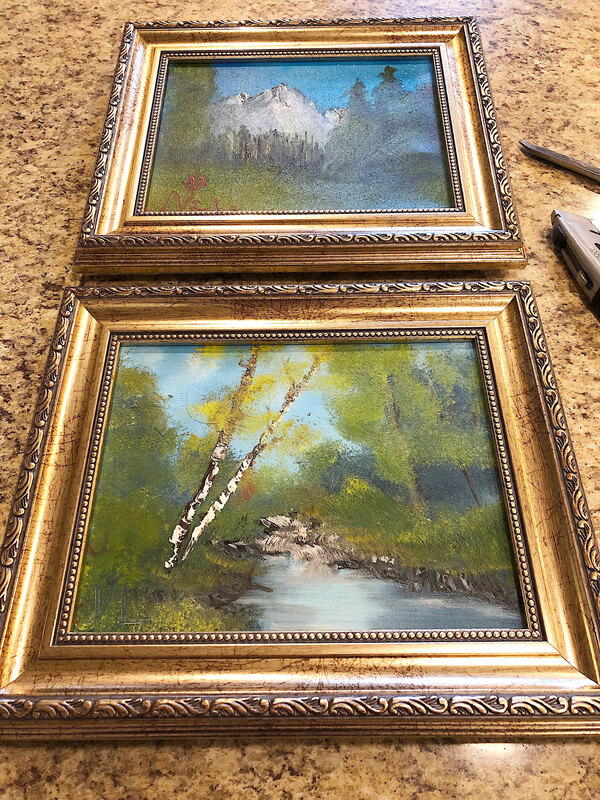
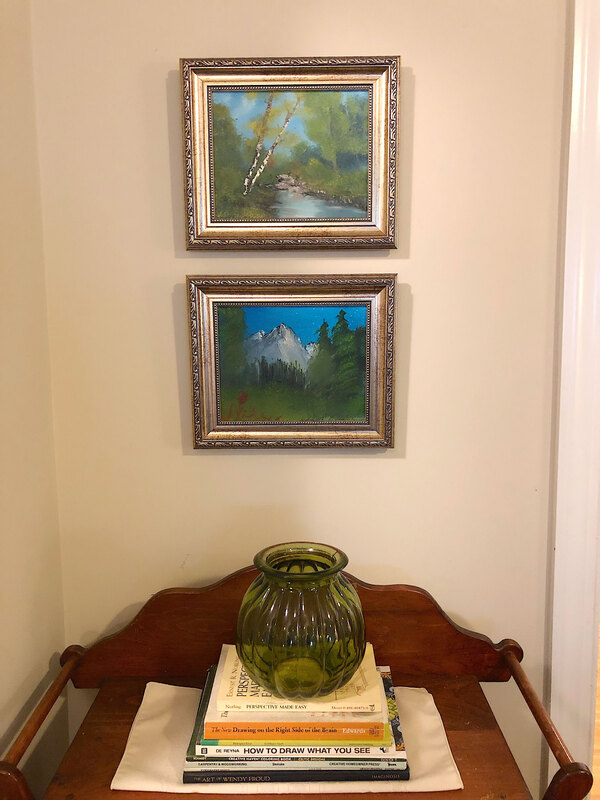
My teenage son is a budding artist who likes to paint in the Bob Ross style with oil paints. He has had these two 8 x 10 finished oil paintings just sitting in a cabinet for quite a while, so I thought, why not pull them out and display them in frames on my dining room wall? But there was just one problem—I had absolutely no idea how to frame and hang art! I did a little research, and it turns out it’s not difficult at all. So let me take you through the steps I took to frame and hang canvas art… Let’s start first with assessing the type of artwork… The first stage of this process is simply assessing the type of medium to be framed (paint or print type, etc.) and the thickness of the canvas. If framing a painting (like in my case), how you frame it will depend on whether the canvas you are working with is stretched or not stretched (stretched canvases are already attached to wood brackets, whereas unstretched canvases can be rolled up until ready to frame). Knowing the type of paint used or other important information about the type of medium will help guide your decisions from this point on, especially in regards to whether or not to use protective coverings. (In my situation, I have two 8 x 10 landscape oriented oil paintings on 5/8” thick pre-stretched canvas. They do not require any protective coverings.) In this stage, you are also looking at the style and size of your artwork and how it fits into your space. These assessments will guide you in choosing the style of frame. So let’s talk about choosing frames… As I said before, I really didn’t know a thing about framing this type of artwork before now. I searched high and low for the “right” frames, those “special” frames I assumed were made just for canvas art! Here’s what I learned…You can hang your artwork in whatever frame you like, so long as you make sure it is secured to the frame and does not stick out ridiculously far from the frame. It doesn’t need to be any more complicated than that! A frame should enhance the artwork as well as the decor in the room where the artwork is to be hung. You have to decide whether your art piece will look good with a thin or thick frame, whether or not you will use matting, and what style and color will go well with the room’s decor. As for frame width, a thin frame may work well in a modern setting, but make sure it also enhances the artwork and helps give it a defined edge. Sometimes thicker frames add balance and a more finished look to the artwork—it all depends on the piece itself and the stylistic decisions you made for the space in which it will be hung. A good frame should draw the eye to the piece without competing with it for attention (unless that is part of the overall style). I was all over there place trying to figure out what type of frames would work well with my son’s art work. In truth, I was scared to death to make a mistake or wrong decision! At first I was considering simple thin plain black frames, but that wouldn’t work at all in my newly redesigned dining room or with the paintings themselves. What I needed was something more traditional in style to match the rest of the decor, as well as a way to make the artwork “pop”. Brown wood frames were a consideration, but I felt like that would just be too much wood and make it too dark in the corner where I wanted to hang the artwork, so I settled on the idea of using gold frames. There are a couple of options for framing the stretched canvas art like the ones I am hanging. There are the traditional frames where the picture or artwork fits into the back (open back type of frame), and then there are front mounted or tile frames where the art is mounted into the front and gets screwed into the frame from the back. I ended up just opting for the traditional type of frame. After hunting around a while at Michaels, and then shopping online, I finally found a pair of frames I loved on Amazon. These frames actually tie in with similar style frames in my living room, they work well with the traditional style in my dining room, and I think they give the paintings a bit of sophisticated flair! Special considerations for paintings… Depending on the paint medium and type of canvas, you may want to explore options like matting, glass front, or dust covers on the back. In my situation, the oil paint my son uses does not require a glass front or dust cover. In fact, those options may increase the chance that trapped humidity could damage the painting over a period of time. (All oil paint requires is an occasional dusting and to be kept out of direct sunlight.) This is where it is important to know what type of canvas and paint were used so you can make decisions for proper protections for your artwork. If you’re not sure whether or not to add protections, do a quick Google search and you’ll get your answers! It’s important, so don’t skip this step… As for matting, that is a preferential decision. There are a wide variety of ways to use matting, and I won’t go into them here, but I advise you to explore them to see whether they work for your situation. (I found a good informational link on matting here that goes a little more into depth about the matting process.) In my case, matting just wasn’t necessary. Mounting artwork into a frame… Ideally your frame should be as close in thickness to your canvas as possible so that the your artwork is secure and the canvas and frame can hang nicely against the wall. When using frames that are thinner in thickness than the canvas art, however, you will need offset clips. These clips get screwed into the frame (not the canvas), and they sort of cradle the artwork into the frame so that it doesn’t move. I found my clips online on Amazon, but I'm sure you could find them at a local hardware or crafts store. These come in a variety of sizes so that you can choose the size that fits snuggly against the canvas. Attaching hanging apparatus… There a a few ways you can hang your newly framed artwork, so I’ll just touch on them here then talk about what I used for my own project. A simple method for hanging is to use a sawtooth bracket and a nail. This is just a simple nail in the wall and the sawtooth bracket on the back of the frame just sits on the nail. This method is good for small pieces of artwork that can hang flush to the wall. Larger, heavier, or bulkier pieces will require a different approach using hanging wire and hooks. Let’s start with the hooks…There are a few different hook styles you can choose—D rings/hooks, eye hooks, triangle D hooks. Whichever type of hook you choose, you will mount them about 2/3 from the bottom of the canvas (or 1/3 from the top). I happened to have a bunch of triangle D hooks on hand, so that is what I used for this project. They are a little awkward—I probably should have used eye hooks—but they work okay since this is a small project. Once the hooks are securely mounted, you can string your hanging wire between the two hooks. Essentially you string one end of the wire around one hook, pull it up to a pint just below the top edge of the frame, then bring the wire back down to wrap it around the second hook. This allows the wire to have the slack needed to properly hang on the wall. You can finish things off with small pads on the bottom corners of the frame to correct any lean that might damage the wall or the frame. Small artwork (like in my project) can just hang from a simple nail (make sure to hammer it in at an angle so the artwork can’t slide off), but larger heavier pieces will require more stability. In that case you can use a J hook, which anchors better into the wall and supports the weight of your artwork. There is also the option of using adhesive strips instead of putting holes in walls, but whether or not you should use that technique will depend on the size and weight your artwork. And finally, let’s hang your artwork… In the interior design industry there are standards for how high to hang artwork on a wall. Generally speaking, artwork should be hung approximately at eye level. Traditional pictures should be hung with the bottom at 58”-60” AFF (above finished floor). Pictures hung on over another should have a center point between them at 58”-60” AFF and be about 2” apart. Use a level to make sure the pictures are hung straight. Also, consider that the bottom picture’s edge should be 8-10 inches from the top of the furniture over which it is being hung. Keeping the above standard rule of thumb in mind, make the measurements necessary to get the correct heights for the hooks, adjusting as necessary. In my case, I hung the bottom picture first, then measured up from there to find the location of the next nail. And there it is! Both pictures are successfully hanging on the wall in my dining room above a small wooden cabinet, creating a little area of visual interest. (You can read about my recent dining room redesign project here!) Bonus ideas: Custom neon signs Here are more amazing options for wall art from a collaborator. Check out the many options on their site! "In addition to the classic and timeless practice of hanging oil paintings on the wall as a means of decoration, which can infuse a space with a sense of artistic elegance and cultural depth, Custom Neon Signs have emerged as an equally compelling and innovative choice. These neon signs are not just sources of illumination; they are veritable works of art in their own right. They can be crafted into a myriad of shapes, from the abstract geometric patterns that add a modern and minimalist touch to any room, to the more elaborate and whimsical designs that bring a sense of playfulness and personality. Neon signs offer a versatility that is hard to match. Their vibrant colors and soft glow can transform an ordinary space into a visually captivating environment, making them a truly good choice for those looking to make a statement with their decor." This was a fun learning experience I thought I’d share, and I hope you found it interesting! Feel free to leave comments or other tips in the comments below!
If you are interested in receiving notifications for new blog posts, new items, and other exciting stuff, sign up for my email list to receive my monthly newsletter which I am working on rolling out in a couple months. I am an Amazon affiliate so some of the posts in this article may contain affiliate links. If you click on the link and purchase the item, I will receive an affiliate commission at no extra cost to you. I will only recommend products or services I use personally and/or believe will add value to my readers, so there is no conflict of interest. This site also includes paid links to collaborators' sites. Related blog posts you may want to read: My dining room redesigned as a multi-function space How to replace a clock mechanism How to rewire thrift buy lamps Creating a kitchen coffee bar Comparing DIY upholstery cleaning methods DIY refurbishment of a dining room cabinet
4 Comments
Holly Sorrentino
5/8/2021 12:05:30 pm
I find your blog very helpful and learned a lot by this particular blog. I just had walls painted and will be hanging art next. Thanks for info.
Reply
5/8/2021 02:33:20 pm
Thank you so much for your comment Holly! I am so happy you thought this post was useful and it helped you with your wall art! Let me know if you'd like to see articles with other tips like this one and I'll see what I can put together for you. Have fun hanging your artwork!
Reply
12/31/2024 04:54:06 am
This blog is so helpful and packed with great information! I really appreciate how you explained the whole process of framing small canvas art, from evaluating the artwork to picking the perfect frame and mounting it. The tips on different frame styles, hanging methods, and considerations for various paint mediums were super useful. It’s obvious that a lot of effort went into this guide, and it’s perfect for both beginners and anyone looking to improve their framing skills. Thanks for sharing such valuable advice!
Reply
1/2/2025 08:27:15 am
Thank you for your wonderful comment! Framing artwork sounds straightforward but there are many considerations that need to be addressed. This technique is just the tip of the iceberg!
Reply
Leave a Reply. |
Author
Some of the posts on this site contain affiliate links. This means if you click on the link and purchase the item, I will receive an affiliate commission. Categories
All
Archives
October 2025
|


 RSS Feed
