|
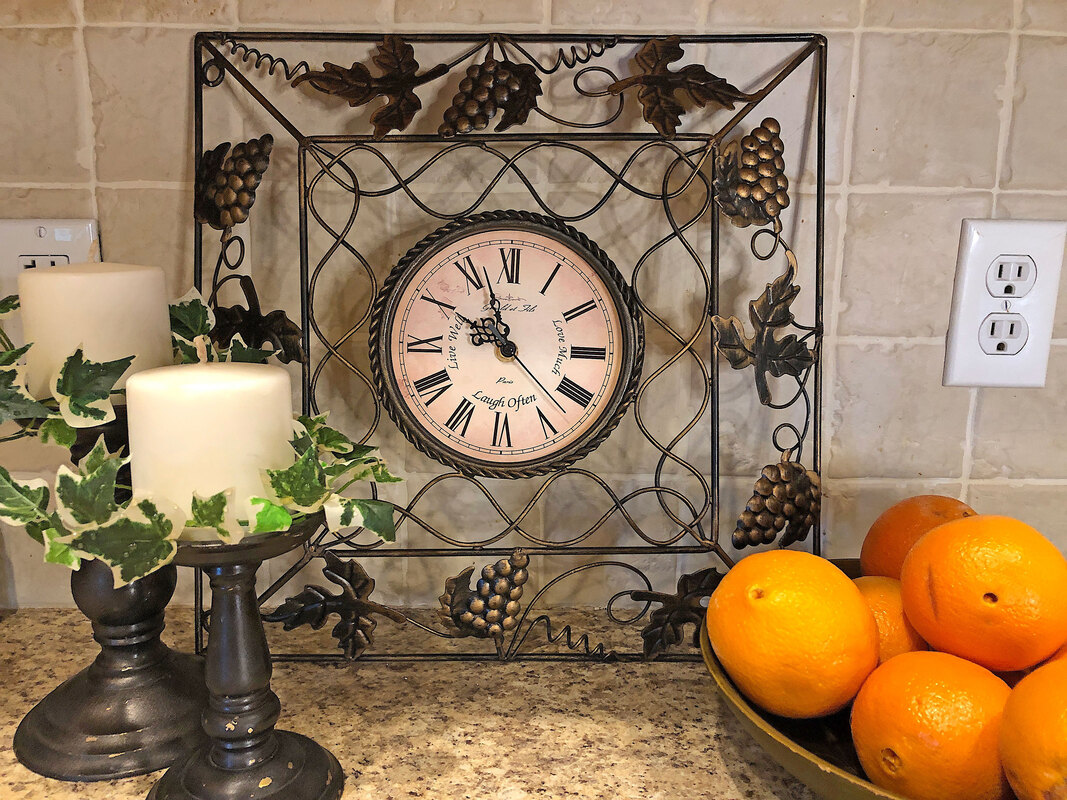
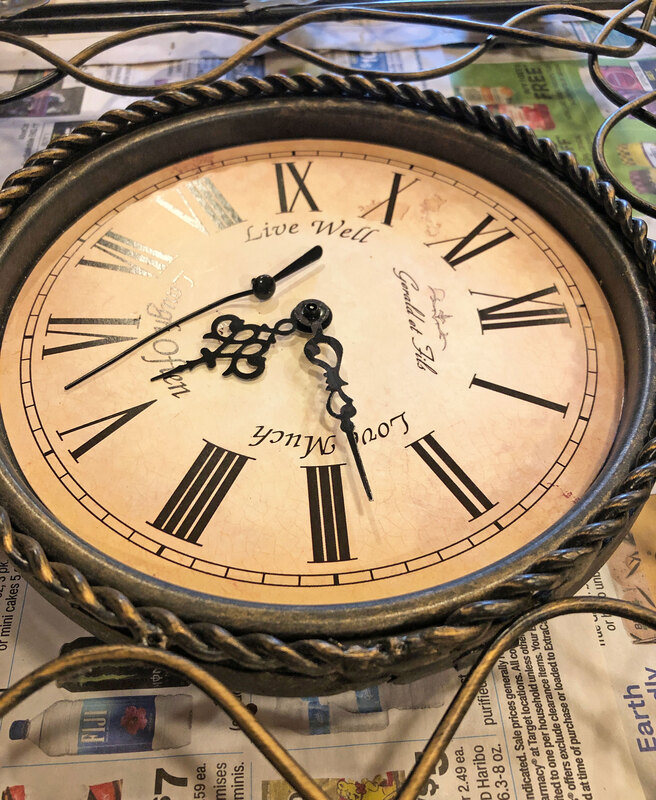
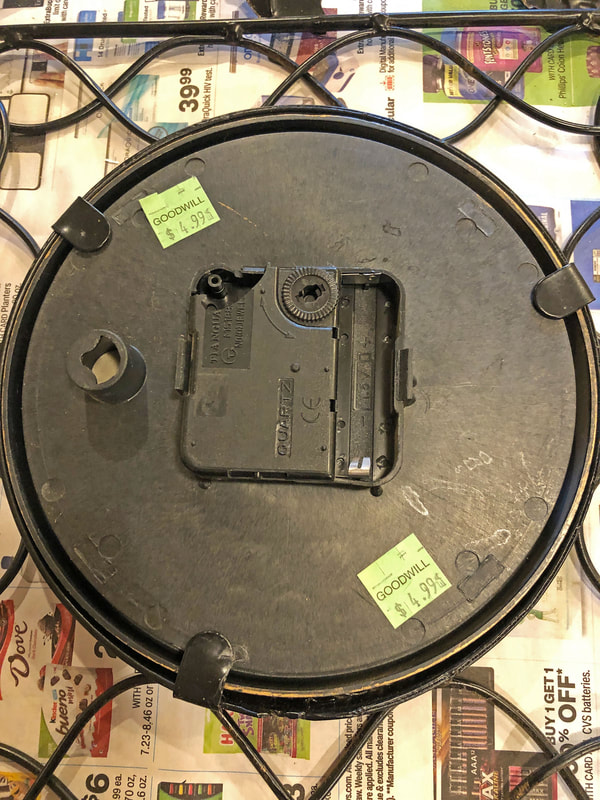
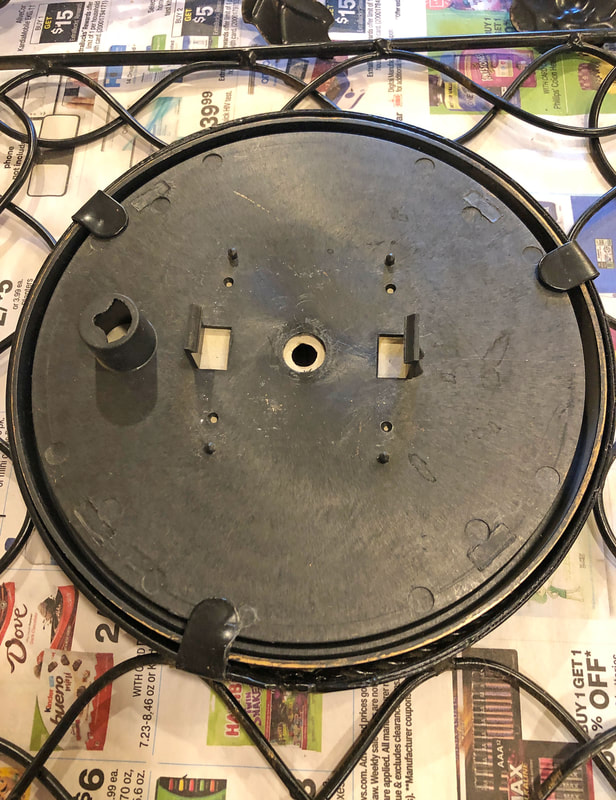
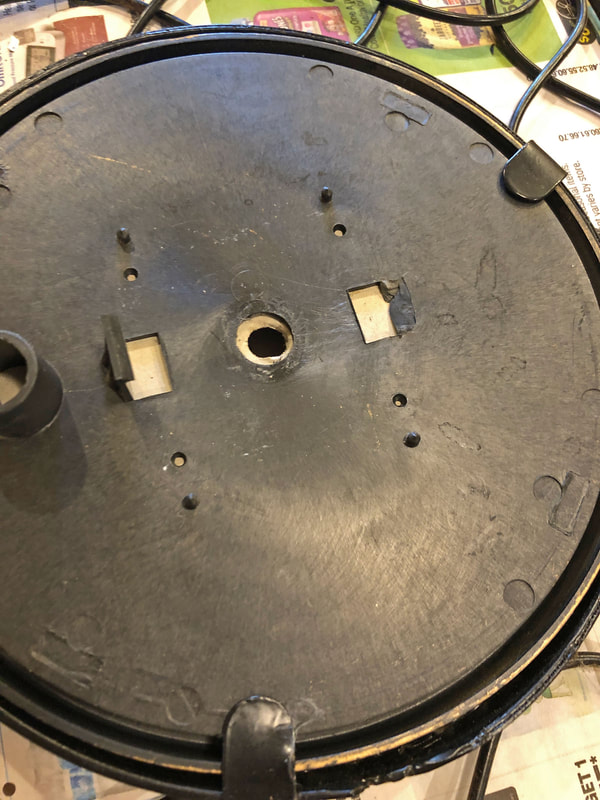
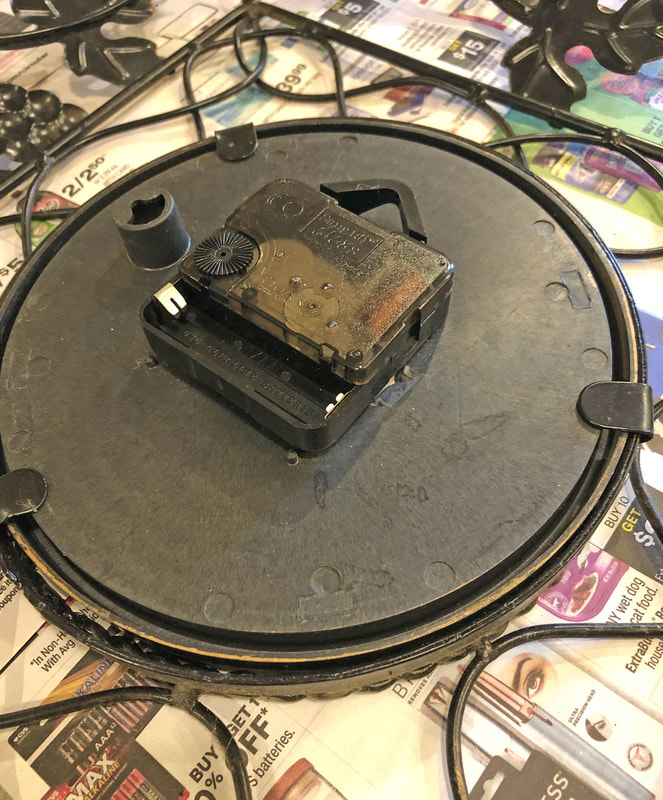
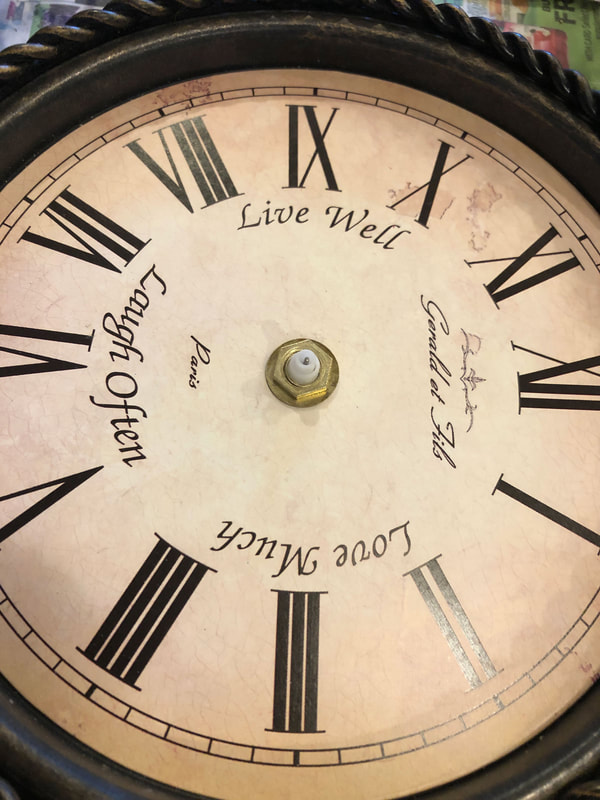
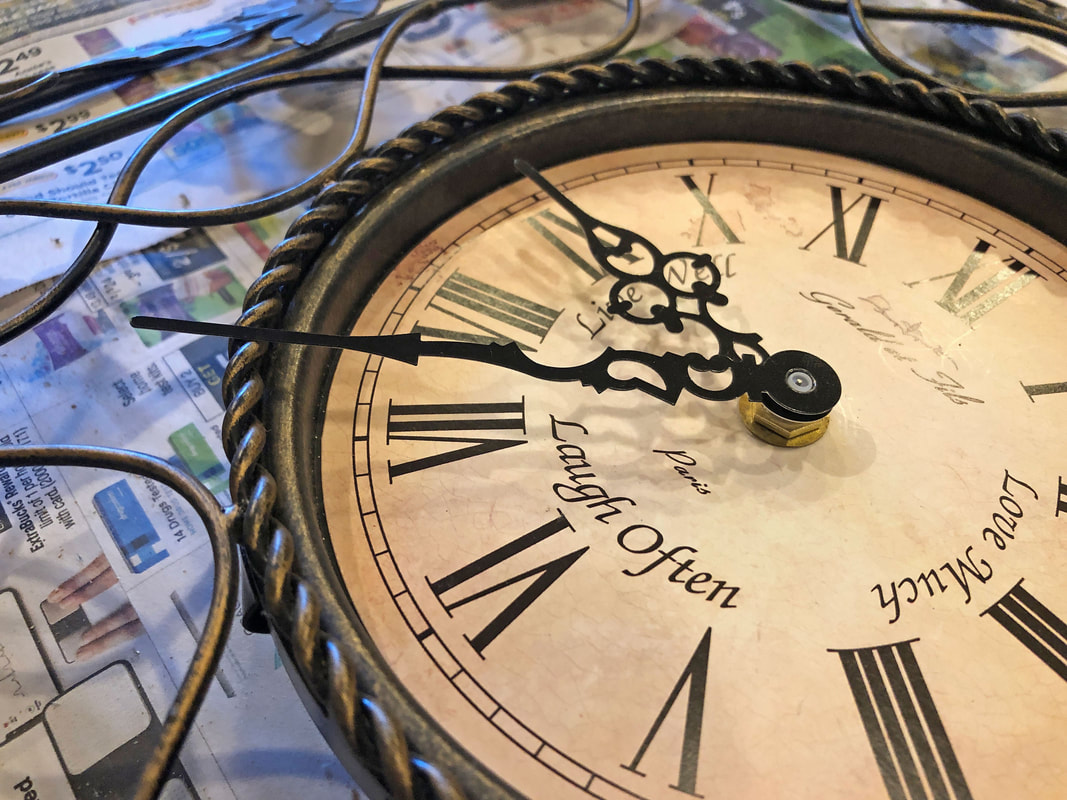
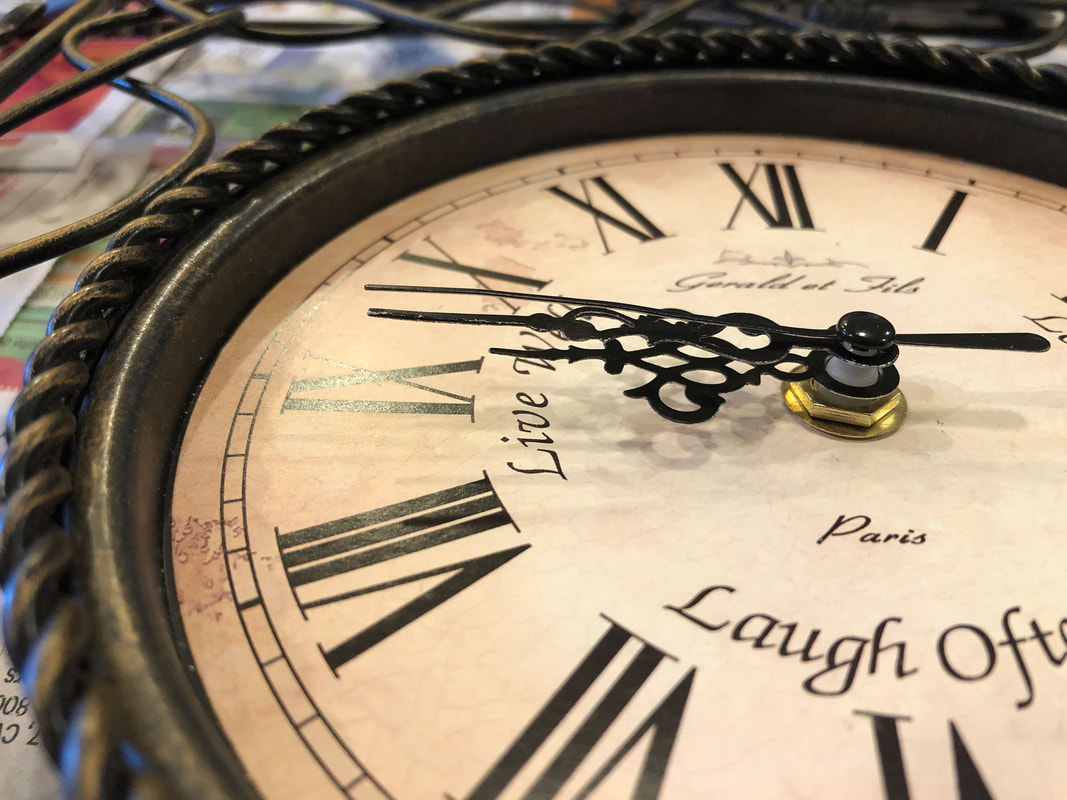
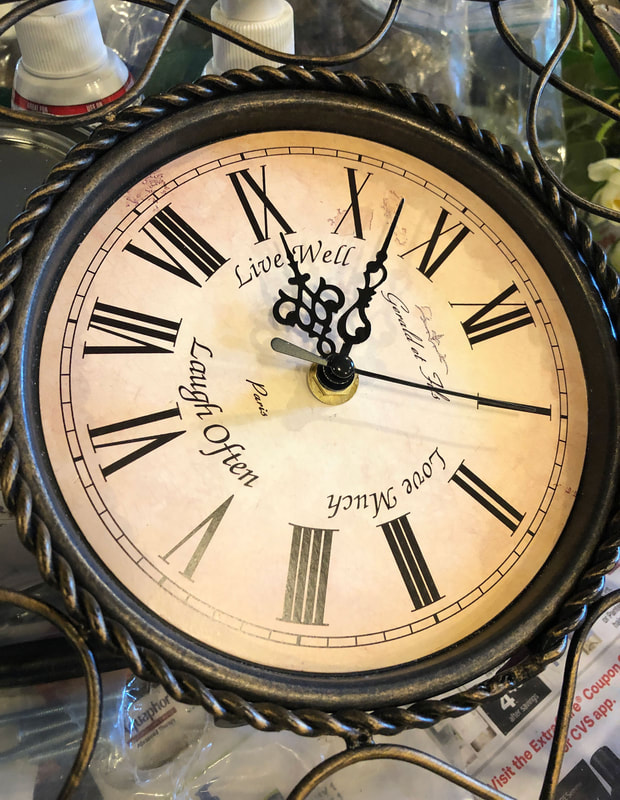
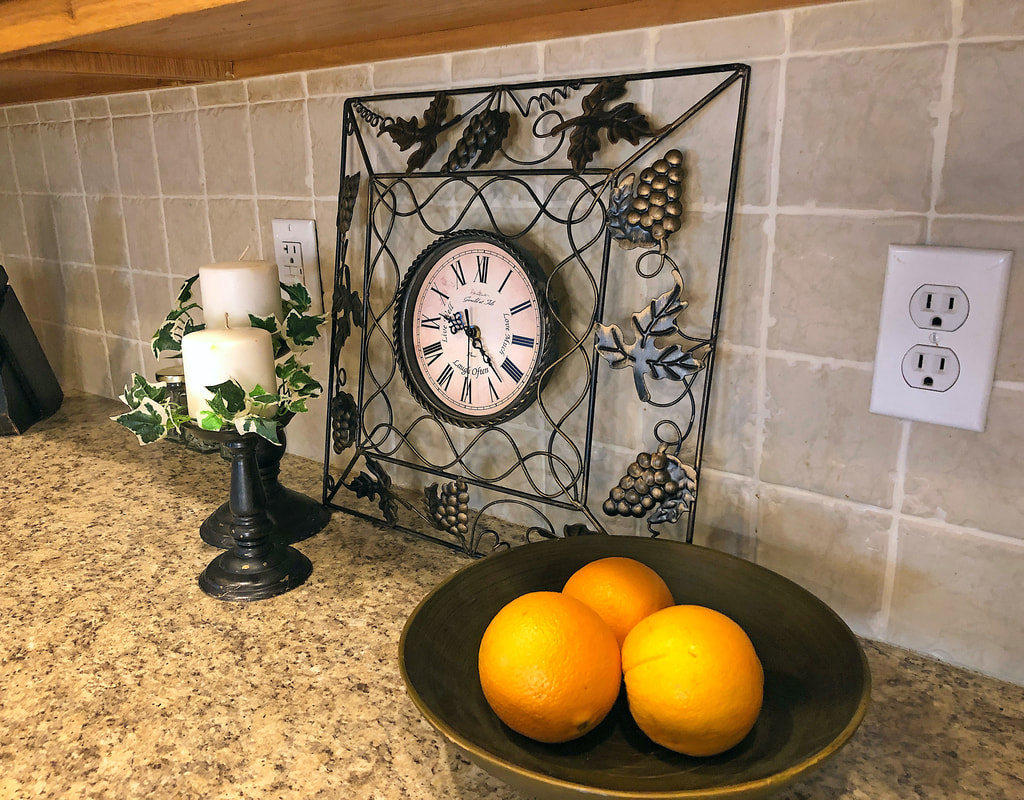
Have you ever come across a really amazing old clock that you had to take home with you, but it wasn’t exactly in working condition? I’m not talking about the ones with all the complex gears, but a simple modern battery operated clock that you can sit on your counter or hang on a wall. As it turns out, the mechanisms on these types of clocks are ridiculously easy to replace! So let’s back up a little bit and let me give you the back story on the beautiful clock (seen below) that I found at a local thrift store… I walked into a thrift store one day—just after a doctor appointment across the street—not expecting to find much of interest. At the time I was in the process of redesigning and redecorating my dining room and kitchen and in need of some affordable decorative items to bring my look together. As I strolled to the back of the store (just out of curiosity, why are the home decor items always in the BACK of the store?) I started to feel a good vibe coming on. In a moment of what I can only define as serendipity, my eyes alighted on several beautiful items that were absolutely PERFECT for my new look, the clock being one of them. I walked out of that store a happy woman with both arms full of gorgeous decorative finds for my latest projects! Upon closer inspection at home, I realized the clock was not telling time and so put a new battery in it and it worked a charm…Until someone knocked into it before I had a chance to set it in place and broke the mechanism on the back… Which leads me to how I changed the mechanism for this clock… The first thing I did was take the hands off the front of the clock. There is a central pin that can be turned to loosen and then pulled out. With the hands removed I then flipped the clock over to inspect the mechanism attached to the back of the clock. In this case, the clock mechanism was held in place by two brackets on either side of the black box that contains the mechanics and the battery, so it was easy to just pop out. So far so good… BUT…Nothing is ever easy, is it?! So I tried to put the new clock mechanism back into the slot between the two brackets, only to realize that the new one was just a smidgen too big to fit between the two brackets. After unsuccessfully trying to insert this new box, I broke one of the brackets! After some language not fit for even a mature audience, I pulled myself together and tried to brainstorm a way to fix this situation. Eventually I decided to just glue the new box and washer in place with e6000 glue and—while not ideal—it definitely solved the problem. With a sigh of relief I then moved on to the next phase of this process… The process of changing out the mechanisms created yet another issue—the cardboard face for the clock shifted by about a sixteenth of an inch to one side, creating a trouble point where the gears would get stuck as they moved, so I had to use a sharp blade to clear the cardboard away from the central shaft (without destroying the decorative clock face!) so that the clock hands could rotate unimpeded. Now I was ready to replace the washers, nuts, and hands on the clock face… BUT…Like everything else with this project, nothing was simple! I was excited when I got to this point because the hard part was over—I could finally put the decorative touches on this beautiful clock and watch it work its magic. And then, as I started putting on the new hands I realized they were too big for the clock face! Taking another look at the old hands, my assessment was that if I could get some of the subtle bends out of the clock hands they could still be used, and so I put the old hands back on and everything seemed in good condition. I popped a battery into the back and the clock started working! It kept time for a while but then stopped…I mean, really?! What the heck with this clock already! But I noticed that the second hand was still bent in a way that caused it to get caught on something as it rotated, and once that issue was fixed the clock started working again…And several weeks later, it’s STILL working!!!! So it is very easy to change out these simple cock mechanisms, but—as with any project (unless it’s just me)—there will always be unexpected challenges along the way. The key is to problem solve and make it happen! I now have a clock for my kitchen counter that somehow seamlessly blends in with the decor in the rest of my home and adds a bit of style to what had previously been a pretty sad area. So what do you think? If you’d like to share your own experiences or have any questions for me, drop a comment below. If you’d like to subscribe to my monthly newsletter (coming soon) so you can be notified of new blog postings, special sales, social media events, or other happenings for Di’s Studio Designs, you can click here and fill out your info on my contact page. You can also follow me on the social media links below! Related blog posts you may want to read: How to frame small canvas art How to rewire thrift buy lamps Creating a kitchen coffee bar DIY refurbishment of a dining room cabinet
0 Comments
Leave a Reply. |
Author
Some of the posts on this site contain affiliate links. This means if you click on the link and purchase the item, I will receive an affiliate commission. Categories
All
Archives
October 2025
|


 RSS Feed
