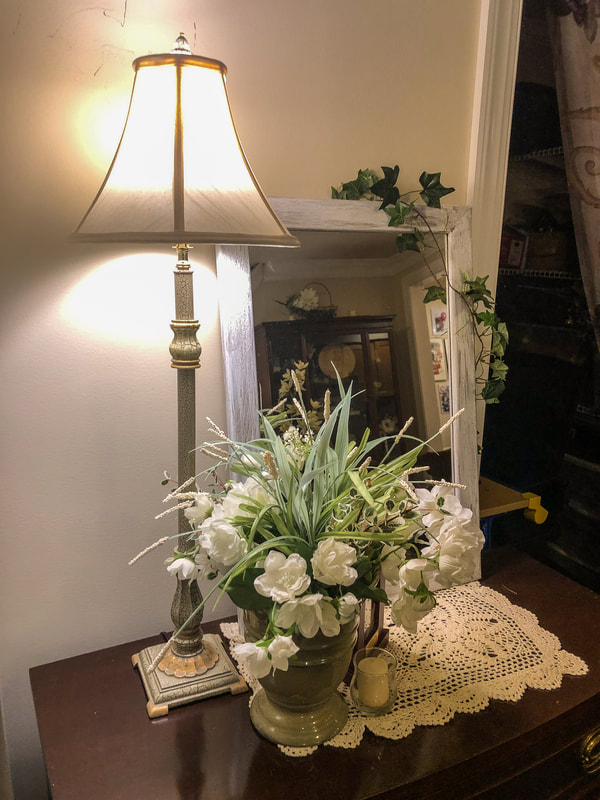
 Finished painted mirror in dining room vignette. Photo by Diane M. Lilly, 2021. During a recent trip to my local Goodwill, I found this really sturdy second hand mirror with a nice wood frame. The mirror was marked 9.99, but I think I only paid 4.99 for it, which is quite a steal because mirrors this size (26” x 18”) go for close to $100 or more brand new. There was just one issue—it was the wrong color for my dining room! But no worries…That’s what paint is for! 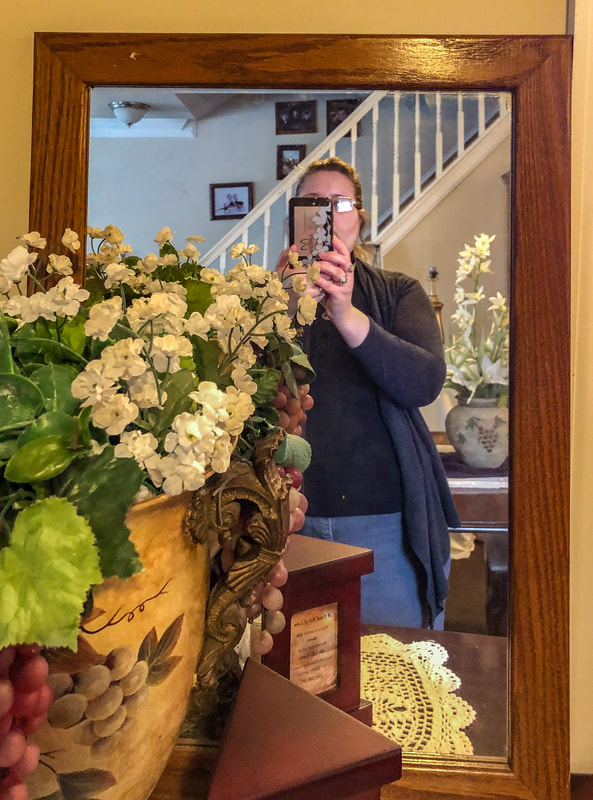 Original frame before painting. Photo by Diane M. Lilly, 2021. I spent a few weeks thinking things over, trying to decide the right look for this mirror to help it blend into the decor style and color scheme of my space. Do I make it a white or cream? Would chalk paint work on this piece? Or do I paint it a dark reddish brown to match my furniture? Ultimately I thought that a cream would be too “samey” (since I’m already working on other pieces that are cream) and the dark brown would be too dark, so an aged gold look sounded perfect. 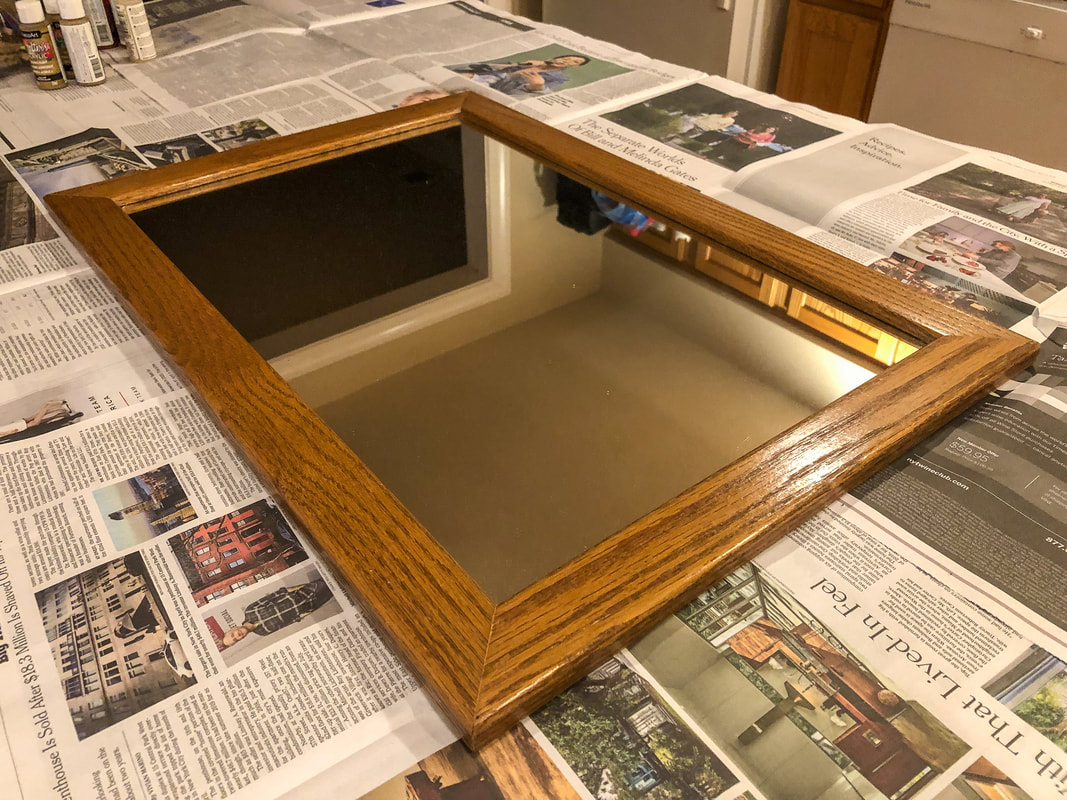 Frame ready to be prepped for painting. Photo by Diane M. Lilly, 2021. For this small project I experimented with a craft crackle medium called “Weathered Wood”—a medium I hadn’t used in (literally) years, so this project became a bit of a crap shoot, if you’ll excuse the expression. So let me walk you through my process… Step 1: Prep the frame for painting The screws, backboard, cardboard, and mirror were removed and put aside.  Removing the screws from the back to take out the mirror. Photo by Diane M. Lilly, 2021. 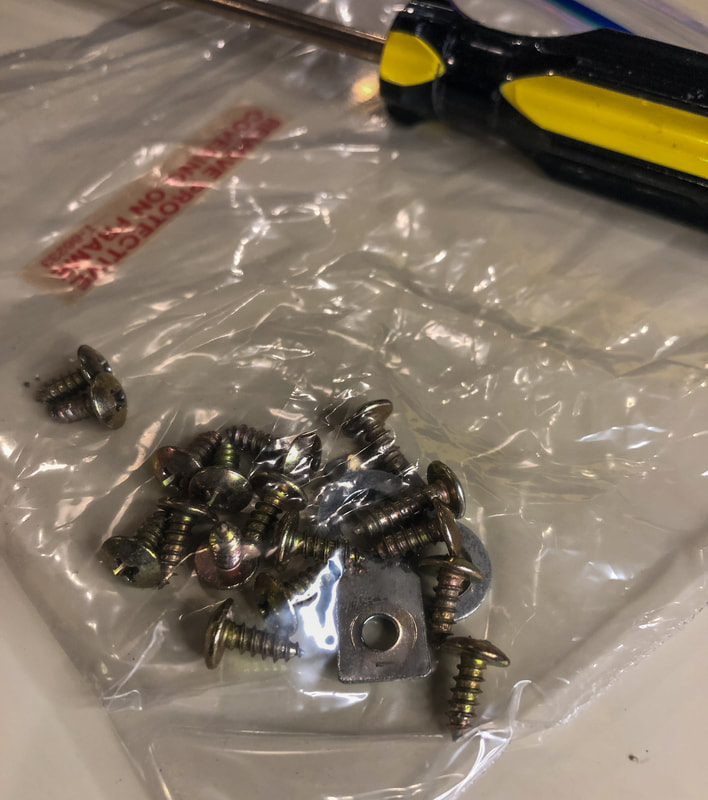 Mirror screws being stored in a plastic zip lock bag for safe keeping. Photo by Diane M. Lilly, 2021. I then lightly sanded the shiny finish with 100 grit sandpaper. (I didn’t need to sand off all the color because I didn’t necessarily mind if some of the darker aspects came through.) Step 2: Apply the base coat The first coat of paint was a reddish brown “primer” coat (it’s not technically a primer, but it’s more like the under color for the aged gold and copper effect I wanted to achieve.) One coat of that was sufficient. 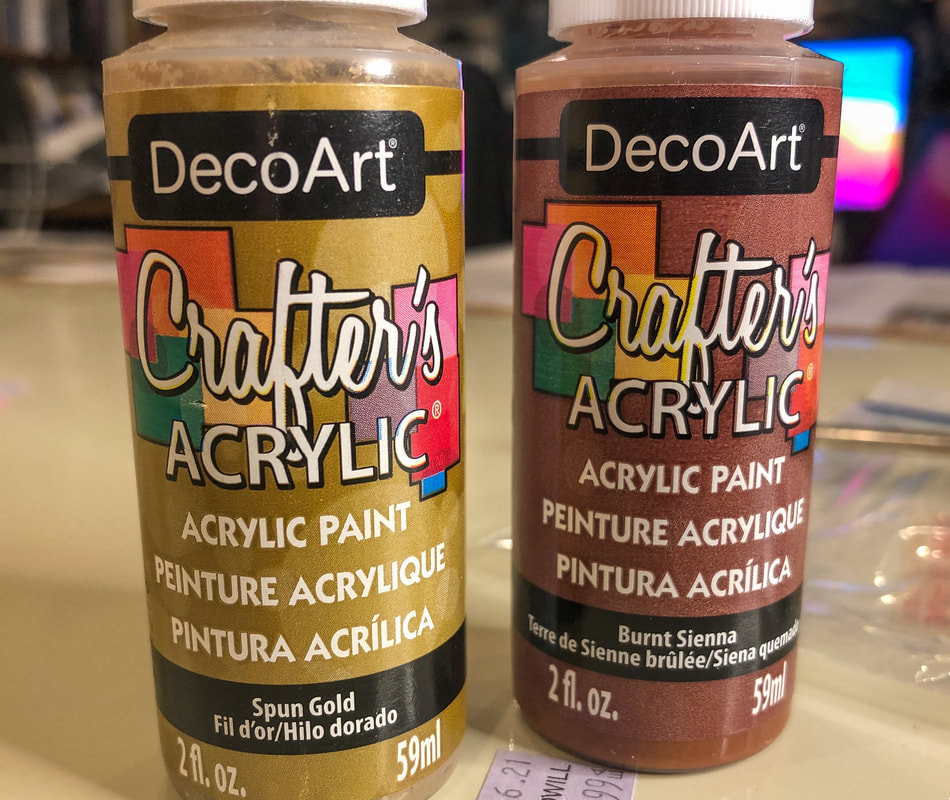 The base colors for my frame. Photo by Diane M. Lilly, 2021. 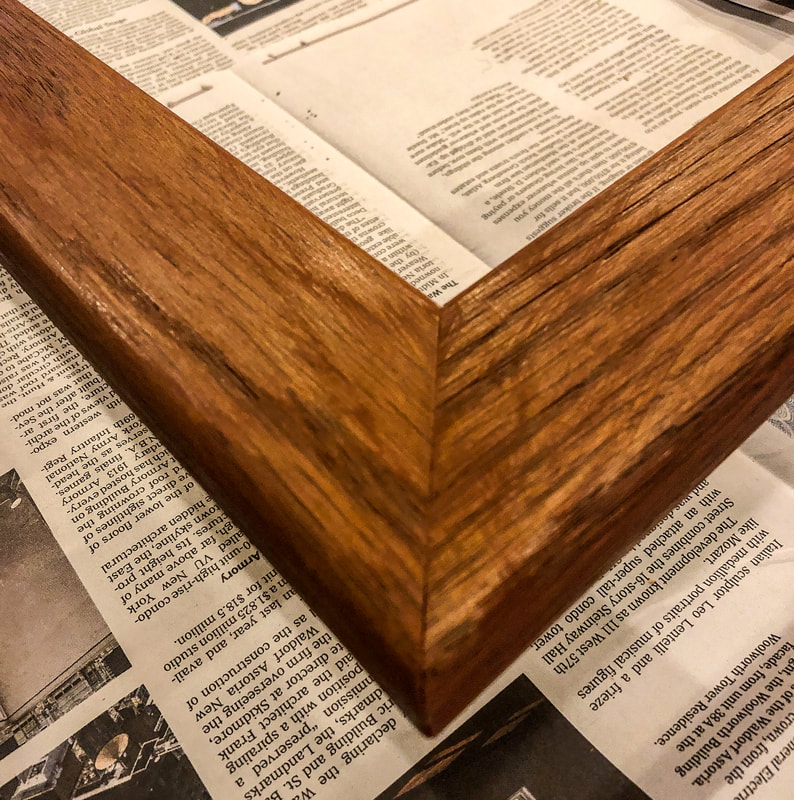 Frame with a base coat of reddish paint. Photo by Diane M. Lilly, 2021. Step 3: Apply the crackle medium The next step was to apply a thin layer of the weathered wood crackle glaze. I usually use Elmer’s glue to create a crackle effect in my painting projects, but I wanted to try something different this time, so I pulled out this crackle medium that’s been sitting in my closet. The crackle medium took about an hour and a half to dry. 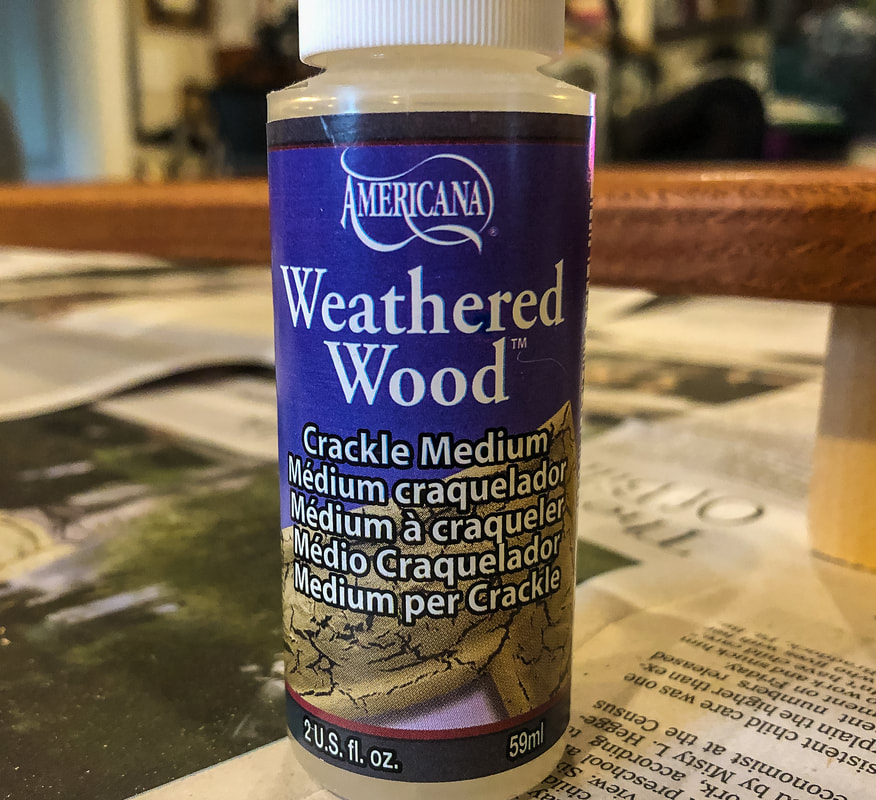 Weathered Wood crackle medium. Photo by Diane M. Lilly, 2021. 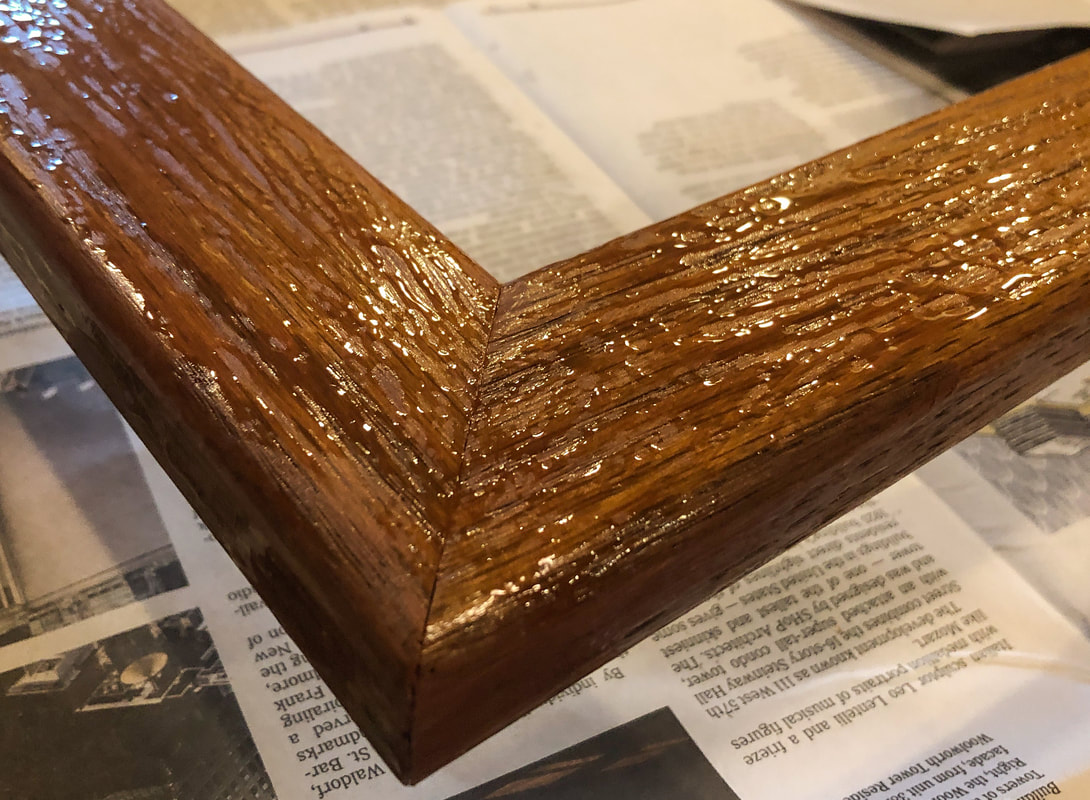 Crackle medium apply to frame. Photo by Diane M. Lilly, 2021. Step 4: Apply the gold paint I applied a “thin layer” of paint, as per the instructions on the bottle. As it was drying I really didn’t like the dark reddish color underneath that seemed to dominate the frame. I had been hoping for more of a gold hue, so I decided to apply a second coat of gold paint once the first coat had dried. 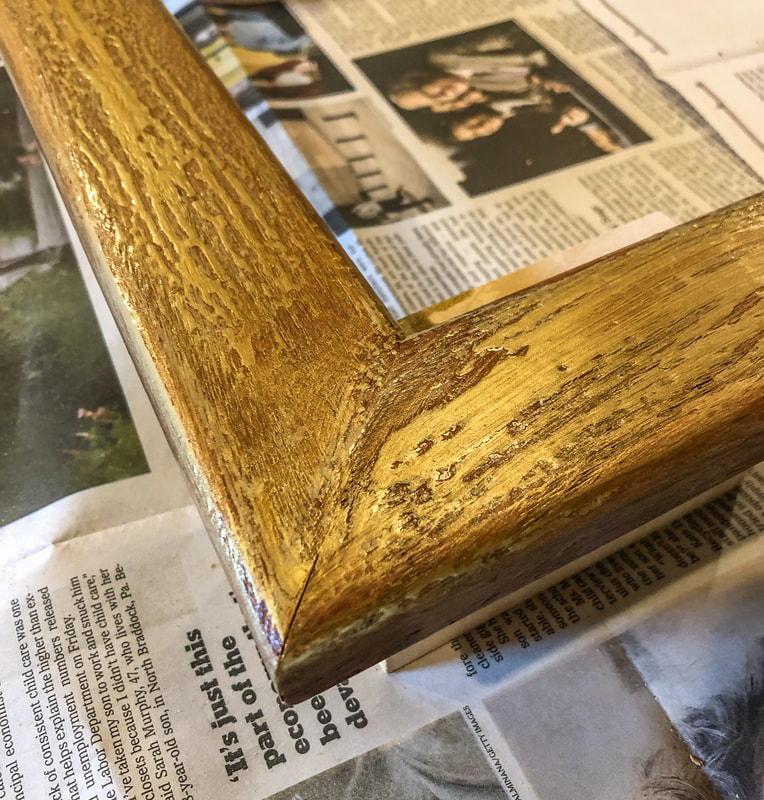 First coat of gold paint on frame. Photo by Diane M. Lilly, 2021. I like the crackle effect--and it is much easier (and more effective) than glue--but not the reddish-brown base color. In hindsight, I should’ve left the wood the original color and added crackle and gold paint. Thankfully, the second coat of gold paint did not ruin the crackle effect, and it did improve the color, but the reddish brown was still a bit too much for my liking. I applied a third—and last—coat of gold paint (sparingly) to bend out more of that copper color, and I did lose much of the crackle effect, but at that point it was more important to get the right color than to worry about the crackle effect. 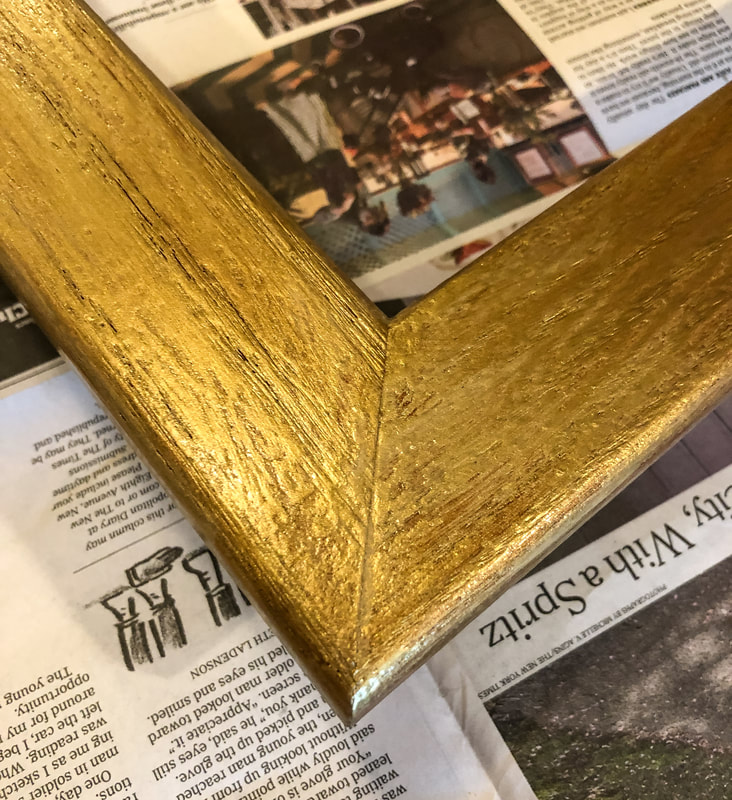 Second coat of gold paint. Photo by Diane M. Lilly, 2021. Step 5: Re-assemble the mirror The mirror, cardboard, and backboard were put back in place and screwed in. Gave the mirror a good clean…And decided I hated it! It looked way too gold and gaudy… I hated the look so much I couldn’t leave it a DAY in my dining room! So I slapped on another coat of crackle medium, let that dry, then used some white craft paint as the top coat. To be honest, I still don’t love it, but I think it looks way better than the gold color. 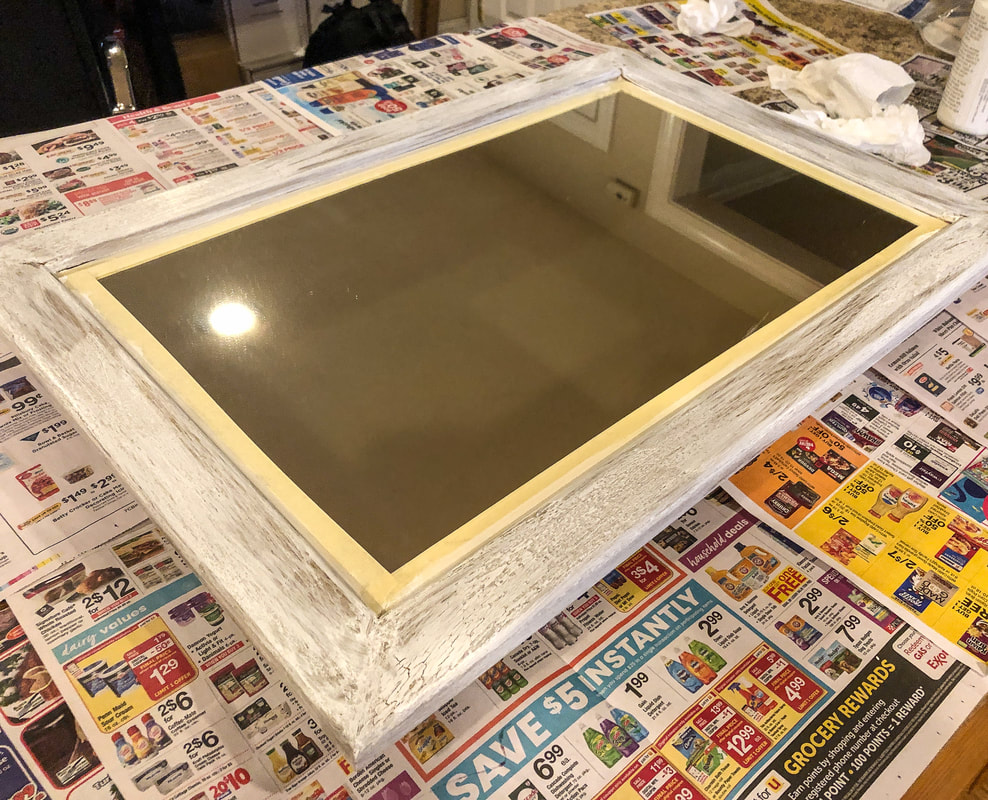 Final coat of white paint on mirror. Photo by Diane M. Lilly, 2021. 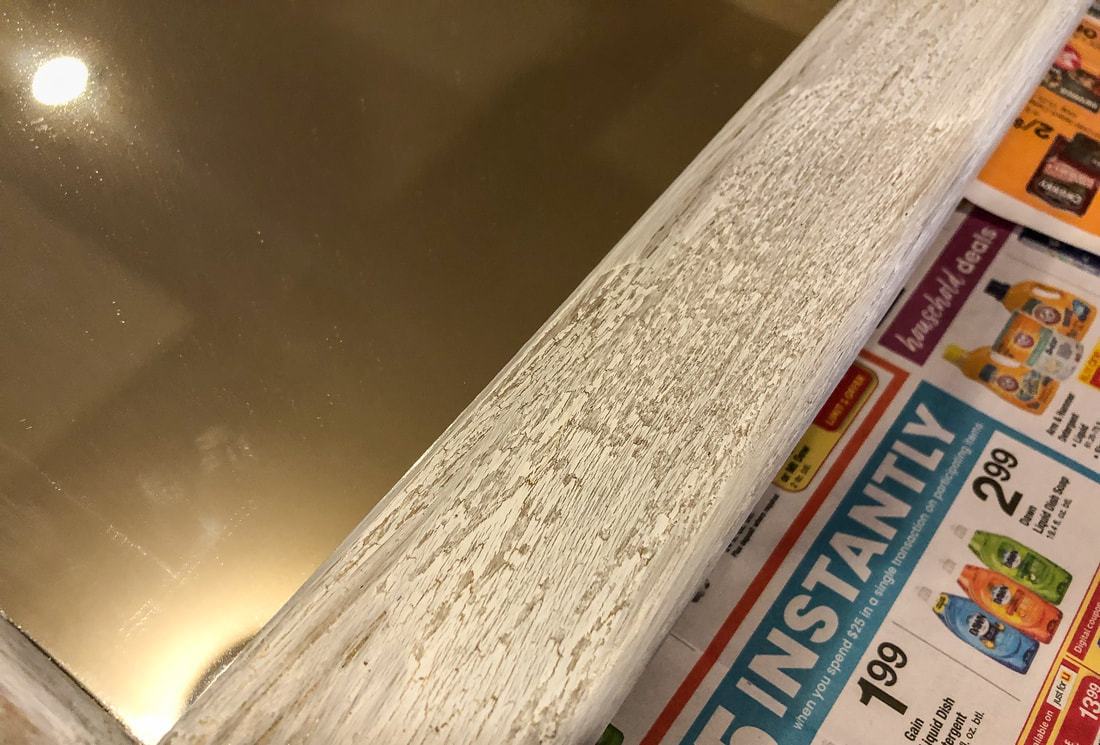 Closeup of white crackled paint on frame. Photo by Diane M. Lilly, 2021.  Mirror with newly painted frame. Photo by Diane M. Lilly, 2021. I think this project took about six hours fro beginning to end. If I had to do anything differently, I would’ve skipped the reddish brown base color and saved myself probably at least an hour. I wasn’t super precious about this project, because you can always paint over what you don’t like, right? It was a nice chance to experiment a little just to see what would happen. So what do you think about this project? Do you have any tips to share? Did you find this article useful? Let me know in the comments below and let’s see if we can get a conversation going! Just as an update…As it turned out, I had a Eureka moment a couple weeks later…What if I designed a Celtic knot border to paint on this frame? So I did! And what a difference that one idea made to this entire project! The end effect was beautiful and helped this mirror fit right in to the overall style of the room. You can read all about it in Part 2 of this project blog! If you’d like to be notified of new blog posts or merchandise sales, you can sign up for my monthly newsletter (coming soon) on my contact page. And if you’d like to see what I’m up to on social media, click the links below! I am an Amazon affiliate so some of the posts in this article may contain affiliate links. If you click on the link and purchase the item, I will receive an affiliate commission at no extra cost to you. I will only recommend products or services I use personally and/or believe will add value to my readers, so there is no conflict of interest. Related blogs you may want to read: Part 2 of this project with a Celtic knot border My top thrift shops finds this year How to replace a clock mechanism How to frame small canvas art How to rewire thrift buy lamps DIY Fall/Winter decorative branch box Creating a kitchen coffee bar My dining room redesigned as a multi-functional space DIY refurbishment of a dining room cabinet
0 Comments
Leave a Reply. |

Author
Some of the posts on this site contain affiliate links. This means if you click on the link and purchase the item, I will receive an affiliate commission. 
Categories
All
Archives
October 2025
|
 RSS Feed
|
|
Major credit cards accepted through Square. Apple Pay option available. This site also accepts PayPal payments for better online security, and it's free to sign up! Gift cards are now available for purchase!
Copyright 2025 |