|
In Part 1 of this project blog I repainted a frame from a mirror I bought at a local thrift shop for dirt cheap. My original intention was to paint a base coat for the reddish undertones I wanted to show through a crackled gold top coat. The end result looked ok…for a different room. The almost solid gold color just looked gaudy in my dining room, even though I have a lot of decorative things with gold accents. This mirror, unfortunately, was just too over-the-top gold. The end result was me painting over it with a new layer of crackle and white craft paint. 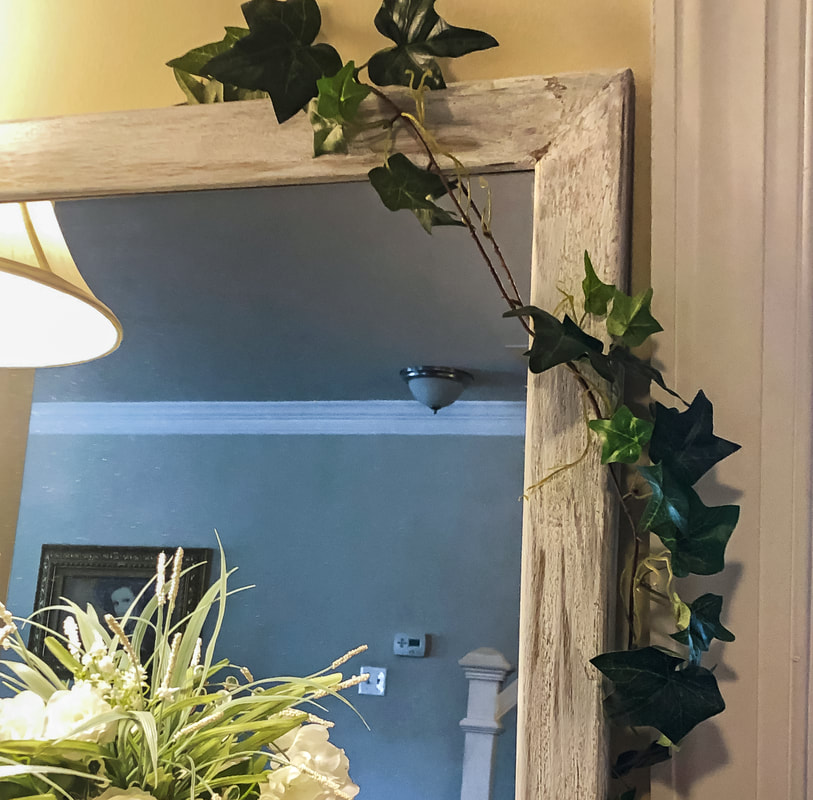 Painted frame from the previous DIY project. Photo by Diane M. Lilly, 2021. And this is where I left off in Part 1 of this project…My task now was to find a way to fix this mirror and make it work in my dining room. So I’m standing there—several hours of work and layers of paint later—wondering why this frame does not work. It just didn’t feel finished. I kept looking at it and trying to visualize how to get a more ornate look with gold accents. And then it hit me…This mirror needs a gold Celtic knot! I brainstormed and created templates of straight border knots that I would eventually trace onto the frame. I drew ideas on a sketchpad until I got a design I liked. This was a challenge—I knew I wanted to accentuate the corners and midpoints along the frame, so my border has broken to create visual interest, but I admit it took me some time to get the design right! Once I finally got the design I wanted, the pattern was redrawn at full scale on grid paper. The idea was to create a template that I would trace onto the frame so that it could be painted in…wait for it…GOLD! 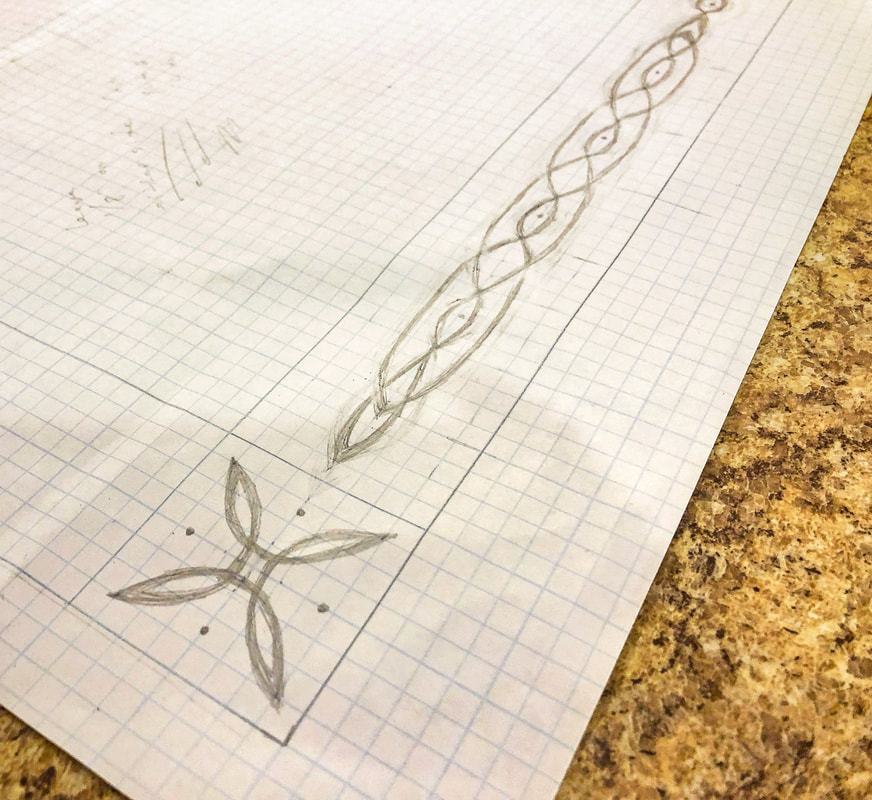 Basic lifework for my new Celtic border. Photo by Diane M. Lilly, 2021. 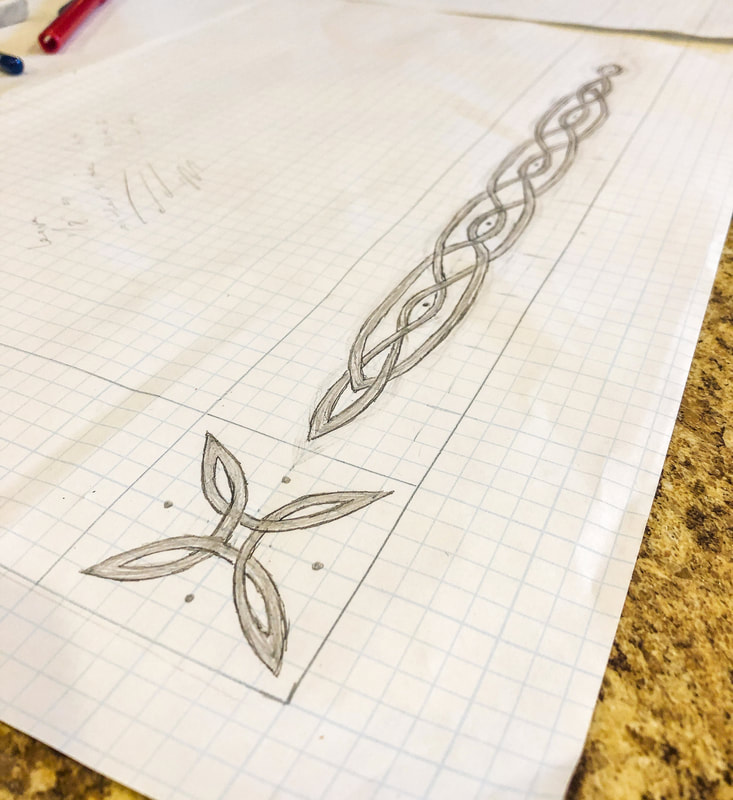 Finished knot work for template of the Celtic border. Photo by Diane M. Lilly, 2021. The template I made only needed the top and left sides with three corners, so some of the work could be simplified. Once the top and left side were traced, I could flip the paper over and retrace the design on the bottom and top. Using a very dark pencil, I traced the finished design on the back side of the paper, turned it over, and then lined it up on the frame. The paper was carefully taped down, and I painstakingly traced my knot design onto the two-inch wide wood frame. With the design template drawn onto the frame, it was time to paint! 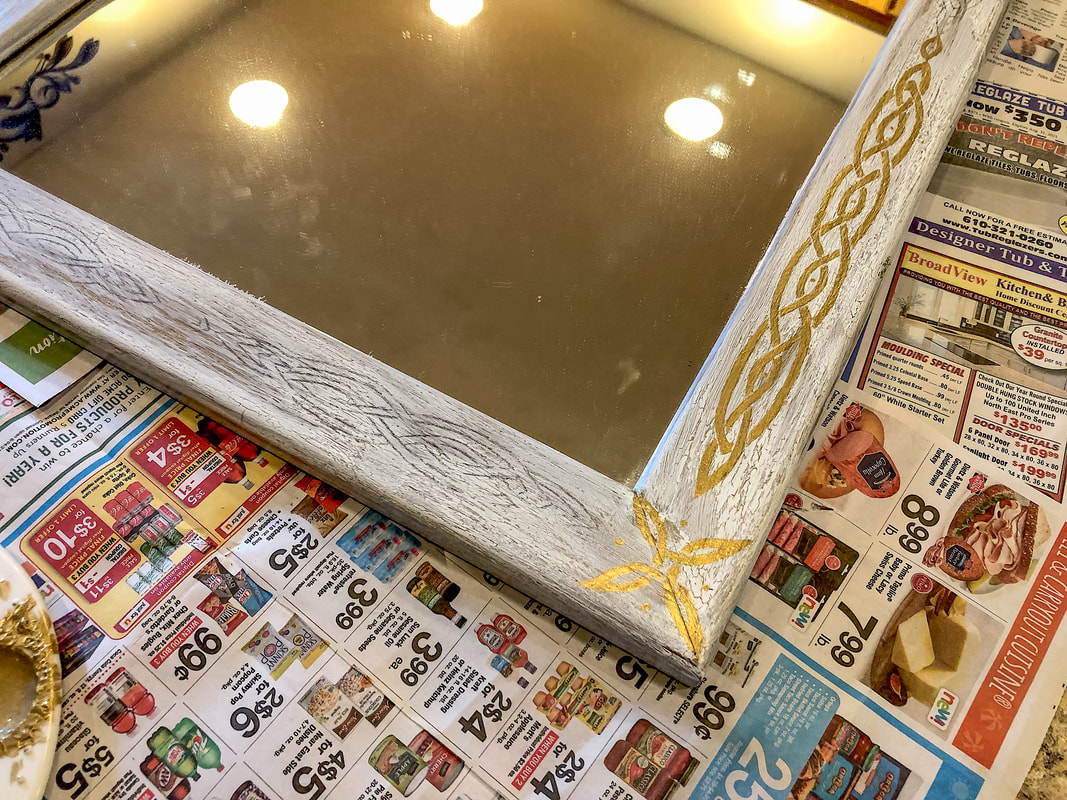 View of template on frame and some of it painted gold. Photo by Diane M. Lilly, 2021. The brush used was a very fine brush with bristles that came to a point, so that my very shaky hands could control the brush strokes! It took two very carefully applied paint layers to finish the gold knotwork, but this design element was the perfect touch and made all the difference in the world! I now have a work of art and a mirror that fits in well with all the other understatedly classy pieces of decor in that space. I love this piece, and it is versatile enough to use elsewhere should I decide to move it. But for now, it stands in pride of place above my new office drawers (which are in my dining room, but that’s another blog post!).  Finished painted knot work on frame corner. Photo by Diane M. Lilly, 2021. 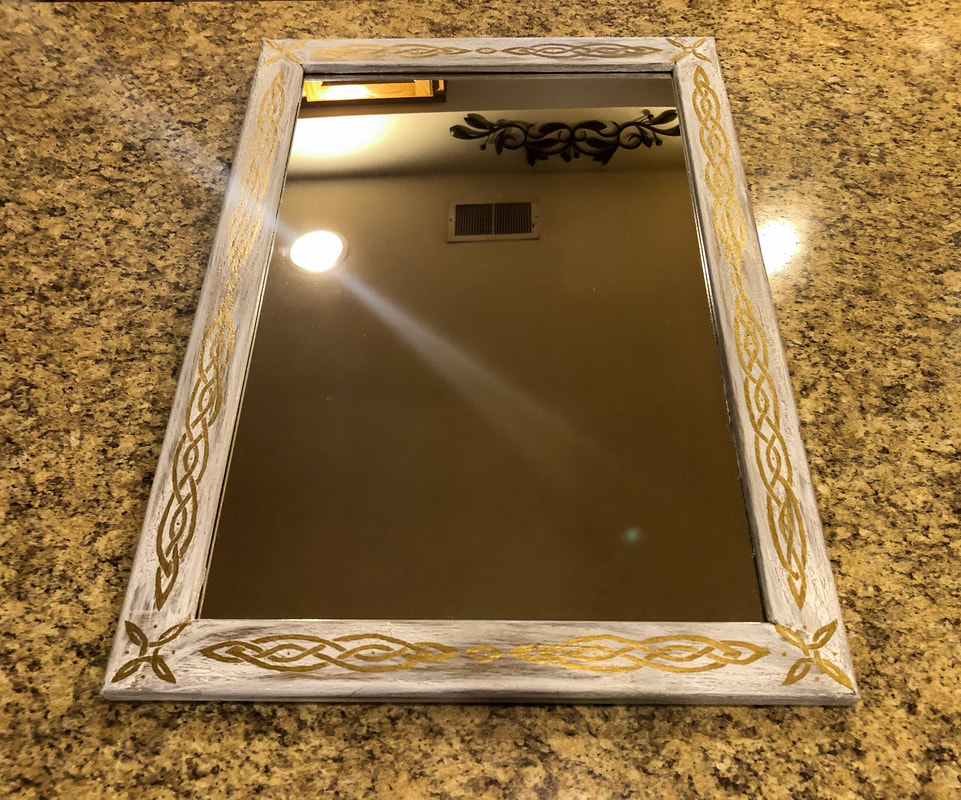 View of the frame and mirror with gold painted Celtic knot work border. Photo by Diane M. Lilly, 2021. 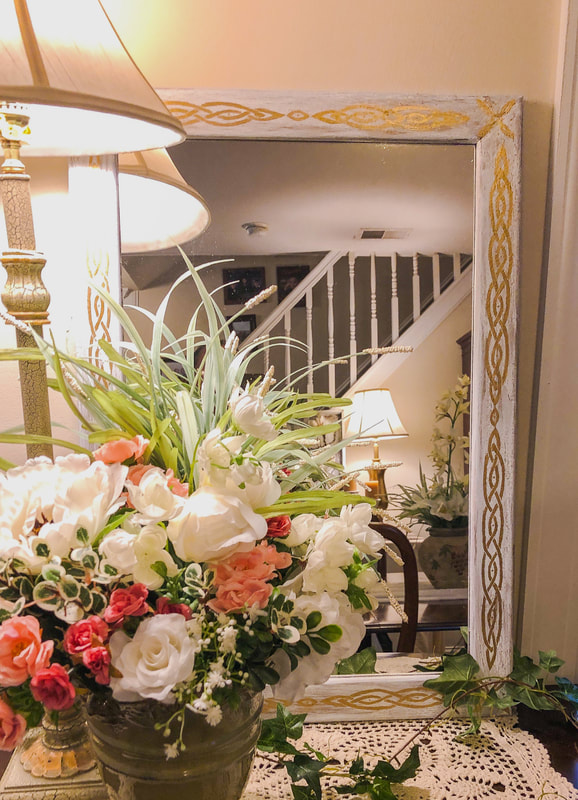 Finished mirror in a dining room vignette. Photo by Diane M. Lilly, 2021. 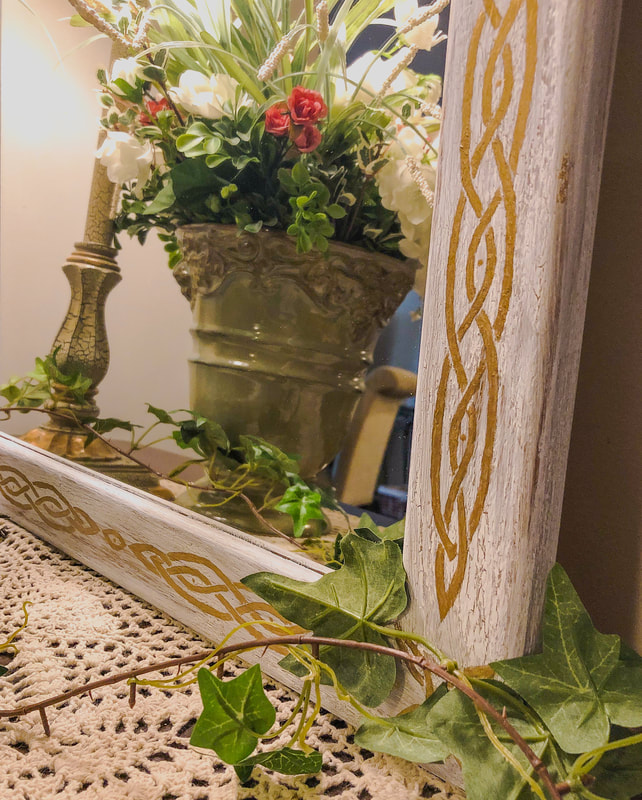 Closeup of finished gold painted Celtic knot work border. Photo by Diane M. Lilly, 2021. Let me know your thoughts on this project in the comments below, and don’t forget to read Part 1 to see how this whole thing started! Let me know if you’d like to see more of this type of project in the future. If you’d like to be notified of new blog posts or merchandise sales, you can sign up for my monthly newsletter (coming soon) on my contact page. And if you’d like to see what I’m up to on social media, click the links below! Related blogs you may want to read: Part 1 of this project My top thrift finds this year How to replace a clock mechanism How to frame small canvas art How to rewire thrift buy lamps DIY Fall/Winter decorative branch box Creating a kitchen coffee bar My dining room redesigned as a multi-functional space DIY refurbishment of a dining room cabinet
0 Comments
Leave a Reply. |

Author
Some of the posts on this site contain affiliate links. This means if you click on the link and purchase the item, I will receive an affiliate commission. 
Categories
All
Archives
October 2025
|
 RSS Feed
|
|
Major credit cards accepted through Square. Apple Pay option available. This site also accepts PayPal payments for better online security, and it's free to sign up! Gift cards are now available for purchase!
Copyright 2025 |