|
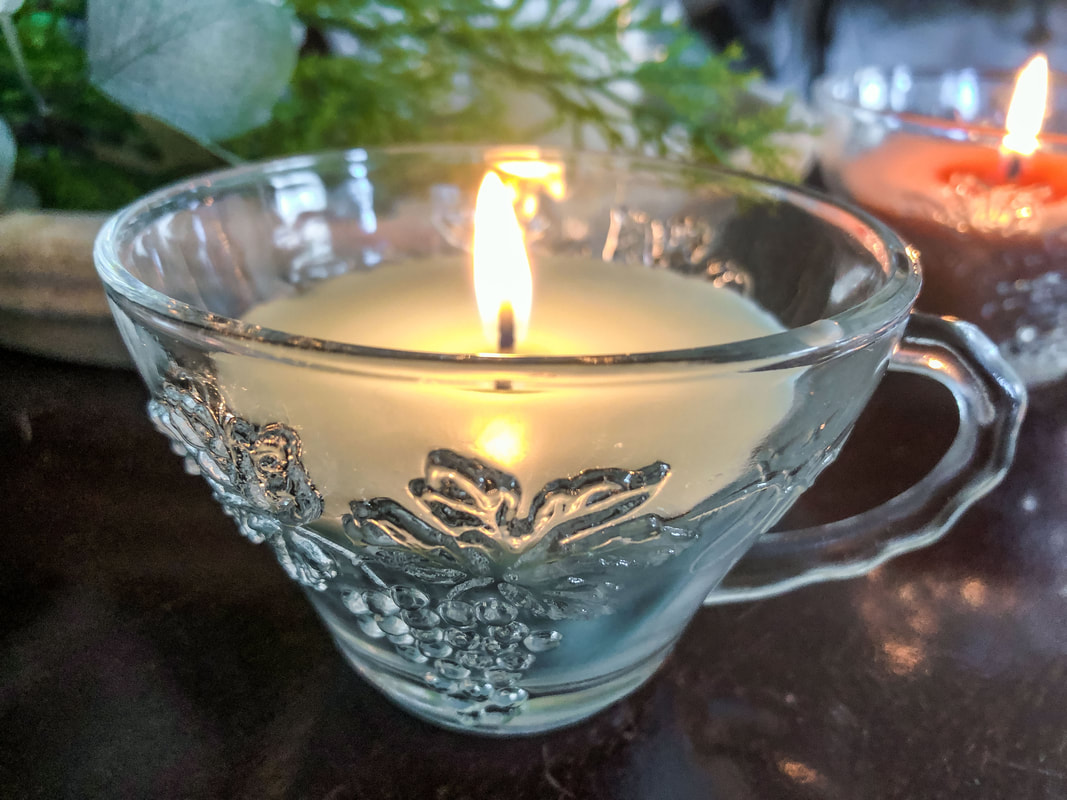
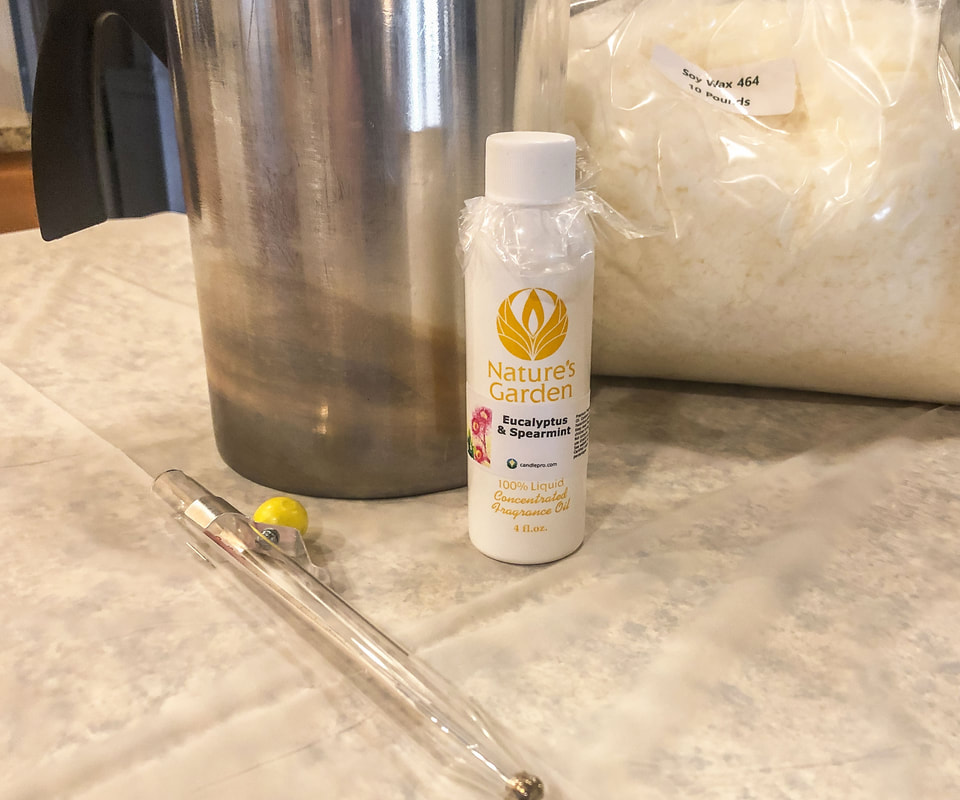
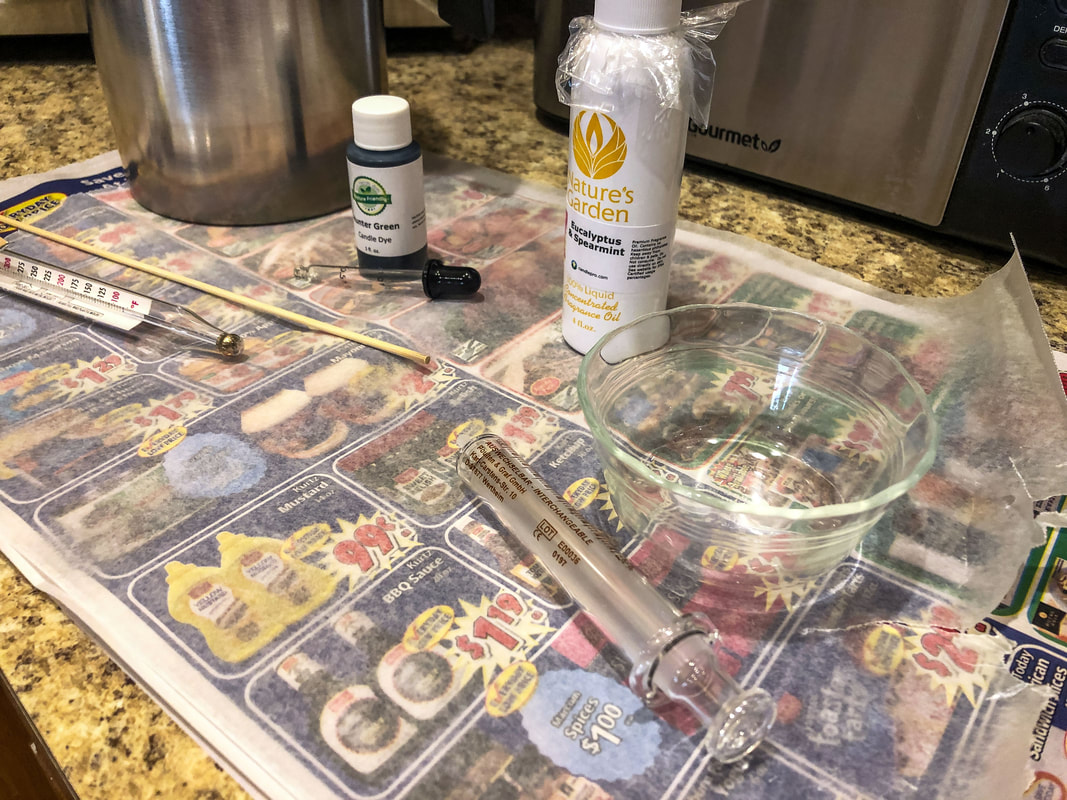
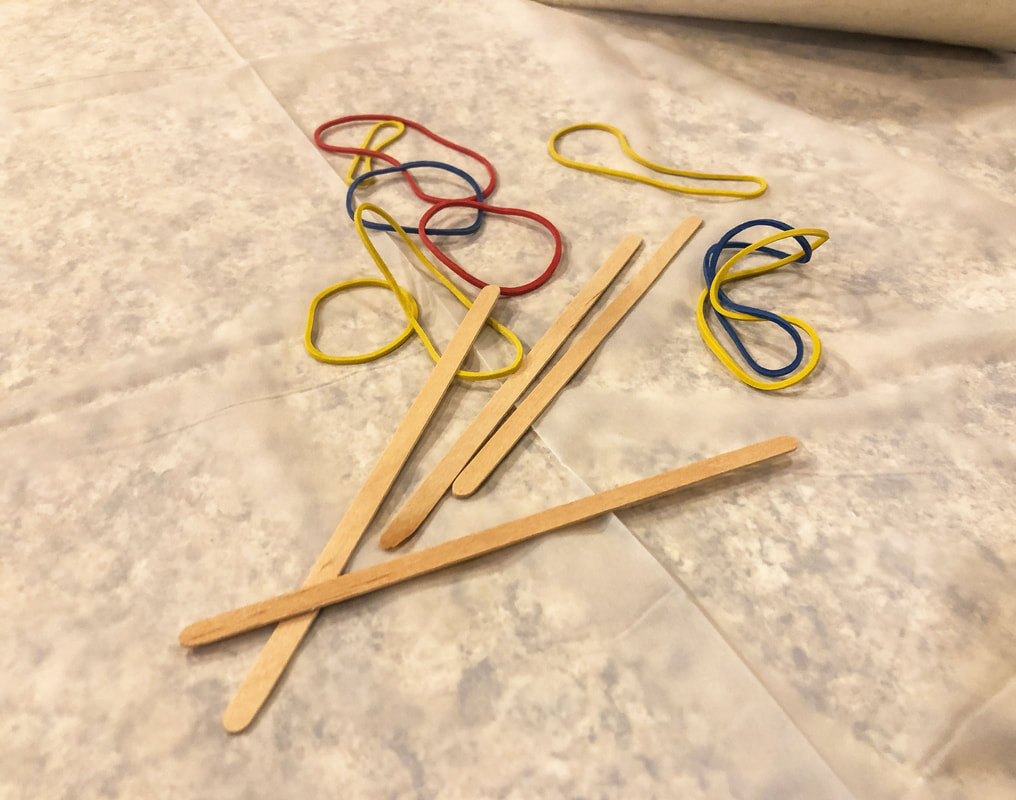
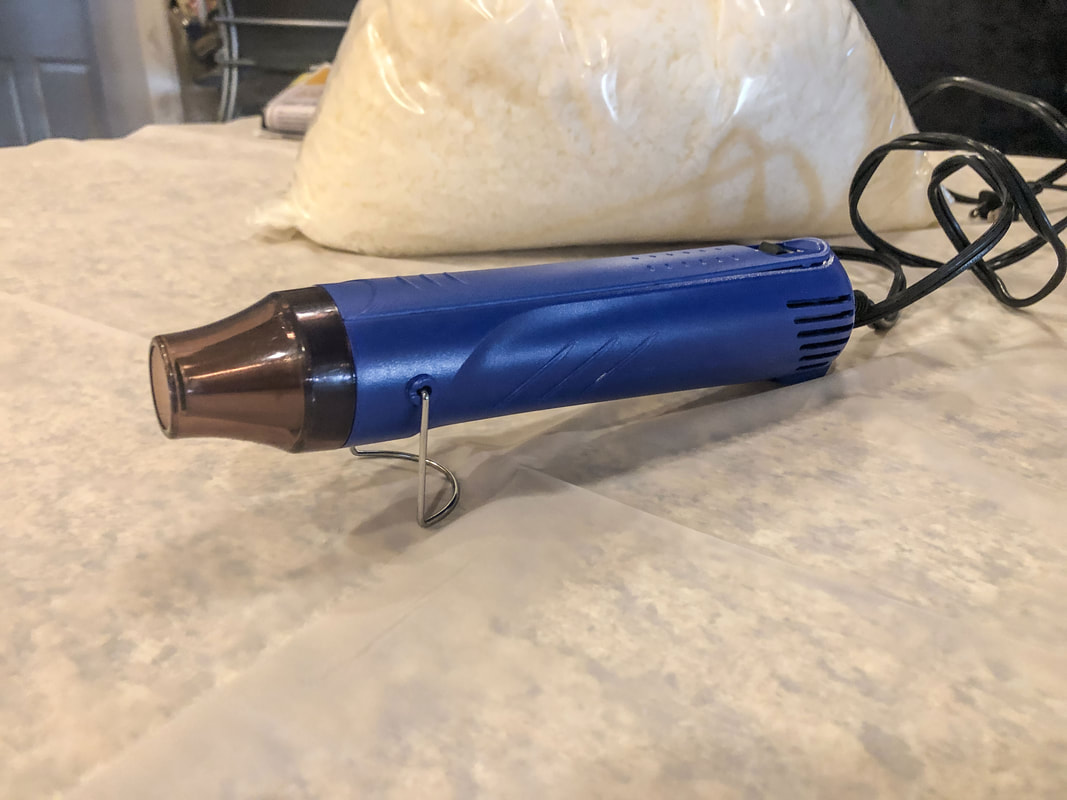
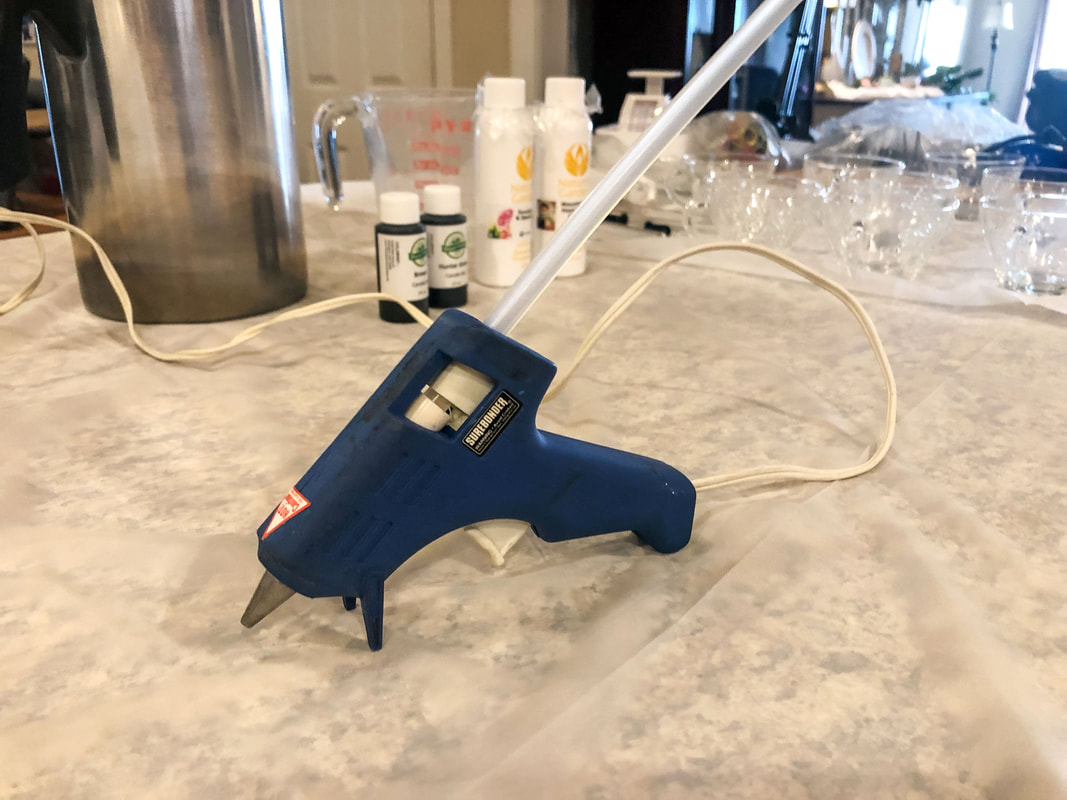
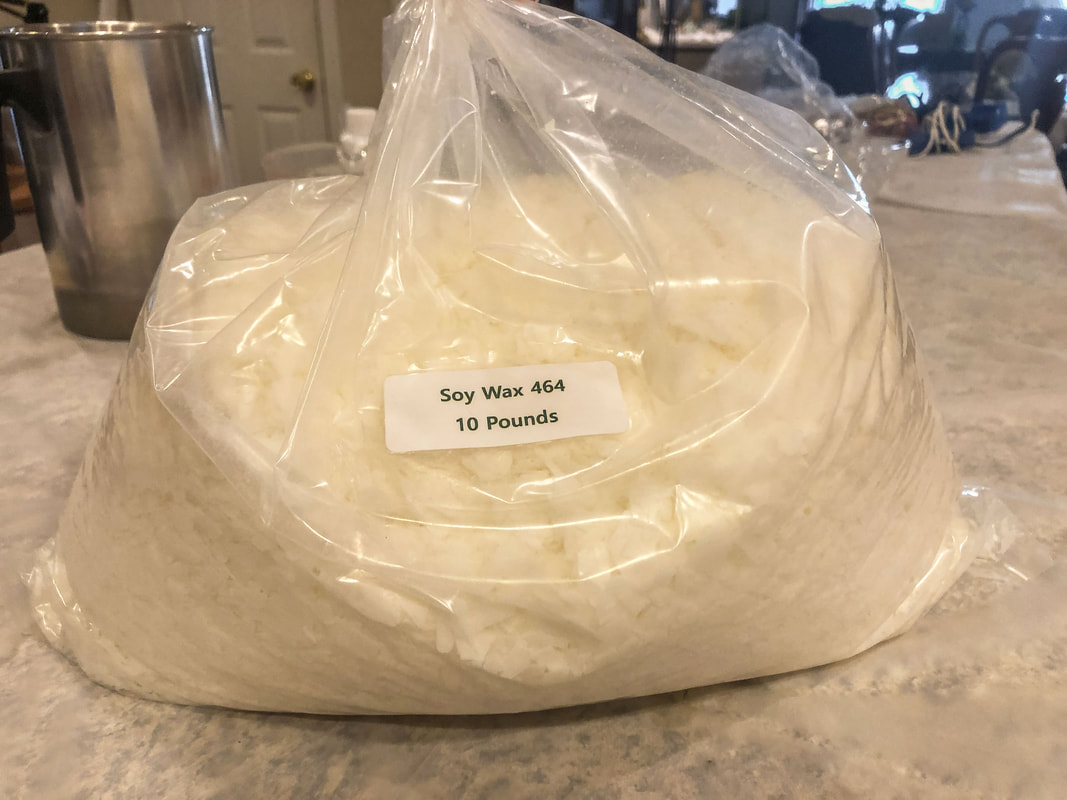
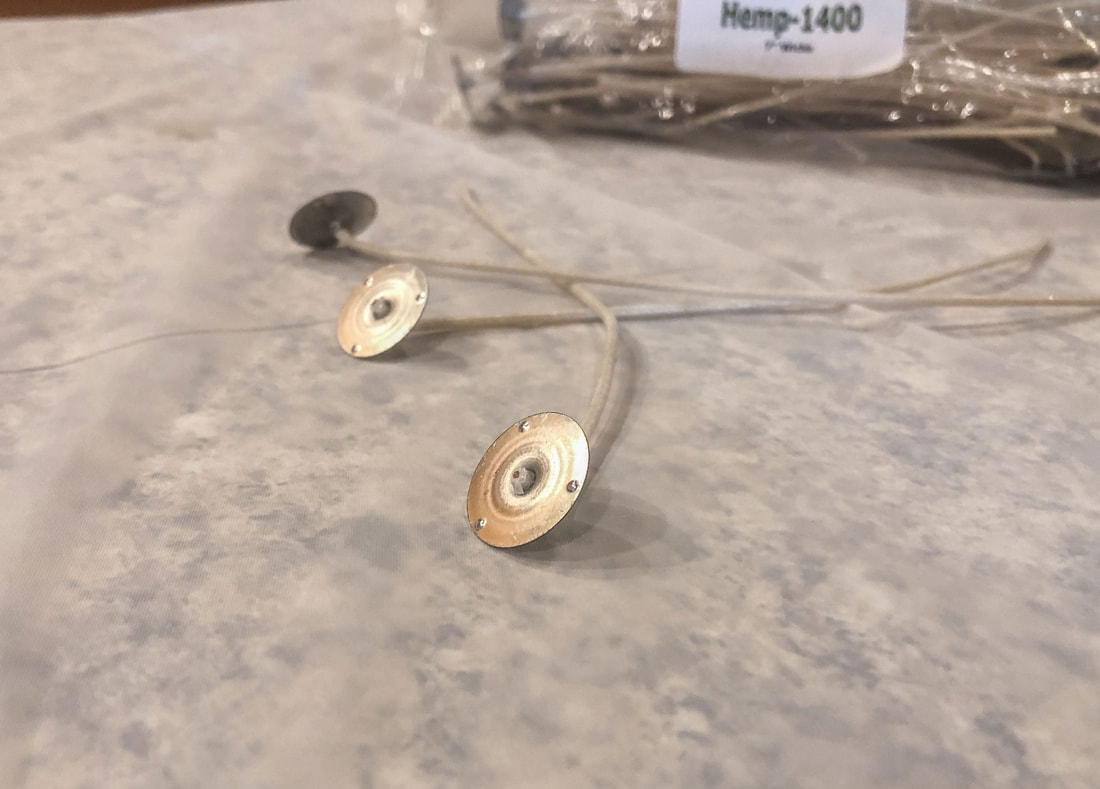
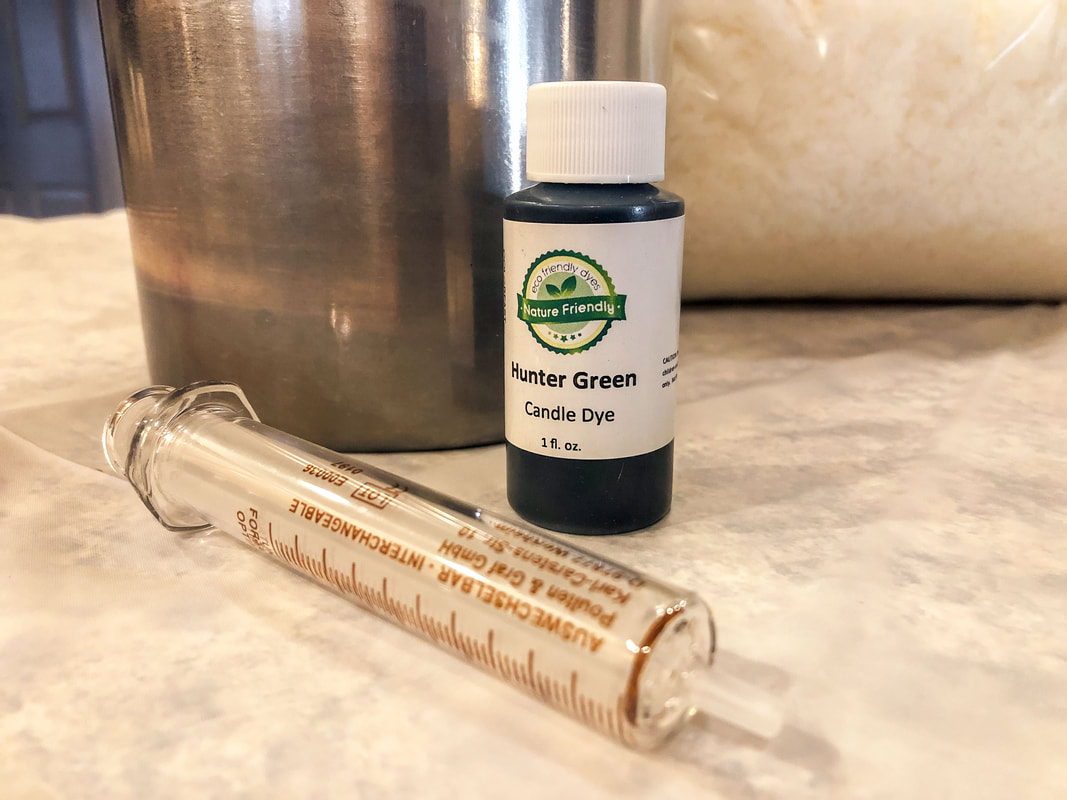
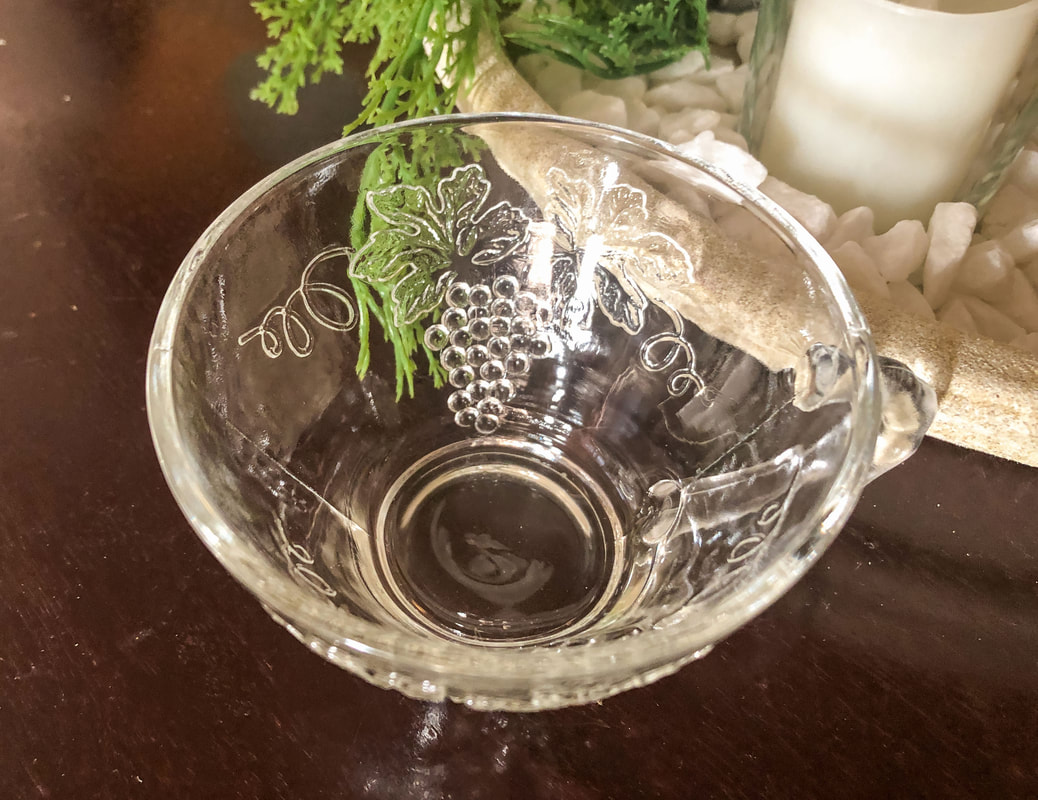
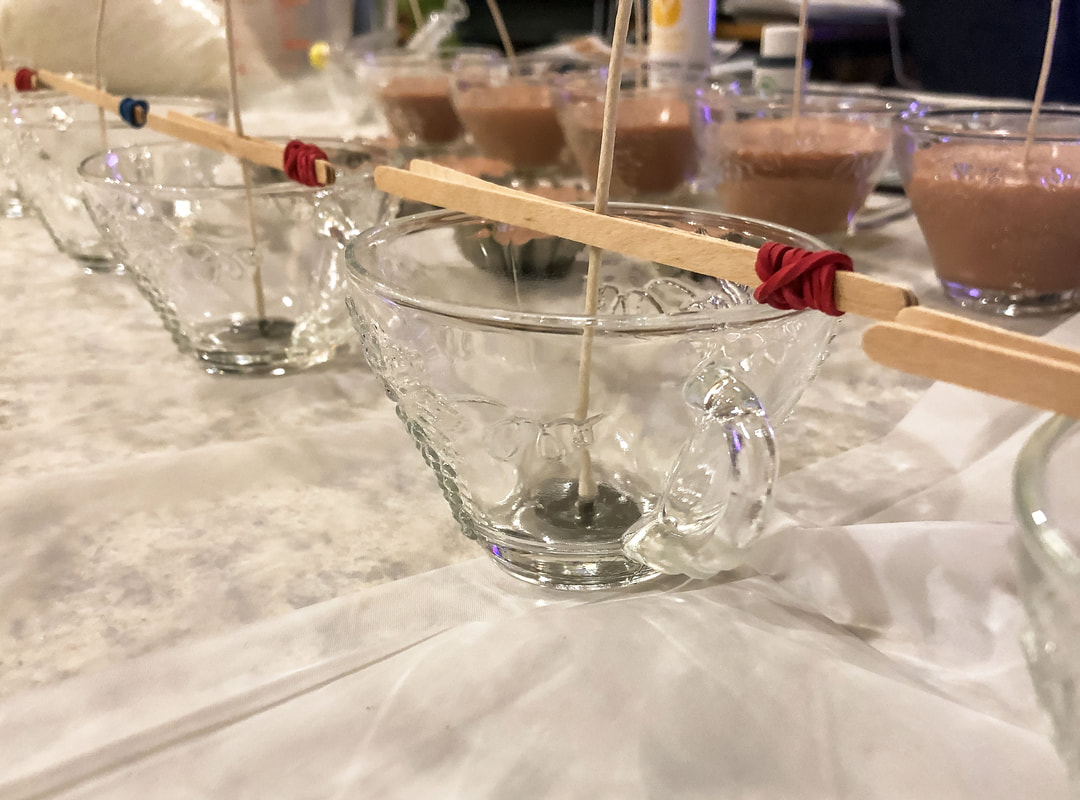
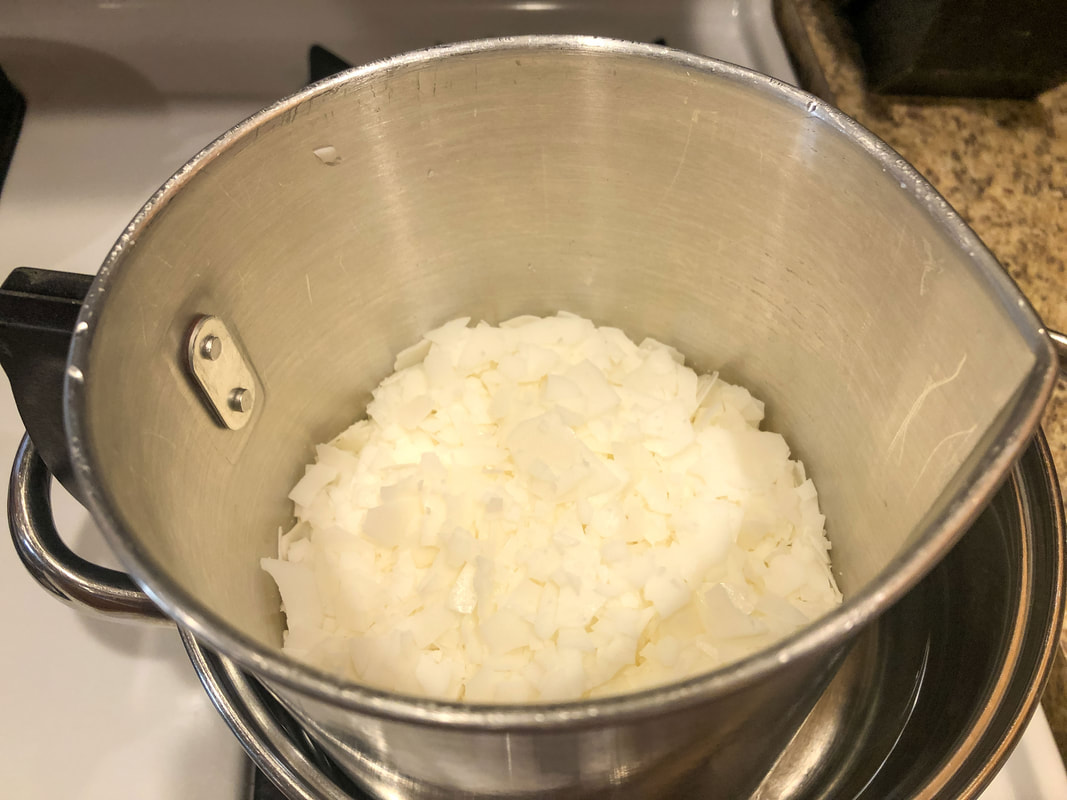
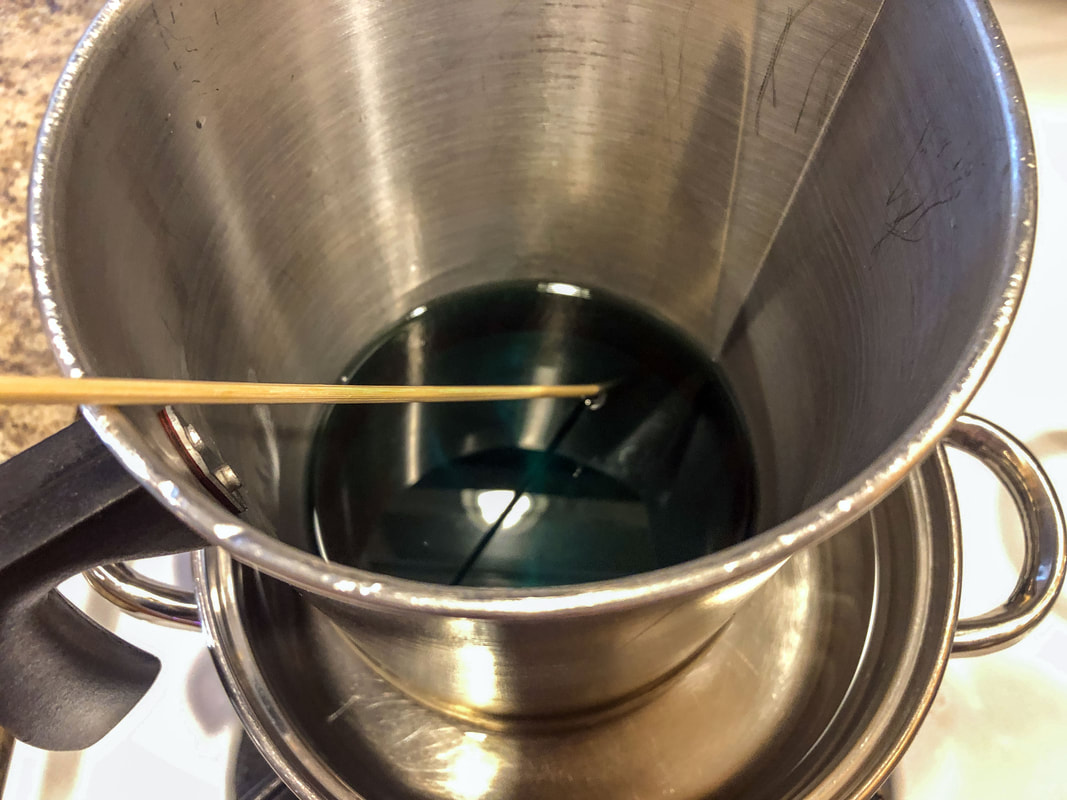
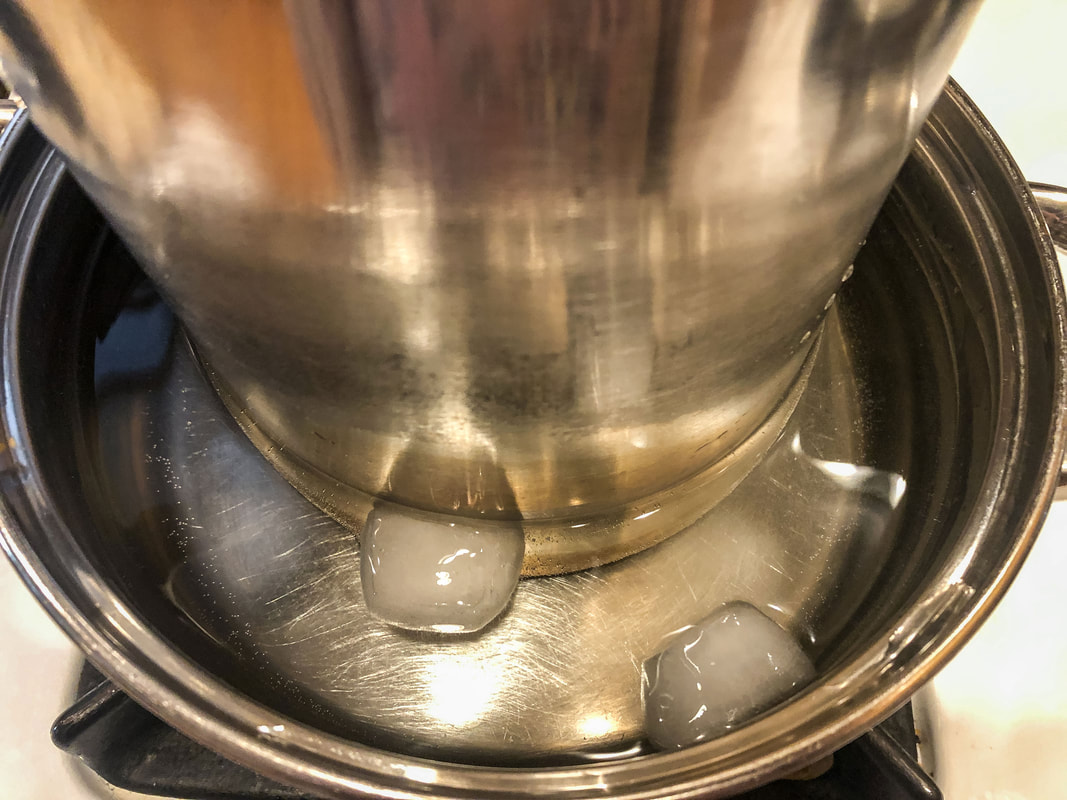
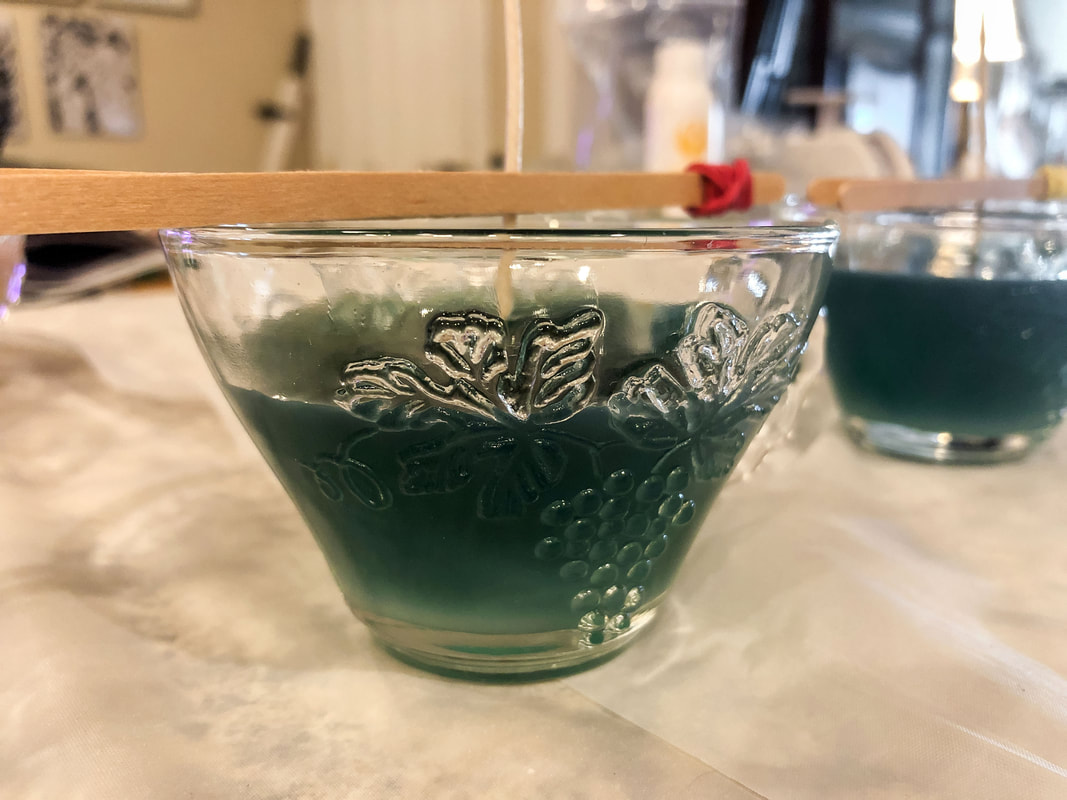
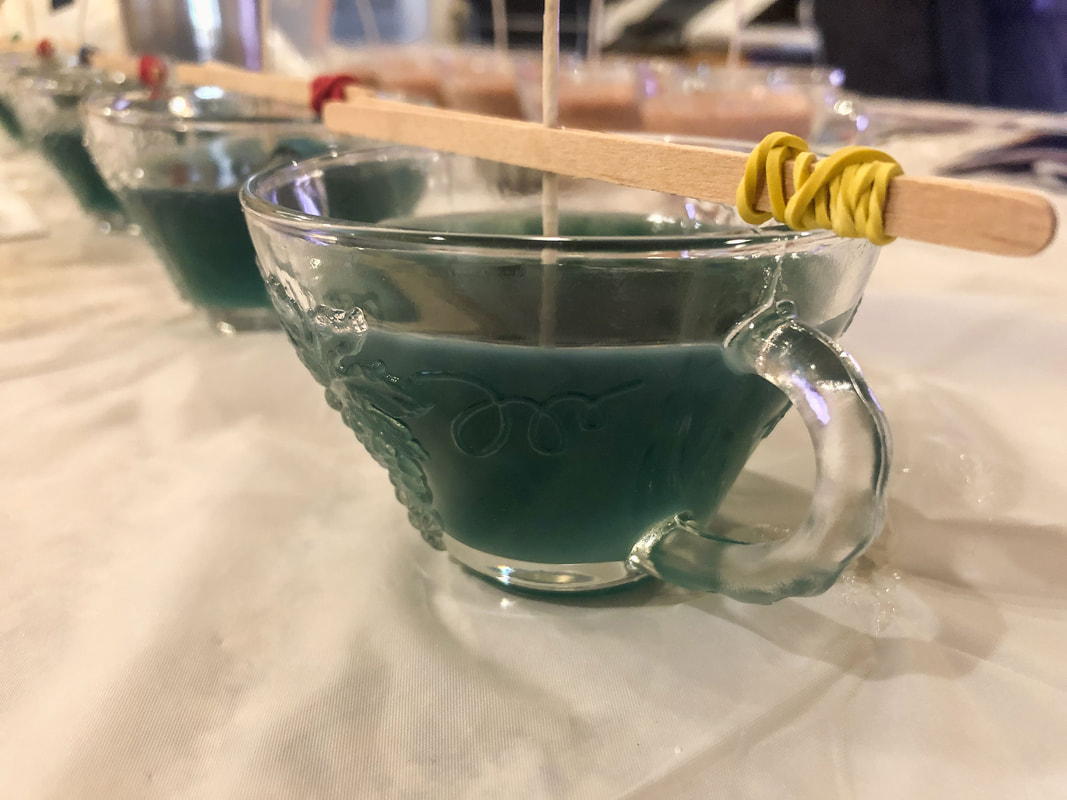
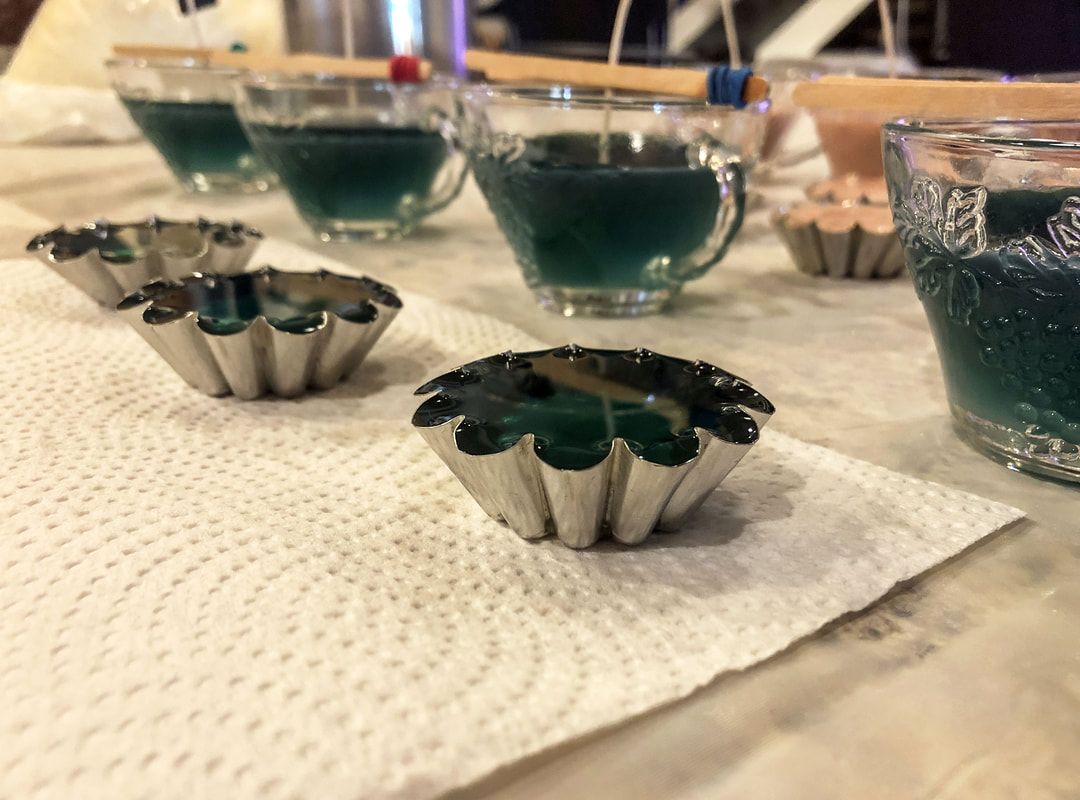
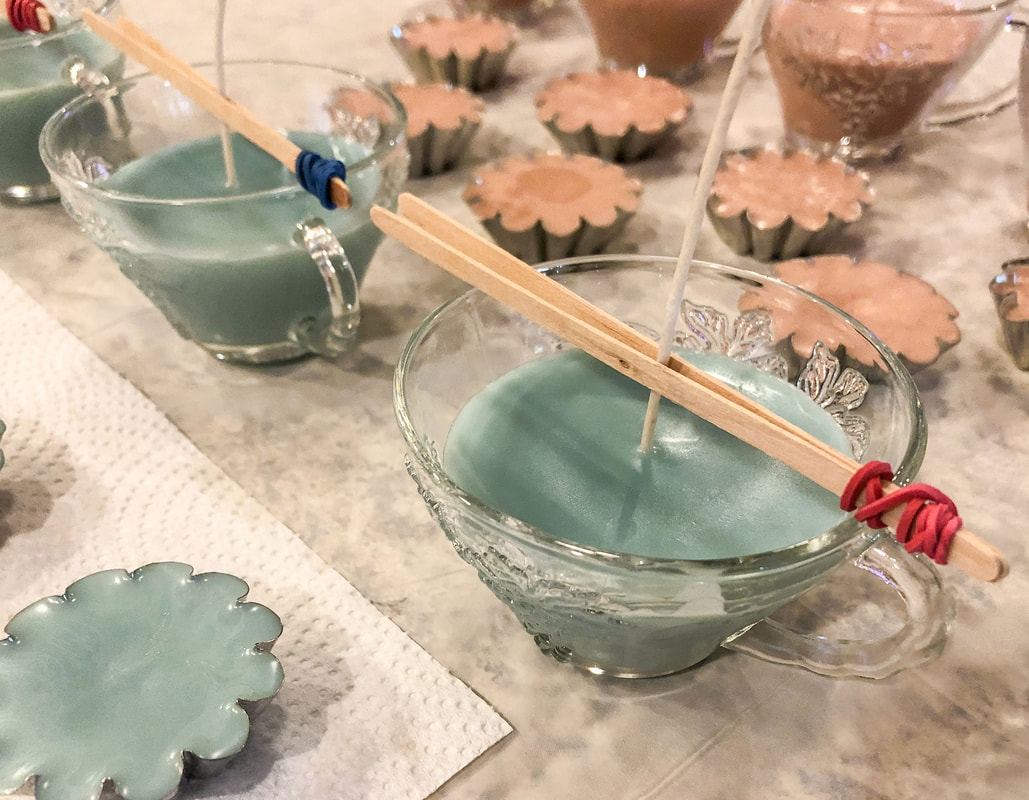
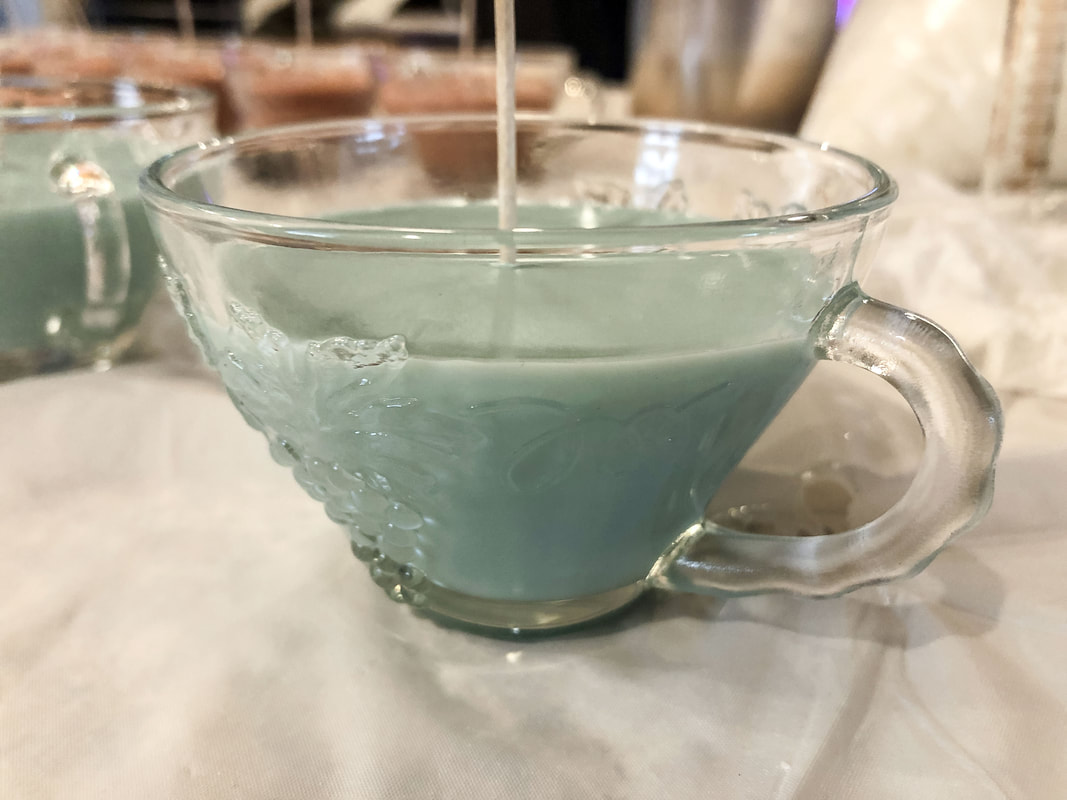
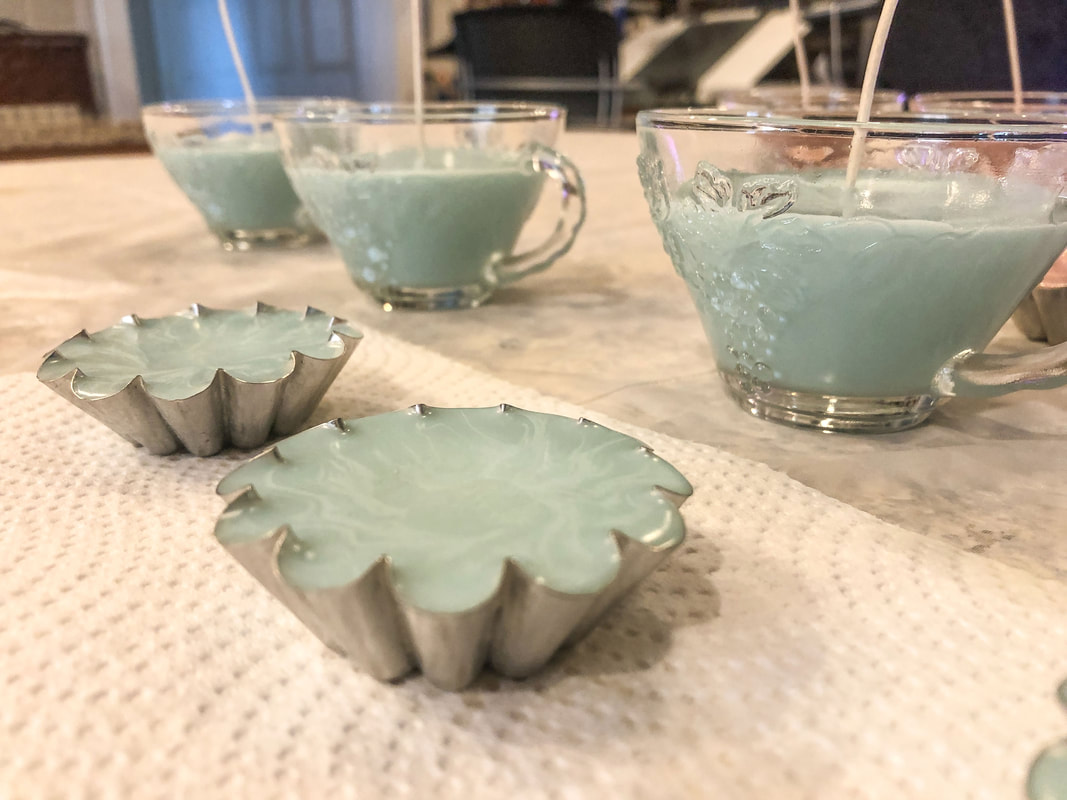
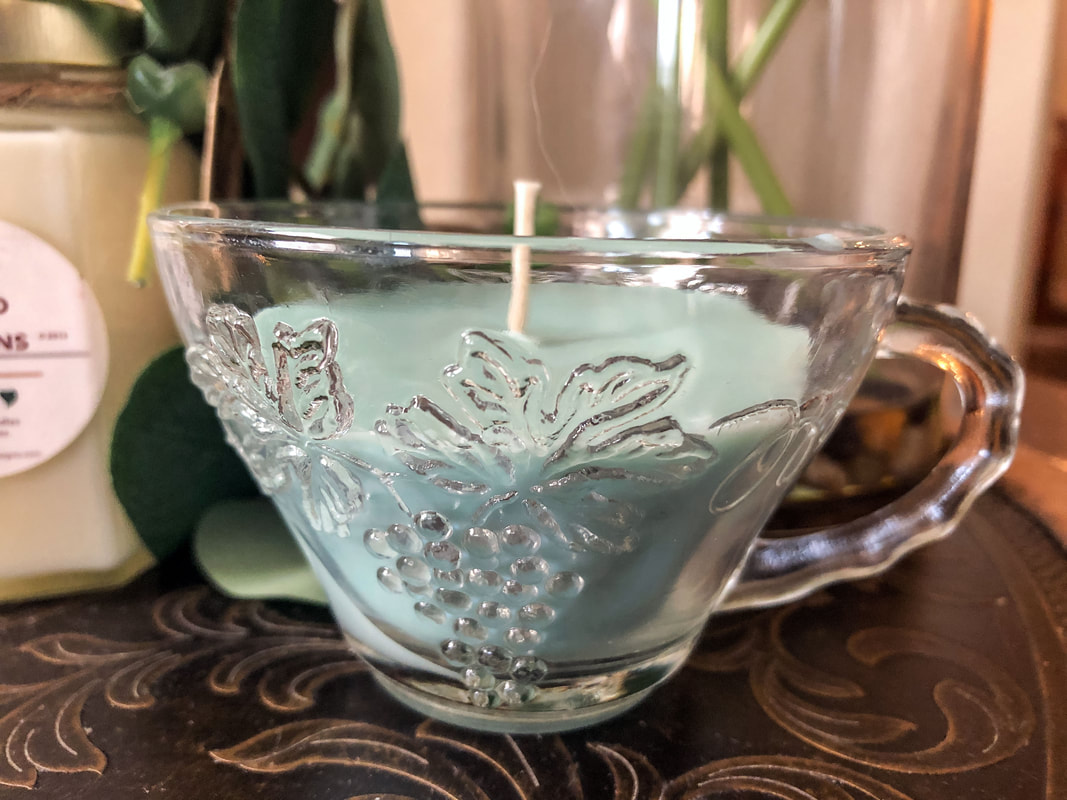
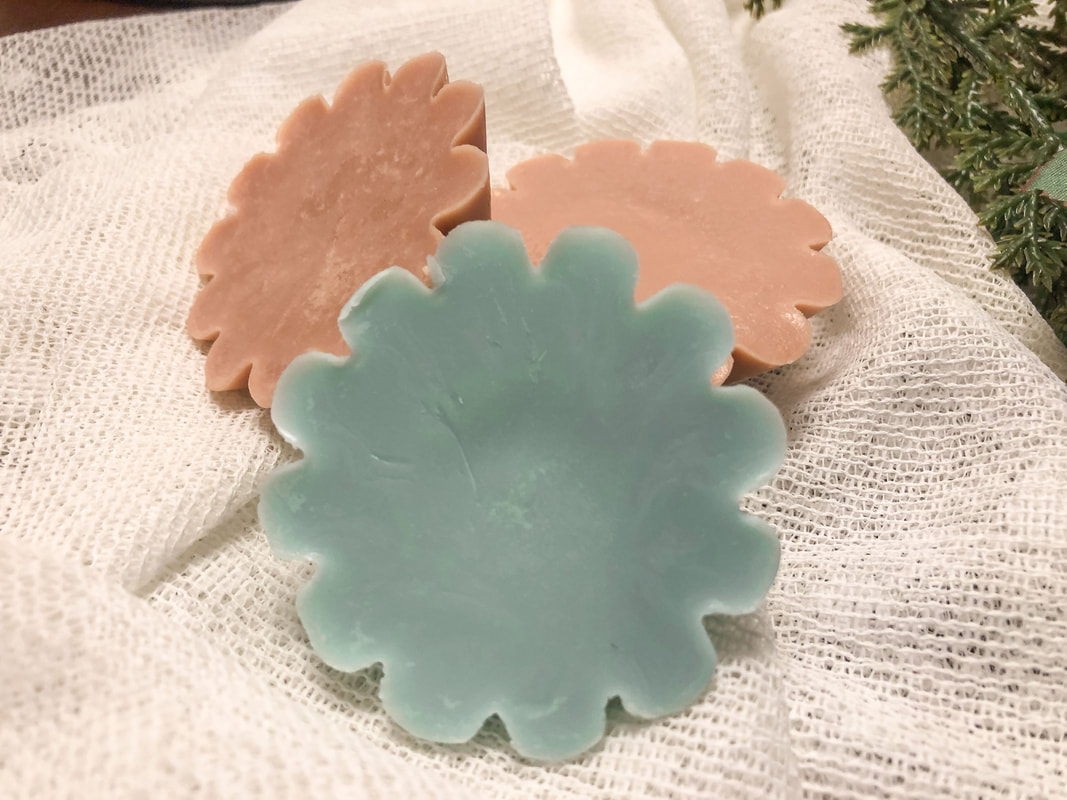
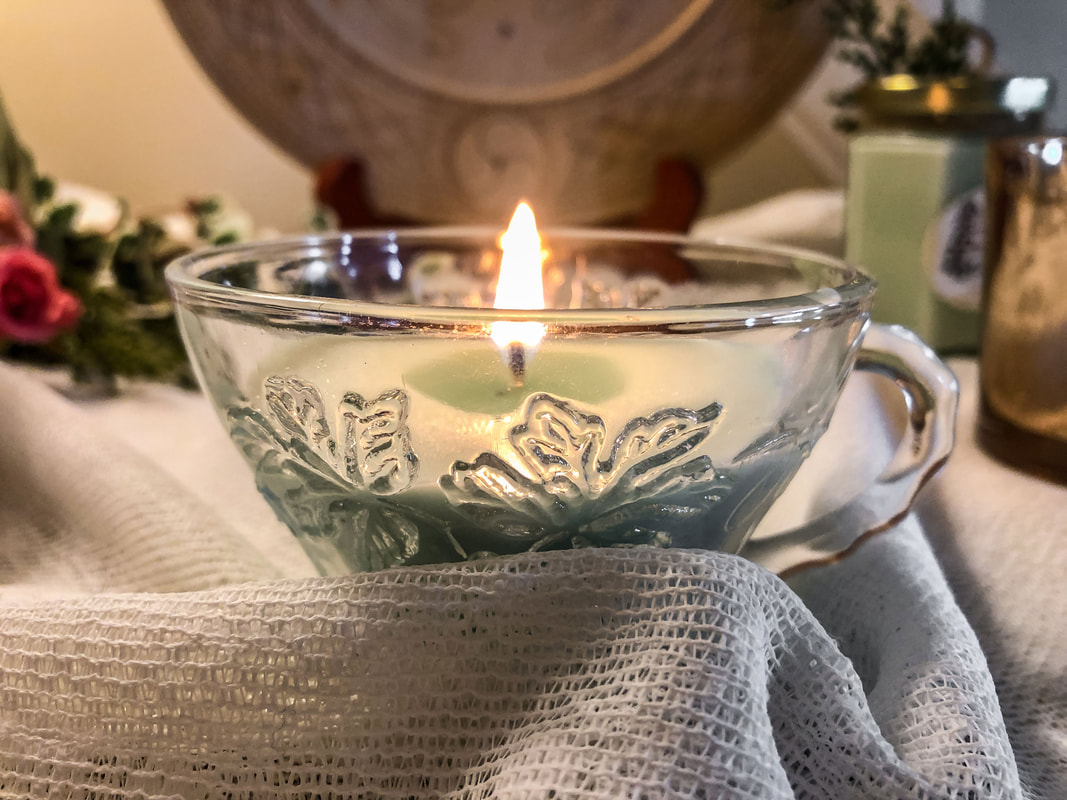
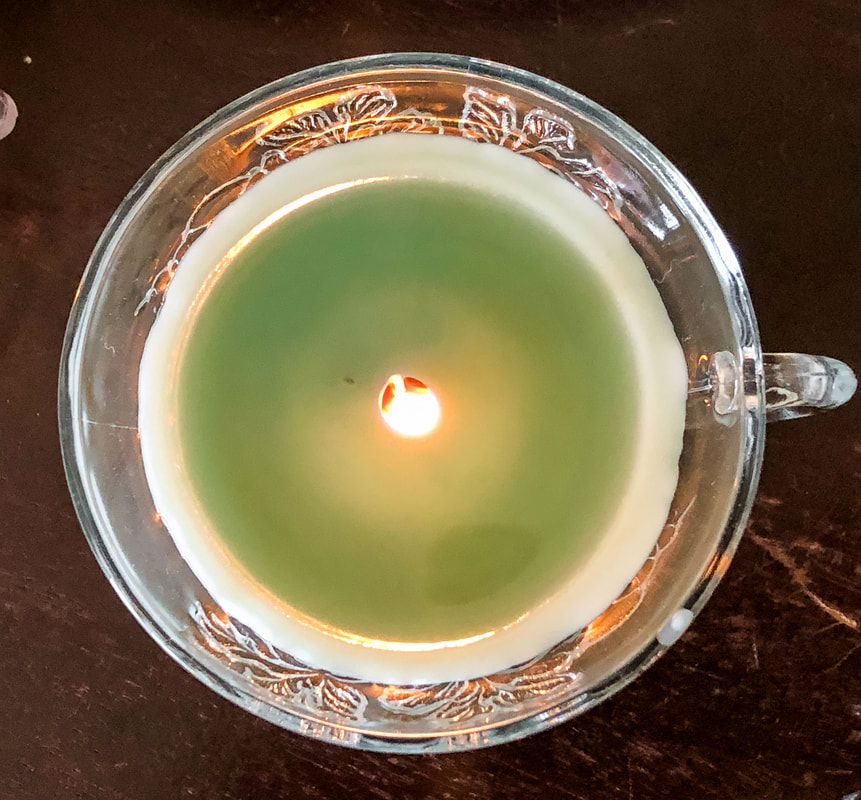
There’s nothing like homemade, right? I used to work in a store where I merchandised candles and could never resist the urge to smell every new scent I unpacked. There’s just something about the allure of scented candles that’s irresistible! There’s just one thing about store-bought candles, though…They are full of pollutants I don’t want in my house. I decided to learn how to make homemade candles several years ago...and I was hooked! Making scented candles is not hard, but it takes some trial and error to get the process right. When the process is perfected, you end up with a candle that burns steady with a nice pool and has a hot throw. Today’s project is to make soy candles with this incredible fragrance oil (FO) from Nature’s Garden Candles called Eucalyptus and Spearmint. This is a wonderfully fresh scent that honestly would smell amazing in homemade soap! But today’s project is candle making…So here is my process and recipe for homemade eucalyptus and spearmint soy candles… The materials you will need… Scissors, hot glue gun, syringe for the FO, eye dropper for the candle dye, candy thermometer, wax melting pot, two pots for water (one for hot and one for cold), stirring sticks, more sticks to prop up the wicks, rubber bands, a heat gun (or hair dryer), pre-tabbed wicks (or wicks and tabs that you assemble yourself), your fragrance oil of choice (make sure it is candle safe), candle safe colorant, your wax of choice (I will be using soy wax), and a candle safe container for your homemade candle. About the wax, wicks, fragrance oil, and candle dye… When I make homemade candles, I usually use 464 soy wax. I measure out about a pound—give or take—of dry wax flakes, which will melt down to about 18 fl. oz. As a rule, you should use 1-1.5 fl. oz. of fragrance oil for each pound of soy wax. For this project, I measured out 40 ml—just over 1 oz—of Nature’s Garden Candles Eucalyptus and Spearmint fragrance oil. (The amount of FO you use will depend on your wax and the properties of the fragrance oil, such as flashpoint.) The wick type chosen for this project is the 1400 hemp core wick, used for 2.5-3.5 diameter containers. My glass tea cups fall into those parameters nicely, so this wick should be perfect. Different types of wicks work for different varieties of waxes and candles, or even just personal preferences, and what you choose will come down to trial and error and learning what works best for you. And finally, candle dye. Hunter Green Nature-Friendly Candle Dye is what I will be using for today’s candles, about two drops (green is a saturated color). Choosing and prepping your container… I love buying from thrift shops and repurposing, so for this project, I'm making homemade candles with a few beautiful glass tea cups purchased from a local second-hand store. Use anything you like to make homemade candles--just as long as the container is candle-safe--and never leave your burning candle unattended. Prep your clean room-temperature containers using a hot glue gun to secure the wick tabs to the bottom. The wicks can be held in place (to prevent them from moving during the pouring process) with sticks and rubber bands. Prepping the work surfaces… If you value your counters or tables (or whatever surfaces you will be using for this project), do yourself a favor and spend a little time carefully covering them with layers of newspaper, cardboard, or plastic tablecloths. Fragrance oil and candle dye can be challenging to remove from certain surfaces! And have plenty of paper towels, old rags, and newspapers for cleanups and spills. If you spill any wax, FO, or dye, clean it immediately with soap and water. Try to be mindful of how you handle your materials to prevent drips and spills. Melting the candle wax… Fill a large pot halfway with water and place it on the stove. Pour your dry wax flakes into the wax melting pot and place this container into the large pot on the stove. It’s ok if it floats a little. Boil the water and keep an eye on the melting wax. (Do not leave unattended.) Once all the wax is melted, monitor the temperature with a candy thermometer. The melted wax is ready for fragrance oil when the temp reaches 185 degrees F. (This is the temperature for my particular type of wax and FO. You will follow any directions for your own choices.) Turn off the burner, and stir the wax and FO well. Add candle dye, stirring frequently, until everything is thoroughly blended. Let the candle wax cool (mixing occasionally) to 110 degrees F or less or until slushy. I like to let the wax cool in the hot water for a few moments, then transfer it to a second pot with a couple of inches of cool water. Continue stirring the wax as it cools. Add a few ice cubes to speed up the process and continue stirring. (Do not cool down the wax too quickly--you won't get a good pour.) Pouring the candle wax… Pour cooled, slushy wax into your containers VERY SLOWLY, keeping an eye on the wick so it stays centered. Take your time--don’t be in a rush. Pouring too quickly can cause air bubbles and cave-ins around the wick. If this should occur, remelt the top and pour more wax into the holes. Some prefer to do this step in two pours, but lines sometimes appear if you don’t get it right. If I have any extra wax left in the pot after filling my containers, I will pour the remaining wax into votive or wax melt molds sprayed with vegetable oil. This project yielded enough wax to fill six tea cups and three molds. Let your candles cool and cure… Once your candle wax has been poured, leave the candles alone for an hour or so while they cool down and set. When the wax is thoroughly cooled and hardened, you can trim the wicks and store them for 48 hours to two weeks before burning. You will not be able to burn your new candles immediately! The candles need time to cure. The curing time will depend on the type of wax used. You can use this curing time to assess the cold throw—the scent in the room when the candle is not burning. Cleanup tips… Be very careful not to dump wax residue down the drain. Wipe pots and utensils with paper towels, rags, or newspaper to remove excess wax. You can rinse all your supplies in soapy water once all the wax is removed. Stubborn wax can be remelted with a hair dryer or heat gun and then wiped down. Wash anything with fragrance oil with soap and water immediately. It may take a few washes to get rid of the scent. As for the candle dye, be very careful with this stuff! It does stain, and the stain is usually permanent. Use soap and hot water to clean anything with candle dye on it. My new homemade eucalyptus and spearmint soy candles… It took an hour to make these eucalyptus and spearmint soy candles! What do you think? Have you made any of your own, and do you have tips to share? Have I inspired you to get in that kitchen and make your candles? Leave a comment below and let me know! Related blogs you may want to read: Homemade candle recipe with a hazelnut fragrance Winter color palette ideas for your home decor Nine design trends for 2022 Eight ways to create cozy winter interiors after the holiday decor comes down Nine hygge decor ideas This article may contain a few items or commercial mentions, but I only used them for demonstration purposes only. I am not endorsing any particular product or receiving any monetary gain for this blog.
8 Comments
1/4/2025 01:49:37 am
Such a Amazing blog, Thanks for sharing this Great Information
Reply
7/23/2025 07:14:59 pm
I particularly like the eucalyptus and spearmint scent combination you used—it sounds so fresh and natural. I’m planning to try making candles this weekend and hope I can achieve a nice result like yours.
Reply
7/25/2025 10:32:47 am
Making candles is great fun! Good luck with your own candle-making project...And let us know wat scent you used!
Reply
Julius Burton
10/15/2025 02:37:38 pm
Combo de Recetarios de Velas Artesanales
Reply
Leave a Reply. |
Author
Some of the posts on this site contain affiliate links. This means if you click on the link and purchase the item, I will receive an affiliate commission. Categories
All
Archives
October 2025
|


 RSS Feed
