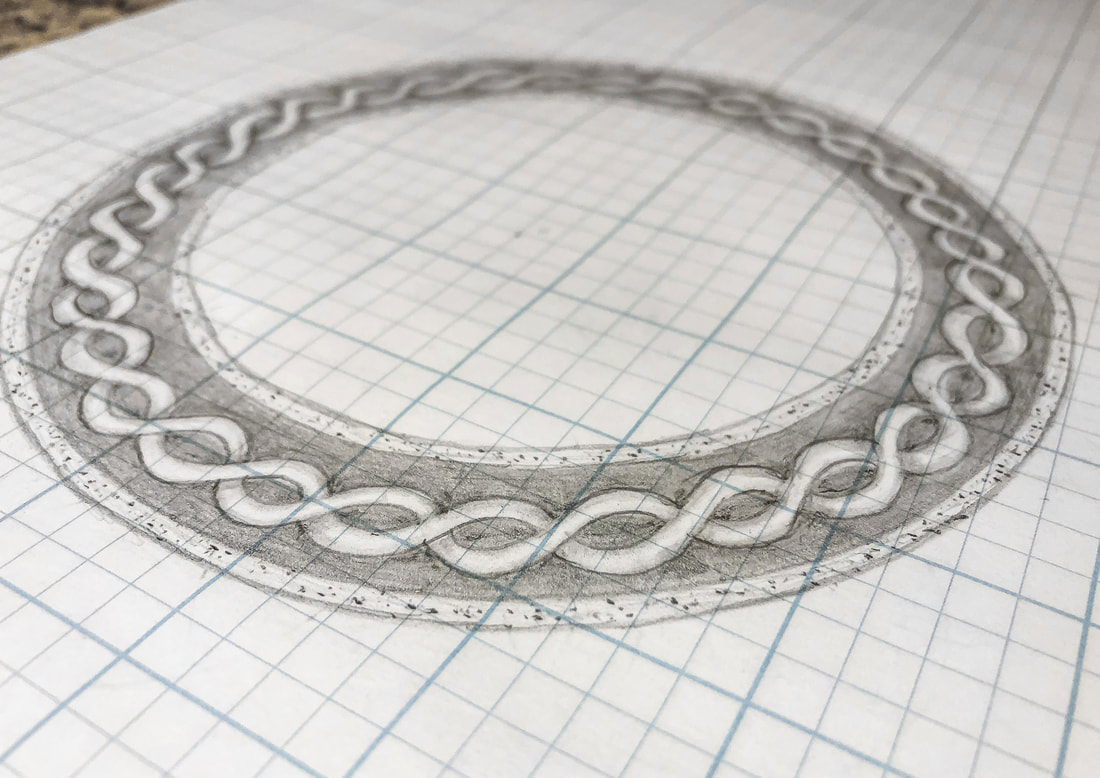
 In a previous tutorial, we created a circular Celtic braid. This tutorial will be a simpler version of that design, just a basic twist that I will be using in a new piece of Celtic art—a High Cross. Gather your supplies: Drawing pencils Markers Blending stumps Eraser Clic eraser Ruler Horse hair brush Grid paper Sketch pad Tracing paper (This supply list contains affiliate links, as I am an affiliate of Blick Art Materials. If you click on the link and purchase the item, I will receive an affiliate commission at no extra cost to you. I will only recommend products or services I use personally and/or believe will add value to my readers, so there is no conflict of interest.) Before we start: Guidelines should be drawn using light pressure and/or a 2H drawing pencil so that they can be easily erased. Also, you may want to watch this YouTube tutorial, especially if you are only using a few basic tools: Now let’s get into the circular twist border tutorial! Step 1: Draw a circle 6.25” in diameter and a second inner circle 4.25” in diameter. 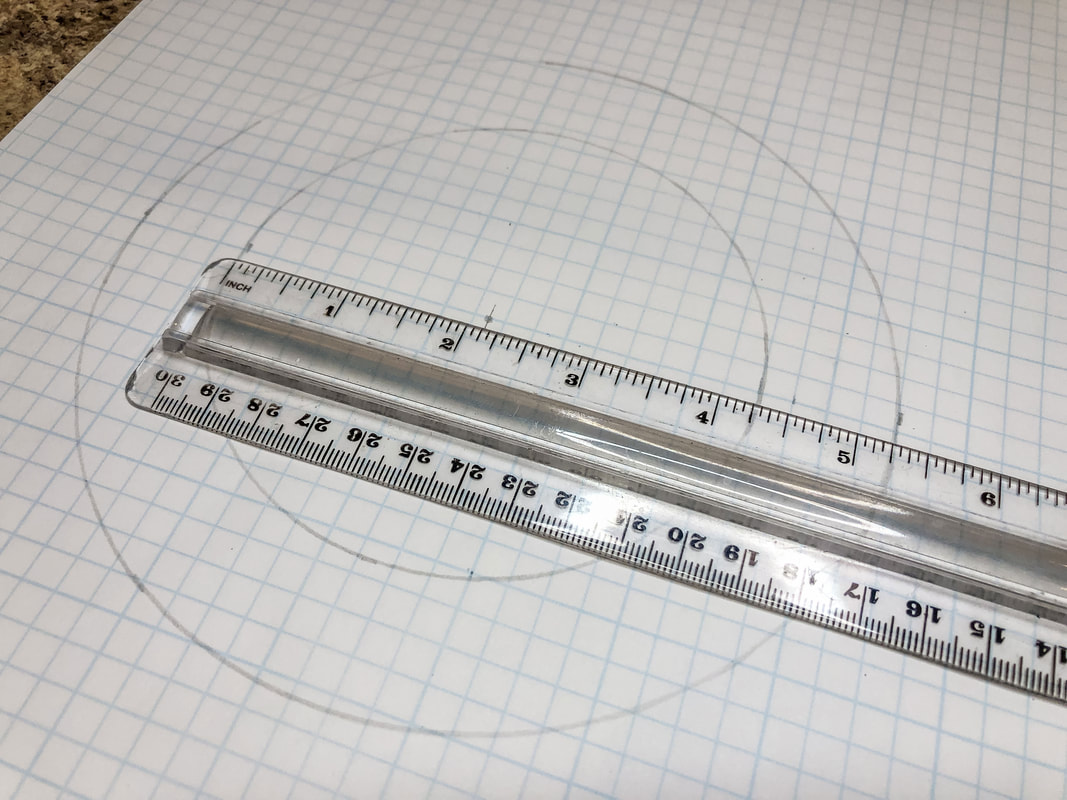 Step 2: Draw a circle 1/8” (or half a grid box if you are using grid paper) from each of these circles on the inside of the ring. This will be your decorative border. 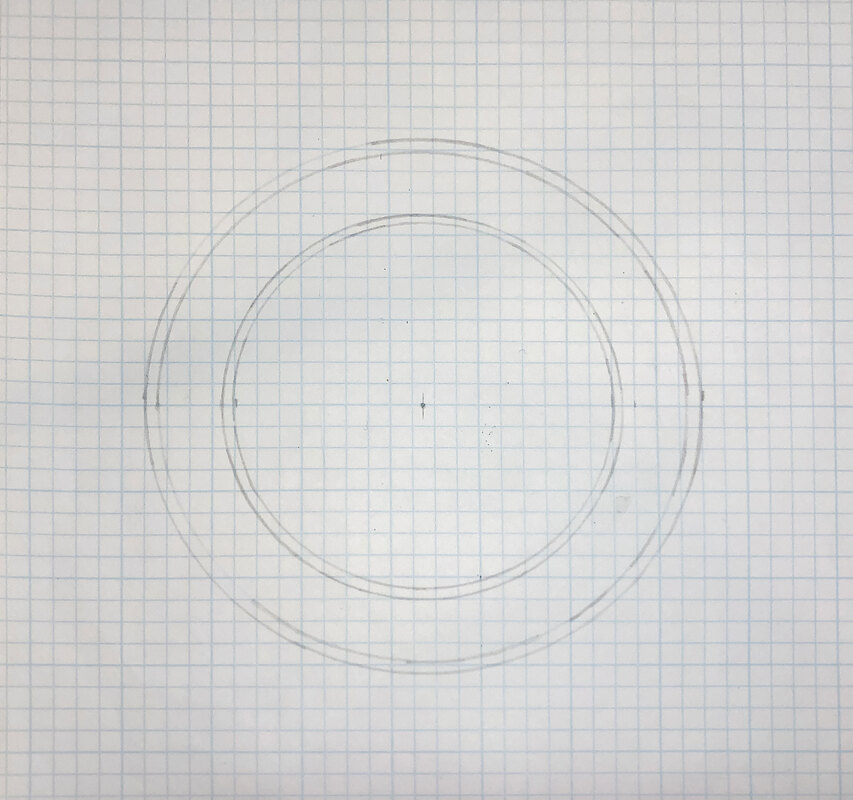 Step 3: Lightly draw a circle at the center point in between these two sets of border lines. This will be the first part of the grid to help you draw the twist. 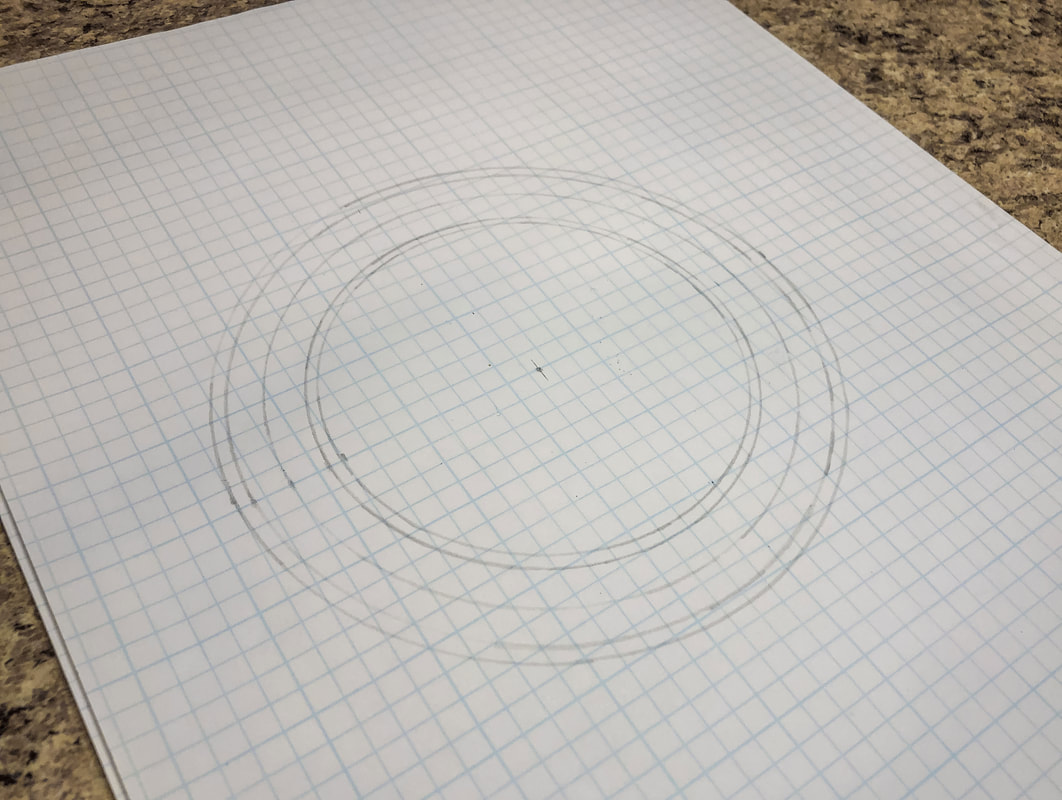 Step 4: Divide the ring into quarters using your ruler, or line up on grid paper. 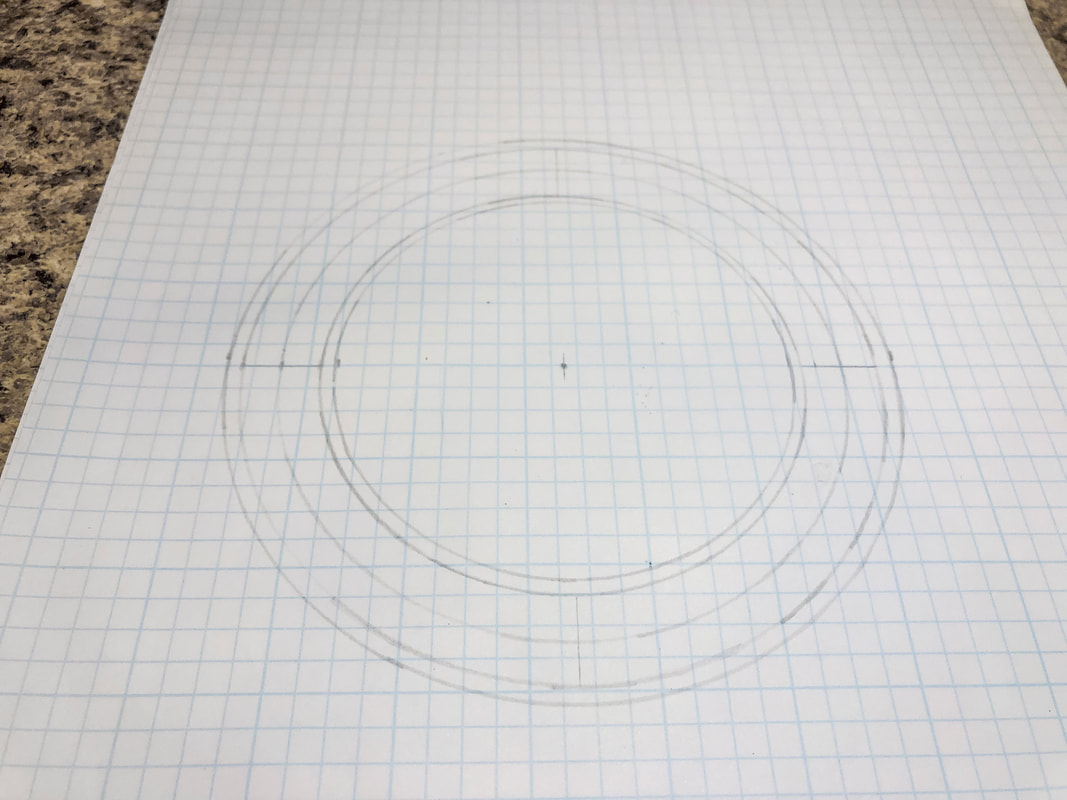 Step 5: Now divide the quarters in half, creating 8 sections. Use the technique from this tutorial to find the center of the arc by drawing overlapping circles and lining up the points where they intersect.  Step 6: Divide these sections in half to create 16 sections. 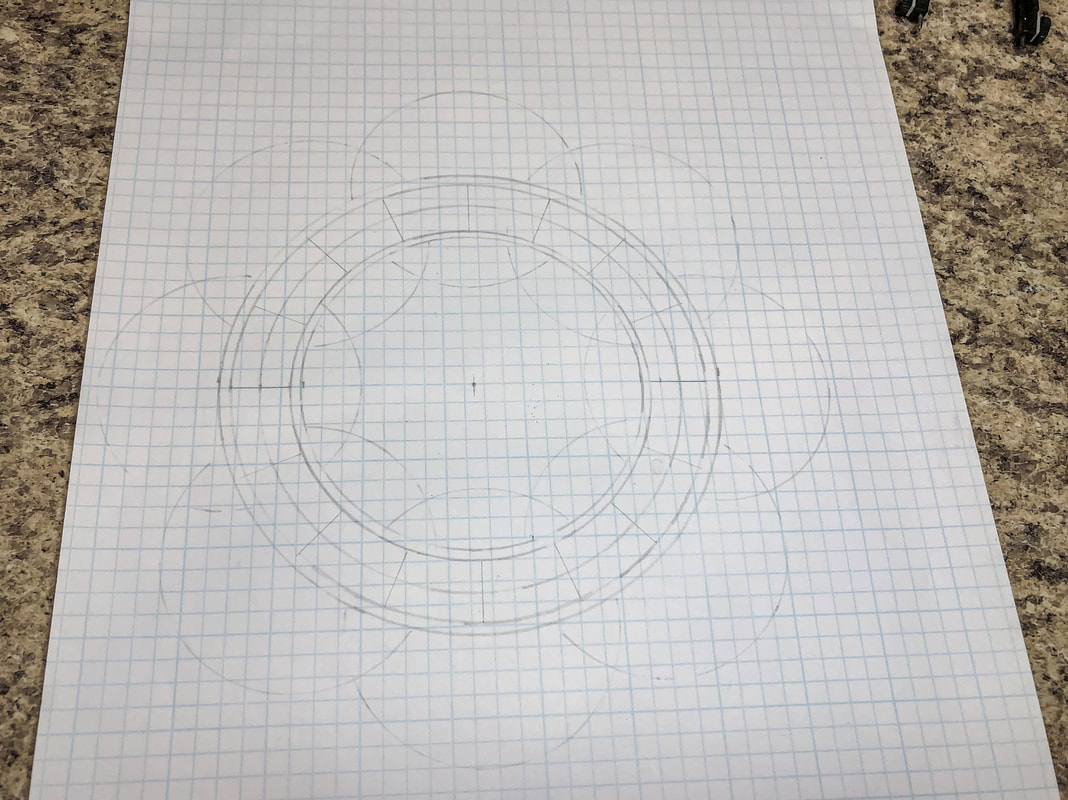 Step 7: And finally, divide those sections in half again to create 32 sections. 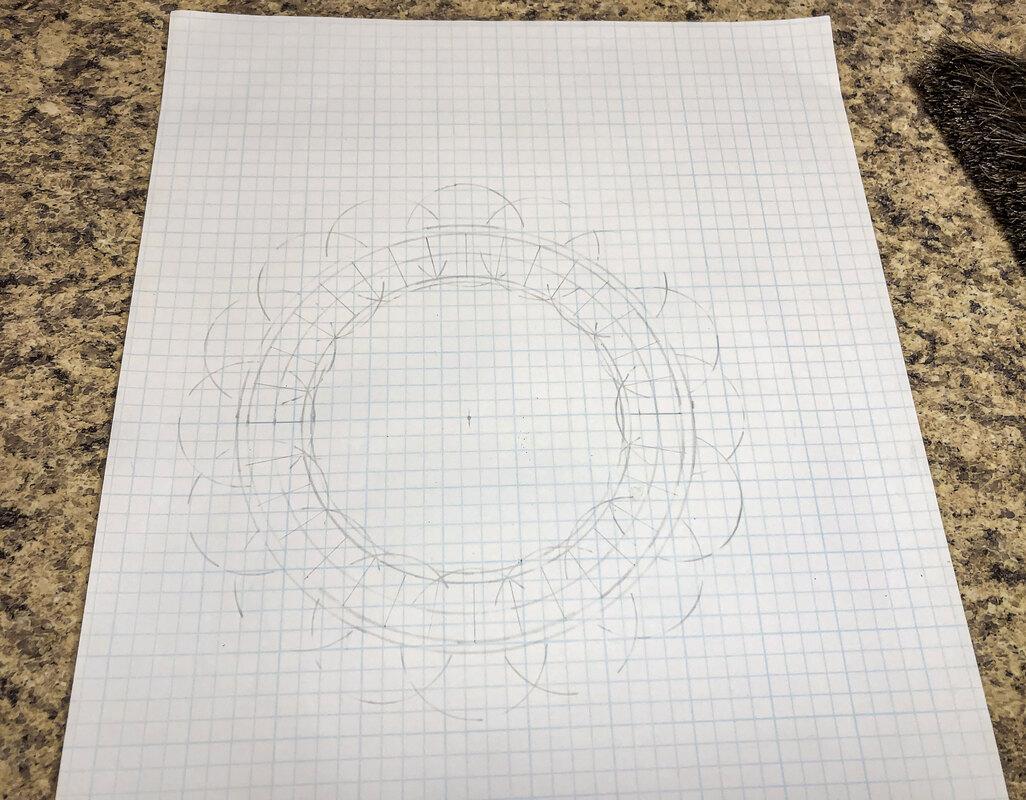 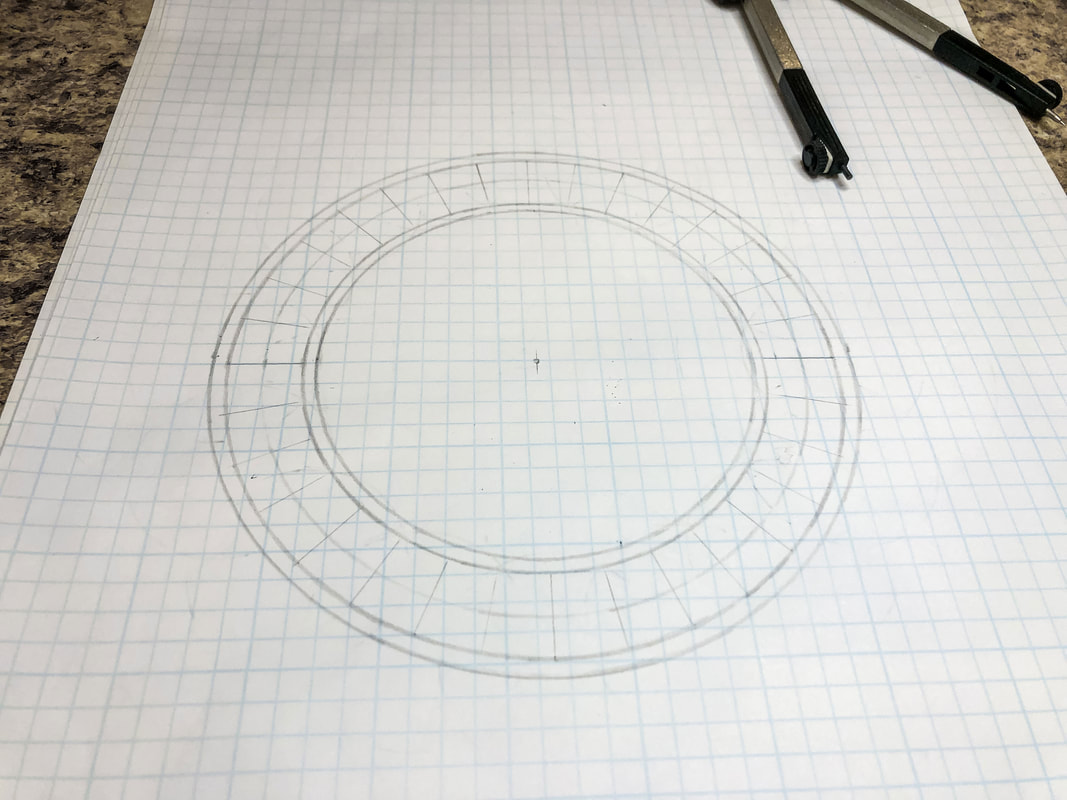 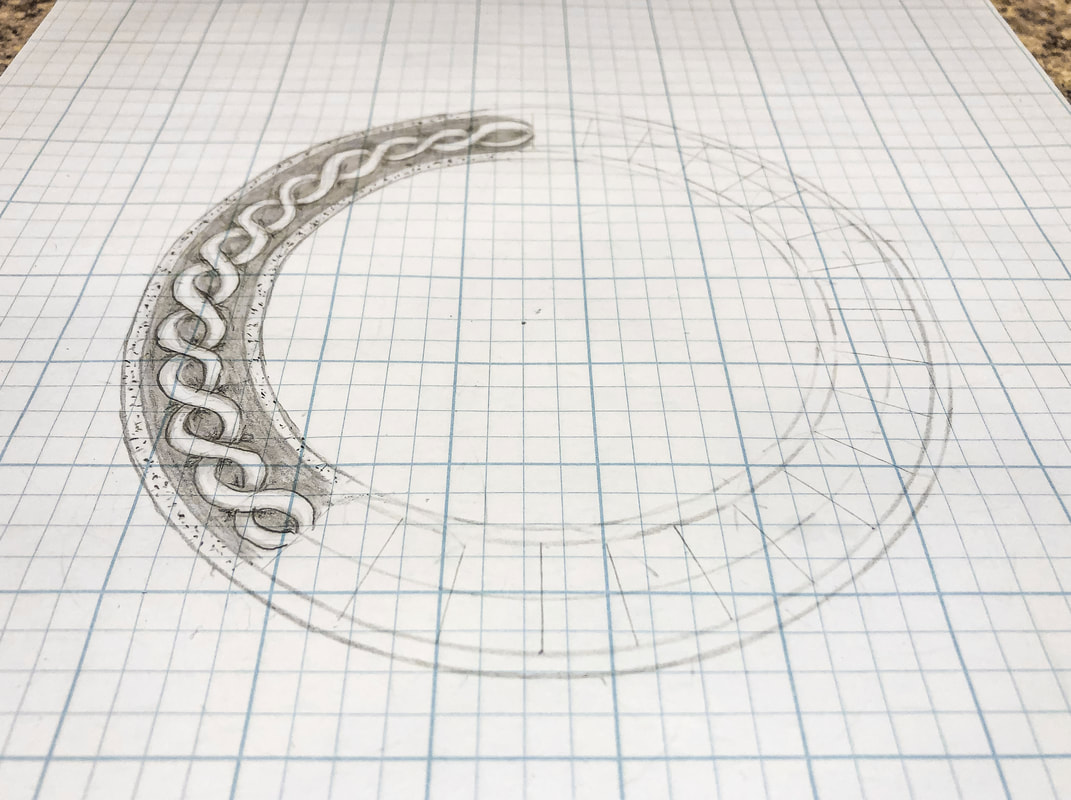 Step 8: Pick a square from this new grid to start. As shown below, draw a pair of “C”s from corner to corner. Think of this as the start of a thread, making your piece of thread as thin or as thick as you like, depending on how much space you want to take up and the style you want to create. 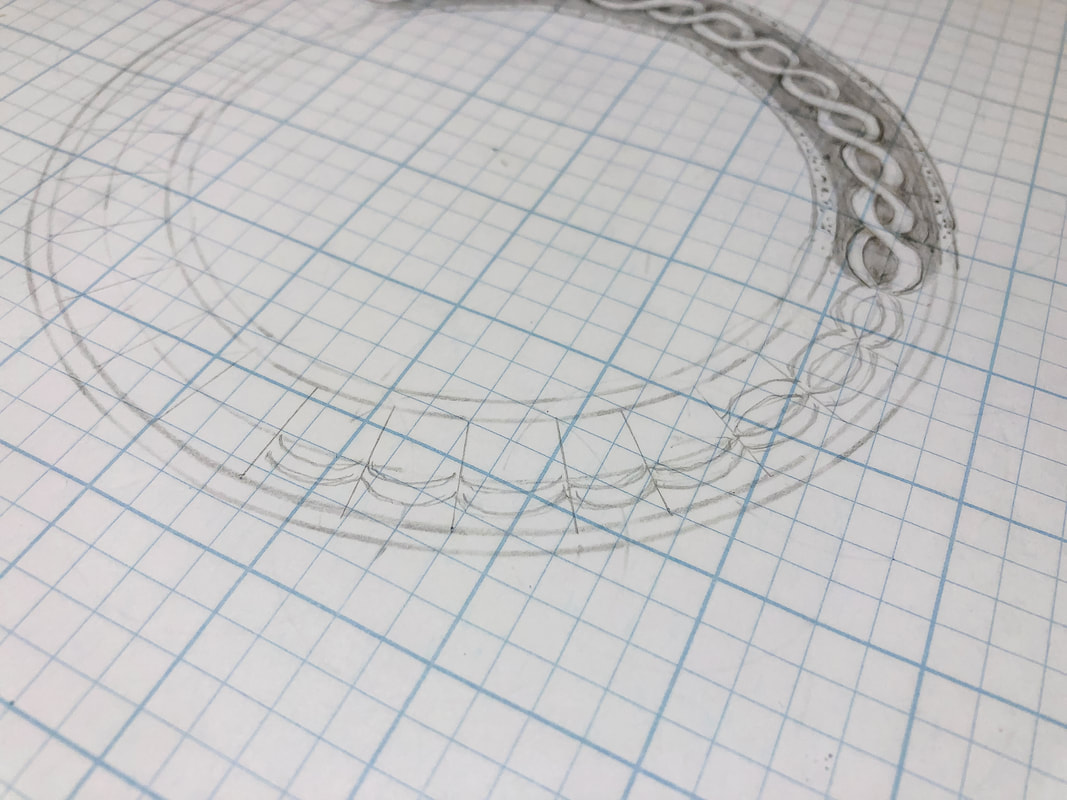 Step 9: Now fill the rest of the grid—top and bottom—with these same pairs of “C”s as shown. Try to keep your thread widths consistent. You will now have a circular grid full of links. 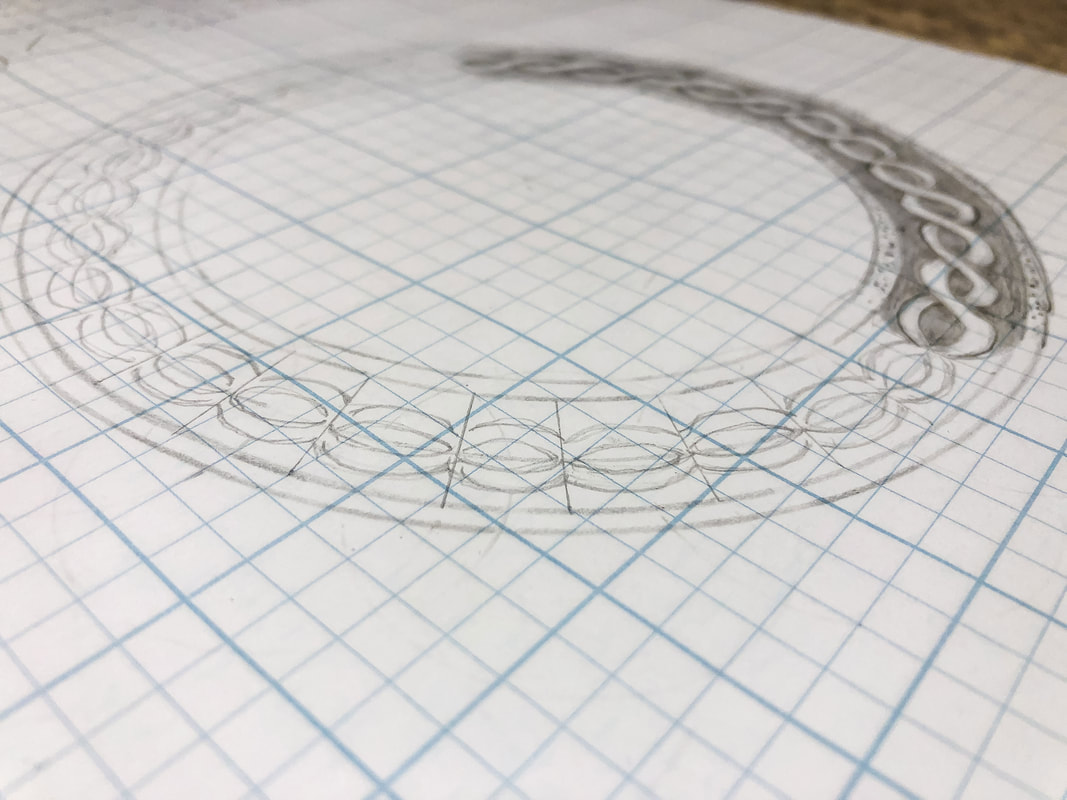 Step 10: Erase the intersections between the links to allow you to work more easily on the overs and unders. 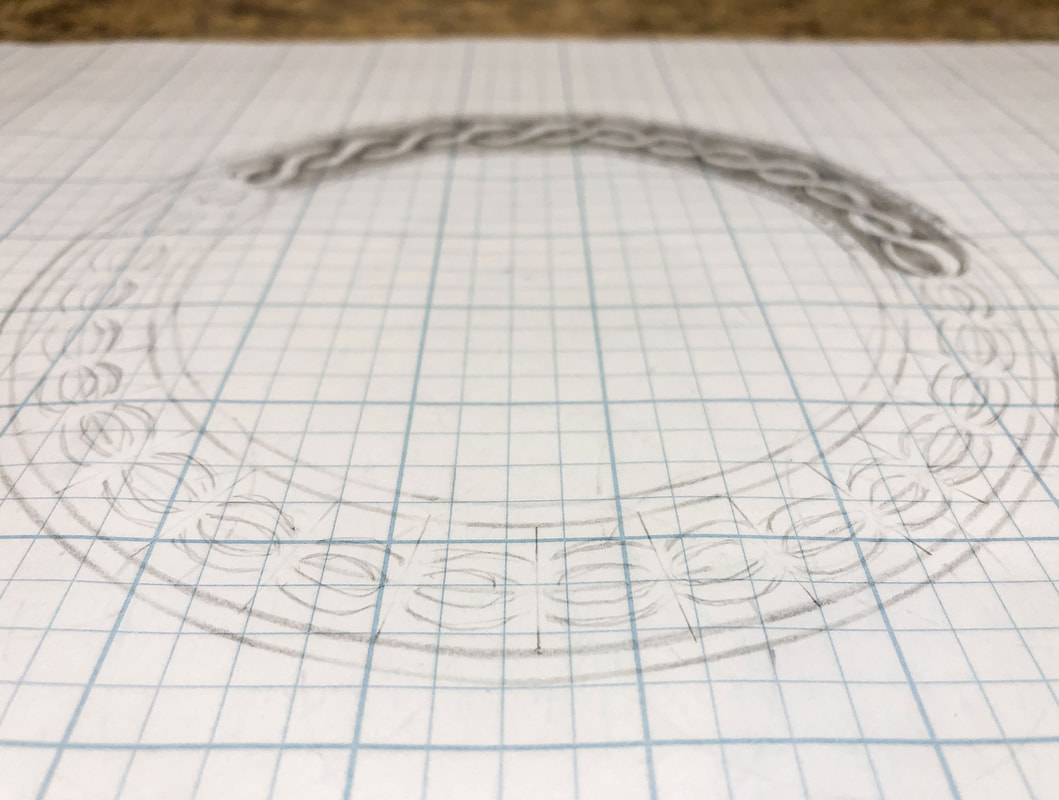 Step 11: Pick a place to start and create your first over-under intersection. Do not jump around. Work from this point and follow the pattern around the ring, making sure you end up with a thread that alternates over and under. 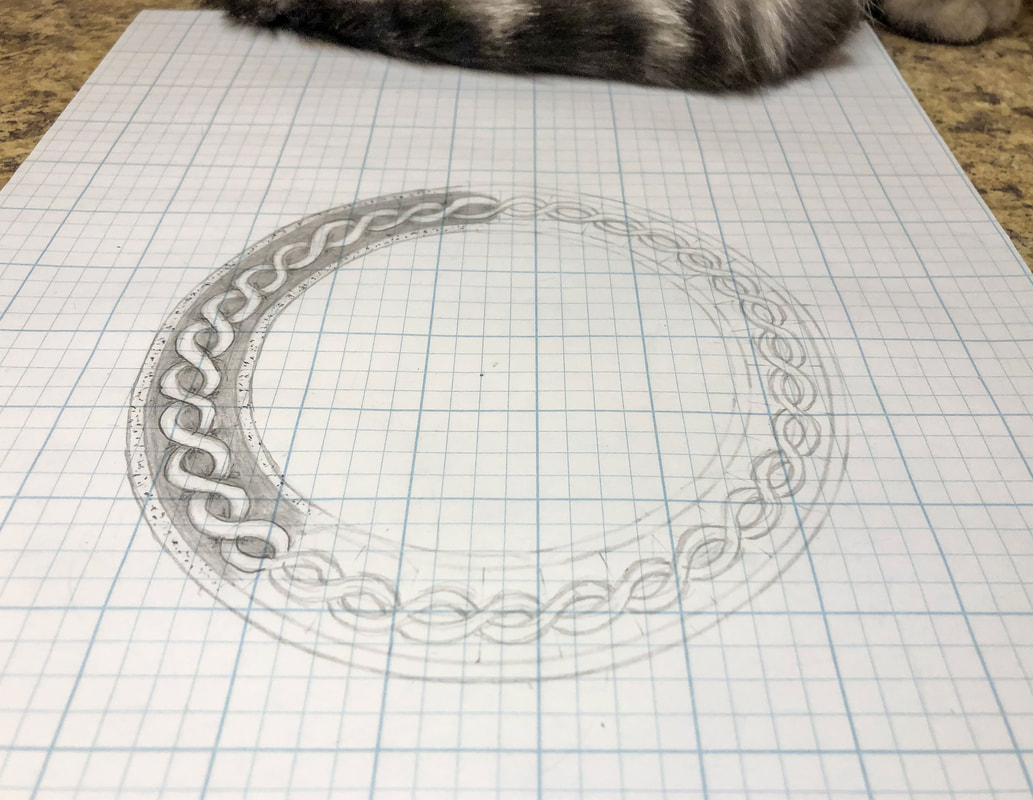 Step 12: Erase all the guidelines and clean up your lines as needed. Step 13: Add shading and stylize! 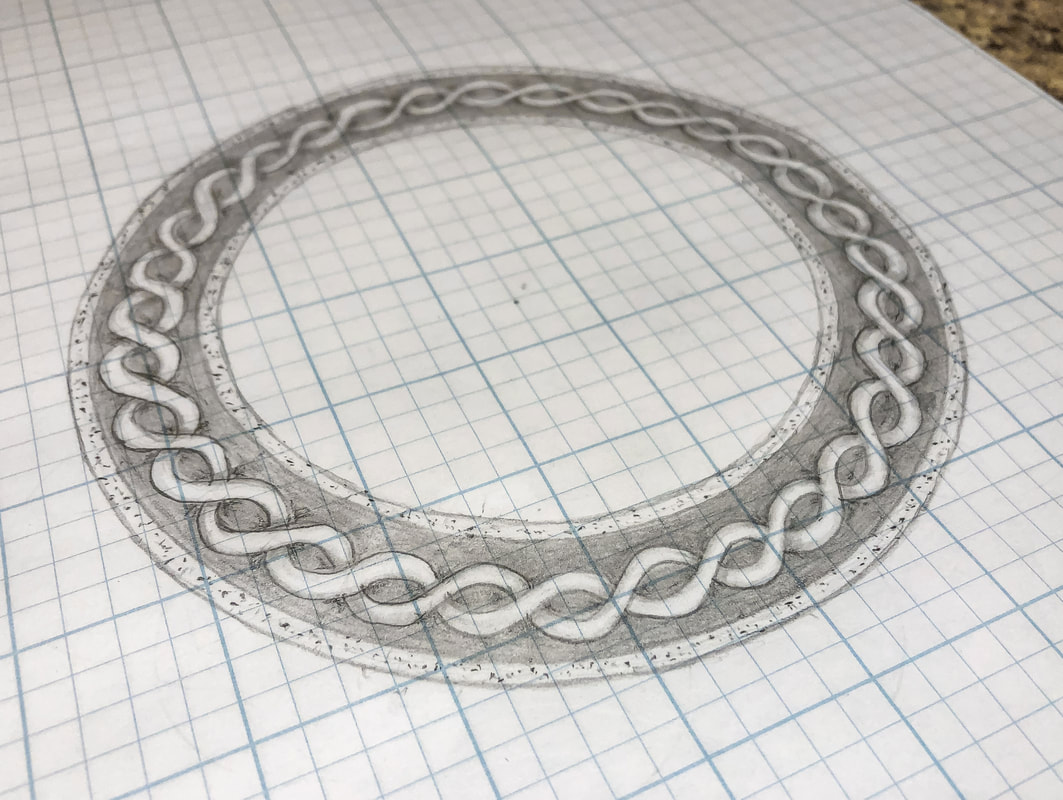 You’re finished! How did it go? Let me know in the comments below! I have created a YouTube tutorial to go with this blog for those of you who are visual learners like myself! You can view the full video tutorial on my YouTube channel here. Related blogs you may want to read: Circular Celtic border knot tutorial, basic braid Basic twist step-by-step drawing tutorial using grid paper Celtic braid step-by-step drawing tutorial Basic border knot with vertical breaks, step-by-step drawing tutorial Basic border knot with horizontal breaks, step-by-step drawing tutorial DIY chalk-painted tray with Celtic border A fun DIY project with paint and a thrifted mirror part 2 The Celtic Motherhood Knot, a symbol of love Celtic Tree of Life Basic Celtic Knot Tutorial Part 1 Celtic Knot Tutorial Part 2
2 Comments
2/25/2025 03:12:10 pm
Hi, this tutorial is a real jem, thank you!! I was wondering if the size of the circular border ring can be expanded by applying the same percentage of enlargement to all steps? I am looking at using the border ring on a Celtic shield so need it to be around 30 inches diameter. 2/26/2025 12:02:26 pm
Welcome to my blog, Garrett, and thank you for your comment! This technique can be expanded to fit a bigger surface. In fact, I did just that in a recent design. The steps are the same. You'll need to create as many sections as needed to fit the aesthetics of your design. You don't have to stick with 32; you can have more or less sections, depending on the size of your surface and design. Hope that helps! Leave a Reply. |

Author
Some of the posts on this site contain affiliate links. This means if you click on the link and purchase the item, I will receive an affiliate commission. 
Categories
All
Archives
October 2025
|
 RSS Feed
|
|
Major credit cards accepted through Square. Apple Pay option available. This site also accepts PayPal payments for better online security, and it's free to sign up! Gift cards are now available for purchase!
Copyright 2025 |