|
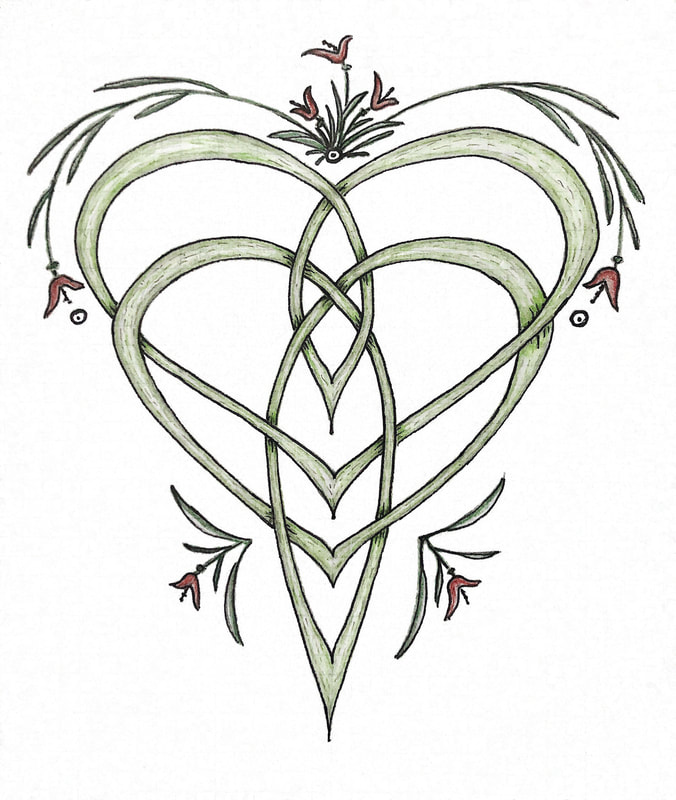
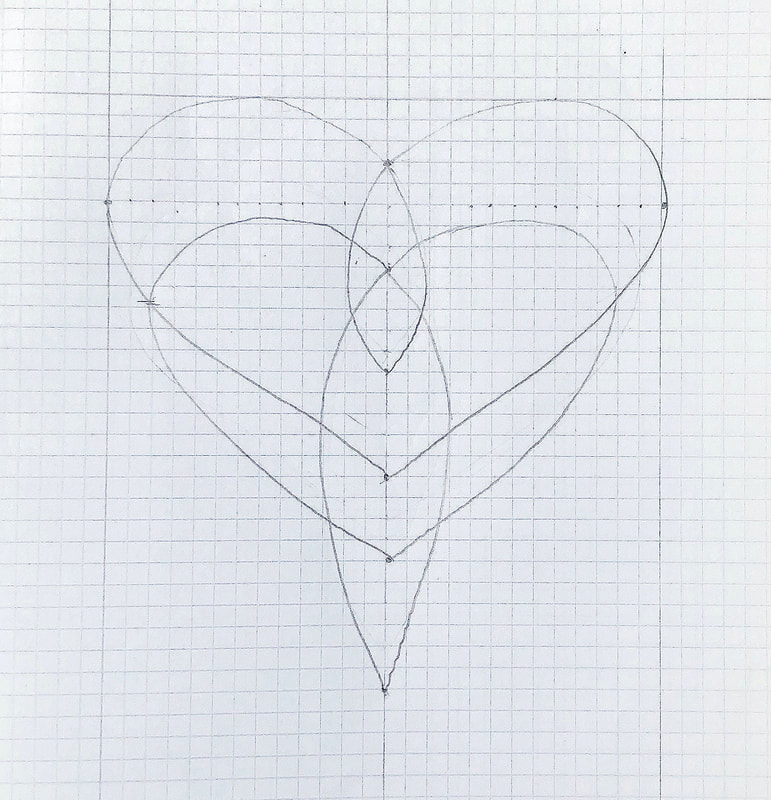
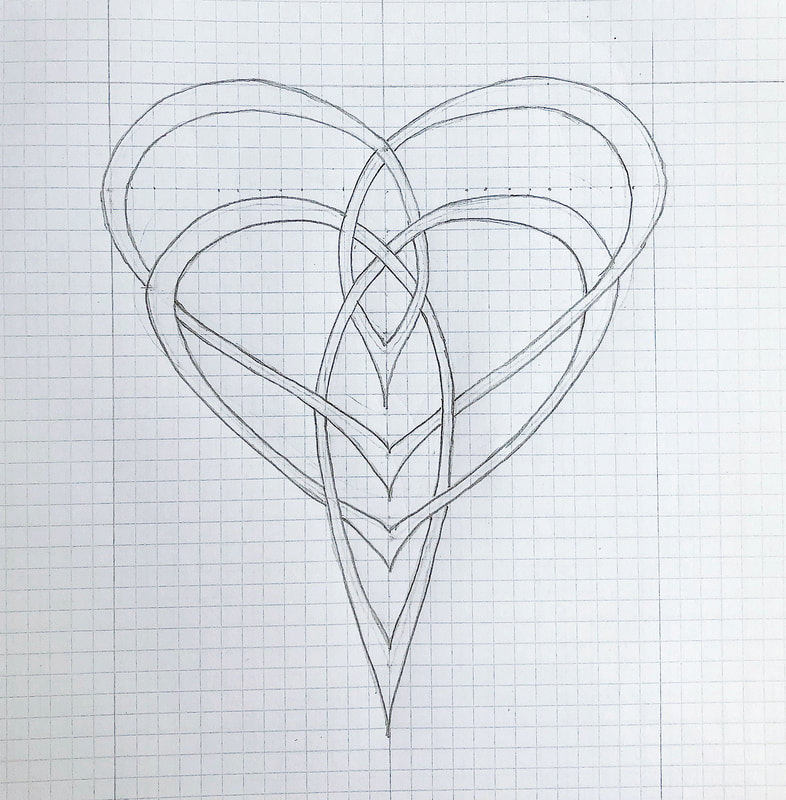
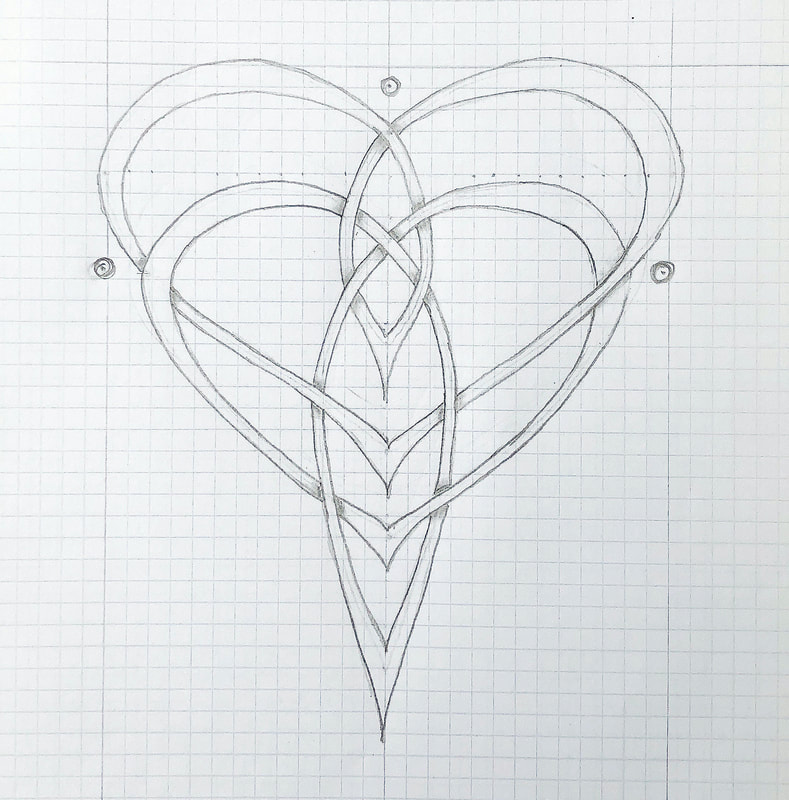
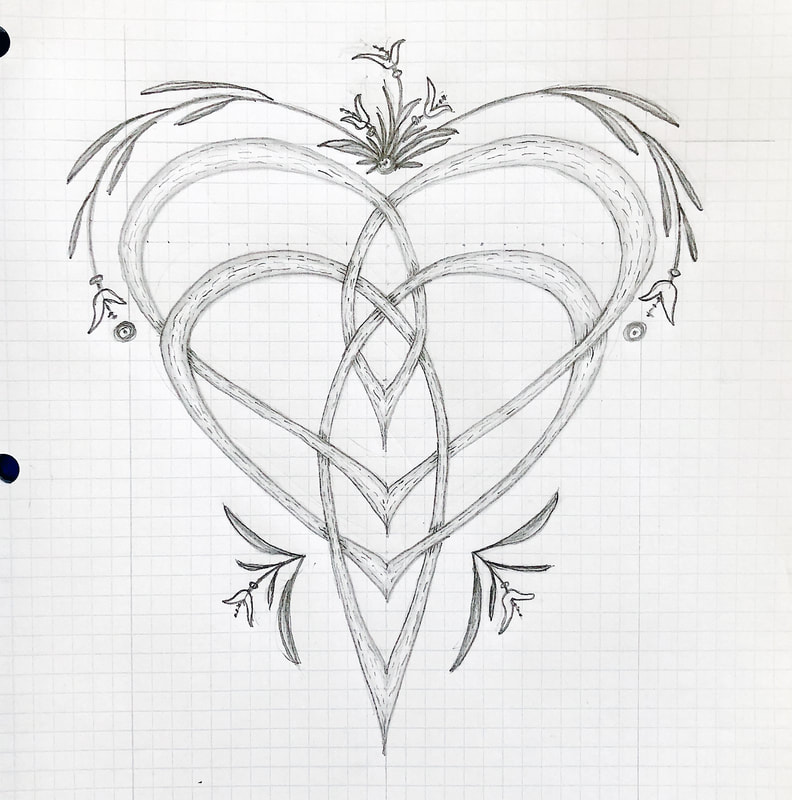
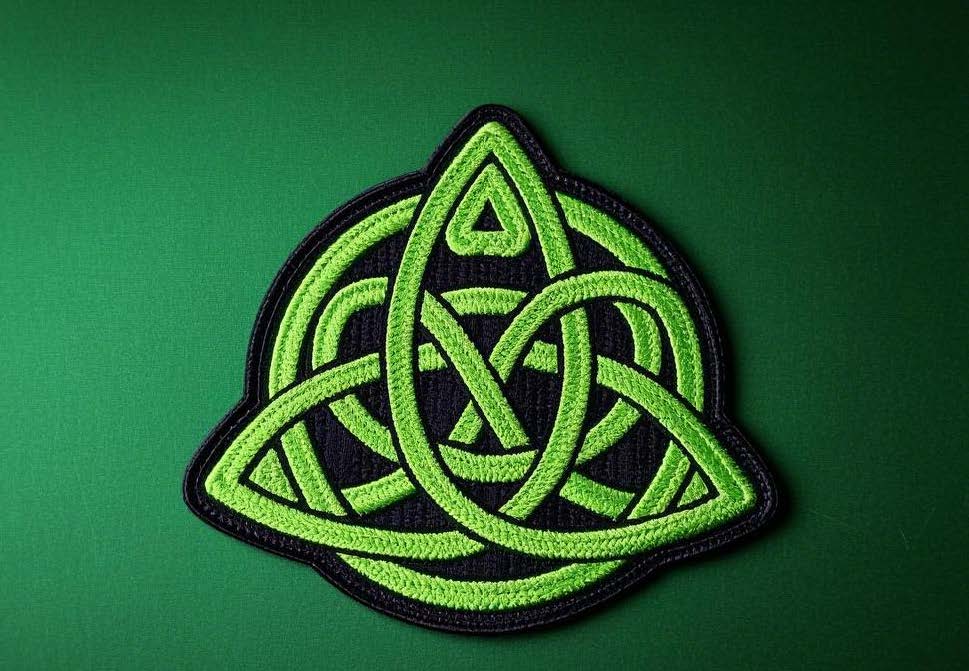
So I Googled Celtic Mother’s Knot…thinking I would find THE Celtic symbol, break it down into its components, and do a quick sketch or two and explain my process…Not so easy! Turns out there are many variations of mother’s knots, some more modern than others. Some knots are more artistic expression than actual Celtic symbolism, but symbolism can be in the eye of the beholder anyway. So long as the symbol expresses the appropriate feeling and meaning, it’s all good. Anyway, I found myself having to make some tough decisions…Do I do quick sketches of a few of them? Or do I do one or two really good sketches? Do I do a really good rendering of just one style? And if so, which style? Ultimately, my decision came down to how much time I realistically had to devote to this project, which—unfortunately—is not enough to explore all of those options! So I’ve decided to talk about the symbolism of a Celtic Motherhood Knot, then break down one of the most “authentic” styles (if I can use that term), and finally show you a finished stylized rendering of one of these beautiful knot work patterns. The symbolism behind the Celtic Motherhood Knot To start with, there are a wide number designs that are called “mother’s knot”, “motherhood knot”, “mother and daughter knot”, and “mother and son knot”. They all involve a design that includes a heart, an embrace, or some combination of the two. At the core of their designs is the concept of the unbreakable and eternal bond and love between a mother and child. From a Christian standpoint, the knots could represent the Madonna and child, and many versions of the knot have a Trinity knot as the basis upon which the rest of the design is built. From an ancient Irish Celtic world view, the basic idea behind a mother’s knot (or motherhood knot) may represent the three cycles of a woman’s life—maiden, mother, and crone. It’s hard to really know for sure where the Celtic symbolism ends and the Christian symbolism begins, as these two beliefs became intertwined long ago and much of the original meanings have been lost. So for today’s design project, I have chosen what I think may be one of the more traditional Celtic Motherhood Knot styles, which consists of two hearts, stacked one atop the other, and three dots. Each dot represents one child, so I drew three dots, one for each of my boys. Let’s break it down… Start by drawing the basic lines for the design, either freehand or using guides. I chose to use a few guides because I was going for a cleaner look, but this design could just as easily be drawn completely freehand. A Motherhood Knot looks more complicated than it actually is…It really just consists of two hearts overlapping and each heart has an elliptical loop down its center. The loop from the bottom heart can be just a bit longer, if that’s the style you want. You then start to draw new lines on either side of the basic lines you’ve just drawn. Do this for all of the lines in the drawing, then go back and erase (yes, erase!) the original line. Now that your basic design is in place, you have to pick one spot where the lines of your thread would overlap and make a decision…Which line goes under and which goes over? Once you make a decision, erase the lines that don’t need to be there anymore so that your thread can overlap. Now follow that thread to the next intersection and do the opposite. In other words, if your thread went OVER the last line, it will go UNDER at this intersection. And you just follow the lines until every intersection has an over-under. Trace your design again with your finger to make sure that there are no mistakes. The next step is where the fun begins! You can do anything you want from here on out to stylize this design the way you wish. You can change the thickness of the lines or add flair to certain sections of the threads (like I did with my elongated points). And this is also where you may want to start thinking about final details, like where to put dots and where to add other artistic details to your design. The sky is literally the limit! And the final piece… Add in all the final details and sharpen everything up where you think the lines need to be darker or crisper. You may want to bring in colored pencils or markers or paints to bring this design to life. In the sketch below, I decided to keep my design in pencil, but added shading and texture to give the knot a lift and a decorative vine to give a more finished look. I’m thinking I may revisit this drawing in the future as a focal point of a wood burning project, perhaps one of my decorative plates! Looking for wearable art? GS-JJ recently reached out to me to share their site, where you can find a wide range of ideas to give your fashion a unique touch: "The intricate Celtic Motherhood Knot, with its gracefully winding and delicately interwoven loops, presents a fascinating optical illusion. This Celtic knot, with its deep-seated symbolic meaning, is not just a design to be admired in theory. Why not transform it into a stylish and practical accessory? It can serve as Custom PVC Patches, a small but impactful addition to your everyday clothing. Whether sewn onto the lapel of a jacket, the pocket of a pair of jeans, or the hem of a favorite shirt, this patch serves as a subtle yet meaningful statement. It adds a touch of cultural richness and personal sentiment to your outfit, allowing you to carry the symbol of the mother-child bond with you wherever you go in your daily life." So what do ya think? Do you have a favorite style of Celtic Mother’s Knot? Feel free to share in the comments below!
And you can click here and here to go to previous blog posts with tutorials for a couple of different knots you can practice! If you’d like to subscribe to my email list you can get monthly newsletters (coming soon) alerting you to my new blog posts, special merchandise sales, ongoing DIY projects, and social media events. This article includes a paid link to a collaborator's site. Related blog posts you may want to read: Celtic Tree of Life A foray into customizable artwork Celtic Knot tutorial, part 1 Celtic Knot tutorial, part 2 Celebrating Irish Celtic Art for St. Patrick's Day Getting out of my way
0 Comments
Leave a Reply. |
Author
Some of the posts on this site contain affiliate links. This means if you click on the link and purchase the item, I will receive an affiliate commission. Categories
All
Archives
October 2025
|


 RSS Feed
