|
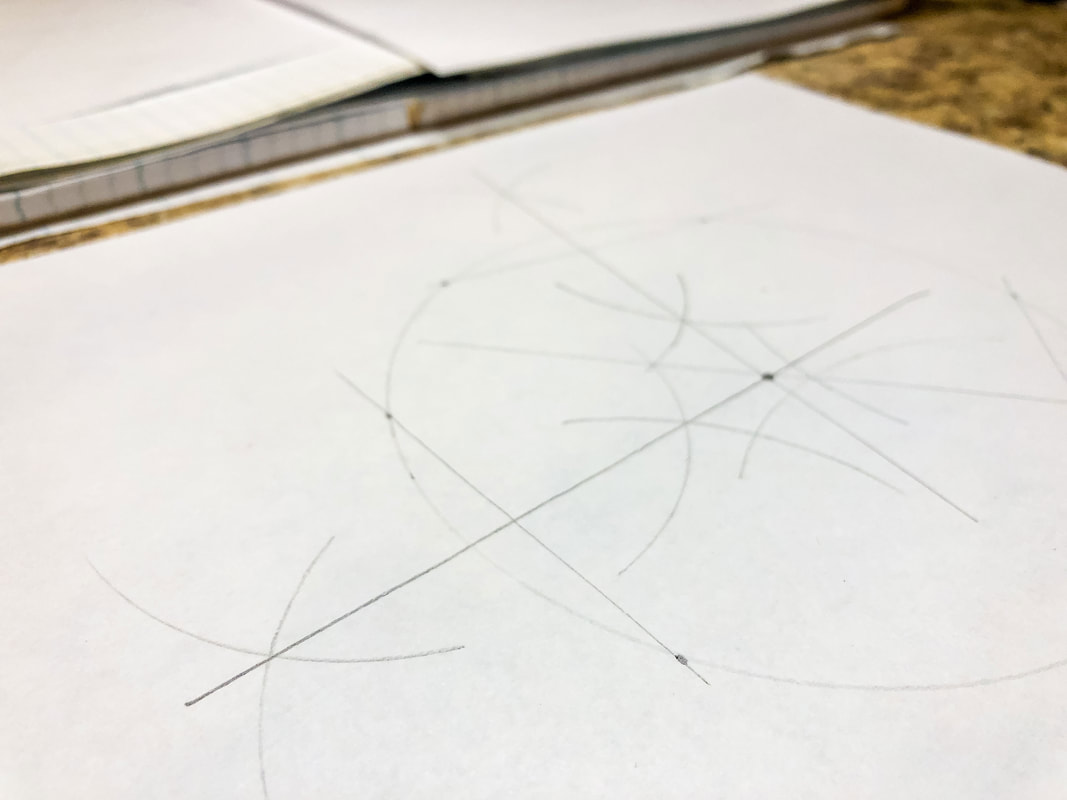
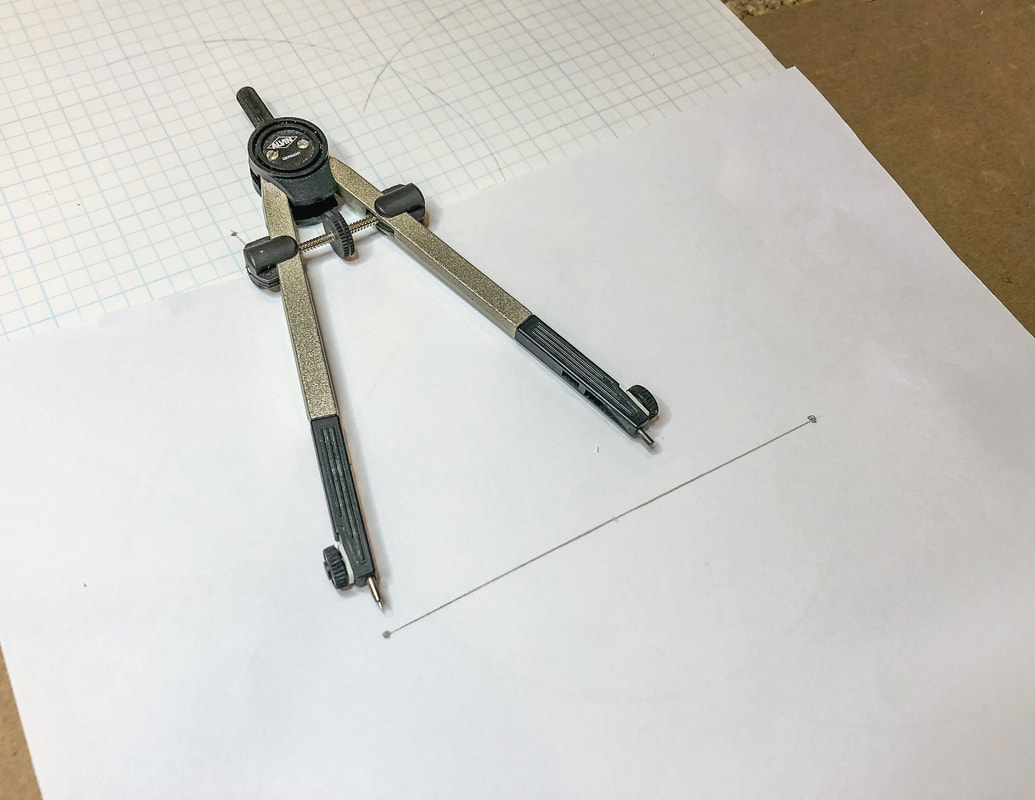
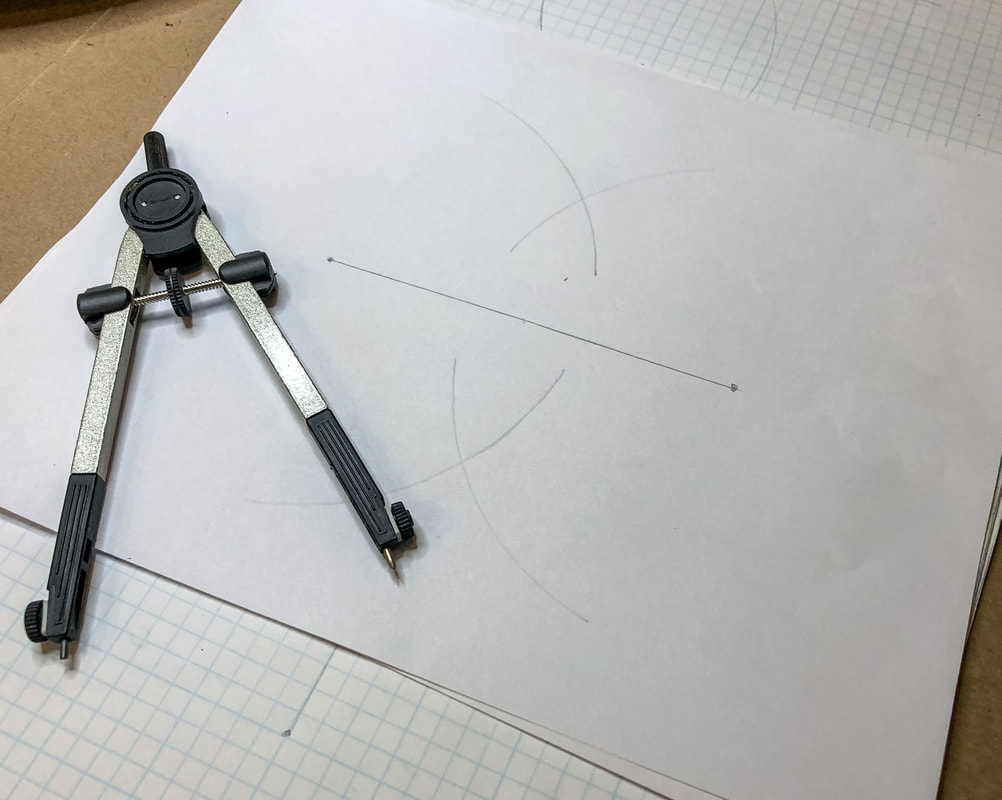
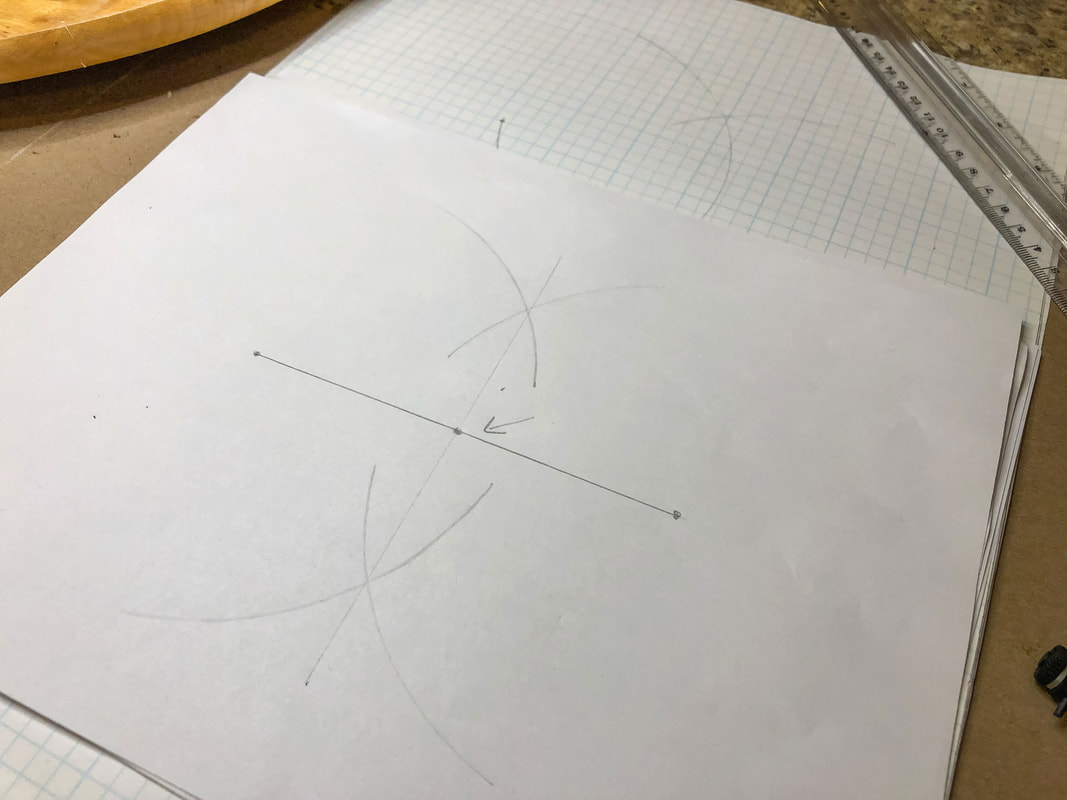
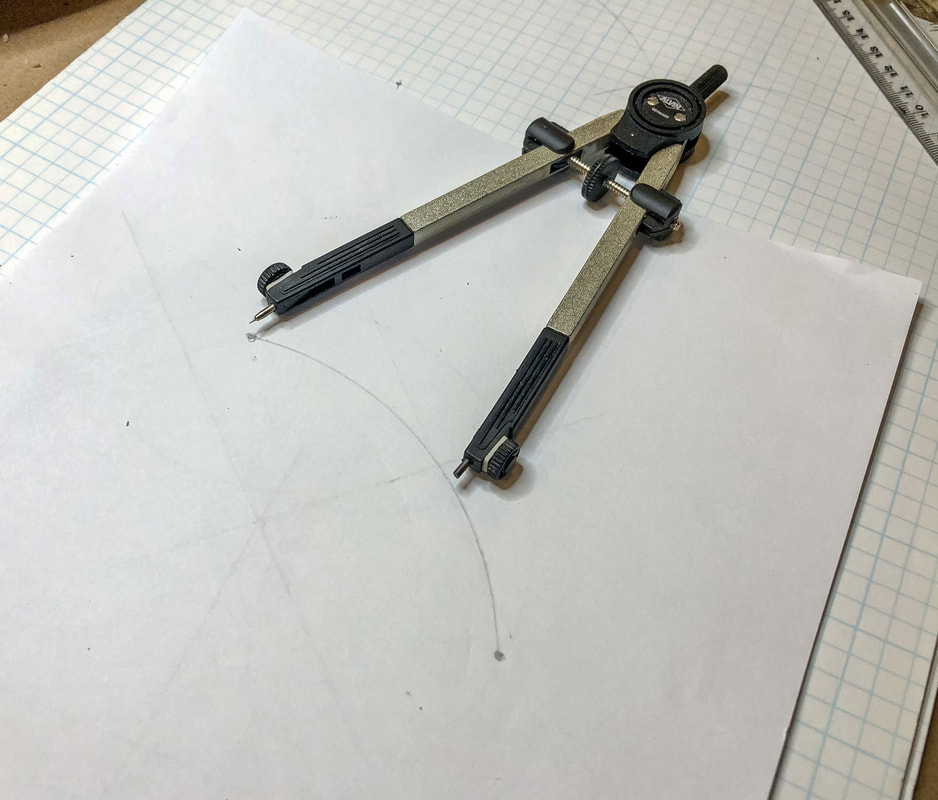
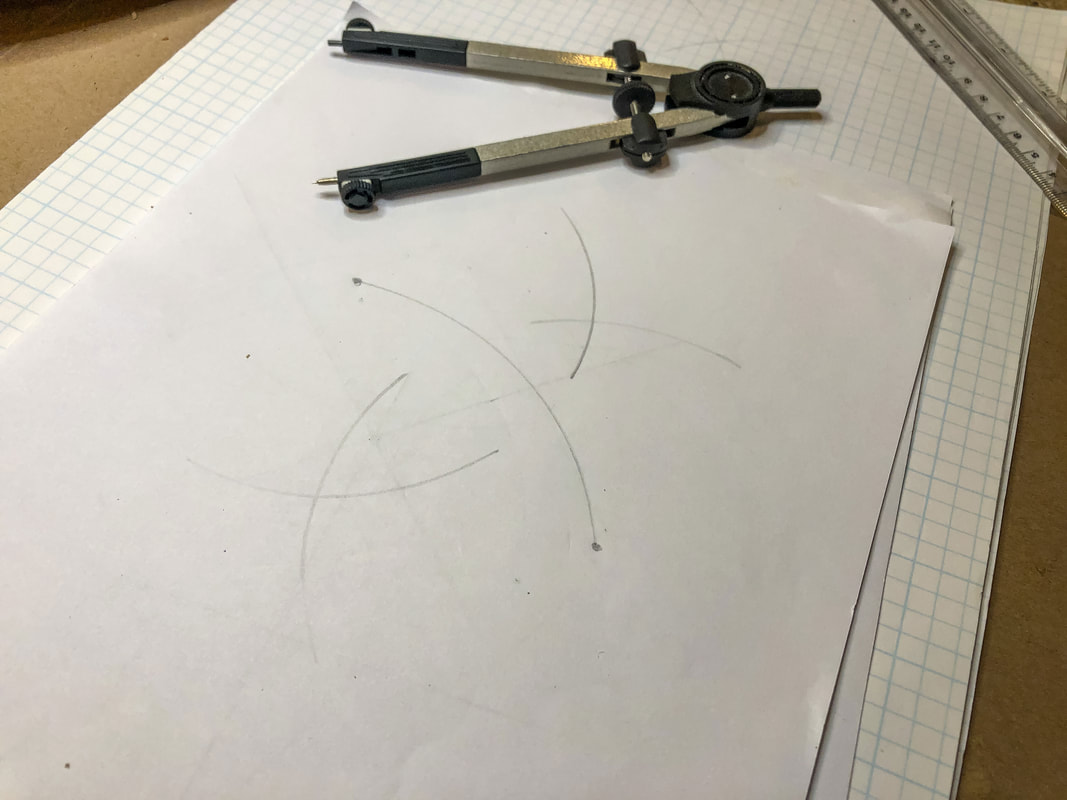
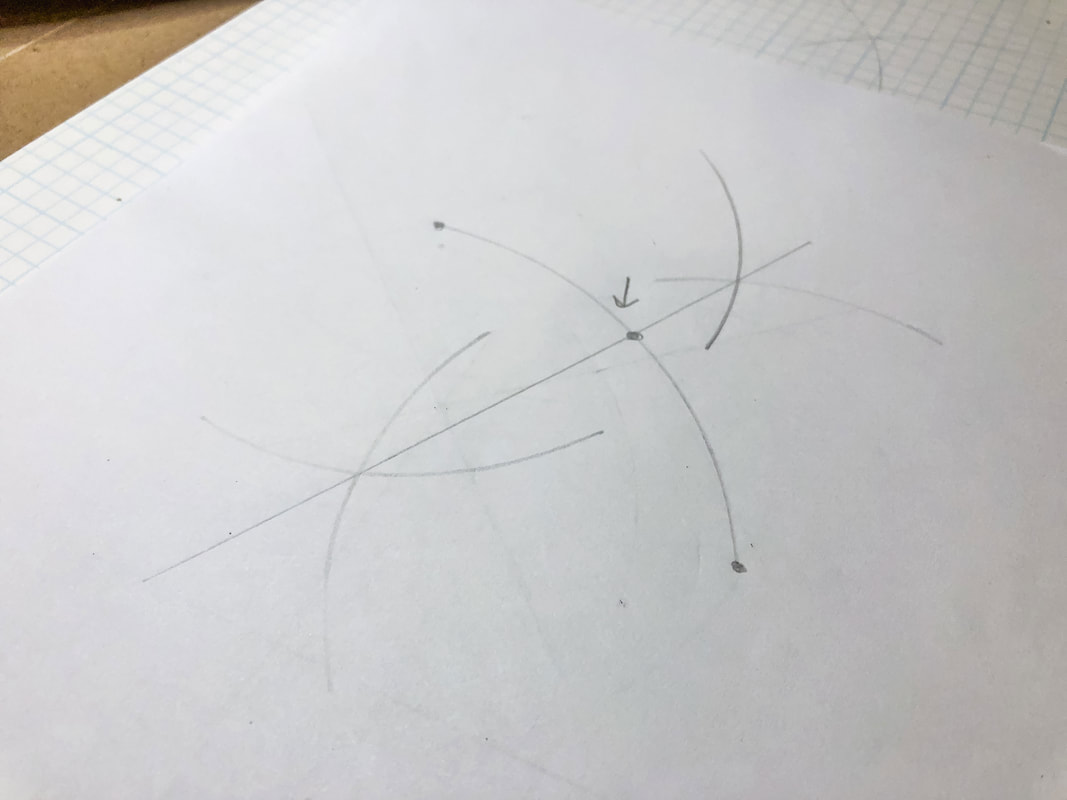
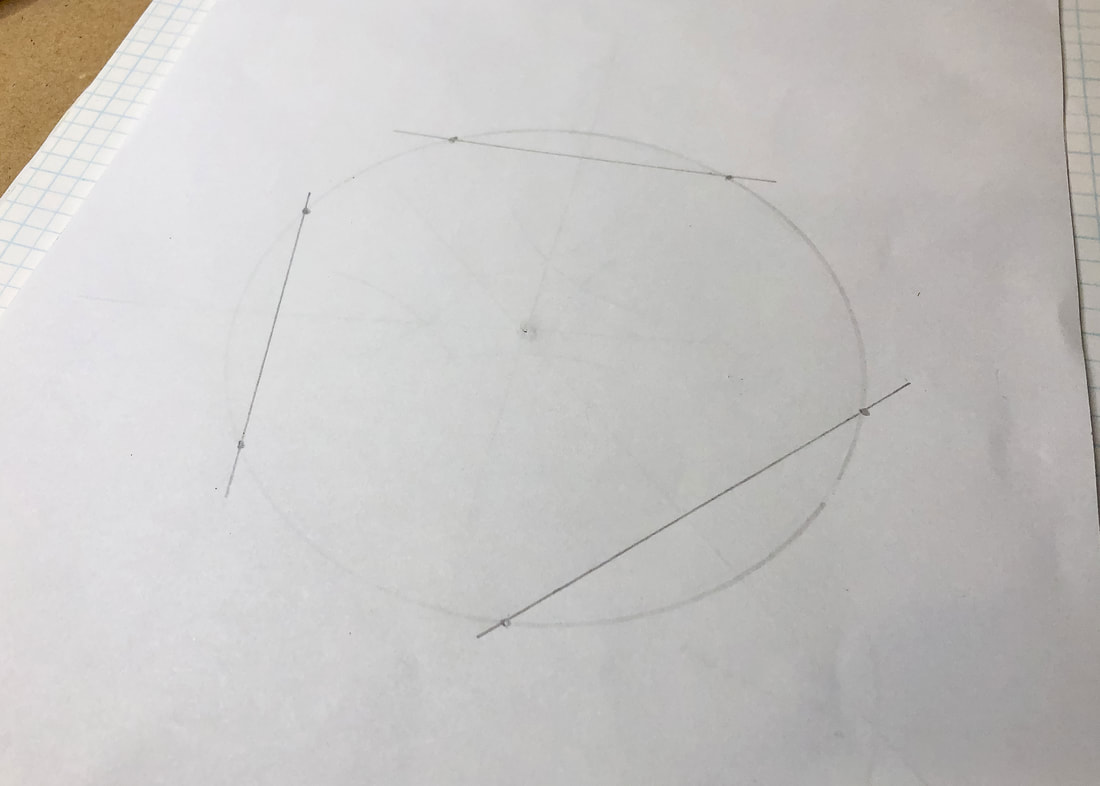
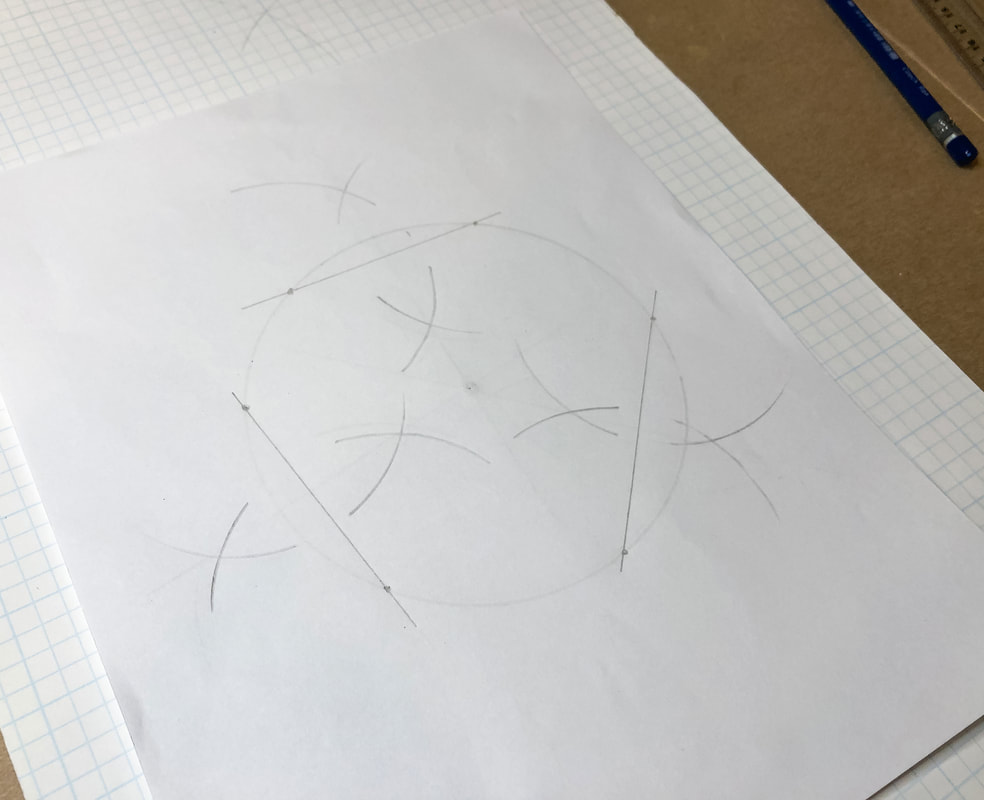
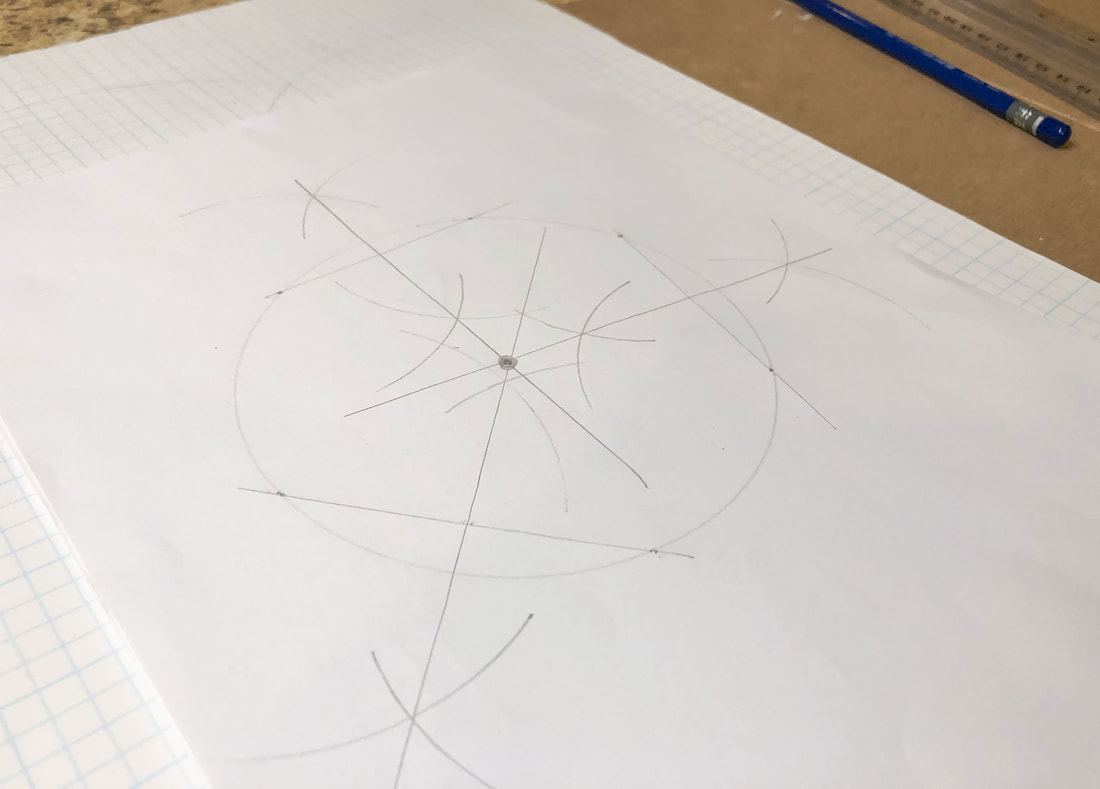
This week, I have started work on tutorials for drawing circular Celtic knot borders. Today’s blog post takes you through a couple of drawing tips that could be helpful for you as you follow along with these more complex Celtic design tutorials. Grab a pencil, a piece of paper, something with a straight edge, and a compass, and let’s get started! (Don’t have a compass? Use two pencils tied together with string at a length suitable for your project.) Find the midpoint of a line Draw a line and mark the endpoints. Open a compass to between 2/3 to 3/4 the length of the line. Create an arc above the line and another arc below the line. Do the same from the other endpoint of the line. Connect the points where the two sets of arcs intersect, and where the straight edge crosses the line is your midpoint. Find the midpoint of an arc Make a mark at either end of the arc for the endpoints. Open a compass to between 2/3 to 3/4 the length of the gap. Create a curved mark above the arc and another curved mark below the arc. Do the same from the other endpoint of the arc. Connect the points where the two sets of curved marks intersect. Where the straight edge crosses the arc’s line is the midpoint. Find the center of a circle Draw a circle, or find one already drawn. Draw three random lines that cross the circle’s circumference at either end. Use the technique mentioned above to find the center of the line by drawing intersecting arcs above and below the line. Draw a line connecting the intersecting arcs that continue through the circle. Follow these same steps for the other two lines. You now have three new lines intersecting in your circle's center. This is the center of the circle. And that’s it! These simple tips are helpful when constructing designs that require precision but don’t have a ruler or protractor. For those of you who are visual learners—like me—I have a YouTube video link below that will take you through these same steps. Let me know in the comments if this was helpful or if you have other useful tips to share! Related blogs you may want to read: circular-celtic-border-knot-tutorial-basic-braid.html basic-twist-step-by-step-drawing-tutorial-using-grid-paper.html celtic-braid-step-by-step-drawing-tutorial.html basic-border-knot-with-vertical-breaks-step-by-step-drawing-tutorial.html basic-border-knot-with-horizontal-breaks-step-by-step-drawing-tutorial.html diy-chalk-painted-tray-with-celtic-border.html a-fun-diy-project-with-paint-and-a-thrifted-mirror-part-2.html the-celtic-motherhood-knot-a-symbol-of-love.html celtic-tree-of-life.html basic-celtic-knot-tutorial-pt-1.html celtic-knot-tutorial-part-2.html
0 Comments
Leave a Reply. |
Author
Some of the posts on this site contain affiliate links. This means if you click on the link and purchase the item, I will receive an affiliate commission. Categories
All
Archives
October 2025
|


 RSS Feed
