|
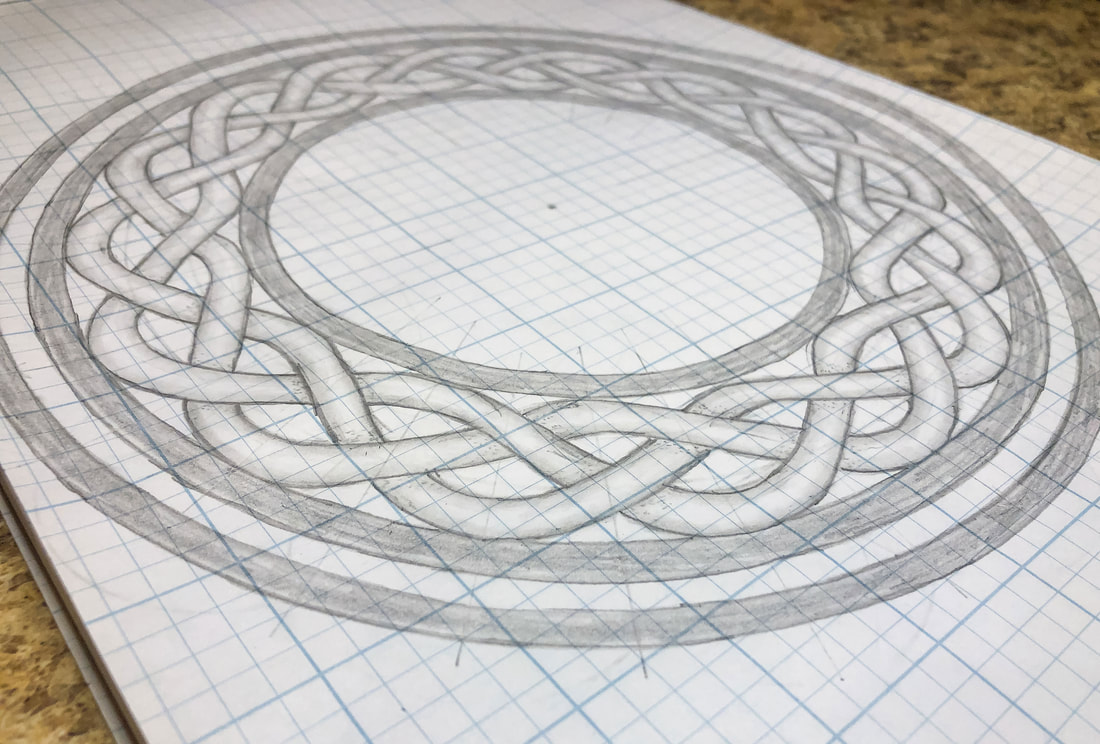
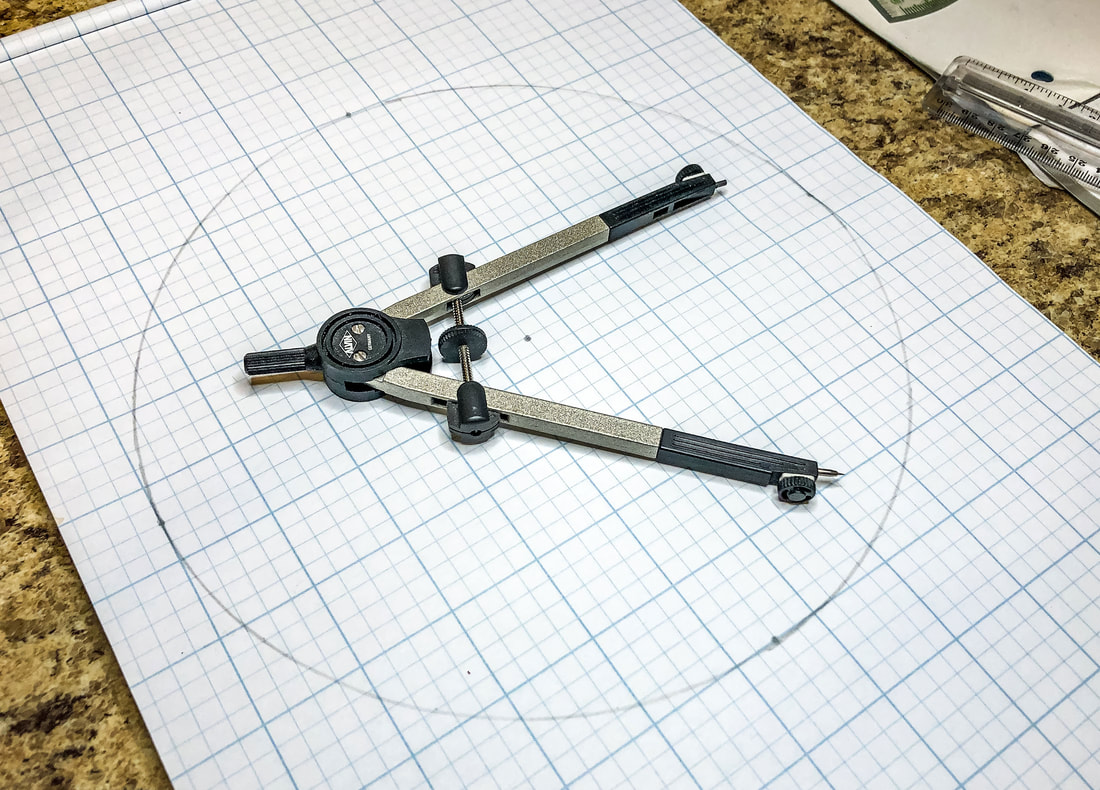
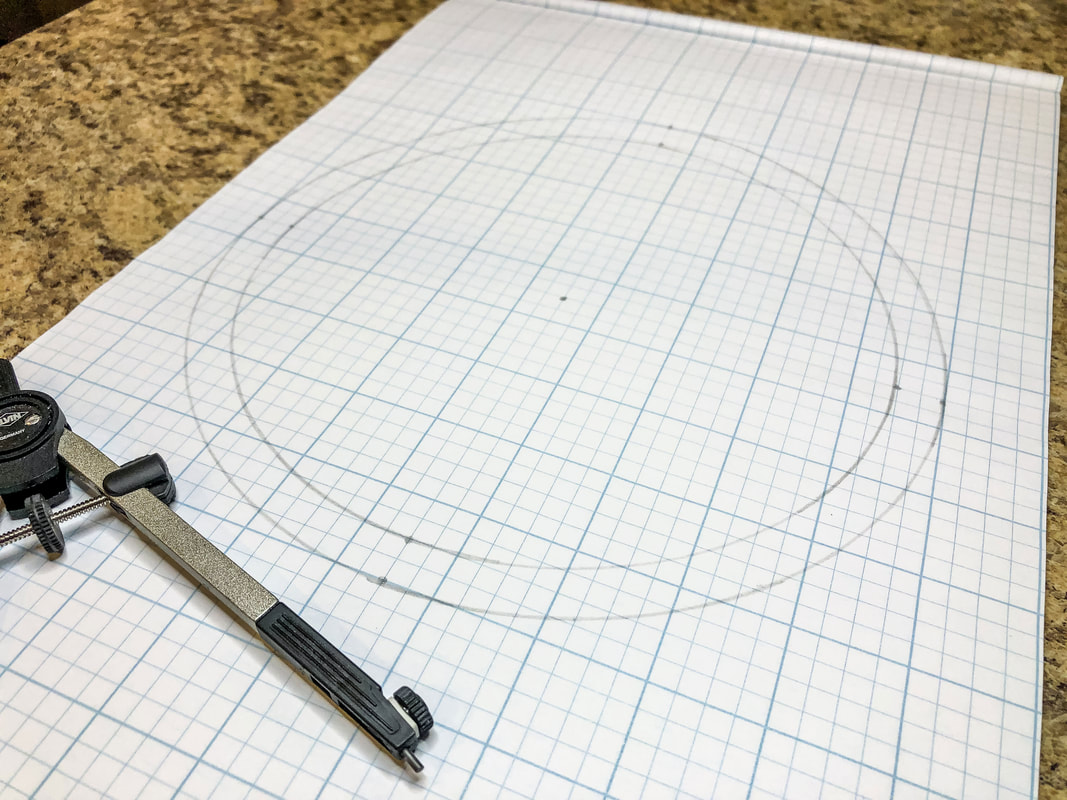
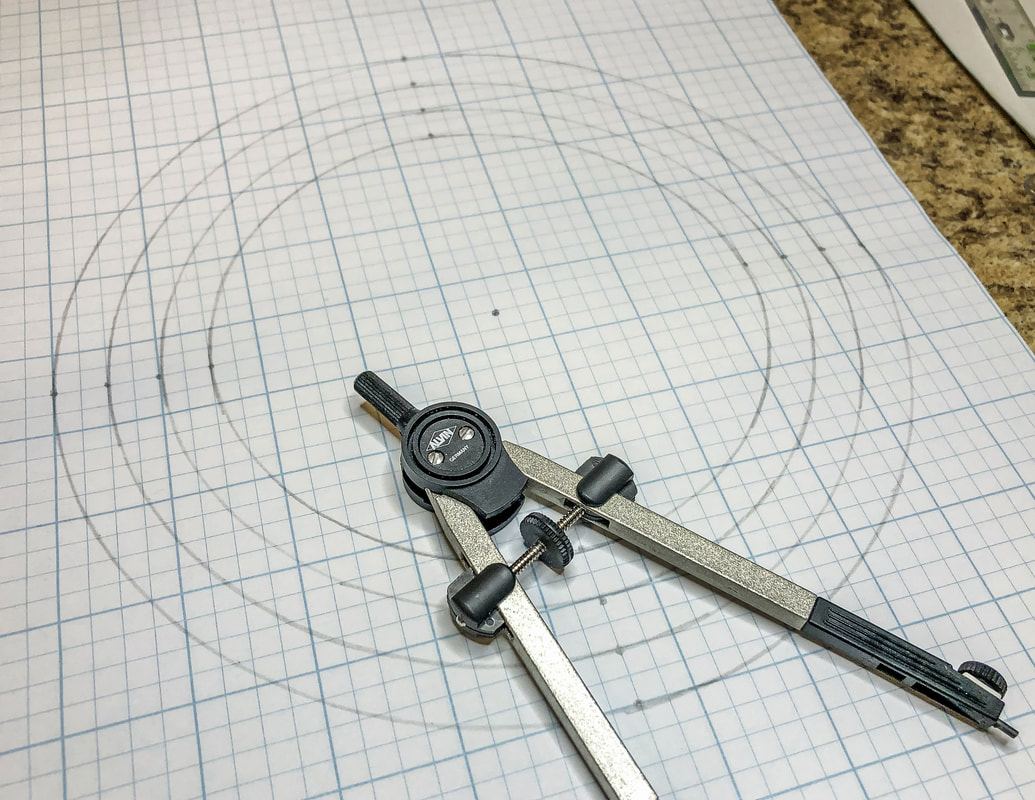
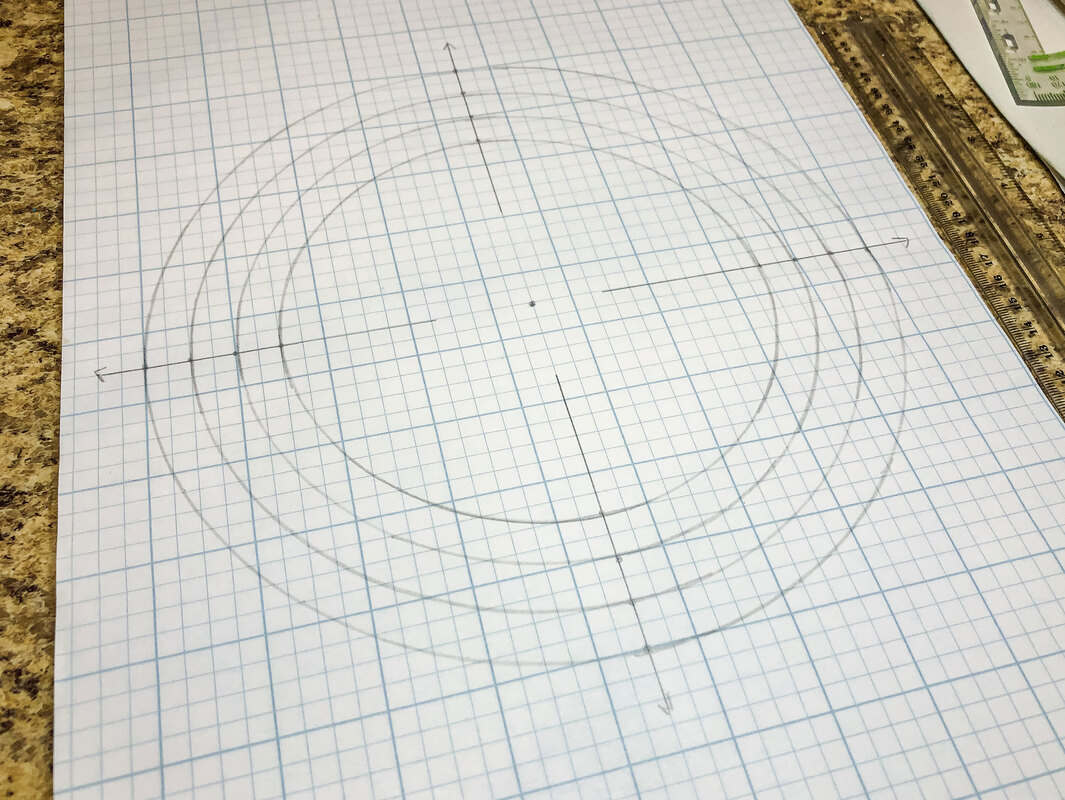
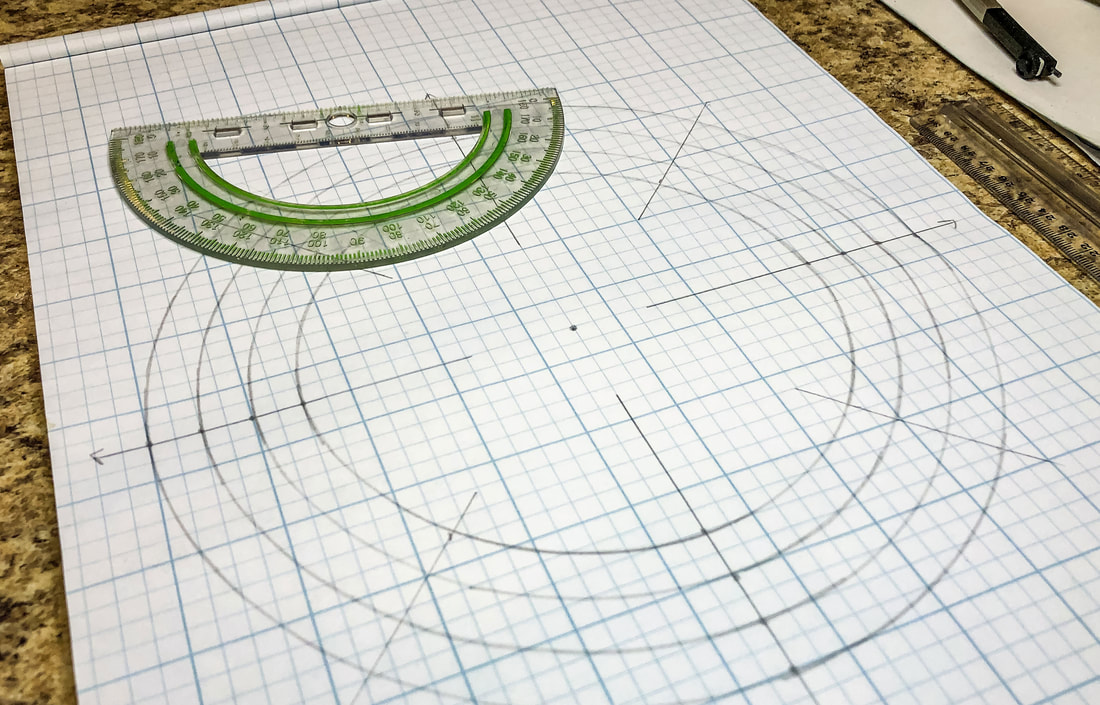
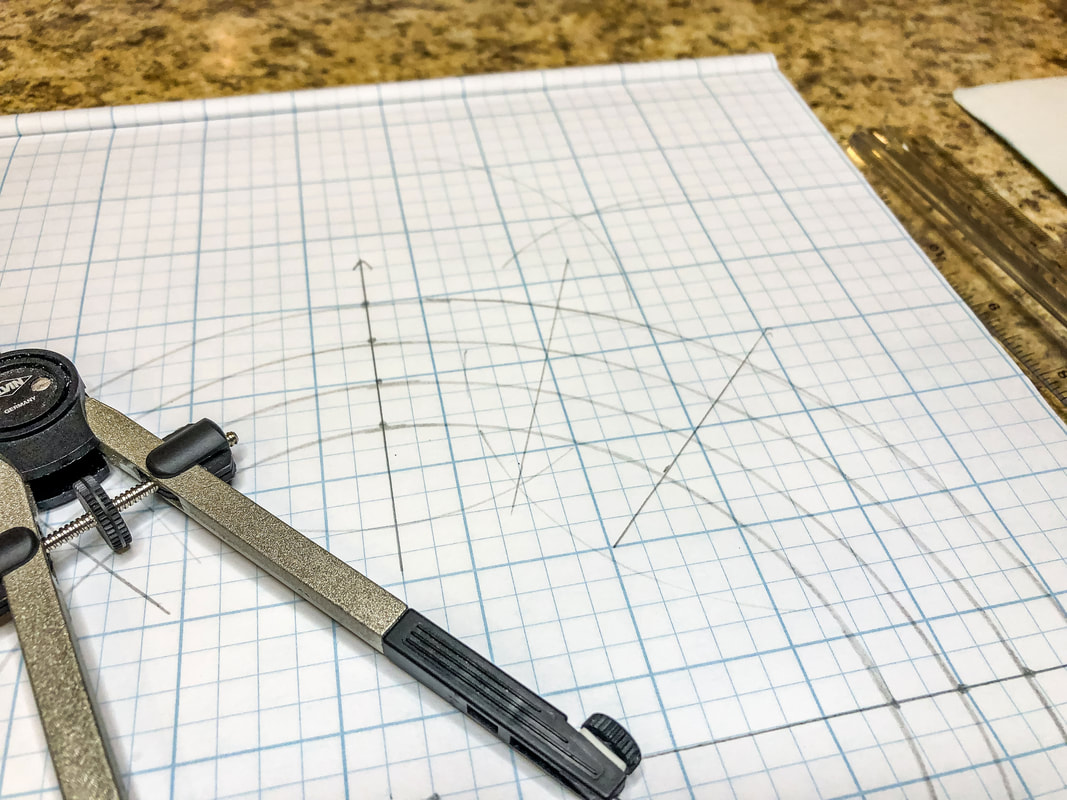
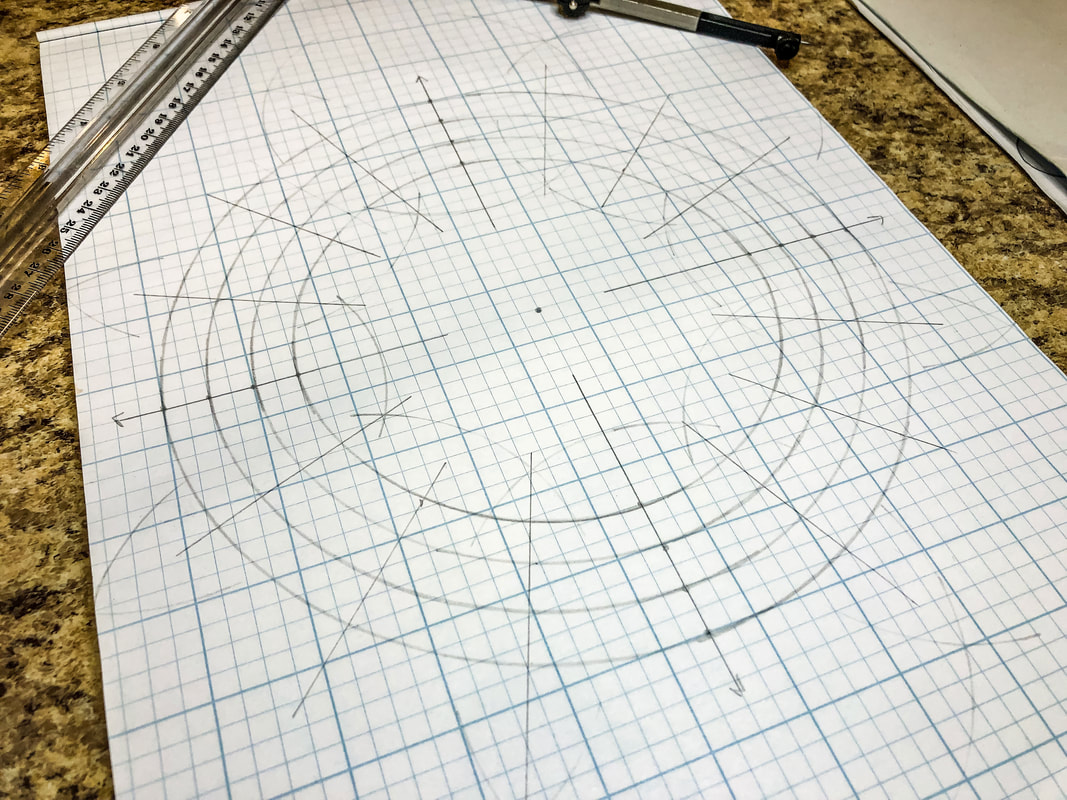
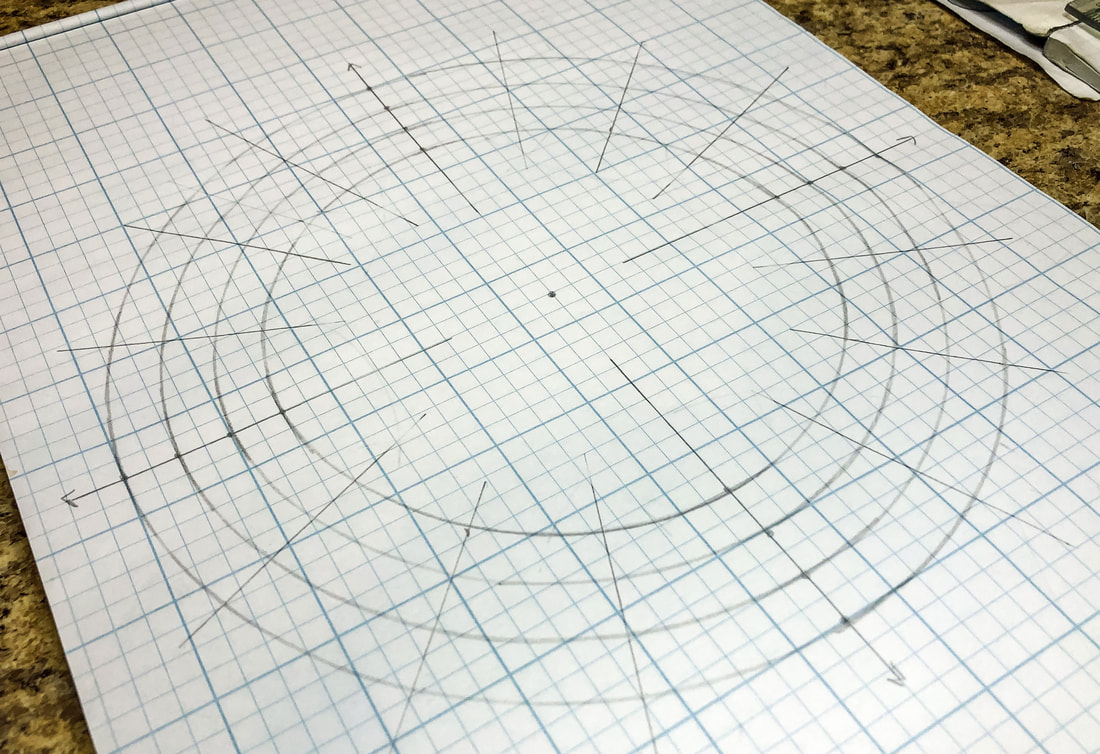
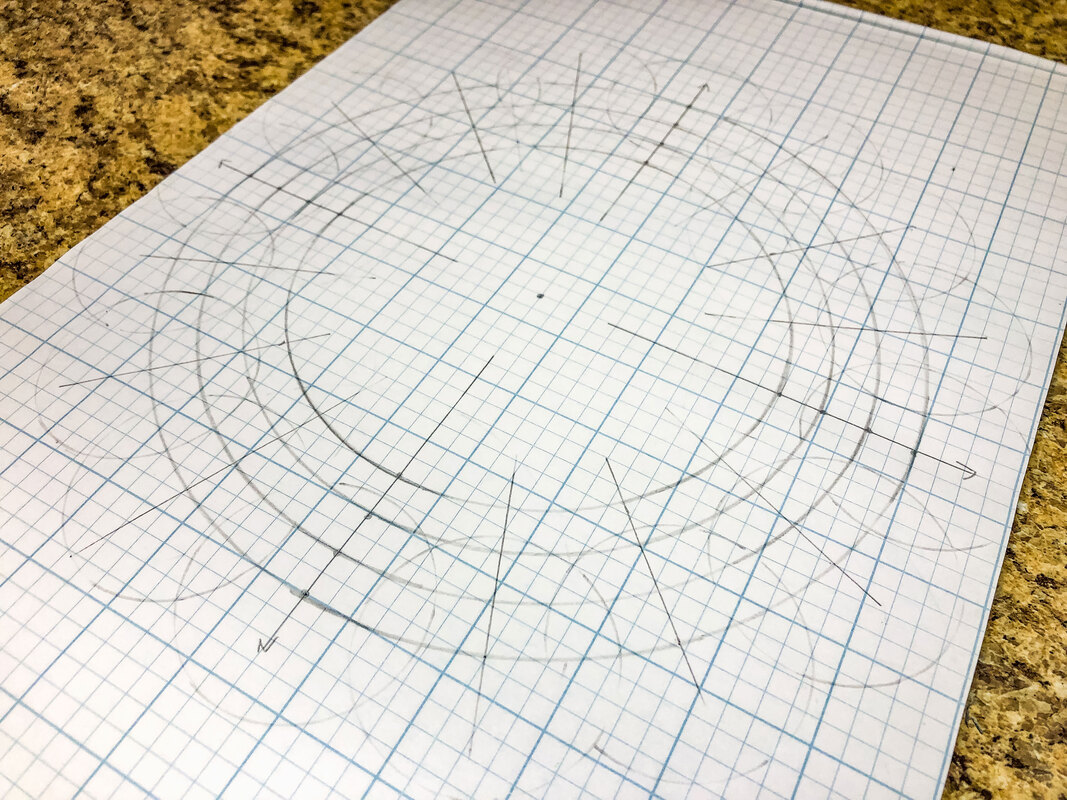
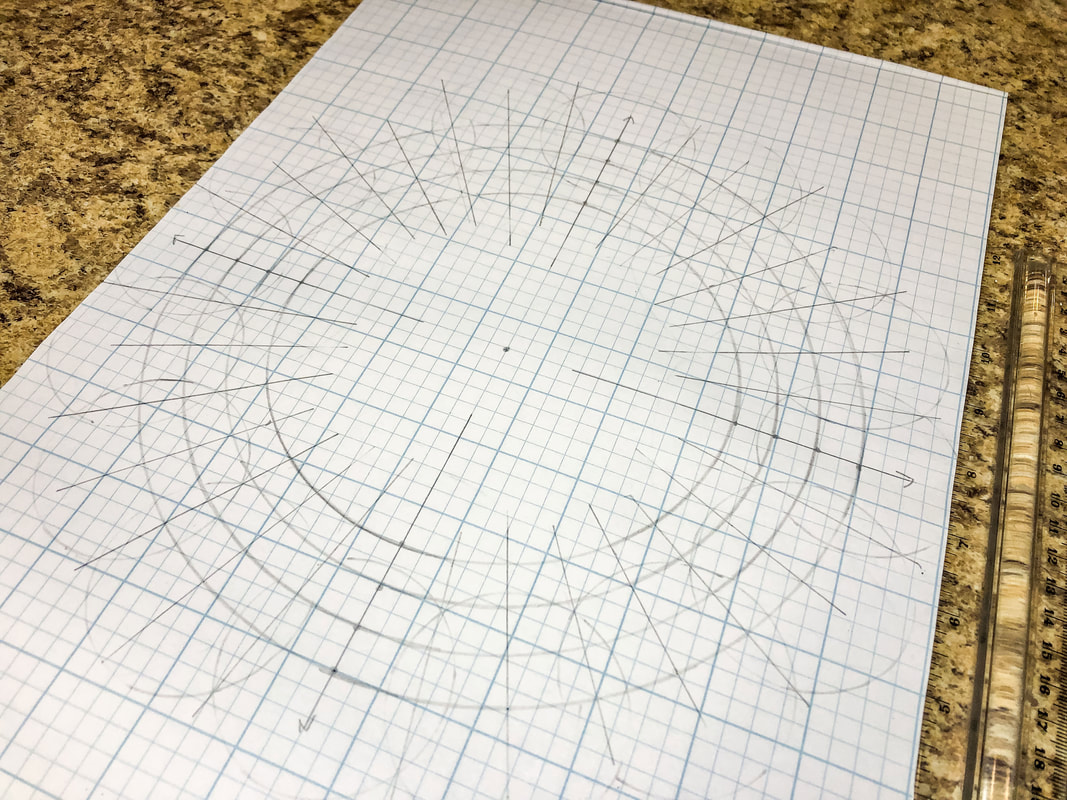
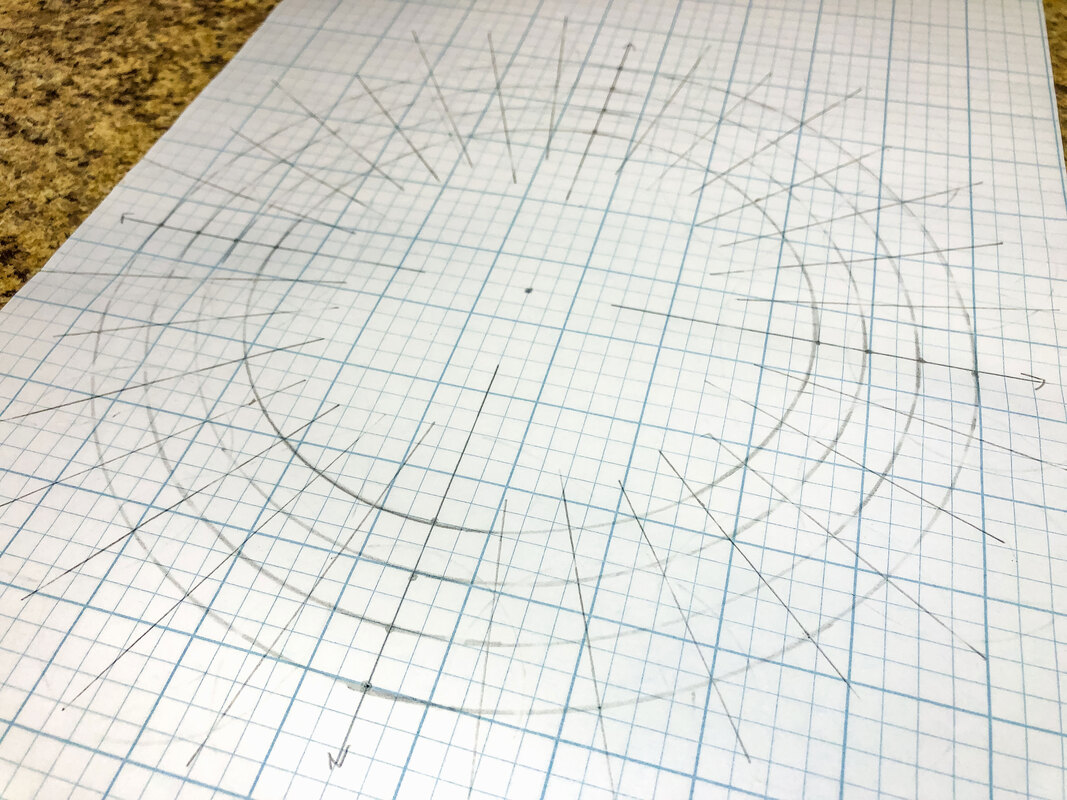
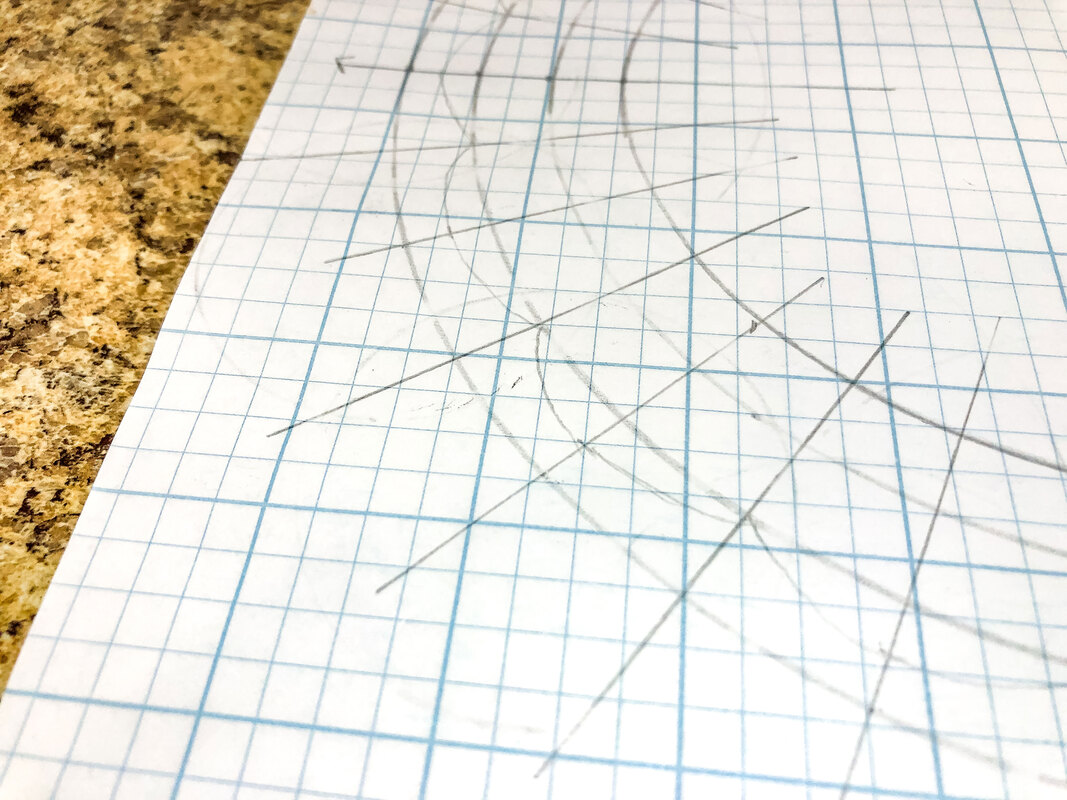
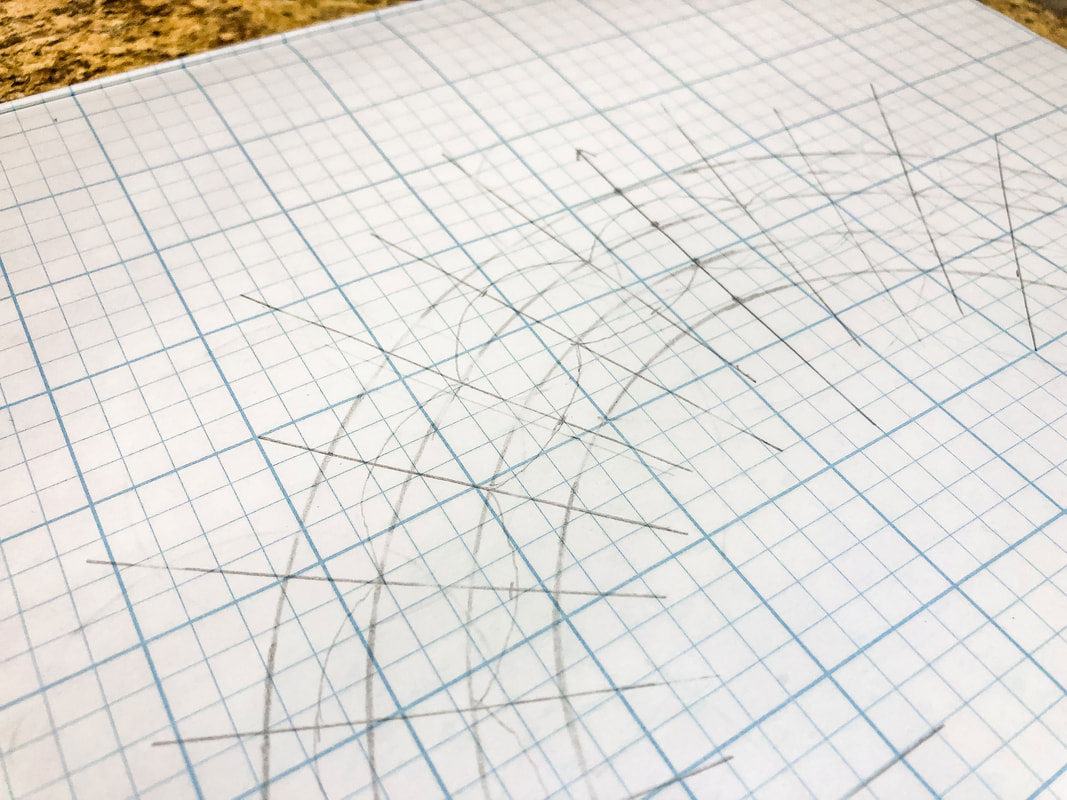
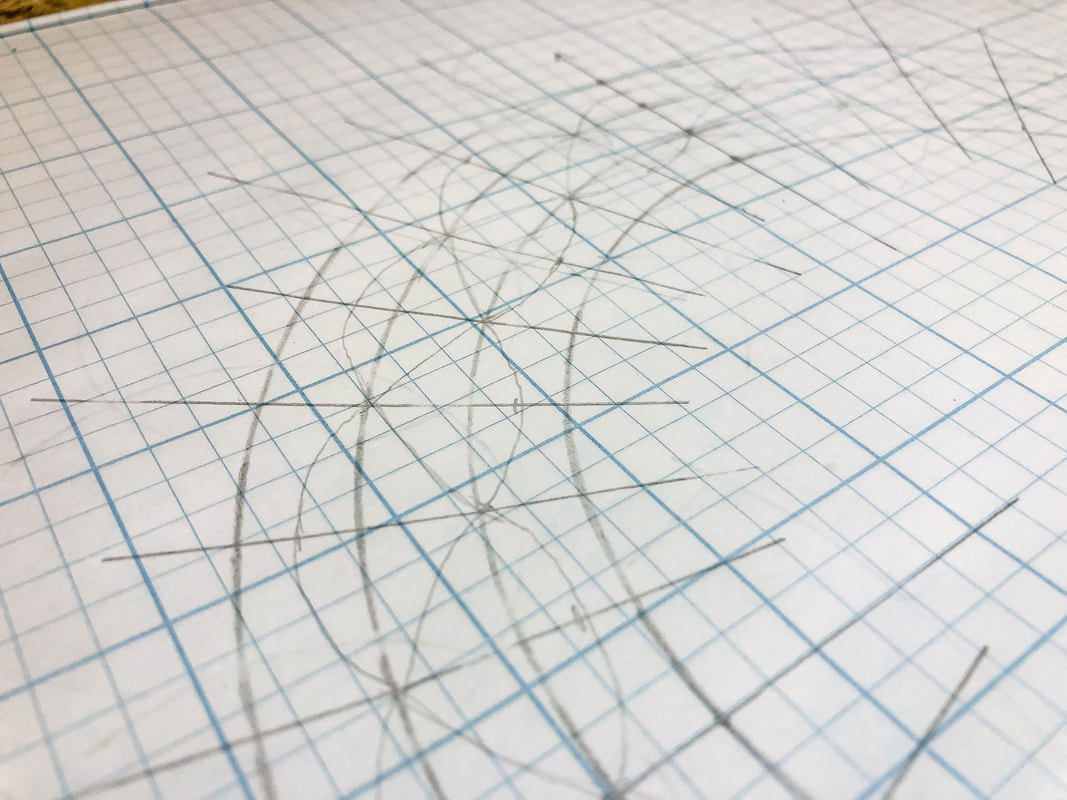
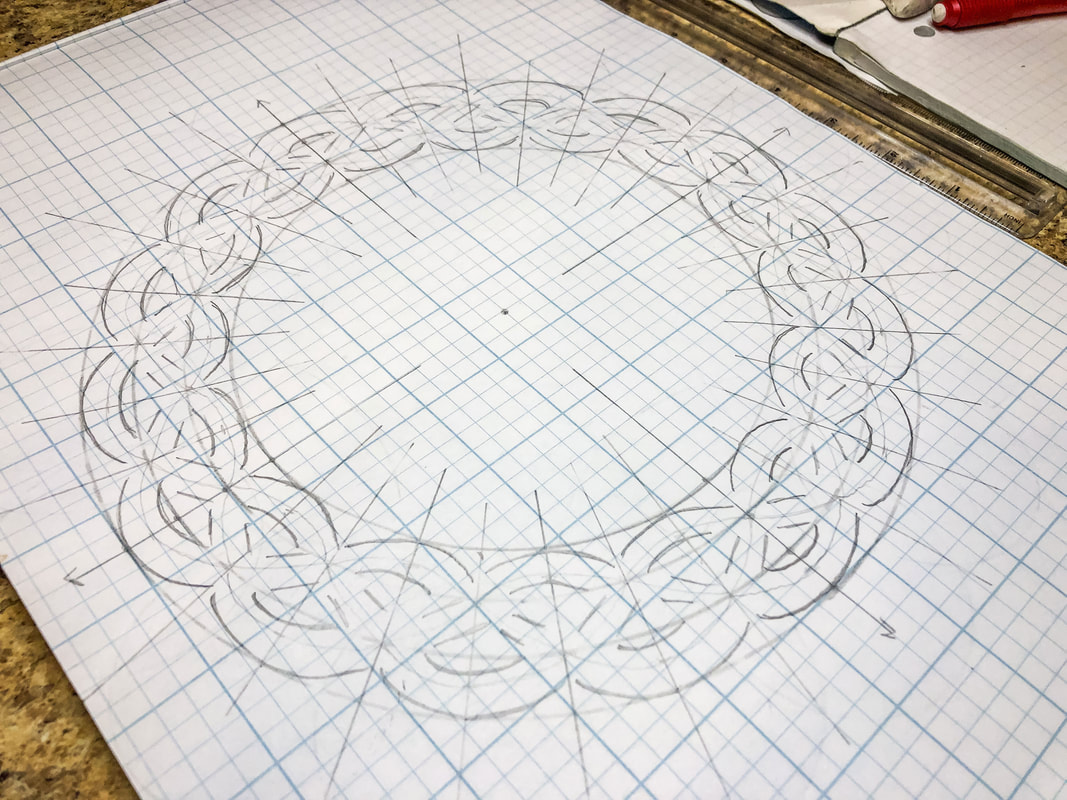
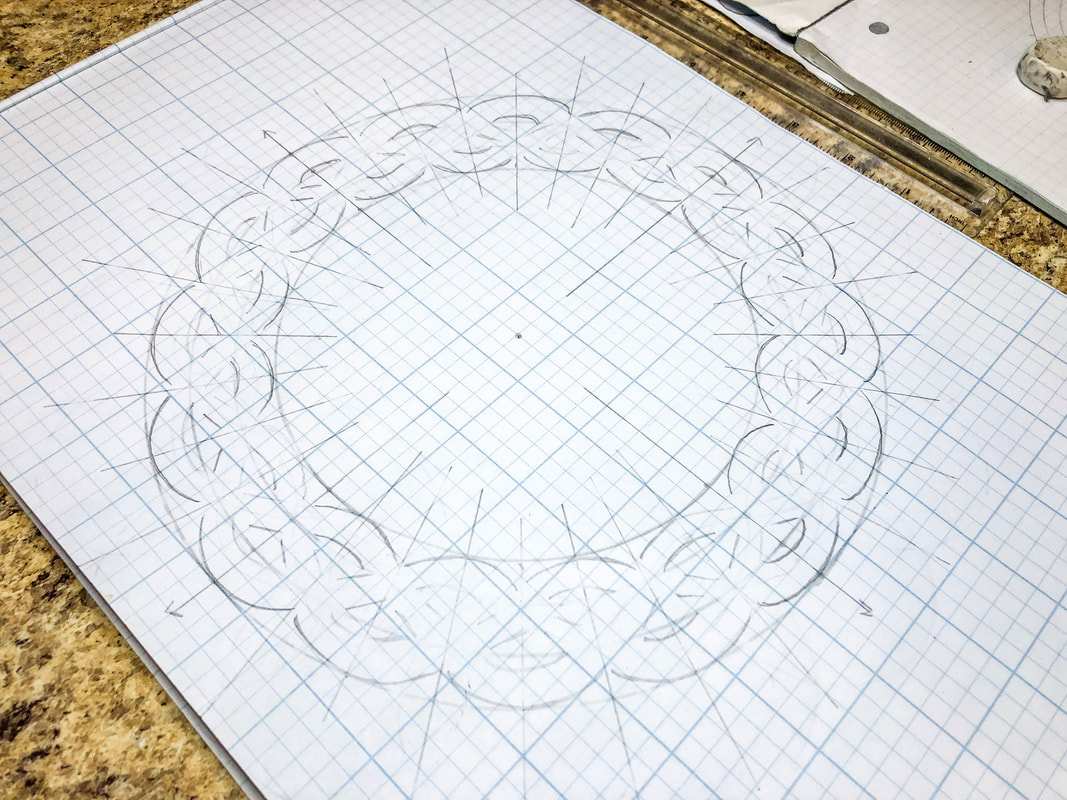
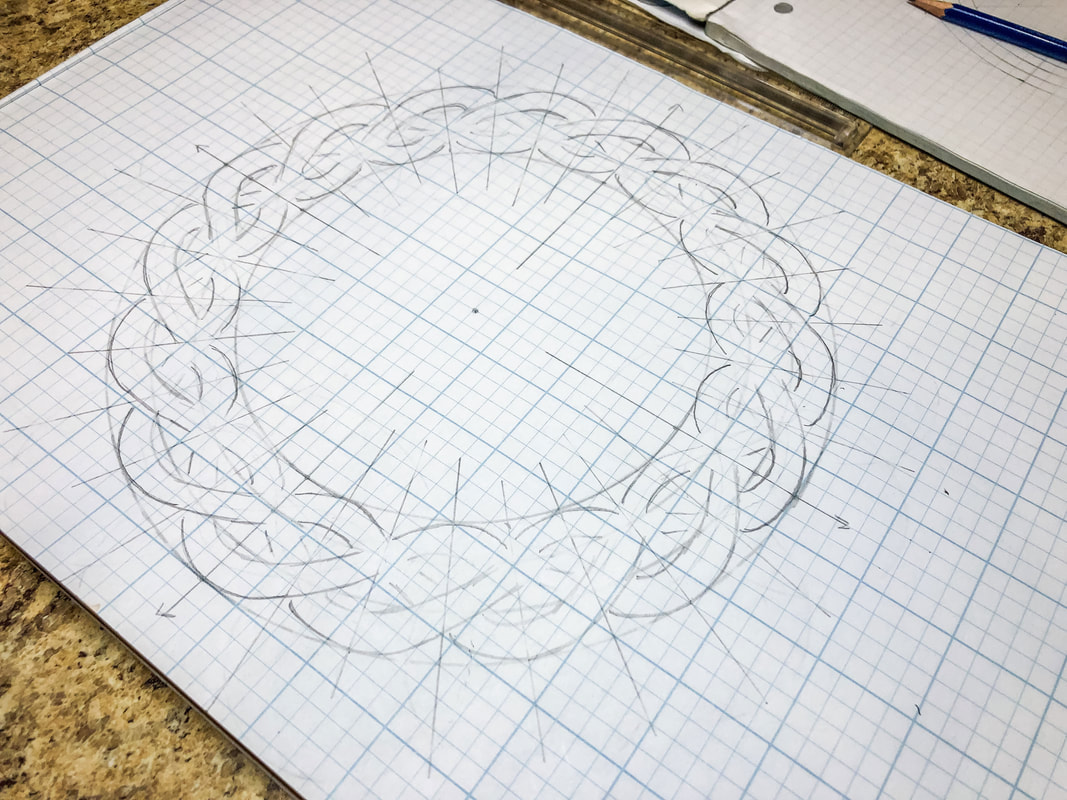
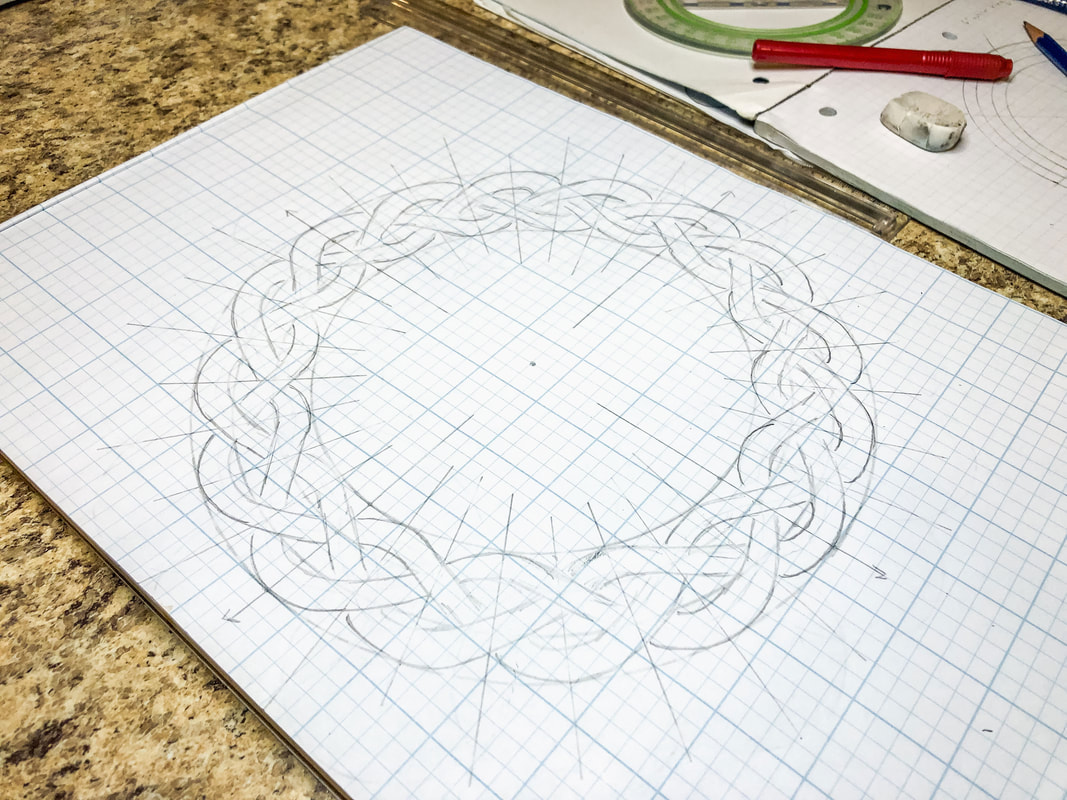
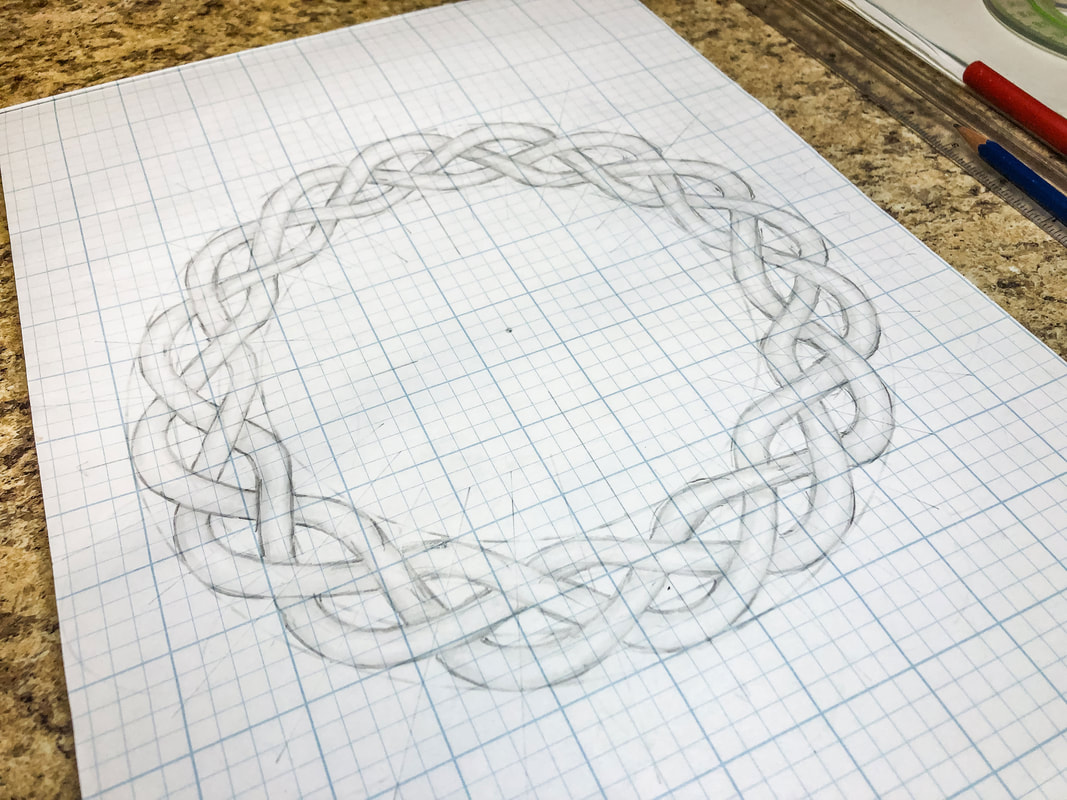
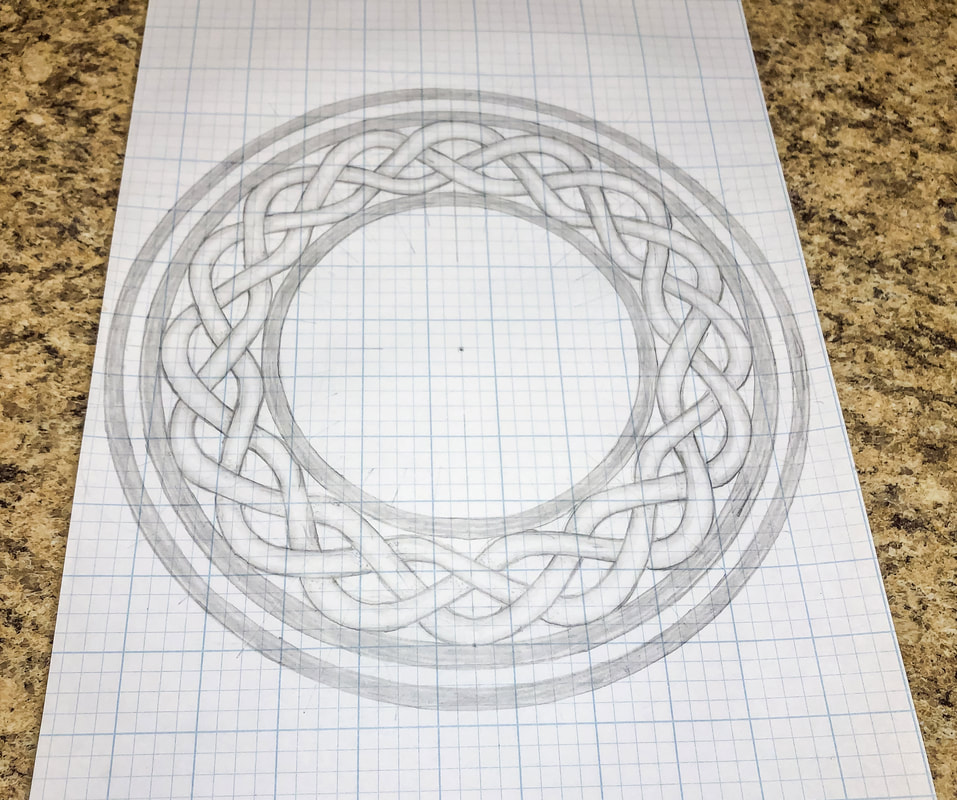
Hi again everyone! Are you ready for another Celtic drawing tutorial? This one is more complex than the border knots we’ve previously done. If you haven’t seen those tutorials, I suggest you click on the “Related blogs you may want to read” links at the end of this blog before attempting this circular Celtic knot tutorial. This tutorial is more advanced, and it will be beneficial to learn some basics first! Having said that, anyone can do this! I broke the process down into easy-to-digest bite-size snippets so that even a Celtic knot newbie can follow along! There are a lot of steps, so let’s jump right in… Below is a list of supplies you may want on hand (Blick Art affiliate links are included), but you certainly don’t have to have all of these supplies to do this tutorial. Just find yourself a piece of paper, a pencil, an eraser, and a ruler, and let’s get to drawing! Gather your supplies: Drawing pencils Markers Blending stumps Eraser Clic eraser Ruler Horse hair brush Grid paper Sketch pad Tracing paper Before you begin: Any lines and marks you make in steps 1 through 9 should be drawn using light pressure and/or a 2H drawing pencil. Most—if not all—of these lines will eventually be erased, as they are only guidelines for your final design. Also, you may want to watch this YouTube tutorial, especially if you are only using a few basic tools: How to find the center of a line, arc, and circle without a ruler Step 1: Place a dot in the middle of your paper. Make four marks 4.5” from that dot, above, below, and on either side. Using a compass, lightly draw an outer circle, which should be 9” in diameter. Step 2: Make marks 1/2” inside that circle. Using a compass, draw the first of three inner circles. Follow the same steps to create the next two inner circles. You should now have four concentric circles, 1/2” apart each. Step 3: Using a ruler, T-square, or grid as your guide, lightly divide the circles into halves horizontally and vertically, creating equal quadrants. Step 4: Divide each quadrant into half using a protractor marking at 45˚. (If you don’t have a protractor watch the YouTube short previously listed to find the center of the arc.) You should now have eight sections. Step 5: Divide each of the eight sections in half again using a protractor marking at 22.5˚. (If you don’t have a protractor watch the YouTube short previously listed to find the center of the arc.) This will give you 16 sections. Step 6: Divide each of the 16 sections in half again using a protractor marking at 11.25˚. (If you don’t have a protractor watch the YouTube short previously listed to find the center of the arc.) This will give you 32 sections, creating your circle grid for your design. Step 7: Lightly draw a curved line spanning two outer blocks connecting the two intersections, as shown below. Do the same for the rest of the outer ring. Step 8: Lightly draw a curved line spanning two inner blocks connecting the two intersections, as shown below. Do the same for the rest of the inner ring. Step 9: Lightly connect the top and bottom arcs with diagonal lines. This gives you a pretzel shape and the spine of the braid. Step 10: Draw slightly darker lines on either side of this spine, parallel to each other, as seen below. Keep the distance between the lines consistent. Step 11: Erase the inner line (the spine). Step 12: Pick a place where two threads intersect. Start at this spot, drawing one thread crossing over another, erasing any unnecessary lines. Step 13: Moving from this point, follow the thread that crossed OVER to the very next spot where there is an intersection and draw that thread crossing UNDER the next thread. Follow this pattern, working around the circle until you return to the beginning intersection. If you did it right, every intersection of your thread should alternate over-under, over-under, over-under, etc., creating a weave pattern. Step 14: Double-check your overs and unders, then erase any unnecessary guidelines and start adding shading where the threads intersect to add depth. Step 15: Darken your lines using a pencil or marker and stylize as you wish. And you’re done! How did it go? I hope you enjoyed this project and are encouraged to try more designs of your own! I’ll be creating additional tutorials using this basic braid as a template for making more intricate designs, so stay tuned! I created a YouTube tutorial to go with this blog for those of you who are visual learners like myself! You can view the full video tutorials on my YouTube channel here! Related blogs you may want to read: Basic twist step-by-step drawing tutorial using grid paper Celtic braid step-by-step drawing tutorial Basic border knot with vertical breaks, step-by-step drawing tutorial Basic border knot with horizontal breaks, step-by-step drawing tutorial DIY chalk-painted tray with Celtic border A fun DIY project with paint and a thrifted mirror part 2 The Celtic Motherhood Knot, a symbol of love Celtic Tree of Life Basic Celtic Knot Tutorial Part 1 Celtic Knot Tutorial Part 2 Some of the posts in this article contain affiliate links. If you click on the link and purchase the item, I will receive an affiliate commission at no extra cost to you. I will only recommend products or services I use personally and/or believe will add value to my readers, so there is no conflict of interest.
0 Comments
Leave a Reply. |
Author
Some of the posts on this site contain affiliate links. This means if you click on the link and purchase the item, I will receive an affiliate commission. Categories
All
Archives
October 2025
|


 RSS Feed
