|
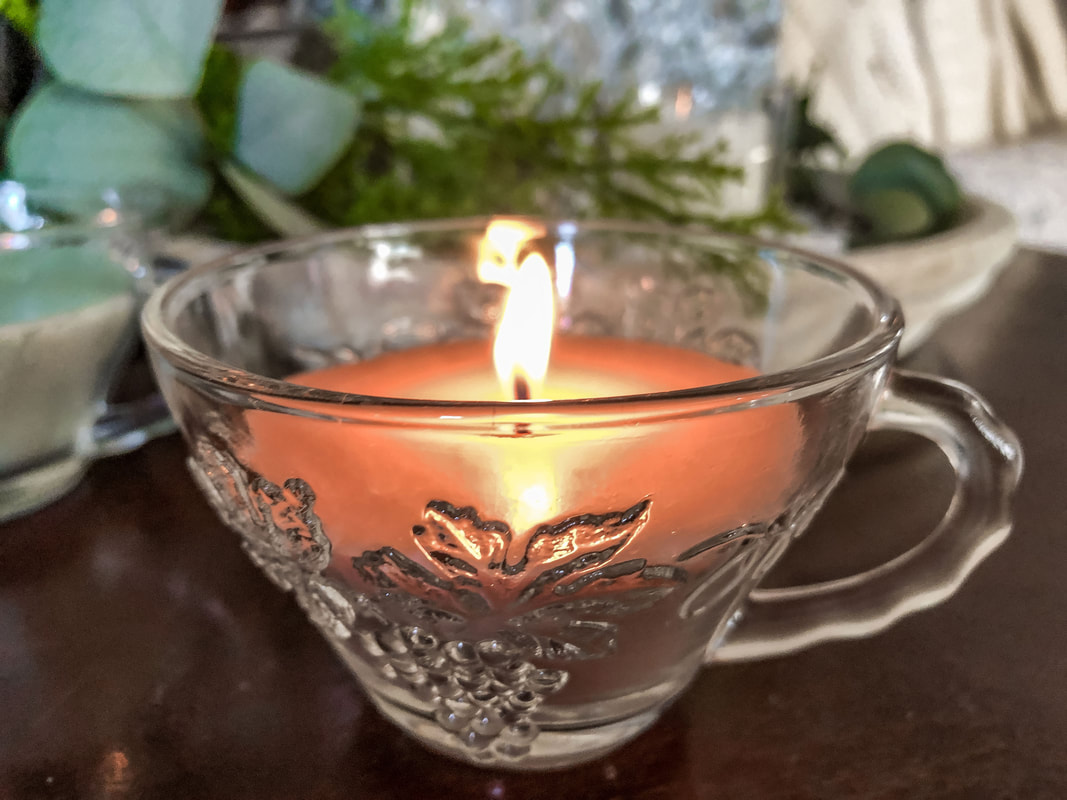
It’s cold outside…and I’m on a mission to make the inside of my home feel cozy. If you’ve read any of my recent blogs, you’ll know by now that I am currently embracing a common theme—hygge. Hygge is a Danish concept of finding joy and coziness in your everyday life, and candles are a core part of that life view, especially in winter.
And as it turns out…I know how to make my candles!
0 Comments
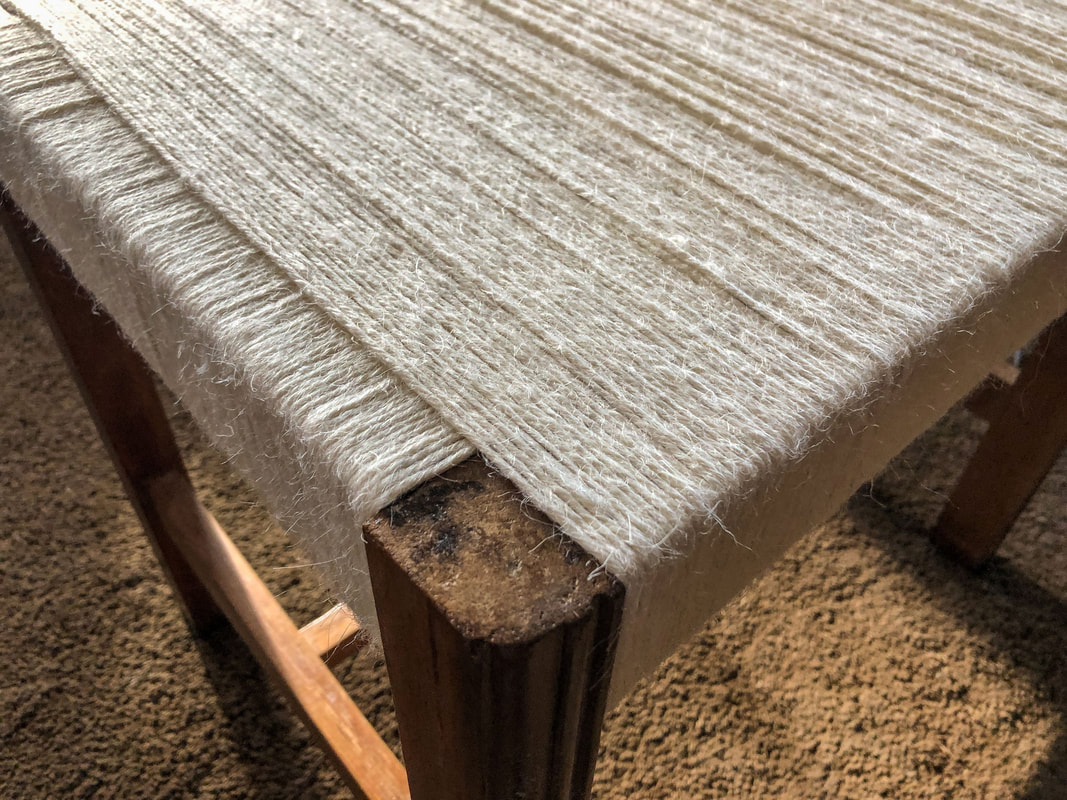
A few years back I bought a beat up second hand vintage foot stool with the idea that I would reupholster it and give it a new lease on life. Once it was taken apart, however, I came up with another idea…
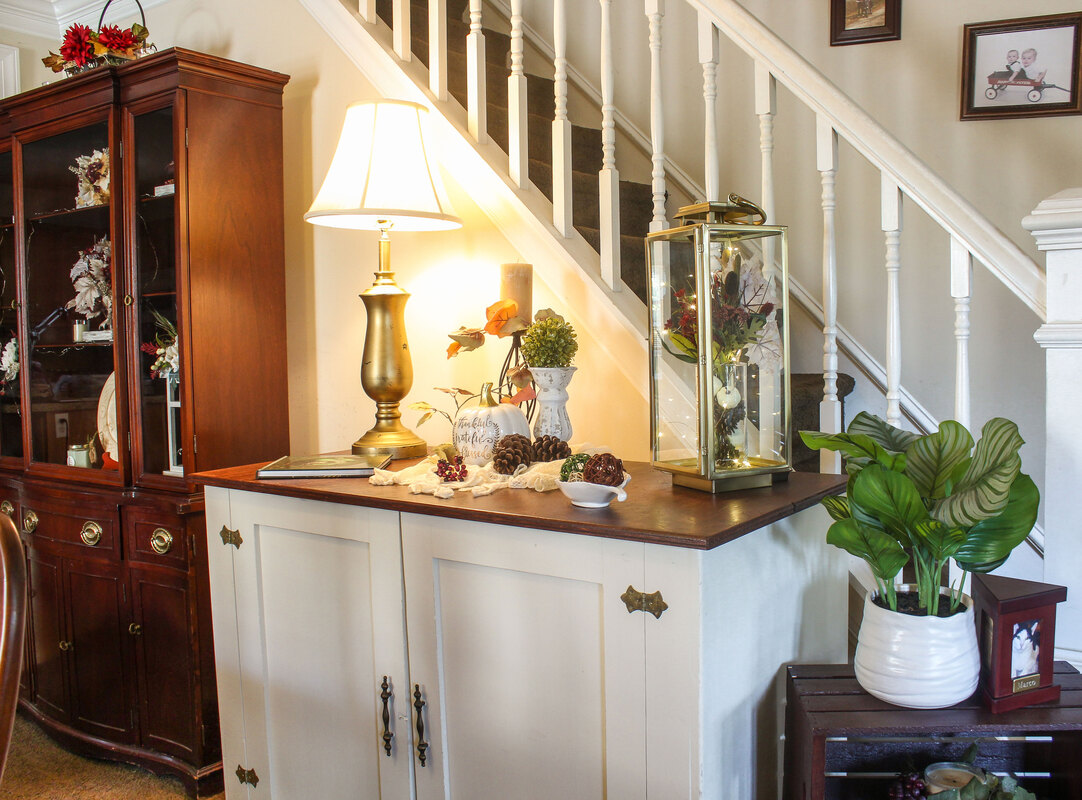
Overview: Back in mid-Summer I found myself itching to do another DIY project. I had just finished a few other projects and my dining room was beautifully styled—except for this one miserable looking smaller cabinet. This sad looking piece of furniture had been sitting in my dining room for a few years waiting for me to find the time to give it a face lift and some style. We bought it several years ago from someone who must’ve been using it in their garage. It had no feet, no base, and the body was made of plywood with a pine wood top. Despite the haphazard materials, the piece was well constructed with classy looking door pulls and hinges. I knew I could make this cabinet look beautiful for my dining room. Besides, it was only $40 and I desperately needed storage! Fast-forward to this past summer, and I finally got around to giving this cabinet some much needed attention. Today I decided to tackle a project that’s been on my mind for a couple of months now—cleaning the upholstery on my dining room chairs and two living room side chairs. I’ve never done this before (disclaimer!) so I did a quick search of Youtube to see if I could find any tutorials that would help me gain some insight into a couple of techniques that can be used at home. My budget cannot accommodate a bill for a professional cleaner, but I do own a shampooer that can be used as a backup. What I will be sharing with you below are upholstery cleaning techniques that I wanted to try for each set of chairs. So let’s get into it!
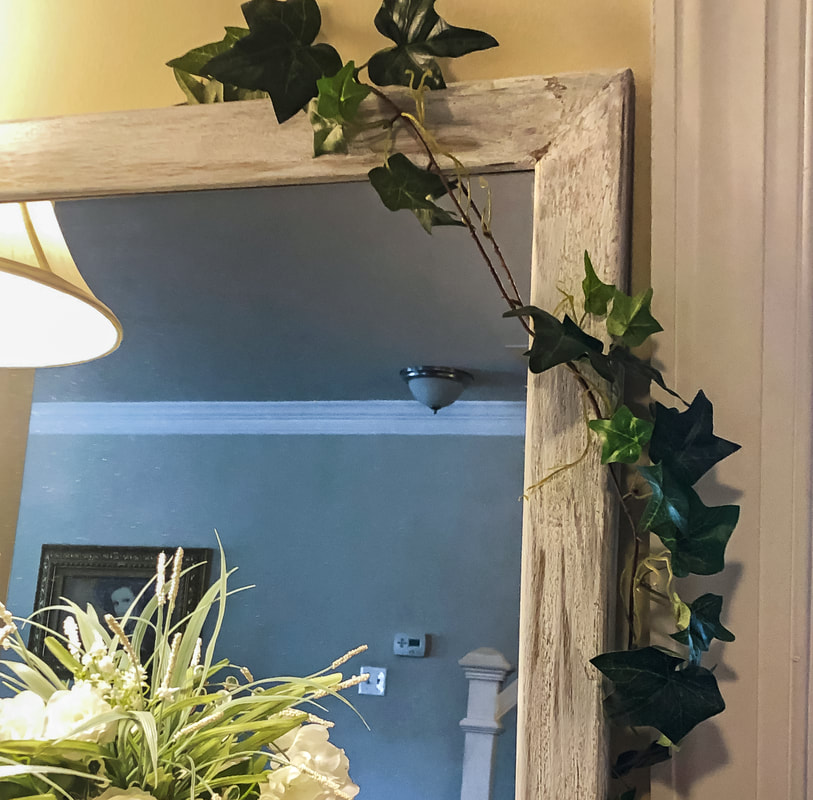
In Part 1 of this project blog I repainted a frame from a mirror I bought at a local thrift shop for dirt cheap. My original intention was to paint a base coat for the reddish undertones I wanted to show through a crackled gold top coat. The end result looked ok…for a different room. The almost solid gold color just looked gaudy in my dining room, even though I have a lot of decorative things with gold accents. This mirror, unfortunately, was just too over-the-top gold. The end result was me painting over it with a new layer of crackle and white craft paint.
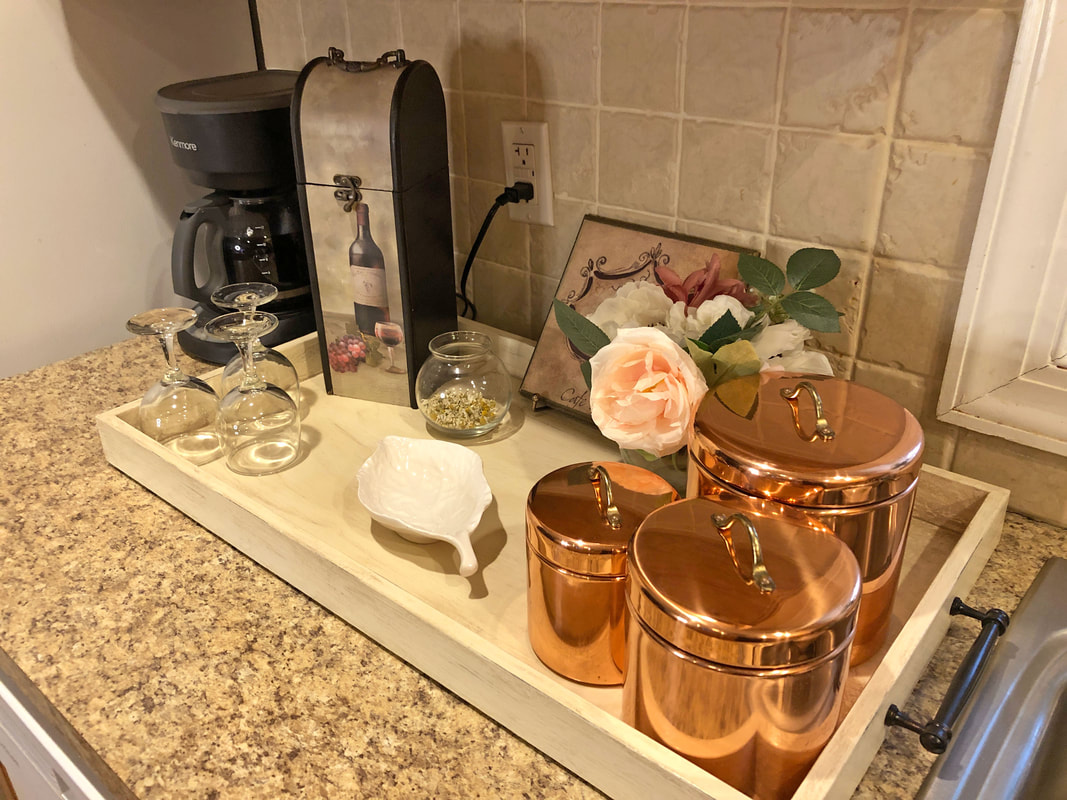
During a recent trip to my local Goodwill, I found this really sturdy second hand mirror with a nice wood frame. The mirror was marked 9.99, but I think I only paid 4.99 for it, which is quite a steal because mirrors this size (26” x 18”) go for close to $100 or more brand new. There was just one issue—it was the wrong color for my dining room! But no worries…That’s what paint is for! I love my coffee. It is the nectar of the Gods! You know what I don’t love? The mess! So I decided to jump on the proverbial bandwagon and create a proper coffee bar for my kitchen counter…
Bringing houseplants into your home can be a daunting process, especially if you are inexperienced or think you have a “black” thumb. I have found that a little bit of thought beforehand and a little research can go a long way towards helping you make a choice about what plants to bring home, if any at all. Below are five things you should consider before buying and rehoming real plants. I love shopping at thrift and consignment stores. I always find such interesting pieces with which to decorate. Using pre-owned pieces brings an element of surprise and interest to a space. A space filled with all brand new stuff lacks a sense of character, of past stories waiting to be told. And buying pre-owned, antique, or vintage pieces saves a whole lot of money! Sometimes it takes a bit of elbow grease to bring things back to life (as I found out with my thrift store lamps), but when you resurrect an old piece you give it a new lease on life and a chance to tell a new story. And did I mention it saves money?! So far this year I have collected soooo many decor items from my local consignment and thrift shops, and I am just dying to share them with you! I’ll break them down by room, to make it easier for me to keep them straight… Have you ever come across a really amazing old clock that you had to take home with you, but it wasn’t exactly in working condition? I’m not talking about the ones with all the complex gears, but a simple modern battery operated clock that you can sit on your counter or hang on a wall. As it turns out, the mechanisms on these types of clocks are ridiculously easy to replace!
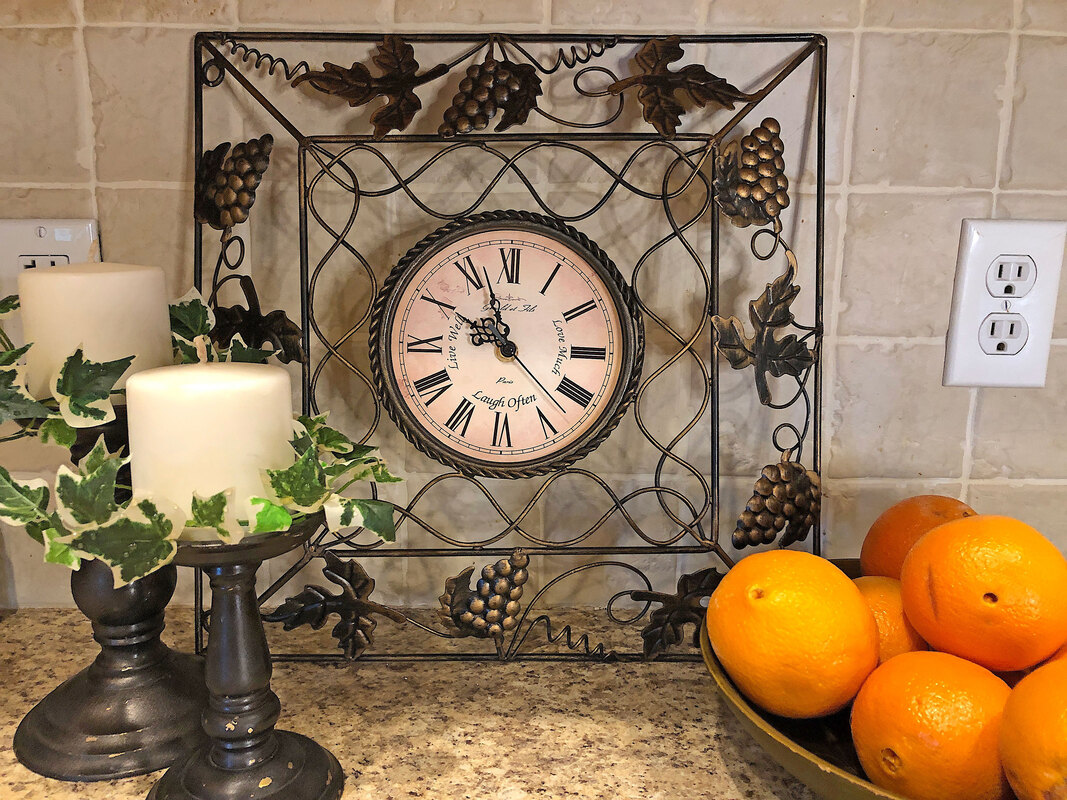
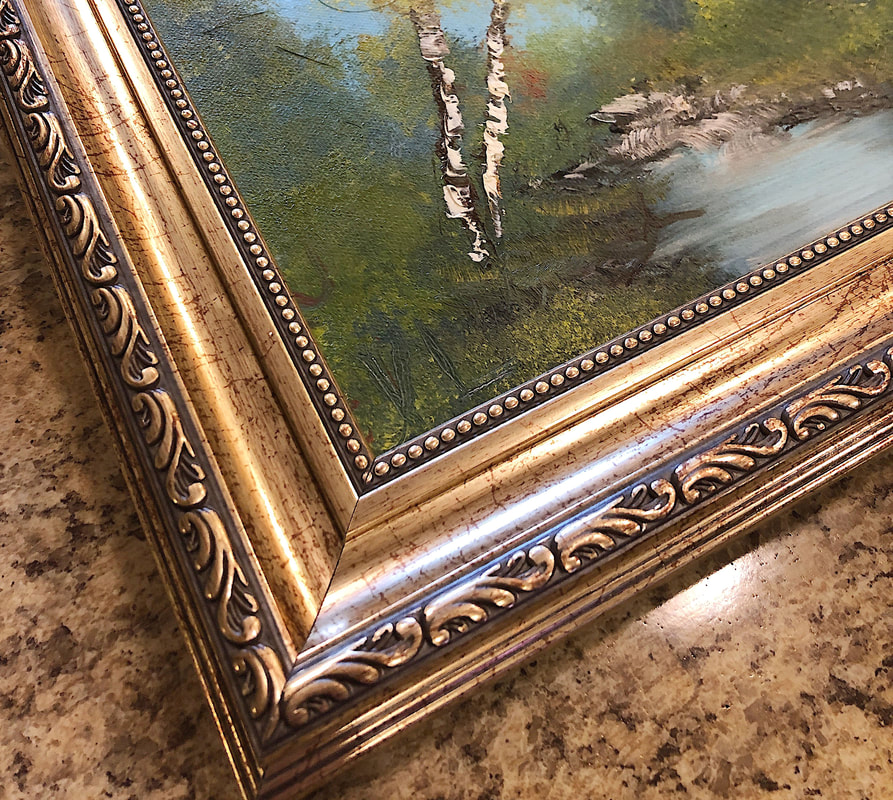
So let’s back up a little bit and let me give you the back story on the beautiful clock (seen below) that I found at a local thrift store… This year was the year I decided to take the leap and grow some of my herbs indoors. In the past I planted a few herbs (like chives, mint, sage, chamomile, parsley, cilantro, and rosemary) outside in the garden, but having some herb plants indoors would be so much more convenient when cooking and would provide the opportunity to appreciate the beauty of the plants as they grow throughout the year. My teenage son is a budding artist who likes to paint in the Bob Ross style with oil paints. He has had these two 8 x 10 finished oil paintings just sitting in a cabinet for quite a while, so I thought, why not pull them out and display them in frames on my dining room wall? But there was just one problem—I had absolutely no idea how to frame and hang art! I did a little research, and it turns out it’s not difficult at all. So let me take you through the steps I took to frame and hang canvas art…
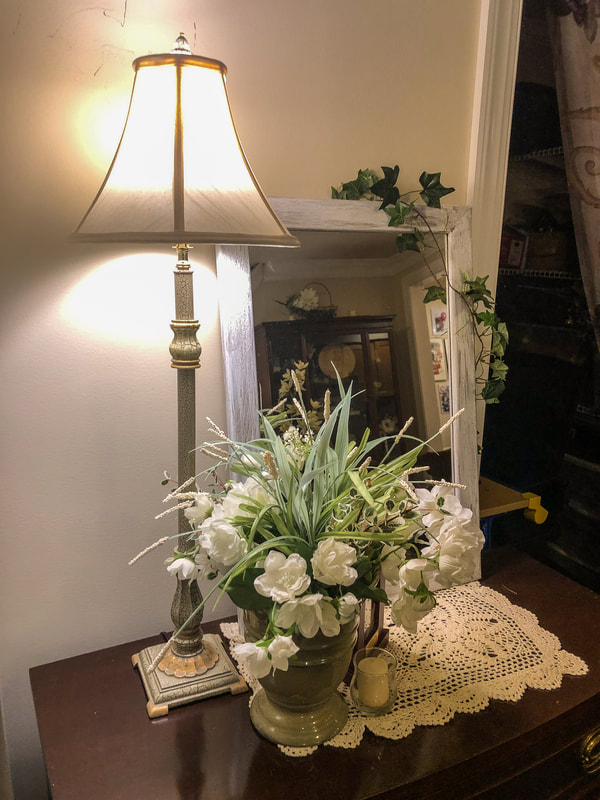
While casually strolling through a local thrift shop, I happened to spy these two gorgeous lamp bases. I knew they were just perfect for my dining room vignettes, but they needed a little work first. One was missing the lamp shade and harp components, while the other just needed some TLC. Both lamps needed to be completely rewired to replace the cords that were older than grandma. Don’t need any electrical fires here! So today’s project will be to replace the lamp cord for each lamp. We’ve all been there…You take down all the festive holiday and winter decor and you’re left looking at a cold empty chasm whose soul left the building! This year I tried—in vain—to decorate and make things look nice, but I needed more. I needed my space to feel alive. I needed something organic and living (besides my cats) in my “living” room. I don’t know why I never bothered to get a lot of houseplants before. I like plants. I like poking at them and watching them grow. I do have a few of them already—they have become sad and neglected, but still alive (well, mostly!). Sure I kill a few here and there, but overall we have a symbiotic relationship. This year—of all years—I decided I had to make a major change. This year I wanted to buy some beautiful houseplants and become a proud plant mom. (Yeah, that sounds weird even to me!) For too many years, my family has been living paycheck to paycheck. My husband and I were busy raising children and dealing with mundane day-to-day “stuff”. The years flew by and we “collected” furniture that was cheap, hand-me-down, and functional. Nothing was precious because we had three growing boys—and I’m the only female in a house full of males. (Seriously—even the cats are male!) I always meant to “pretty the place up”, but it just never happened, either due to time constraints or because the money just was not there for extra niceties. Recently, however, our situation has changed somewhat. Our three boys are grown (our youngest is in high school) and we are a smidgen better off financially. I don’t know why, but miniature worlds fascinate me. I think it was preordained that I would one day design a fairy house. I mean, why wouldn’t I?! And so it was a couple of years ago I came up with a hair brained scheme to design two distinctly different fairy houses, with the main goal to use them in indoor fairy gardens or as part of a vignette. The design concept for one of these miniature houses was inspired by images of old English and Irish cottages, with their rough hewn walls and thatched roofs. The second fairy cottage (pictured below) developed out of childhood memories of enchanting illustrations in fairy tales. The vision behind these designs was to create miniature houses for use with faux florals and seasonal decor that can be refreshed as needed and illuminated with either LED candles or fairy light strands, creating a magical little focal point on a table.
Since Spring has certainly sprung, it is now time for my home—and my fairy gardens—to transform into something more suitable for the season! This year I wanted to give my indoor fairy gardens an updated look, and that means new florals and freshly painted bases. Wow! Here we are on the cusp of February…Where has the month of January gone? It seems to have disappeared in a wisp of smoke—thankfully!
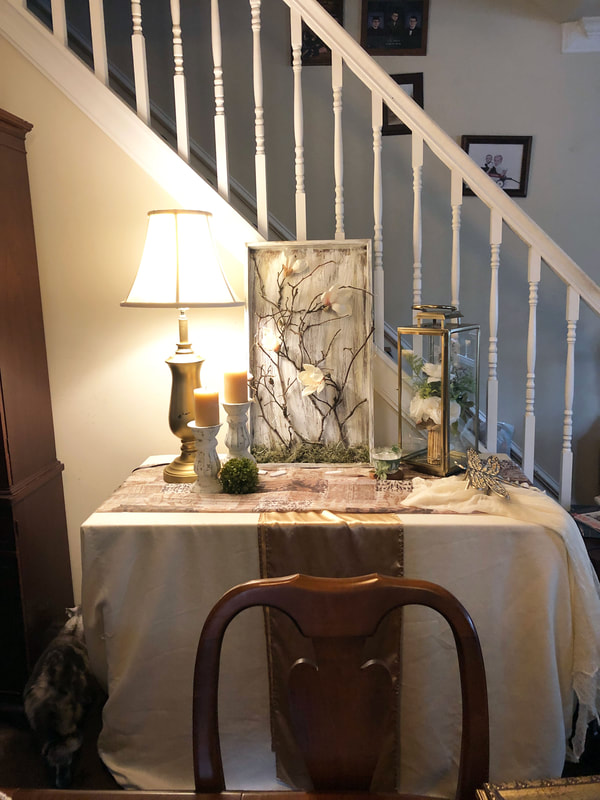
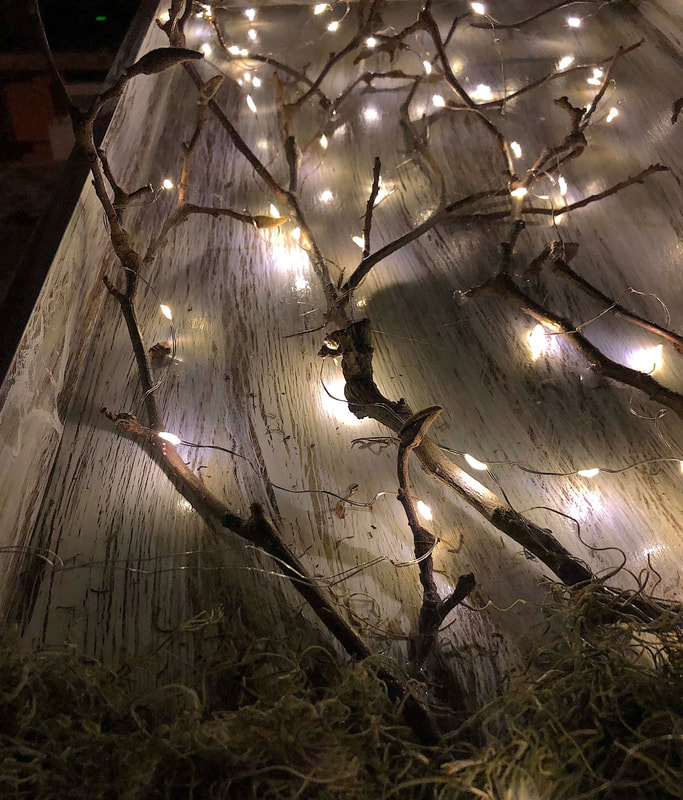
I had lofty ideas about jumping head-first into 2021. I was going to take on the world and get shit done! How naive I was! In my defense, quite a lot happened in January. Some circumstances were unavoidable and physically constrained my time, while other issues hampered my mental capacity to think, let alone “get shit done”. But I am nothing if not determined. As part of my “nature-inspired” vision, I thought I’d try a little experiment—a little DIY project using gorgeous tree branches from the magnolia tree in my backyard. While researching for another blog article, I came across some beautiful images on Pinterest using live tree branches and lights, and I just had to try out one of my ideas! If you’ve never thought about bringing fresh elements into the home to provide an organic touch to a space, I encourage you to give it a whirl! It can be a quick, inexpensive way to spruce up a table, counter, or mantlepiece.
Can you feel summer in the air? It’s hot enough!
Today, I thought I’d share a little project from a previous summer that I like to call Tropical Paradise. Isn’t there something strangely satisfying about creating miniature little worlds? Who doesn’t love tapping into that world of childhood wonder, imagining a world of mystery beyond our reach?
If you’ve been following my blog, you will remember the indoor fairy gardens I created last year. (If you missed it, you can read about it here.) That fun—albeit challenging—project resulted in two beautiful displays that now grace my living and dining rooms. |
Author
Some of the posts on this site contain affiliate links. This means if you click on the link and purchase the item, I will receive an affiliate commission. Categories
All
Archives
October 2025
|







 RSS Feed
