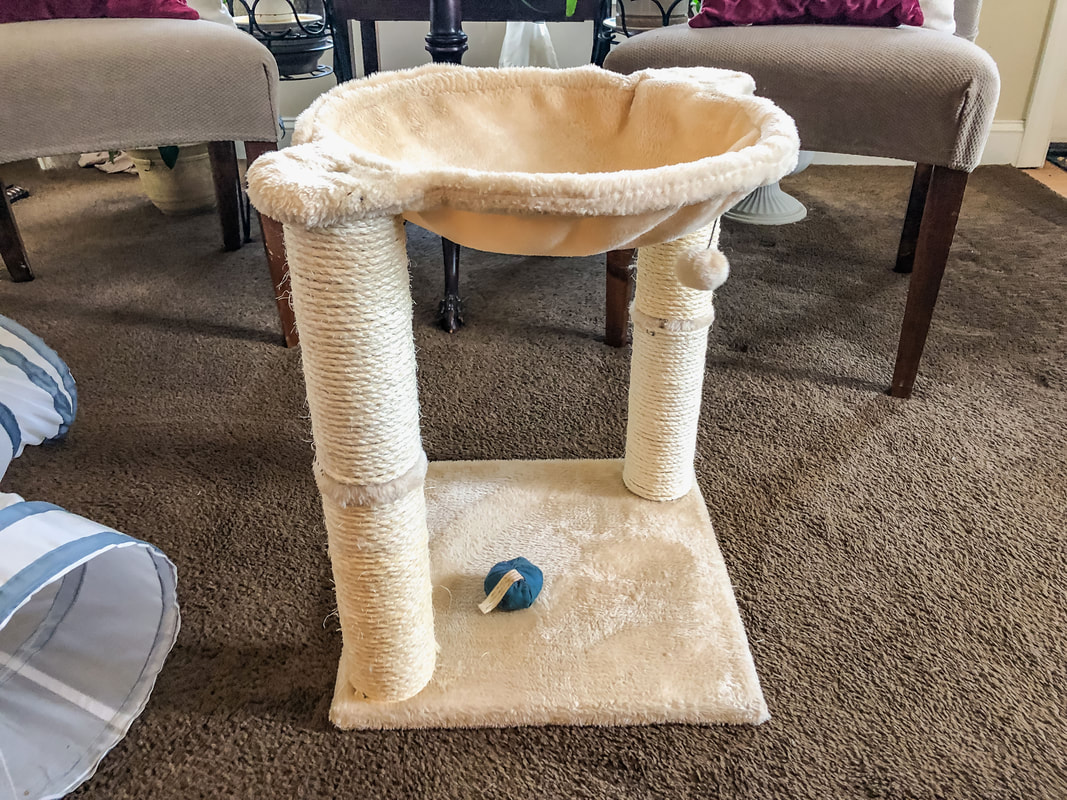
 Hey there, fellow cat lovers! We all know how much our feline friends adore their scratching posts. Over time, though, these scratching posts can begin to look ragged. In this blog post, we'll walk you through rewrapping your cat's scratching post, giving it a fresh lease on life. So grab your materials, and let's dive right in! Why are scratching posts so essential for our furry companions, you might ask? The answer is that scratching is a natural behavior for cats. It helps keep their claws healthy, allows them to stretch their muscles, and provides an outlet for pent-up energy. A dedicated scratching post will save your furniture from sharp nails and provide a designated spot for your cats to do what they love. I have a large, multi-level cat tree and another small scratching post that my kitties adore. The small one--the scratching post I am using for this blog--was purchased from Amazon a couple of years back. What you'll need for this project
Assess the condition of your existing scratching post If your existing scratching post is frayed, torn, or no longer appealing to your furry friend, it's time to refresh. 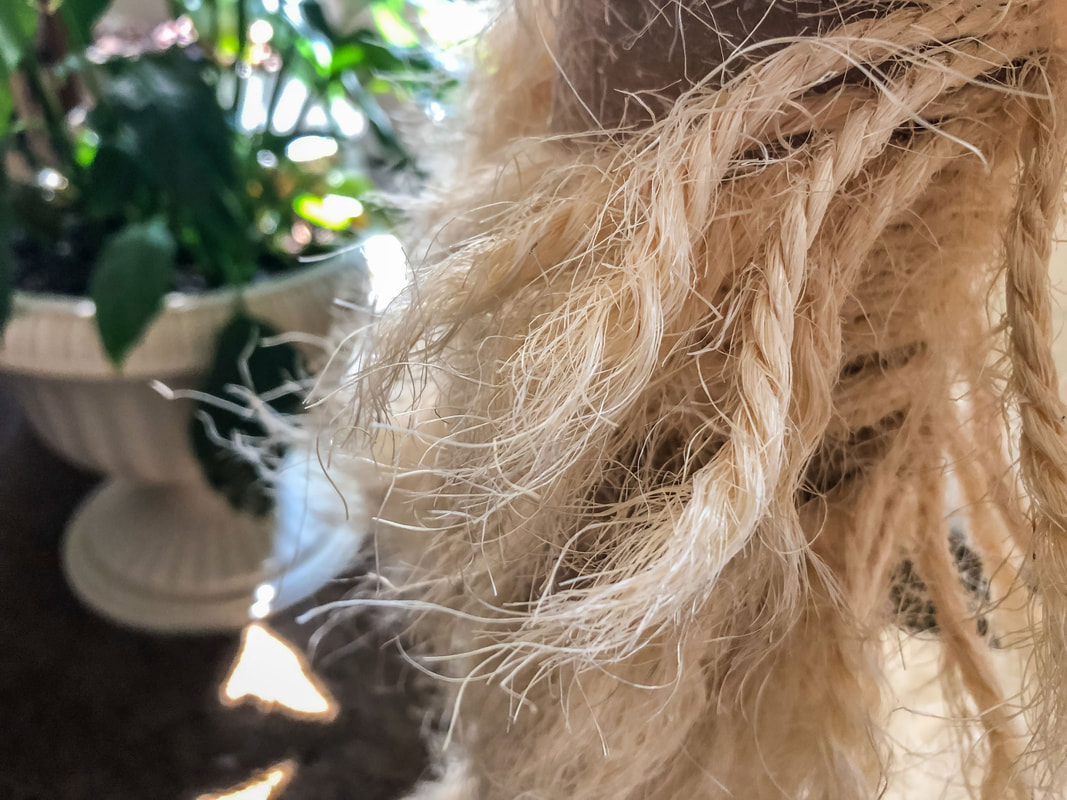 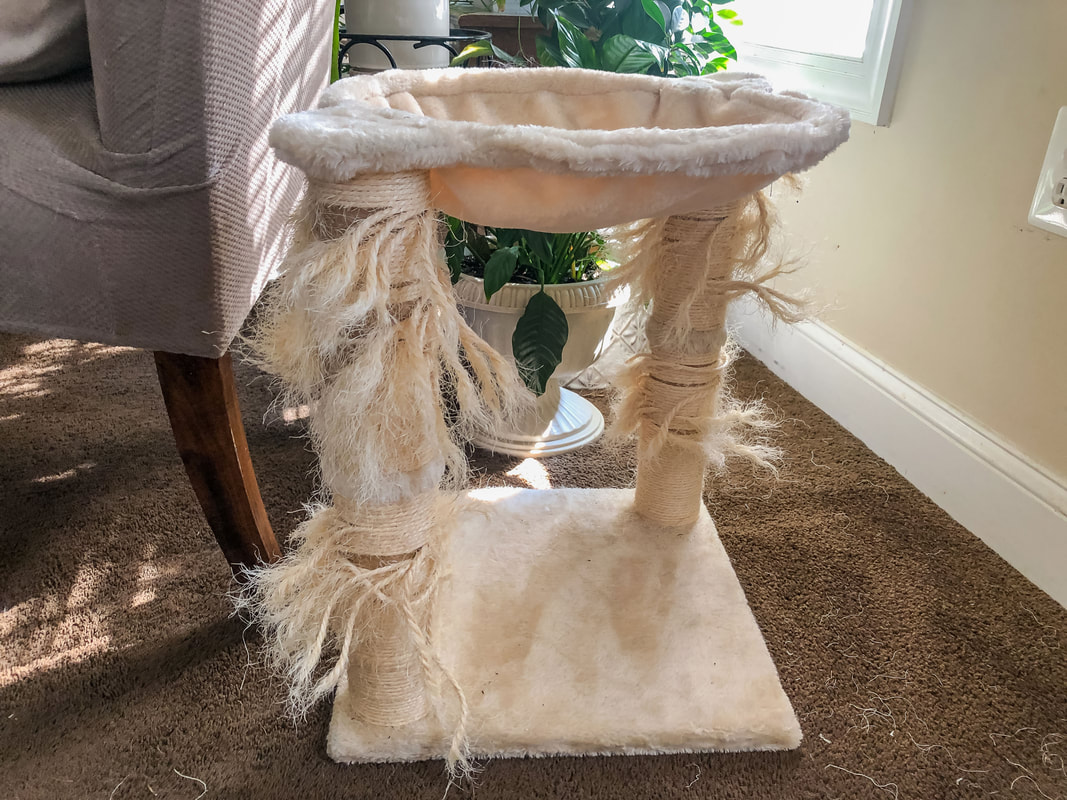 Remove the old wrapping Carefully unwind and remove the old sisal rope or twine from the scratching post. The existing twine on my scratching post had small upholstery tacks at each end for extra reinforcement. I made sure to keep these in case I need them later. 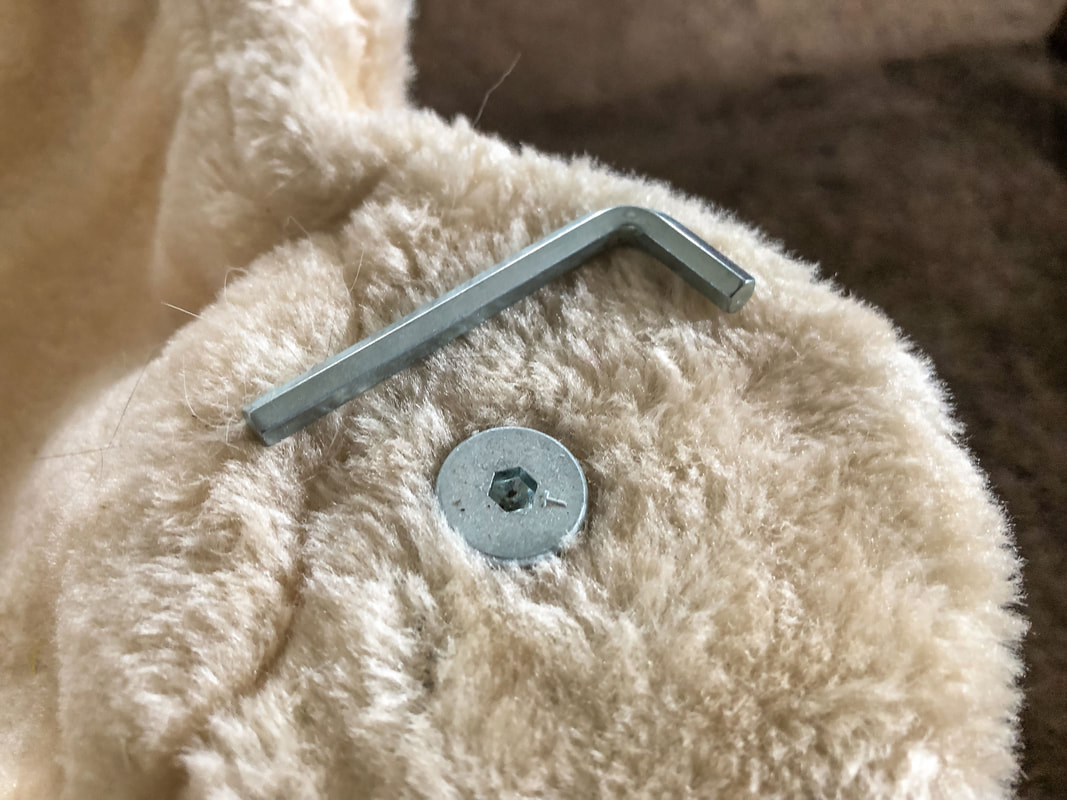 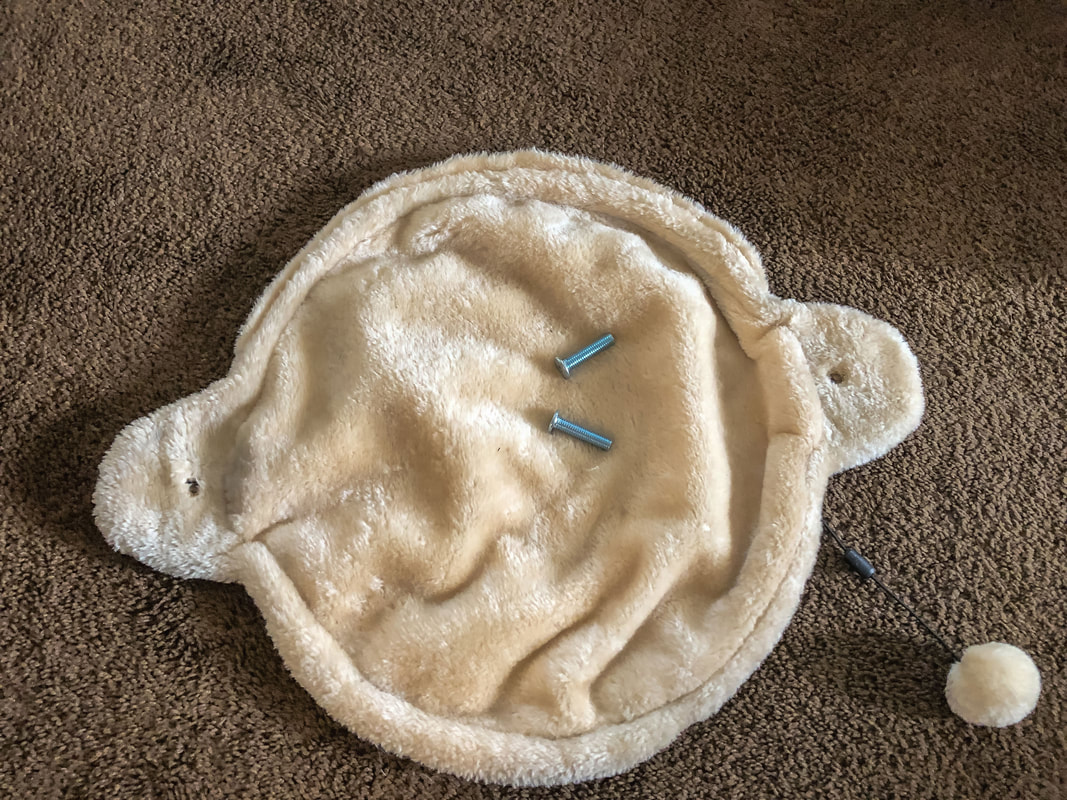 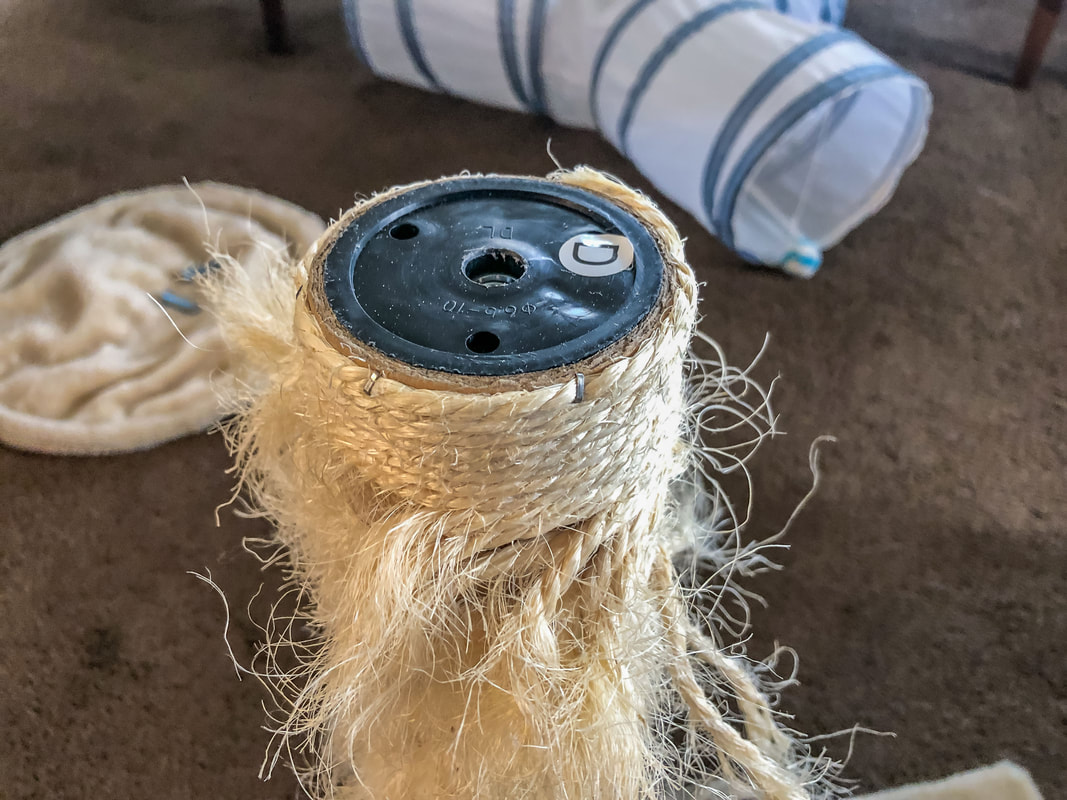 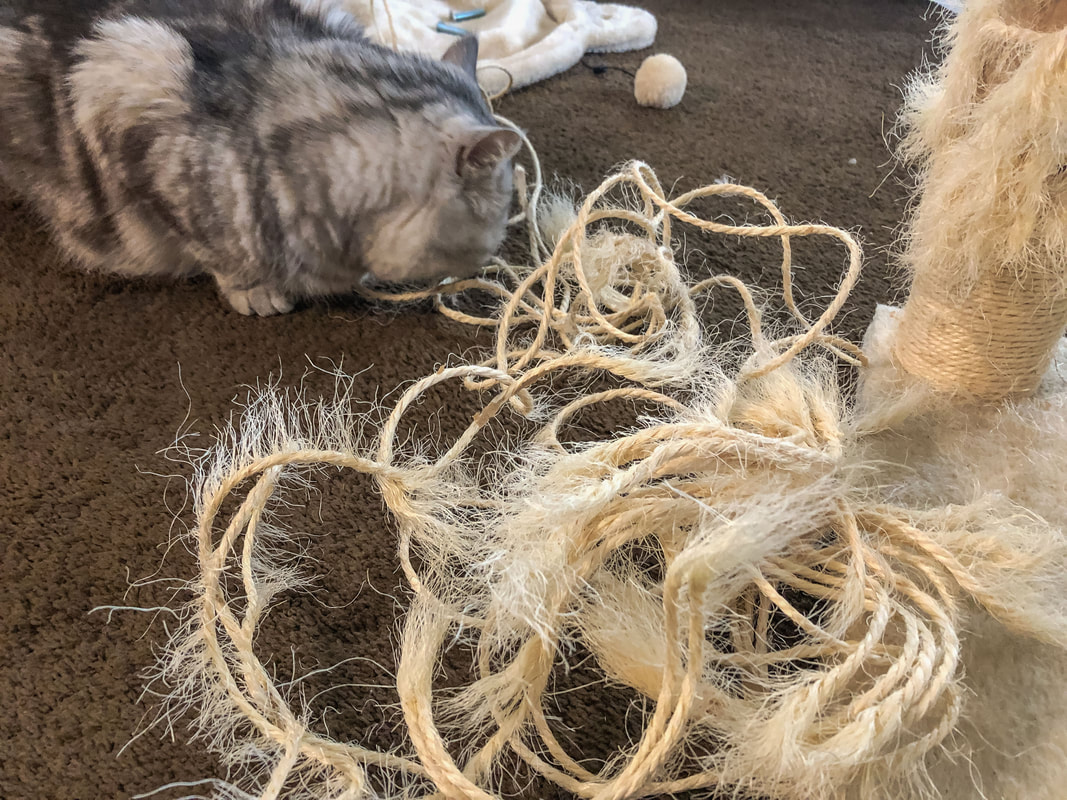 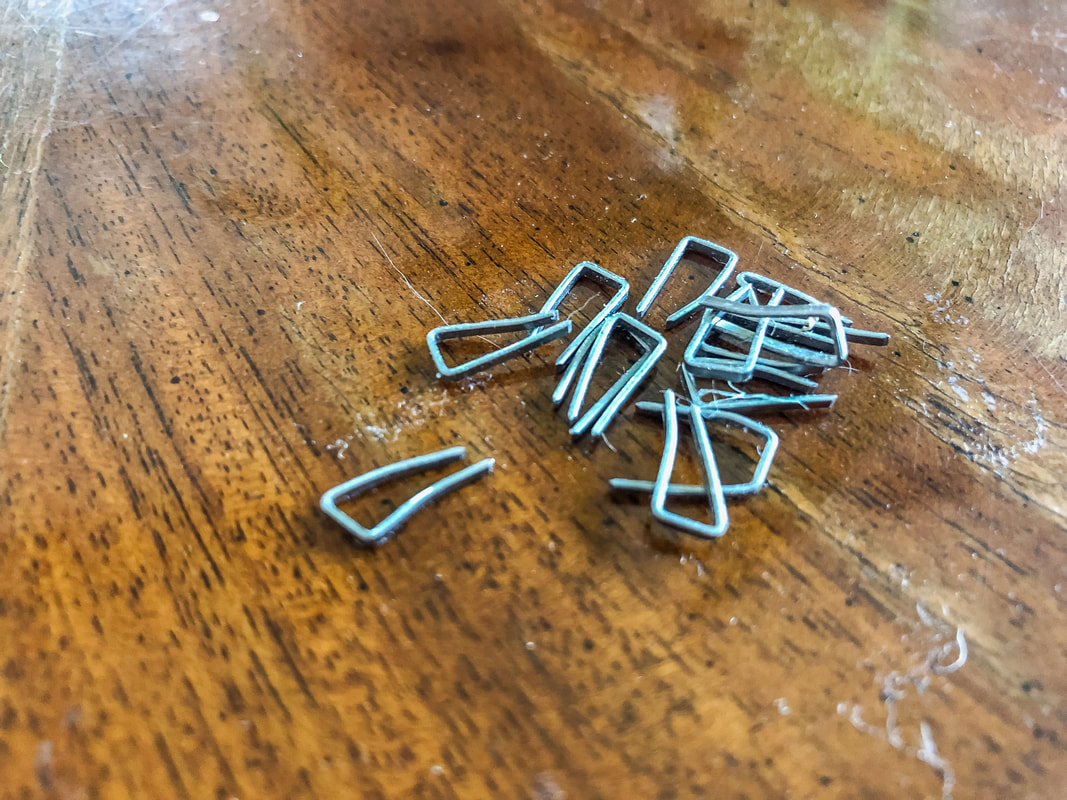 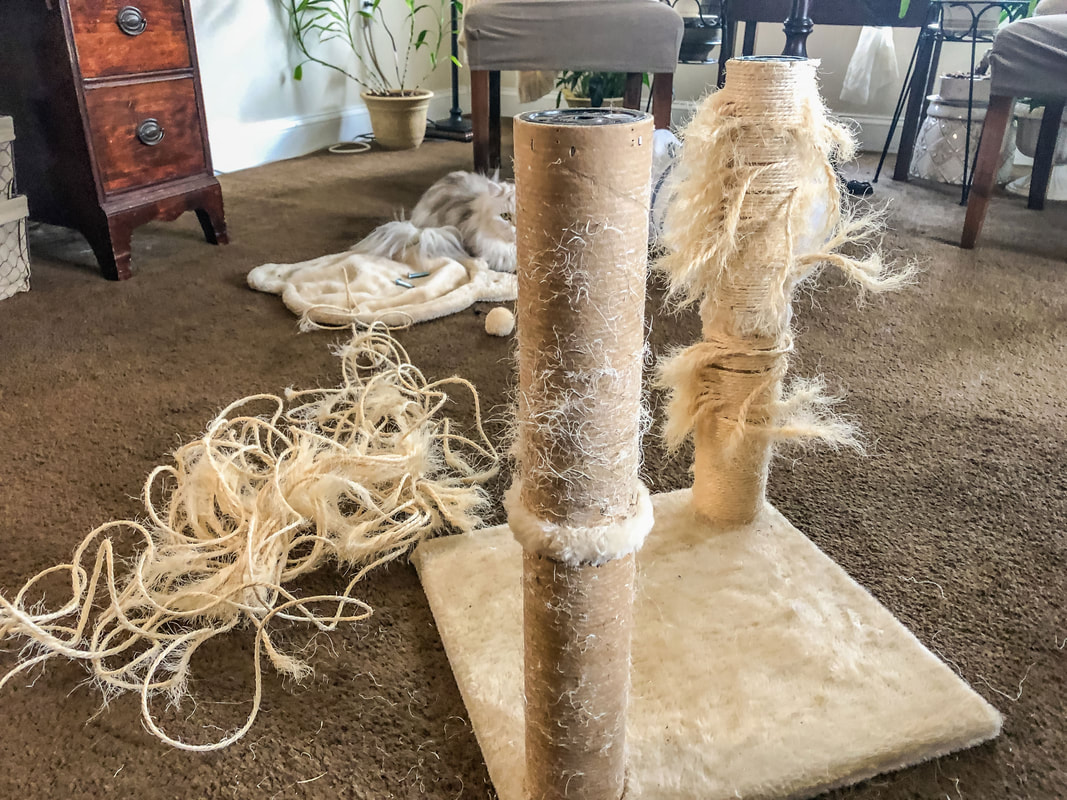 Prepare the new wrapping material Ensure you have enough twine for the height of the scratching post. It is better to have more than not enough! I made the mistake of not ordering enough and needed to order two more rolls to finish the second pole. Unfortunately, the second order of twine was a slightly different color than the first batch, but I made it work! 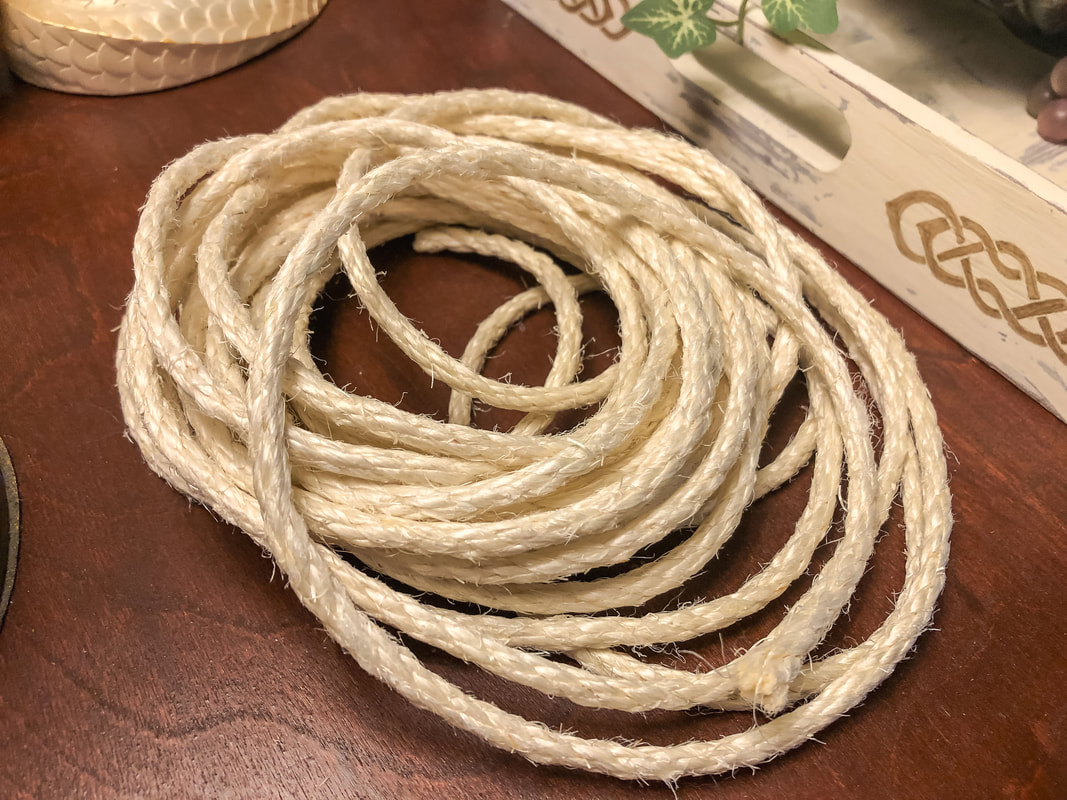 New sisal rope for the scratching post. Photo by Diane M. Lilly, 2023. Begin wrapping Start at the bottom of the post. Secure the end of the rope with a knot or a dab of adhesive, if desired, to keep it in place. I used a hot glue gun to secure the end of the twine in place while I wrapped the twine around the pole. 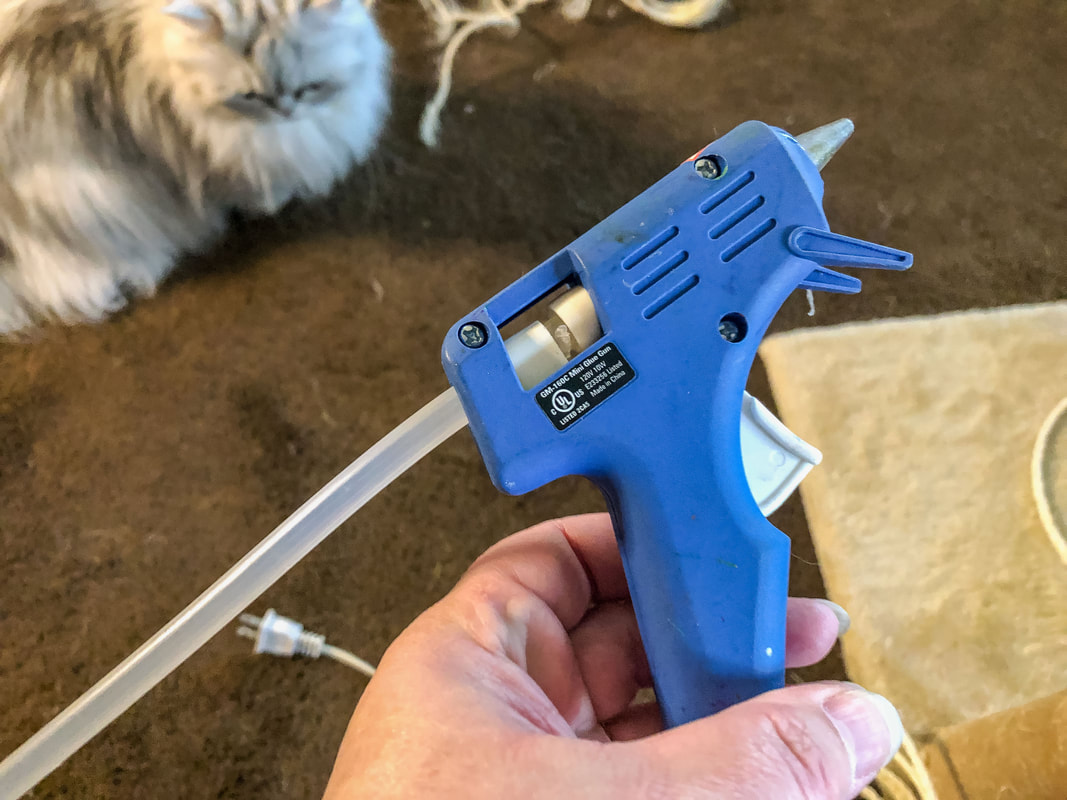 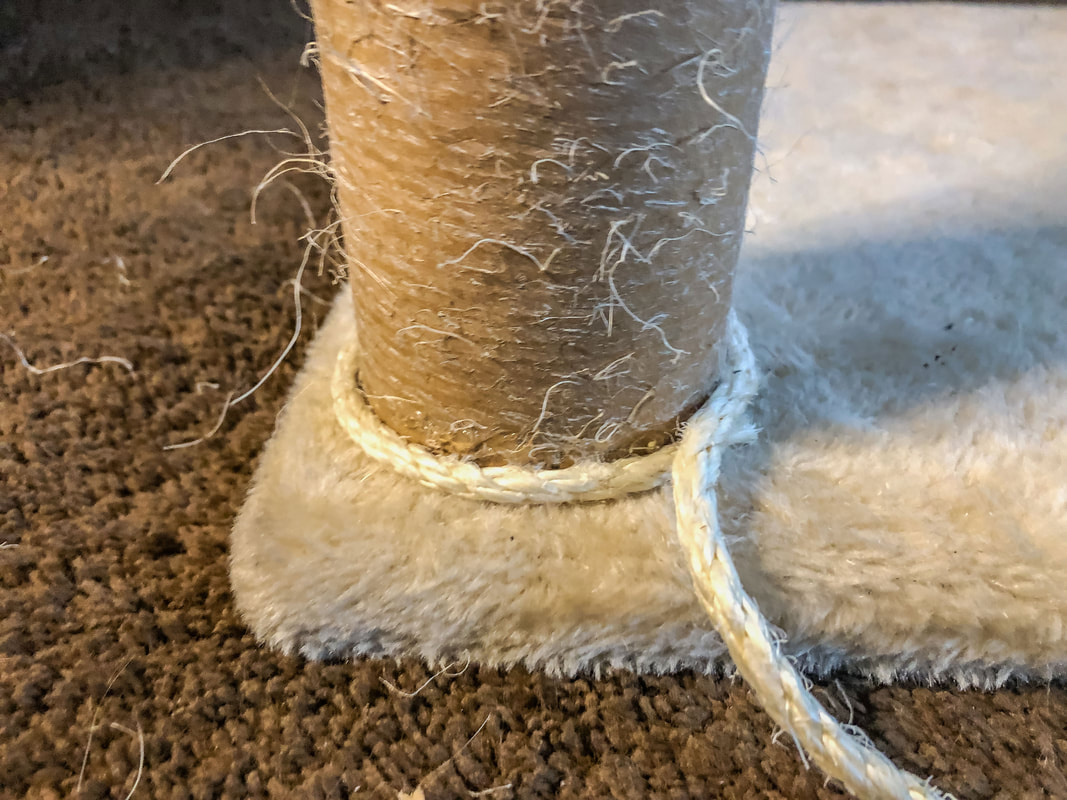 Keep it tight As you work your way up, maintain consistent tension, keeping the rope as tightly wound as possible. Wrap the twine around the pole, then push down against the previous row to close gaps. This will prevent sagging and ensure a sturdy surface for your cat's scratching pleasure. I also used Elmer’s glue on the pole for added adhesion. 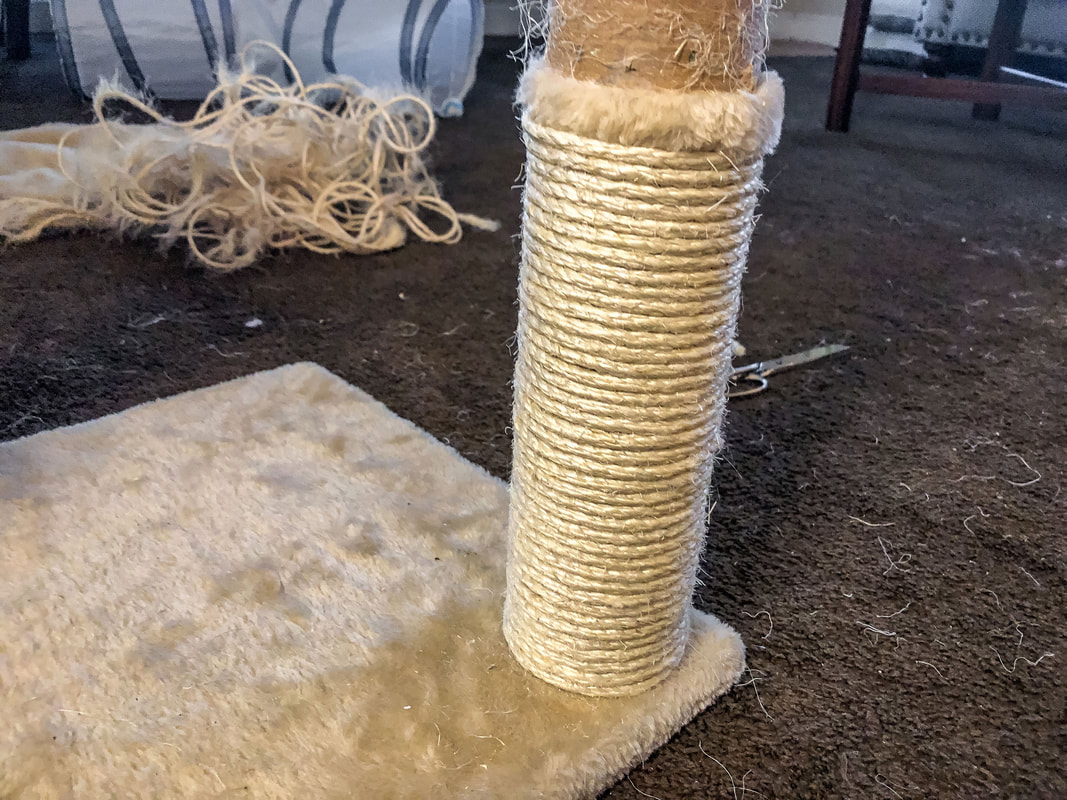 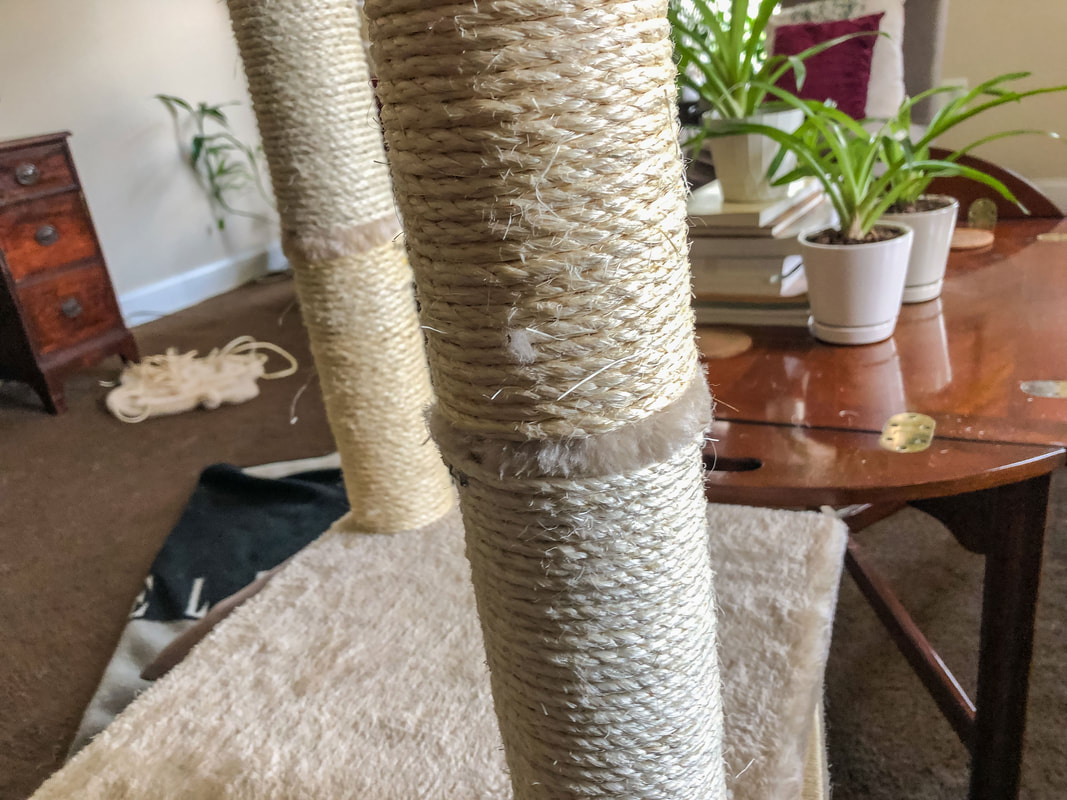 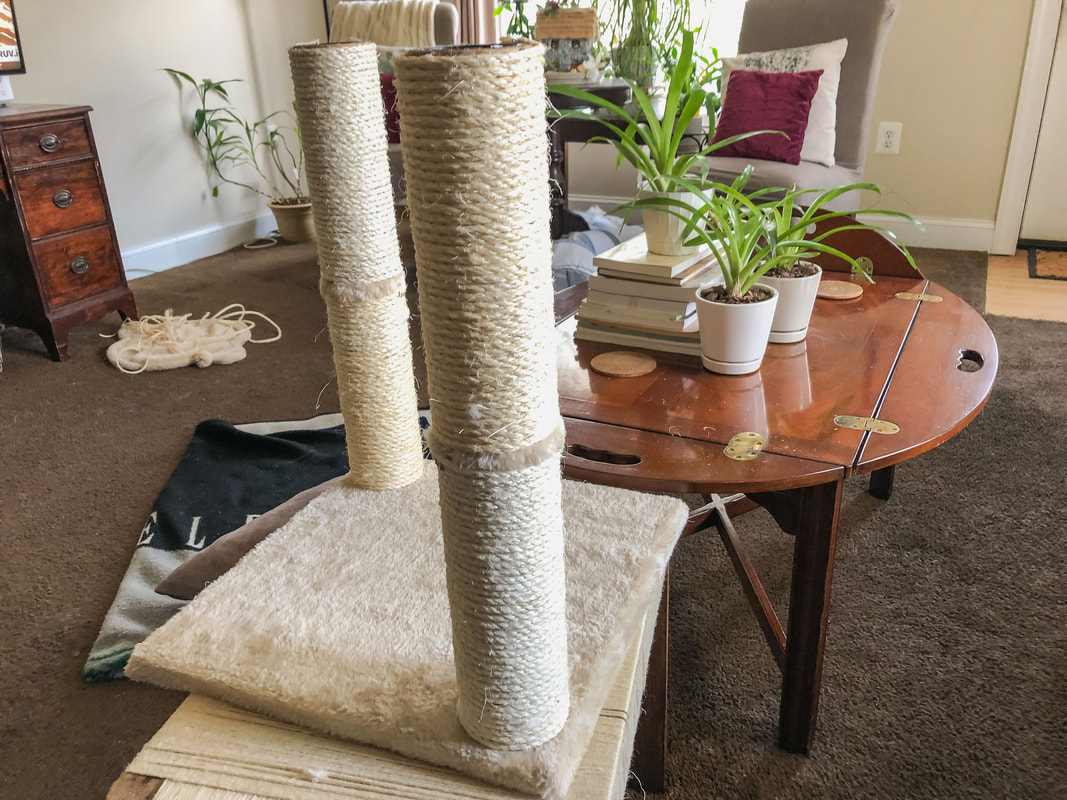 Finishing touches When you reach the end, secure the rope with a knot or adhesive. I used a hot glue gun for this step. Trim any excess rope to ensure a neat appearance. Make sure there are no loose ends that your cat could accidentally unravel. Extra reinforcement (optional) Reinforce large or frequently used posts with staples. Use an upholstery gun to add staples at each end. This way, the twine will not get pulled off by an overzealous cat! I saved the small upholstery tacks from the original twine and used a small hammer to tap them into place at the ends. Let it settle After the rewrapping process, let the scratching post settle. Cats have a keen sense of smell, so a transitional period will allow your cat to get used to the different scents. Don't forget the toys! Now it's time to add a few toys to your finished DIY scratching post. Dangly feathers, crinkly balls, or catnip-infused mice will entice your furry friend to use their newly rewrapped post. 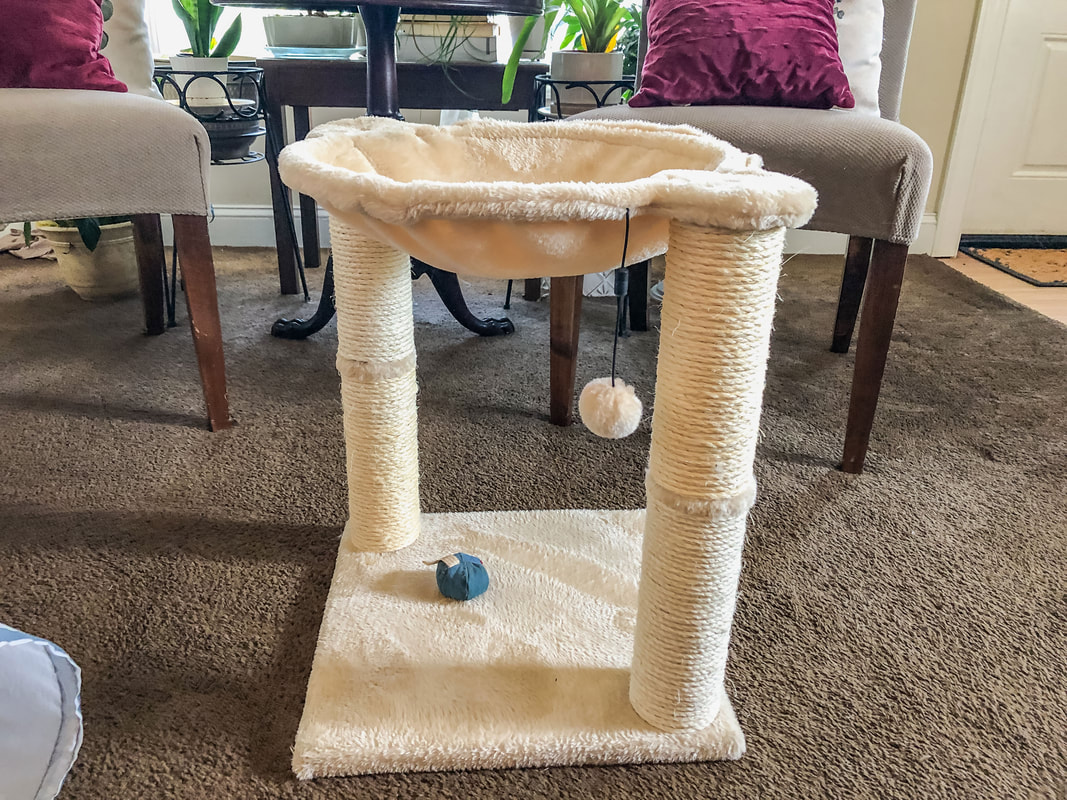 By following these simple steps, you will not only extend the life of the post but also provide your feline companion with a renewed space to stay active, happy, and healthy. Remember to observe your cat's behavior and check the scratching post periodically for signs of wear. Happy scratching to your furry friend! You can watch my Youtube video of this process here! Related blogs you may want to read: How to clean a fabric lampshade DIY chalk painted tray with chippy effect How to reupholster dining room chair seats in 9 simple steps A little project with jute twine and an old foot stool DIY refurbishment of a dining room cabinet DIY upholstery cleaning methods Creating a kithcen coffee bar How to replace a clock mechanism Affiliate Disclosure Some of the posts in this article contain affiliate links. This means if you click on the link and purchase the item, I will receive an affiliate commission at no extra cost to you. I will only recommend products or services I use personally and/or believe will add value to my readers, so there is no conflict of interest.
0 Comments
Leave a Reply. |

Author
Some of the posts on this site contain affiliate links. This means if you click on the link and purchase the item, I will receive an affiliate commission. 
Categories
All
Archives
October 2025
|
 RSS Feed
|
|
Major credit cards accepted through Square. Apple Pay option available. This site also accepts PayPal payments for better online security, and it's free to sign up! Gift cards are now available for purchase!
Copyright 2025 |