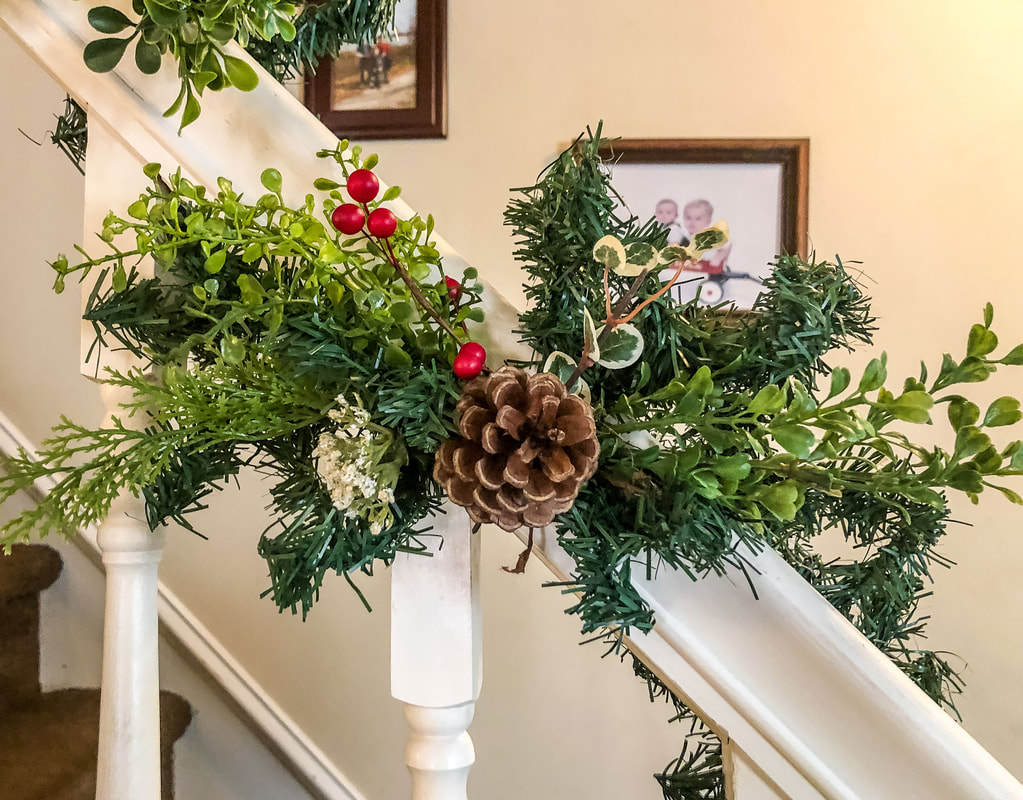
 Wiry garland with faux greens, pinecone, and red berries. Photo by Diane M. Lilly, 2022. This year’s holiday season has been devastated by the current chaotic economy. It’s turning out to be a very lean holiday season indeed! This year—in particular—the festive decorations have become a beacon of light in the darkness, at least for me. But what do you do if you can’t afford to indulge in the latest trends in Christmas decorations? What if all you have to work with is cheap, wiry—and obviously fake—garland? This year, I have three cheap garlands, two hung over the top of my windows and one wrapped around the staircase railing. In this DIY, I'll share how I dressed them up to make them look festive. There were two stipulations for this decorating project: 1) I could only work with materials I had on hand, and 2) The final look had to match the rest of the holiday decor in my dining and living rooms. I picked through all of my faux florals, faux greenery, ribbons, and ornaments to see if I could come up with enough ideas to fill two rooms with holiday spirit while creating a cohesive look to the space. As you can see, I made such a mess of my dining room table! But it was worth it. Laying everything out in front of me allowed me to see what I had, explore what goes together, and assess how much of each material was available. What you see on this table (plus a box of ornaments) is all I had to work with for this year’s holiday floral decorating. 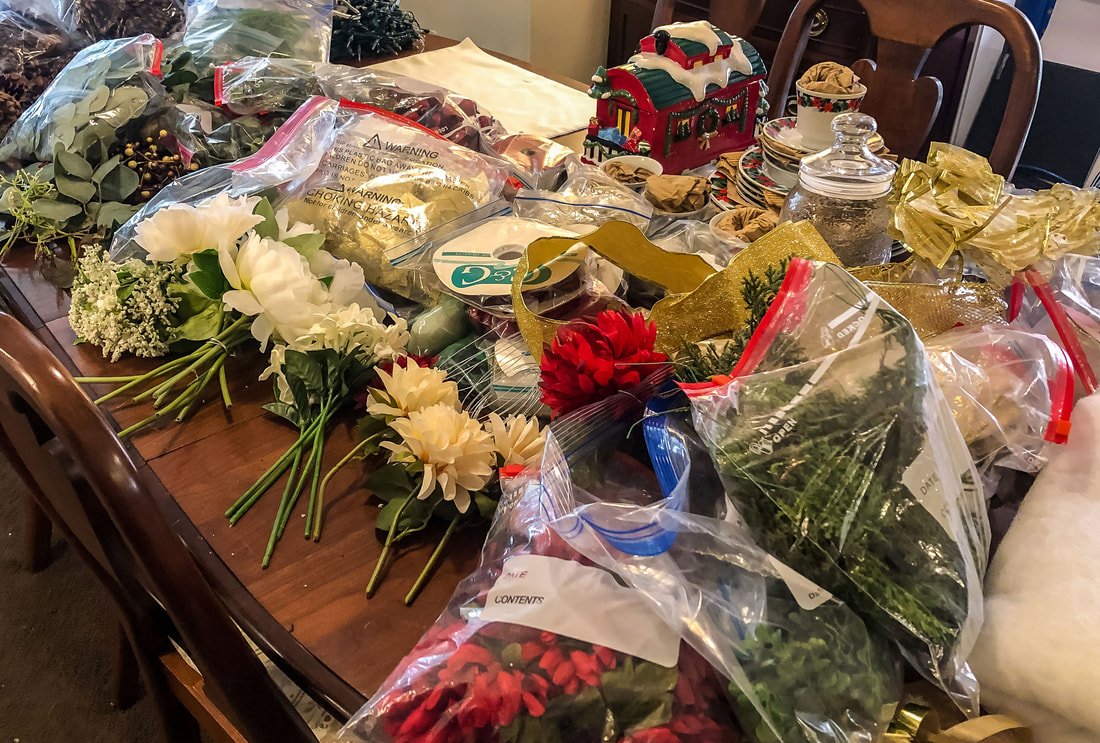 This year's supplies for holiday floral decorating. Photo by Diane M. Lilly, 2022. That decorating scheme also included creating two faux floral wreaths and filling out the pre-lit Christmas tree (I will leave links to those projects at the end), so everything you see on this table had to be carefully stretched to meet all my decorating needs. What a challenge this turned out to be! 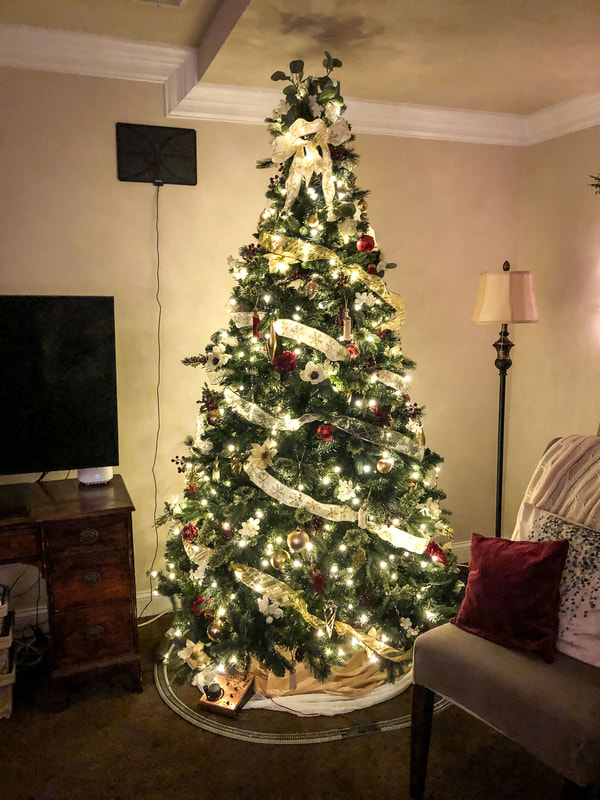 This year's Christmas tree. Photo by Diane M. Lilly, 2022. 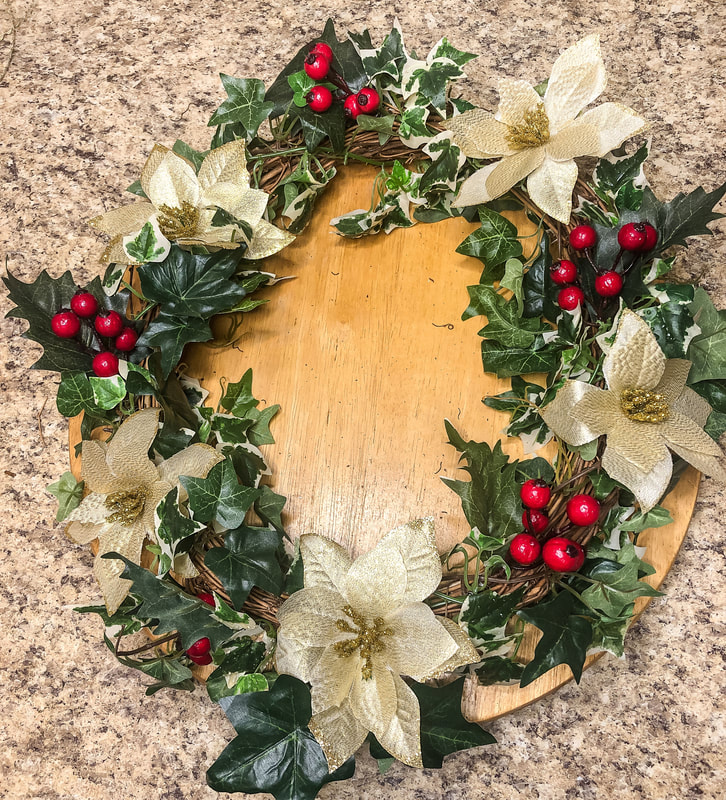 One of two DIY wreaths with faux greenery. Photo by Diane M. Lilly, 2022.  Another DIY wreath with faux greens and berries. Photo by Diane M. Lilly, 2022. So, let’s look at how I made my cheap garland look festive… Step 1—Fluff the garland The first step to making this cheap garland workable is to fluff every branch. As tedious as this sounds, you have to make sure to touch every single branch. Pull the branches apart and outwards in various directions away from the central wire. This creates a workable base for all of the materials you will add. Step 2—Plan out your spacing Take each bundle of greenery and experiment with the desired placement. I like to start with locating the center of the garland so that my end design has a pleasing symmetry. If you have an odd number of miniature floral arrangements, you will start in the center and work out, evenly spacing your greens. If your design calls for an even number of arrangements, you will carefully space out the bundles on either side of the central point. Either way, you will lay out your garland and greens before attaching anything to get the correct spacing. Using symmetry is the simplest way to make a dramatic visual impact! 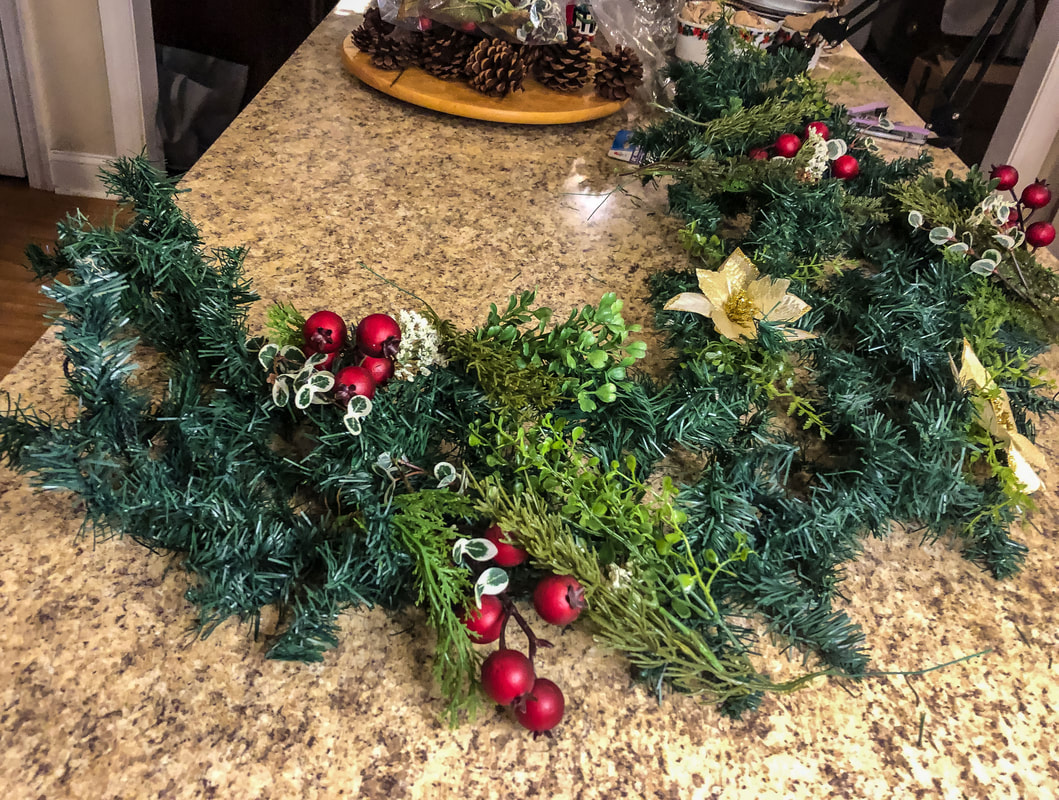 Planning the layout for my extra greens and florals. Photo by Diane M. Lilly, 2022. Step 3—Choose your faux greenery Ideally, you want more than one type of faux greenery to create visual interest. You’ll want to use greens that complement each other and the garland yet creates much-needed contrast. I used three or four different greens, including faux pine and variegated leaves. You don’t have to choose “Christmas” greens. You can use whatever works visually, and that’s ok! Just remember to keep in mind that you want a sense of continuity in the space, so try to use at least one type of greenery that appears elsewhere in your room. I used thin wire to attach and arrange my stems on either side of a central spot. This spot will be filled later with flowers. This set the stage for several miniature arrangements to be created along the length of the garland. 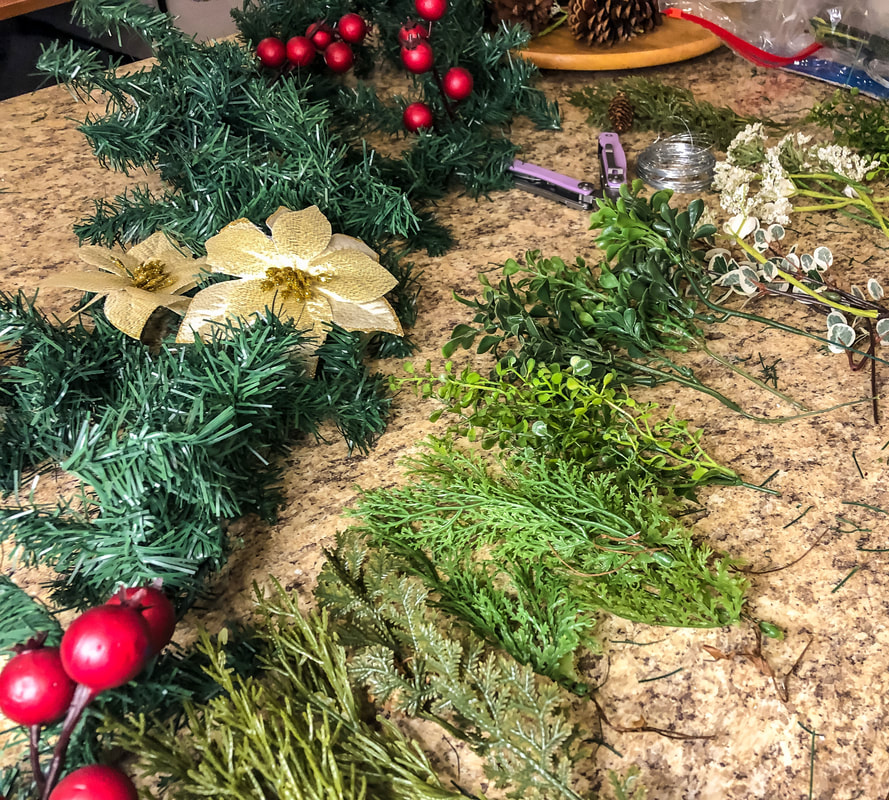 Laying out all the greenery for this project. Photo by Diane M. Lilly, 2022.  The first bit of greenery for the railing garland. Photo by Diane M. Lilly, 2022. Step 4—Layer in faux florals The faux florals in this project became individual focal points for the miniature arrangements on the garland. As I mentioned with the greenery, it is important to use repetition of design elements so that the garland blends in with the rest of your holiday decor. One of my garlands was wrapped around the staircase railing in the dining room. As there was quite a lot going on in that space already, I kept the garland simple. The other two garlands also had red berries, with the addition of gold poinsettias. Red berries, pinecones, and gold poinsettias are decorative elements in both my dining and living rooms. My tree, garlands, wreaths, and other decor all have some or all of these elements, making both spaces feel cohesive, even though I could not go out and buy expensive decorations this year. 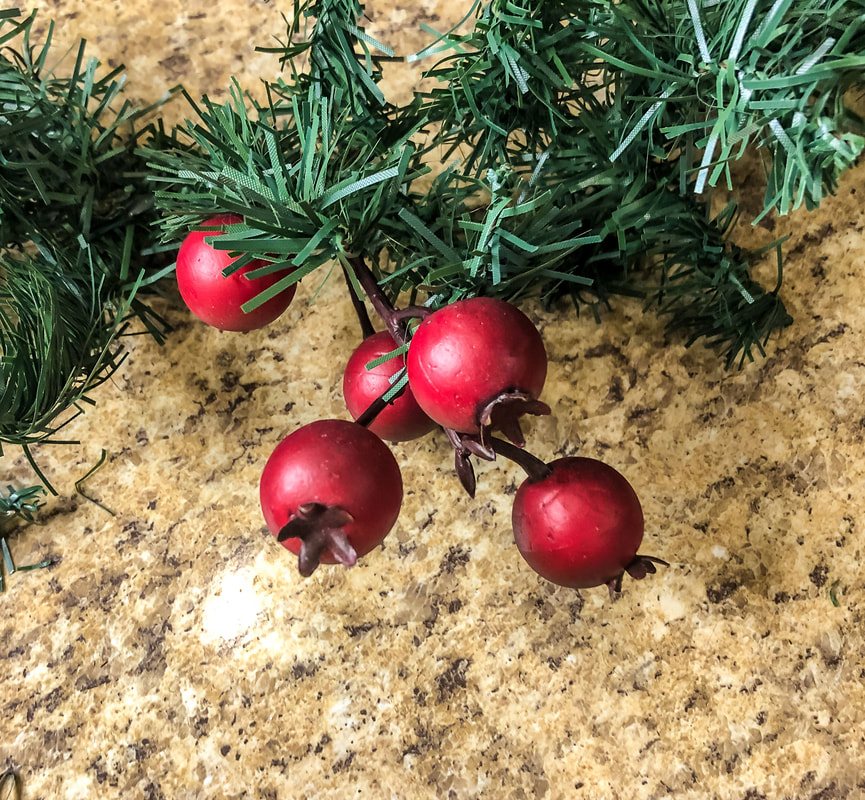 The red berries for the second garland. Photo by Diane M. Lilly, 2022. 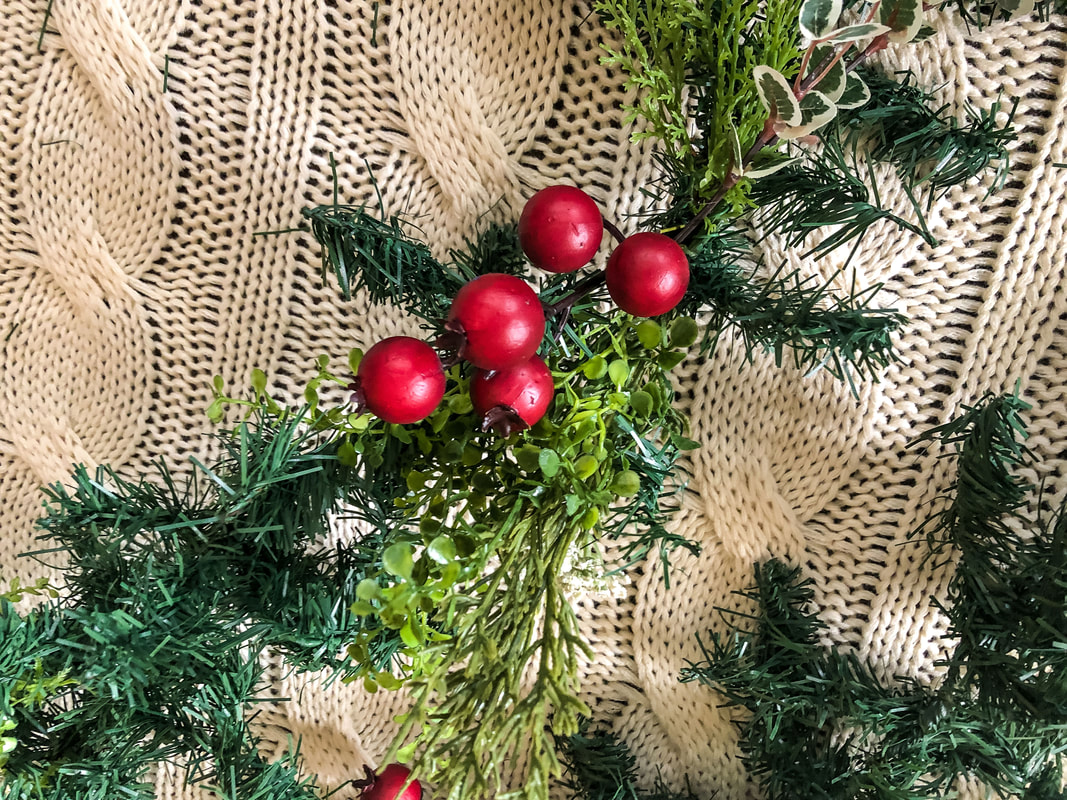 Filling in the berries and faux greenery for the second garland. Photo by Diane M. Lilly, 2022. 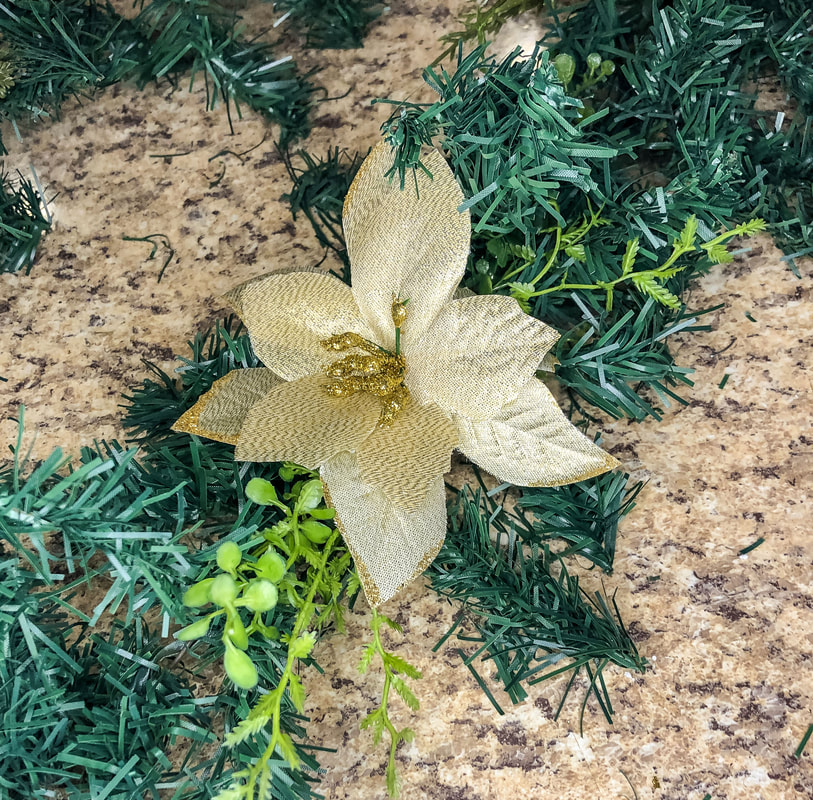 Filling in the gold poinsettias for the second garland. Photo by Diane M. Lilly, 2022. 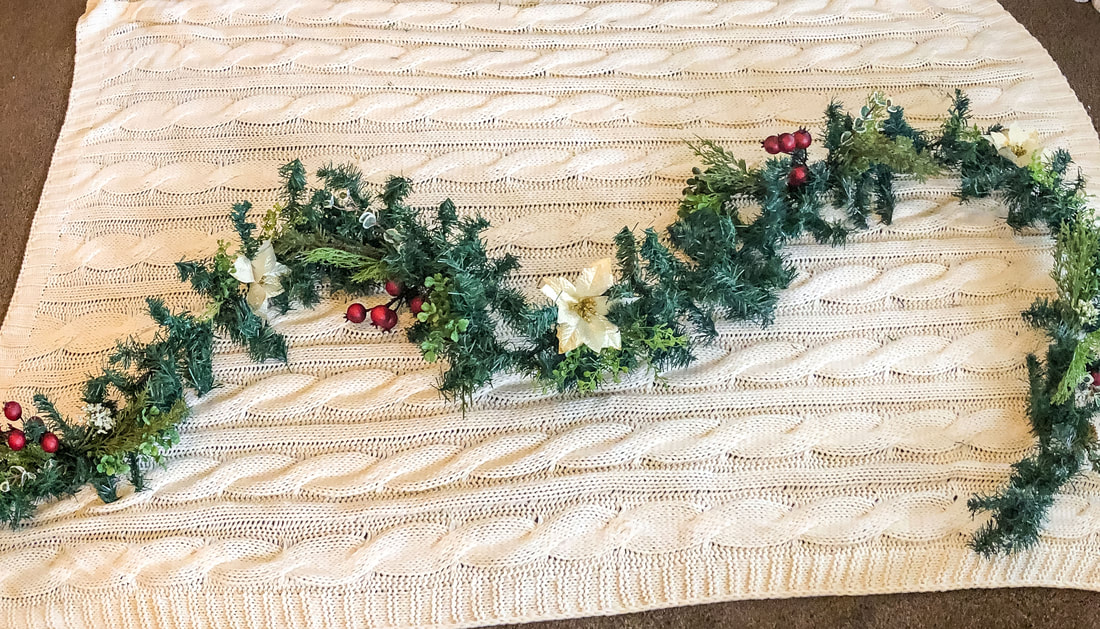 The second garland is almost ready to be placed over the window. Photo by Diane M. Lilly, 2022. 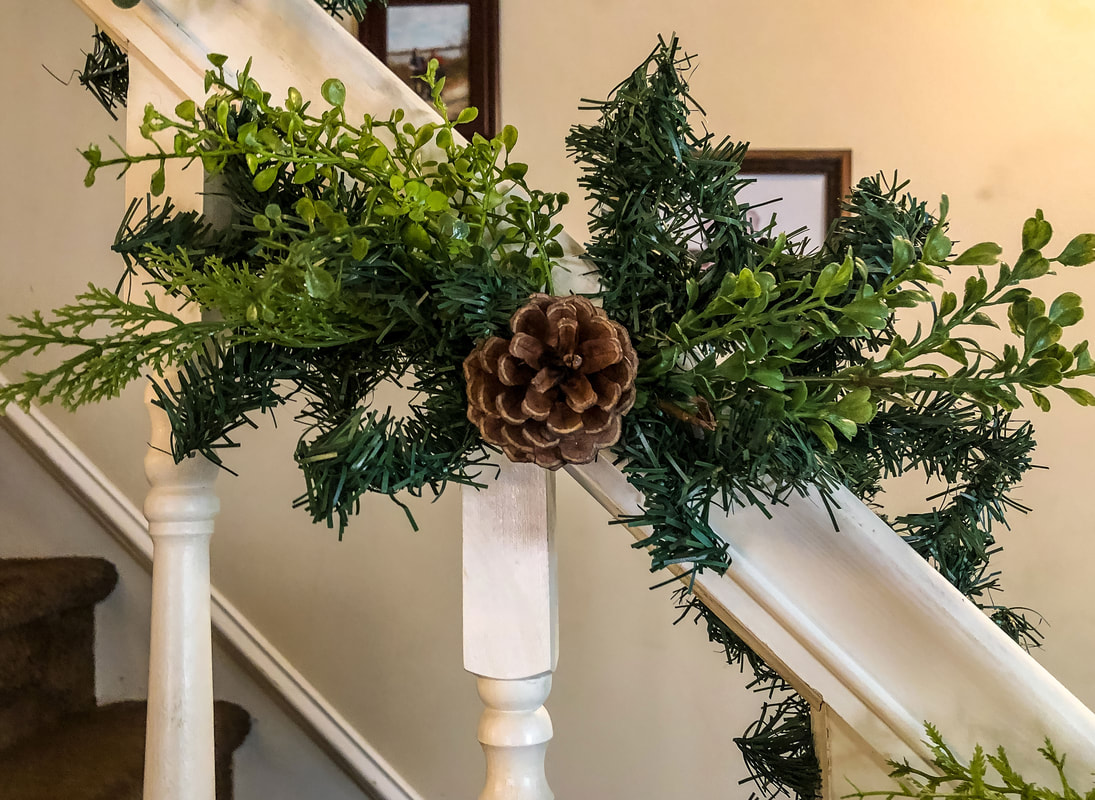 More greens and a pinecone added to the railing garland. Photo by Diane M. Lilly, 2022. 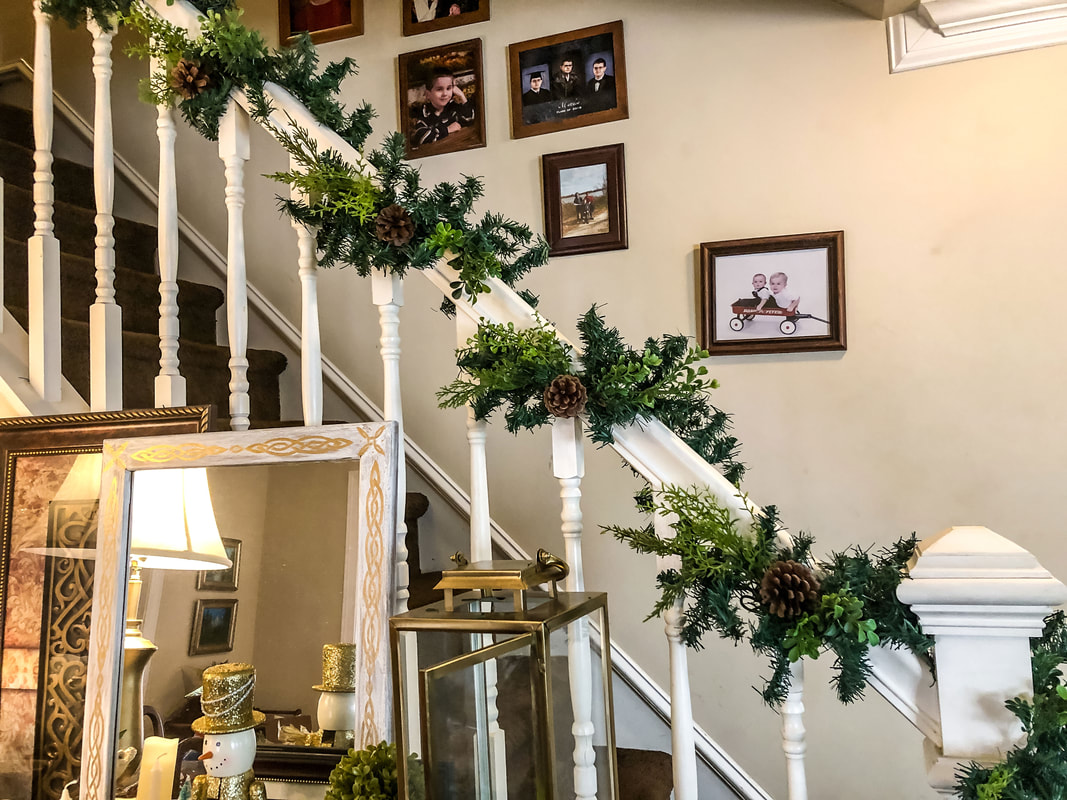 A wider view of the railing with the garland to check the spacing and miniature arrangements with pinecones. Photo by Diane M. Lilly, 2022. 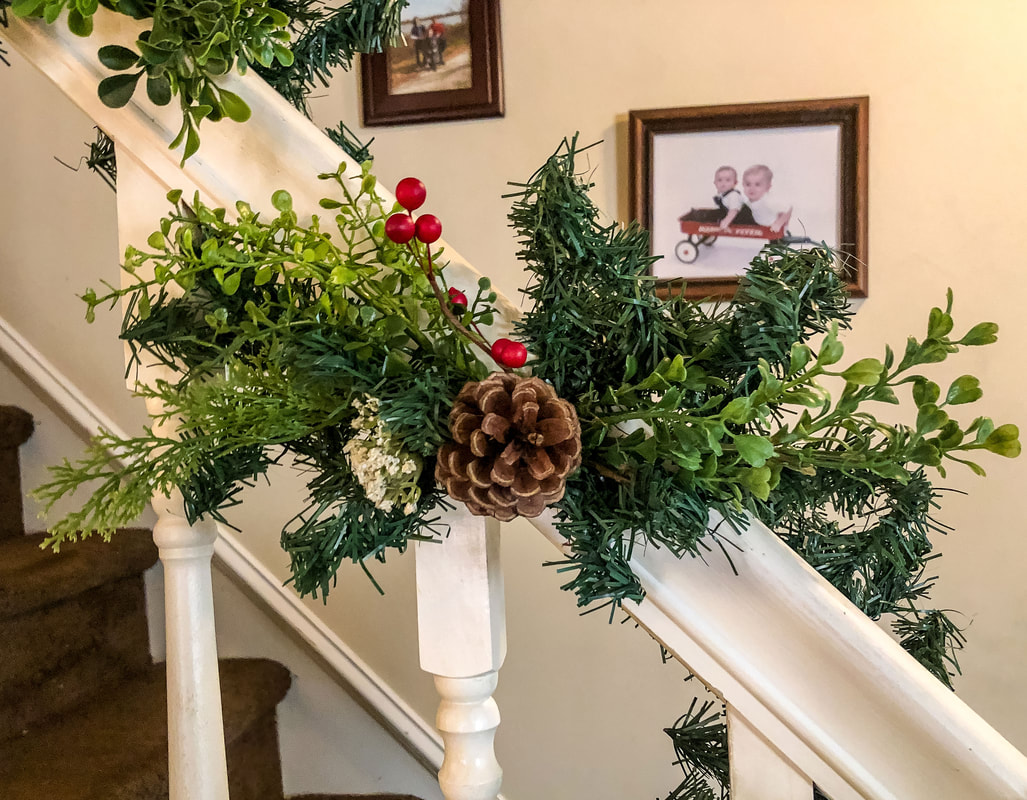 Red berries added to the clusters on the railing garland. Photo by Diane M. Lilly, 2022. 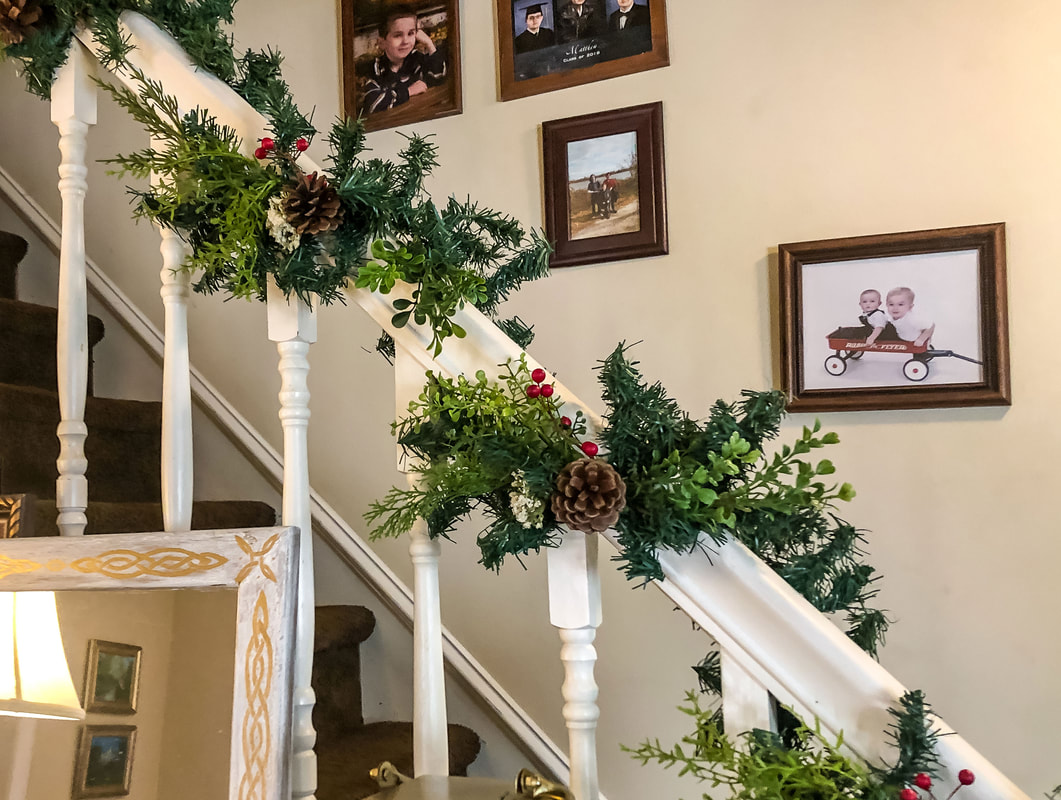 A wider view of the railing with the garalnd with berries added. Photo by Diane M. Lilly, 2022. 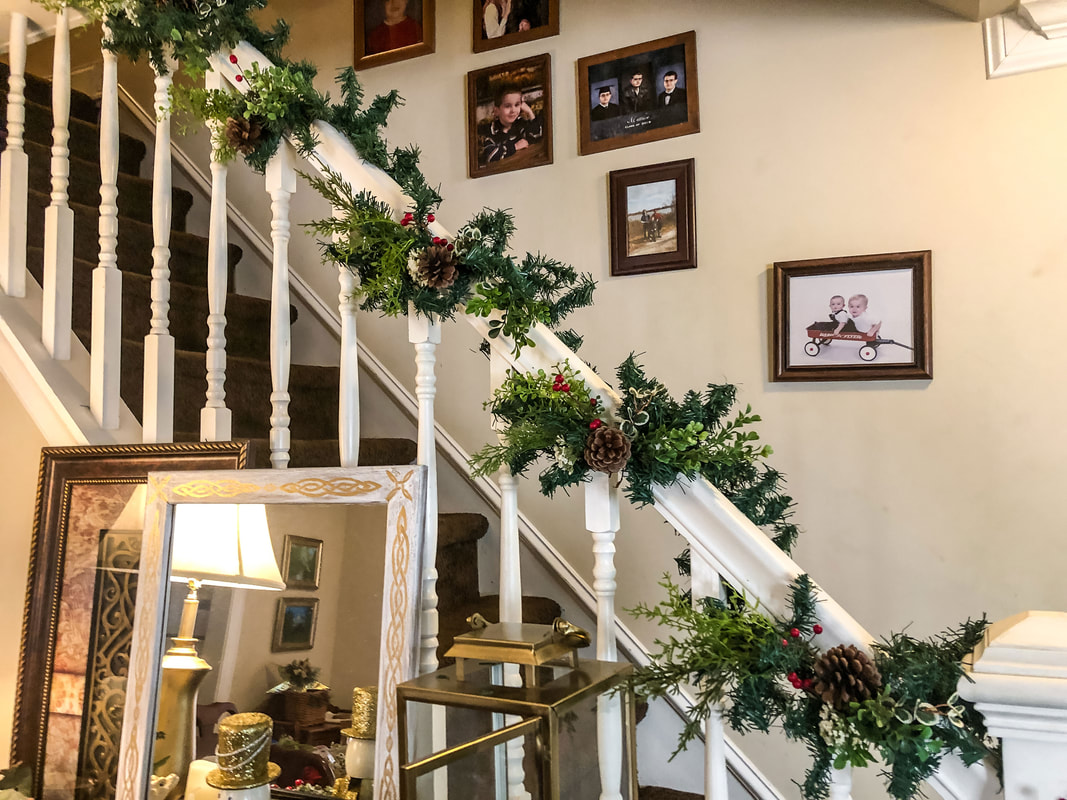 Another view of the railing garland with pinecones and berries. Photo by Diane M. Lilly, 2022. If you have enough materials to work with, continue to add in to further “fluff” the garland. The more florals and greenery you add, the more “expensive” the garland will look. As I worked with only what I had this year, I left the garland simple. If you have them, add ornaments to take your design up a notch! Step 5—Add ribbon Another way to make your garland look stylish and festive is to add ribbon. This year, the goal was to work only with what I had on hand, and unfortunately, I didn’t have enough ribbon left for bows! At some point, I will either have to splurge and buy a bit more ribbon or come up with an idea for how to use what I have interestingly. The image below is from last year’s garland…Doesn’t it just look so festive?! Your bows should match the rest of the room decor and be placed in natural corners and focal points along the garland. Space evenly for a cleaner look, and fill in gaps between the bows with smaller bits of ribbon to fill out the look. 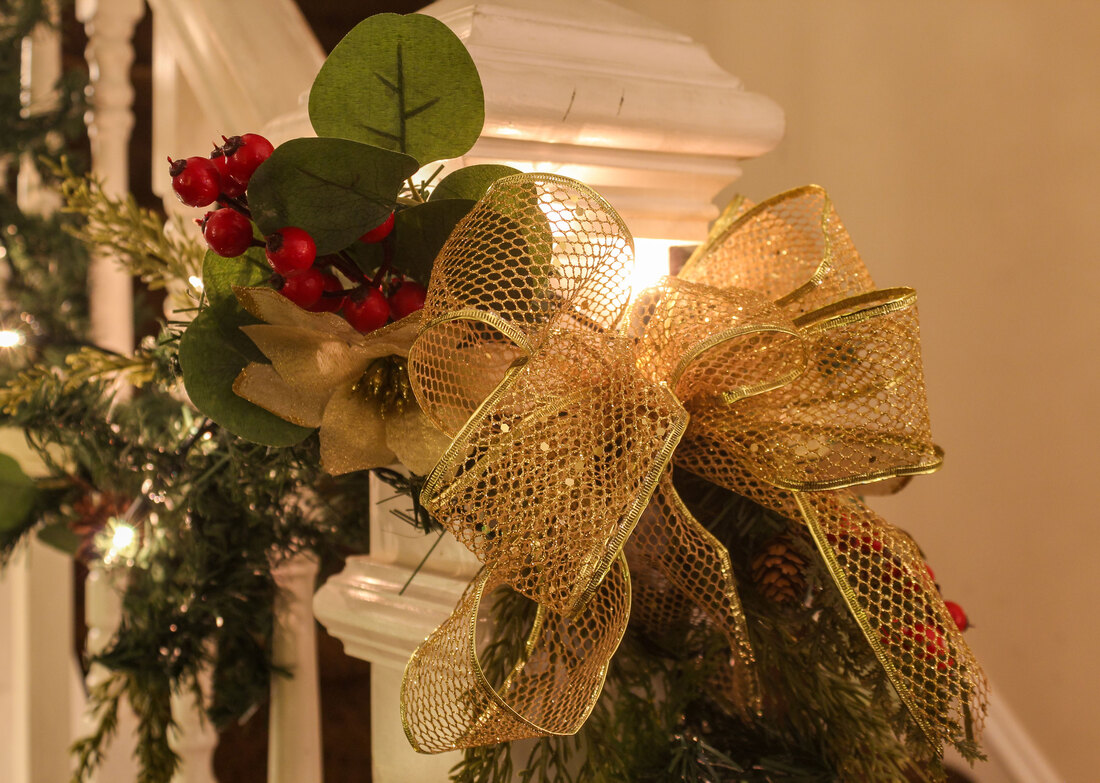 Last year's garland with gold ribbon around the newel post. Photo by Diane M. Lilly, 2021. Step 6—Add lights The last step to making your garland look festive is to light it up! I used fairy lights for the railing garland but traditional LED Christmas lights for the garlands above the windows. (I don’t love seeing the cords, so I’ll have to find a way to hide them.) Whichever lights you use, push them into the garland to light up nooks and crannies and create a more polished look. 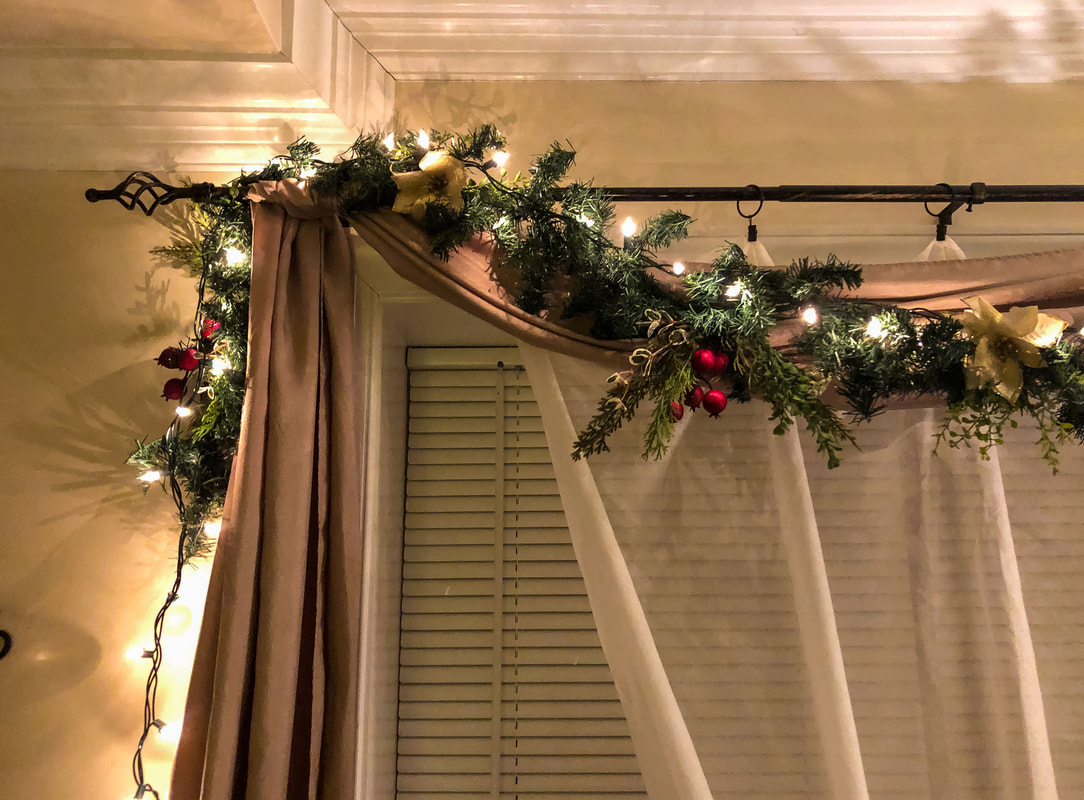 Closeup of the window garland with lights added. Photo by Diane M. Lilly, 2022. 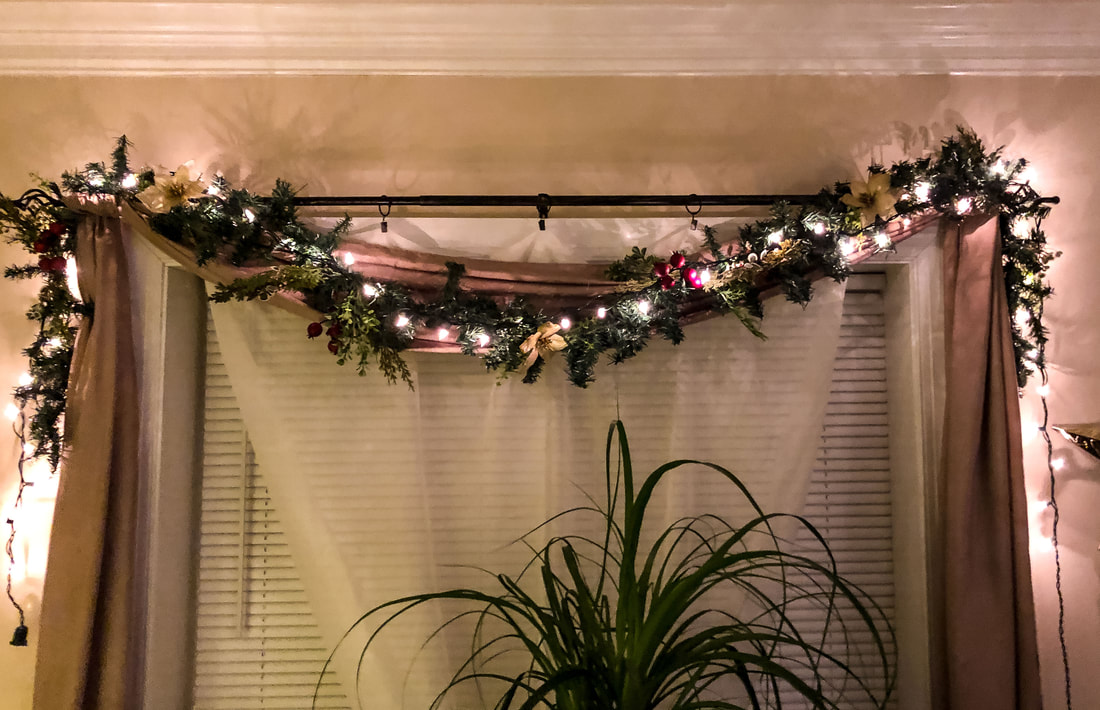 View of the garland with lights over the window. Photo by Diane M. Lilly, 2022.  View of the window garland with the tree. Photo by Diane M. Lilly, 2022. 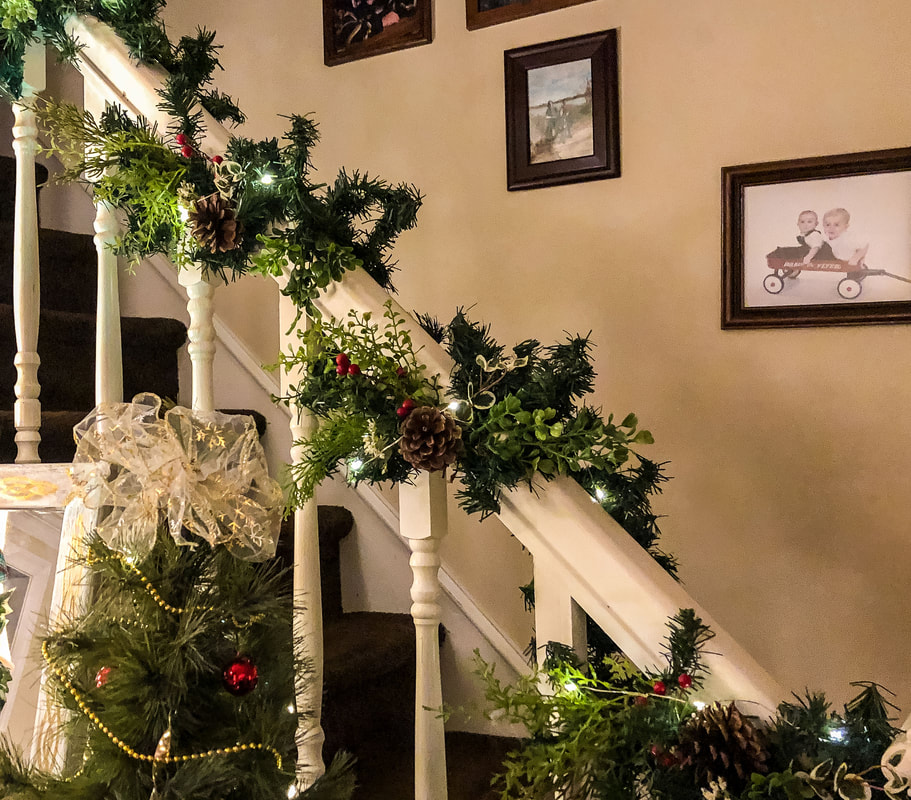 View of the railing garland with fairy lights added. Photo by Diane M. Lilly, 2022. When I started this decorating project, I was dubious about whether or not I had enough material to create a festive holiday space. While I wish I had more greenery and faux florals to fill out my garlands, I did pull off an economical yet stylish look. My new plan is to collect more materials for NEXT year so my holiday decor will have fuller greens and florals. So, I hope I inspired you to use what you have on hand to create festive garlands. It IS challenging to create a nice look with a limited budget! But it feels so good when you look around and see the holiday decor that YOU created! It is possible to take that cheap-looking garland and give it a makeover! If you have any thoughts or tips about creating beautiful holiday garlands, please share them below! And Happy Holidays!  Closeup of the final pinecone and faux greenery arrangements on the railing garland. Photo by Diane M. Lilly, 2022. Related blogs you may want to read: How to make a simple faux floral wreath for the winter How to make a super easy faux ivy vine wreath for Christmas How I decorated my Christmas tree on a budget this year DIY chalk painted tray with chippy effect DIY chalk painted tray with Celtic border Tips for creating a floral spring wreath A spring makeover for my small rental bathroom How to care for faux florals Nine hygge decor ideas Eight ways to create cozy winter interiors after the holiday decor comes down This article may contain a few items or commercial mentions, but I only used them for demonstration purposes only. I am not endorsing any particular product or receiving any monetary gain for this blog.
0 Comments
Leave a Reply. |

Author
Some of the posts on this site contain affiliate links. This means if you click on the link and purchase the item, I will receive an affiliate commission. 
Categories
All
Archives
October 2025
|
 RSS Feed
|
|
Major credit cards accepted through Square. Apple Pay option available. This site also accepts PayPal payments for better online security, and it's free to sign up! Gift cards are now available for purchase!
Copyright 2025 |