|
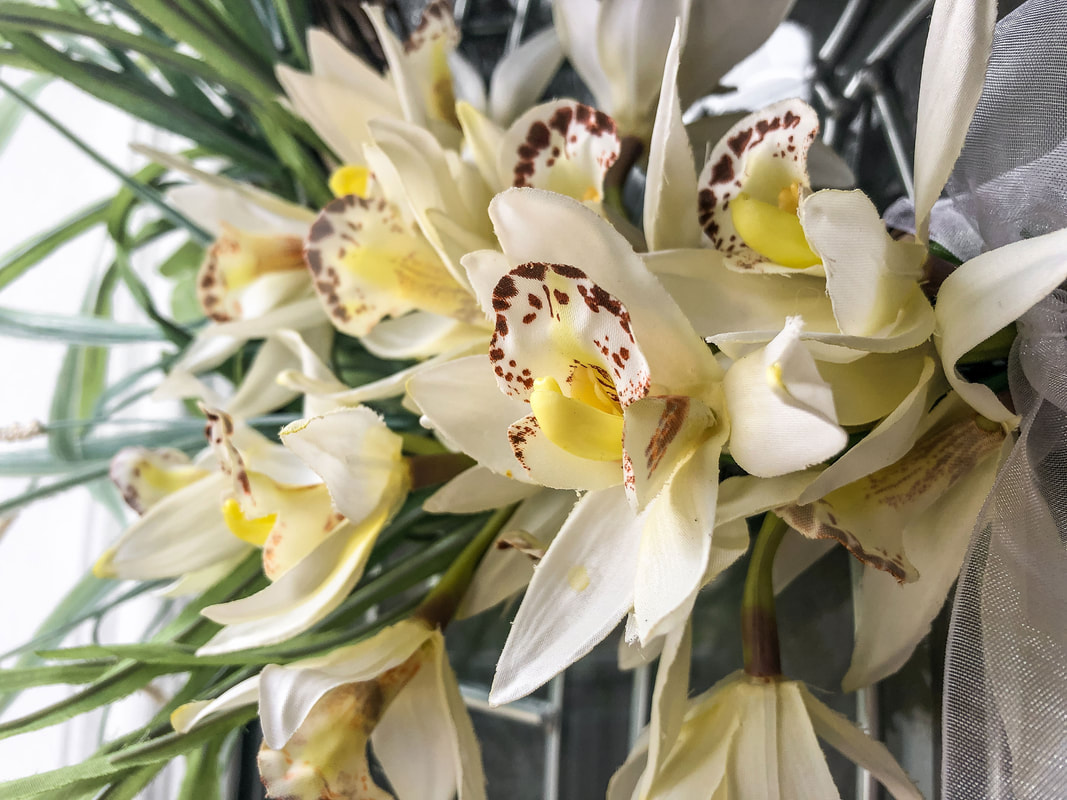
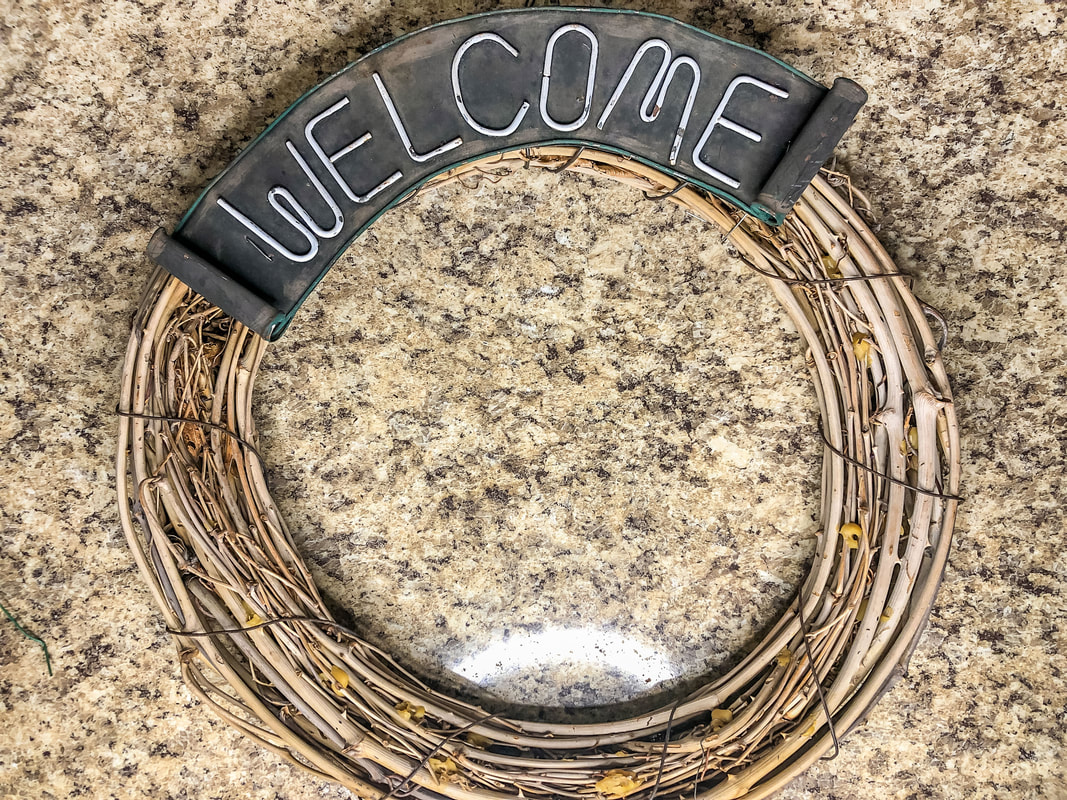
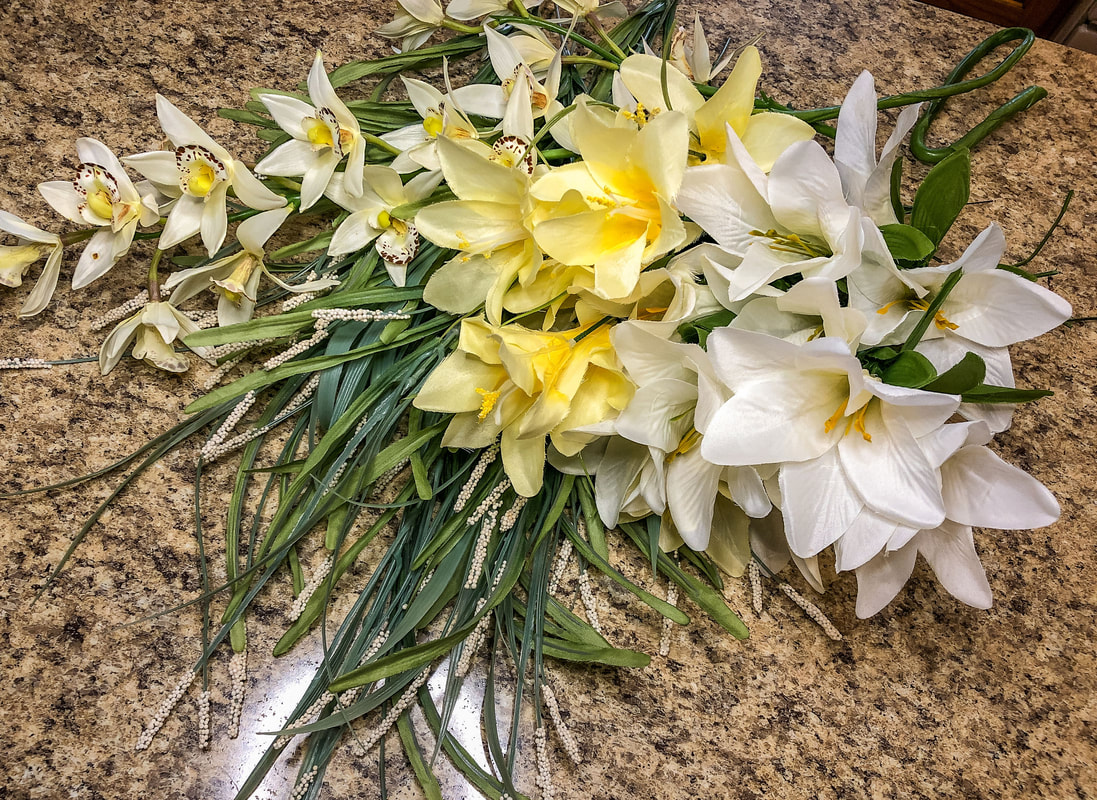
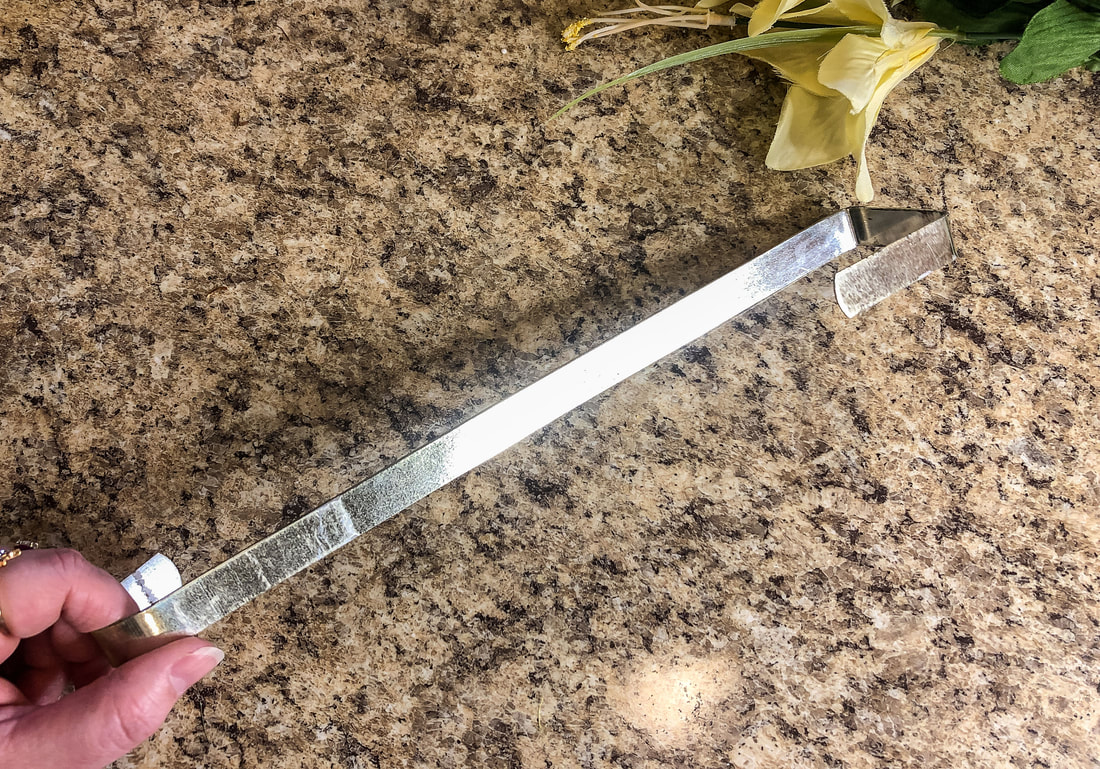
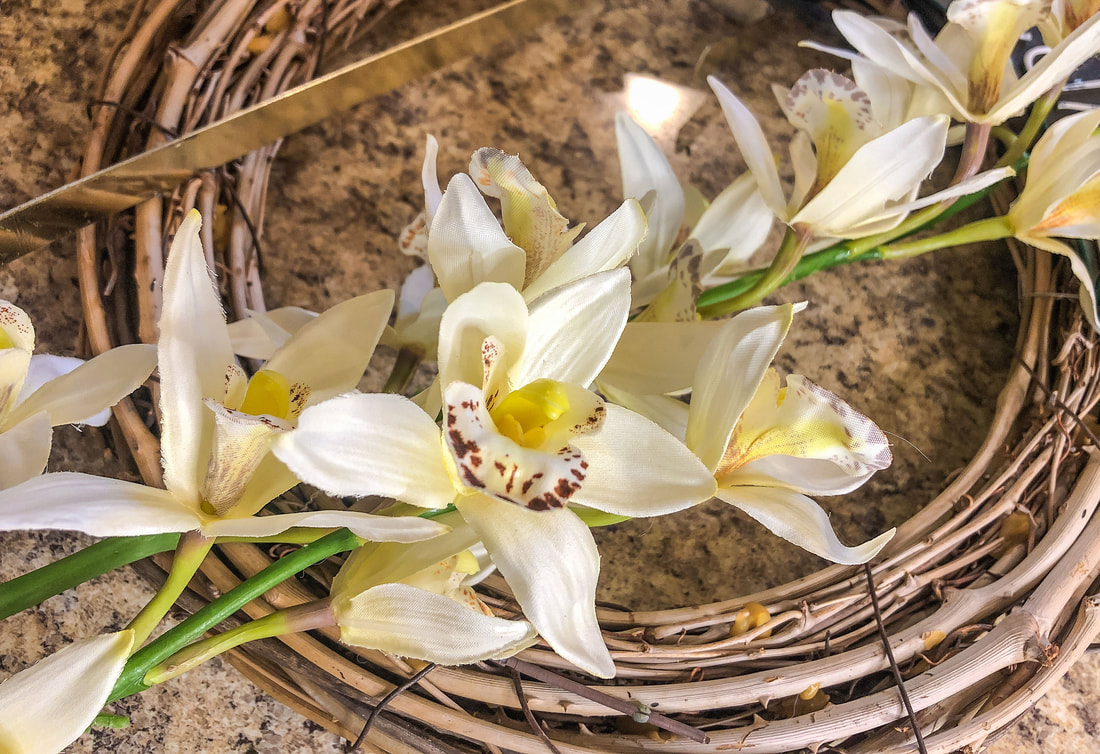
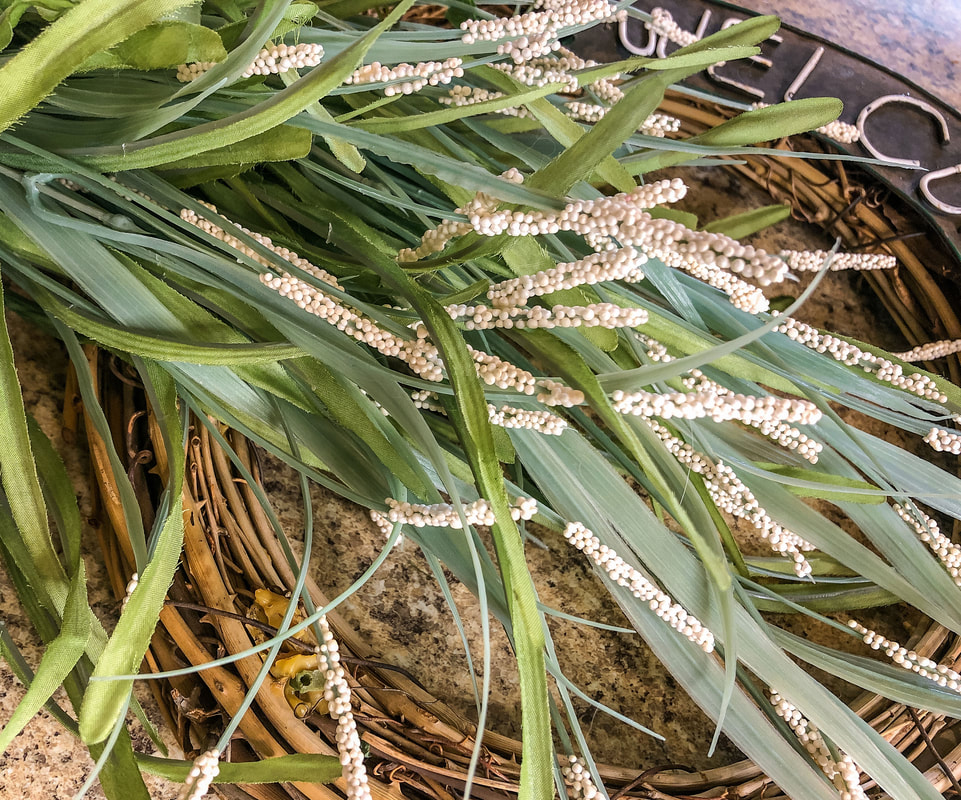
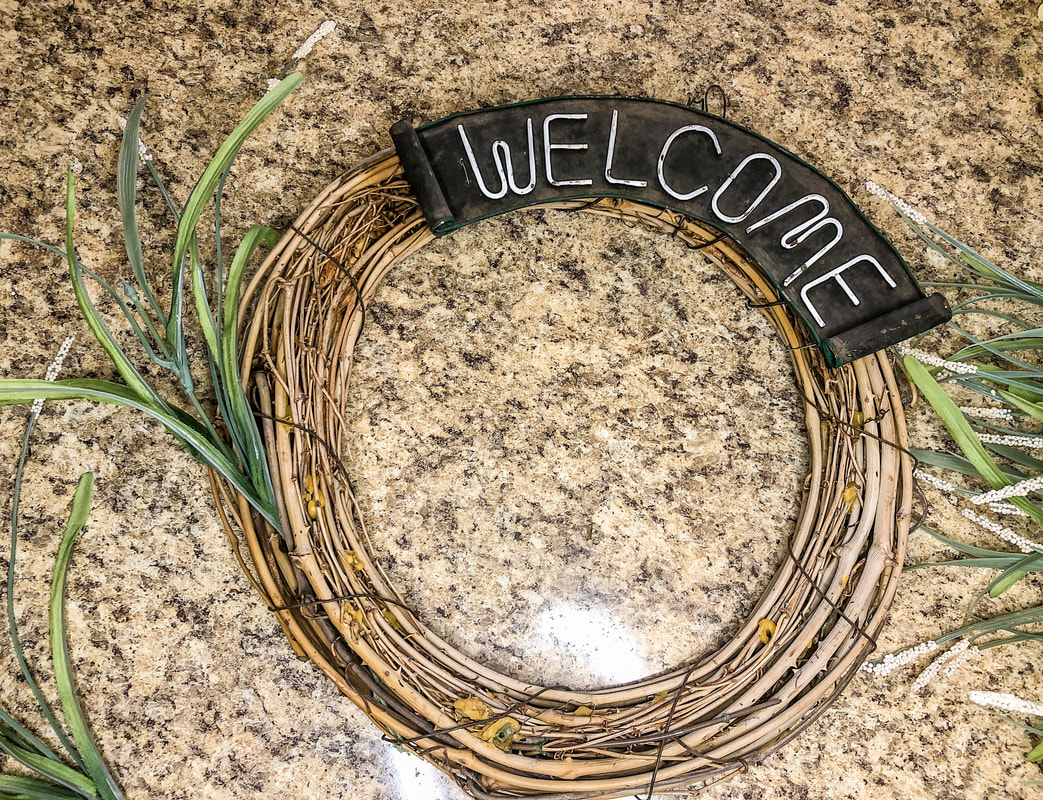
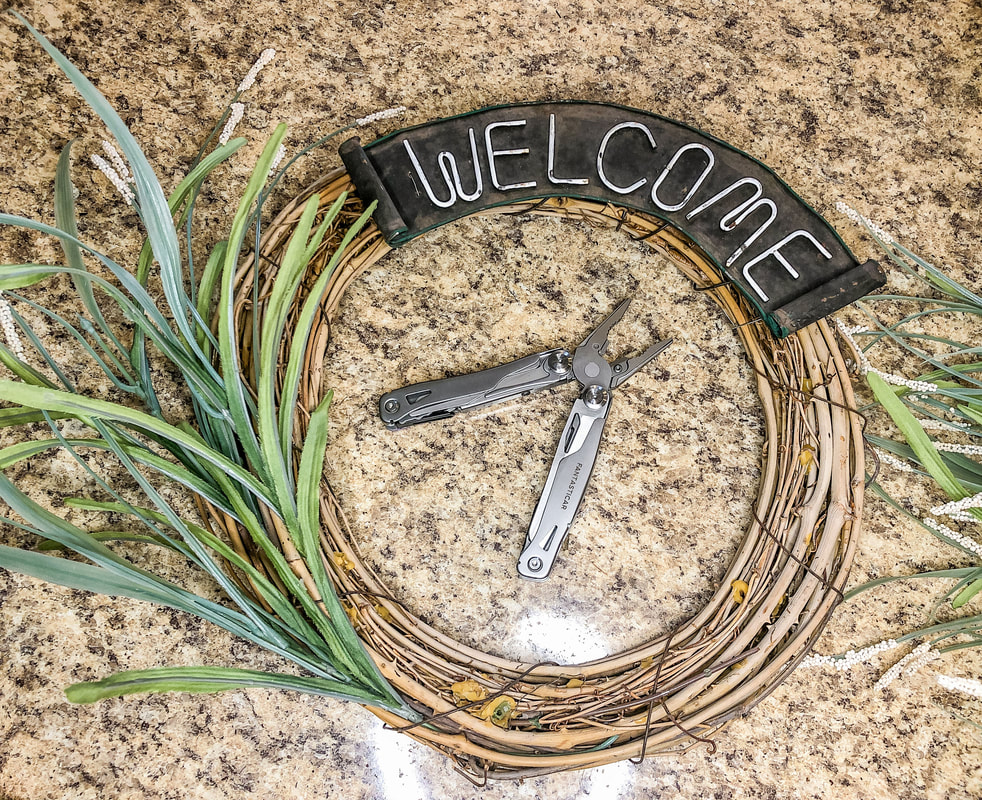
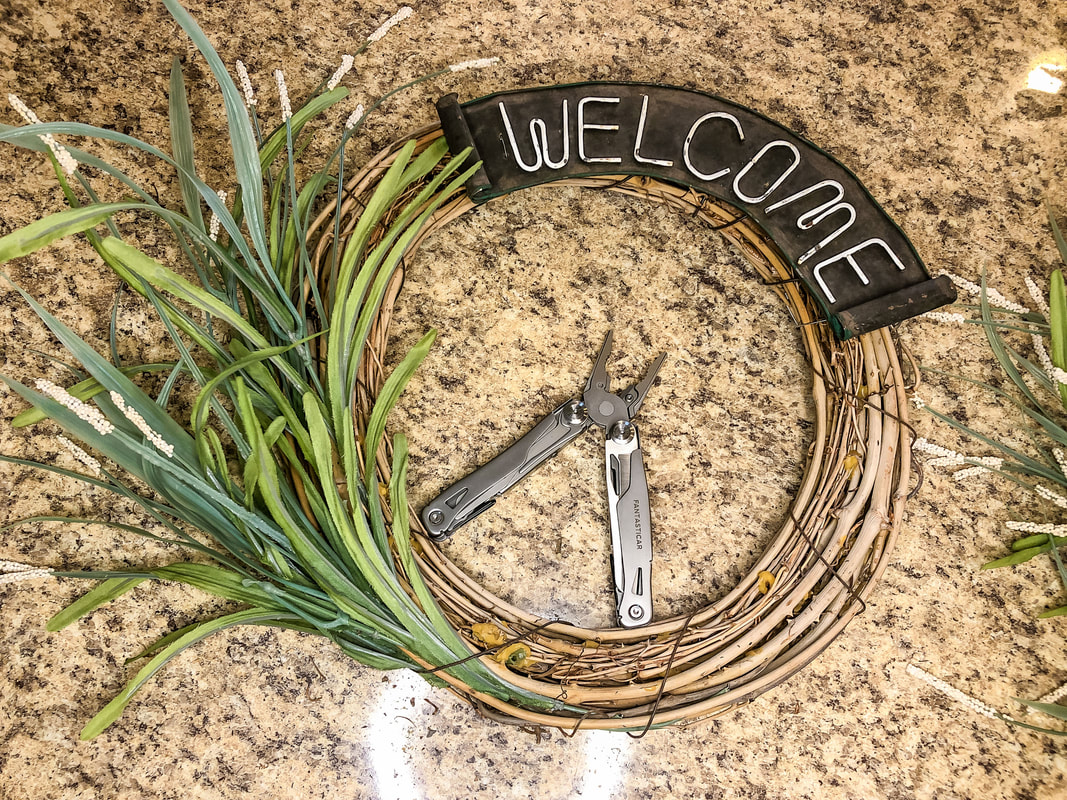
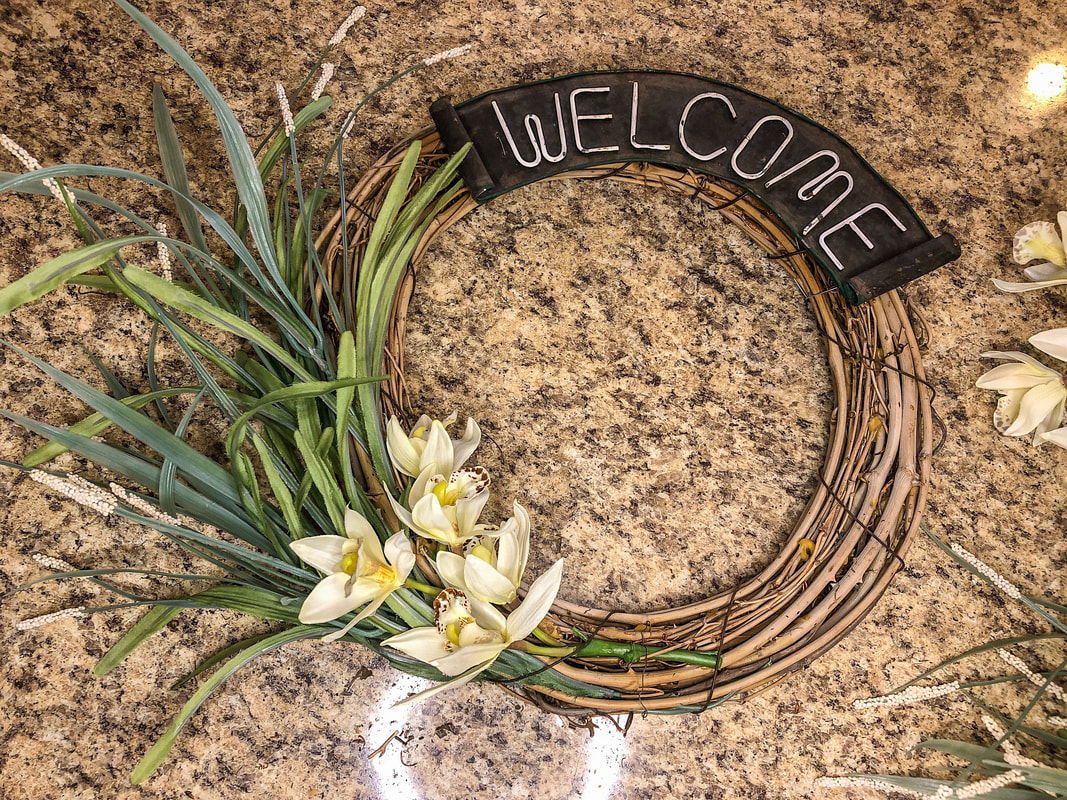
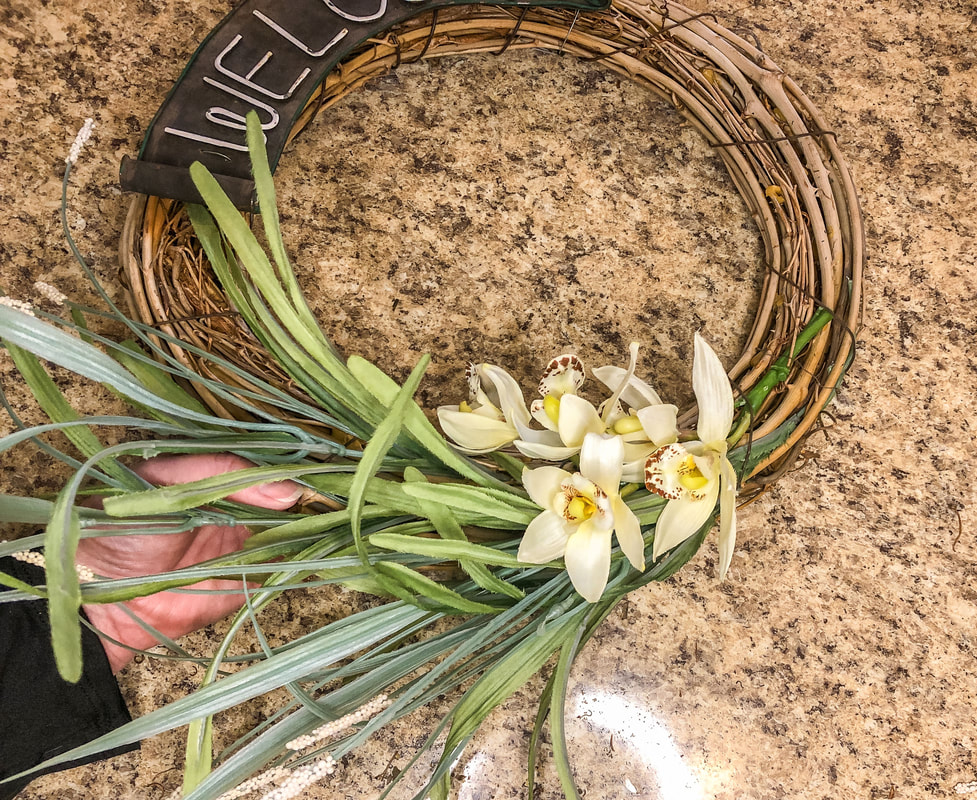
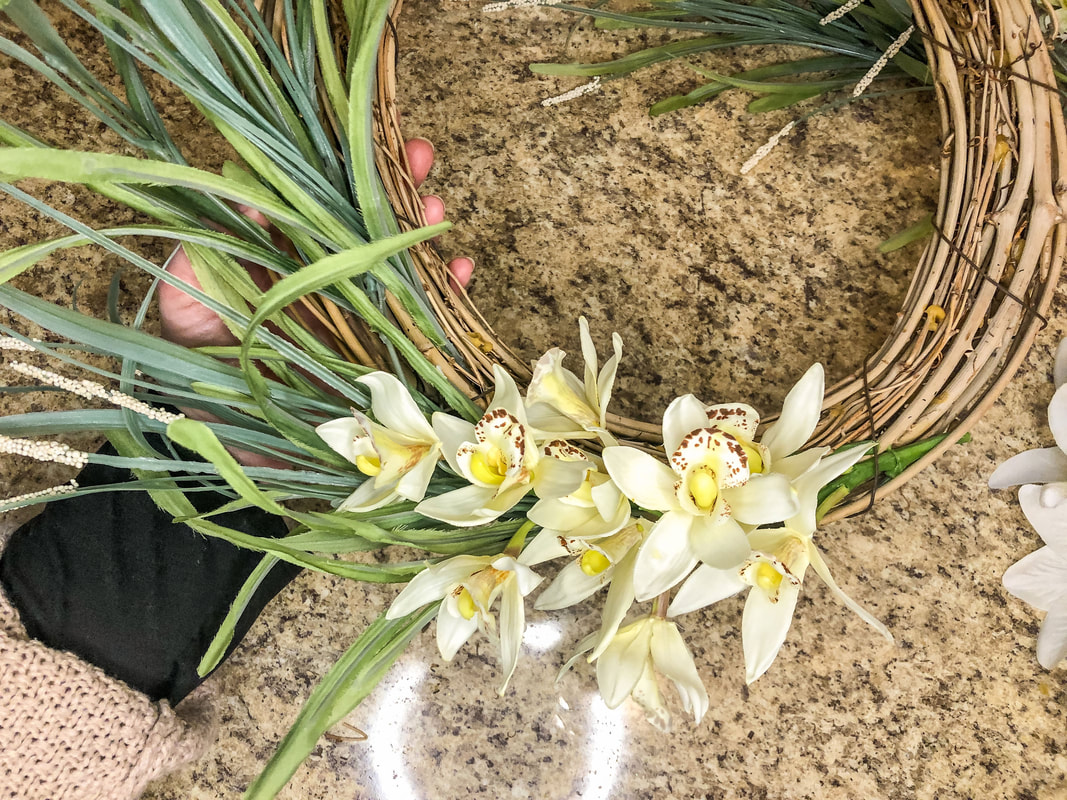
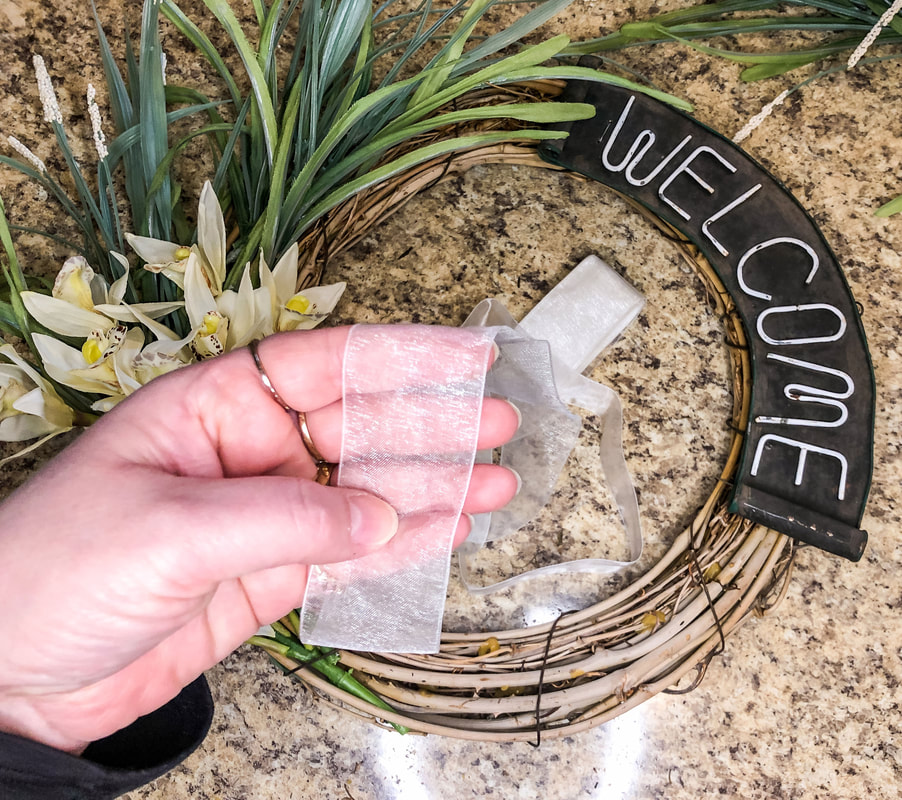
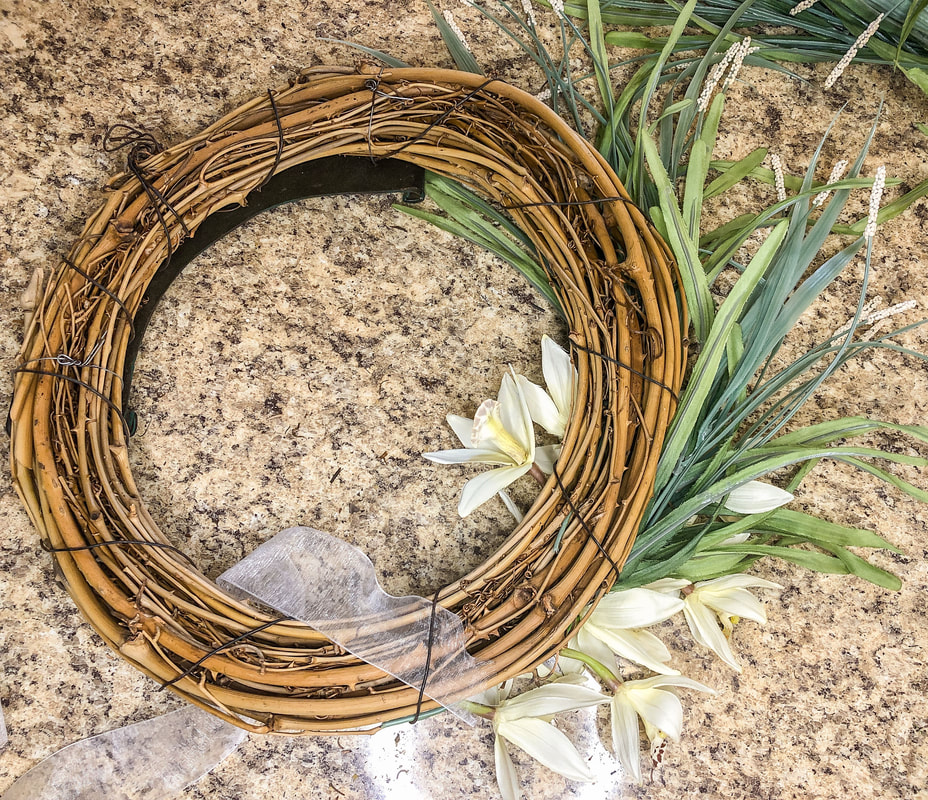
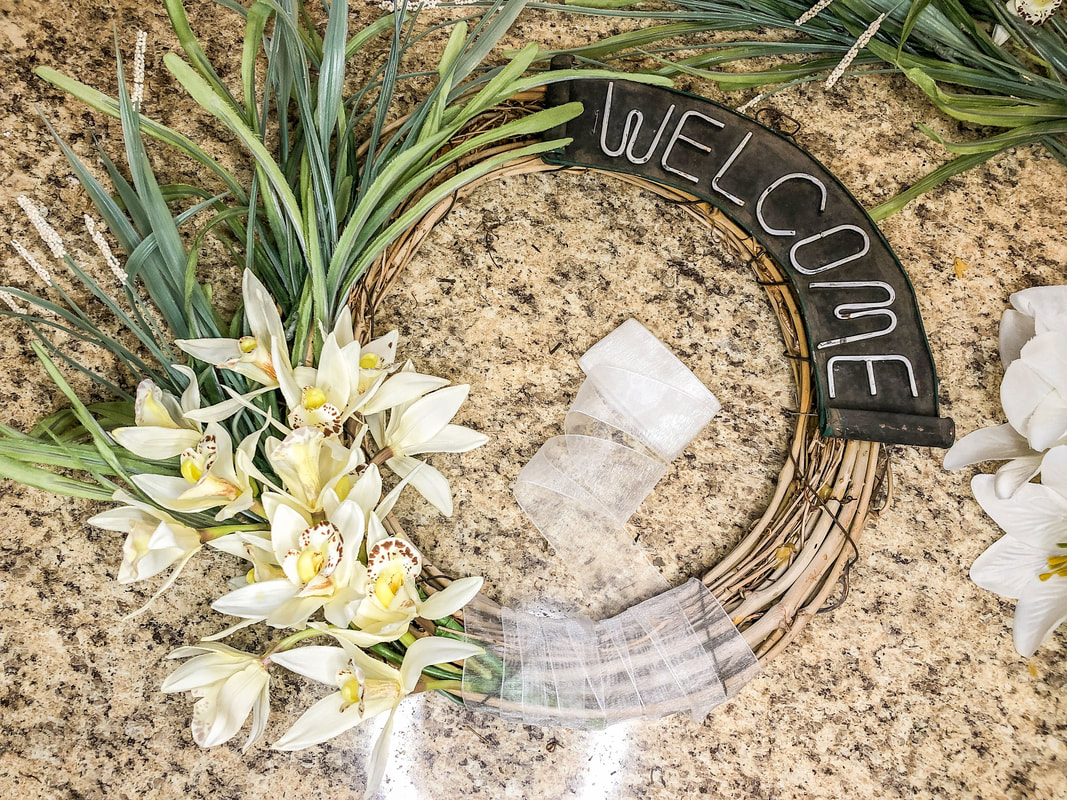
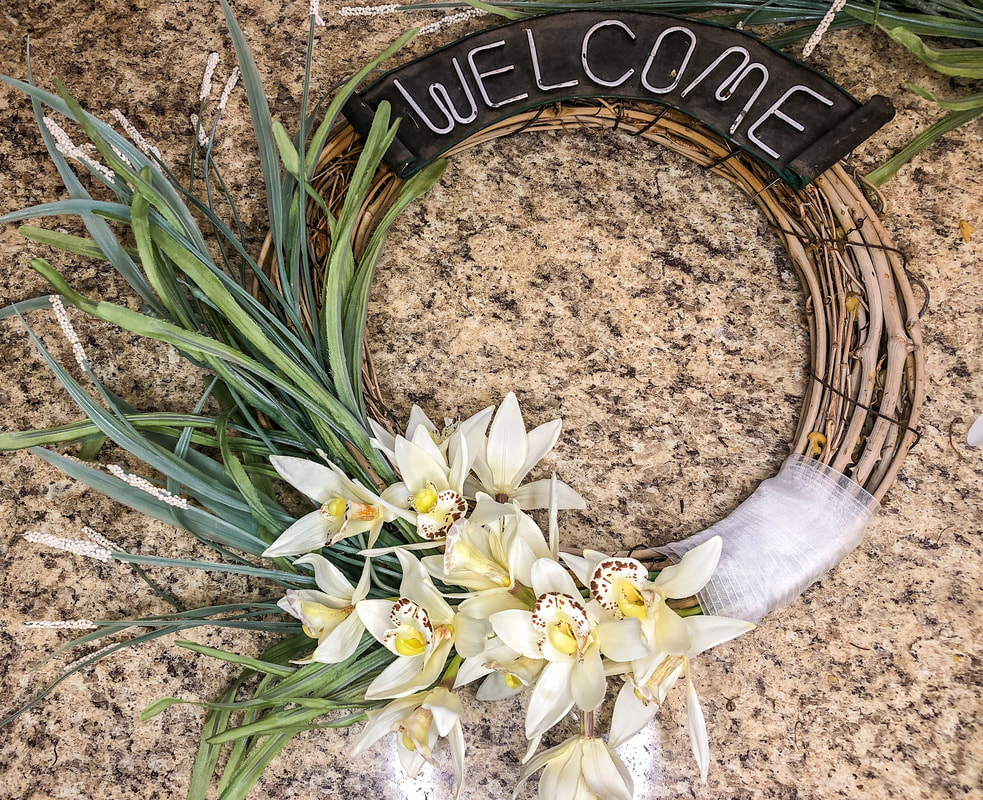
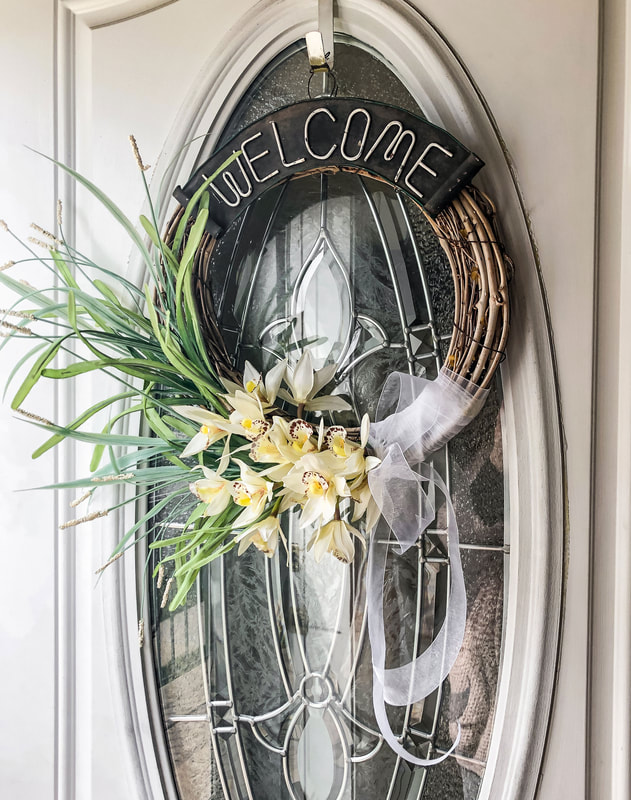
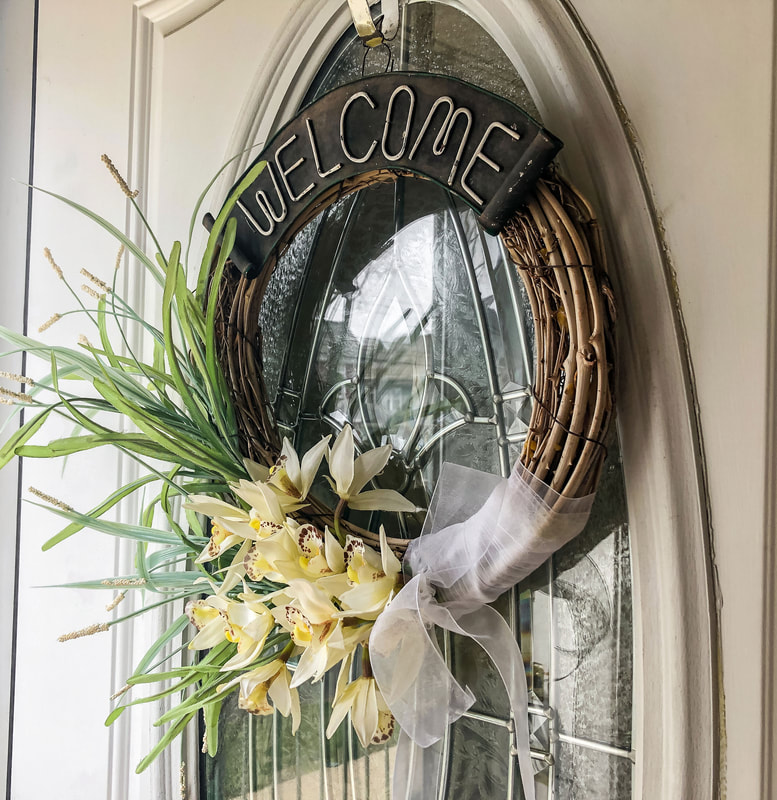
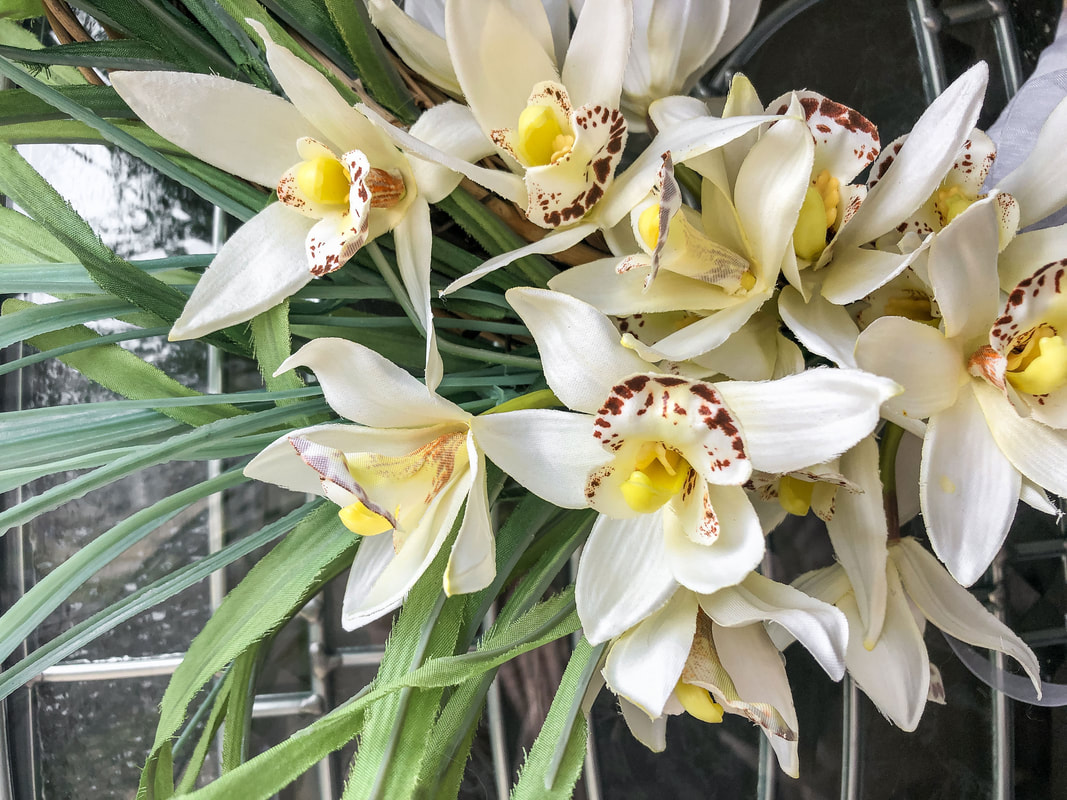
It's springtime! Time to make another faux floral design for my front door wreath. Every season, I re-use a pre-made wreath base, which serves as a template for whatever seasonal floral design I want. I couldn’t tell you where I got this old wreath from—I’ve had it so long now! The twisted vines conveniently allow me to insert stems into gaps between the entangled branches. Most of the time, the stems stay in place, but occasionally, floral wire is needed for extra stability. (Because I change out florals for this wreath, I never use glue.) If you don't have one of these grapevine wreaths, you can find whatever style and size you need on Amazon, Michaels, Hobby Lobby, or most craft stores. This spring season, I'll share my process and offer helpful tips for anyone who wants to create their own wreath design. To be sure, I’m no expert! There are floral designers out there who could run circles around me, but this is meant to be a fun project, and a simple design is something anyone can do. So here goes… Laying out the design So what about this spring’s floral design? Well, I originally intended to use a combination of white and yellow lilies, orchids, and ornamental grass--that is, until I realized that the lilies and orchids were competing. So, I made the decision to use only the orchids. The pros say to lay out your design before starting your project, but--for better or worse--sometimes, I skip this step and go with my gut instincts. Since I do not glue anything permanently into place, it’s easy to make adjustments. I started this project with a vision of an asymmetrical floral design, grass to the one side, and orchids layered on top as a focal flower, so I dug in and went with it. Materials I used The structure I will be using for this design is the pre-made twisted vine wreath base I spoke about earlier, which will be hung (when finished) with a gold metal door hanger. Since I didn’t need floral wire, the only tool used in this project was a pair of wire cutters. (I have an all-purpose tool with a wire cutter attachment.) The decorative bits will be the faux orchids, the ornamental grass, and the sheer white ribbon. So, this will be a simple design project this time around! Inserting the greenery You’ll often see floral designers start their arrangements with greenery first. This helps to establish some structure and texture and helps to make the arrangement fuller. The greens also provide a backdrop that allows the focal flowers to pop. For this design, I wanted the greens to create a sense of dynamic diagonal drama, onto which I could just “lay” my orchids. I worked my way down toward the bottom of the wreath, layering each stem and keeping them evenly spaced with no strange gaps. Inserting the focal florals Finally, it’s time for the focal florals! These are the flowers that make the whole design pop! They should compliment the greenery and filler flowers but still visually jump out, as these are the flowers you want people to notice! They are your showcase flowers and generally should be larger than the fillers, and there should be a nice balance of contrast in color, shape, and size throughout the arrangement. When making your floral designs, experts say to use similar shades and tones or even complementary colors (colors across the color wheel from each other). In my case, I’m sticking with a white, pale yellow, and green palette. The greenery already had some small cream-colored berries mixed in. The focal florals were layered in, starting about mid-way through the greenery, working my way down towards the bottom of the wreath, avoiding unwanted gaps. Wrapping the wreath with ribbon A beautiful sheer ribbon was used to cover the stems at the bottom of the wreath. I visualized a bouquet attached to the wreath with ribbon wrapped around the base of the flowers and gracefully hanging down. You can experiment with different types of bows or even wired-edge ribbons. For my design, however, I just wanted a simple sheer ribbon that does not take anything away from those gorgeous orchids! Hang the finished wreath on your front door! I’ve had these gold metal door hangers for a while—I honestly can’t remember where they were purchased! They were possibly bought at Kohl’s, but it could just as likely have been Michaels. Anyway, you can find inexpensive door hangers in many retail stores. There are a wide variety of styles, so make sure to choose one that suits the style of your home. The style on your front door should reflect what visitors will find inside! Depending on your style of wreath and door hanger, you may need a little wire or even a piece of ribbon to attach the wreath to the hanger. My wreath already has a bit of a wire loop at the top, so I can hook it onto my door hanger and hang the beautiful finished piece on my front door! And the project is done! So have you created a door wreath of your own yet? Do you have any tips you’d like to share? Feel free to drop a comment below! Related blogs you may want to read: Spring indoor fairy gardens Eight tips for creating a spring vignette How to care for faux florals DIY with faux florals, birds, and repurposed thrift store finds Repurposed vintage candy dish and cocktail glasses Affiliate Disclosure
Some of the posts in this article contain affiliate links. This means if you click on the link and purchase the item, I will receive an affiliate commission at no extra cost to you. I will only recommend products or services I use personally and/or believe will add value to my readers, so there is no conflict of interest.
0 Comments
Leave a Reply. |
Author
Some of the posts on this site contain affiliate links. This means if you click on the link and purchase the item, I will receive an affiliate commission. Categories
All
Archives
October 2025
|



 RSS Feed
