|
I’m officially obsessed with handcrafted fairy houses and indoor fairy gardens! They are now staples for my seasonal decor! I take advantage of every opportunity to switch out the miniature decor and faux florals to reflect the seasons and—sometimes—holidays. So far, I have two styles, but I have a few ideas for some new designs (finally), which I plan to work on in the next month or so, so stay tuned!
0 Comments
A couple of months ago, I bought this gorgeous little pothos plant from my local home and garden store that had too little soil in too small a pot. So I knew the poor thing would need to be repotted sooner rather than later. Now that the warmer weather has arrived, it’s time to give this struggling plant baby a better plot of earth. I’ve wanted to make seafood chowder for a while now. I was planning on making clam chowder, but I came across this recipe for salmon chowder and thought I’d try it. This ended up being an easy meal, and the ingredients weren’t too expensive either, which is a major plus these days with the high cost of food. As usual, I roughly doubled the ingredients because I had to feed a family of five. This time around was a bit of an experiment, and—though this turned out delicious—I’m going to admit up front that I needed maybe one or two more cans of salmon to get the full flavor. So here goes… Yep. It’s that time of year again…St. Paddy’s Day. And my family would disown me if I didn’t make my yearly homemade Irish Potatoes! (Well, I certainly hope not!) So what are Irish Potatoes, you may ask? According to Eater, this candy was never actually made in Ireland but originated (probably) somewhere in the Philadelphia area, in the southeastern part of Pennsylvania in the late 1800s. The Irish immigrants of the time seem to have invented this VERY sweet candy that looks like miniature potatoes, hence the name. The recipe I typically use as a reference can be found on AllRecipes.com. I modified this recipe a wee bit and doubled the recipe to satisfy a family of five. Ready to get your hands messy? Here goes… This month, I decided to give our master bathroom a spring makeover. To say it needed a “refresh” is an understatement. Truthfully, there wasn’t much there to “refresh”! I didn’t take “before” pictures because it was too embarrassing to share, but here’s a quick overview of the design issues I had to address… About bromeliads… Without getting too technical, bromeliads are a type of air plant or epiphyte, meaning the plant draws what it needs from the humidity in the air. This plant doesn’t technically need soil, but the soil does provide a way to anchor the plant into a pot and provide an extra boost of nutrients and water. In nature, an epiphyte’s roots attach to trees or other plants, anchoring them to a good place where they catch the best nutrients and humidity from the surrounding air. The end of winter can be so dreary, can’t it? I find myself chomping at the bit with anticipation for the warmer weather that seems like it’s taking its good old time getting here! I’m craving the warmth of the upcoming spring. Maybe something warm and home-baked will help…
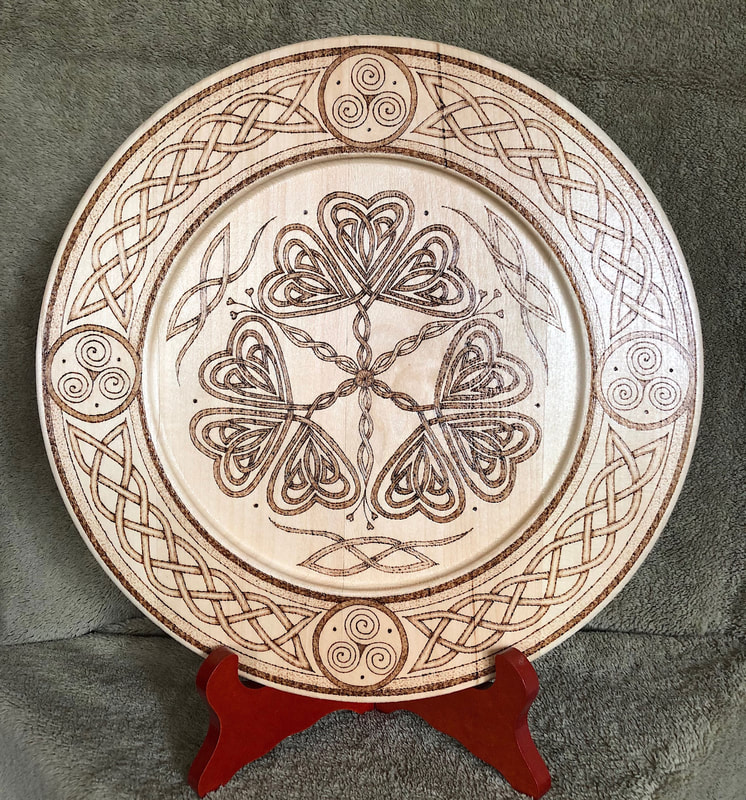
The legend of the shamrock is closely tied to St. Patrick—a man who was born in Roman Britain, lived as a slave in Ireland as a youth, escaped his bondage, and then spent some time back in England, where he seems to have become a Christian missionary or priest. I have been refreshing the decor in my master bathroom and decided to add some greenery to the mix. Adding plants in a bathroom is a win-win for everybody. The plant gets plenty of humidity (which many tropical plants love), and we get a sense of healing and calm. If you’re using your shower regularly (which I hope you are!), your plants will benefit from the humidity in the air. If you have a window for natural light, that’s even better. Typically, tropical plants are the best for bathrooms or areas with high humidity.
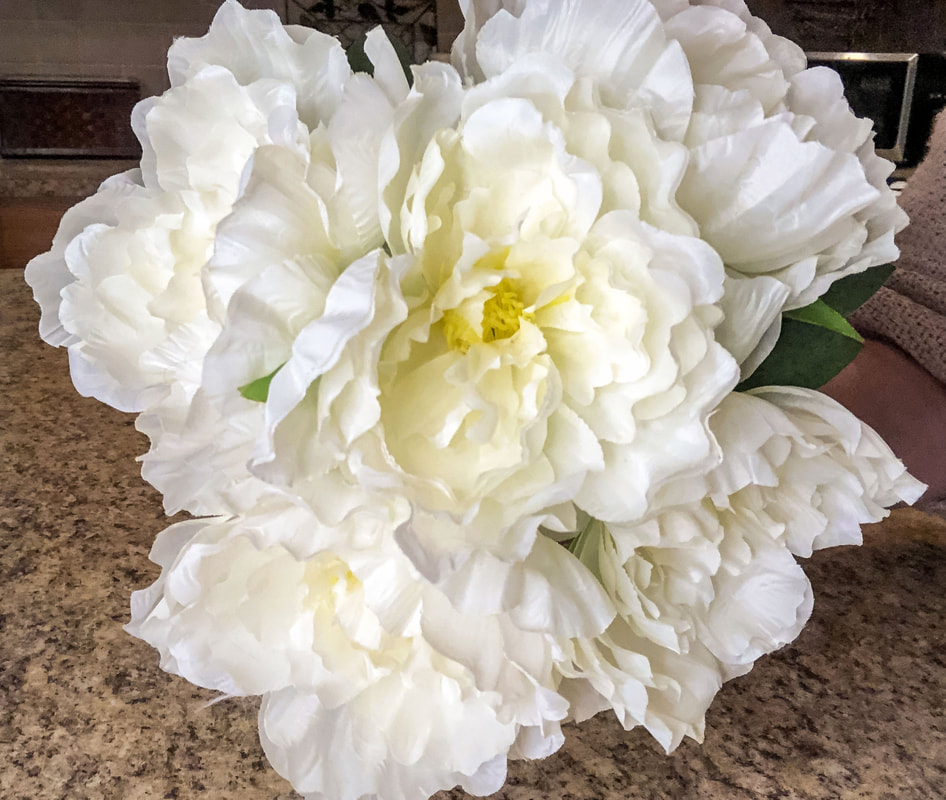
I love having real houseplants in my home. There’s something simple and nurturing about puttering in plants. I realize not everyone has a green thumb...Even I kill a plant or two sometimes! There is also the issue of proper lighting. Plants need natural light to grow, and most will die if they don’t get enough. So what to do if you want greenery and plants in your home without the maintenance or lighting worries? Get creative with artificial flowers and faux greenery!
A recent trip to the family doctor reminded me that I need to eat healthier! So I thought I’d kick off March with one of my favorite healthy meals— homemade chicken soup.
This soup is a slight variation of a family recipe passed down from my great-grandmother—a little Ukrainian woman who could make a paper bag taste good! I have fond memories of helping her peel and chop vegetables and making this soup takes me right back there to that tiny faux marble kitchen table all those years ago. What better time to make warm homemade soup than on a cold, dreary winter day? We all need a little cozy comfort food when the dim winter daylight doesn’t seem to warm up our world like the rest of the year. Eating a delicious hot soup while snuggled under a warm, cozy blanket is good for the soul. Even better if the soup is homemade—much more nutritious than anything you can get out of a can!
Today's comfort food dish—tuna noodle casserole! I know it’s not everyone’s cup of tea (I need to be in the mood for it), but a warm tuna noodle casserole can be perfect on a cold day!
Plants can add beauty and a depth of color and texture to a space, but there are also health benefits to having plants around. There is a houseplant for you, even if you don't have a green thumb! Just do some research for low-maintenance houseplants…and buy just one plant. Keep one plant alive, and you’ll soon catch the houseplant bug…I know from experience! (Plants are the new candy for me now!) If you are interested in houseplants and would like to know some of the benefits, read on to learn how adding live plants in your space can benefit your health. There’s nothing like homemade, right?
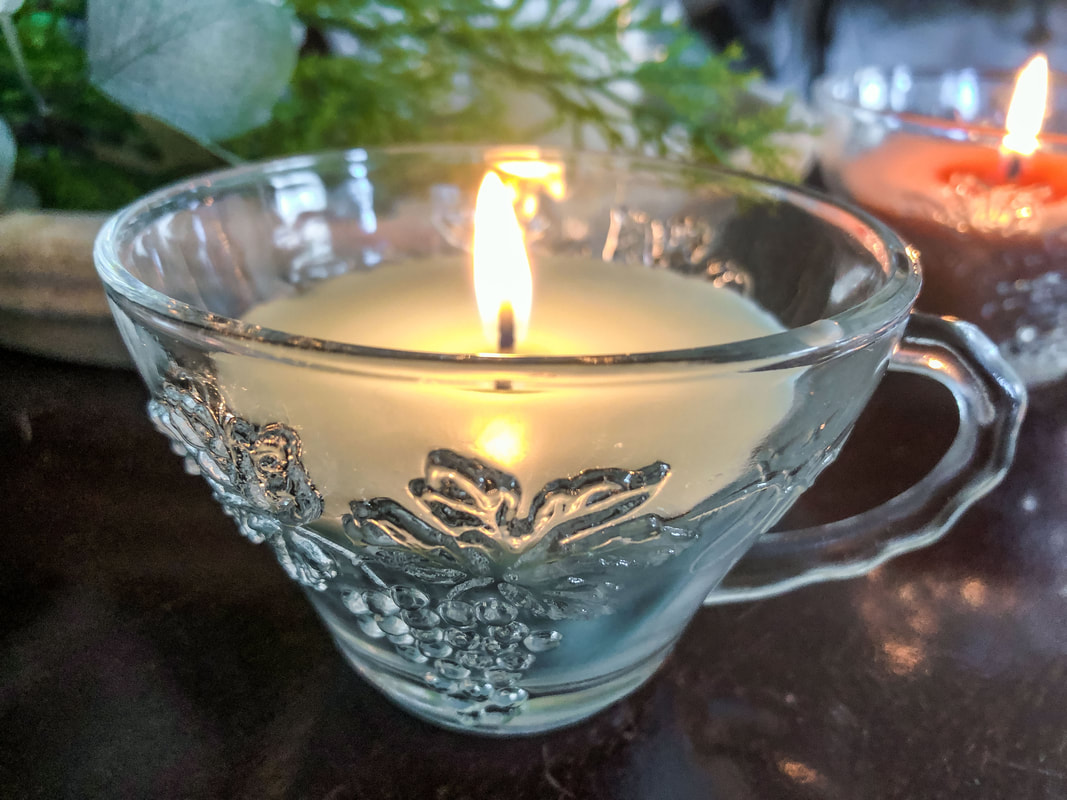
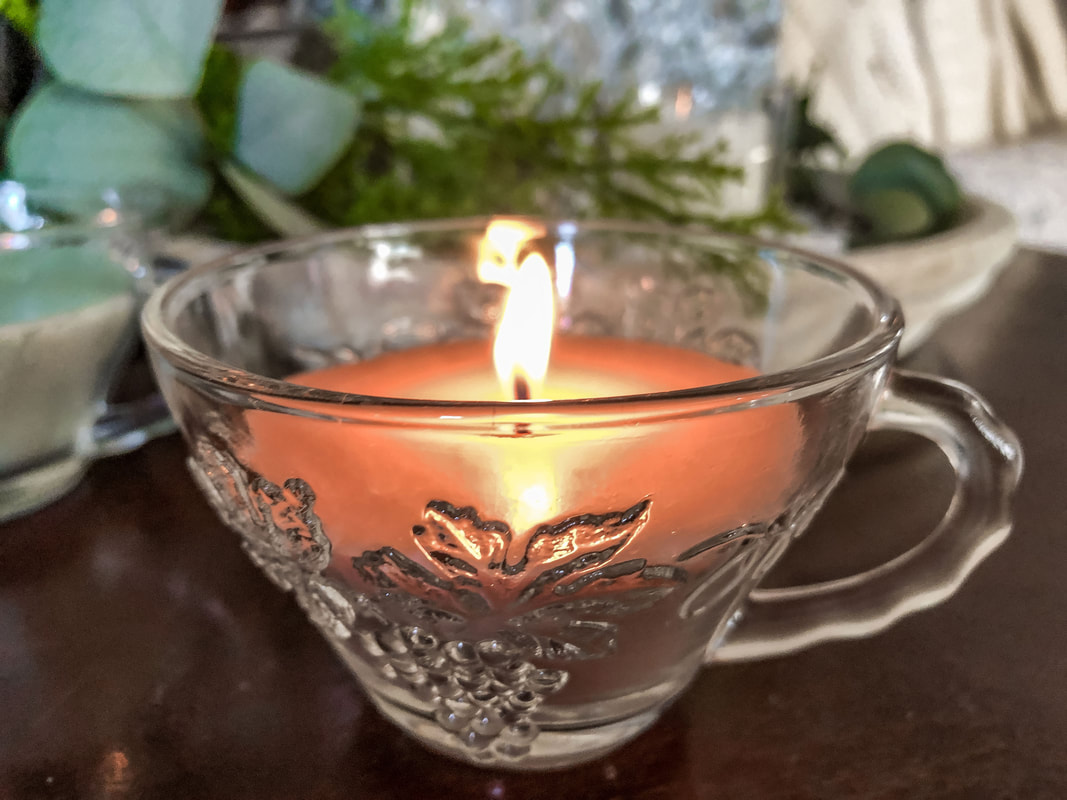
I used to work in a store where I merchandised candles and could never resist the urge to smell every new scent I unpacked. There’s just something about the allure of scented candles that’s irresistible! There’s just one thing about store-bought candles, though…They are full of pollutants I don’t want in my house. I decided to learn how to make homemade candles several years ago...and I was hooked! It’s cold outside…and I’m on a mission to make the inside of my home feel cozy. If you’ve read any of my recent blogs, you’ll know by now that I am currently embracing a common theme—hygge. Hygge is a Danish concept of finding joy and coziness in your everyday life, and candles are a core part of that life view, especially in winter.
And as it turns out…I know how to make my candles! Maybe it’s the time of year—cold, dark, uninspiring—but I’ve been thinking a lot about creating warmth and healing in my interior spaces. My studies in interior design have made me aware of the effects your spaces can have on your mood and sense of self. There is an art to designing spaces, and I love how interior design can help the people who inhabit the space. As someone who has had to deal with lifelong depression and anxiety, I am also acutely aware of the need to have personal spaces that can make me feel more at ease and calm.
What is hygge? There is no direct translation for hygge. Hygge (or the Swedish equivalent "mys") is a feeling or state of mind, a way of thinking about life. The term is Danish, but according to Visit Denmark, the term is originally Norwegian, referring to living with a sense of well-being and togetherness—what could be called the simple life. Hygge (pronounced hoo-guh) means celebrating joy and pleasure in simple things. It’s January. It’s cold and dreary…and I’ve discovered the concept of hygge, of making my life more meaningful, of creating a deliberate sense of coziness and joy. So what else to do but cook some comfort food? There’s no better way to cozy up on a wintry day than to fill your belly with warm, delicious comfort food.
It’s frigid outside…cold wind whipping around you, your nose feeling like an ice cube, frosty white snow covering every surface. You open the front door to your home, feel the warm air on your face, and eagerly glance at a warm blanket on the other side of the room. We all want a space like this to come home to during these dark winter months. It’s a universal need to find refuge and healing in our homes during the colder, bleaker months of the year.
Now that we’ve set the stage, let’s explore ways you can achieve a warmer, more inviting space to ward off the winter blues… |
Author
Some of the posts on this site contain affiliate links. This means if you click on the link and purchase the item, I will receive an affiliate commission. Categories
All
Archives
October 2025
|








 RSS Feed
