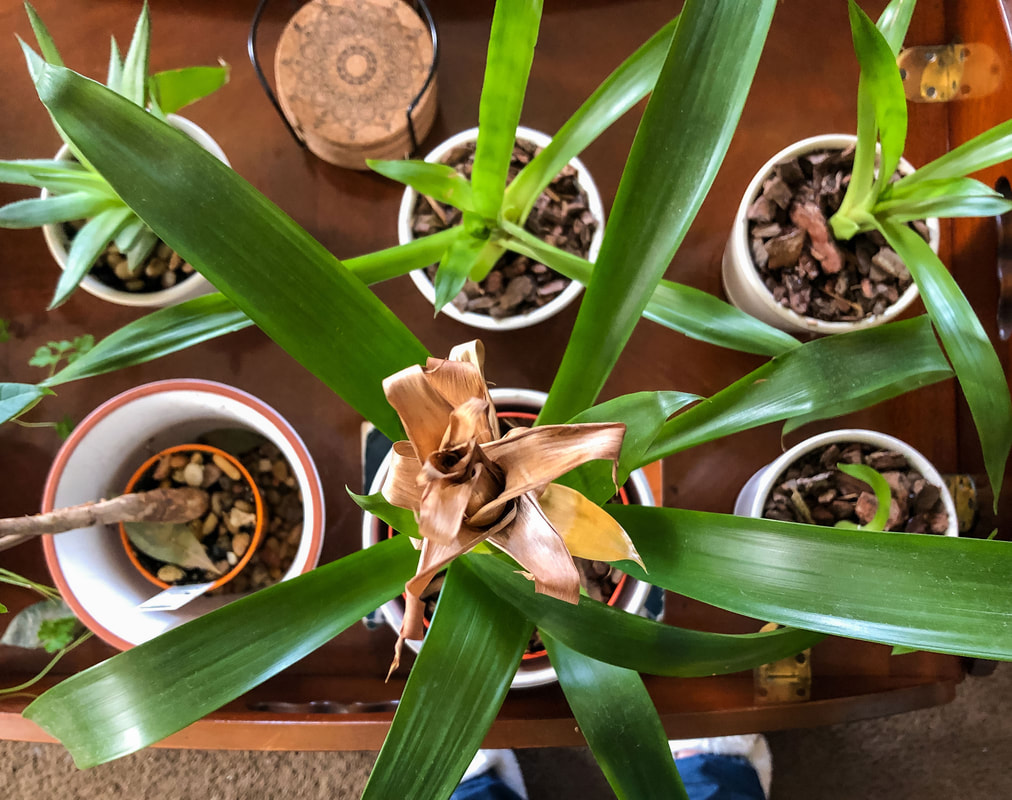
 Top down view of my bromeliad mother plant and her newly planted pups. Photo by Diane M. Lilly, 2022. About bromeliads… Without getting too technical, bromeliads are a type of air plant or epiphyte, meaning the plant draws what it needs from the humidity in the air. This plant doesn’t technically need soil, but the soil does provide a way to anchor the plant into a pot and provide an extra boost of nutrients and water. In nature, an epiphyte’s roots attach to trees or other plants, anchoring them to a good place where they catch the best nutrients and humidity from the surrounding air. 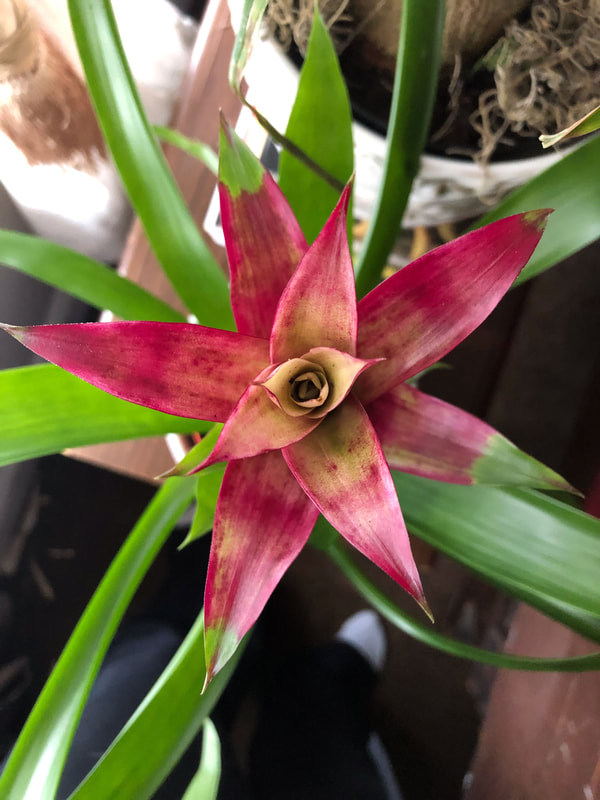 Top down view of bromeliad plant in bloom with its vivid fuchsia leaves. Photo by Diane M. Lilly, 2021. 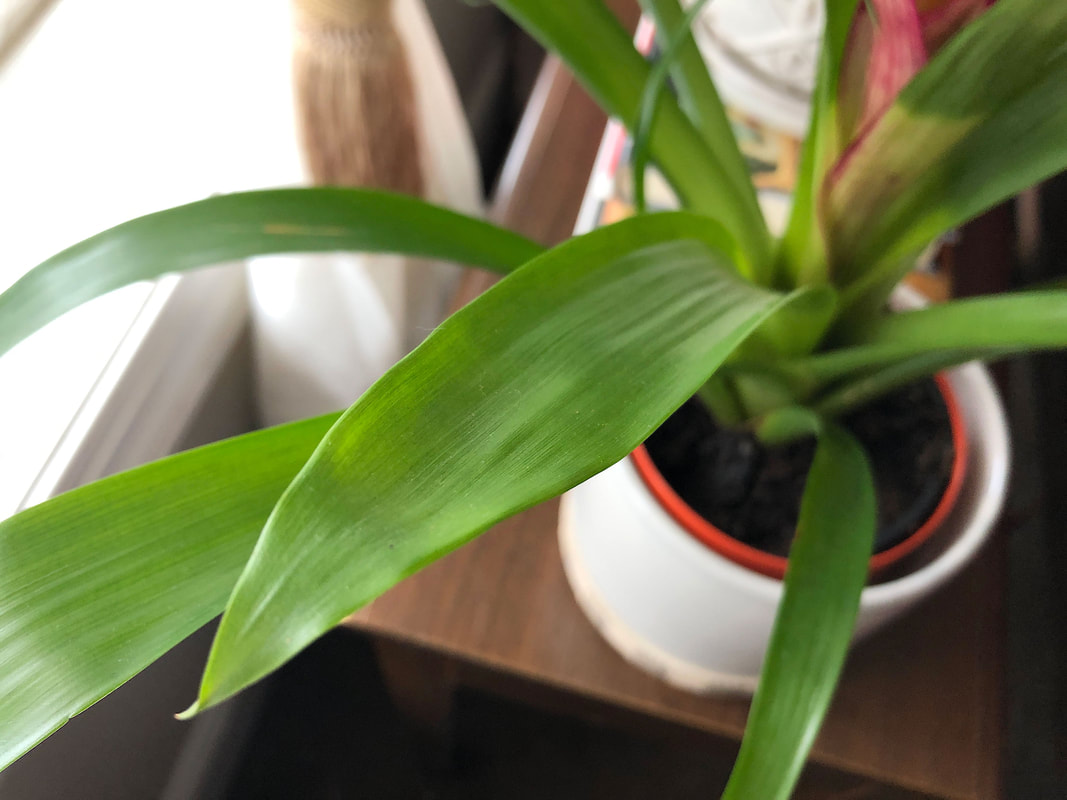 Bromeliad leaves. Photo by Diane M. Lilly, 2021. 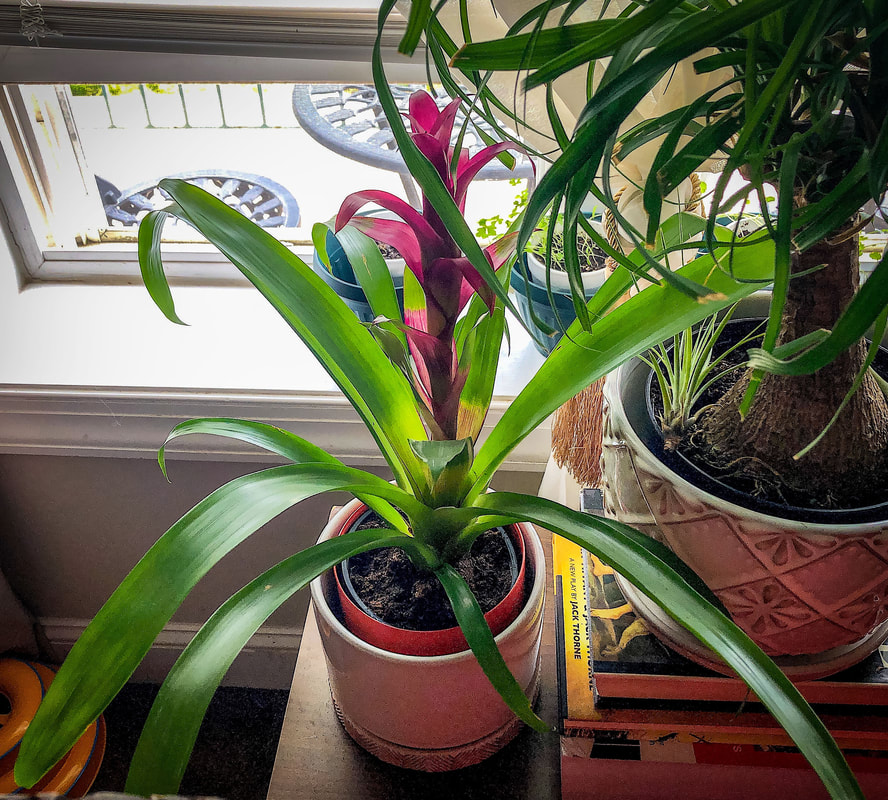 Bromeliad plant in my front window. Photo by Diane M. Lilly, 2021. Some bromeliads are green and leafy plants that will begin to develop vividly colored leaves in the central part of the plant when the plant matures (which takes at least a couple of years). The plant will retain its vibrant color until it gets ready to fade and die. Once that time comes close, the mother plant will shoot out pups from the base of her bottom leaves. These pups will grow and draw nutrients from the mother plant, becoming the next generation of plants. The pups need to be at least a third of the size of the mother plant before they can be pulled apart and transplanted on their own. The longer they stay attached to the mother plant, the stronger they will be, and the sooner they will flower and develop roots. If they are removed when smaller, however, the mother plant will have enough time to put out more pups before she inevitably dies. Last year, I bought a gorgeous bromeliad with vibrant fuchsia leaves in the center. Sadly, she is now faded and dying, but before she goes, she has gifted me with four pups, which will become new plants for my home. And it is now time to transplant each pup into its own pot! 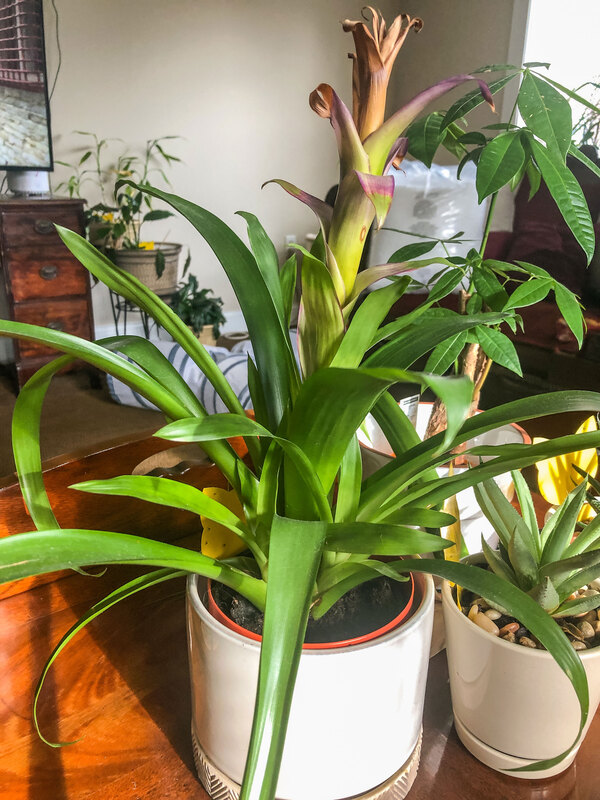 Bromelaid mother plant starting to fade. Photo by Diane M. Lilly, 2022. 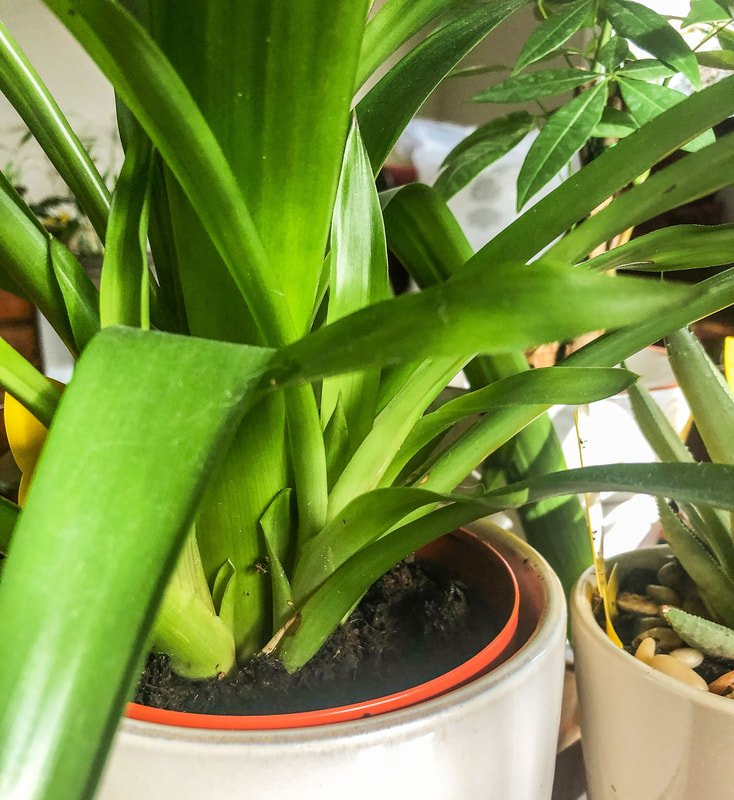 Closeup of pups growing from the base of the bromeliad mother plant. Photo by Diane M. Lilly, 2022. Materials needed for this project: 4 small pots (about 3-4” in diameter) fungicide/rooting hormone sterile knife potting mix peat moss bark bin or container to mix soils 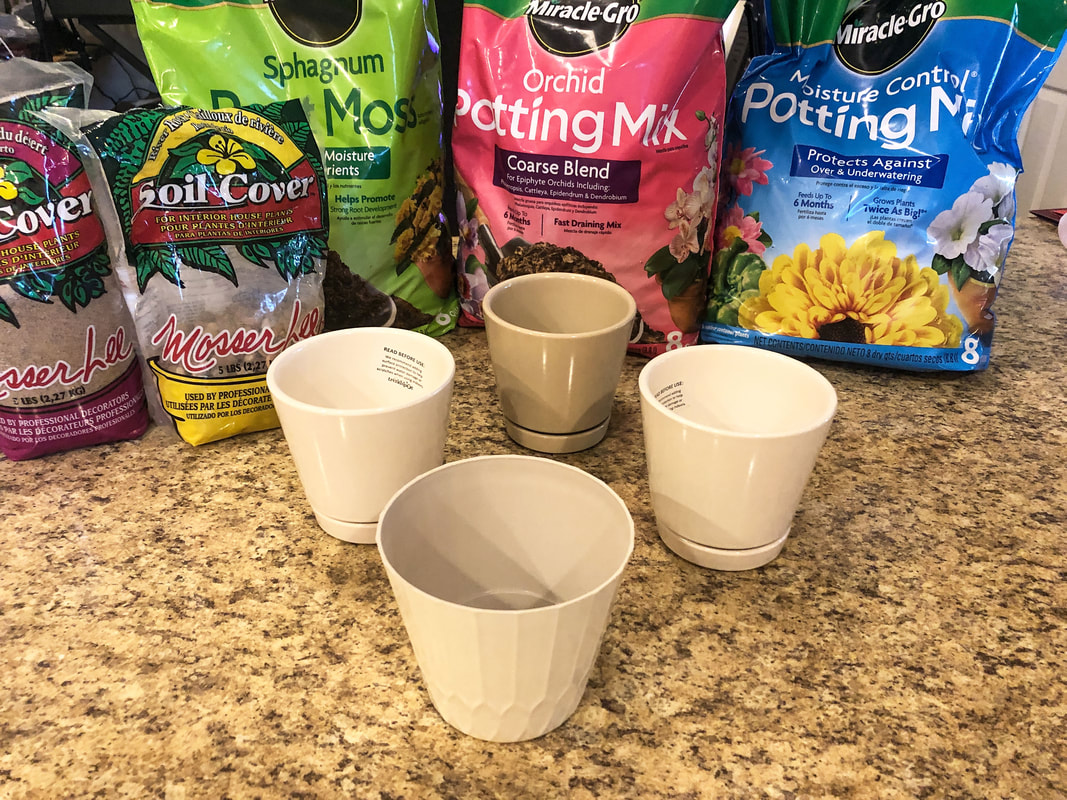 Pots and potting mix. Photo by Diane M. Lilly, 2022. Let’s talk about soil for bromeliads… Choose well-draining soil for bromeliads, as these plants—like most plants—don’t like sitting in soggy soil. Soil mediums like sphagnum peat moss, sand, and orchid bark may work well. Good potting soil with a mixture of bark and sand can also work well with bromeliads. Once your bromeliad is in the proper soil, the plant will not typically need repotting unless you propagate pups. Some soil mixtures suggested by the pros: Simple moist peat mix soil Sand mixed with a good draining potting soil Mix of 1/2 potting soil and 1/2 orchid bark Mix of 1/3 sand and 2/3 peat Soil mix in equal parts of perlite, peat moss, and bark Soil mix of 1/2 potting soil, 1/4 perlite, 1/4 bark The mixture I decided to use was based on what I had on hand. I used 1/2 potting mix, 1/4 sphagnum peat moss, and 1/4 orchid bark. I feel like this mixture will give my pups a good draining soil with just a little boost of nutrients to help them survive the trauma of separation. 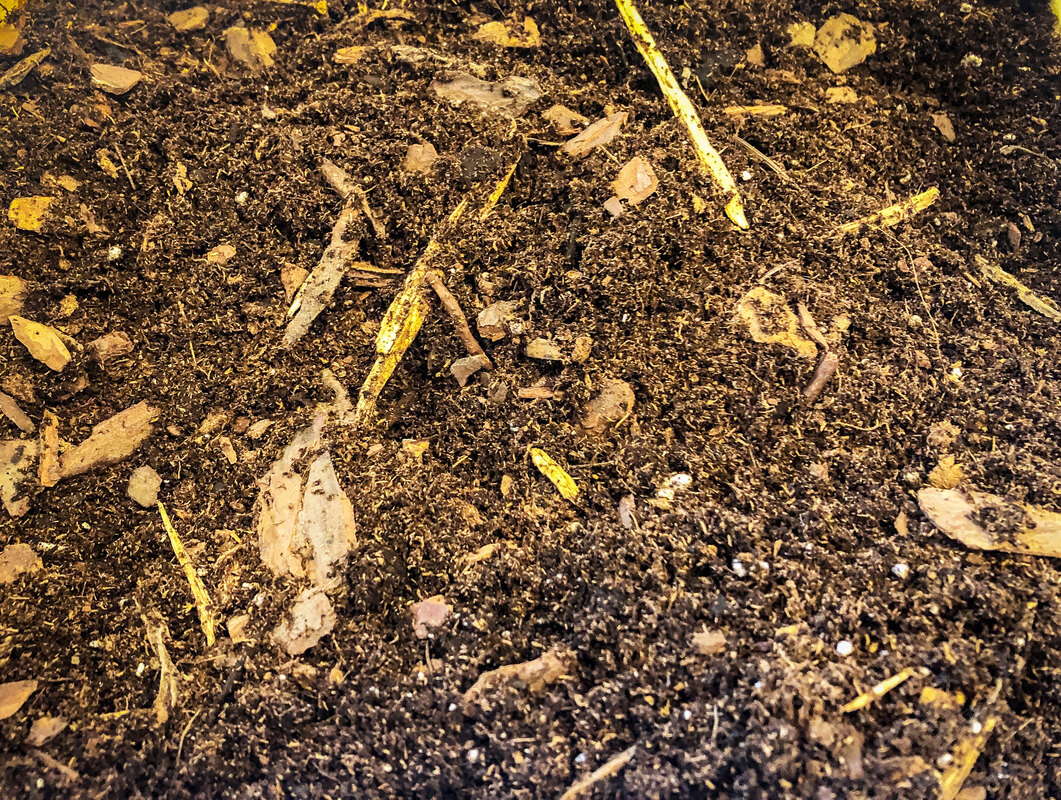 My potting mix--potting soil, sphagnum peat moss, and orchid bark. Photo by Diane M. Lilly, 2022. Removing the pups from the mother plant… Before you start, you may want a sterilized knife for cutting the small plants away from the mother. (Make sure it’s sterilized--you don’t want to introduce any bacteria that could make the fragile plant sick.) First, gently coax the plant out of its pot by turning and squeezing the pot to loosen the soil from the sides. Once the plant is free of the pot, start to loosen the soil a bit by gently massaging around the base of the plant. This will help you find the roots better, see where the plants are connected, and find the shield leaves between the mother plant and pup. I do not cut into the plants unless necessary, so I use my fingers to continue to loosen the soil and gently—and slowly—nudge the pup away from its mother. If you really must, you can use the sterilized knife to cut the two apart, keeping a piece of the mother plant attached to the pup.  Bromeliad plant removed front its pot. Photo by Diane M. Lilly, 2022. The pup may have roots by now, but it may not, and that’s okay. (Only one of three of my pups had a root of its own.) The plant will grow roots once planted in its pot. You should dip the base of the pup in a fungicide and rooting hormone before placing it in the soil to get this process moving. (See below for notes on rooting hormones.) Do not plant the pups deep; prop up top heavy plants with sticks. If the mother plant is not too far gone, she can be placed back in the soil in a pot, and she might grow more pups. Water the plants well and wet the leaves. 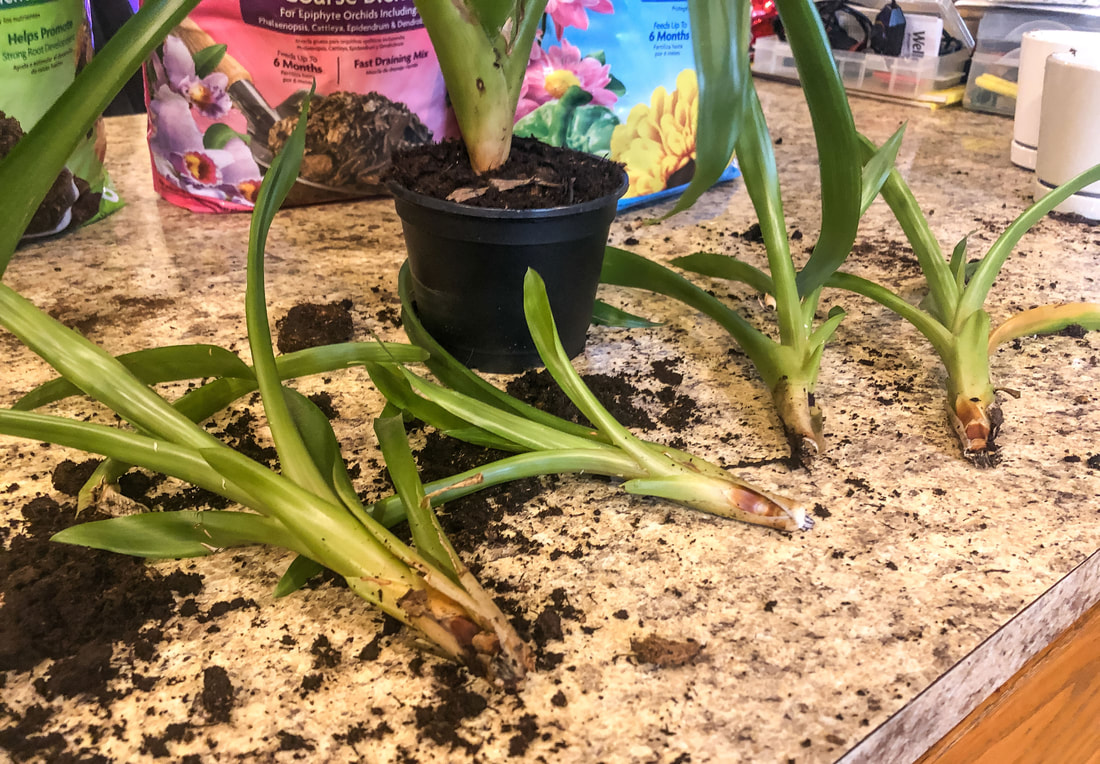 Four bromelaid pups separated from the mother plant. Photo by Diane M. lilly, 2022. Rooting hormone conundrum… So, in my haste, I forgot to buy rooting hormone and fungicide! Many plants need this step to help kill any fungus or bacteria from the cutting/separation process and to help them grow roots. So…I had to do a little quick research on how to make my homemade rooting hormone. Some ideas I found on Gardening Know How for homemade rooting hormone: Apple cider vinegar and water used sparingly. (Apple cider vinegar is used to kill weeds in the garden, so you don’t want to use too much.) Human spit…Ewww! Sounds a little disgusting, but apparently it works! Natural honey, not store-bought. Honey has anti-bacterial benefits, which is good for the new plants. Aspirin dissolved in water. Willow water or willow tea. Cinnamon in powder form to form a coating on the root area. It is an anti-fungal, antibacterial agent, and an insect repellent. Pulp from an aloe vera plant. I used apple cider vinegar and water as a rooting hormone and fungicide for this project, applying a thin coating to the plant base. Then, I popped the pups into the soil mixture and watered all the plants. The rooting hormone problem is solved! 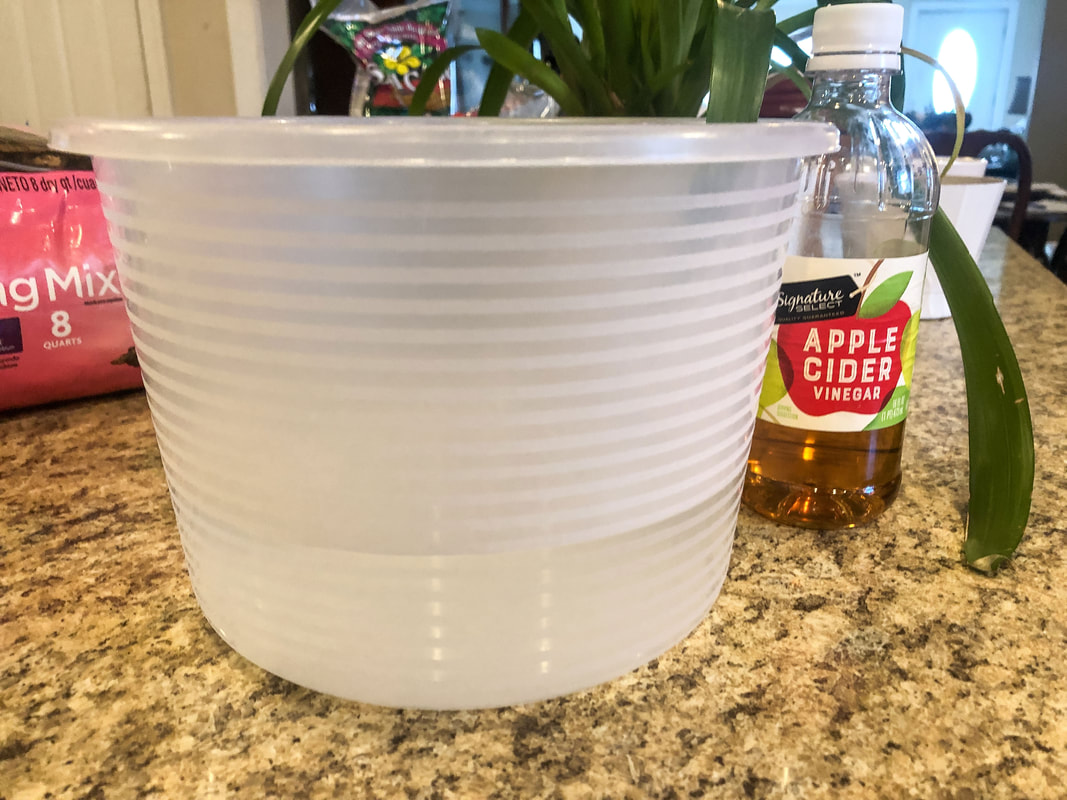 Apple cider vinegar and water, homemade rooting hormone. Photo by Diane M. Lilly, 2022. 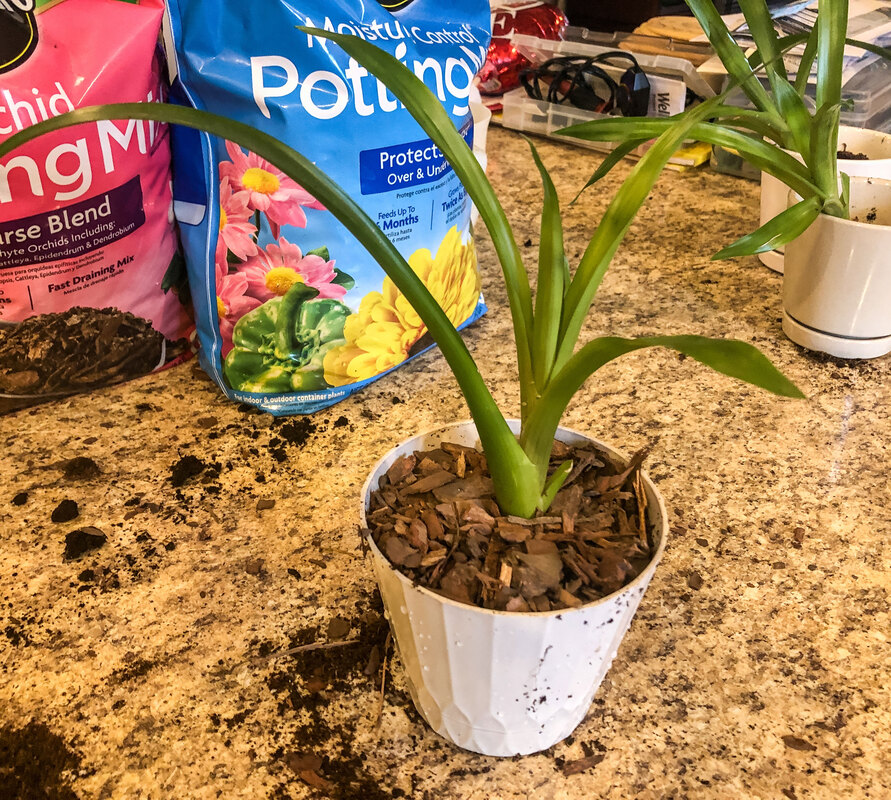 Newly planted bromeliad pup. Photo by Diane M. Lilly, 2022. 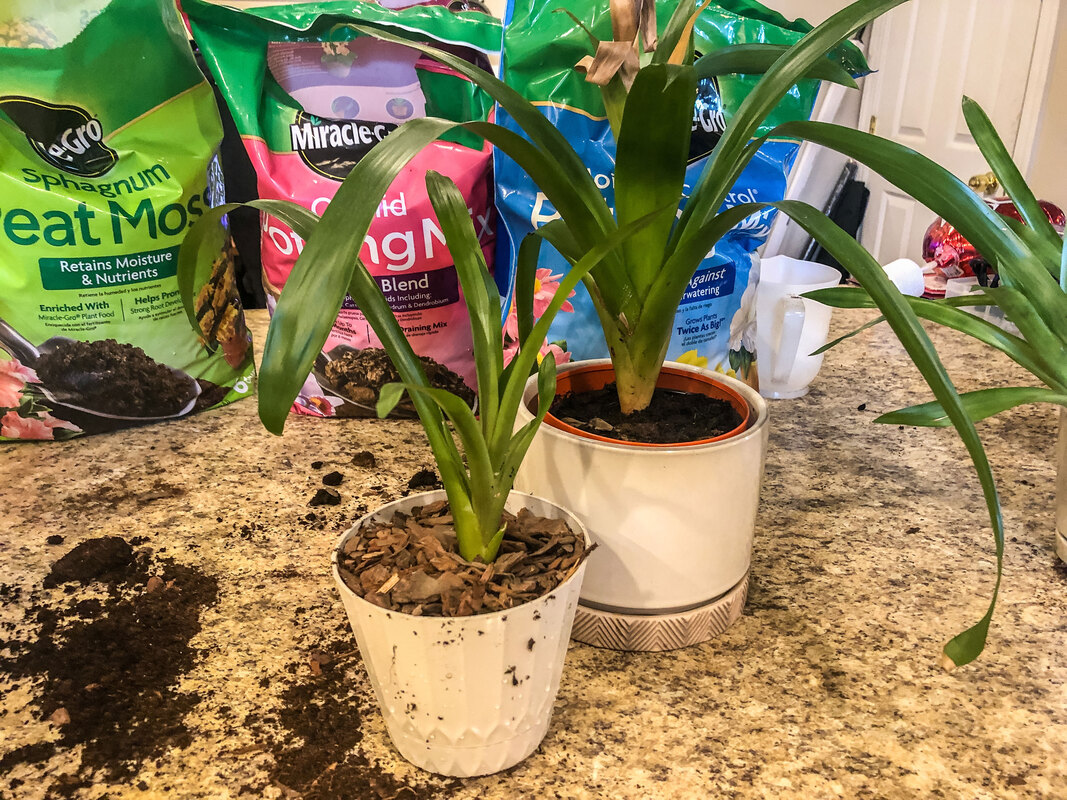 Newly planted bromeliad pup with mother plant. Photo by Diane M. Lilly, 2022. Water & light needs for bromeliads… The bromeliads are watered by pouring water into the cups or spaces between the bottom leaves rather than in the soil. They can be misted as well to create a little more humidity. Water the plants infrequently and only when needed in the winter. This plant does not like sitting in wet soil. It will rot and die! Distilled or purified water is best, but I use tap water that sits for a day or two to let harmful sediments settle to the bottom of the watering can. Bromeliads don’t necessarily need fertilizer, but you can mist the plant with orchid fertilizer in the warmer months (diluted by half). Your new bromeliad plants need bright indirect light and keep newly planted pups out of direct sunlight for a while. 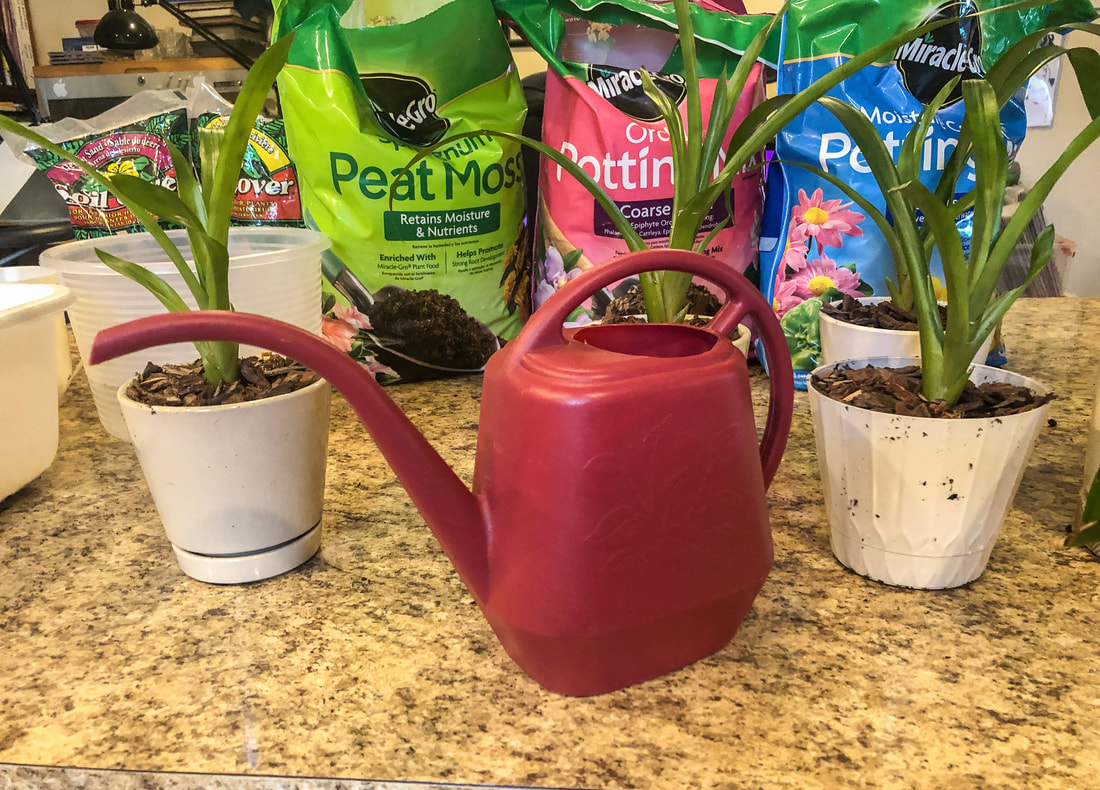 Watering can and newly planted bromeliad pups. Photo by Diane M. lilly, 2022. 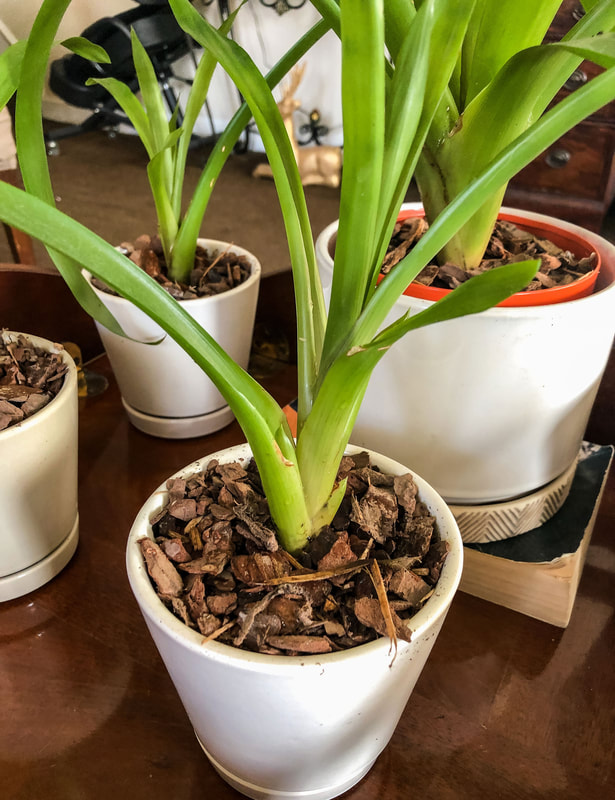 Closeup of newly planted bromeliad pup. Photo by Diane M. Lilly, 2022. 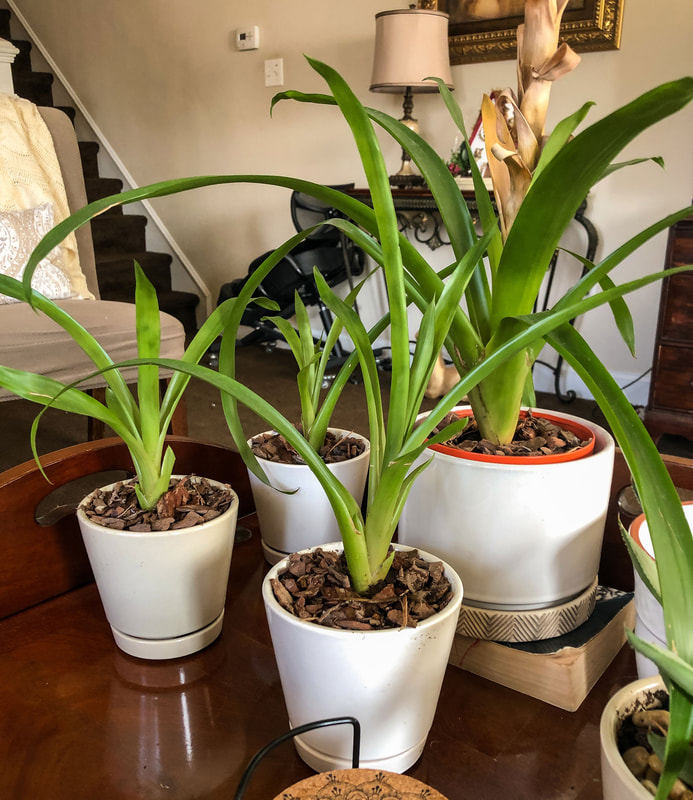 My new bromeliad family--mother plant and her four newly planted pups. Photo by Diane M. Lilly, 2022. Was this helpful to some of you? Drop a comment below with any more tips for handling these gorgeous plants! Related blogs you may want to read: Small houseplants that love bathroom humidity Eight health benefits of decorating with plants Six herbs I planted indoors Let’s talk about houseplants Biophilia in interior design A spring decor makeover for my small rental bathroom This article may contain a few items or commercial mentions, but I only used them for demonstration purposes only. I am not endorsing any particular product or receiving any monetary gain for this blog.
2 Comments
Merdith (Moe) DeVerna
3/9/2023 10:46:53 am
I found this article very interesting and informative as the new owner(s) of a Bromeliad. Thank you! 3/10/2023 08:12:58 am
You are very welcome Merdith! Bromeliads have become one of my favorite houseplants. I brought one plant home two years ago, and now I have five plants, all from that one mother plant. Enjoy your new bromeliad! Leave a Reply. |

Author
Some of the posts on this site contain affiliate links. This means if you click on the link and purchase the item, I will receive an affiliate commission. 
Categories
All
Archives
October 2025
|
 RSS Feed
|
|
Major credit cards accepted through Square. Apple Pay option available. This site also accepts PayPal payments for better online security, and it's free to sign up! Gift cards are now available for purchase!
Copyright 2025 |