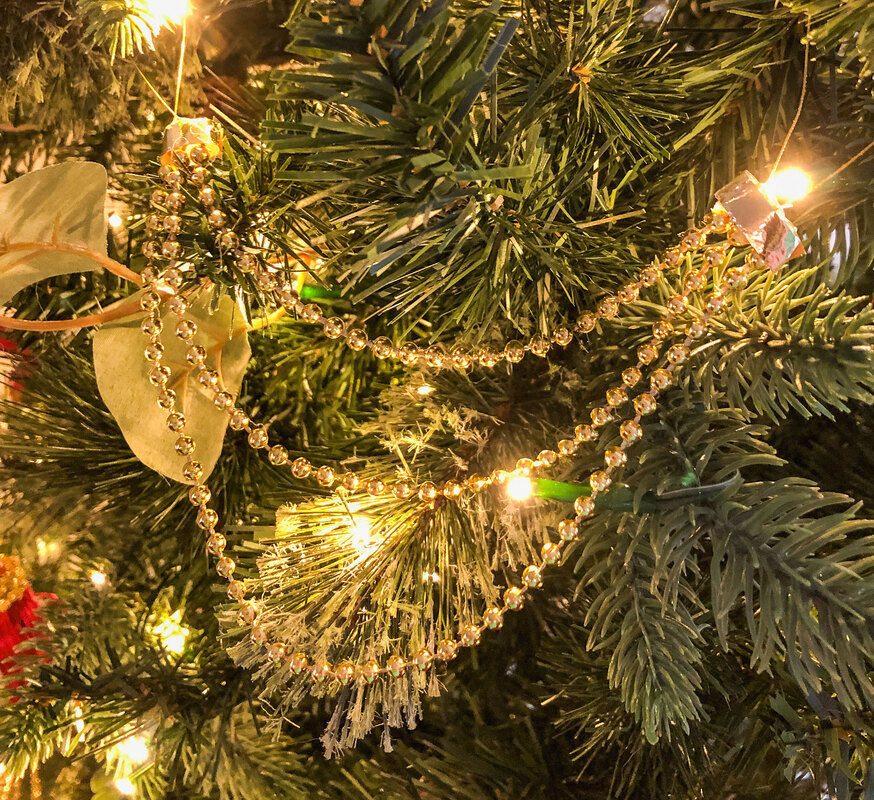
 I spent the past month writing blogs about different holiday decor styles and color schemes. This research inspired me to be brave and experiment with my usual Christmas tree decor. So, one sunny afternoon, I went shopping for ideas for my tree and ended up at Hobby Lobby, where I was greeted with a 50% off Christmas decor sale! (I’m not an affiliate or sponsored by Hobby Lobby.) My goal was to find some gorgeous extra wide ribbons and greenery to fill out my tree and wreaths. I walked out with a bundle of red cardinals, fluffy white owls, faux juniper sprays…and no ribbon. The ribbon aisle was picked clean, but the birds inspired me to create an entirely different decor scheme than was planned. So I came home and rifled through the trim-a-tree boxes and ribbon totes in search of ornaments and ribbons to coordinate with the stuff I bought. Long story short, this year’s Christmas tree features red, white, and gold decor. Which brings me to today’s little tutorial… I have this wonderful knack for creating projects for myself! Today’s project was to make some gold swag tree ornaments for my tree to give it more elegance and add visual variety. These ornament swags are a simple and inexpensive way to create a little holiday bling, but you don’t have to use gold pearls. Any color pearls or beads would work well for this project. I will say this project was a little fiddly, but the finished pieces were so worth it and took the look of my tree to another level! Supplies needed: Pearl strands (or beads) Hanging strings Gold ribbon or twine for the ends Hot glue gun Assembly: Cut three pearl strands for each swag at 10”, 8”, and 6”. Cut two hanging strings for each swag 6.5” in length. Find the ribbon or twine you would like to use to wrap and finish off the ends. Grab your hot glue gun. 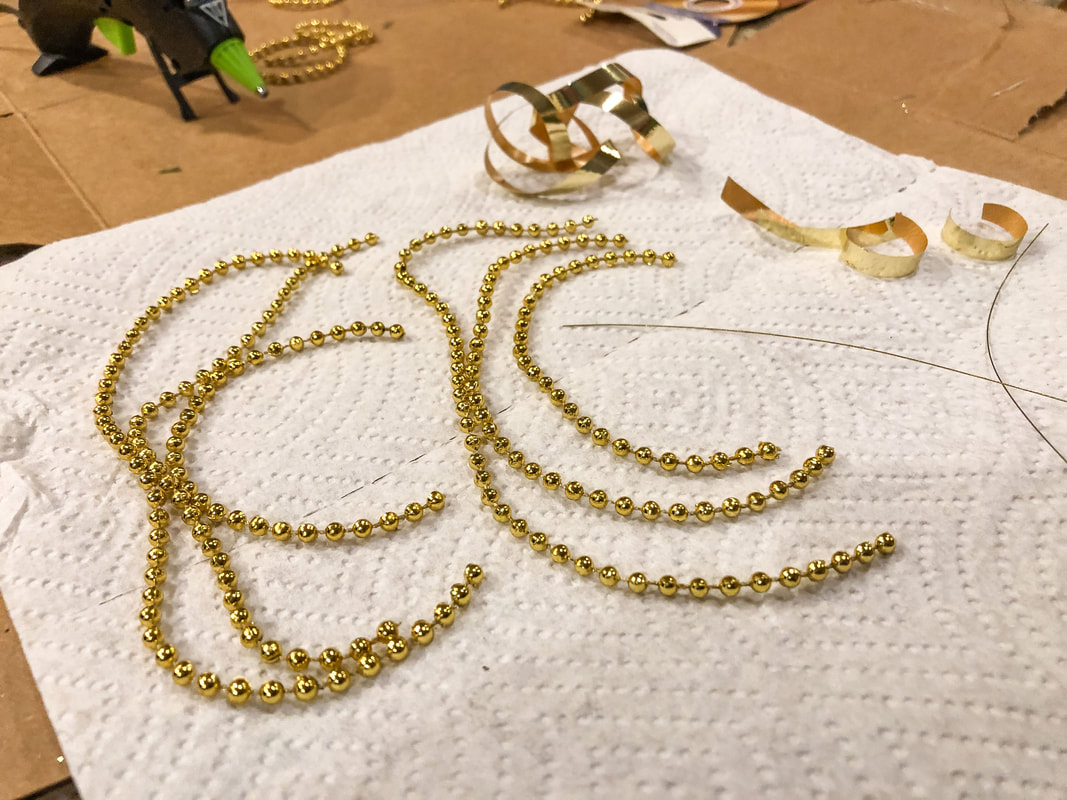 Lay down a small piece of ribbon and line up each pearl strand evenly, arranged from shortest to longest. Grab one piece of hanging string, fold it in half, and hot glue the ends on top of the glued pearls. Now you have the loop for one side of your swag. 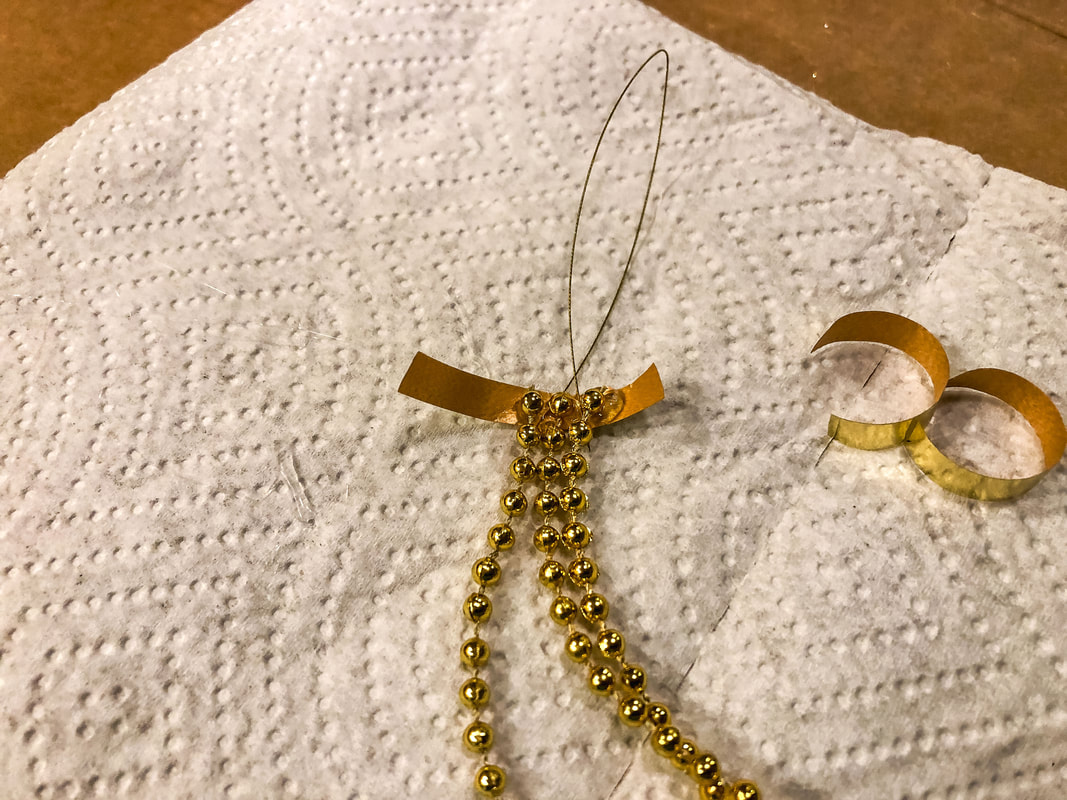 Wrap the pearl strand ends with your ribbon or twine—keeping them flat (not bunched up)—and secure with glue. 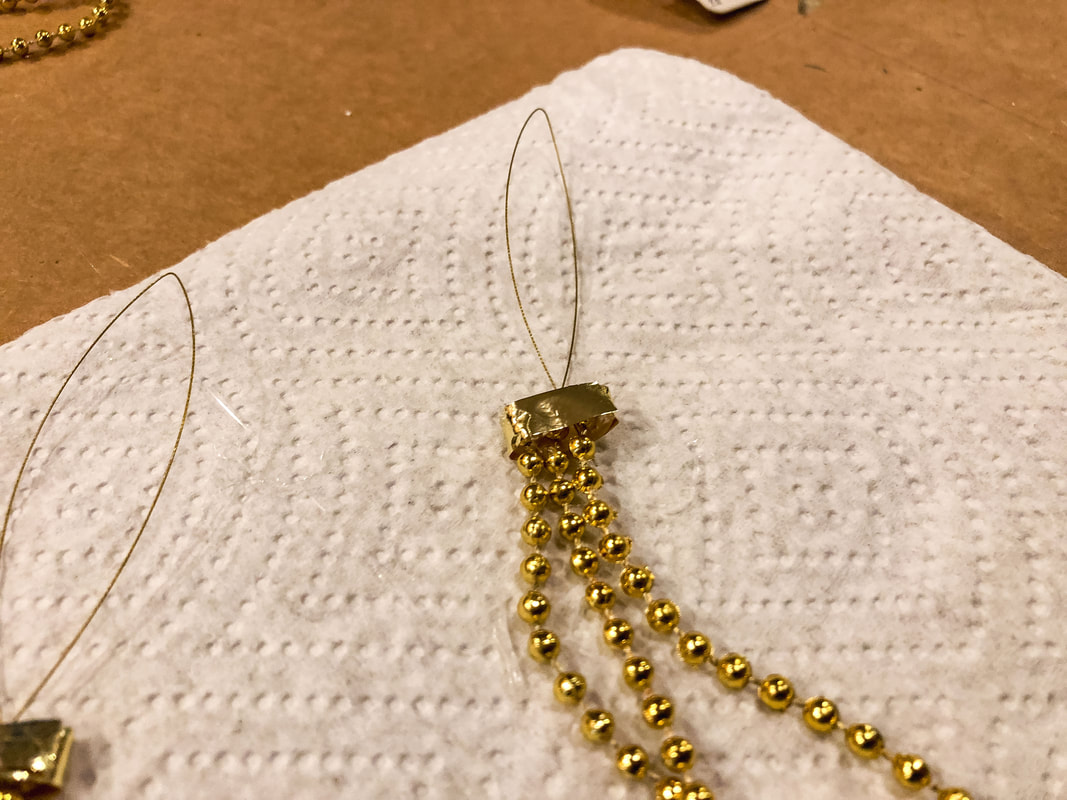 Once one end is secure, create a loop or swag with the pearl strands so that the opposite ends line up. Make adjustments as needed for the desired spaces between the strands. Slide your ribbon or twine under this end of the strands and follow the same steps as the first side. Once the glue is set, you can hang your new ornament on the tree! 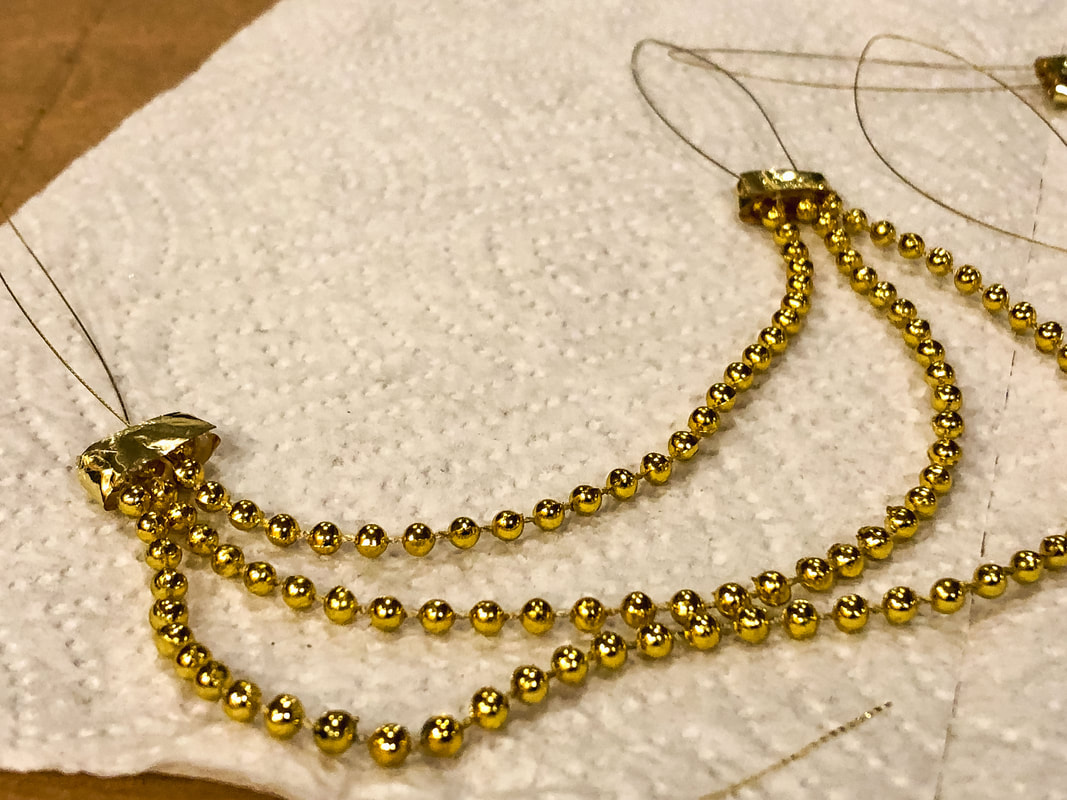 Let me know if you tried this project in the comments. If you did try it, what variation in materials did you use? Happy crafting…and Merry Christmas!  Related blogs you may want to read: 20 Traditional decor ideas to brighten your Christmas holidays Simple holiday or winter front door wreath tutorial How I decorated my Christmas tree on a budget this year How to make a simple faux floral wreath for the winter How to make a super easy faux ivy vine wreath for Christmas How to make cheap garland look festive for the holidays in just six steps DIY fall/winter decorative branch box Some of the posts in this article contain affiliate links. If you click on the link and purchase the item, I will receive an affiliate commission at no extra cost to you. I will only recommend products or services I use personally and/or believe will add value to my readers, so there is no conflict of interest.
0 Comments
Leave a Reply. |

Author
Some of the posts on this site contain affiliate links. This means if you click on the link and purchase the item, I will receive an affiliate commission. 
Categories
All
Archives
October 2025
|
 RSS Feed
|
|
Major credit cards accepted through Square. Apple Pay option available. This site also accepts PayPal payments for better online security, and it's free to sign up! Gift cards are now available for purchase!
Copyright 2025 |