|
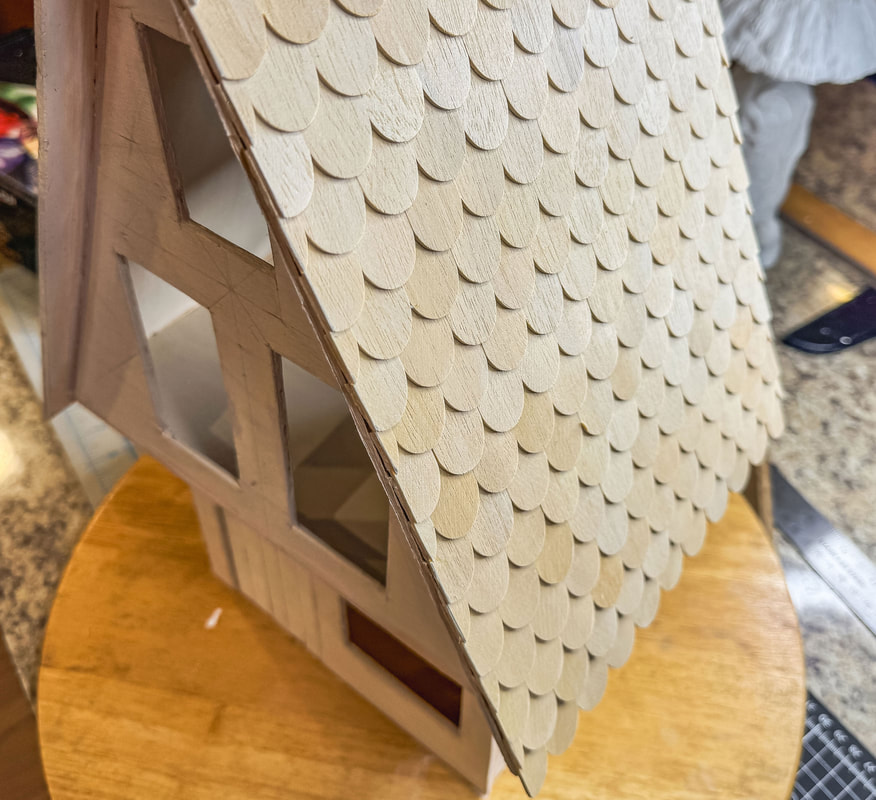
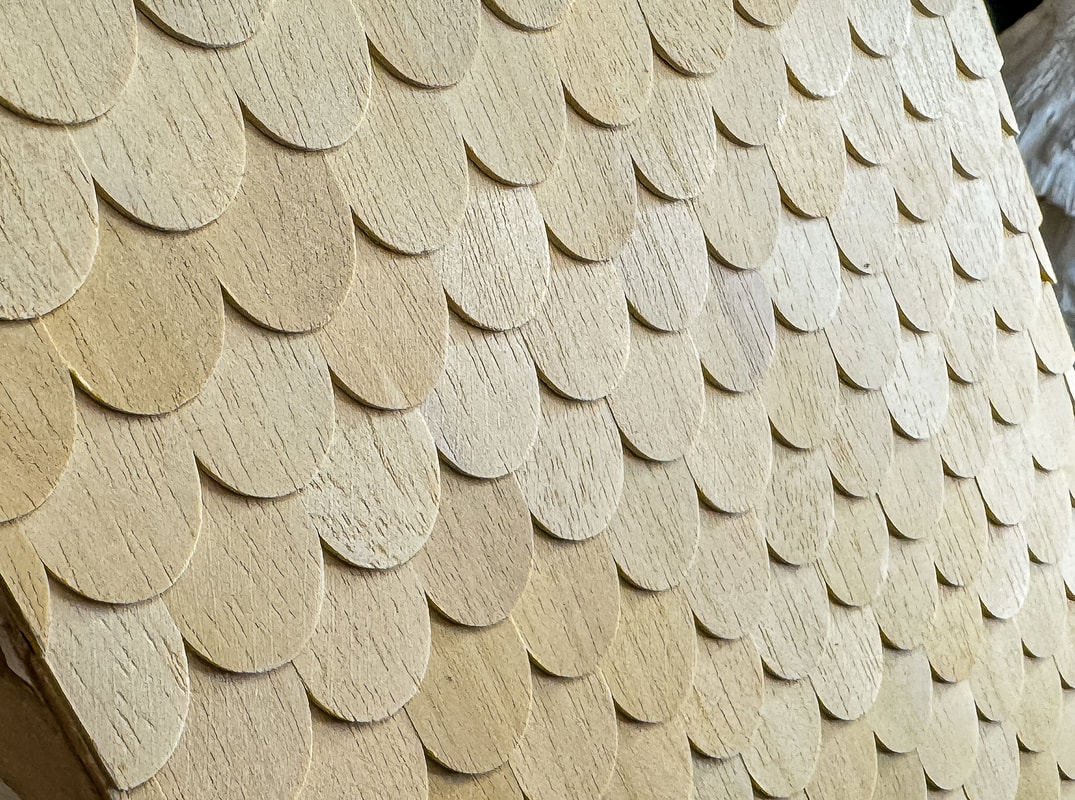
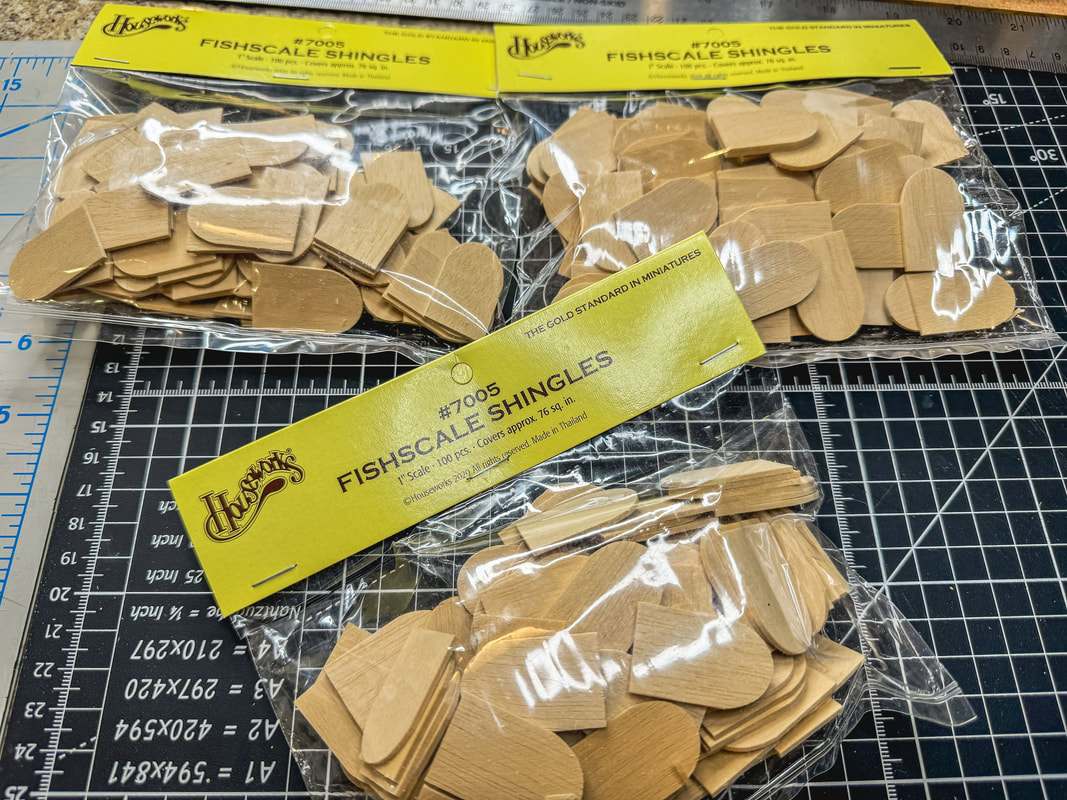
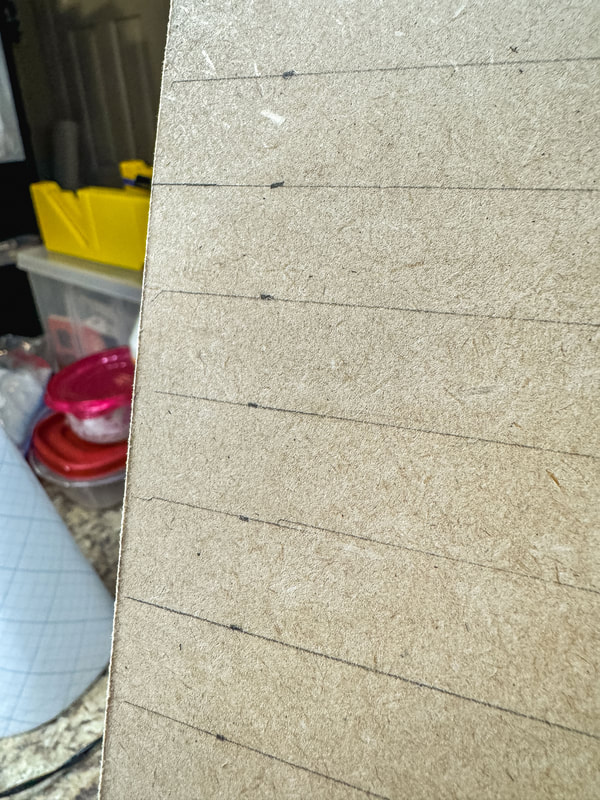
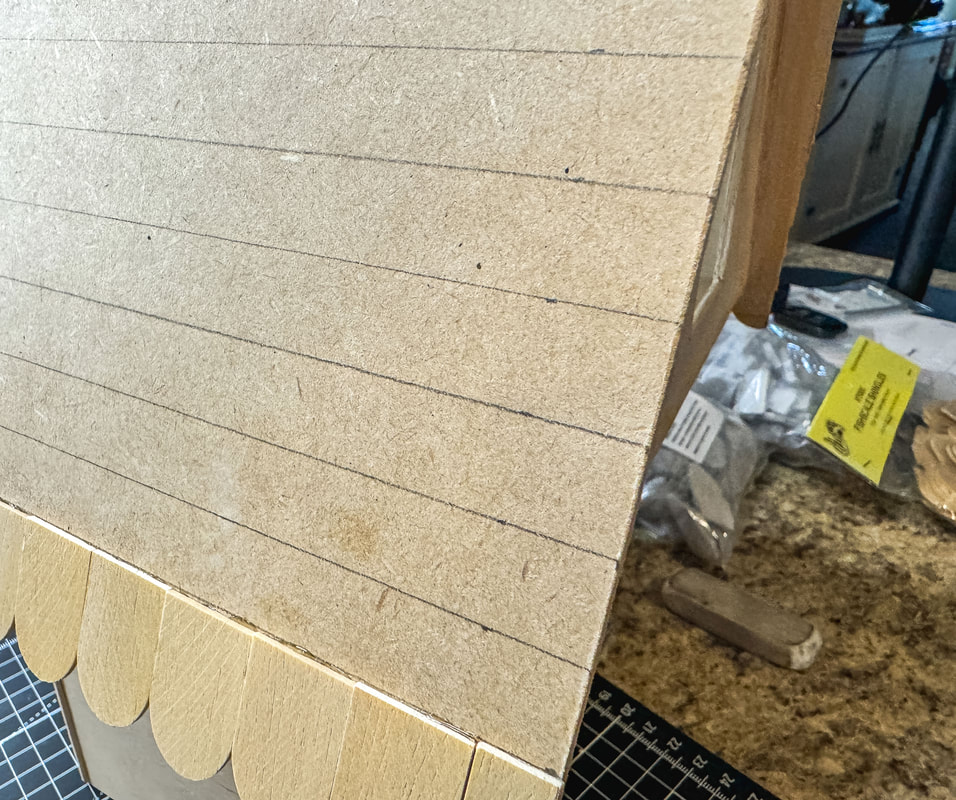
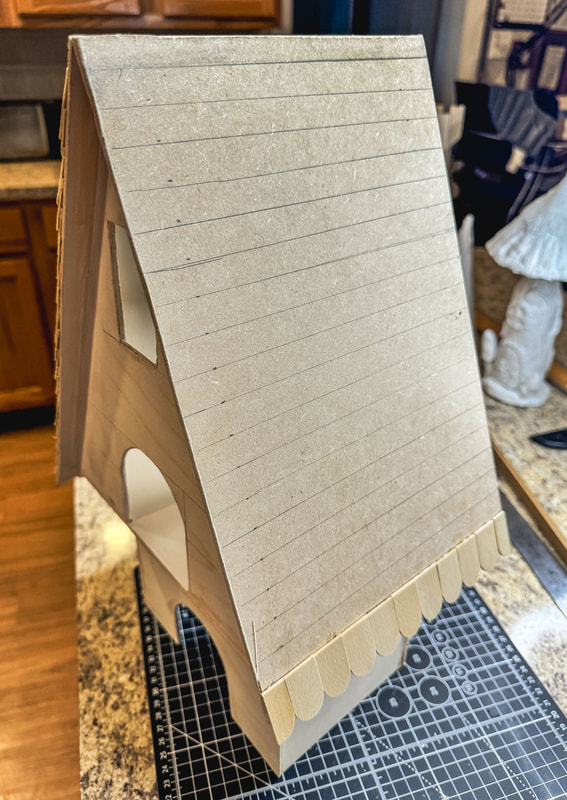
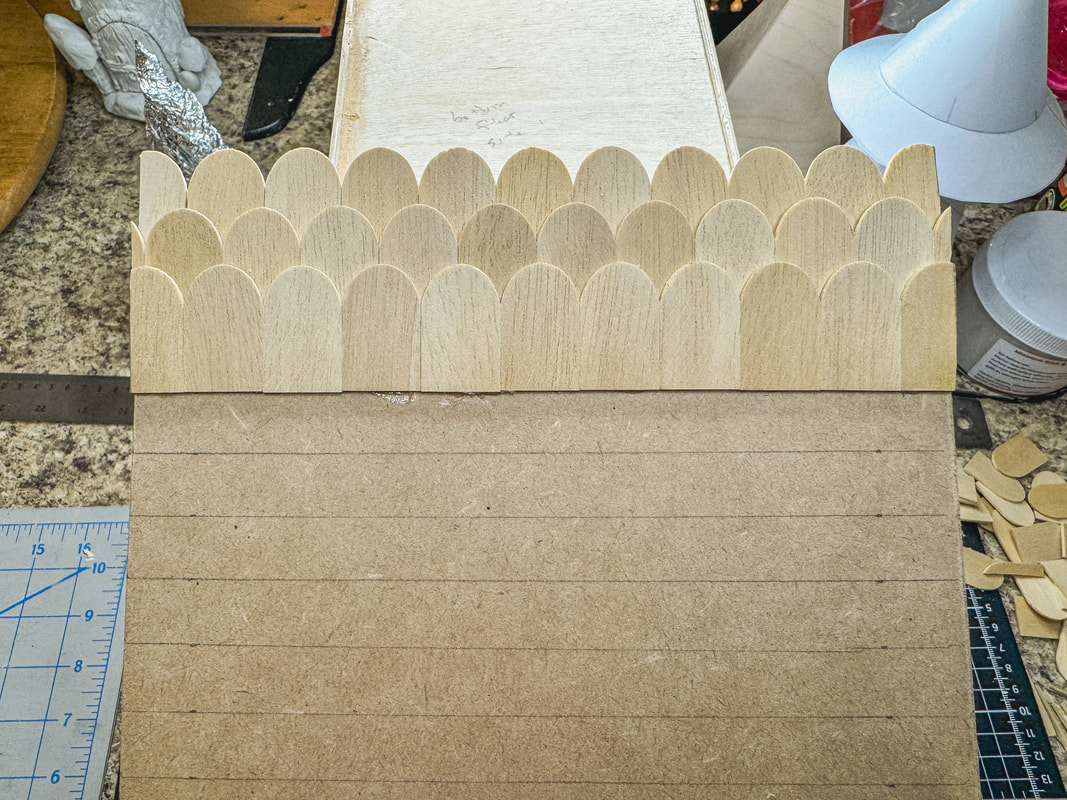
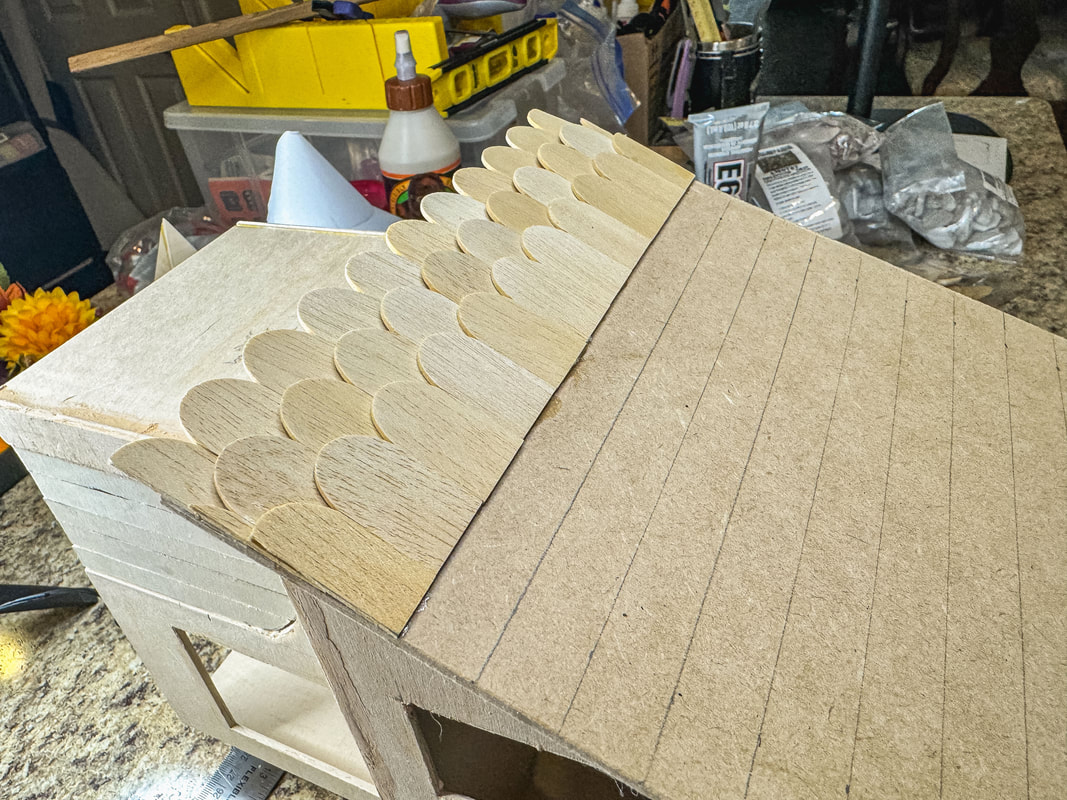
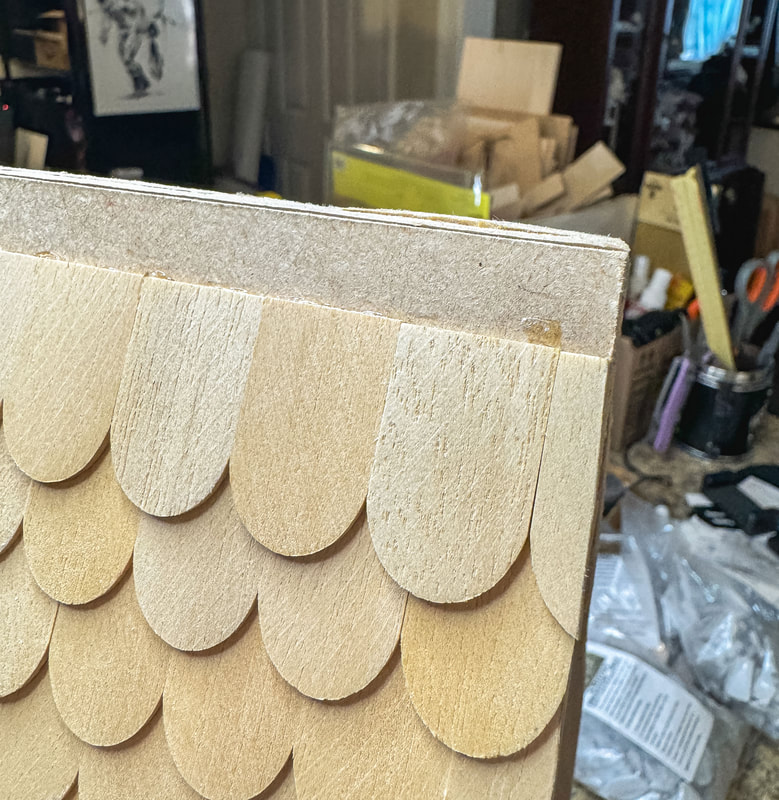
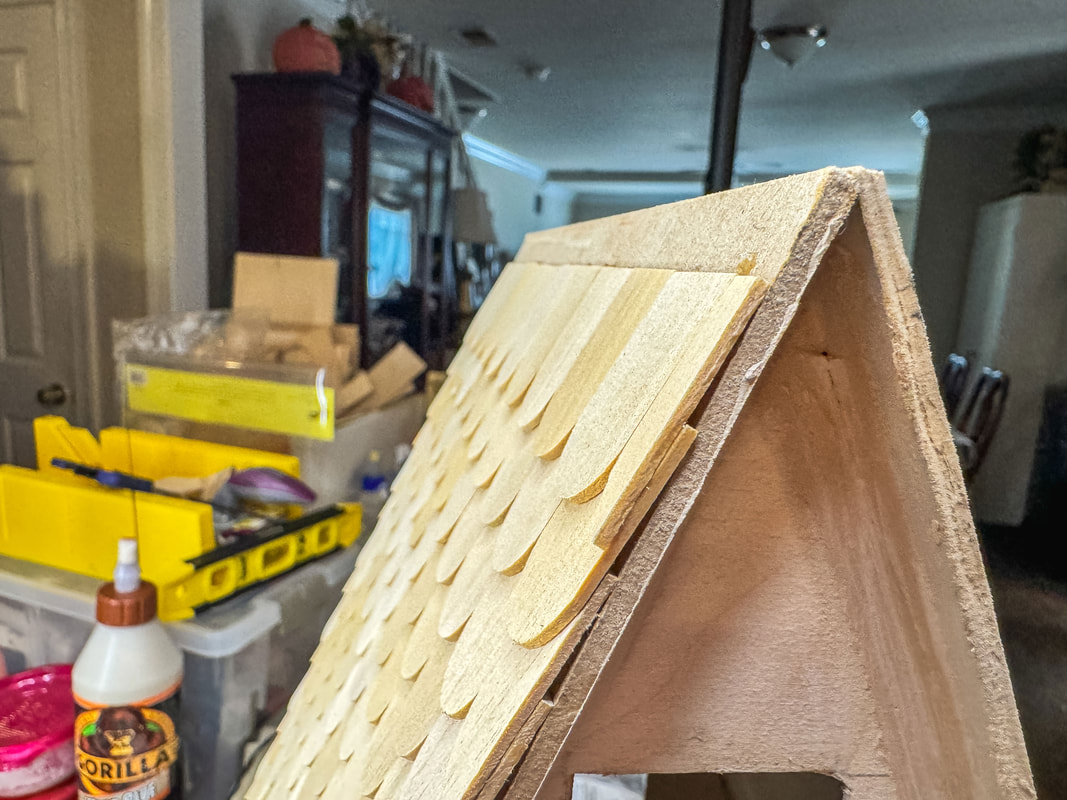
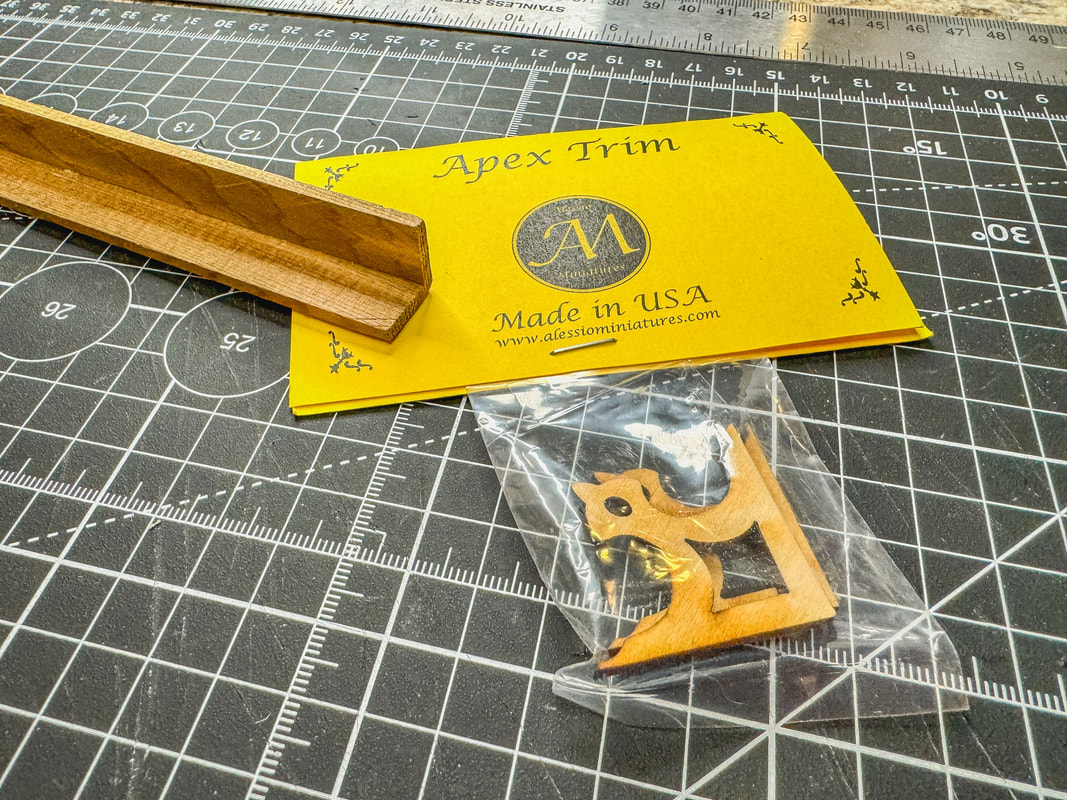
If you’ve ever tried to apply shingles in a straight line on a dollhouse roof you know the challenge of keeping everything straight and in alignment! The struggle is real! One of my current craft projects involves applying shingles to a miniature fairy house roof. The rhythmic visual effect of overlapping tiles on a roof is strangely satisfying…but the same can’t be said of the process of applying those tiles! With a little preparation though this activity can go a lot smoother. Today’s blog outlines steps to help make the application of dollhouse roof tiles easy and precise so you can enjoy both the process and the result. Materials and supplies used for this project: I am an affiliate associate of Amazon, Blick Art Materials, and Factory Direct Craft so some of the posts in this article contain affiliate links. If you click on the link and purchase the item, I will receive an affiliate commission at no extra cost to you. I will only recommend products or services I use personally and/or believe will add value to my readers, so there is no conflict of interest. How to prepare your dollhouse roof for shingles: You know the phrase…”Fail to plan, plan to fail.” Those words of wisdom are very applicable in this situation! Before a single shingle touches your dollhouse you should lay out guidelines. The guidelines will keep all of your rows straight, parallel to each other, and evenly spaced. If you are going to make mistakes it is far easier to fix them with a pencil and eraser than glue and wood! Step 1: Use one of the shingles to figure out where the bottom row of tiles will sit. Make sure the roof base isn’t showing. Once you’re satisfied with the placement, create a mark just above that shingle. Step 2: Use a ruler to measure the distance between this mark and the bottom edge of the roof. Make two or three more marks the same distance from the roof’s edge. Draw a line with a ruler to connect these marks and the vertical roof edges. This is your guideline for the first row of shingles. Stop here and assess whether this line runs parallel to the bottom edge and roof peak and whether the roof base is straight. For now, just be aware of any discrepancies. Step 3: To make a guideline for the second row grab a tile and establish a good placement overlapping the first row of shingles. Create a mark above that tile for the second row. Measure the distance between that mark and the first guideline. Mark that distance at either vertical edge and draw a line across. Take the time to sort out these first two lines; make sure they are properly spaced and parallel to each other, the bottom edge, and the roof’s peak edge. Start to make adjustments if needed. Step 4: Measure the distance between the first and second guidelines. Use this measurement to mark the side edges for the rest of the guidelines. A little tip: Make sure to measure from both of the roof sides. This will help later if you have to make adjustments for any out-of-square issues with the roof base. Step 5: Assess your tick marks and adjust up or down to compensate for mistakes in measurement or edges that are out of alignment. Once you’re satisfied everything looks good draw the rest of the guidelines. Step 6: Once the lines are drawn assess everything again. It sounds like overkill, but this is when you fix any issues with alignment BEFORE you glue things in place! If the lines are not parallel to the edge of the roof peak remeasure and adjust the lines. This is critical. A line of shingles near the roof not parallel to the roof edge will be so noticeable it will ruin the look of your dollhouse. So take the time to carefully align all the guidelines across and down the roof slope. The time spent on creating good guidelines will save you headaches and heartaches later! Steps for applying your dollhouse roof shingles: Now that we’ve properly prepped the roof with guidelines it’s time to start laying down some roof tile! A note about glue: You can use any glue you like, but stay away from quick-drying glues like super glue and hot glue because you will want to make small adjustments in tile placement as you work. Step 1: We always start roof shingles at the bottom and work our way up, with each progressive row overlapping the previous one. Grab glue and a tile and pick a spot to start in the center of the bottom edge. Add glue to the back of the shingle and place the tile with the top edge up against your first guideline. Press in place. Step 2: Spread some glue on either side of that tile and lay down a few shingles, pushing each edge to the guideline and checking to ensure the row stays straight. Also, ensure your tiles hang down straight and are not slanted sideways. Check to make sure everything looks even. Step 3: When you get to the ends you will see that most times an entire tile will not fit, so you’ll have to trim the excess and fit it into place. Ensure these end tiles are tidy and flush with the roof’s edge. Step 4: Start the second row, working from the middle outward as in the first row. The tiles in this second row will overlap where two tiles underneath meet. Lay down glue and place all the shingles for the second row, ensure each tile is lined up properly and evenly. Trim the ends as necessary. Step 5: Follow these steps until you reach the roof’s peak, always assessing and adjusting to ensure everything is straight and parallel. Step 6: Once you get to the top row of shingles you may have to cut the tiles, depending on how you plan to finish the roof. Whatever the situation, ensure the tiles are parallel, straight, and cleanly applied. You are now ready to do the finishing touches to your roof! Finishing your dollhouse roof: This final part is outside of the scope of today’s blog (but stay tuned for a future tutorial!) but you will want to add finishing touches and details to make your dollhouse roof pop. At the very least you’ll want to cap the roof with a roof angle or a flat ridge. There are also options for roof gables to clean up the sides and add a little flair. An apex trim might also create that “Wow!” factor. But that is a tutorial for another day! I hope you liked this tutorial and learned something from it! I know how hard these projects can be and any tips are worth their weight in gold! Leave a comment below if you’ve had any experiences with dollhouse shingles. Let me know if you found this blog informative or ask questions! The video for this tutorial (for all you visual learners!) is on my YouTube channel here. Remember to like and subscribe for more tutorials like this one and other DIY craft projects. Or join me on Patreon! Become a member for only $4/month to see more in-depth tutorials, DIY projects, and behind-the-scenes videos.
Visit my online shop here to see other fairy house designs! https://disstudiodesigns.com/fairy-houses.html Looking for more decor DIY and fairy-related blogs to read? Click the links below to see my latest articles! https://disstudiodesigns.com/blog/category/diy-projects https://disstudiodesigns.com/blog/category/fairy-houses-and-gardens
0 Comments
Leave a Reply. |
Author
Some of the posts on this site contain affiliate links. This means if you click on the link and purchase the item, I will receive an affiliate commission. Categories
All
Archives
October 2025
|


 RSS Feed
